Velvety Smooth White Chocolate Pudding: An Easy 5-Ingredient Recipe to Impress
Prepare to truly dazzle your dinner guests with this absolutely incredible white chocolate pudding! This recipe is a true game-changer, proving that you don’t need a lengthy ingredient list or hours in the kitchen to create something utterly luxurious. With just five simple ingredients, you can whip up a dessert that tastes like a gourmet creation, leaving everyone wondering if you secretly spent all day perfecting it. Its rich, velvety texture and delicate white chocolate flavor make it an unforgettable treat.
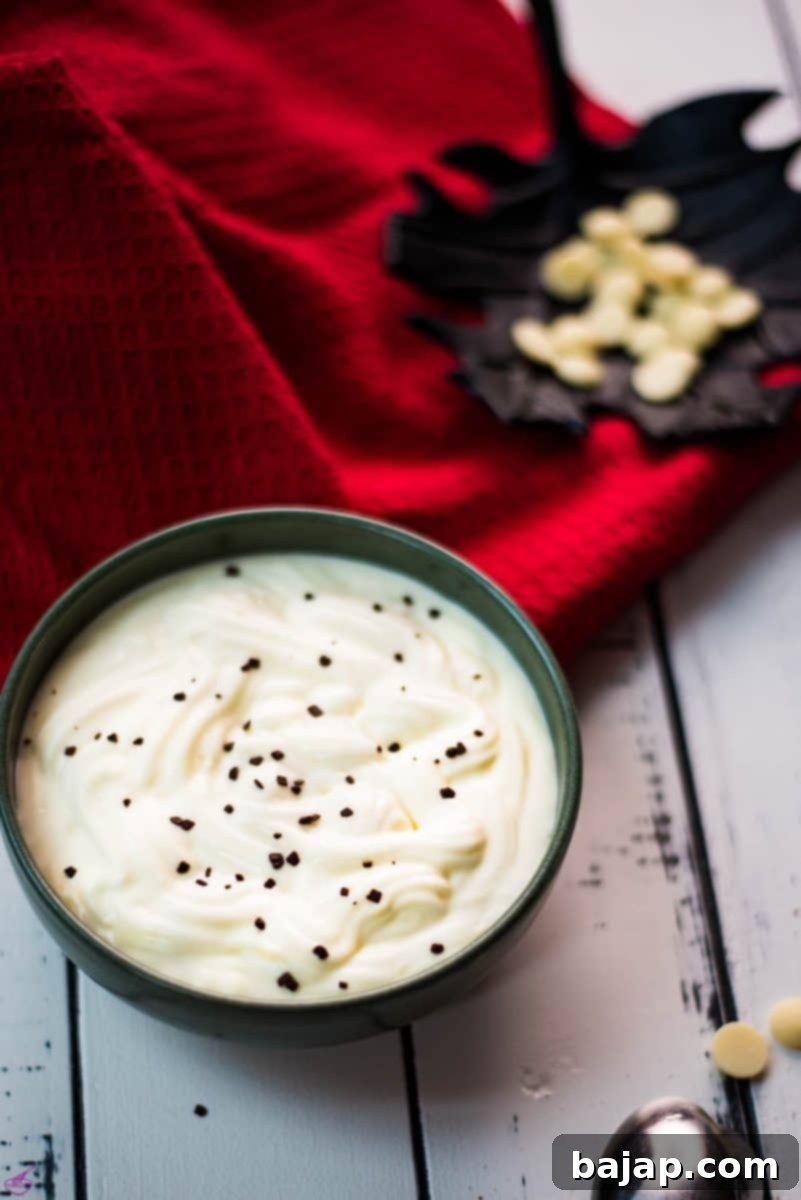
This isn’t just a dessert; it’s a versatile culinary delight! If you’re searching for a rich, creamy white pudding that stands alone as a show-stopping last course, or one that cleverly doubles as an unforgettable dip for fresh fruits, cookies, or even pretzels, then this recipe is precisely what you need. Its smooth consistency and perfectly balanced sweetness make it an instant crowd-pleaser for any occasion, from an elegant dinner party to a casual gathering.
Why This 5-Ingredient Pudding is a Must-Try
In a world of complex desserts, this white chocolate pudding shines as a beacon of simplicity and indulgence. Its magic lies in its minimalist approach: only five core ingredients come together to create a dessert that is far greater than the sum of its parts. You get a supremely creamy, melt-in-your-mouth texture paired with the delicate, sweet notes of high-quality white chocolate. It’s the kind of dessert that feels gourmet without the fuss, making it perfect for busy hosts who still want to serve something spectacular. Whether you’re a seasoned baker or a beginner, this recipe promises delicious success every time. It’s also incredibly versatile – serve it warm for a comforting treat, or chilled for a refreshing, light dessert. The simple ingredients ensure a pure, unadulterated flavor that truly lets the white chocolate shine.
🥘 Ingredients for Your Luscious White Chocolate Pudding
Crafting this irresistible white chocolate pudding requires just five essential ingredients, but the key to its exceptional flavor and texture lies in selecting quality components. Each plays a crucial role in achieving that perfect, creamy consistency and rich taste.
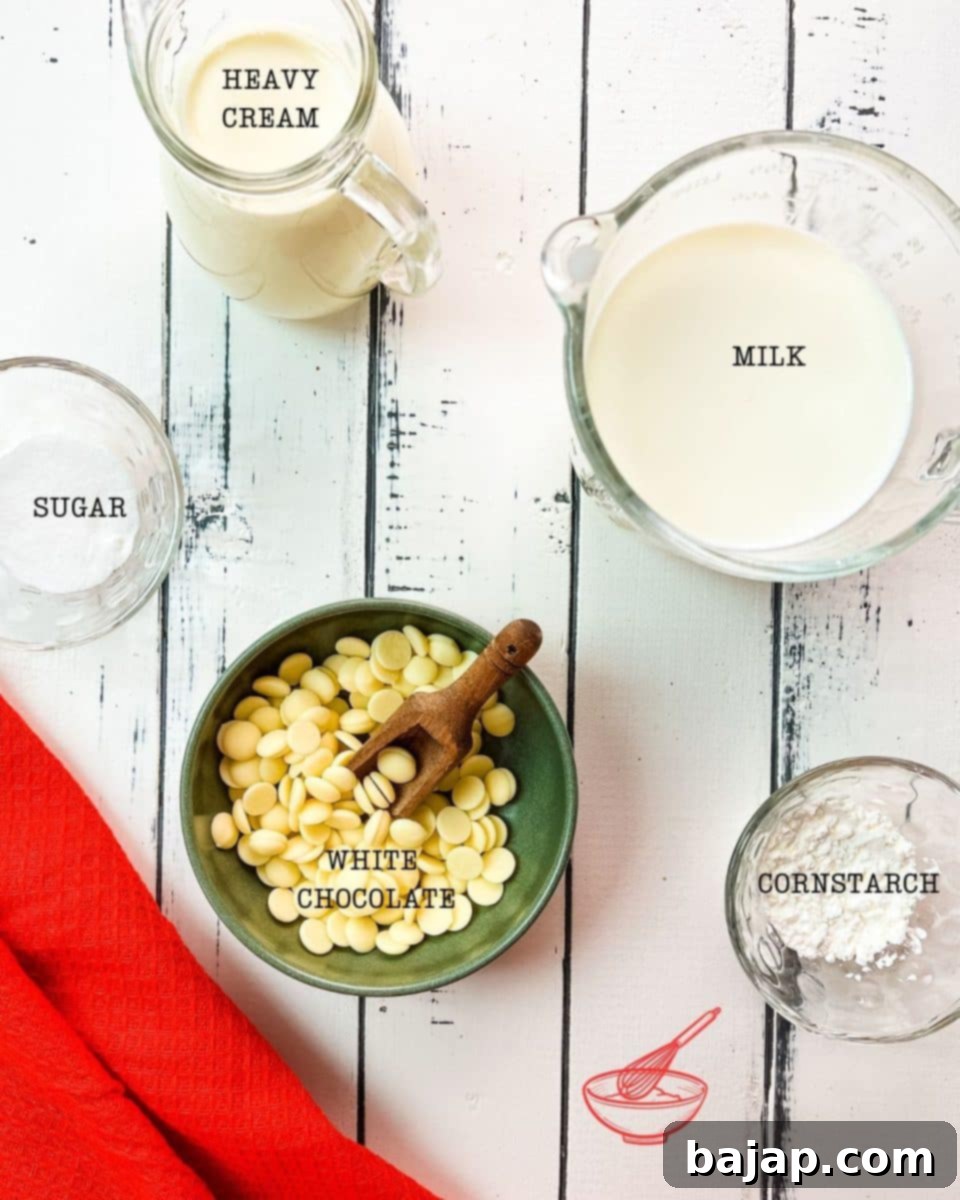
- White Chocolate Couverture: This is the star of the show. Using high-quality white chocolate (couverture specifically, if possible) is paramount for a superior flavor profile and smooth melt. Avoid white chocolate flavored candy melts, as they won’t yield the same rich result.
- Whole Milk: Provides the creamy base for the pudding. Whole milk’s fat content contributes significantly to the richness and luxurious mouthfeel.
- Sugar: Balances the sweetness of the white chocolate and ensures a perfectly palatable dessert. Adjust to your personal preference, though the initial amount is well-balanced.
- Cornstarch: The essential thickening agent that gives the pudding its characteristic smooth, firm, yet jiggly texture. It’s crucial for achieving that delightful pudding consistency.
- Heavy Cream: Whipped into fluffy peaks, it’s folded into the cooled pudding to lighten its texture and add an extra layer of decadence, making it irresistibly airy and creamy.
For precise quantities, please refer to the detailed recipe card below.
🔪 Instructions: Crafting Your Creamy White Chocolate Pudding
Making this delightful white chocolate pudding is straightforward, but paying attention to a few details will ensure a perfectly smooth and rich result every time. Follow these steps carefully to achieve dessert perfection.
-
Prepare the Cornstarch Slurry:
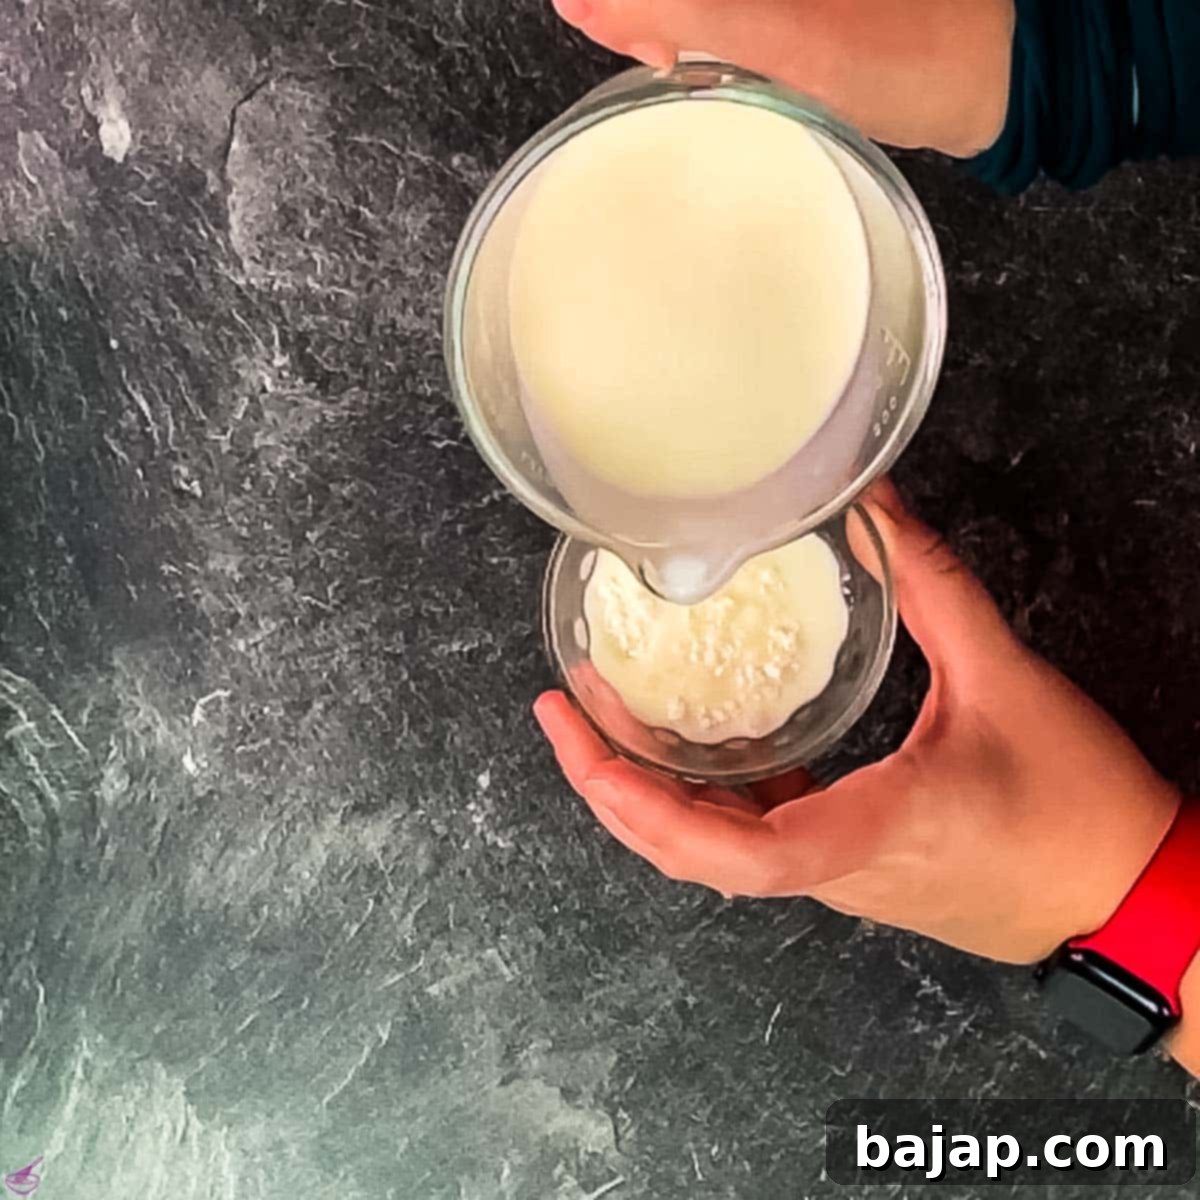
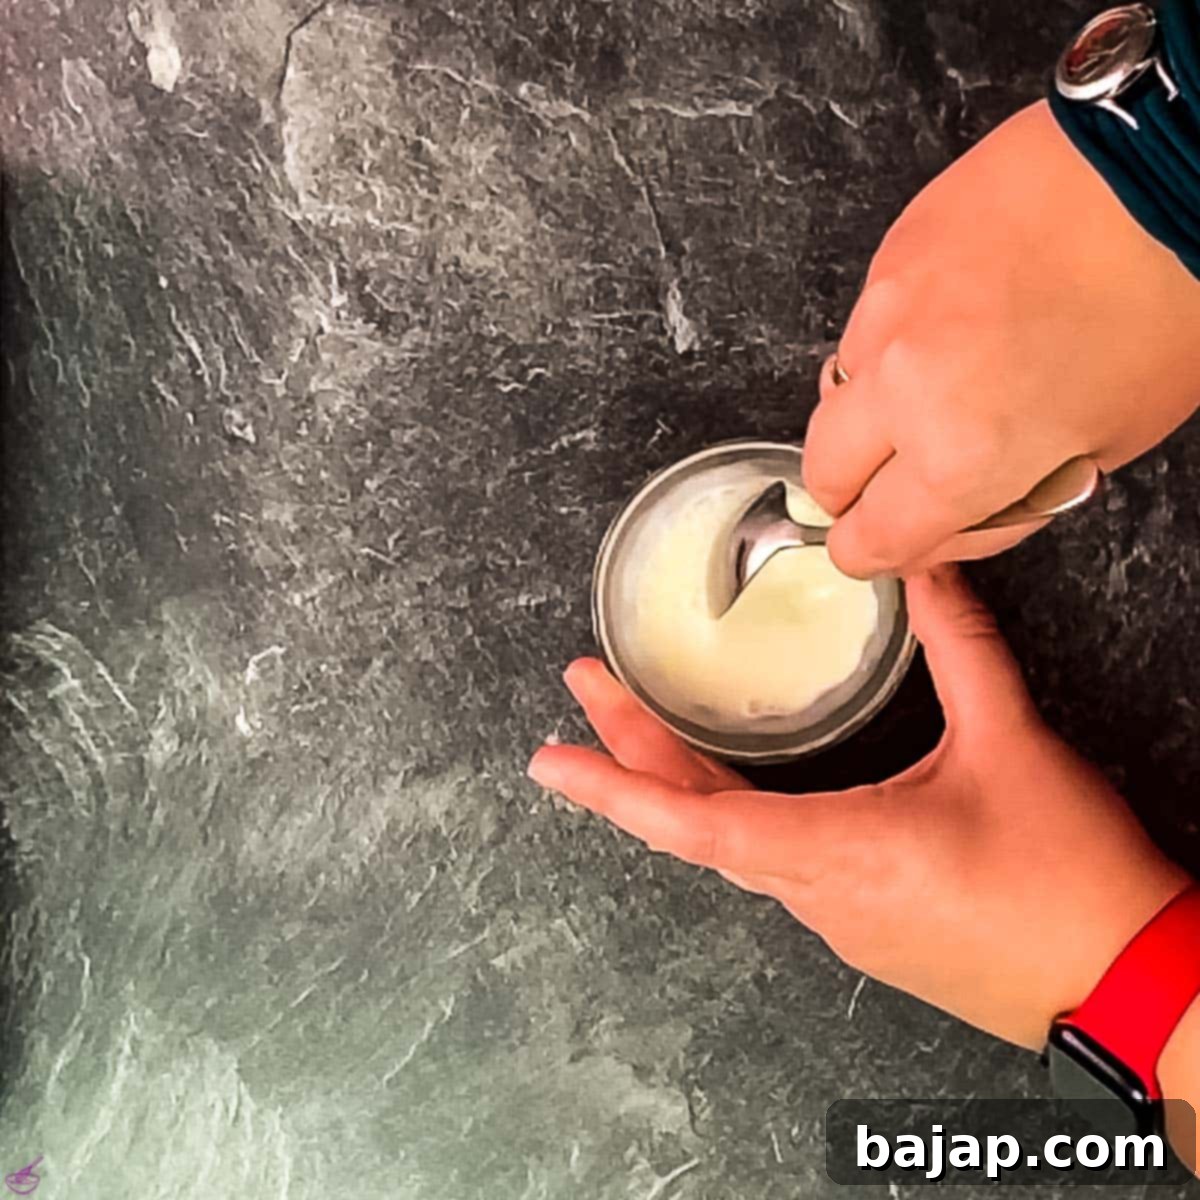
The first crucial step is to create a lump-free cornstarch slurry. In a small bowl, combine your measured cornstarch with a tablespoon of cold milk. Whisk it vigorously until the cornstarch is completely dissolved and no lumps remain. This slurry will prevent clumping when added to the hot milk mixture, ensuring a silky-smooth pudding.

Start by adding a small amount of milk to your cornstarch. 
Whisk thoroughly until a smooth, lump-free slurry is formed. -
Melt and Heat the Main Ingredients:
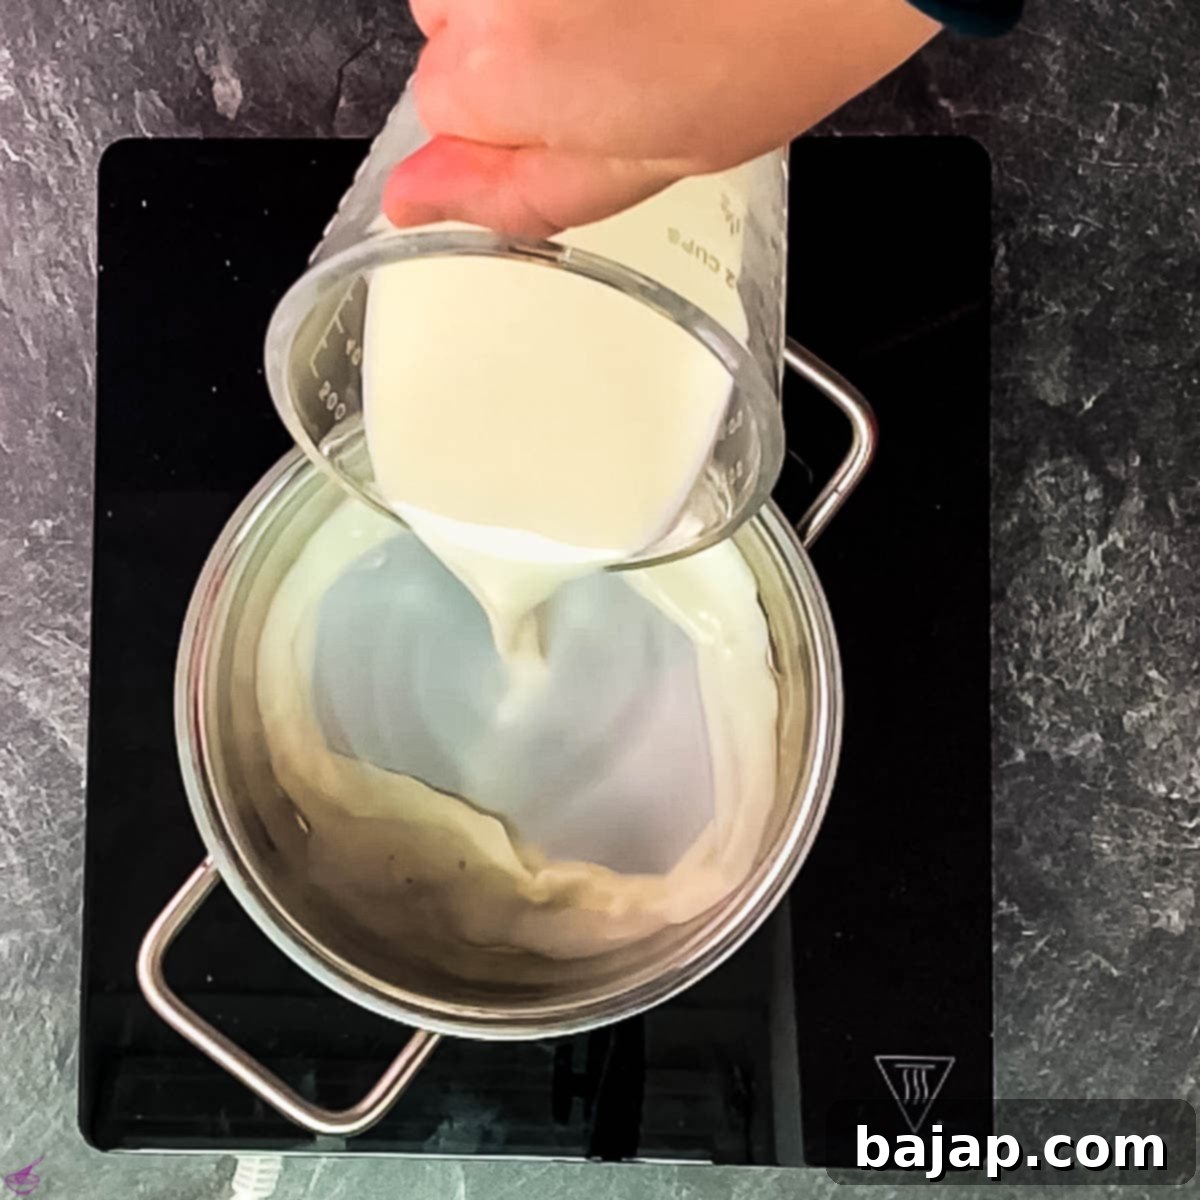
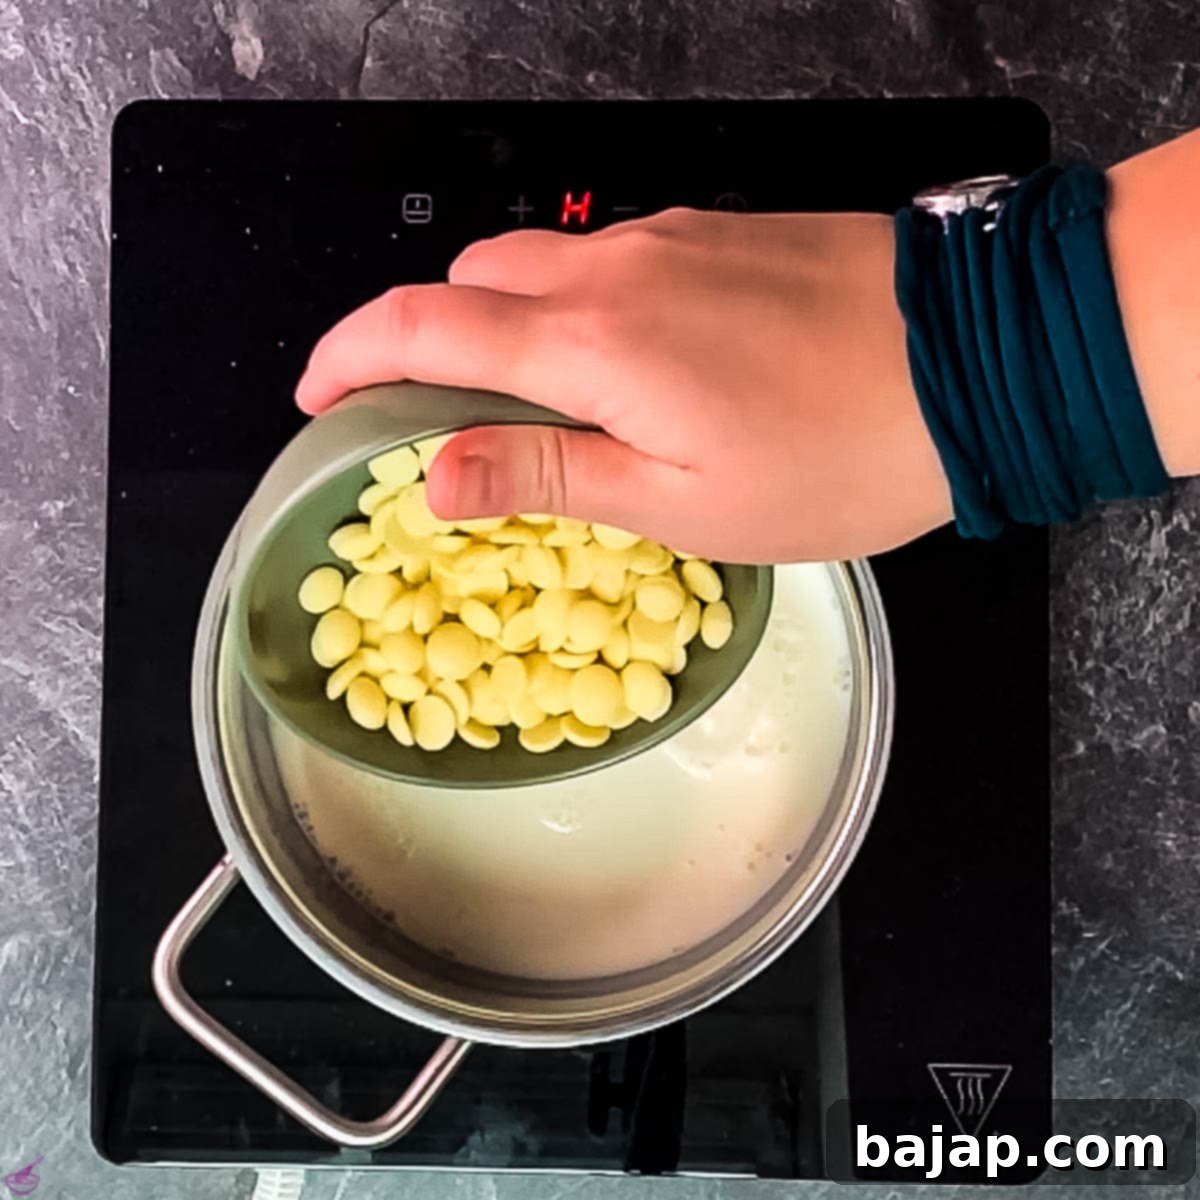
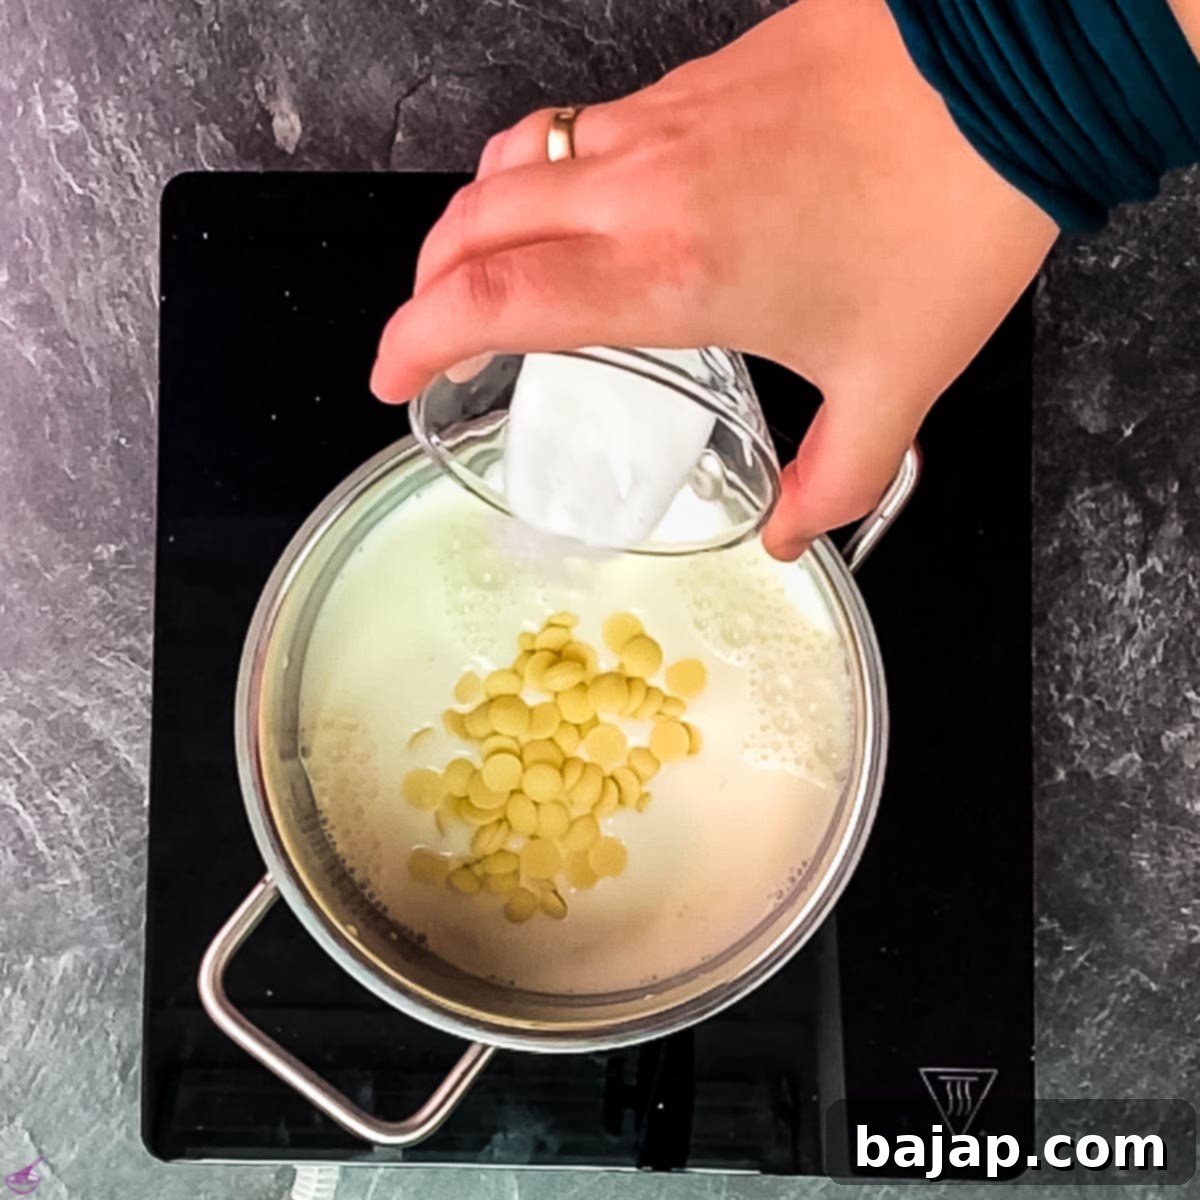
Next, gather your white chocolate couverture, the remaining whole milk, and sugar into a medium-sized saucepan. Place the saucepan over medium heat. Gently heat the mixture, stirring constantly with a whisk, until the white chocolate completely melts and the sugar dissolves. Bring this mixture to a gentle boil. Remember, the quality of your white chocolate is truly paramount here; it dictates the depth and authenticity of your pudding’s flavor.

Pour the milk into your saucepan. 
Add your high-quality white chocolate to the milk. -
Thicken the Pudding:
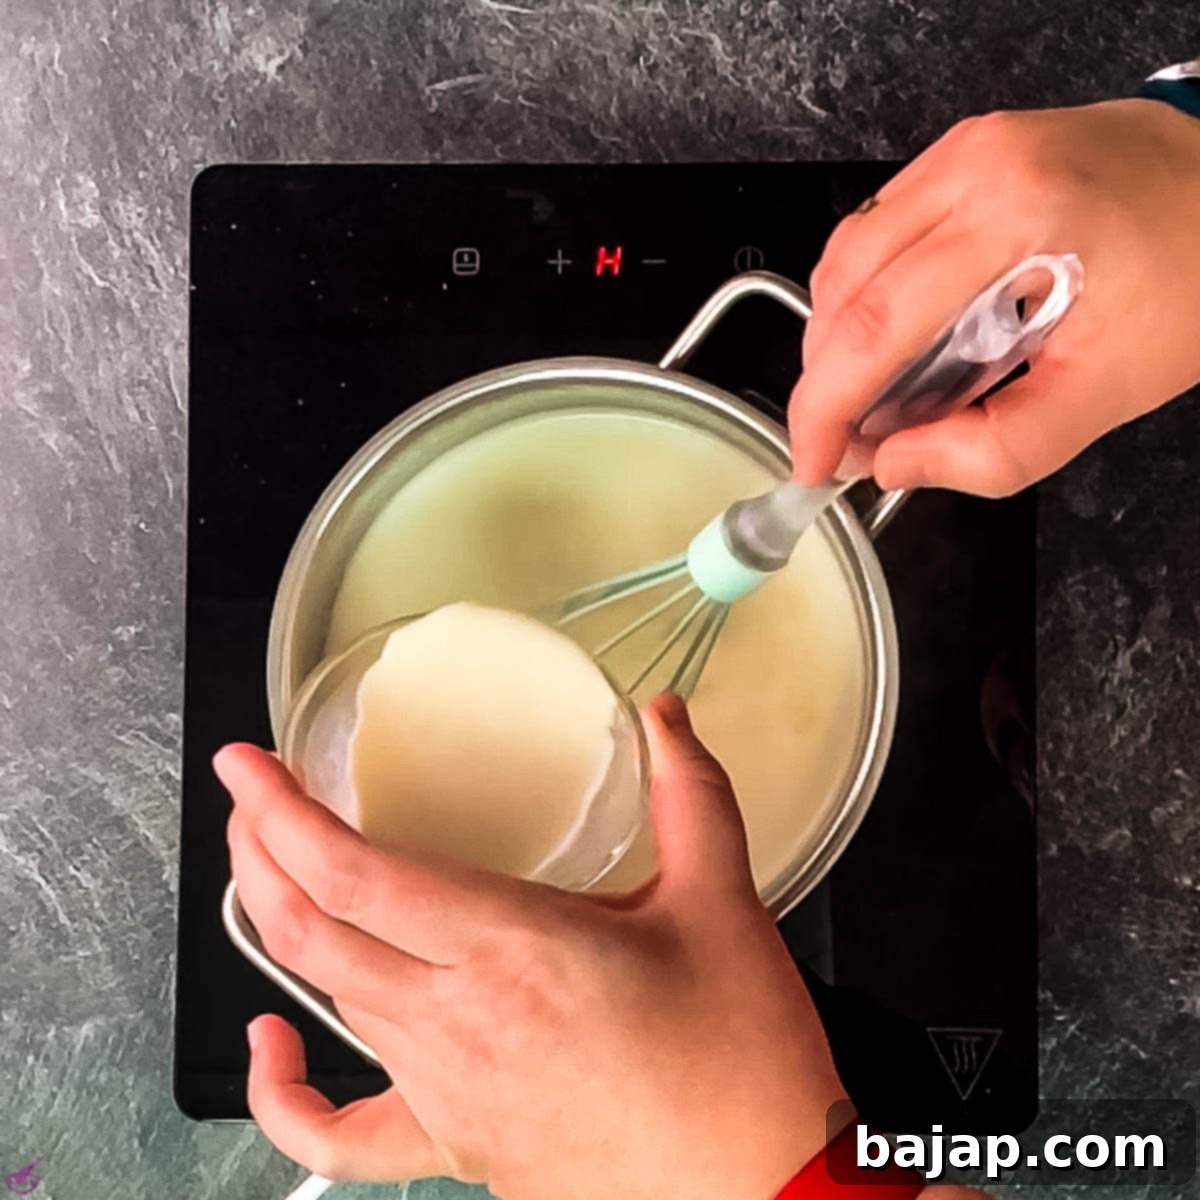
Once the pudding mixture reaches a gentle boil and all solids are dissolved, it’s time to thicken. Slowly pour in your pre-mixed cornstarch slurry into the boiling mixture. It is absolutely essential to stir constantly and vigorously with your whisk as you add the slurry. Continue stirring and bring the mixture back to a full boil. You’ll notice it thickening almost immediately. Cook for about 1-2 minutes after it returns to a boil to ensure the cornstarch is fully cooked and activated, preventing any starchy taste.

Incorporate the sugar and stir until fully dissolved. 
Add the cornstarch slurry while continuously whisking. -
Chill and Set:
As soon as the pudding has thickened to your desired consistency after returning to a boil, remove it from the heat. Immediately pour the hot pudding into a clean bowl, preferably one with a lid. Covering it helps prevent a “skin” from forming on top. It will need a minimum of three hours in the refrigerator to cool completely and properly set. However, for the absolute best texture and flavor development, I personally highly recommend letting your pudding chill overnight. This extended cooling time allows the flavors to meld beautifully and the pudding to achieve its ideal firm-yet-creamy consistency.
-
Whip the Heavy Cream:
Once your pudding has thoroughly chilled for at least three hours, it’s time to prepare the heavy cream. Using an electric hand mixer, whip the cold heavy cream in a separate bowl until stiff peaks form. You’ll know you’ve reached the right consistency when you lift the beaters and the cream holds its shape, forming firm, distinct peaks.
-
Combine and Finish:
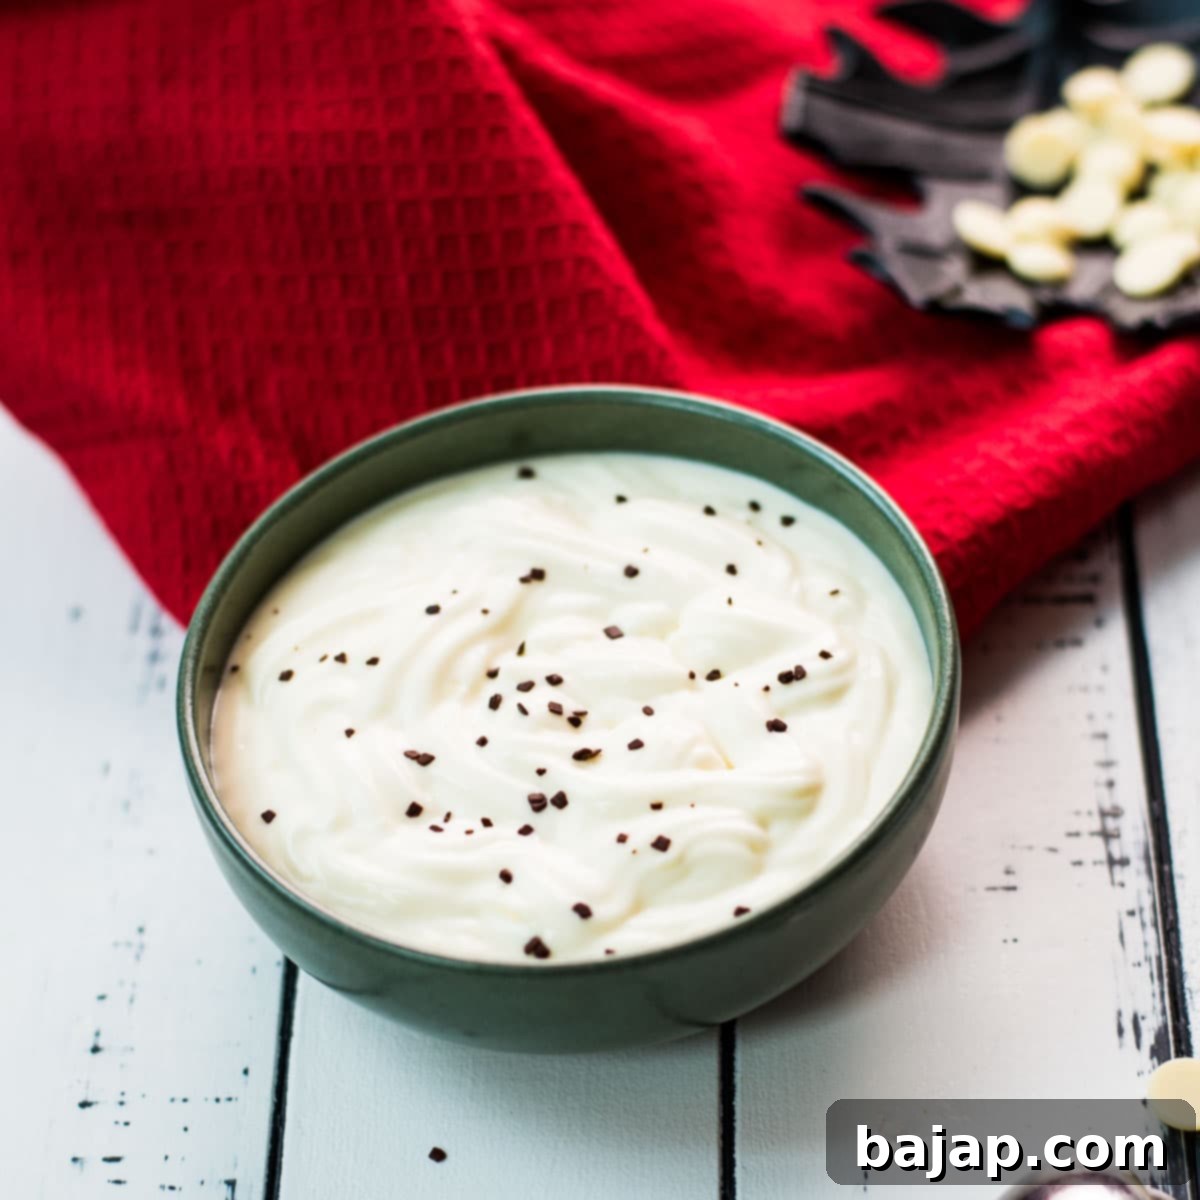
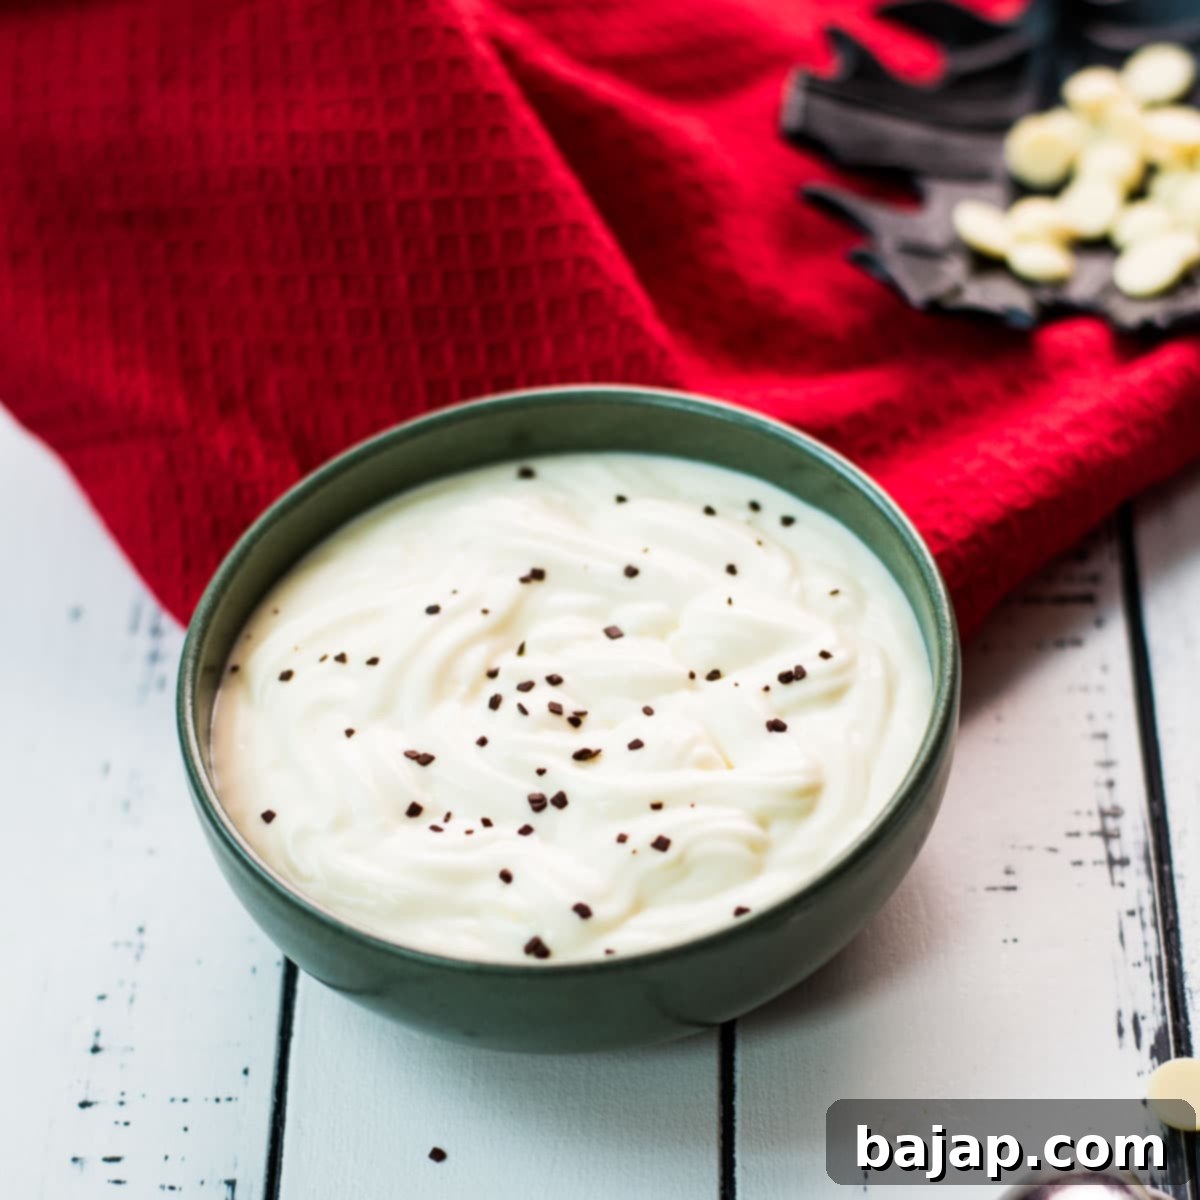
Gently combine the now cold, thickened white chocolate cornstarch pudding with your freshly whipped heavy cream. You can either carefully fold them together for a light, airy pudding, or if you prefer a smoother, more uniform texture, you can briefly whisk them together. For an elegant presentation, transfer the combined pudding into a pastry bag fitted with a star tip. Pipe the creamy mixture into individual serving bowls or small dipping bowls if you’re planning to serve it with snacks. While this step doesn’t alter the taste, it significantly enhances the visual appeal, giving your pudding a beautiful, professional shape.

The finished white chocolate pudding, beautifully piped and ready for serving. -
Garnish and Serve:
If you’re serving this as a dip, a wonderful finishing touch is to decorate it with small pieces of complementary cookies, a sprinkle of colorful chocolate sprinkles, or fresh fruit like berries or sliced bananas. The delicate white chocolate flavor isn’t overpowering, making it a harmonious partner for a wide variety of other dessert components. For individual servings, a few fresh raspberries, a mint sprig, or some white chocolate shavings can elevate the presentation and taste even further. The creamy texture is a delightful contrast to the crunch of cookies or the freshness of fruit, ensuring every bite is a pleasure.
🍪 Variations on Your Favorite Pudding
While this white chocolate pudding is heavenly on its own, its simple base makes it incredibly adaptable to other flavors and chocolate types. Don’t be afraid to experiment and find your family’s new favorite!
- Milk Chocolate Pudding: For those who prefer a classic, sweeter chocolate flavor, this recipe can easily be made with milk chocolate couverture. The process remains the same, simply swap out the white chocolate.
- Dark Chocolate Pudding: If you crave a deeper, more intense chocolate experience, opt for a high-quality dark chocolate. The slight bitterness of dark chocolate pairs beautifully with the creamy base.
- Festive Chocolate Dip Trio: My family absolutely loves serving all three versions – white, milk, and dark chocolate puddings – as versatile dips during holiday gatherings like Christmas. Paired with homemade sugar cookies and an assortment of fresh fruits, it was an absolute hit and a delightful way to offer a variety of flavors. Explore more sweet dips for cookies.
- Flavor Infusions: For an extra layer of flavor, consider adding a touch of vanilla bean paste, orange zest, espresso powder, or a hint of mint extract to the milk mixture as it heats. These additions can transform the pudding into a unique culinary experience.
🍽 Equipment: Tools for Perfect Pudding
Gathering the right tools before you start will make the pudding-making process smooth and enjoyable. Here’s what you’ll need:
- Small or Medium-sized Saucepan: Ideal for heating the milk and chocolate mixture evenly without scorching.
- Whisk: Essential for constant stirring, ensuring a smooth, lump-free pudding and preventing anything from sticking to the bottom of the pan.
- Small Bowl: For preparing the cornstarch slurry.
- Large Bowl (with lid): To cool your pudding in the refrigerator, with the lid preventing a skin from forming.
- Electric Hand Mixer: Crucial for whipping the heavy cream to stiff peaks efficiently.
- Piping Bag with Star Tip: Optional, but highly recommended for elegant presentation when serving.
- Glass Bowls or Small Dipping Bowls: For individual servings or for presenting as a dip.
🌡 Storage & Pro-Tips for Your White Chocolate Pudding
Making this white chocolate pudding is relatively simple, but a few key tips can elevate your results and ensure proper storage.
- Refrigeration: This delectable white chocolate cornstarch pudding will remain fresh and delicious for up to three days when properly refrigerated. Always store it in an airtight container to maintain its creamy texture and prevent it from absorbing any refrigerator odors.
- Chilling is Key: After bringing all your ingredients together over a gentle boil, the pudding absolutely needs to chill for at least three hours. Any less, and you might find yourself with more of a white chocolate soup than a set pudding! The cooling process is crucial for the cornstarch to fully activate and for the pudding to achieve its ideal, luscious consistency.
- Overnight Perfection: While three hours is the minimum, I wholeheartedly recommend making this pudding the night before you plan to serve it. Allowing it to sit in the fridge overnight not only ensures it’s perfectly set but also gives the flavors ample time to deepen and meld, resulting in an even more exquisite taste.
- Efficient Prep: The active cooking time for this delicious pudding can be as little as 20 minutes. However, speaking from personal experience, preparing everything for a party or special occasion feels significantly less stressful when you’re not rushing against the clock. Making the pudding ahead of time allows you to focus on other dishes and truly enjoy your event.
- Troubleshooting Thin Pudding: If your pudding seems too thin after the initial cooking and whisking, don’t despair! Return it to the stove over medium-low heat and continue to whisk gently until it thickens further. Ensure it comes to a gentle boil again after adding the cornstarch slurry to properly activate its thickening power.
- Preventing Skin: Always cover the surface of the warm pudding with plastic wrap, directly touching the surface, before refrigerating. This prevents an undesirable “skin” from forming.
🙋🏻 FAQ: Your Pudding Questions Answered
In homemade pudding recipes, especially those not relying on instant mixes, cornstarch acts as the primary thickening agent. When heated with liquid, the cornstarch granules swell and burst, creating the characteristic smooth, rich, and creamy consistency that defines a perfect pudding. Without it, your pudding would remain liquid.
Absolutely! This recipe specifically calls for cornstarch because it generally produces a smoother, more translucent pudding with a lighter mouthfeel compared to flour. If you ever need to substitute flour for cornstarch in a recipe, a general rule of thumb is to use a 2:1 ratio: two tablespoons of flour for every one tablespoon of cornstarch. This is because flour has less thickening power than cornstarch.
Yes, absolutely! Your homemade cornstarch pudding begins to thicken while it’s actively cooking over medium-low heat on the stovetop. However, it will continue to set and reach its final, ideal consistency only after it has been allowed sufficient time to chill in the refrigerator. If your white chocolate pudding appears more like a thin chocolate soup, it likely needs more time cooking and stirring on the stovetop to activate the cornstarch fully before it can properly set in the fridge.
To effectively thicken pudding with cornstarch and prevent any undesirable lumps, the trick is to first create a “slurry.” This involves mixing the cornstarch with a small amount of cold liquid (like a tablespoon of milk) until it forms a smooth paste. This slurry is then gradually whisked into the hot pudding mixture. The cornstarch is what helps to thicken your pudding as it heats, giving you the perfect consistency before you pop it into the fridge to cool and fully set.
If your pudding is too thin even after chilling, it likely didn’t cook long enough on the stovetop. You can gently reheat it in a saucepan over medium-low heat, whisking constantly. If it still doesn’t thicken, mix another small cornstarch slurry (e.g., 1 teaspoon cornstarch with 1 tablespoon cold milk) and slowly whisk it into the warm pudding. Bring it back to a gentle boil for 1-2 minutes, then remove from heat and chill again. Be patient, it will thicken!
OTHER RECIPES FOR YOU TO TRY
If you loved this white chocolate pudding, you might enjoy exploring some of these other delightful recipes from our kitchen:
- Baking Basics for Christmas Cookies
- Indulgent Chocolate Dipped Butter Cookies
- Divine Leftover Egg Yolk Cookies
- The Best Homemade Sacher Torte
- No Bake Mint Chocolate Cheesecake
If you give this recipe a try, I would absolutely love to hear how you liked it! Please consider giving it a ★★★★★ star rating and leaving a comment below. Your feedback is truly awesome and helps others discover delicious recipes! You can also sign up for our Newsletter to receive weekly culinary inspiration, or follow me on Pinterest or Instagram. Don’t forget to share your amazing creations with me by tagging @combinegoodflavors and using the hashtag #combinegoodflavors, so I don’t miss seeing your delicious work!
📖 Recipe Card: White Chocolate Pudding
White Chocolate Pudding
Nora
Prevent your screen from going dark
Save Recipe
Saved!
Pin Recipe
20 minutes
3 hours
3 hours 20 minutes
Dessert, Sweet dip
European
3 Servings
351 kcal
Equipment
-
Saucepan
-
Whisk
-
Small bowl
-
Tablespoon
-
Bowl with a lid
-
Electric hand mixer
-
Piping bag with a star tip
-
A glass bowl for serving (or small dipping bowls)
3 Servings
351 kcal
Equipment
-
Saucepan
-
Whisk
-
Small bowl
-
Tablespoon
-
Bowl with a lid
-
Electric hand mixer
-
Piping bag with a star tip
-
A glass bowl for serving (or small dipping bowls)
Ingredients
- 1 ¾ tablespoon Cornstarch
- 1 ¼ Cups Whole milk
- ½ Cup White chocolate high quality
- 1 ¼ tablespoon Sugar
- ½ Cup Heavy cream
Instructions
-
Mix 1 ¾ tablespoon Cornstarch with a tablespoon of milk until completely lump-free.1 ¾ tablespoon Cornstarch
-
In a medium saucepan, combine ½ Cup White chocolate , 1 ¼ Cups Whole milk, and 1 ¼ tablespoon Sugar. Bring to a gentle boil over medium heat, stirring constantly until chocolate is melted and sugar is dissolved.1 ¼ Cups Whole milk, ½ Cup White chocolate, 1 ¼ tablespoon Sugar
-
Pour in the mixed cornstarch slurry, stirring constantly and vigorously with a whisk. Bring it back to a full boil and cook for 1-2 minutes until significantly thickened.
-
Remove the pan from heat and pour your hot pudding into a bowl with a lid. Cover the surface directly with plastic wrap to prevent a skin from forming, and allow it to cool in the refrigerator for at least three hours (preferably overnight).
-
After the pudding has chilled, whip ½ Cup Heavy cream with an electric hand mixer until stiff peaks form.½ Cup Heavy cream
-
Gently fold the cold white chocolate pudding with the freshly whipped cream until just combined.
-
For beautiful presentation, fill the pudding into a pastry bag with a star tip and pipe it into individual serving bowls or dipping bowls. Garnish as desired with fresh fruit, chocolate shavings, or cookie pieces.
Never miss a recipe!Sign up and let me spoil you weekly with a delicious homemade recipe!
chocolate cornstarch pudding, chocolate dip, white chocolate pudding
Like this recipe?Mention @combinegoodflavors or tag #combinegoodflavors!
Nutrition values are estimates only, using online calculators. Please verify using your own data.

🤎 You Might Also Like
- Dark Chocolate Mousse with Heavy Cream {gluten-free}
- Waffle Blossoms with Chestnut Purée
- Easy Cut-Out Sugar Cookies {no chill}
- How to bake delicious Walnut Meringue Cookies
⛑️ Food Safety Guidelines
Ensuring food safety is paramount when preparing any meal. Please keep these important guidelines in mind for a safe cooking experience:
- Cook to a minimum internal temperature of 165 °F (74 °C) to eliminate harmful bacteria.
- Always use separate utensils for raw food and cooked food to prevent cross-contamination.
- Thoroughly wash your hands with soap and water after handling any raw meat or unwashed produce.
- Never leave perishable food sitting out at room temperature for extended periods, as this can encourage bacterial growth.
- Always supervise cooking food, especially on the stovetop, to prevent accidents and ensure proper cooking.
- When cooking with oils, choose those with a high smoking point to avoid the formation of harmful compounds.
- Ensure good ventilation in your kitchen, especially when using a gas stove, to prevent the buildup of fumes.
For further comprehensive information on safe food handling practices, please refer to the Safe Food Handling guide by the FDA.
