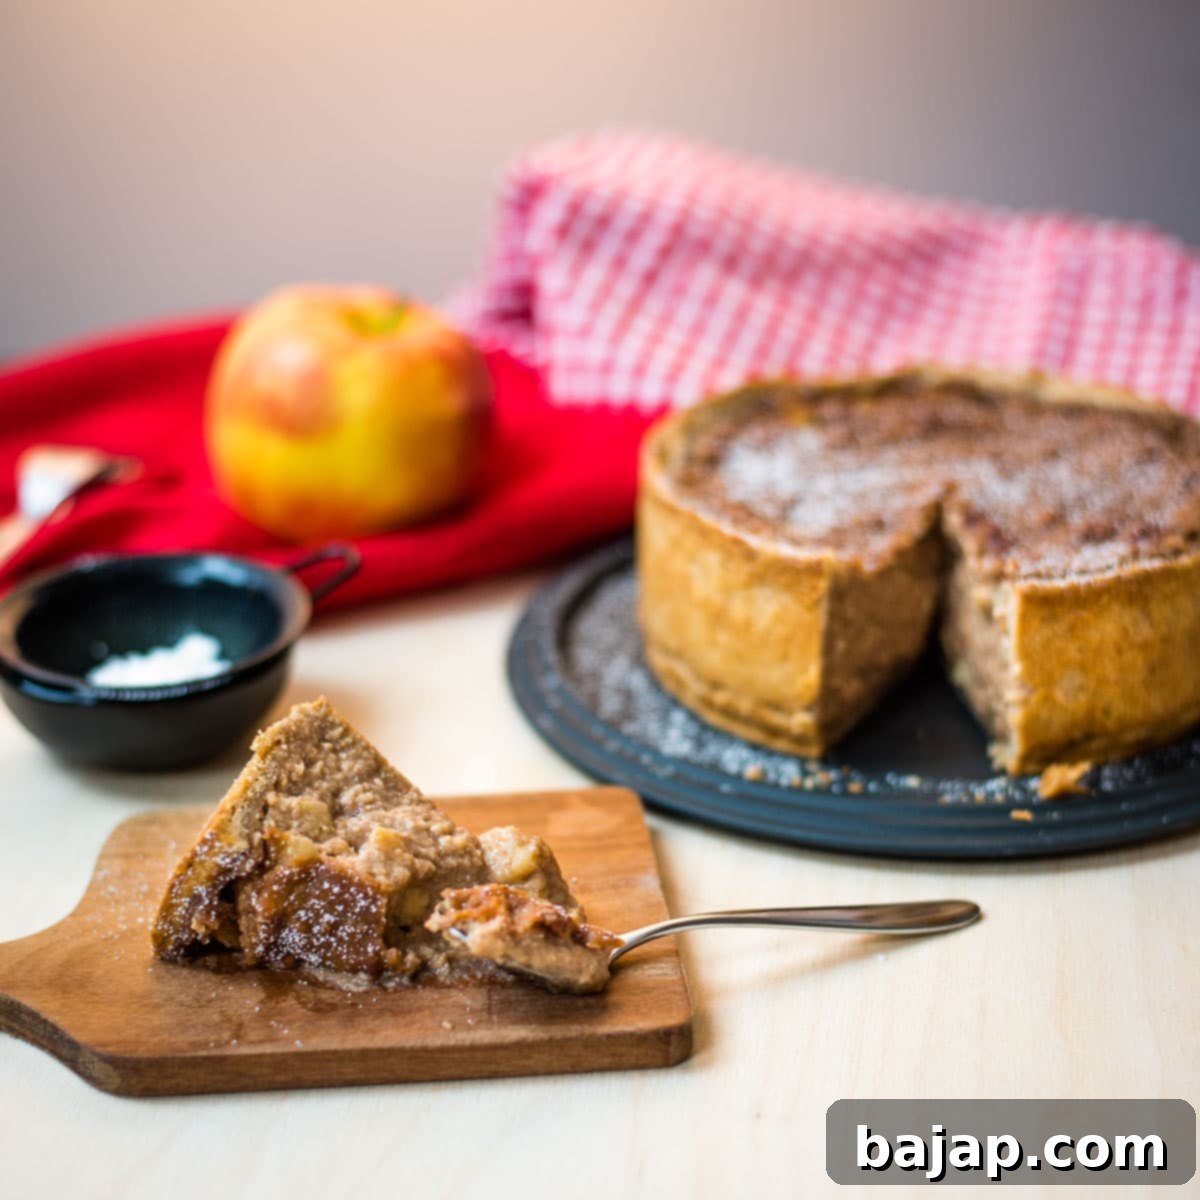
Divine Custard Apple Tart with Walnut Shortcrust: Your New Favorite Easy Dessert Recipe
Forget everything you thought you knew about apple desserts! While a warm slice of traditional apple pie has its charm, this delectable Custard Apple Tart is a truly divine experience that will revolutionize your dessert perceptions. Prepare for love at first bite as the luscious pairing of sweet, tender apples and rich, creamy custard melts in your mouth, all nestled within a wonderfully fragrant walnut shortcrust.
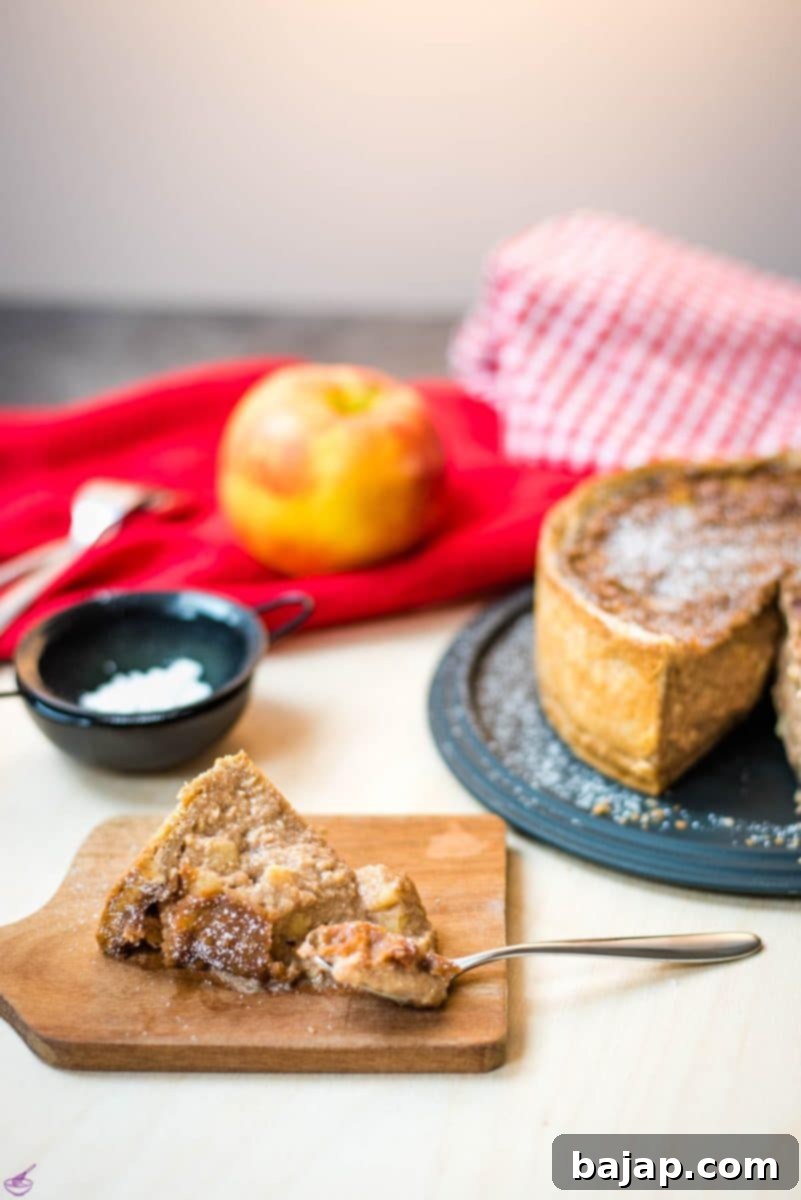
Despite its extravagant taste and appearance – from the rich, nutty aroma of the grated walnut crust and the velvety texture of the mouthwatering custard, to the juicy bursts of fresh, caramelized apple slices – this impressive tart is surprisingly easy to prepare. Whether you’re baking for a special holiday gathering, a casual family dinner, or simply treating yourself to something sweet, this homemade apple tart with custard is guaranteed to be a big hit and leave everyone asking for the recipe!
🥘 Ingredients for Your Perfect Apple Custard Tart
Creating this magnificent Custard Apple Tart requires two main components: the flavorful walnut shortcrust and the silky apple pastry cream. Each ingredient plays a vital role in achieving that perfect balance of textures and tastes that makes this dessert so irresistible.
For the Divine Walnut Shortcrust
The foundation of our tart is a tender, buttery shortcrust with a subtle nutty crunch from walnuts. Using cold ingredients and careful handling are key to a beautifully flaky result.
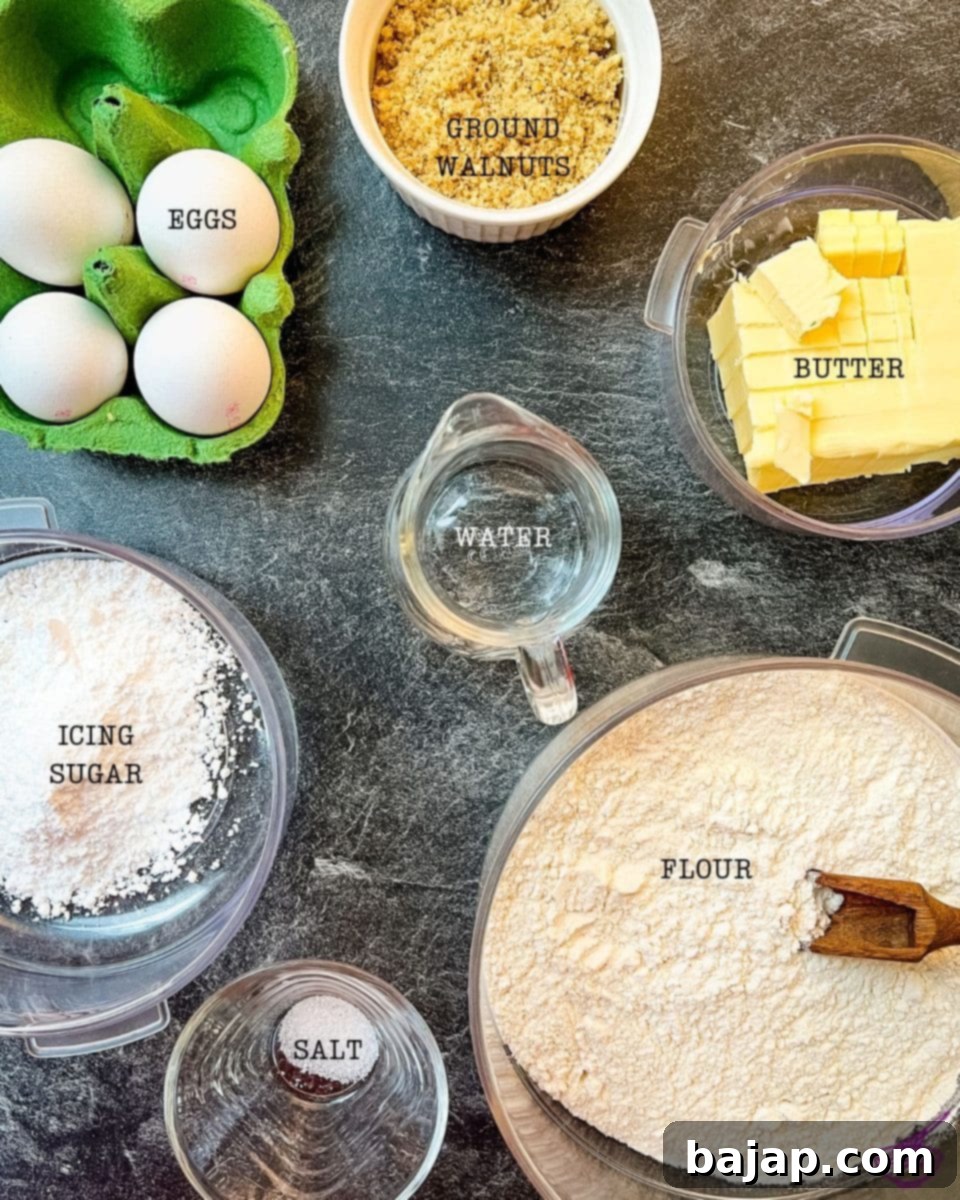
- All-Purpose Flour: Sifting ensures a lighter, lump-free crust.
- Icing Sugar: Also known as powdered sugar, it dissolves easily for a smoother dough texture.
- Salt: Enhances all the other flavors.
- Butter (unsalted): Chilled and cut into small cubes for a flaky crust.
- Walnuts: Finely ground or grated to incorporate evenly into the dough, adding a delicate nutty flavor.
- Egg Yolks: Provide richness and bind the dough without making it tough.
- Water: Ice-cold water helps bring the dough together without developing too much gluten.
For the Luscious Apple Pastry Cream
The heart of this dessert is a creamy, spiced apple custard that offers a delightful contrast to the crisp crust. Fresh ingredients and a bit of patience are all you need for this velvety filling.
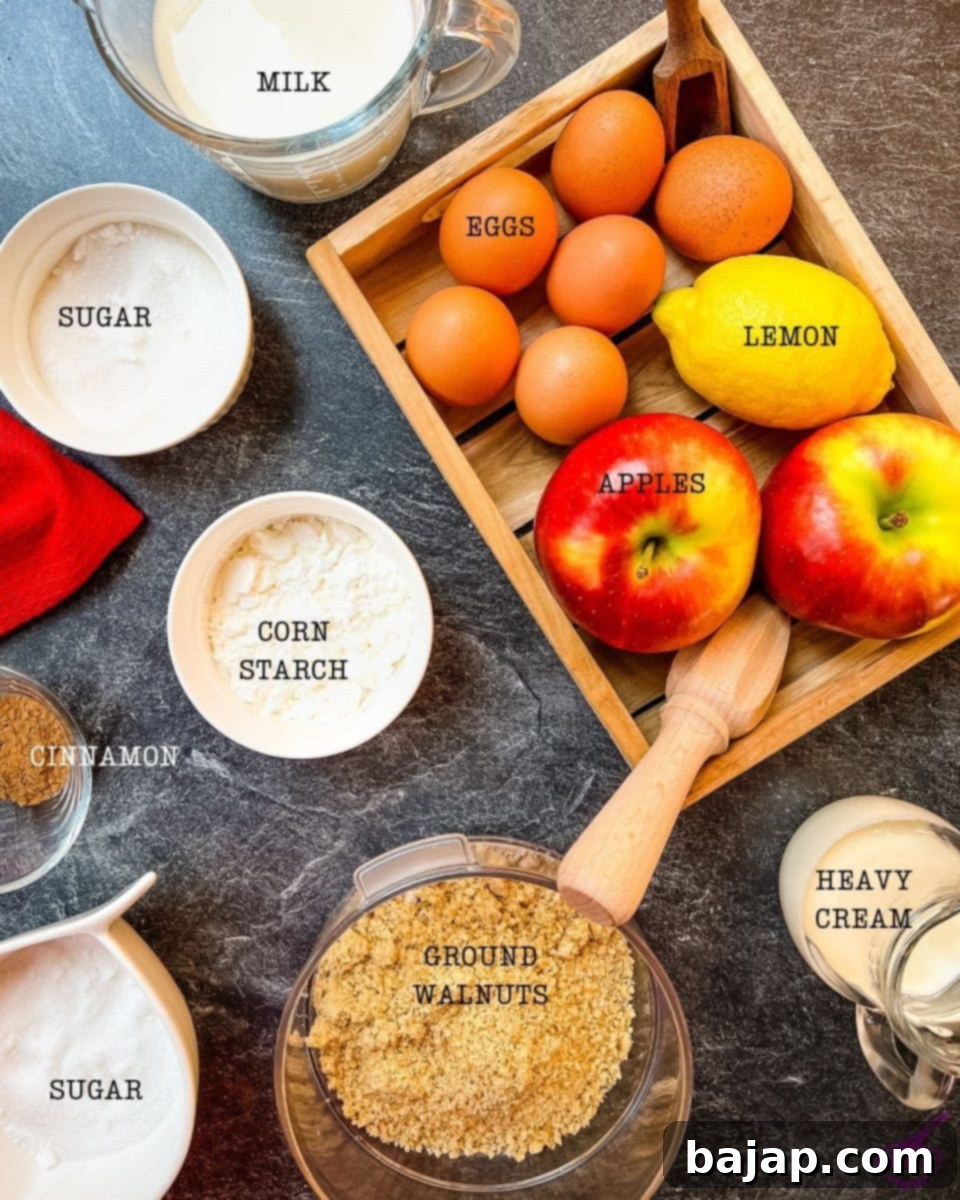
- Lemon Juice: Prevents apples from browning and adds a bright, tangy note.
- Cinnamon: A classic pairing with apples, adding warmth and spice.
- Apples: Medium-sized, peeled, and diced for even cooking and distribution.
- Walnuts: Roughly chopped to add texture and complement the crust.
- Whole Milk: Provides the creamy base for the custard.
- Heavy Cream – 30% milk fat is recommended: Adds extra richness and a luxurious mouthfeel.
- Egg Yolks & Whole Eggs: Crucial for the custard’s thickening and smooth consistency.
- Granulated Sugar: Sweetens the custard to perfection.
- Corn Starch: The primary thickener, ensuring a stable and creamy custard.
- Vanilla Extract: A touch of vanilla elevates all the other flavors.
See the recipe card below for precise quantities and full details.
🔪 Step-by-Step Instructions to Bake Your Custard Apple Tart
Follow these detailed steps carefully, and you’ll soon be enjoying a slice of this heavenly easy apple tart. We’ll start with the crust, then move on to the flavorful apple custard.
Instructions for the Walnut Shortcrust
- **Prepare Dry Ingredients:** Begin by sifting your all-purpose flour and icing sugar onto a clean, flat work surface or into a large mixing bowl. Sifting is important to aerate the flour and remove any lumps, ensuring a tender crust. Create a well in the center of the sifted mixture, resembling a small volcano.
- **Add Butter and Salt:** Sprinkle the salt into the well. Then, cut your very cold, unsalted butter into small cubes and add them to the center of the well. Keeping the butter cold is crucial for a flaky crust; if it melts, the dough will become tough.
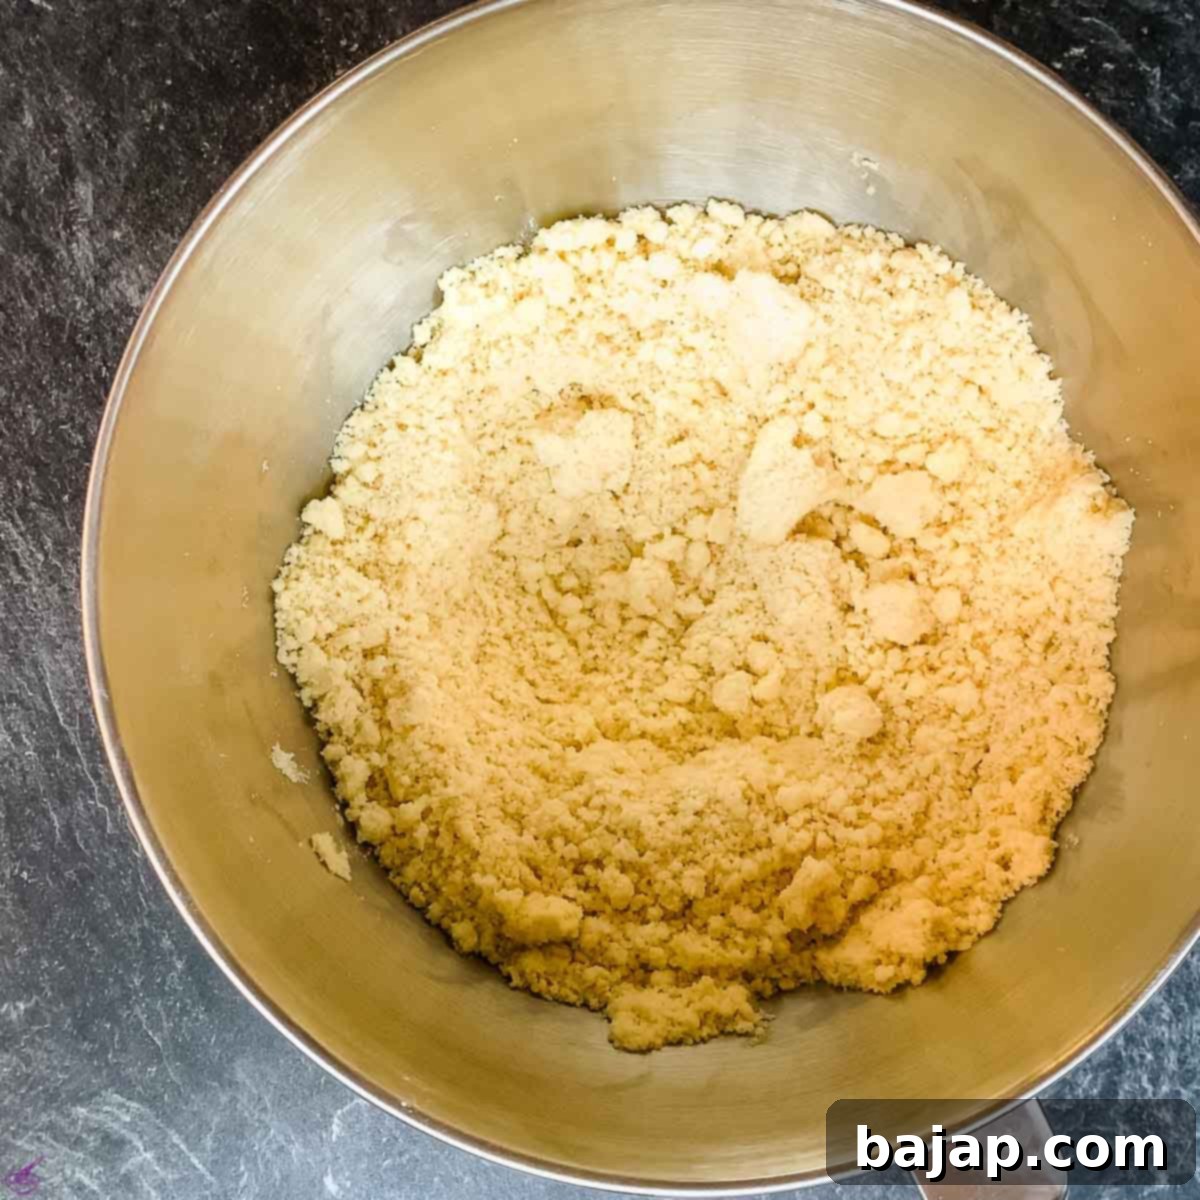
- **Incorporate Butter into Flour:** Start working the cold butter into the flour using your fingertips. Gently squeeze the butter cubes, mixing them with the flour. The goal is to break down the butter into pea-sized crumbs. This process takes a bit of time and patience, as you want to ensure the butter is well-distributed without warming it up too much. You should end up with a mixture that resembles coarse breadcrumbs and lightly sticks together when compressed.
- **Add Wet Ingredients:** Once the flour and butter are perfectly combined, make another well in the center. Add your egg yolks, finely grated walnuts, and ice-cold water. Using a kitchen machine with a paddle attachment can make this step quicker, but ensure you mix on low speed.
- **Form the Dough:** Gently work all the ingredients together until they form a cohesive dough. This step is critical: **do not overwork the dough.** Overworking develops gluten, which can lead to a tough and crack-prone crust when baked. Mix just until combined.
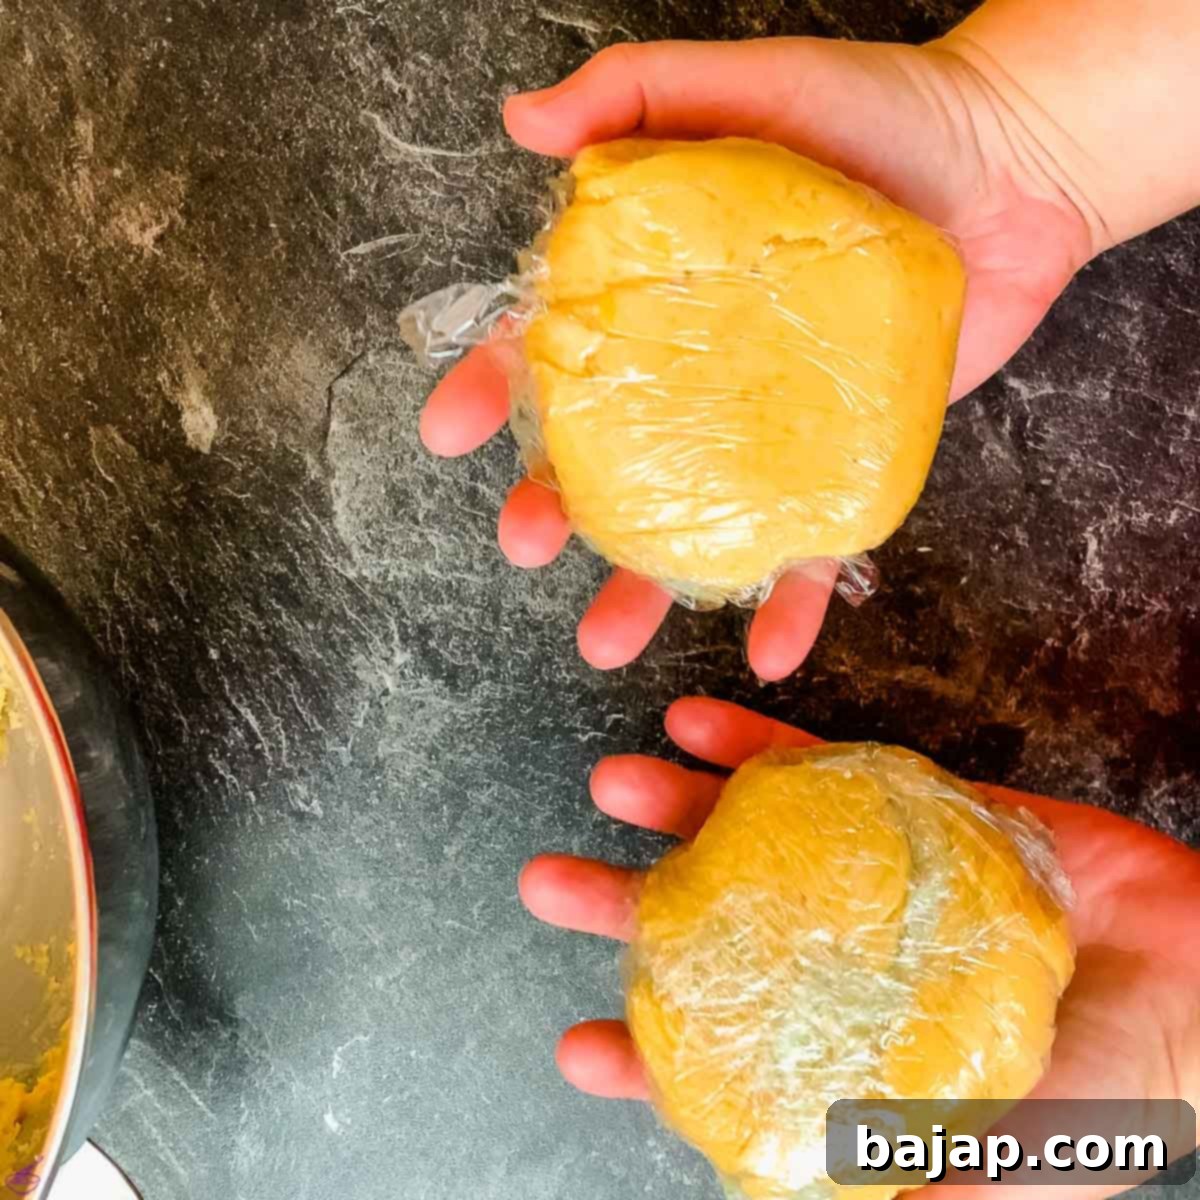
- **Chill the Dough:** Divide the dough into two even balls. Flatten each ball slightly into a disc shape, then wrap them tightly in cling film. Refrigerate for at least one hour. Chilling allows the butter to firm up and the gluten to relax, making the dough easier to roll and preventing shrinkage during baking.
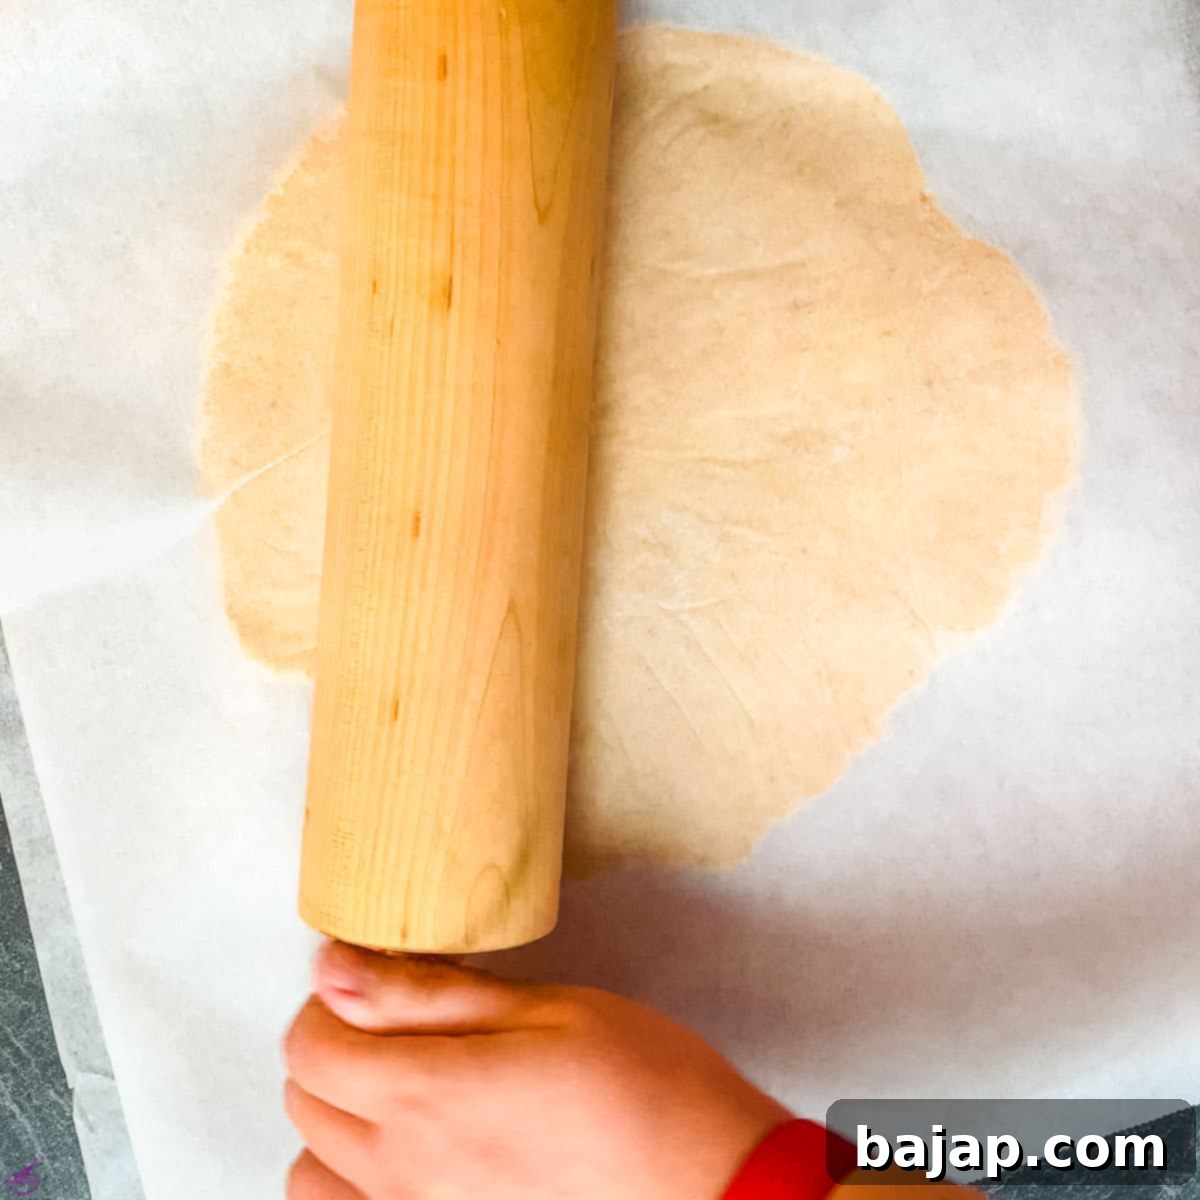
- **Roll the Base Crust:** After the dough has thoroughly chilled, place one ball of dough between two sheets of baking paper (parchment paper). Using a rolling pin, roll the dough evenly to a thickness of approximately 3-4 mm (about 0.1 inch). If you notice any small cracks while rolling, gently press them together to seal.
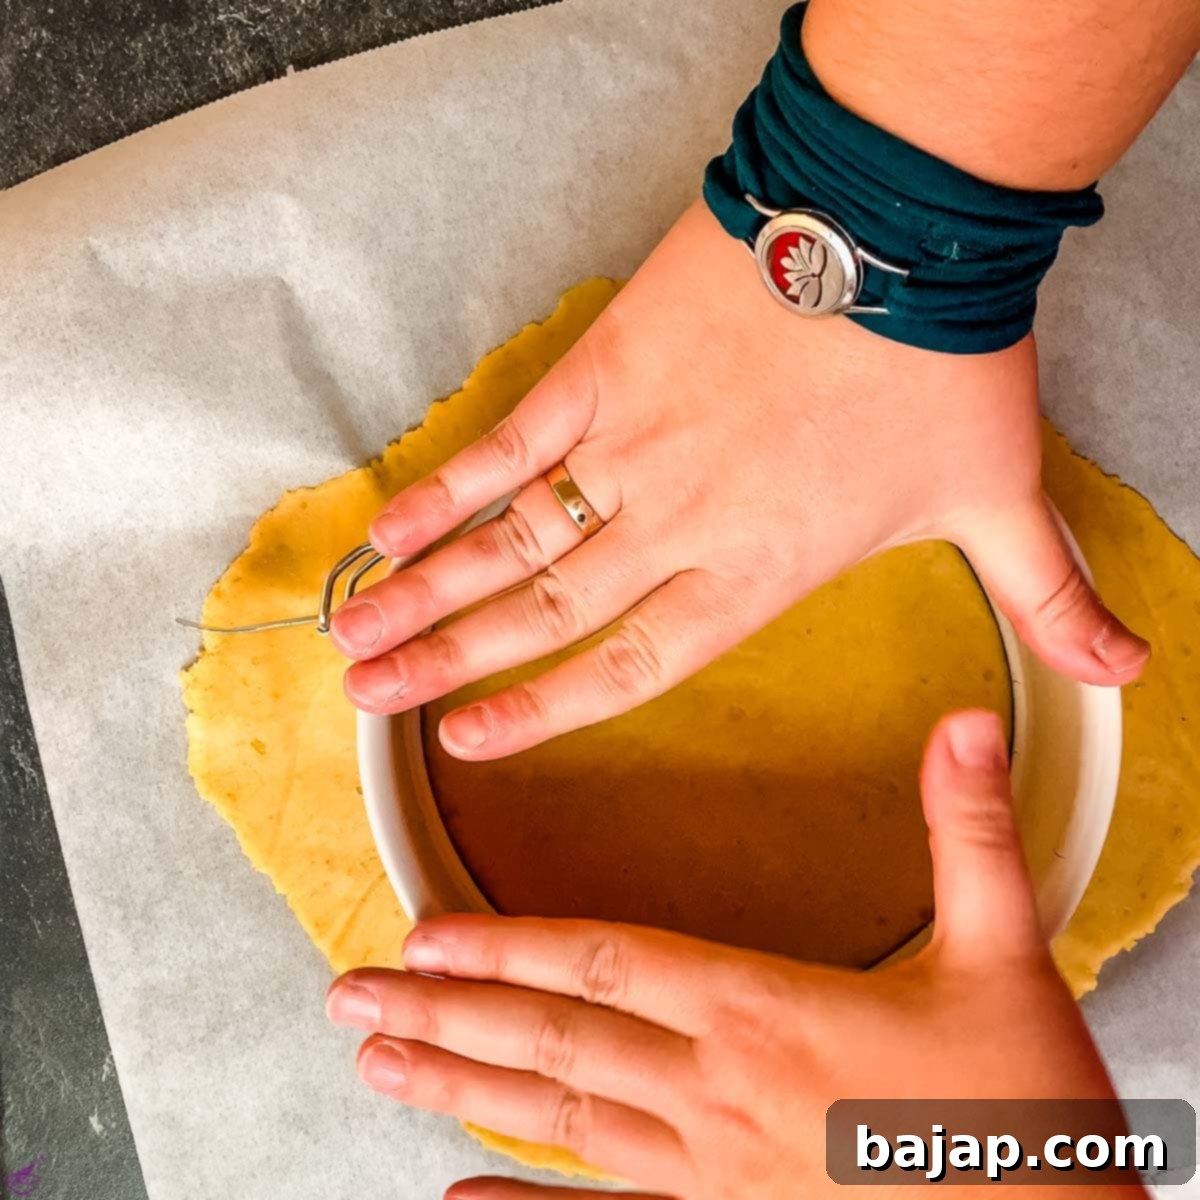
- **Shape the Base:** Using your 9-inch (23 cm) cake pan ring as a guide, cut out a circular base from the rolled dough. Carefully transfer this circle to the bottom of your cake pan.
- **Create the Tart Wall:** Take the second dough ball and roll it out between parchment paper to the same 3-4 mm thickness. Cut a long, oval-shaped strip about 4 cm (1.5 inches) wide, or to match the height of your cake pan. Carefully place this strip around the inner edge of the cake pan, pressing it gently onto the base to form the tart wall, ensuring a seamless connection all around.
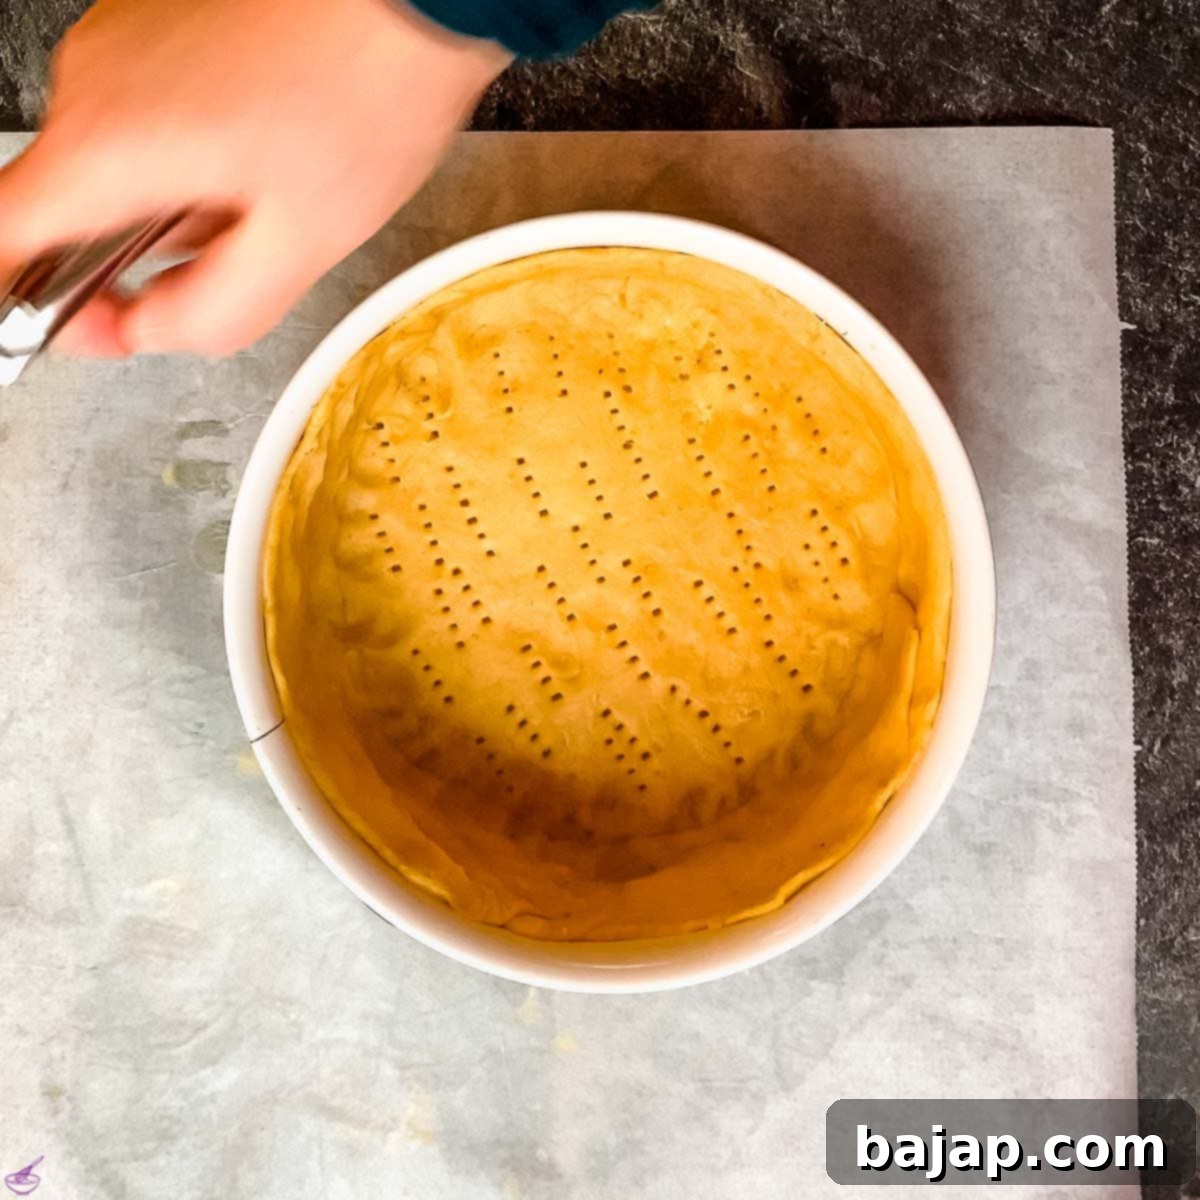
- **Final Touches for the Crust:** Trim any excess dough from the top edge with a sharp knife. You can freeze this excess dough for future small baking projects! Finally, gently poke the base of the tart crust all over with a toothpick or a fork. This prevents air bubbles from forming and ensures an even bake.
Apple Pastry Cream
- **Prepare Lemon Water for Apples:** Fill about half of a mixing bowl with water and add your freshly squeezed lemon juice. Stir gently to combine. This lemon water bath will prevent your apples from browning and add a lovely zesty flavor.
- **Prepare Apples:** Peel your apples, remove the cores, and then cut them into small, uniform cubes (approximately 0.5 cm or 0.2 inches). Unlike many traditional apple pie recipes that use wedges, small cubes ensure the apples soften evenly and distribute well within the custard. Drop the apple cubes immediately into the lemon water to prevent oxidation.
- **Caramelize Apples:** In a small pan, combine 50 grams (¼ cup) of granulated sugar with 5 tablespoons of the lemon water mixture. Heat this on medium heat, stirring until the sugar completely dissolves, creating a light syrup.
- **Cook Apples with Spices and Walnuts:** Strain the apple cubes from the lemon water and add them to the pan with the sugar syrup. Also, add the cinnamon and roughly chopped walnuts to the pan. Simmer everything together on medium heat for about 5-10 minutes, stirring occasionally, until the apples soften slightly and begin to caramelize, absorbing the delicious flavors. Remove from heat and let them cool down on the side.
- **Prepare Egg Mixture:** In a separate medium-sized bowl, whisk together the egg yolks, whole eggs, and granulated sugar until well combined and slightly pale. Ensure there’s enough space in the bowl for additional liquids later.
- **Add Cornstarch:** Sift the cornstarch into the egg and sugar mixture. Whisk vigorously until no lumps remain. A smooth cornstarch mixture is essential for a silky custard.
- **Heat Milk and Cream:** In a larger pot, combine the whole milk, heavy cream, and optional lemon zest. Bring this mixture to a gentle simmer over medium heat, watching carefully to prevent scorching.
- **Temper the Eggs:** Once the milk and cream mixture is simmering, slowly pour about a quarter of it into your egg and cornstarch mixture while vigorously whisking. This process, known as tempering, gradually raises the temperature of the eggs, preventing them from scrambling.
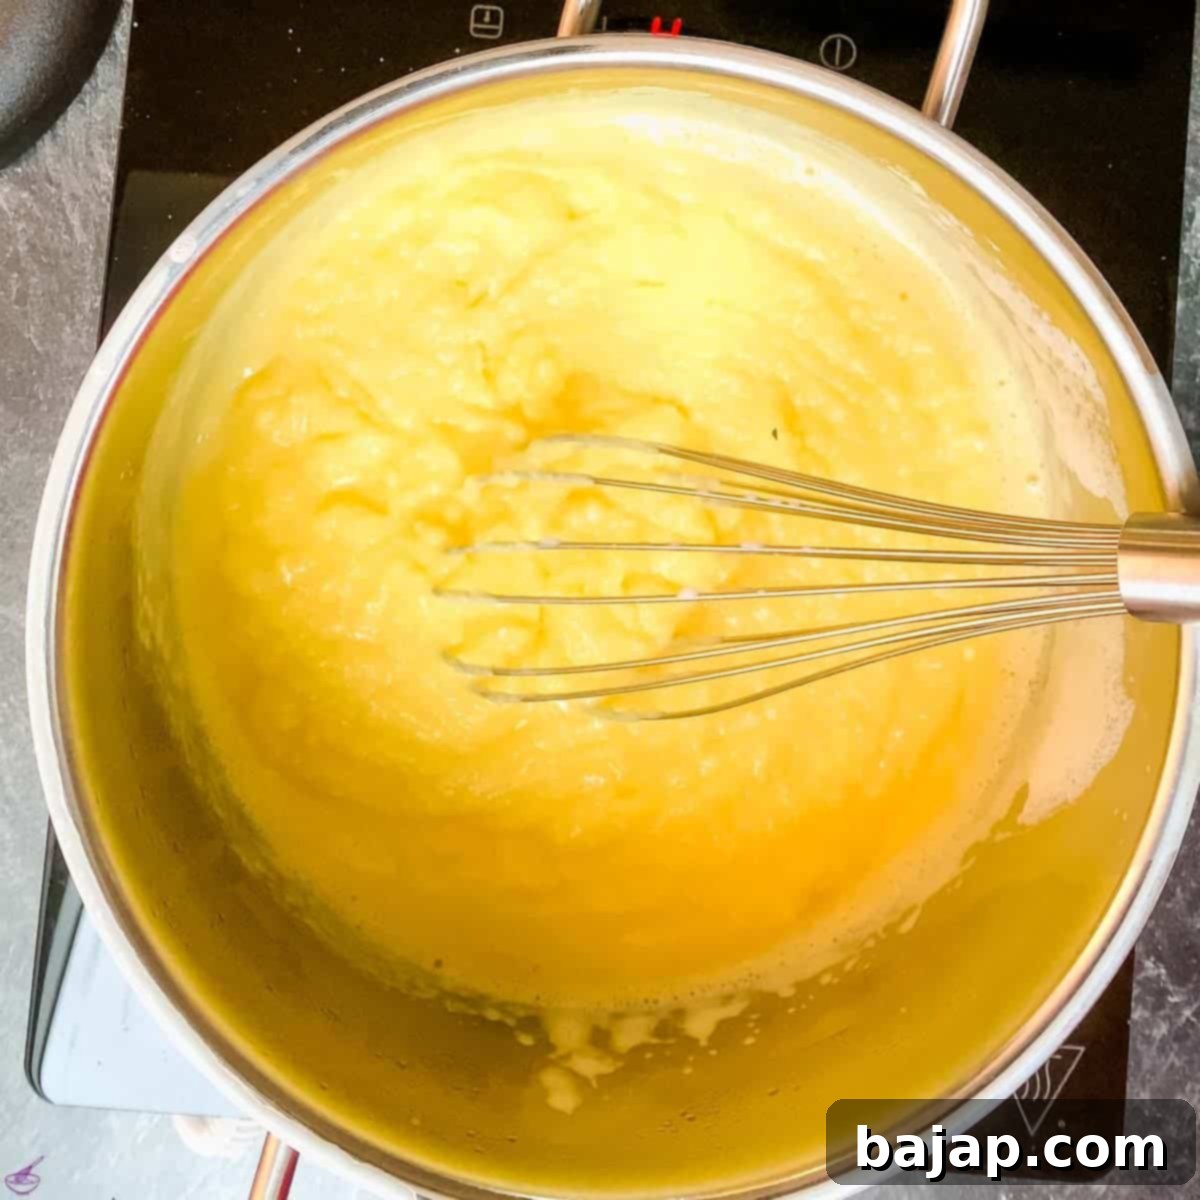
- **Combine and Thicken:** Pour the tempered egg mixture back into the pot with the remaining milk and cream. Continue to cook on low to medium heat, **constantly whisking**, until the custard begins to thicken. It’s ready when the whisk leaves “ribbons” or trails on the surface, indicating it’s thick enough to coat the back of a spoon (nappe consistency).
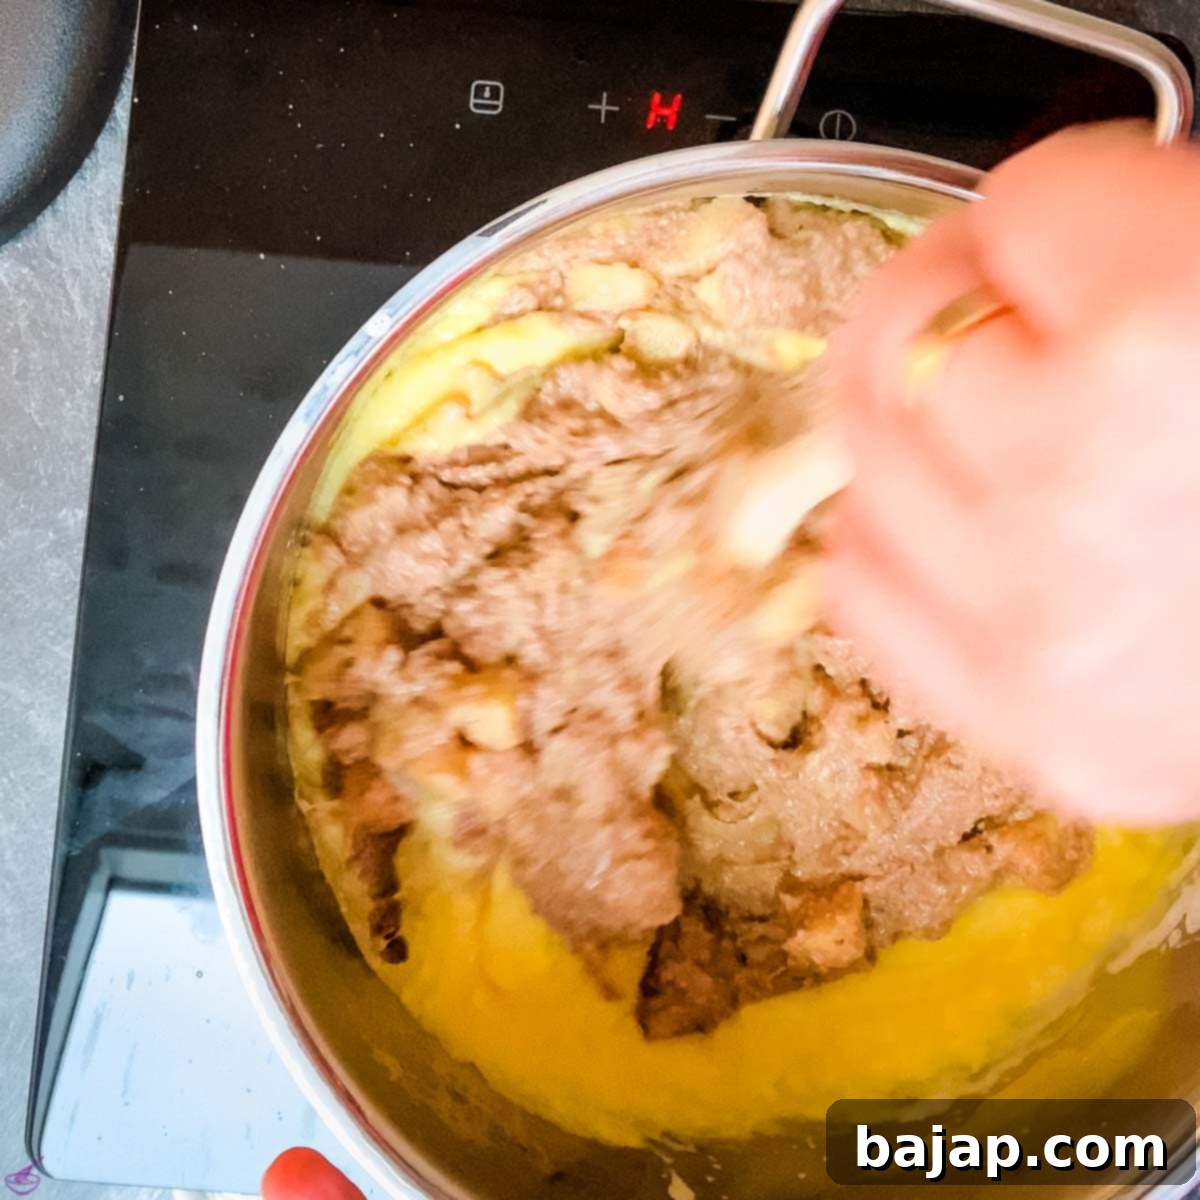
- **Add Vanilla and Apples:** Remove the pot from the flame. Stir in the vanilla extract, followed by the cooled caramelized apples and walnuts. Gently fold them into the creamy custard until evenly distributed.
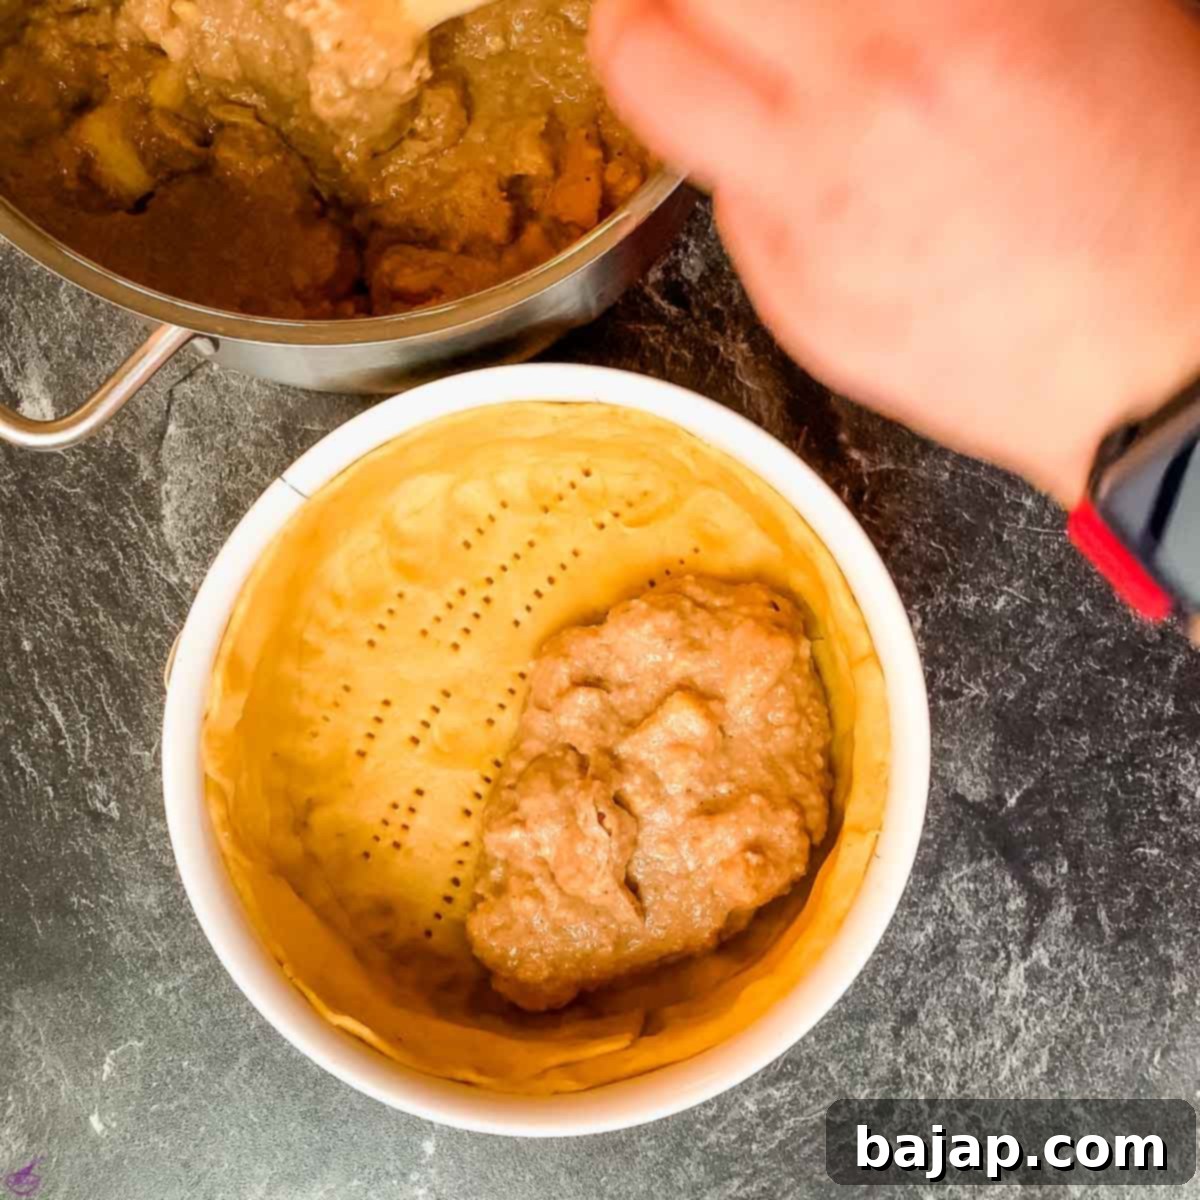
- **Fill the Tart:** Pour the warm apple pastry cream into your prepared shortcrust shell. Be careful not to overfill; leave about 1 cm (0.4 inches) of space from the top edge of the crust to allow for expansion during baking.
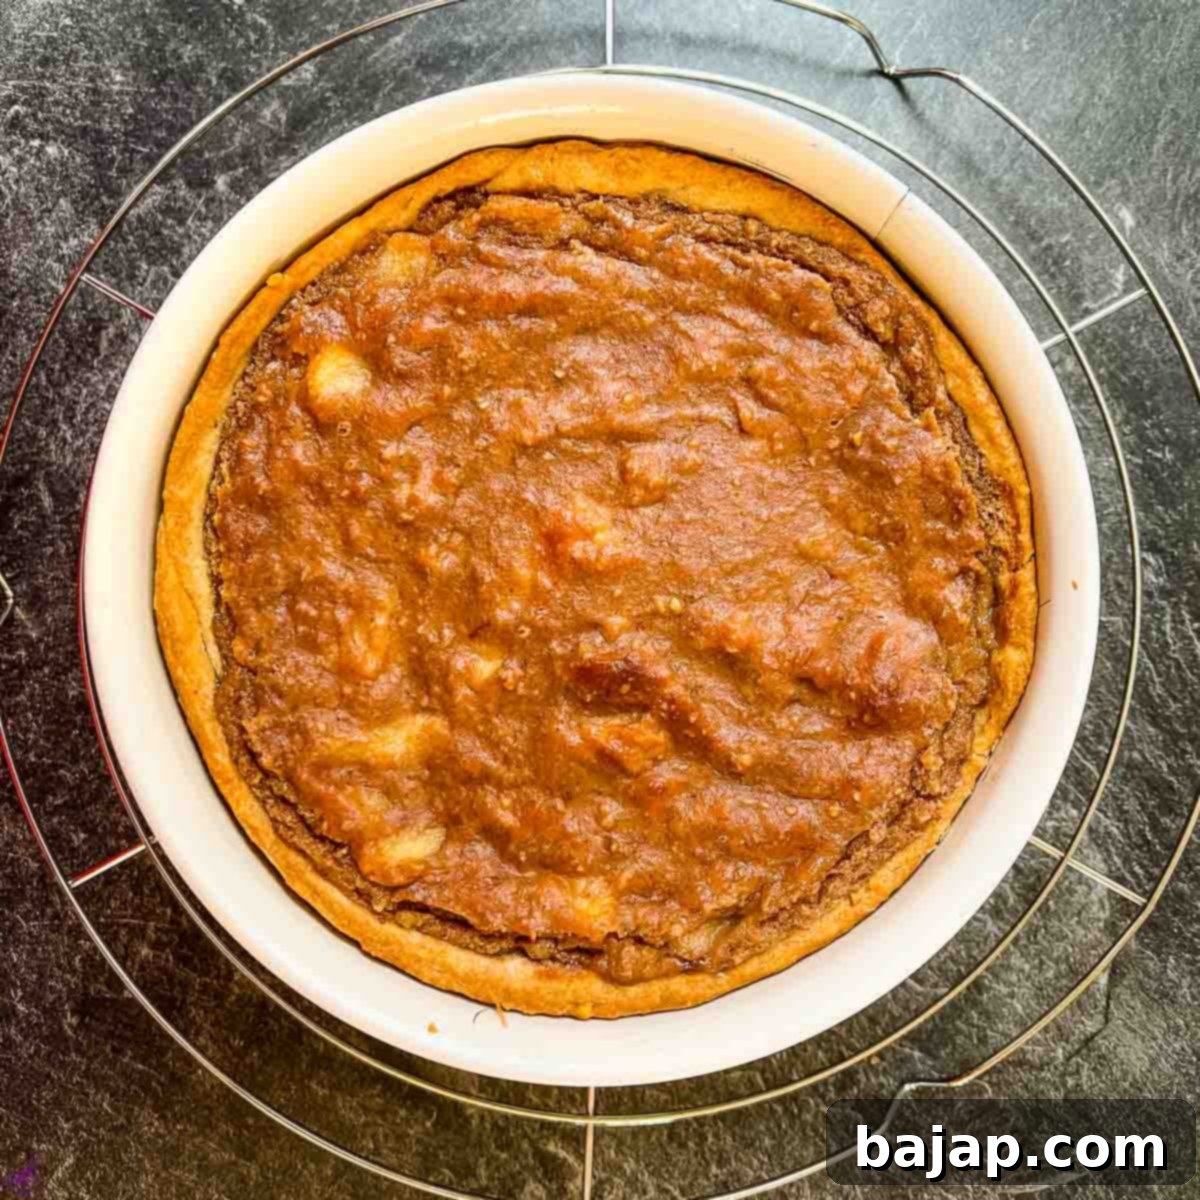
- **Bake the Tart:** Bake your delicious custard apple tart in a preheated oven at 180 °C (356 °F) for at least 40 minutes. The tart is ready when the surface of the custard turns a beautiful golden brown and the edges of the crust are golden. When gently shaken, the center of the tart should still have a slight jiggle, indicating a perfectly set yet tender custard.
- **Cool and Serve:** Once baked, remove the tart from the oven. Let it cool completely at room temperature before attempting to remove the cake pan ring. This is crucial for the tart to set properly and maintain its shape.
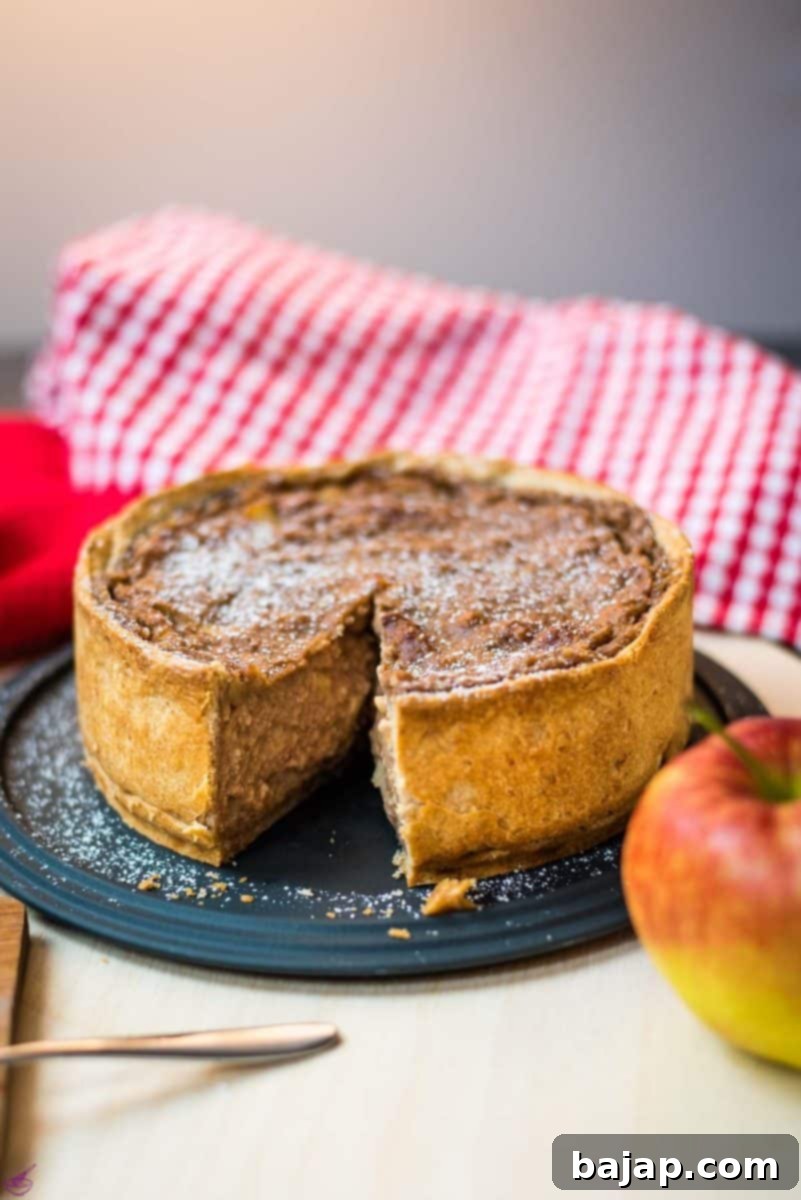
- **Garnish for Presentation (Optional):** To truly impress your guests, mix one tablespoon of ground cinnamon with one tablespoon of icing sugar. Sieve this fragrant mixture generously over the cooled tart just before serving. “Bon Appétit!”
Fall in Love with These Autumn Recipes
If you adore the comforting flavors of fall, you’ll love exploring these other delightful autumn recipes that complement the season’s bounty:
- Bourbon Highball
- Beetroot Sour Cocktail
- Rum Muffins
- Negroni Cocktail Recipe
🍑 Variations for Your Custard Apple Tart
This Custard Apple Tart recipe is wonderfully versatile! Here are a few ways you can adapt it to suit your preferences or what you have on hand:
- **Different Pans:** Don’t have a standard cake pan? No problem! This recipe works beautifully in a springform pan for easy removal or a classic tart pan for a more traditional look. Adjust baking time slightly if your pan size differs significantly.
- **Fruit Substitutions:** While apples are classic, feel free to experiment with other fruits. Pears, peaches, or even berries (fresh or frozen) would make delightful variations. If using very juicy fruits, you might want to pre-cook them slightly or add an extra tablespoon of cornstarch to the custard to ensure it sets properly.
- **Nutty Crust Alternatives:** If walnuts aren’t your favorite or you have an allergy, you can easily substitute them. Almonds or pecans, finely ground, would offer a similar texture and complementary flavor profile. For a nut-free option, simply omit the walnuts from the crust.
- **Additional Spices:** Beyond cinnamon, consider adding a pinch of nutmeg, cardamom, or allspice to the apple mixture for a more complex flavor.
- **Topping Ideas:** Instead of just cinnamon sugar, you could top the cooled tart with a dollop of whipped cream, a scoop of vanilla bean ice cream, or a light drizzle of caramel sauce for an extra touch of indulgence.
For another delightful apple dessert, try this delicious Mock Apple Pie recipe, often topped with a rustic crumble.
🍽 Essential Equipment for Baking This Tart
Having the right tools makes the baking process smoother and more enjoyable. Here’s what you’ll need for your Custard Apple Tart:
- 9 inch / 23 cm Cake Pan: Or a springform pan/tart pan of similar size.
- Spatula: For mixing and folding.
- Rolling Pin: Essential for rolling out the shortcrust dough evenly.
- Hand mixer or Kitchen Machine: Very helpful for quickly combining dough ingredients and whisking custard components.
- Whisk: Crucial for achieving a smooth, lump-free custard.
- Mixing Bowls: Several bowls in various sizes for preparing different components.
- Parchment Paper: For easy dough handling and rolling.
- Oven: Of course, to bake your masterpiece!
🌡 Storage Tips for Leftovers
This recipe yields a generous 10-12 servings, so you might have some delicious leftovers! Properly storing your homemade apple custard tart ensures it stays fresh and flavorful for days.
- **Refrigeration:** The custard apple tart will keep beautifully in the fridge for 3 to 5 days. Make sure to store any leftovers in an airtight container, such as a Tupperware, or wrap the tart tightly with plastic wrap (Saran wrap) to prevent it from drying out or absorbing other odors from the fridge.
- **Serving Leftovers:** This tart is equally delightful served chilled straight from the fridge or gently warmed in the oven (around 150°C / 300°F for 10-15 minutes) until just warm through.
- **Freezing:** While the crust can be frozen, freezing a fully baked custard tart is generally not recommended as the custard’s texture can become grainy or watery upon thawing. However, you can freeze the unbaked shortcrust dough for up to 3 months. Thaw it in the refrigerator overnight before rolling and baking.
💭 Top Tips for Baking Success
- **Keep Ingredients Cold for Crust:** Always use very cold butter and ice water for the shortcrust. This creates pockets of steam during baking, leading to a wonderfully flaky and tender texture.
- **Don’t Overwork Dough:** Mix the shortcrust dough just until it comes together. Overworking develops gluten, resulting in a tough, chewy crust.
- **Chill Dough Thoroughly:** Chilling the dough is non-negotiable! It allows the gluten to relax and the butter to firm up, preventing the crust from shrinking in the oven.
- **Temper Your Eggs Slowly:** When making the custard, gradually add the hot milk mixture to the eggs while whisking constantly. This tempering step prevents the eggs from scrambling and ensures a smooth custard.
- **Whisk Custard Constantly:** While cooking the custard on the stove, continuous whisking is key to prevent lumps and ensure even thickening.
- **Cool Completely:** Allow the tart to cool completely at room temperature before slicing. This gives the custard time to fully set, making for cleaner cuts and a stable structure.
This recipe often leaves you with a fair amount of egg whites. Don’t let them go to waste! You can freeze them in ice cube trays for later use (two teaspoons of egg white roughly equal one large egg white). Or, use them immediately in these fantastic recipes:
- 6 Egg White Chocolate Cake
- Cinnamon Cookies
- Mini Pavlova
- Walnut Meringue Cookies
- Coconut Cookies
🙋🏻 Frequently Asked Questions (FAQ)
These delicious treats can be enjoyed both warm and cold! I recommend trying a slice fresh out of the oven (once it’s cooled enough to handle) and then enjoying it chilled from the fridge with any leftovers. Personally, I find it fantastic either way, but you might discover a preference!
There are a few key differences! “Regular” custard tarts, like this apple custard tart, often feature a shortcrust pastry base and a rich, creamy custard filling, sometimes with added fruit. Portuguese custard tarts (Pastéis de Nata) are typically made with a distinctive flaky puff pastry crust and a more caramelized custard top, often dusted with cinnamon. They have a unique caramelized flavor and appearance.
An ice cube tray is indeed the best way to freeze egg whites for portion control and easy thawing. Simply pour egg whites into the compartments, freeze until solid, then transfer the frozen cubes to a freezer-safe bag. As a general guide, **two teaspoons of egg white equal one large egg white**.
For apple tarts, you want apples that hold their shape well during baking and offer a good balance of sweetness and tartness. Great choices include Granny Smith (for tartness), Honeycrisp, Braeburn, Fuji, or even a mix of varieties to add complexity. Avoid overly soft or mealy apples.
You can prepare the pastry cream a day in advance. Let it cool completely, then cover it with plastic wrap pressed directly onto the surface to prevent a skin from forming. Refrigerate until ready to use. You might need to whisk it briefly before filling the tart shell if it has become too firm.
If you make this irresistible Custard Apple Tart recipe, please let me know how you liked it by giving it a ★★★★★ star rating and leaving a comment below. Your feedback would be absolutely awesome! You can also sign up for our Newsletter or follow me on Pinterest or Instagram and share your creation with me. Just tag me @combinegoodflavors and hashtag #combinegoodflavors, so I don’t miss it!
📖 Recipe Card
Custard Apple Tart
Nora
Save RecipeSaved!
Pin Recipe
Equipment
-
Kitchen machine
-
Cake Pan 9 inch / 23 cm
-
Spatula
-
Rolling Pin
-
Hand mixer
-
Whisk
-
Mixing bowls
-
Parchment Paper
-
Oven
Ingredients
For the Short Crust
- 3 cups All-Purpose Flour sieved
- ¼ cup Icing Sugar
- ¼ teaspoon Salt
- 1 cup Butter unsalted
- ¼ cup Walnuts
- 4 Egg Yolks medium size
- ½ cup Water
For Pastry Cream
- 1 Lemon freshly squeezed
- 1 tablespoon Cinnamon
- 2 Apples medium sized, peeled
- ½ cup Walnuts grated
- 1 ½ cup Whole Milk
- ¾ cup Heavy Cream 30% milk fat
- 3 Egg Yolks
- 3 Eggs
- ¾ cup Granulated Sugar
- ¼ cup Corn Starch
- 1 tablespoon Vanilla Extract
Instructions
Short Crust
-
Run the flour and sugar through a sieve on a flat surface.3 cups All-Purpose Flour, ¼ cup Icing Sugar
-
Make a hole in the center (somewhat resembling a volcano) and add your salt. Cut the chilled, unsalted butter in small cubes, and throw them in the center, too.¼ teaspoon Salt, 1 cup Butter
-
Start working the flour into the cold butter by squeezing it in with your fingers. You’ll be squeezing cube by cube, so this process will take some time, but we need to get the butter mixed with the flour before the butter starts to melt.
-
Make another hole in the center of the mix and add in the egg yolks, walnuts and water. Start gently working everything together into a dough. You can use a kitchen machine for this step.¼ cup Walnuts, 4 Egg Yolks, ½ cup Water
-
Once all those ingredients are nicely work together, cut the dough into two even balls. Wrap both of them in cling film and let them rest in a fridge for about an hour.
-
After the dough has chilled, put each ball between two sheets of baking paper.
-
Get out your rolling pin and roll them to about 3-4 mm / 0.1 inch thickness. You’re going to use one for the base. Cut it with the cake pan ring, and place it on the cake pan base.
-
Use the second dough to make a longer oval shaped form with same thickness, and cut it about 4 cm / 1.5 inch wide (or according to your cake pan height). Use it to make the cake wall and press it on the bottom, so it connects with the base all around.
Apple Pastry Cream
-
Fill about half of a mixing bowl with water and your lemon juice, and let it mix it a bit.1 Lemon
-
Peel the apples, and be sure to take out the pits!2 Apples
-
Cut your apples into small cubes (about 0.5 cm / 0.2 inch). Drop the apple cubs into the bowl with the lemon water.
-
In a small pan, combine 50 grams / ¼ cup of sugar and 5 tbsp. of the lemon water.¾ cup Granulated Sugar
-
Heat up the sugar and lemon water on medium heat until the sugar fully dissolves.
-
Strain the apples from the rest of the lemon water mixture into a pan. You’ll also be adding in the cinnamon and the roughly chopped walnuts in the pan.1 tablespoon Cinnamon, ½ cup Walnuts
-
Simmer them together on medium heat until the apples start to caramelize and begin to soften (about 5-10 minutes).
-
Let them cool down on the side.
-
In a separate medium bowl, whisk the egg yolks, whole eggs and sugar together, leaving enough space for the milk and heavy cream.3 Egg Yolks, 3 Eggs, ¾ cup Granulated Sugar
-
Add in the corn starch to the mix and whisk well – you don’t want to see any starch clumps!¼ cup Corn Starch
-
Once that’s been whisked well, you’ll need to combine the milk, heavy cream and lemon zest (optional) in a larger pot. Be sure to leave some extra space in this case, as well!1 ½ cup Whole Milk, ¾ cup Heavy Cream
-
Bring everything to a simmer, and then slowly pour it into your bowl with the egg and corn starch mix.
-
It’s important that you’re vigorously whisking while pouring!
-
Next, pour the mix back in the pot and cook on low to medium heat, all while constantly whisking until it starts to thicken. When the whisk starts to form ribbons, add in the vanilla extract and caramelized apples and walnuts. Take it off the flame.1 tablespoon Vanilla Extract
-
Make sure you don’t over fill the cake pan, though, by leaving roughly 1 cm / 0.4 inch empty.
-
You’ll need to bake your delicious custard apple tart at 180 °C / 356 °F for at least 40 minutes. For an indicator that your pastry is ready to come out of the oven, check if the surface of the custard starts to turn a golden brown. When you do take it out of the oven, the cake should be jiggly when shaken.
-
Let the cake to cool completely at room temperature before taking out the cake pan ring.
-
In order to really impress your guests, mix one tbs. of cinnamon with one tbsp. of icing sugar before sieving it over the cake!
Nutrition values are estimates only, using online calculators. Please verify using your own data.

🤎 You might also like
- Flourless Chocolate Cake
- Fresh Strawberry Sponge Cake
- The Ultimate Double Chocolate Bundt Cake
- Old-fashioned Whipping Cream Bundt Cake
⛑️ Food Safety Guidelines
Ensuring food safety is paramount when cooking and baking. Please keep these general guidelines in mind to prevent foodborne illness:
- Cook to a minimum internal temperature of 165 °F (74 °C) for egg-based dishes to ensure safety.
- Do not use the same utensils or cutting boards on cooked food that previously touched raw ingredients like meat or uncooked eggs.
- Always wash hands thoroughly with soap and water after handling raw ingredients.
- Avoid leaving perishable food, especially those containing dairy or eggs, sitting out at room temperature for extended periods (typically no more than two hours).
- Never leave cooking food unattended on the stovetop or in the oven.
- When cooking with high heat, use oils with a high smoke point to avoid the production of harmful compounds.
- Always ensure good ventilation in your kitchen, especially when using a gas stove, to prevent the buildup of fumes.
For further comprehensive information on safe food handling practices, please refer to Safe Food Handling – FDA.
