The Ultimate Guide to Perfect Christmas Cookie Baking: Tips, Dough Secrets & Storage Essentials
The enchanting aroma of freshly baked cookies is a hallmark of the holiday season, especially during the festive period leading up to Christmas. As home bakers eagerly dive into the delightful world of cookie creation, a flurry of questions often arises:
- Which type of dough is best suited for my desired cookies?
- What are the optimal methods for storing various cookie types to maintain freshness?
- What crucial details should I pay attention to during the baking process for flawless results?
- How long can I expect my homemade cookies to last, and how can I extend their shelf life?
- And countless other queries that pop up in the kitchen.
This comprehensive guide is designed to equip you with all the fundamental knowledge for successful cookie baking, with a special focus on creating exquisite Christmas cookies. We’ll delve into:
- Understanding the nuances and ideal applications of various dough types.
- Exploring different kinds of sugar and how to choose the right one for your recipe.
- Expert advice on how long you can store your freshly baked cookies and the best practices for preservation.
- Creative and delicious recipe ideas to make the most of leftover egg whites and yolks, minimizing food waste.
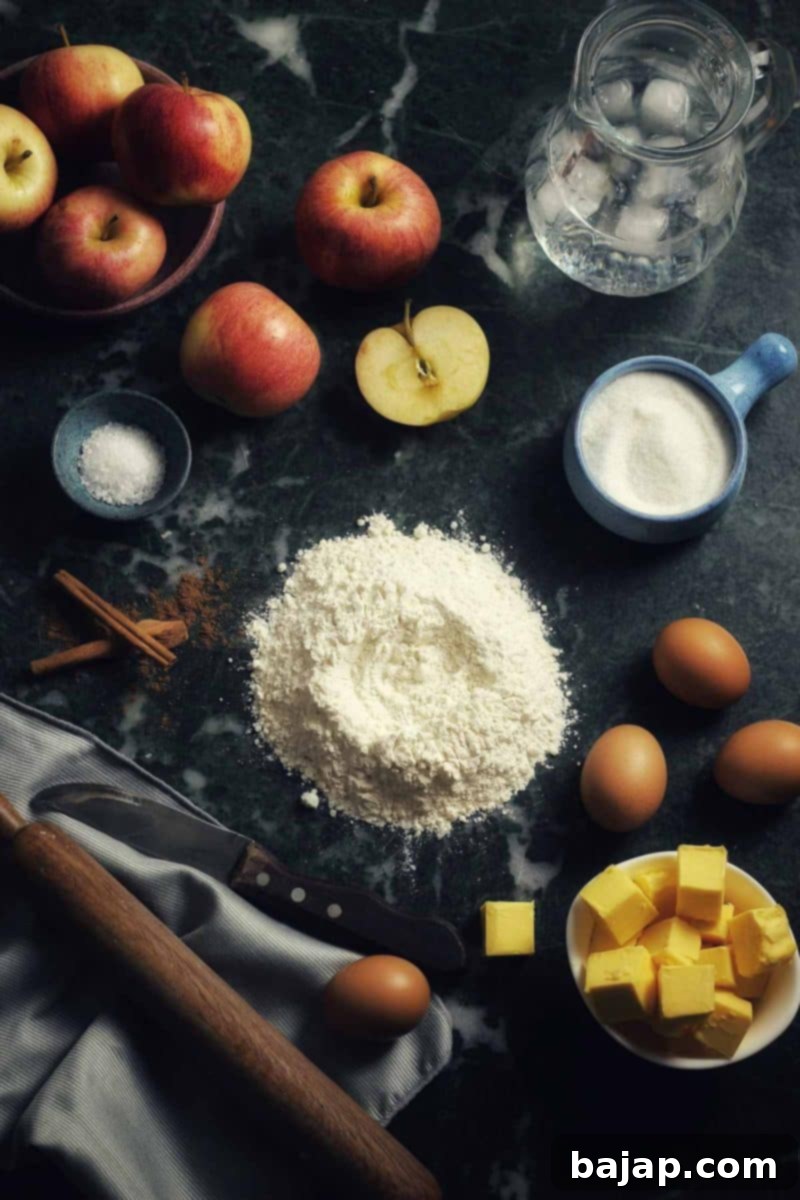
- Essential planning strategies, crucial baking tips, and a breakdown of must-have tools and pantry staples.
Strategic Planning for Your Cookie Baking Marathon
Successful cookie baking, especially for a large holiday spread, begins with meticulous planning. Creating a timetable based on the type of dough is key to ensuring optimal flavor and texture for each batch.
- Honey Pastry cookies, such as gingerbread, benefit immensely from a ripening period. They should ideally be baked about four weeks in advance. During this time, they gradually soften and their complex flavors deepen, transforming into truly irresistible treats.
- Similarly, Egg Pastry cookies, often hard and crisp when fresh out of the oven, also soften and develop their full character with time. Plan to bake these a few weeks before they are to be enjoyed.
- Shortbread, Baking Powder, and Egg White Dough Pastries, including delicate meringues and crisp shortbreads, are best enjoyed fresh. Their delicate texture and buttery richness are at their peak shortly after baking. Therefore, these varieties should be prepared closer to your desired serving date, perhaps a few days or up to a week before the holidays.
- Christmas Stollen, a traditional fruit bread, requires several days to cool and for its flavors to meld beautifully. Factor this curing time into your schedule.
Beyond the dough timeline, efficient preparation is paramount. Before you even think about mixing, ensure you have everything ready:
- Prepare all your ingredients by measuring them out and having them at the correct temperature (more on this later). Organize all necessary equipment within easy reach – mixing bowls, spatulas, cookie cutters, and baking sheets. This mise en place approach will make your baking process much smoother and more enjoyable.
- Utilize baking paper (parchment paper). This eliminates the need to grease baking trays, making cleanup a breeze. Moreover, you can prepare the next batch of cookies on a separate sheet of baking paper while the first batch bakes, significantly speeding up the process. For an even more sustainable and economical option, invest in high-quality silicone baking mats, which can be reused hundreds, even thousands, of times.
- Always bake a few cookies as a test batch before committing your entire dough. This crucial step allows you to check the dough’s consistency and how it holds its shape. If the test cookies spread too much or become too soft, you can easily rectify the situation by incorporating a small amount of additional grated nuts, almonds, or flour into the remaining dough. This proactive approach saves you from potential baking disasters and ensures a perfect final product.

Christmas CookieBook!
Snag that Recipe eBook!
20 delicious Christmas Cookie recipes!
Yes, please!
Mastering Baking Techniques: Essential Oven Tips
The oven is your most important tool, and understanding its use is vital for perfect cookies.
Always preheat your oven sufficiently long before introducing your cookies, especially for Christmas cookies that often require specific temperatures for proper rising and browning. A properly preheated oven ensures even baking from the start.
Pay close attention to whether the recipe instructs you to place cookies into a preheated oven or a cold oven. Most cookie recipes call for a preheated oven, but certain delicate pastries might require a cold start to prevent cracking or too rapid rising. If the recipe doesn’t specify top or bottom heat (conventional) or fan-assisted (convection), it’s generally best to place the baking tray on the middle shelf. This position allows the heat to circulate evenly around the tray, promoting uniform baking and browning.
Baking with the oven closed is the standard for most pastries. This technique is particularly recommended for doughs like shortbread, yeast dough, choux pastry, or puff pastry. The steam generated within the closed oven environment helps these cookies to rise properly and achieve their desired texture, contributing to a light and airy result.
The lesser-known “hung” or “open” oven technique involves leaving the oven door slightly ajar. This allows steam to escape continuously, which is beneficial for recipes where a crispier texture or a slower rise is desired. The easiest way to achieve this is to wedge a wooden spoon handle or a folded old dish towel between the oven door and its frame. This technique is typically used for baking sponge cakes, casseroles, or certain puddings, where excessive moisture could lead to a soggy texture.
Cooling and Storing Cookies for Lasting Freshness
Proper cooling and storage are just as critical as the baking itself to ensure your cookies remain delicious and retain their intended texture for as long as possible. After baking, carefully remove the pastries from the tray using a spatula and transfer them to a wire rack to cool completely. It’s crucial not to stack warm pastries on top of each other, as this can trap moisture, making them soggy and prone to spoilage.
Once thoroughly cooled, organize your cookies for storage. Stack them in layers within an airtight cookie tin or container. To prevent flavors from mingling and to maintain individual textures, separate each layer with greaseproof paper or aluminum foil. For cookies that tend to dry out, a clever trick is to add a slice of fresh bread, a quarter of an apple, or an orange wedge to the container. These items will release moisture, keeping your cookies soft and fresh for longer. Remember to replace the bread/fruit every few days to prevent mold.
Virtually all cookies can be stored, and for many, a short ripening period is even essential for their flavors to fully develop and meld. The ideal storage method varies depending on the cookie type, but one golden rule always applies: store each type of cookie on its own, in a separate container. This prevents the transfer of flavors and aromas, ensuring that each cookie retains its unique character.
Shortbread Cookies
These classic buttery treats are best stored in a tin can, which allows a slight amount of air circulation. Shortbread cookies actually improve with a bit of aging, tasting even better after a few days to a week of ripening. They will stay fresh and delightful for approximately two to three weeks when stored correctly.
Confectionery and Cream-Filled Cookies
Delicate confectionery and cookies filled with fresh creams, custards, or butter-based fillings require more careful handling. They are best stored in airtight jars or containers and kept in a cool place. If the filling contains fresh whipped cream or butter, refrigeration is essential to prevent spoilage. Depending on the specific ingredients, their shelf life typically ranges from a few days to a good week.
Macaroons and Moist Pastries
These types of cookies, known for their soft and often chewy texture, need to be protected from further moisture and kept as airtight as possible to prevent them from drying out or absorbing external odors. Ideal storage solutions include well-sealing plastic containers or heavy-duty freezer bags that are tightly sealed. For delicate pastries made of nut dough, which can be prone to crumbling, sturdy tins often offer better protection.
Gingerbread and Honey Pastry
Gingerbread and similar honey pastries require a minimum of a week to ripen in tins, allowing their spices and sweetness to fully develop. To prevent them from becoming too hard, a piece of apple can be added to the tin, much like with other cookies that need moisture. However, be vigilant and replace the apple slice regularly to avoid mold formation. An important tip for honey pastry: take it out of storage about three hours before eating to allow it to soften to its perfect texture.
The Sweet Science: What Sugars to Use for What?
Sugar is more than just a sweetener; it plays a critical role in the texture, moisture, and color of your baked goods. Understanding the different types of sugar and their properties is key to mastering cookie baking.
- Granulated Sugar (Classic White Sugar) – This all-purpose sugar is a kitchen staple. Its fine crystals are perfect for dishes and drinks where sugar is boiled with liquid, as it dissolves efficiently. It is particularly effective when egg yolks or butter mixtures need to be whipped with sugar for a long time, as its granular structure helps to incorporate air, resulting in light and fluffy textures. It’s also the secret to achieving creamy, firm consistency in beaten egg whites for meringues or soufflés.
- Universal Fine Crystal Sugar – Characterized by its slightly finer grain than standard granulated sugar, this sugar dissolves more readily. It’s an excellent choice for sweetening both cold and hot dishes, as well as beverages, offering a smooth sweetness without a gritty texture.
- Baking Sugar – Specifically designed for baking, this sugar’s exceptionally fine granularity makes it ideal for all types of delicate (often Austrian or European-style) pastries. Its fine crystals mix particularly well with other ingredients, ensuring even distribution of sweetness and dissolving easily, contributing to a tender crumb.
- Brown Sugar – A blend of white sugar with molasses, brown sugar comes in light and dark varieties. It imparts a distinctive caramel-like, moist, and slightly tart-sweet flavor. Its moisture content also contributes to a chewier texture in baked goods. It’s excellent in coffee and other beverages, and whenever a special depth of flavor is desired in baking, such as in oatmeal cookies, spice cakes, or certain glazes.
- Confectioner’s Sugar (Powdered Sugar or Icing Sugar) – This is granulated sugar that has been very finely ground into a powder, often with a small amount of cornstarch added to prevent caking. Its fine texture makes it ideal for dusting pastries, creating smooth glazes, and sweetening whipped cream without a gritty mouthfeel. Since powdered sugar dissolves quickly and easily in liquids, it’s the go-to choice for elegant glazes and icings.
- Caster Sugar (Superfine Sugar) – With crystals finer than granulated sugar but coarser than confectioner’s sugar, caster sugar is particularly free-flowing and dissolves rapidly. It’s an ideal choice for delicate pastries, sponge cakes, and meringues where a smooth, fine texture is desired. It’s also excellent for sprinkling on pastries, cakes, desserts, and fruit, as it melts quickly to create a light sparkle without a crunchy texture.
- Hail Sugar (Pearl Sugar) – Consisting of large, opaque, coarse granules that do not melt during baking, hail sugar is primarily used for decorating. It adds a beautiful, sparkling finish and a pleasant textural crunch to items like brioche, chouquettes, and various cookies.
Key Considerations When Preparing Cookie Dough
The texture and success of your cookies often hinge on how you handle the dough and its ingredients. Paying attention to a few fundamental principles can make all the difference:
- Always work with room-temperature fat (butter or margarine). Fats at room temperature cream much more effectively with sugar, incorporating more air. This aeration is crucial for achieving maximum whipping volume, which translates to lighter, more tender cookies. So, remember to take your fat out of the refrigerator well in advance, ideally several hours before you plan to bake. If you’ve forgotten, the microwave can be used on a very low setting for short bursts to soften it carefully, but be careful not to melt it.
- Similarly, when mixing yolks or whole eggs with fat, ensure that the eggs are also at room temperature. Cold eggs can cause the fat to seize up, leading to a lumpy, less emulsified mixture. Bringing them to room temperature allows them to integrate smoothly into the batter, creating a uniform and stable emulsion. It’s also important to beat them into the mixture one at a time, incorporating each egg fully before adding the next, to prevent the batter from curdling.
- If grated nuts are to be incorporated into a batter that contains beaten egg whites (such as a meringue-based dough), they should be gently folded into the beaten egg whites. This ensures that the air painstakingly whipped into the egg whites is not deflated, maintaining the light and airy structure of the dough.
- Doughs or masses that rely on beaten egg whites for their rise should be immediately transferred to the hot oven after the egg whites have been folded in. Delaying this step can cause the delicate air bubbles in the egg whites to collapse, leading to a flat, dense, or greasy texture in the finished cookies.
Creative Egg White Utilization: No Waste Baking
Often, recipes call for only egg yolks, leaving you with a surplus of egg whites. Don’t let them go to waste! Collect leftover egg whites in a small, airtight container. Make sure to note the number of egg whites on the container so you know exactly how much you have for future recipes. You can safely store them in the refrigerator for up to three days. For longer storage, egg whites freeze beautifully and will keep for approximately 8 months in the freezer. Once thawed, they can be processed easily, just as fresh egg whites.
Egg whites are incredibly versatile and can be transformed into a variety of light and airy desserts. Here are some delightful ideas for using up those leftover egg whites:
- Coconut “Busserl” Cookies
- Walnut Meringue Cookies
- Pavlova
- Zimtsterne (Cinnamon Stars)
- Chocolate Egg White Cake
Delicious Egg Yolk Utilization: Rich & Flavorful Recipes
Just like egg whites, leftover egg yolks are a valuable ingredient and should never be discarded. To store them, simply place the leftover yolks in a cup and cover them with cold water; this prevents them from drying out and helps them last for a few days in the refrigerator. For extended storage, yolks can also be frozen for about 8 months. Again, note the number of yolks on the container for easy reference later.
Egg yolks are fantastic for adding richness, color, and emulsifying properties to various dishes. In almost any baking recipe that calls for whole eggs, you can often substitute or add an extra yolk to the cookie batter as a quality enhancer, contributing to a more tender and flavorful result. Alternatively, explore these luscious recipes specifically designed to use up your remaining egg yolks:
- Linzer Cookies with Egg Liqueur
- Homemade Egg Liqueur (Advocaat)
- Walnut Cookies (made with egg yolks)
- Rich Egg Yolk Cookies
- Homemade Vanilla Ice Cream
- Custard / Vanilla Sauce
- Buchteln (Filled Sweet Rolls)
- Sour Cream Cookies
- Duchess Potatoes
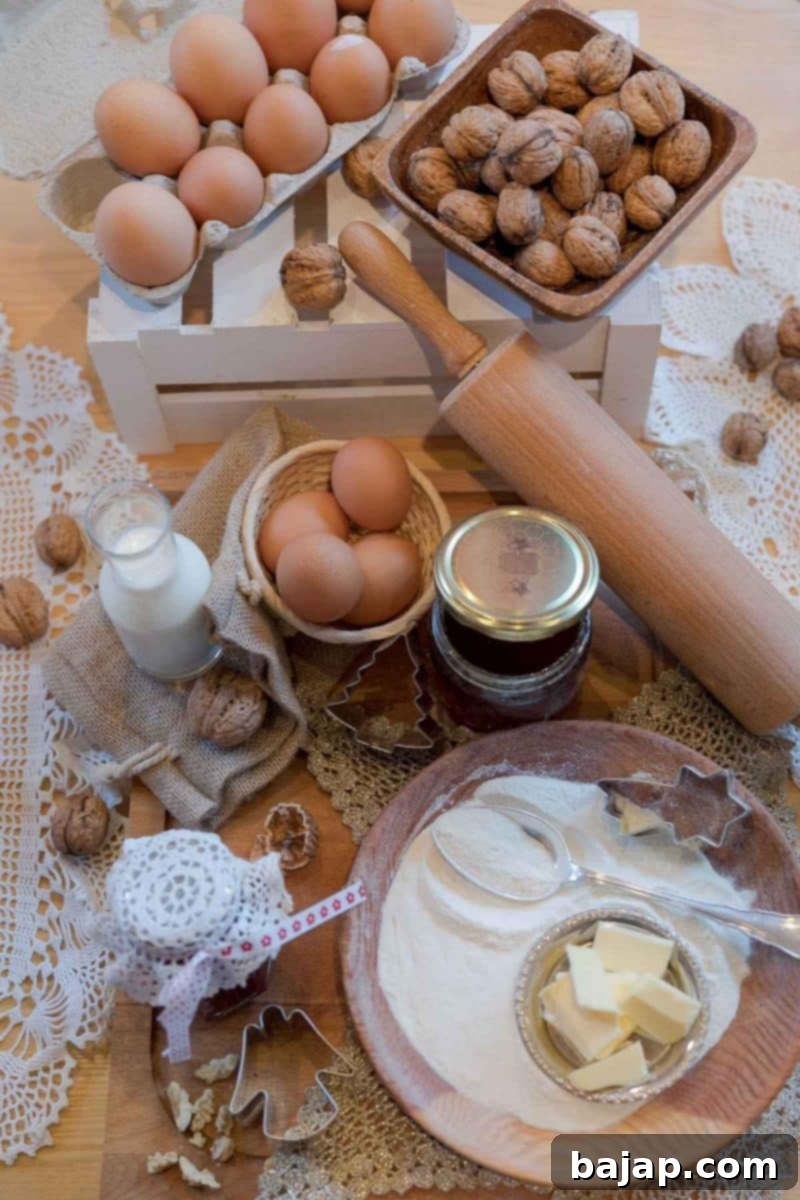
Essential Baking Tools for Every Cookie Enthusiast
Having the right tools at hand can transform your baking experience from a chore into a joy. Here’s a list of basic but indispensable equipment for successful cookie baking:
- Oven – The undisputed foundation for any baking endeavor! Ensure it’s clean and calibrated for accurate temperature.
- Kitchen Scale – For accurate weighing of ingredients, which is crucial for consistent baking results. Precision is key in baking.
- Stand Mixer / Kitchen Machine with a dough hook, flat beater, and whisk attachment – To be well-equipped for any type of dough, from stiff cookie doughs to airy meringues.
- Rolling Pin – An indispensable tool for rolling out doughs to an even thickness, ensuring uniform baking.
- Plastic Wrap – Essential for covering bowls to prevent dough from drying out or for wrapping dough that needs to rest or chill.
- Measuring Cups – For accurately measuring liquids and larger quantities of dry ingredients.
- Measuring Spoons – Crucial for precise measurement of small quantities of ingredients like leavening agents and spices.
- Mixing Bowls – A variety of sizes are essential for combining ingredients, proofing dough, and preparing different components simultaneously.
- Close-Meshed Sieve – To sift flour and powdered sugar, ensuring a lump-free, airy texture, and also perfect for final dusting decorations.
- Dough Spatula (Rubber/Silicone Spatula) – Ideal for scraping down bowls, folding delicate ingredients, and cleanly transferring dough.
- Sealable Containers – Crucial for storing prepared ingredients, leftover egg parts, creams, or liquids, and preventing odor transfer in the refrigerator.
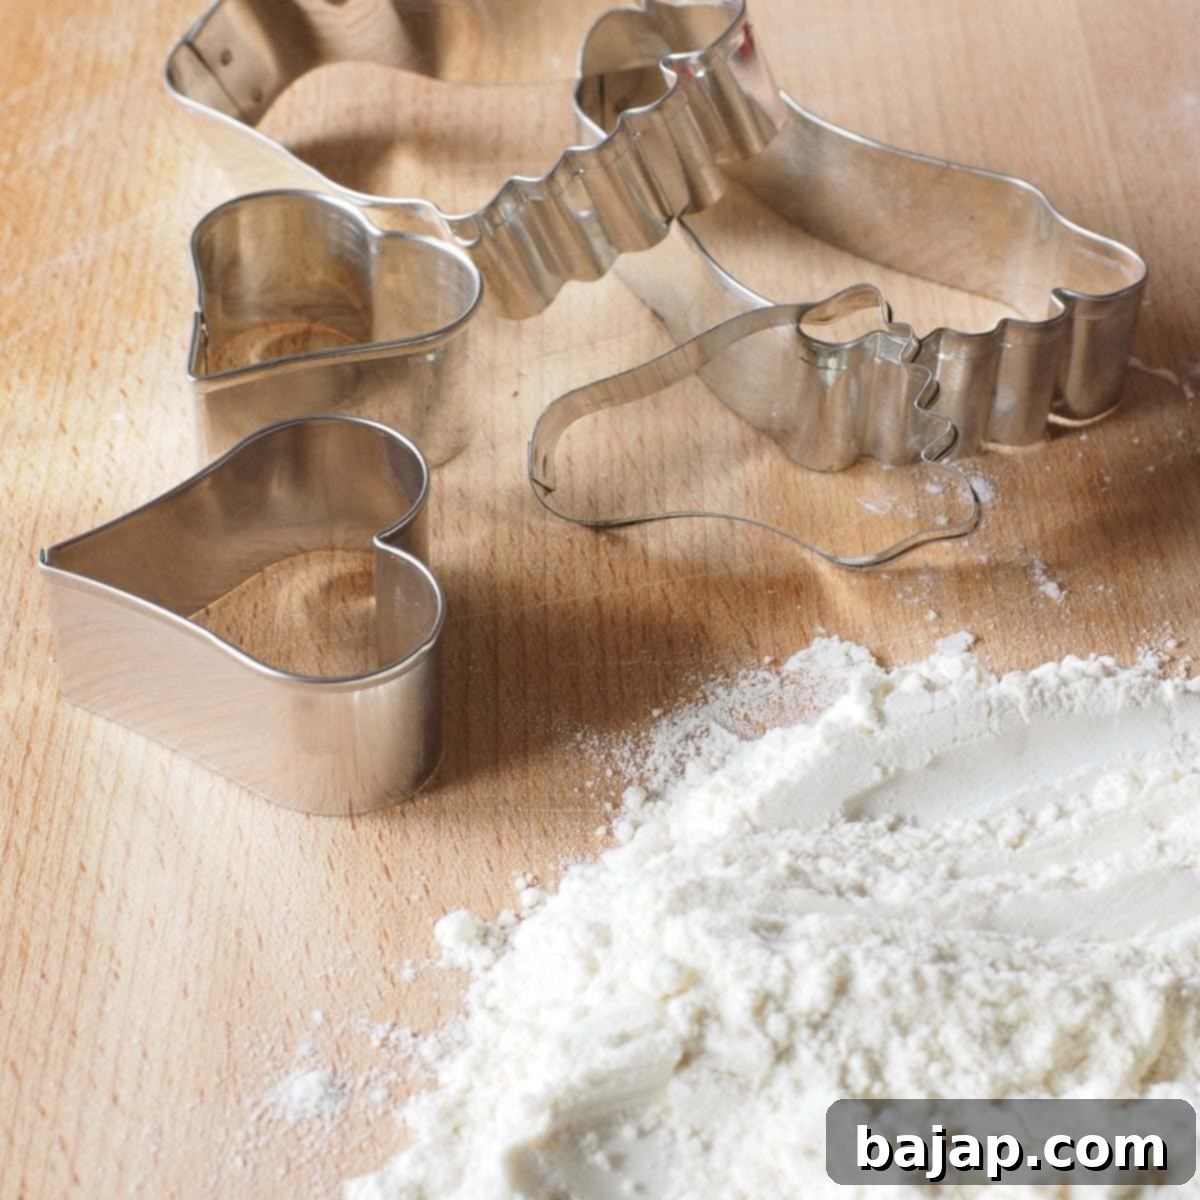
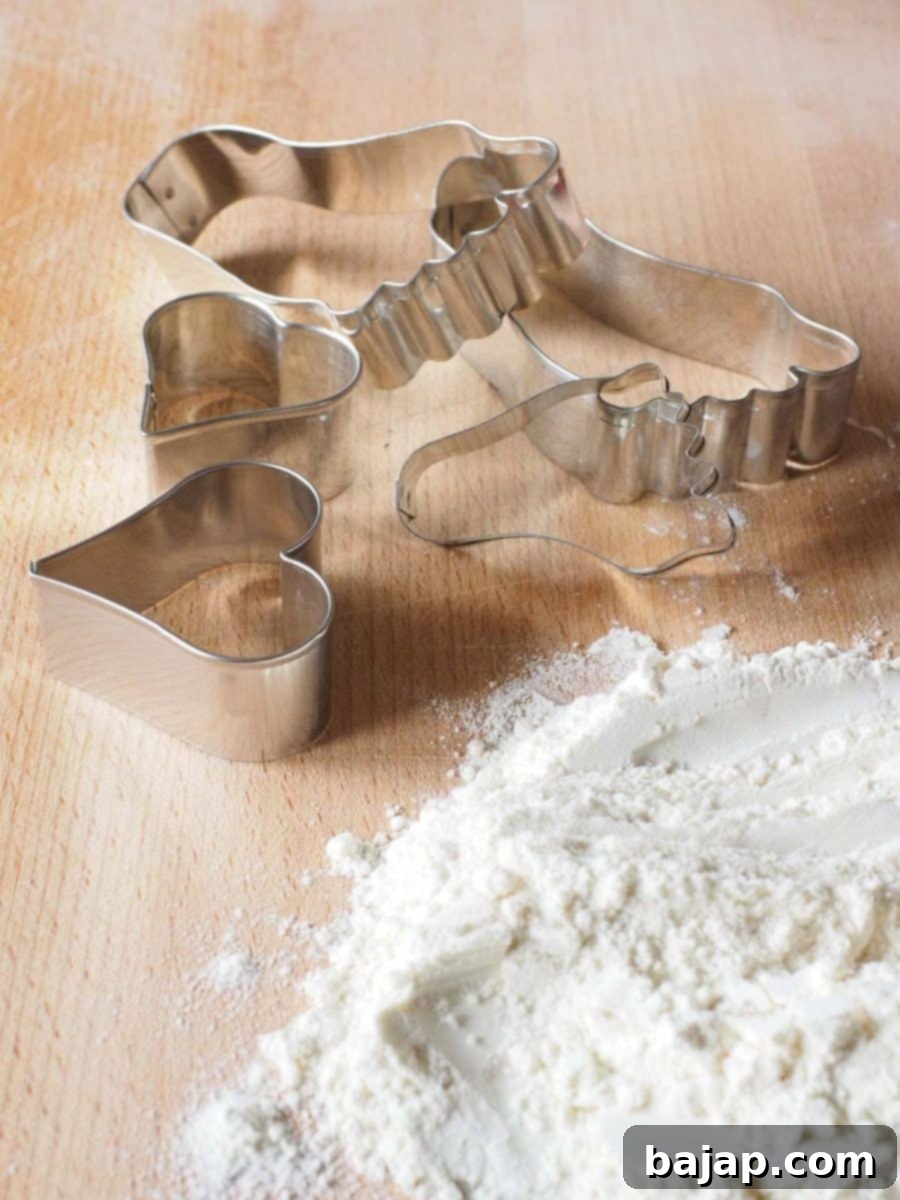
- Cookie Cutters – Always good to have a variety of shapes and sizes at home for festive and fun cookie designs.
- Water Bath (Double Boiler) or tempering device – Essential for melting chocolate gently and preventing scorching, crucial for glazes and decorations.
- Thermometer – Especially for delicate creams, custards, or tempering chocolate, an indispensable utensil for achieving precise temperatures.
- Pastry Bags with Different Tips – For elegantly piping creams, whipped cream, precise glazes, and decorative finishes.
- Cake Pans / Baking Sheets – A selection of sturdy baking sheets is essential for baking various quantities of cookies simultaneously.
- Whisk – For hand-mixing, aerating ingredients, and making smooth batters when a mixer isn’t necessary or available.
- Baking Mats or Parchment Paper – For a non-stick surface that ensures easy release and even baking.
- Pastry Brush – For brushing egg washes, glazes, or melted butter onto cookies and other baked goods.
Stocking Your Pantry: Essential Baking Staples
A well-stocked pantry is the secret weapon of any accomplished baker. Especially before you embark on your Christmas baking adventures, ensuring your pantry is full of these key ingredients will make your baking stress-free and enjoyable.
- Flour – A versatile selection is ideal. Have a good supply of all-purpose flour for general baking, and consider a specific pastry flour (which has lower protein) for tender cakes and delicate cookies. Whole wheat flour can add a rustic flavor and nutritional boost to certain recipes. Additionally, explore specialty flours like chestnut flour for its unique, earthy flavor, or potato flour for its ability to create a wonderfully light and moist crumb. For a unique texture, you might also try glutinous rice flour.
- Confectioner’s Sugar (Powdered Sugar) – Essential for glazes, icings, and dusting finished cookies.
- Granulated Sugar – Your all-purpose sweetener, necessary for most cookie doughs.
- Brown Sugar – For adding moisture, a chewy texture, and a rich, caramel-like flavor to your cookies.
- Corn Starch – A thickening agent that can also be added in small amounts to flour for a more tender crumb in certain cookies.
- Baking Powder, Baking Soda, or Natron
- Baking powder is a composite leavening agent typically made of sodium bicarbonate, a weak acid (like cream of tartar), and a starch filler. It’s suitable for almost all baked goods, especially those that need to be stored for a more extended period. As the number one raising agent in cake baking, it ensures that dough rises and achieves a light, airy texture. Baking soda (sodium bicarbonate) has similar leavening properties but requires an acidic ingredient (like buttermilk, yogurt, or lemon juice) to activate fully.
- Vanilla Sugar – Whether you prefer homemade vanilla sugar infused with real vanilla beans or a good quality store-bought version, it’s indispensable for adding a comforting, aromatic sweetness.
- Instant Yeast or Active Dry Yeast
- Yeast is vital for leavened baked goods, not only causing dough to rise but also developing complex aroma substances and their precursors. It imparts a distinct, yeasty flavor to many traditional baked goods. The longer the fermentation process—the work of the yeast—lasts, the more varied and profound the taste becomes. Its high content of B vitamins also makes yeast baked goods a valuable food source.
- Vanilla Beans – For the purest, most intense vanilla flavor in your premium bakes.
- Nuts – Keep a variety on hand, such as almonds, walnuts, hazelnuts, and pecans. Ideally, have them in both whole and grated (ground) forms, ready for mixing into doughs or for garnishing.
- Dried Fruit – Raisins, cranberries, apricots, and candied citrus peels add bursts of flavor and chewiness to many Christmas cookie recipes.
- Chocolate Chips – A classic addition for a reason, perfect for adding pockets of melty chocolate goodness.
- Chocolate Couverture – High-quality chocolate couverture is essential for creating glossy, professional-looking glazes and for dipping cookies.
- Cocoa Powder – For chocolate-flavored doughs and rich glazes. We highly recommend using Criollo cocoa powder for its superior quality and nuanced flavor.
- High-Quality Oil – Some recipes call for oils rather than butter. Ensure you have a neutral-flavored, high-quality oil like canola, sunflower, or a light olive oil available.
- Kosher Salt – A fundamental flavor enhancer that balances sweetness and brings out the best in all ingredients.
- Spices – Especially for Christmas baking, ensure you have a fresh supply of key spices like cinnamon, vanilla, anise, cloves, cardamom, nutmeg, and ginger.
While these dry goods and longer-lasting items are great to keep stocked, we recommend buying fresh ingredients such as eggs, fruits (like apples or chestnuts), and dairy products (like butter, yogurt, buttermilk, milk, heavy cream, and such) just before your planned baking session to ensure maximum freshness and quality.
Further Reading for Baking Enthusiasts
- How to make butter at home.
- What is brown butter?
🍪 You Might Also Like These Recipes
- No-bake Candy Cane Oreo Cake Pops
- French Press Eggnog Coffee Recipe
- How to make a Snowball Cocktail
- Ugly but Good Chocolate Chip Marshmallow Cookies
⛑️ Food Safety
Adhering to food safety guidelines is paramount to ensure that your delicious cookies are also safe to eat. Follow these basic practices to prevent foodborne illness:
- Cook all ingredients, especially those containing eggs, to a minimum internal temperature of 165 °F (74 °C) to eliminate harmful bacteria.
- Always use separate utensils and cutting boards for raw ingredients and cooked food to prevent cross-contamination.
- Wash your hands thoroughly with soap and warm water after touching raw ingredients, especially eggs or unbaked doughs.
- Do not leave perishable food, such as doughs containing dairy or eggs, sitting out at room temperature for extended periods. Refrigerate promptly.
- Never leave cooking or baking food unattended in the oven or on the stovetop.
- When frying or working with hot fats, use oils with a high smoking point to avoid the production of harmful compounds.
- Always ensure good ventilation in your kitchen, especially when using a gas stove, to prevent the buildup of fumes.
For further comprehensive information on safe food handling, consult official guidelines from reliable sources such as Safe Food Handling – FDA.
