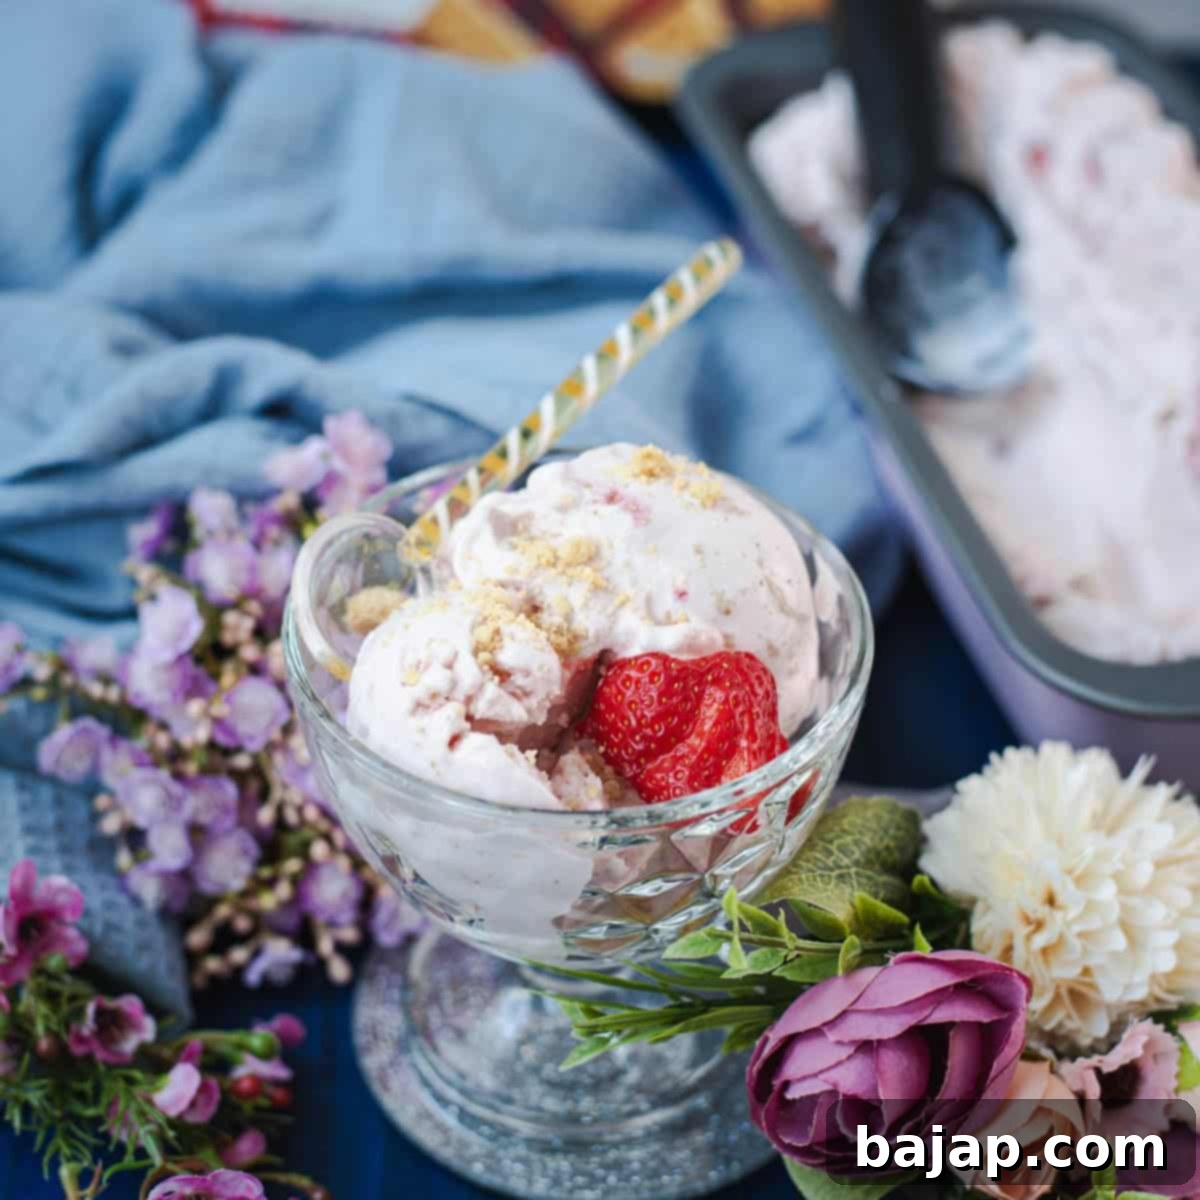
The Ultimate Homemade Strawberry Shortcake Ice Cream Recipe: Creamy, Fruity & Easy (KitchenAid or No-Churn!)
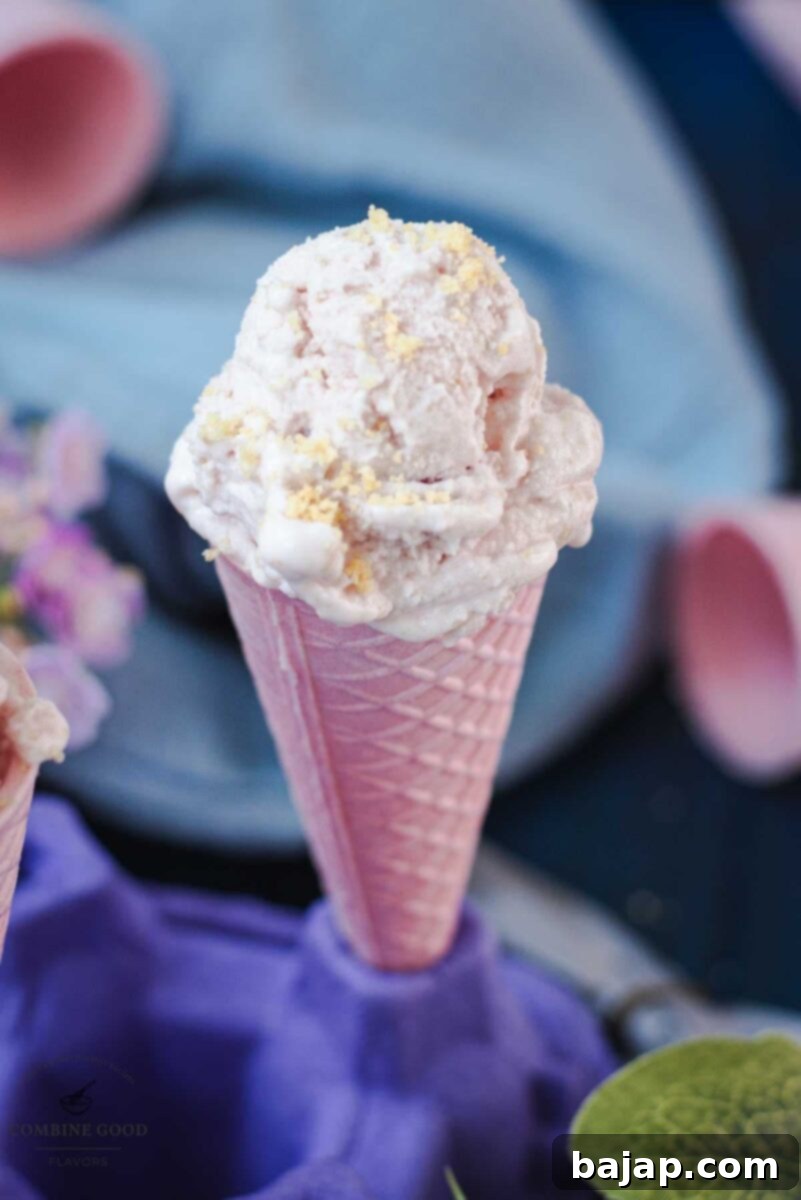
Strawberry lovers, get ready to experience a truly extraordinary treat! 🍓 This dreamy homemade strawberry shortcake ice cream is everything you could possibly desire in a vibrant summer dessert. Imagine a lusciously creamy base, brightened by the tangy goodness of full-fat Greek yogurt, bursting with juicy fresh strawberries, and studded with delightful, buttery bits of Walkers shortbread cookies in every single bite. It’s an explosion of flavor and texture that will transport you straight to a sun-drenched strawberry field, with a hint of classic shortcake nostalgia.
We’ll show you how to churn this masterpiece to perfection using the convenient KitchenAid Ice Cream Maker attachment. The absolute best part? You can often dig in right away – no grueling, endless freezing time required for that perfect soft-serve consistency! But don’t worry, we’ll also cover how to store it for later, and even a fantastic no-churn version for those without an ice cream maker.
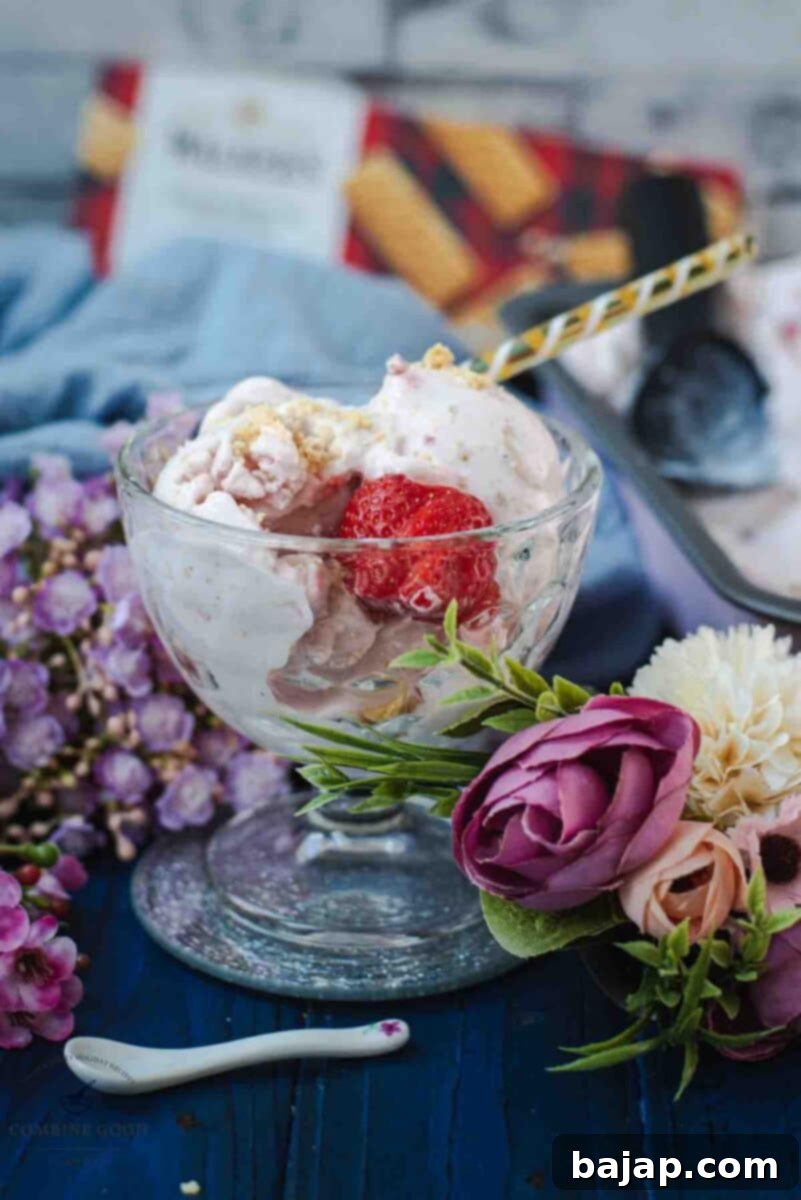
Ready to fall head over heels for another strawberry treat? This homemade strawberry shortcake ice cream is about to become your new favorite!
If you’re anything like me, you’re constantly on the lookout for new, exciting, and utterly delicious ways to enjoy the versatility of fresh strawberries. This particular recipe for strawberry shortcake ice cream is undoubtedly a keeper – it perfectly captures the essence of a classic dessert in a cool, creamy format. You know how much I adore these vibrant red berries; in fact, this is strawberry recipe number 16 (and counting!) on my culinary journey!
Whether you’re planning a strawberry-themed celebration, looking for the ideal treat to celebrate National Strawberry Day on February 27th, or simply craving more berry-filled joy in your life, this recipe is a must-try. For more inspiration, explore my roundup of delightful strawberry recipes, or pair this ice cream with refreshing alternatives like my homemade lemon sorbet or classic vanilla ice cream, both perfect companions for warm, sunny days.
Why You Will Love This Strawberry Shortcake Ice Cream
There are countless reasons why this homemade strawberry shortcake ice cream stands out from the rest:
- Incredible Fresh Flavor: By using fresh, ripe strawberries, we capture their natural sweetness and vibrant taste, far superior to artificial flavors.
- Luxuriously Creamy Texture: The combination of whole milk, sweetened condensed milk, and full-fat Greek yogurt creates an unbelievably smooth, rich, and utterly scoopable ice cream.
- Delightful Texture Contrast: Buttery shortbread cookie crumbs add a wonderful crunch that mimics the “shortcake” element, providing a satisfying bite in every spoonful.
- Tangy & Balanced: The Greek yogurt doesn’t just add creaminess; its subtle tang beautifully cuts through the sweetness, making the ice cream refreshing and not overly rich.
- Quick Gratification: Churned in a KitchenAid ice cream maker, this recipe often yields a soft-serve consistency ready to enjoy almost immediately. No long waits for hard-as-rock ice cream!
- Versatile & Adaptable: Whether you have an ice cream maker or prefer a no-churn method, this recipe delivers fantastic results. It’s also easily customizable with different mix-ins.
- Perfect for Any Occasion: From casual summer evenings to elegant garden parties, this ice cream is a crowd-pleaser that looks as good as it tastes.
🥘 Key Ingredients for Success
Crafting the perfect strawberry shortcake ice cream starts with selecting the right ingredients. Each component plays a crucial role in achieving that signature creamy texture and balanced flavor profile. Here’s what you’ll need, along with why each ingredient is so important:
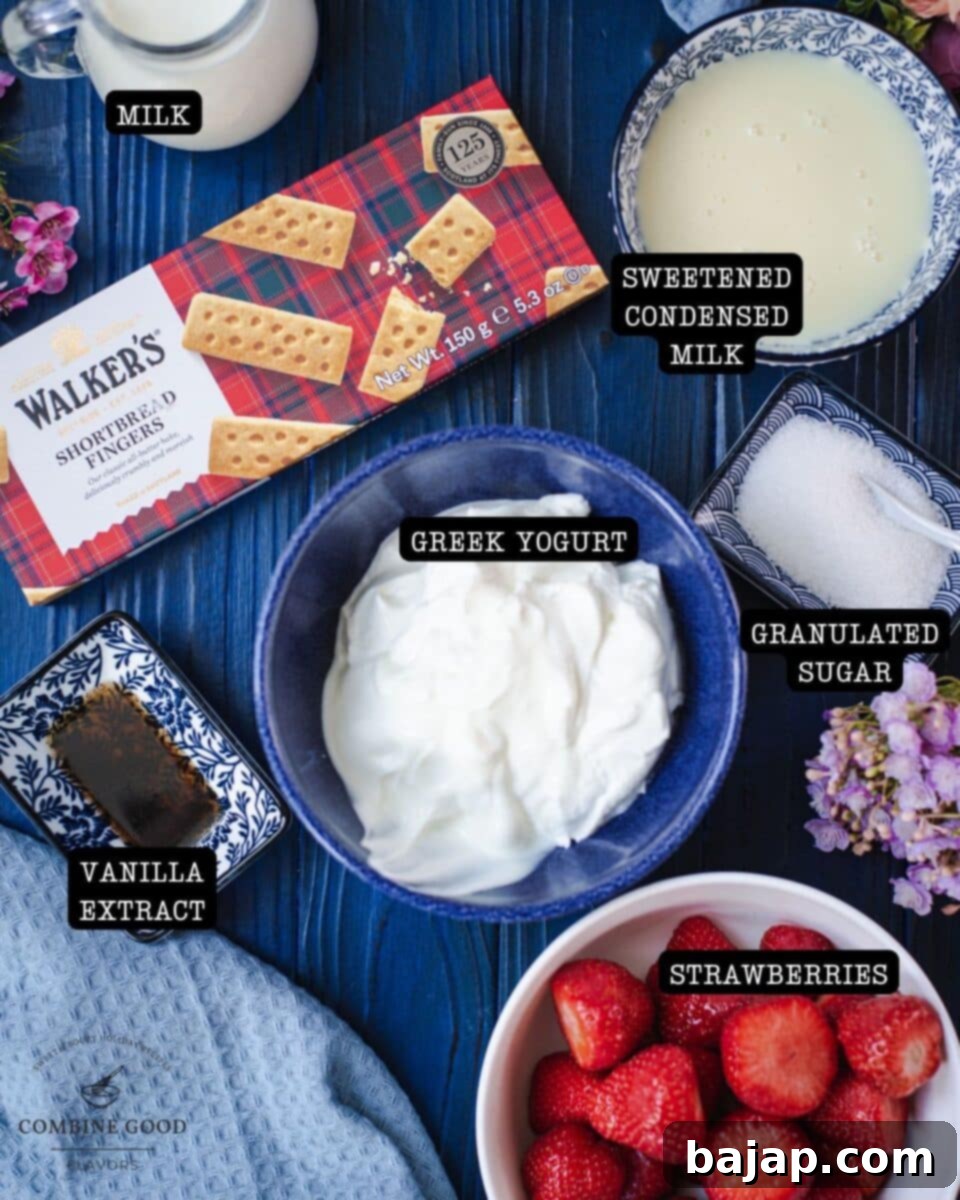
- Fresh Strawberries: The star of the show! Choose ripe, vibrant red, and juicy strawberries. Hull them and chop them into bite-sized pieces. Freshness makes all the difference in flavor and aroma.
- A Bit of Sugar: This isn’t just for sweetness; it’s essential for macerating the berries. The sugar draws out the natural juices and enhances the strawberries’ sweetness, creating a beautiful syrup that infuses into the ice cream.
- Whole Milk: Forms the creamy foundation of our ice cream base. Whole milk contributes to the rich texture and classic ice cream feel without being overly heavy.
- Sweetened Condensed Milk: This magical ingredient adds extra richness, a silky smooth texture, and just the right amount of sweetness. It also helps prevent ice crystals, resulting in a wonderfully smooth scoop.
- Full-Fat Greek Yogurt: Trust me on this one! Full-fat Greek yogurt is the secret weapon for making the creamiest, tangiest, and most indulgent ice cream. It provides a delightful tartness that balances the sweetness of the berries and condensed milk, while also adding body and a lighter feel compared to heavy cream.
- Pure Vanilla Extract: Just a splash of high-quality vanilla extract is enough to round out all the flavors, adding a warm, aromatic depth that complements the bright strawberries.
- Crushed Shortbread Cookies: This is where the “shortcake” comes in! I highly recommend Walkers shortbread for its rich, buttery flavor and perfect crumbly texture. Crushing them into small pieces ensures you get that satisfying buttery crunch in every single spoonful.
For precise quantities, please refer to the detailed recipe card below.
🔪 Step-by-Step Instructions for Homemade Perfection
Making homemade ice cream might sound daunting, but with these clear steps and the help of your KitchenAid, you’ll be enjoying a delicious treat in no time. Follow along for perfectly creamy and flavorful strawberry shortcake ice cream!
Step 1: Prep the Strawberries for Maximum Flavor
Start by hulling and chopping your fresh strawberries into bite-sized pieces. Place the chopped berries in a medium bowl and toss them gently with a little granulated sugar. Now, let them sit at room temperature for about 15-20 minutes. This crucial step, called macerating, allows the sugar to draw out the natural juices from the strawberries, creating a vibrant, sweet syrup that will infuse your ice cream with intense berry flavor.
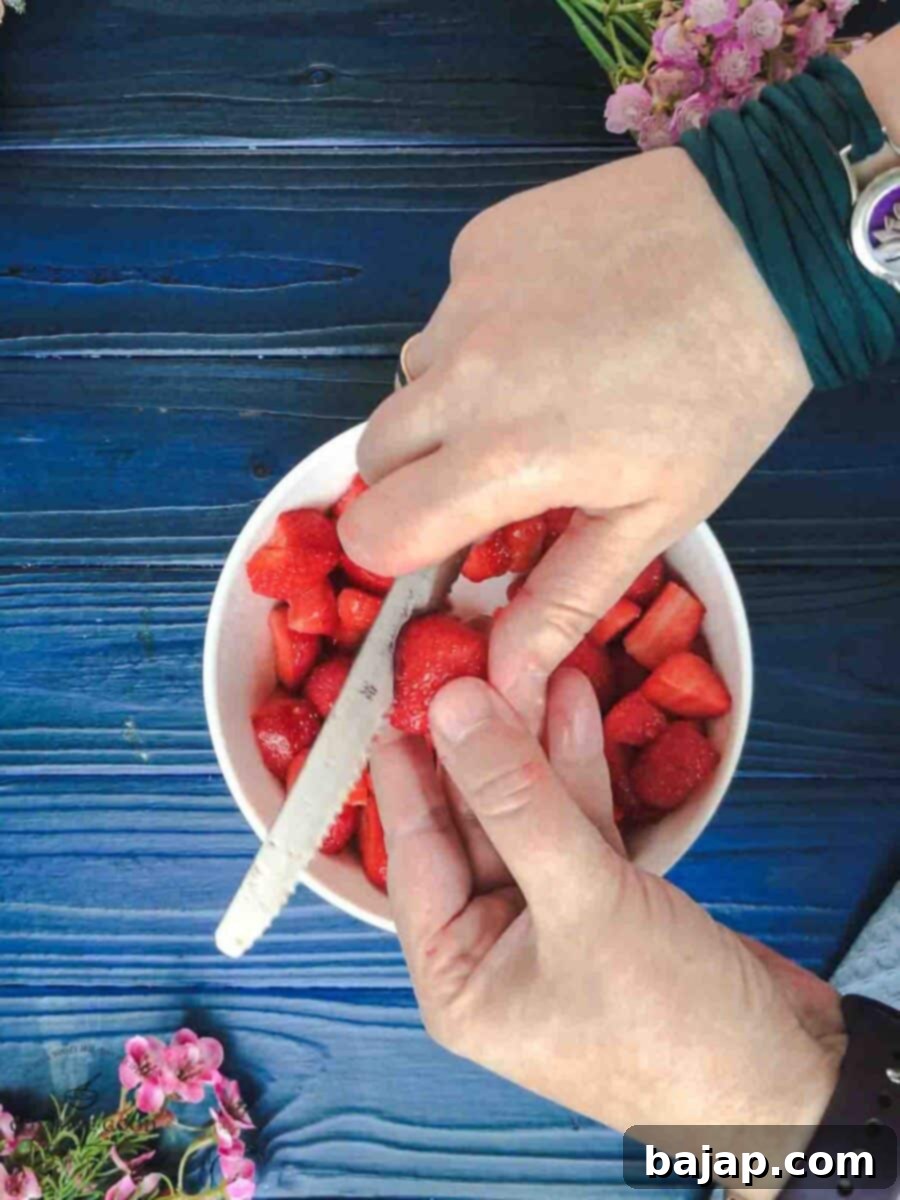
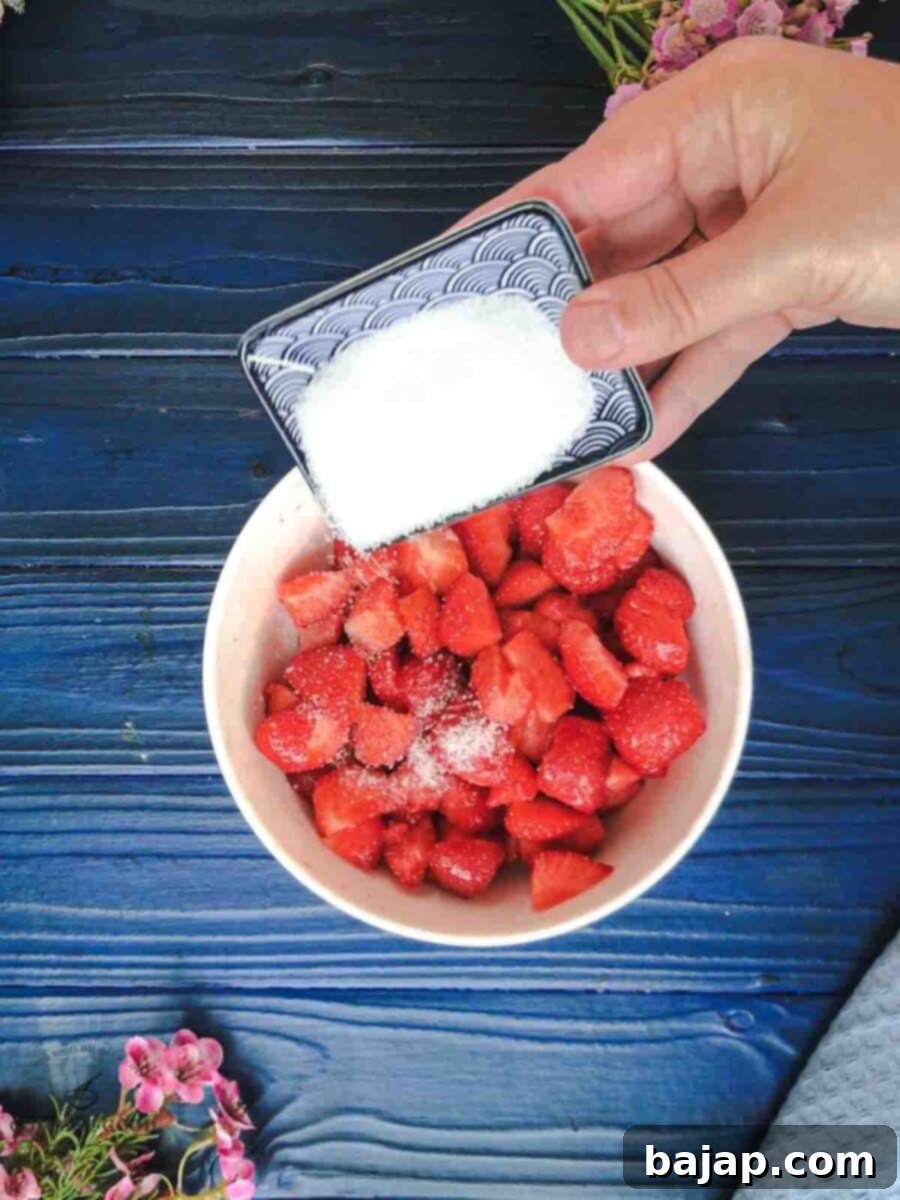
Feeling fancy or prefer a smoother swirl? You can lightly mash the macerated strawberries with a fork to break them down further, or for a very smooth fruit ribbon, give them a quick blitz in a blender. Just be careful not to over-process them into a complete liquid if you still want some small fruit pieces.
Step 2: Create the Creamy, Tangy Base
In a large mixing bowl, whisk together the whole milk, sweetened condensed milk, full-fat Greek yogurt, and pure vanilla extract until the mixture is completely smooth and well combined. This forms the incredibly rich and slightly tangy base of our ice cream. Next, gently fold in your juicy, macerated strawberries – yes, the delicious syrup they’ve released goes in too! This ensures maximum strawberry flavor throughout. Once combined, cover the mixture and pop it into the fridge. Let it chill for at least 2 hours (and up to overnight for best results). This chilling step is vital for achieving optimal creaminess and churn consistency.
Step 3: Churn That Magic into Ice Cream
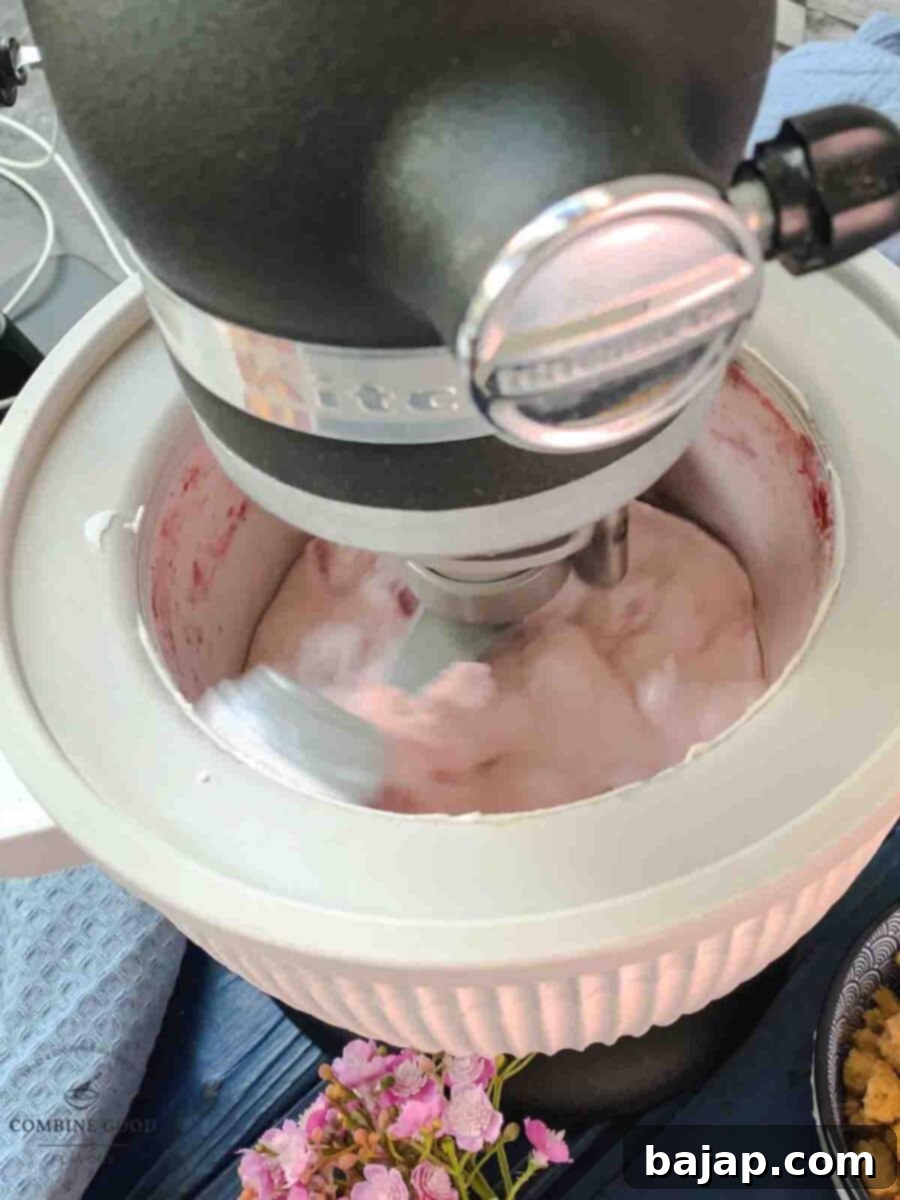
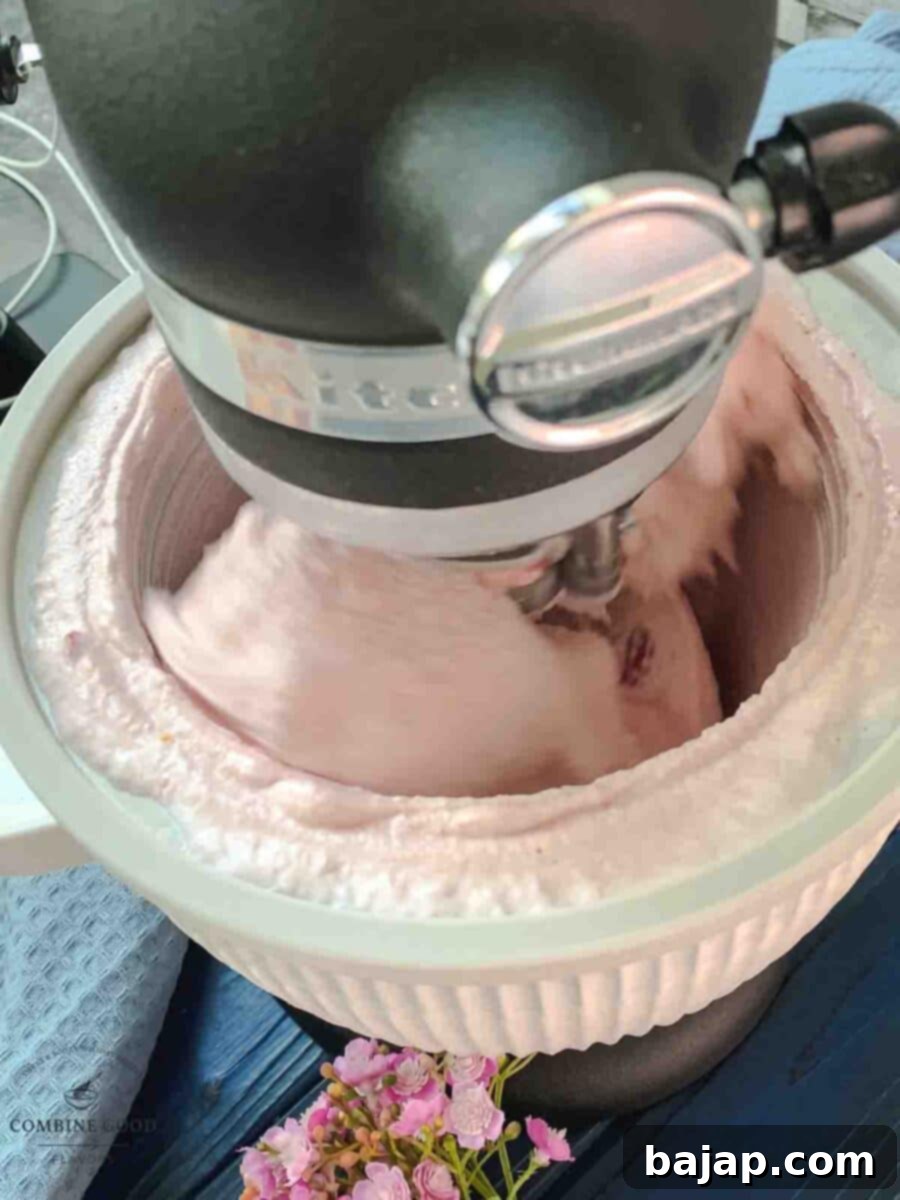
Now for the fun part! Make sure your KitchenAid ice cream maker attachment bowl has been frozen solid overnight (or for at least 15-24 hours). Attach the frozen bowl and the dasher to your KitchenAid stand mixer. With the mixer running on its lowest speed (usually “stir”), slowly and steadily pour the thoroughly chilled ice cream base into the churning bowl. Let it churn for about 20-25 minutes. During this time, the mixture will gradually thicken and expand, transforming into that dreamy, soft-serve consistency we all love.
Step 4: The Buttery Cookie Crunch Finale
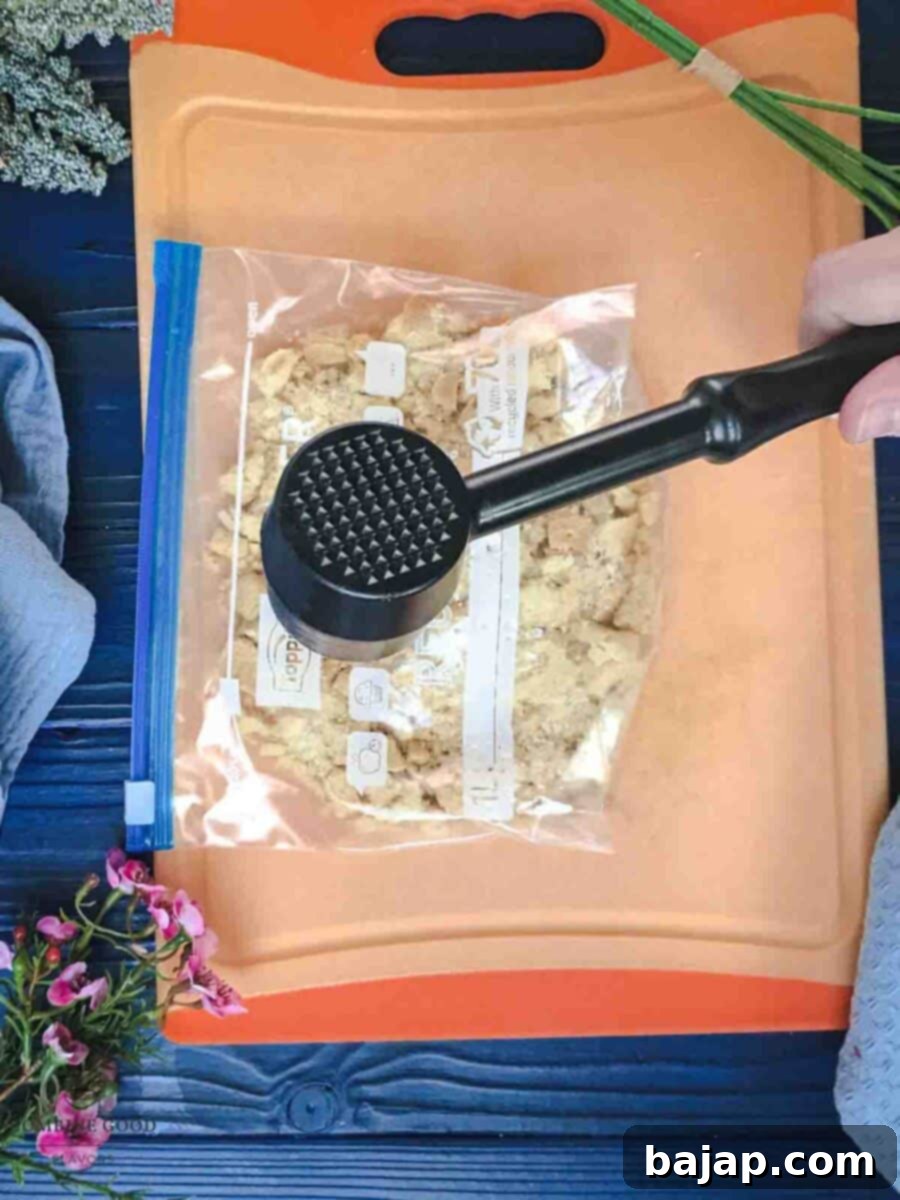
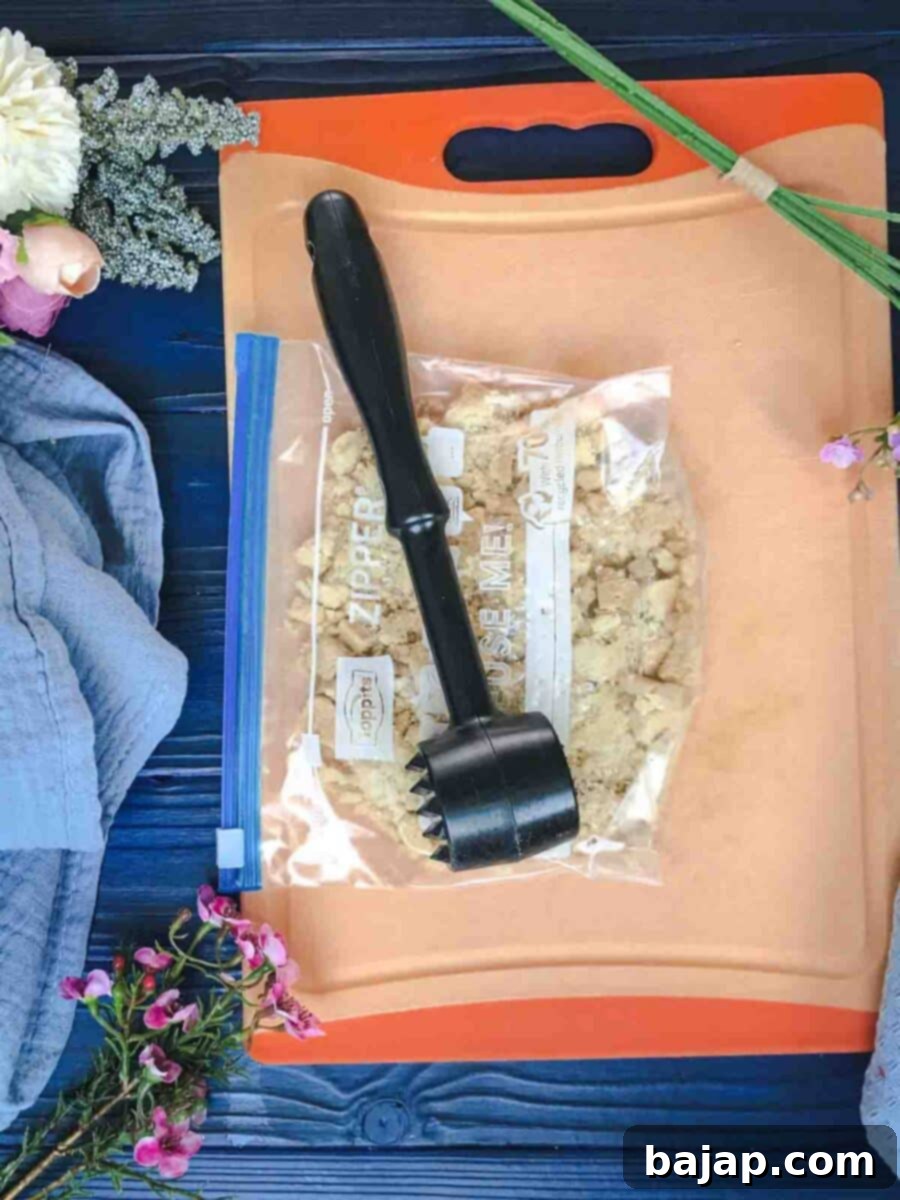
In the last couple of minutes of churning, it’s time to add that delightful shortbread crunch. Take your Walkers shortbread cookies and crush them into small, irregular chunks. You can do this by placing them in a ziplock bag and gently tapping with a meat tenderizer or rolling pin. Carefully add the crushed cookies to the ice cream maker while it’s still churning, allowing them to swirl evenly throughout the soft ice cream base. Once everything is perfectly combined and has reached your desired soft-serve consistency, transfer the freshly churned ice cream to an airtight container. You can absolutely dig in right away for that immediate, fresh ice cream experience, or freeze it for a firmer scoop later.
💡 Pro tip: If you choose to freeze your ice cream for a firmer texture, be sure to let it sit at room temperature for a few minutes before scooping – it gets quite firm in the freezer. And for an extra layer of visual appeal and crunch, don’t forget to sprinkle a generous amount of extra cookie crumbles on top when serving!
🌡️ Storage Solutions for Your Homemade Ice Cream
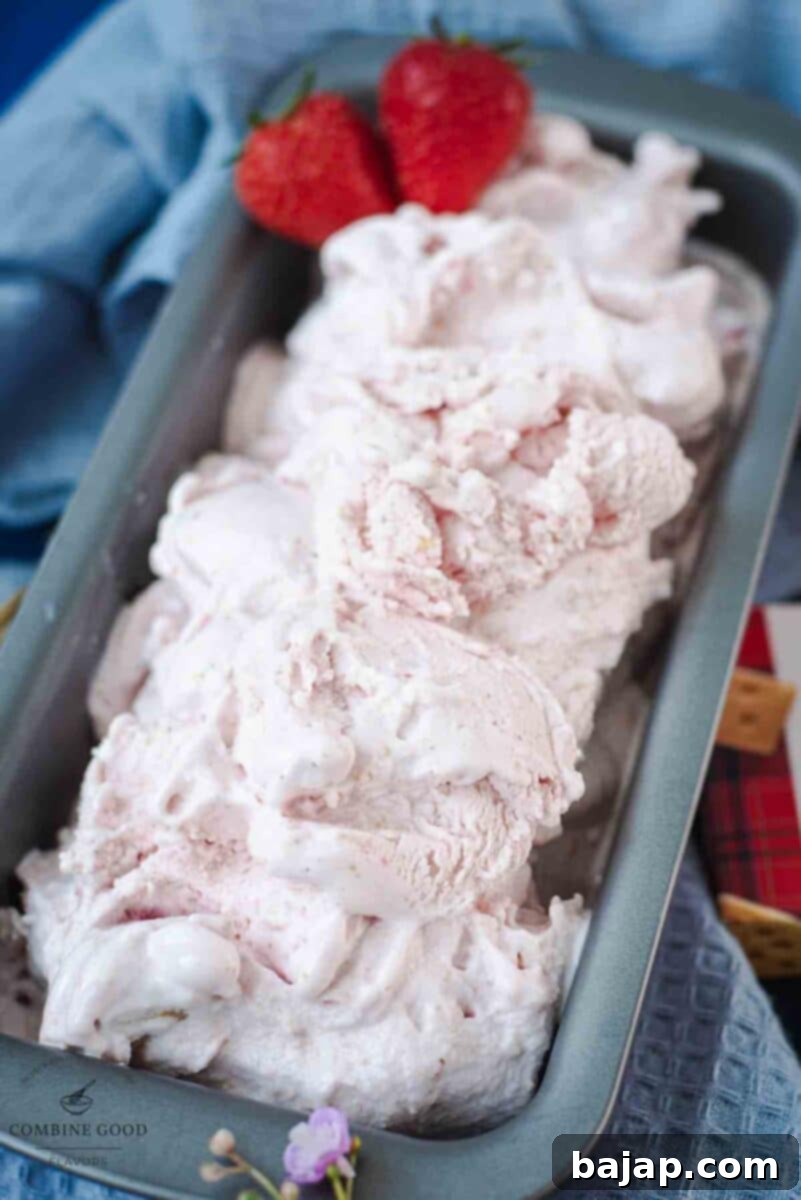
To enjoy your homemade strawberry shortcake ice cream at its best, proper storage is key. Once your ice cream has finished churning, transfer it swiftly into a clean, airtight, and freezer-safe container. Smooth the top surface with a spoon or spatula. For an extra layer of protection against ice crystals forming, press a piece of parchment paper or plastic wrap directly onto the surface of the ice cream before sealing the container with its lid. This barrier prevents air from coming into contact with the ice cream, which is the main culprit for freezer burn and crystallization.
Store your beautifully crafted ice cream in the coldest part of your freezer for up to 2 weeks. While it’s unlikely to last that long, especially with its irresistible flavor, this timeframe ensures it remains fresh and delicious. Beyond two weeks, the quality might start to decline slightly.
💡 Before serving, remember this golden rule: Allow your ice cream to sit at room temperature for 5-10 minutes. This brief resting period is crucial because homemade ice cream, particularly with Greek yogurt, can firm up quite a bit in the freezer. A little rest softens it beautifully, making it perfectly scoopable and an absolute dream to enjoy.
🍓 Creative Serving Suggestions
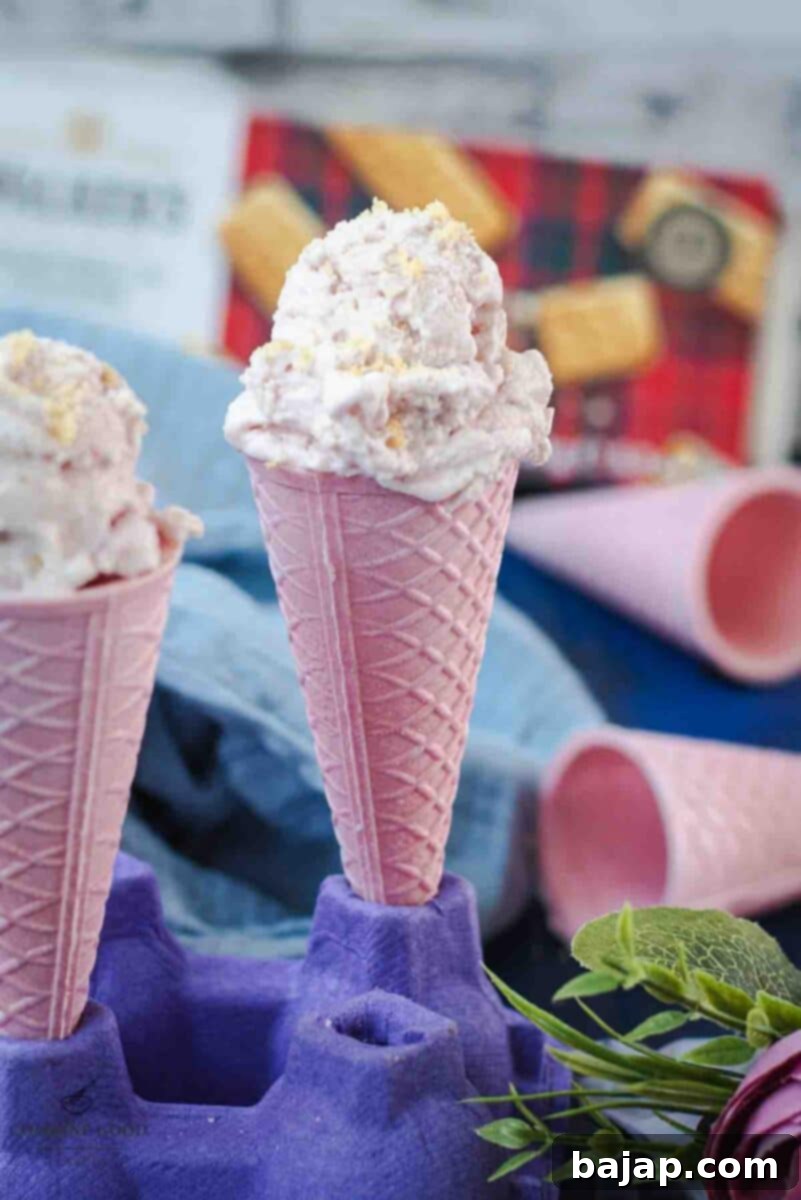
This strawberry shortcake ice cream is delicious on its own, but with a few simple touches, you can elevate it into a truly show-stopping dessert that’s perfect for entertaining or a special treat. Here are some ideas to inspire you:
- Elegant Dessert Glasses: For a sophisticated presentation, serve generous scoops of this creamy ice cream in chilled cocktail glasses. Martini glasses or elegant champagne coupes work exceptionally well, adding a touch of class to your serving.
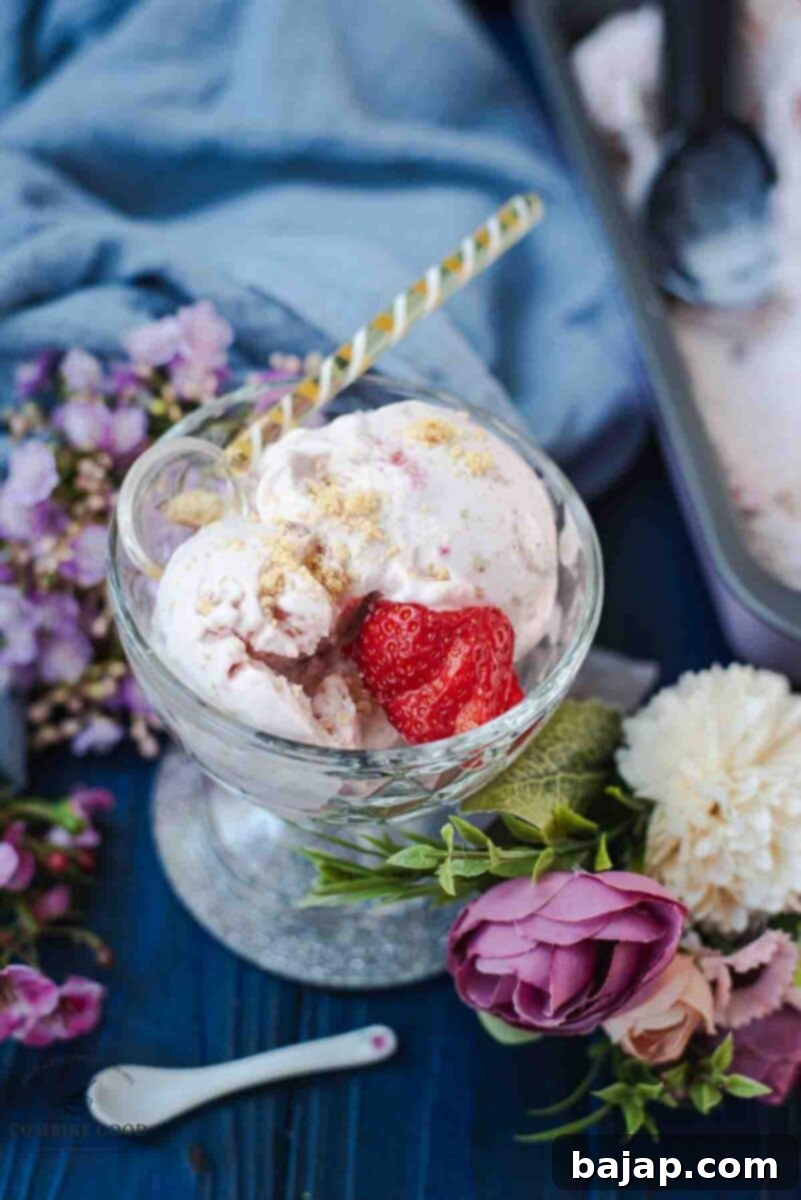
- Gourmet Garnish: Always finish with a flourish! Garnish each serving with a few extra crushed shortbread cookie crumbles for added texture and a fresh, halved strawberry perched gracefully on the rim of the glass. This creates that perfect summer sparkle and enhances the “shortcake” appeal.
- Fresh Herbs & Edible Flowers: Hosting a garden brunch, a special birthday party, or a bridal shower? Elevate the presentation further by adding a sprig of fresh mint or a tiny, delicate edible flower. The vibrant green of the mint or the pop of color from the flower will make your dessert look like it came straight from a gourmet patisserie – and voilà, you’ve got yourself a five-star dessert with zero fuss!
- Strawberry Toppings: Drizzle with a homemade strawberry syrup, or even a light balsamic glaze for a more adventurous flavor profile that complements the berries beautifully.
- Paired with Cake: Serve a scoop alongside a slice of actual shortcake (or angel food cake) for a truly decadent experience.
🍽 Essential Equipment for Your Ice Cream Adventure
Having the right tools makes all the difference in the kitchen. For this homemade strawberry shortcake ice cream, these items will ensure a smooth and enjoyable process:
- Mixing Bowls: You’ll need at least two – one for macerating the strawberries and another large one for whisking the ice cream base.
- Cutting Board & Sharp Knife: Essential for safely hulling and chopping your fresh strawberries into even pieces.
- KitchenAid Ice Cream Maker Attachment: This attachment seamlessly integrates with your KitchenAid stand mixer, making churning ice cream an effortless and mess-free process. Remember to freeze the bowl solid!
- Ice Cream Storage Container: An airtight container designed for freezing is crucial for maintaining the quality and preventing ice crystals in your homemade ice cream.
- Ziplock Bag & Rolling Pin (or Meat Tenderizer): Perfect for crushing your shortbread cookies into uniform, delightful crumbs without making a mess.
- Whisk: For thoroughly combining the liquid ingredients of your ice cream base.
💭 Expert Tips for Your Best Strawberry Shortcake Ice Cream
Unlock the secrets to truly sensational homemade ice cream with these tried-and-true tips:
Why Do We Macerate the Berries?
Macerating is just a fancy culinary term for “letting the strawberries hang out with sugar” for a little while before they go into the ice cream. This simple step is incredibly powerful! The sugar acts osmotically, drawing out the natural juices from the fruit. This not only softens the strawberries, making them more tender and flavorful, but also creates a gorgeous, concentrated sweet strawberry syrup. This syrup then beautifully swirls into your ice cream base, ensuring every spoonful is infused with intense, natural berry flavor. Basically, it makes the berries extra fabulous and contributes significantly to the overall taste of your strawberry shortcake ice cream.
What’s So Great About Greek Yogurt in Ice Cream?
Full-fat Greek yogurt is a game-changer for homemade ice cream, offering several fantastic benefits. Firstly, it lends the ice cream a wonderfully thick, luscious, and incredibly creamy texture without the need for excessive heavy cream. This results in a lighter yet still indulgent mouthfeel. Secondly, it adds a lovely, subtle tang that brilliantly balances the sweetness from the strawberries and sweetened condensed milk. This tart note creates a more sophisticated and refreshing flavor profile. It makes the whole thing feel a little “lighter,” allowing you to go back for seconds (or thirds!) with zero regrets, knowing you’re enjoying a treat that’s rich in flavor but also offers a bit of protein from the yogurt. 😉
Chill Your Base Thoroughly
For the creamiest results, it’s absolutely crucial that your ice cream base is as cold as possible before it goes into the ice cream maker. The colder the base, the quicker it will churn and the smaller the ice crystals will be, leading to a much smoother, richer texture. Don’t rush this step – a minimum of 2 hours in the fridge is necessary, but overnight is even better.
Don’t Overfill the Churner
The ice cream mixture will expand as it churns and incorporates air. Make sure you don’t overfill your ice cream maker bowl, or it could overflow and make a mess. Always check your specific ice cream maker’s instructions for the maximum fill line.
Add Mix-ins at the End
Just like with the shortbread cookies, any other mix-ins (like chocolate chips, nuts, or extra fruit pieces) should be added during the last 2-5 minutes of churning. This ensures they are evenly distributed without being broken down too much by the dasher.
🍦 No-Churn Version: Enjoy Without an Ice Cream Maker!
No ice cream maker? No problem at all! You can absolutely still enjoy the fantastic flavors and creamy texture of this homemade strawberry shortcake ice cream, even if you don’t own a churning machine. The no-churn method is surprisingly simple and yields a wonderfully satisfying result that captures all the fruity, creamy, cookie-loaded magic.
Here’s how to make it:
- Prepare Strawberries: Start by macerating your strawberries with sugar as directed in Step 1 of the main recipe. Once they’ve released their juices, lightly mash them with a fork or give them a brief blend for your preferred texture.
- Combine Base Ingredients: In a large mixing bowl, whisk together the sweetened condensed milk, full-fat Greek yogurt, whole milk, and vanilla extract until smooth.
- Fold in Flavor: Gently fold in the macerated strawberries (including all their delicious syrup) and the crushed shortbread cookies until evenly distributed throughout the mixture.
- Freeze: Pour the entire mixture into a loaf pan or any other shallow, freezer-safe container. Smooth the top with a spatula.
- Cover & Chill: Cover the container tightly with parchment paper or plastic wrap, pressing it directly onto the surface of the ice cream mixture to prevent ice crystals.
- Freeze Until Firm: Place it in the freezer for a minimum of 6-8 hours, or ideally, overnight, until it’s firm enough to scoop.
Just like the churned version, remember to let your no-churn ice cream sit at room temperature for a few minutes before scooping. This allows it to soften slightly, making it easier to serve and enhancing its creamy texture. It’s just as dreamy and delicious, proving that you don’t need special equipment to enjoy amazing homemade ice cream!
Other Irresistible Strawberry & Ice Cream Recipes to Try
If you loved this strawberry shortcake ice cream, you’re in for a treat! Explore more delightful recipes that celebrate the versatile strawberry or offer another scoop of creamy goodness:
- Tangy Sour Cream Ice Cream
- Homemade Vanilla Ice Cream Recipe
- Chocolate Chip Vanilla Ice Cream
- KitchenAid Lemon Sorbet Recipe
- Easy Homemade Strawberry Milkshake with Ice Cream
- No Fuss Homemade Strawberry Simple Syrup
- Homemade Strawberry Popsicles
- How to make a Refreshing Strawberry Spritz Cocktail
- “Easy As Pie” Strawberry Cobbler Recipe
- Strawberry Moscow Mule
- Quick Strawberry Cream
- Strawberry White Chocolate Cocoa
- Strawberry Flavored Whipped Cream
- Creamy No bake Strawberry Cheesecake
- Fresh Strawberry Sponge Cake
- Strawberry White Chocolate Chip Cookies
- National Strawberry Day (February 27th)
- Delicious Strawberry Milk with Only Four Ingredients
- How do you make a Frozen Strawberry Daiquiri
- How to make fresh Strawberry Cupcakes with Ricotta
If you make this irresistible strawberry shortcake ice cream recipe, please let me know how you liked it by giving it a ★★★★★ star rating and leaving a comment below. Your feedback means the world and is incredibly helpful! This would be awesome! You can also sign up for our Newsletter to get delicious recipes delivered straight to your inbox, or follow me on Pinterest or Instagram and share your delightful creation with me. Just tag me @combinegoodflavors and hashtag #combinegoodflavors, so I don’t miss it. Happy churning (or no-churning)!
📖 Recipe

Easy Strawberry Shortcake Ice Cream with KitchenAid
Nora
Save RecipeSaved!
Pin Recipe
Equipment
-
Mixing bowls
-
Cutting board & Sharp knife
-
KitchenAid Ice Cream Maker Attachment
-
Ice cream storage container
-
Ziplock bag & rolling pin to smash the cookies
Ingredients
- 2 cups Fresh strawberries hulled and chopped
- 2 tablespoon Sugar for macerating
- 1 cup Whole milk
- ¾ cup Sweetened condensed milk
- 1 ¾ cup Greek yogurt full fat
- 1 teaspoon Vanilla extract
- 1 cup Shortbread cookies crushed into small chunks
Instructions
-
Combine 2 cups Fresh strawberries with 2 tablespoon Sugar in a bowl. Let them macerate for 15-20 minutes to draw out juices.2 cups Fresh strawberries, 2 tablespoon Sugar
-
Lightly mash the macerated berries with a fork or briefly blend them if you prefer a smoother ice cream base.
-
In a large mixing bowl, whisk together 1 cup Whole milk, ¾ cup Sweetened condensed milk, 1 ¾ cup Full-fat Greek yogurt, and 1 teaspoon Pure vanilla extract until smooth.1 cup Whole milk, ¾ cup Sweetened condensed milk, 1 ¾ cup Greek yogurt, 1 teaspoon Vanilla extract
-
Gently fold in the prepared macerated strawberries, including all their delicious syrup.
-
Cover the mixture and chill it in the fridge for at least 2 hours, or preferably overnight, to ensure it’s very cold.
-
Set up your KitchenAid ice cream maker attachment. Ensure the bowl has been frozen solid for at least 15-24 hours.
-
With the mixer running on low (stir speed), slowly pour the chilled ice cream base into the frozen bowl. Churn for about 20-25 minutes, or until it reaches a soft-serve consistency.
-
During the last 2 minutes of churning, add 1 cup Shortbread cookies, crushed into small, irregular chunks. Let them swirl in evenly.1 cup Shortbread cookies
-
Transfer the freshly churned ice cream to an airtight, freezer-safe container. Serve immediately for soft-serve, or freeze for a firmer scoop.
-
If frozen, let the ice cream sit at room temperature for 5-10 minutes before serving to soften slightly.
-
Garnish with extra cookie crumbles and fresh strawberries for a beautiful presentation.
Notes
🎉 No ice cream maker? No problem!
No worries! After macerating the strawberries, whisk all ingredients (except the shortbread cookies) together in a large bowl. Gently fold in the macerated berries (with their syrup) and the crushed cookie chunks. Pour the mixture into a loaf pan or other freezer-safe container, smooth the top, and cover tightly with parchment paper or plastic wrap, pressing it directly onto the surface. Freeze for 6-8 hours or overnight until firm. Let soften a few minutes before scooping and enjoy!
Nutrition values are estimates only, using online calculators. Please verify using your own data.

⛑️ Important Food Safety Tips
Ensuring food safety in your kitchen is paramount, especially when preparing homemade treats. Please keep these important guidelines in mind:
- Maintain Proper Temperatures: If your recipe involves any ingredients that require cooking, ensure they reach a minimum internal temperature of 165 °F (74 °C) to eliminate harmful bacteria.
- Prevent Cross-Contamination: Always use separate utensils, cutting boards, and plates for raw and cooked foods. Never use the same utensils that previously touched raw meat on cooked food without thoroughly washing them first.
- Thorough Handwashing: Wash your hands diligently with soap and warm water for at least 20 seconds after handling raw ingredients, especially raw meat, poultry, or eggs.
- Avoid Extended Room Temperature Exposure: Do not leave perishable foods, including ice cream base ingredients, sitting out at room temperature for extended periods. Bacteria can multiply rapidly between 40°F (4°C) and 140°F (60°C).
- Never Leave Cooking Food Unattended: Stay in the kitchen when cooking, especially at high temperatures, to prevent accidents and ensure food is cooked safely.
- Use Oils with High Smoke Points: When frying or sautéing, select cooking oils that have a high smoke point to avoid breaking down the oil and creating harmful compounds.
- Ensure Good Ventilation: Always have good ventilation when using a gas stove to prevent the buildup of carbon monoxide and other fumes.
For further comprehensive information and guidelines on safe food handling practices, please check the official resources from the FDA – Safe Food Handling.
