Irresistible 5-Ingredient White Chocolate Pudding: Your Guide to a Decadent Dessert
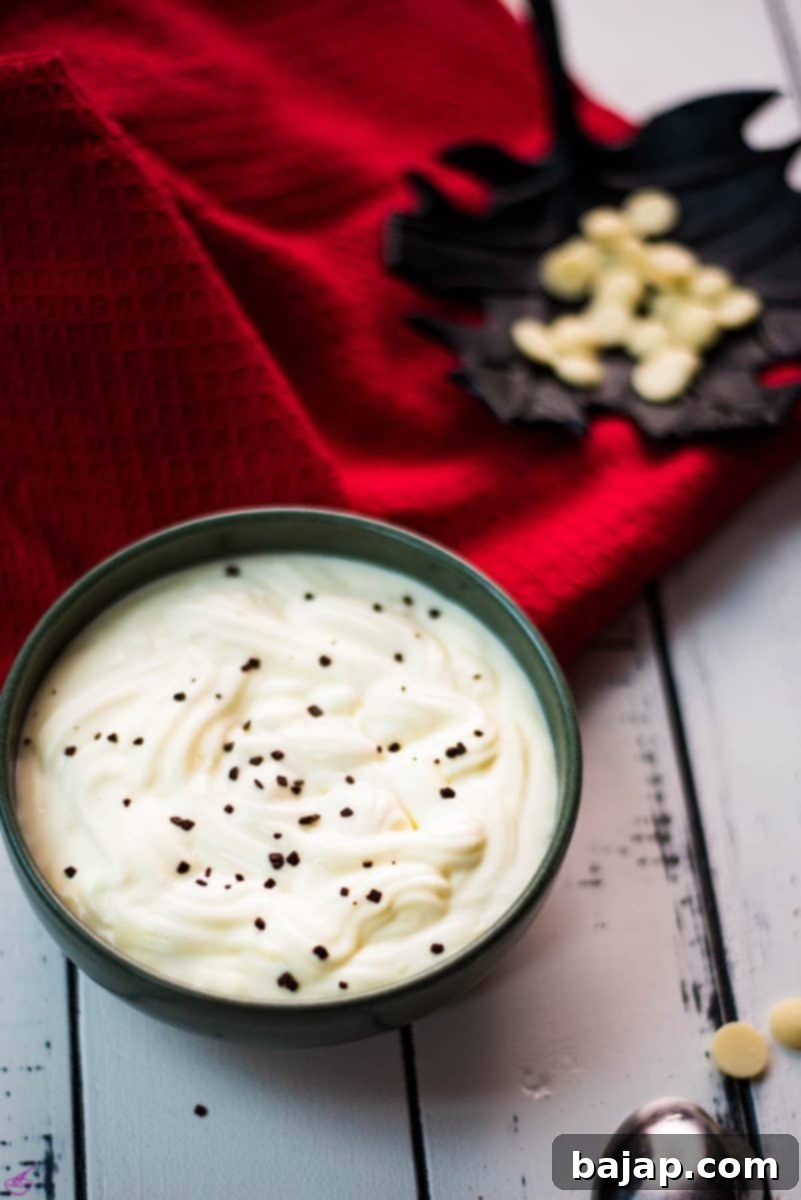
Are you searching for a dessert that effortlessly impresses your dinner guests, leaving them in awe of your culinary skills? Look no further than this incredible **white chocolate pudding**! This remarkable recipe, requiring just five basic ingredients, delivers a rich and creamy indulgence that tastes as if you spent hours perfecting it. It’s truly a magical combination of simplicity and gourmet flair, making it an ideal choice for any occasion, from a casual family dinner to an elegant gathering.

This recipe isn’t just for a standalone dessert; it’s also wonderfully versatile! If you’re looking for a rich, velvety white chocolate creation that doubles as an unforgettable dip for fresh fruits, crunchy cookies, or even delicate pastries, this easy pudding recipe is absolutely perfect. Its smooth texture and delightful sweetness make it an instant crowd-pleaser, no matter how you choose to serve it.
🥘 Essential Ingredients for Creamy White Chocolate Pudding
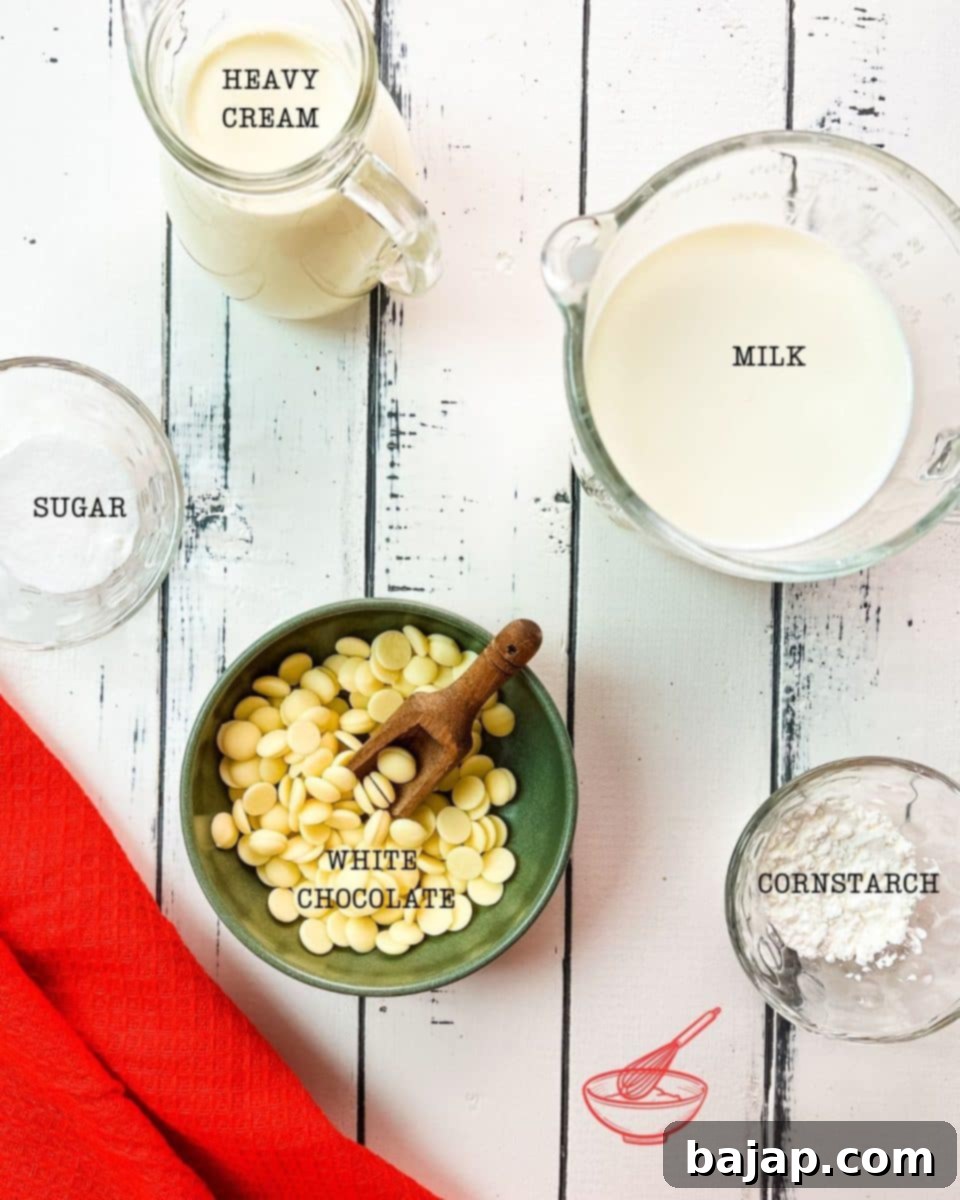
Preparing this luxurious white chocolate pudding requires only a handful of readily available ingredients. The key to its exceptional flavor and texture lies in the quality of these components, particularly the white chocolate itself. Opting for high-quality white chocolate couverture will truly make a difference, yielding a superior taste that elevates this simple dessert to gourmet status. The combination of these five elements creates a harmonious balance of sweetness and richness that is simply irresistible.

- White Chocolate Couverture (high quality is crucial for superior flavor)
- Whole Milk (provides richness and body)
- Granulated Sugar (for perfect sweetness balance)
- Cornstarch (our thickening agent for that perfect pudding consistency)
- Heavy Cream (for whipping into a luscious topping or mixing in for extra creaminess)
For precise measurements, please refer to the detailed recipe card further down.
🔪 Step-by-Step Instructions: Crafting Your Velvety White Chocolate Pudding
Creating this delightful white chocolate pudding is straightforward, even for novice cooks. Follow these simple steps to achieve a perfectly smooth and rich dessert that will delight everyone.
Prepare the Cornstarch Slurry
The very first step is crucial for achieving a lump-free pudding. In a small bowl, thoroughly mix your cornstarch with just one tablespoon of milk. Whisk it until all the cornstarch is completely dissolved and no clumps remain. This technique, known as creating a “slurry,” ensures that the cornstarch incorporates smoothly into your hot liquid without clumping, which is essential for that desirable silky texture.


Combine and Heat the Main Ingredients
In a medium saucepan, combine the high-quality white chocolate couverture, the remainder of the whole milk, and sugar. Place the saucepan over medium heat and bring the mixture to a gentle boil, stirring occasionally to prevent scorching and to help the white chocolate melt evenly. As mentioned, using premium white chocolate is paramount here; it provides the rich, authentic flavor that distinguishes this pudding. Inferior chocolate can result in a less satisfying taste profile.


Thicken the Pudding
Once your white chocolate and milk mixture begins to gently boil, it’s time to introduce the cornstarch slurry you prepared earlier. Slowly pour the slurry into the saucepan while continuously stirring with a whisk. This constant agitation is vital to prevent lumps and ensure the pudding thickens smoothly. Continue stirring and bring the mixture back to a boil. You’ll notice it rapidly thickening, transforming into that familiar creamy pudding consistency.


Chill and Prepare for Serving
Once the pudding has thickened to your desired consistency, remove the pan from the heat. Carefully pour the hot pudding into a clean bowl, preferably one with a lid. This is where patience comes in! The pudding needs a minimum of three hours in the refrigerator to cool and set properly. For the best possible texture and flavor development, I highly recommend making this dessert the night before and allowing it to chill overnight. This extended chilling time deepens the flavor and ensures a truly firm, luscious pudding.
After the pudding has adequately chilled (at least three hours), it’s time for the final touch. Using an electric hand mixer, whip the heavy cream in a separate bowl until it forms stiff peaks. You’ll know it’s ready when the cream holds its shape firmly. Gently fold this freshly whipped cream into your cold white chocolate cornstarch pudding. This step adds an extra layer of lightness and creaminess, making the pudding even more luxurious.
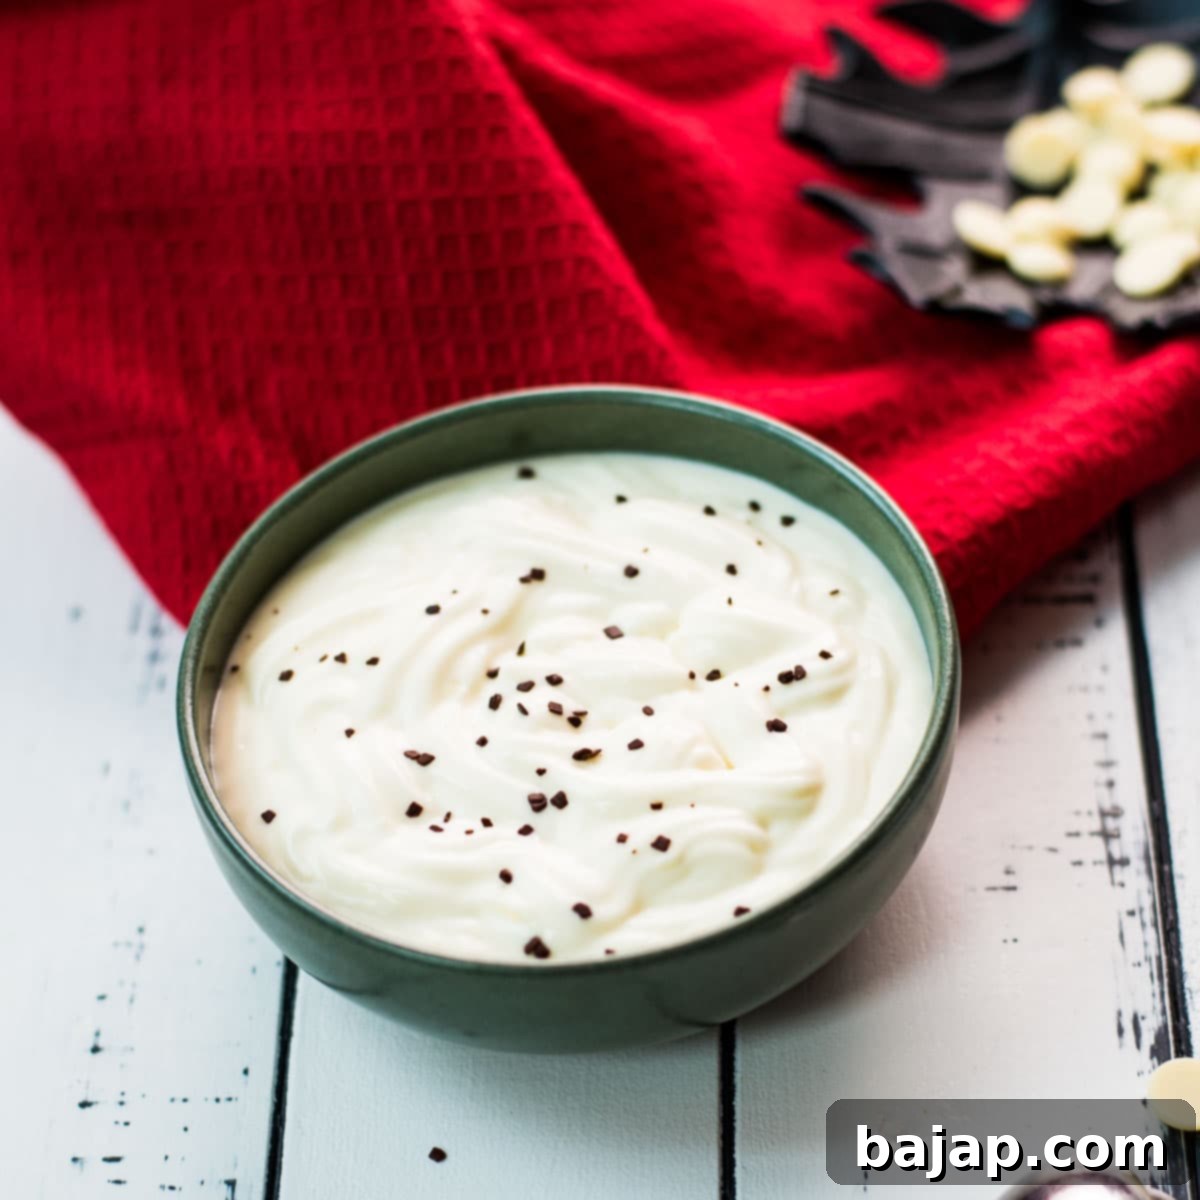
For an elegant presentation, you can transfer your creamy white chocolate pudding into a pastry bag fitted with a star tip. Pipe the pudding into individual serving bowls or smaller dipping bowls if you’re planning to serve it with snacks. While this step doesn’t alter the taste, it certainly elevates the visual appeal, making your dessert look as good as it tastes. A beautifully piped pudding can transform a simple treat into a show-stopping masterpiece.

If you’re serving this versatile creation as a dip, consider adding some delightful finishing touches. Decorate the top with small pieces of your favorite cookies, a sprinkle of colorful chocolate sprinkles, or fresh fruit slices. The subtle, sweet flavor of white chocolate is not at all overpowering, making it a perfect complement to a wide array of other dessert dishes and snacks. It pairs beautifully with berries, pretzel sticks, graham crackers, and even shortbread cookies. The creamy texture of this pudding truly enhances any accompaniment.
🍪 Delicious Variations for Your Pudding
While this white chocolate pudding recipe is a star on its own, it also serves as a fantastic base for various flavor experiments. You can easily adapt this recipe to create other delicious chocolate puddings. For example, it can be made with rich milk chocolate for a classic, comforting flavor, or with intense dark chocolate for a more sophisticated, bittersweet treat. My family loves to serve all three versions as sweet dips during Christmas gatherings, accompanied by homemade sugar cookies. It’s always an absolute hit and a delightful way to offer a variety of chocolate experiences to our guests. Experiment with different chocolate types to find your family’s favorite!
🍽 Essential Equipment for Homemade Pudding
Having the right tools can make the pudding-making process even smoother and more enjoyable. Here’s a list of the equipment you’ll need to whip up this amazing white chocolate pudding:
- Small or Medium-sized Saucepan: For cooking the pudding mixture.
- Whisk: Indispensable for preventing lumps and achieving a smooth consistency.
- Small Bowl: For mixing the cornstarch slurry.
- Large Bowl (with lid): For cooling the hot pudding in the refrigerator. The lid is important to prevent a skin from forming.
- Electric Hand Mixer: Essential for whipping the heavy cream to stiff peaks quickly and efficiently.
- Piping Bag with Star Tip: Optional, but highly recommended for an elegant presentation.
- Glass Bowls or Small Dipping Bowls: For serving your beautiful pudding or dip.
🌡 Storage & Expert Tips for Perfect Pudding
Proper storage is key to enjoying your homemade white chocolate pudding for days. Once prepared, this delightful white chocolate cornstarch pudding will remain fresh and delicious for up to three days when stored correctly in the refrigerator. Always make sure to transfer it into an airtight container to maintain its freshness and prevent it from absorbing any unwanted odors from the fridge.
As soon as you bring all the ingredients to a boil and thicken the pudding, it needs a minimum of three hours to chill in the refrigerator. Any less, and you might find yourself with a rich white chocolate soup rather than a firm, luscious pudding! For optimal texture and flavor development, I cannot stress enough how beneficial it is to make this dessert ahead of time – ideally, the night before you plan to serve it. This allows the flavors to meld beautifully and the pudding to set perfectly.
While this delicious pudding can be prepped in as little as 20 minutes of active cooking time, speaking from personal experience, preparing everything for a party or special occasion feels significantly less stressful when you’re not under a time crunch. Making it the day before frees you up to focus on other aspects of your event, ensuring a more relaxed and enjoyable experience for both you and your guests.
🙋🏻 Frequently Asked Questions (FAQ)
When you’re making homemade pudding from scratch, particularly without relying on instant mixes, cornstarch is your go-to thickening agent. It plays a crucial role in giving your pudding that characteristic creamy, velvety texture and firm consistency that we all love, transforming liquid ingredients into a delightful dessert.
While this recipe specifically calls for cornstarch, you can indeed substitute all-purpose flour if needed. When making the substitution, use a 2:1 ratio: for every one tablespoon of cornstarch, you would use two tablespoons of flour. Keep in mind that flour can sometimes impart a slightly different texture or flavor compared to cornstarch, but it will still work to thicken your pudding.
Absolutely! Your homemade cornstarch pudding will begin to thicken noticeably while it’s actively cooking over medium-low heat on the stove. However, its final, proper setting will occur after it has spent sufficient time chilling in the refrigerator. If your white chocolate pudding appears too thin or resembles more of a “chocolate soup” after cooking, it likely needs more time cooking and stirring on the stovetop to reach the correct viscosity before being chilled.
To effectively thicken pudding with cornstarch and prevent any undesirable lumps, the best method is to first create a “slurry.” This involves mixing the cornstarch with a small amount of cold liquid (like a tablespoon of milk, as in this recipe) until it’s completely smooth before adding it to your hot pudding mixture. Once added to the simmering liquid, the cornstarch will activate and thicken the pudding as it cooks, ultimately giving you the perfect consistency before it’s chilled in the fridge.
OTHER RECIPES FOR YOU TO TRY
If you enjoyed making this delightful white chocolate pudding, you might also love these other tempting recipes from our collection:
- Baking Basics for Christmas Cookies
- Chocolate Dipped Butter Cookies
- Divine Leftover Egg Yolk Cookies
- Best Homemade Sacher Torte
- No Bake Mint Chocolate Cheesecake
We absolutely love seeing your culinary creations! If you make this delicious white chocolate pudding recipe, please let me know how you liked it by leaving a ★★★★★ star rating and a comment below. Your feedback is truly invaluable! You can also sign up for our Newsletter to receive weekly recipe inspiration directly in your inbox. And don’t forget to follow me on Pinterest or Instagram and share your delightful creation with me. Just tag me @combinegoodflavors and use the hashtag #combinegoodflavors, so I don’t miss it!
📖 Recipe Card: White Chocolate Pudding

White Chocolate Pudding
Nora
Save RecipeSaved!
Pin Recipe
20 minutes
3 hours
3 hours 20 minutes
Dessert, Sweet dip
European
3 Servings
351 kcal
Equipment
-
Saucepan
-
Whisk
-
Small bowl
-
Tablespoon
-
Bowl with a lid
-
Electric hand mixer
-
Piping bag with a star tip
-
A glass bowl for serving (or small dipping bowls)
Ingredients
- 1 ¾ tablespoon Cornstarch
- 1 ¼ Cups Whole milk
- ½ Cup White chocolate high quality
- 1 ¼ tablespoon Sugar
- ½ Cup Heavy cream
Instructions
-
Mix 1 ¾ tablespoon Cornstarch with a tablespoon of milk until completely smooth, ensuring no lumps. This creates your cornstarch slurry.1 ¾ tablespoon Cornstarch
-
In a medium saucepan, combine the ½ Cup White chocolate (high quality), 1 ¼ Cups Whole milk, and 1 ¼ tablespoon Sugar. Heat over medium heat, stirring occasionally, until the white chocolate is melted and the mixture reaches a gentle boil.1 ¼ Cups Whole milk, ½ Cup White chocolate, 1 ¼ tablespoon Sugar
-
Slowly add the prepared cornstarch slurry to the boiling mixture, constantly stirring vigorously with a whisk. Continue to stir and bring the pudding back to a full boil to thicken it properly.
-
Once thickened, remove the saucepan from the heat. Pour the hot pudding into a clean bowl, cover it with a lid (or plastic wrap directly on the surface to prevent a skin), and allow it to cool in the refrigerator for at least three hours. For best results, chill overnight.
-
After the pudding has thoroughly chilled, whip ½ Cup Heavy cream in a separate bowl using an electric hand mixer until stiff peaks form.½ Cup Heavy cream
-
Gently fold the cold white chocolate pudding with the freshly whipped heavy cream until well combined and lightened.
-
For an elegant presentation, fill the pudding into a pastry bag with a star tip and pipe the cream into individual serving bowls or small dipping bowls. Garnish as desired with cookies, fruit, or chocolate shavings.
white chocolate pudding, 5 ingredient dessert, chocolate dip, creamy pudding, easy dessert
Nutrition values are estimates only, using online calculators. Please verify using your own data.

🤎 You Might Also Enjoy These Recipes
- Dark Chocolate Mousse with Heavy Cream {gluten-free}
- Waffle Blossoms with Chestnut Purée
- Easy Cut-Out Sugar Cookies {no chill}
- How to bake delicious Walnut Meringue Cookies
⛑️ Food Safety Guidelines
Ensuring food safety is paramount when preparing any recipe. Please keep the following guidelines in mind to guarantee a safe and enjoyable culinary experience:
- Cook to a minimum internal temperature of 165 °F (74 °C) to eliminate harmful bacteria, especially when dealing with milk and cream.
- Avoid cross-contamination by not using the same utensils on cooked food that previously touched raw ingredients.
- Always wash your hands thoroughly with soap and water before and after handling any food, especially raw ingredients.
- Do not leave perishable foods, such as pudding, sitting out at room temperature for extended periods. Refrigerate promptly.
- Never leave cooking food unattended on the stovetop to prevent burning or other kitchen accidents.
- When cooking, use oils with a high smoking point to avoid the formation of harmful compounds, if applicable.
- Always ensure good ventilation in your kitchen, especially when using a gas stove, to prevent the buildup of fumes.
For further comprehensive information on safe food handling practices, please refer to the official Safe Food Handling guidelines from the FDA.
