Decadent Flourless Chocolate Cake: Your New Favorite Easy Gluten-Free Recipe
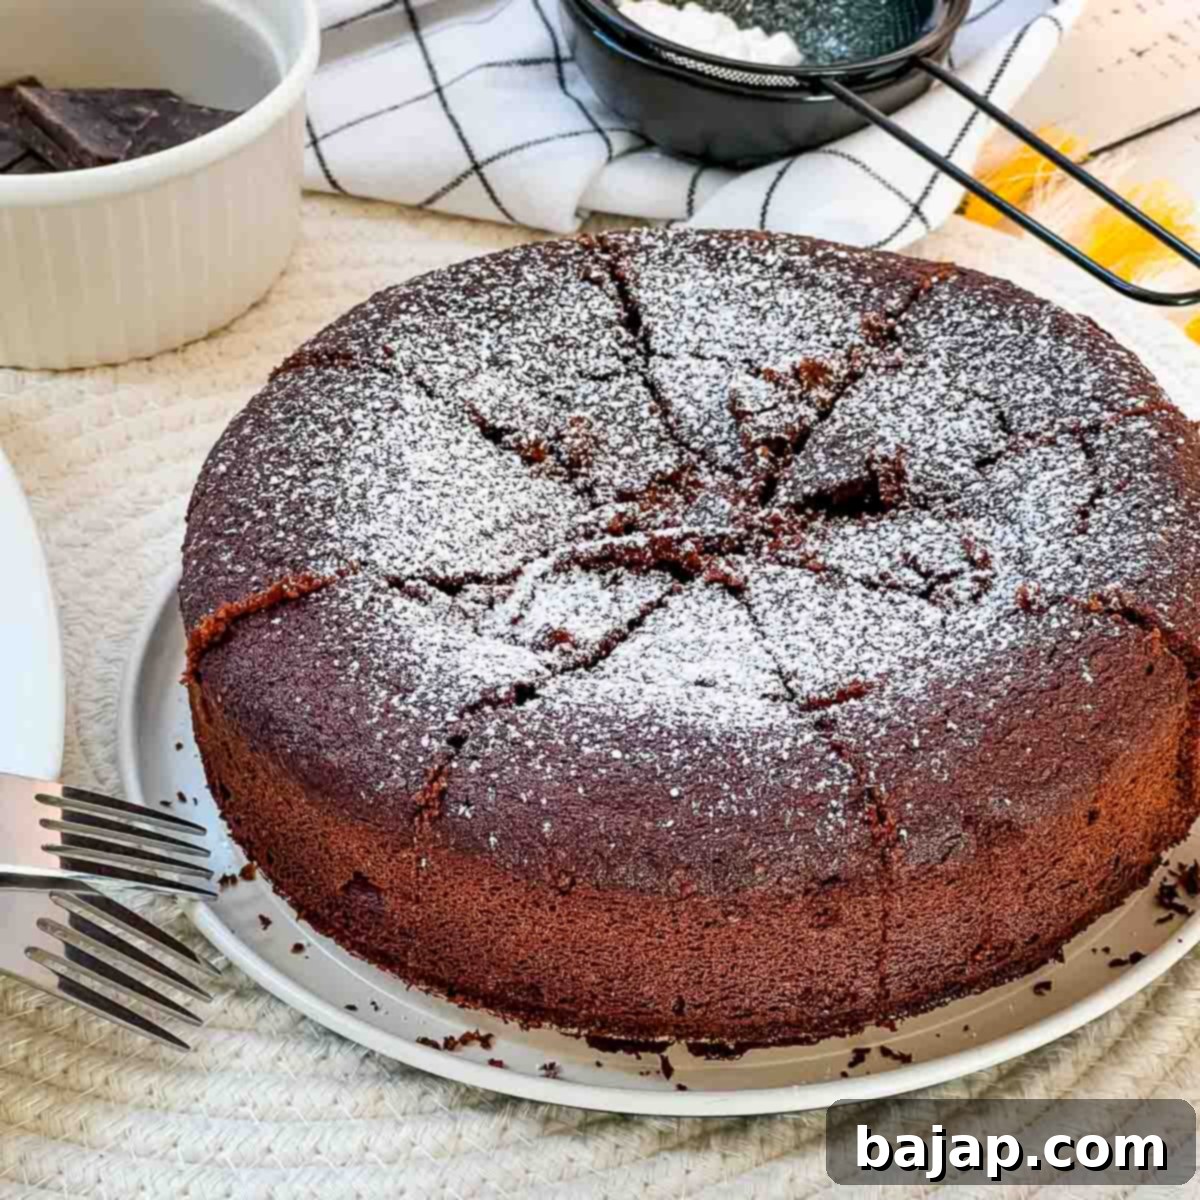
Prepare yourself for an unforgettable dessert experience with this incredibly delicious and remarkably easy-to-make flourless chocolate cake. Bursting with an intense, rich chocolate flavor, this cake promises a decadent treat for any occasion. It’s the perfect choice for chocolate lovers seeking a gluten-free option that doesn’t compromise on taste or texture.
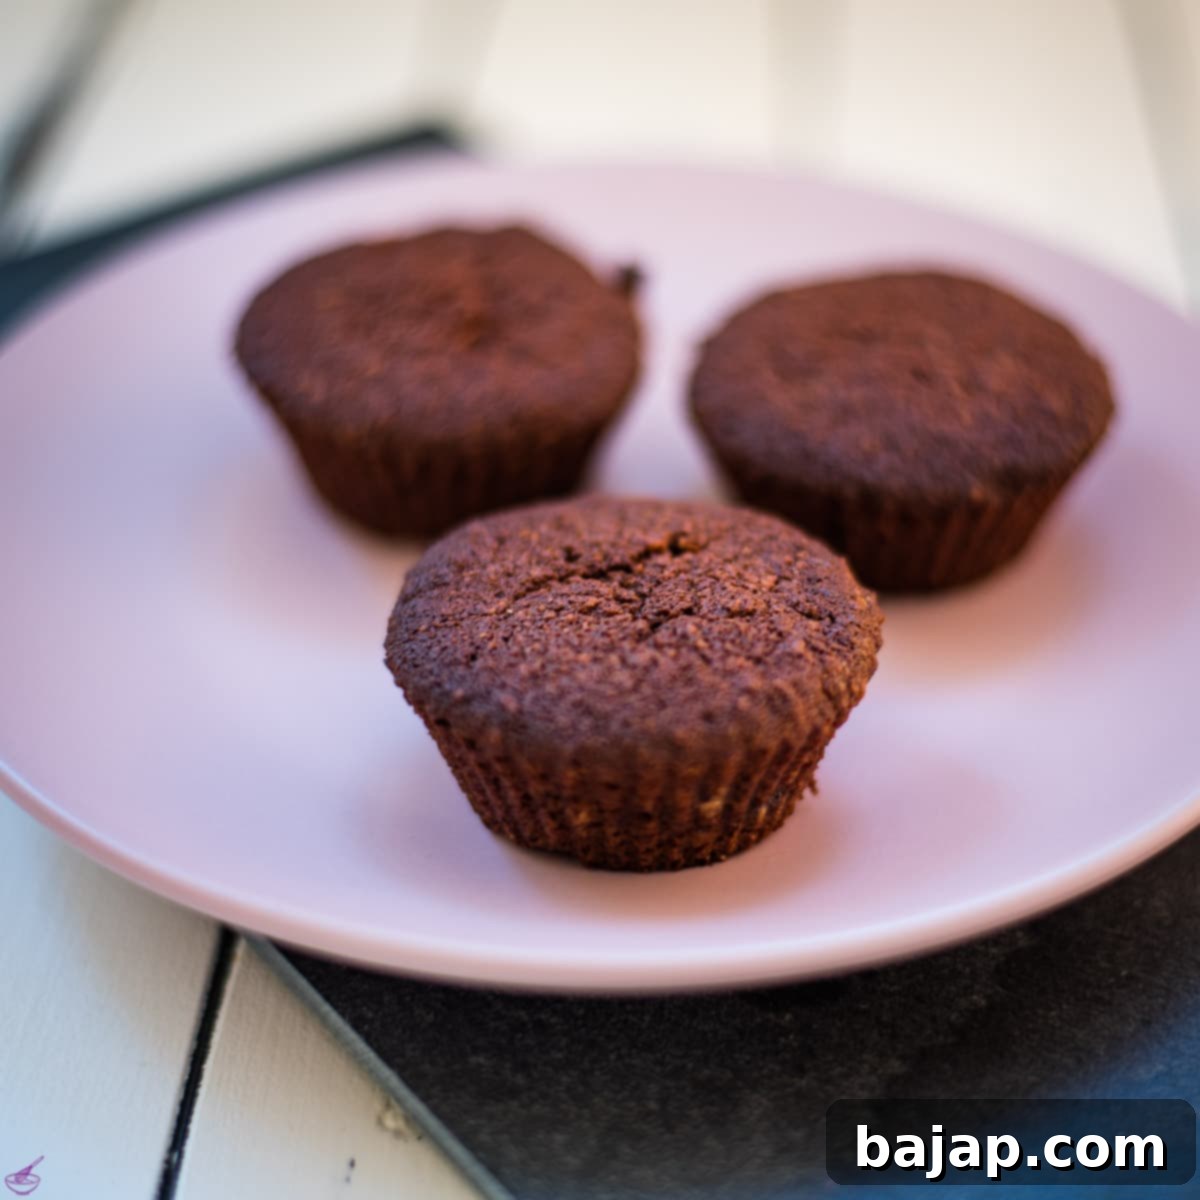
What truly sets this cake apart is the exquisite combination of rich dark chocolate couverture with finely grated almonds. The almonds impart a unique, delightful texture and a subtle nutty undertone that perfectly complements the deep cocoa notes. This versatile recipe isn’t just for cakes; it’s also ideal for crafting delicious gluten-free chocolate muffins, offering you even more ways to enjoy its incredible flavor.
And the best part? You can whip up this elegant gluten-free chocolate cake in less than an hour, making it a fantastic last-minute dessert or a simple project for a busy weekend. Get ready to impress your family and friends with a dessert that’s both sophisticated and surprisingly simple!
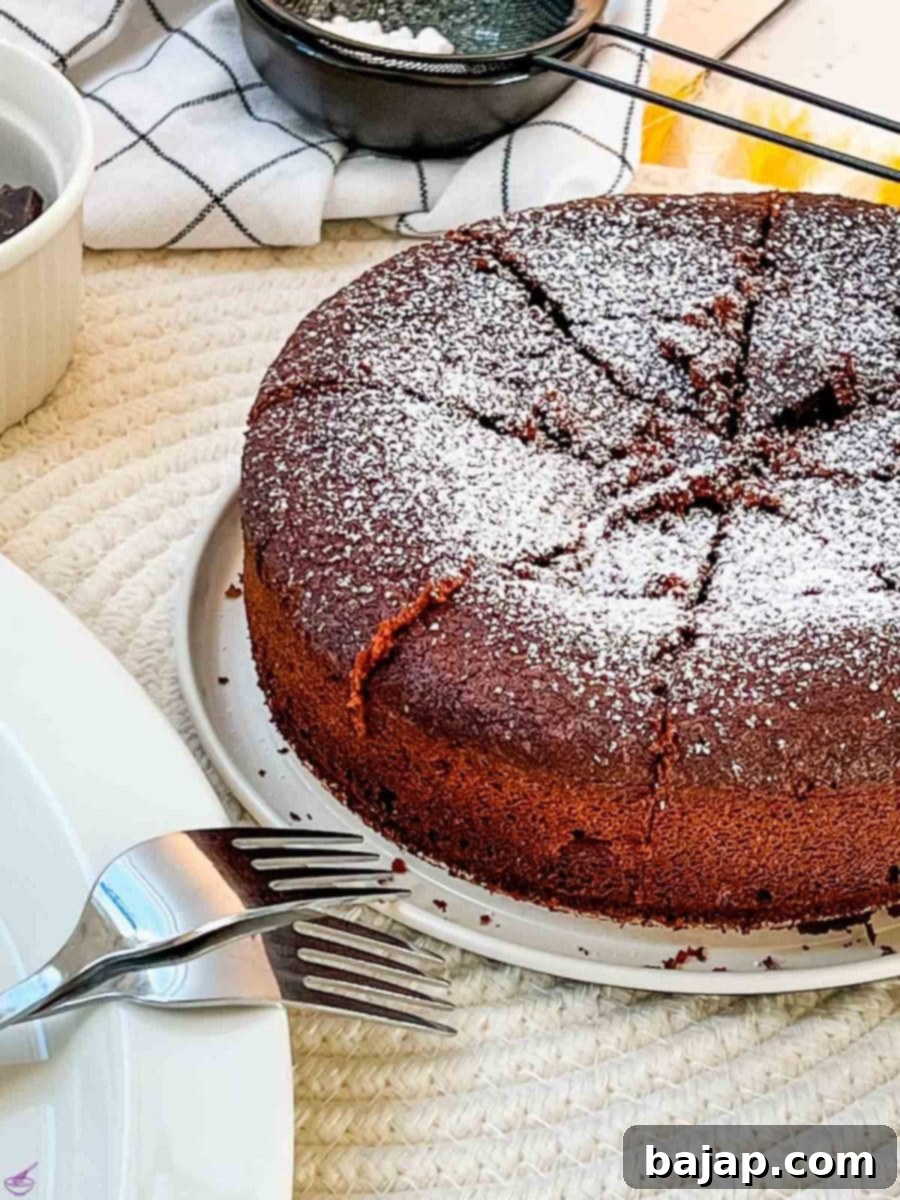
This is truly a perfect chocolate cake for the whole family, especially appealing to those with gluten sensitivities or anyone simply looking for a lighter, yet intensely flavorful, dessert option. Its deep, complex chocolate notes make it a universally loved treat that disappears quickly!
Perfect Pairings: What to Serve with Your Flourless Chocolate Cake
Elevate your dessert experience by pairing this exquisite chocolate cake with a delightful beverage. Here are some of our top recommendations that beautifully complement its rich flavors:
- French Press Eggnog Coffee: A creamy, spiced coffee that adds a festive touch.
- Lumumba – Hot Chocolate with Rum: For an extra indulgent and warming experience, a boozy hot chocolate is divine.
- Festive Eggnog Hot Chocolate: A non-alcoholic, creamy option perfect for holiday cheer.
- Homemade Caramel Milk: A sweet and comforting choice that balances the dark chocolate.
- Cointreau Coffee: An orange liqueur-infused coffee that provides a bright, citrusy contrast to the rich chocolate.
Whether you prefer a warm, comforting drink or something with a little kick, these pairings will enhance the overall enjoyment of your flourless chocolate cake.
[feast_advanced_jump_to]
🎥 Watch How It’s Made: Flourless Chocolate Cake Video Guide
See just how simple it is to create this show-stopping dessert! Our step-by-step video guide walks you through every part of the process, ensuring you achieve perfect results every time. From preparing the ingredients to the final bake, follow along visually for an effortless baking experience.
🥘 Essential Ingredients for Your Flourless Chocolate Cake
Creating a truly exceptional flourless chocolate cake starts with high-quality ingredients. Each component plays a vital role in achieving that rich flavor and perfect texture. Here’s a closer look at what you’ll need and why each choice matters:
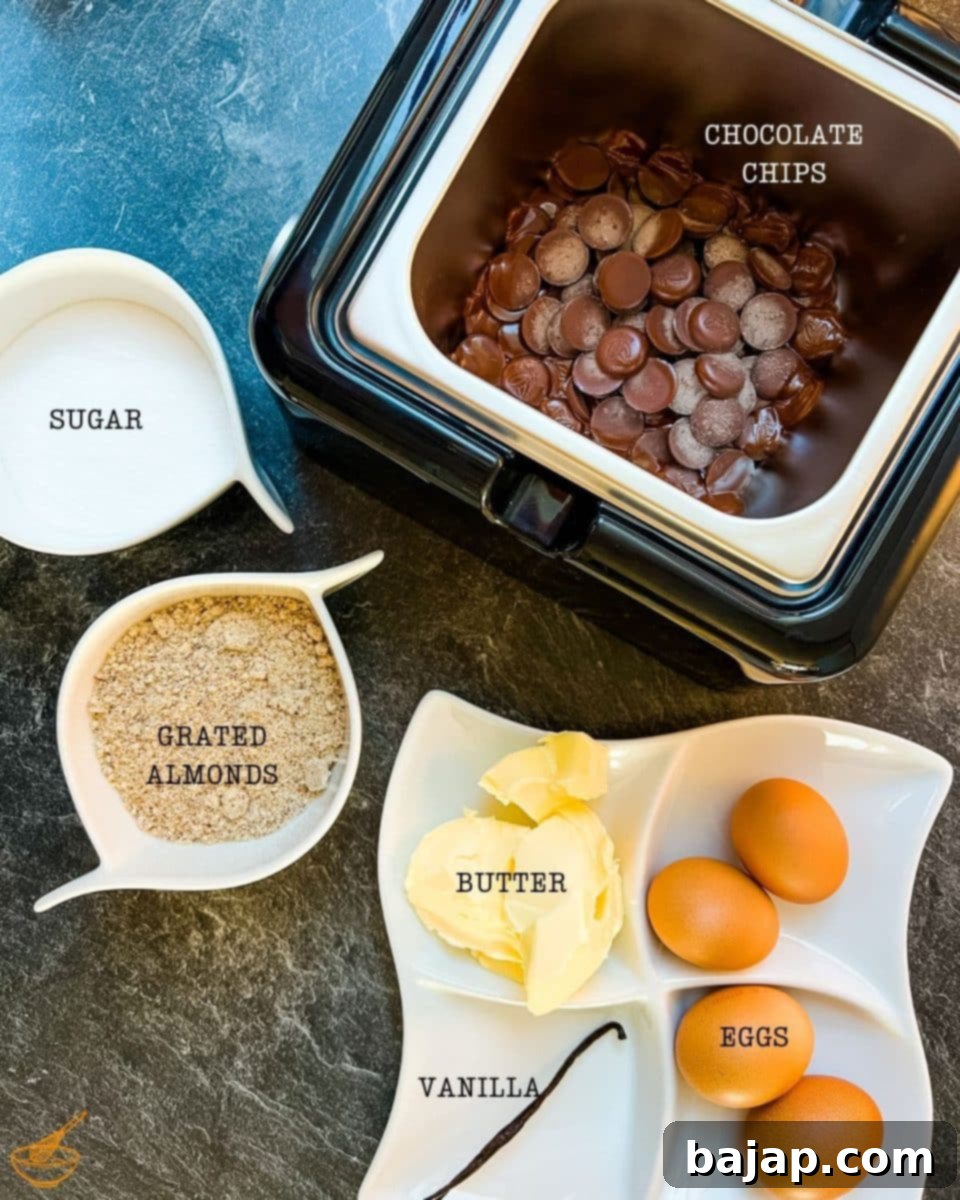
- Unsalted butter: It’s crucial for the butter to be very soft, ideally at room temperature. This allows it to cream properly with the sugar, incorporating air and creating a light, fluffy base for your cake. Unsalted butter gives you control over the overall saltiness of the cake.
- Sugar: Superfine granulated sugar or baking sugar is highly recommended. Its finer crystals dissolve more easily, leading to a smoother, more uniform batter and a wonderfully tender crumb in the finished cake.
- Vanilla pod: The fragrant seeds from a fresh vanilla pod elevate the flavor profile of the cake significantly. Remember, do not throw away the scraped-out pod! You can cut them into small pieces and use them to infuse granulated sugar, quickly and cheaply making your homemade vanilla sugar. This is a fantastic zero-waste tip!
- Eggs: Use medium-sized eggs at room temperature. Room temperature eggs emulsify better with the butter and sugar mixture, resulting in a more cohesive and smooth batter, which is essential for the structure of a flourless cake.
- Semisweet chocolate chips: Or choose high-quality dark chocolate chips to intensify the chocolate taste even further. The quality of your chocolate here directly impacts the final flavor of the cake, so invest in the best you can find. Our all-time favorite is Felchlin’s chocolate, renowned for its superior taste and texture. You can often find it at Prime Chocolate and save some bucks with a special code!
- Grated Almonds: These provide the unique texture and a lovely nutty depth that complements the dark chocolate. The almonds are key to the cake’s structure in the absence of flour, giving it a dense yet tender crumb. You can also use grated hazelnuts or walnuts as a replacement for a slightly different flavor profile.
Ready to indulge? Get your premium chocolate couverture at Prime Chocolate and save 10 % with the exclusive code ThankYouNora. High-quality chocolate makes all the difference!
Optional Ingredients for Decorating and Serving
While this flourless chocolate cake is delightful on its own, a few simple garnishes can transform it into an even more spectacular dessert:
- Heavy cream: A generous dollop of freshly whipped cream provides a beautiful contrast in both color and texture, offering a light, airy counterpoint to the rich cake.
- Fresh raspberries: These vibrant berries are a fitting counterpart to the dark chocolate cake. Their tartness cuts through the richness, and their bright red hue adds a lovely splash of color on top.
- Powdered sugar: A delicate dusting of powdered sugar creates an elegant finish, enhancing the visual appeal of the cake with minimal effort.
See the full recipe card below for exact quantities and detailed instructions.
🔪 Step-by-Step Instructions: Baking Your Flourless Chocolate Cake
Follow these easy steps to bake a perfectly moist and intensely chocolatey flourless cake. Precision and room temperature ingredients are your best friends here!
-
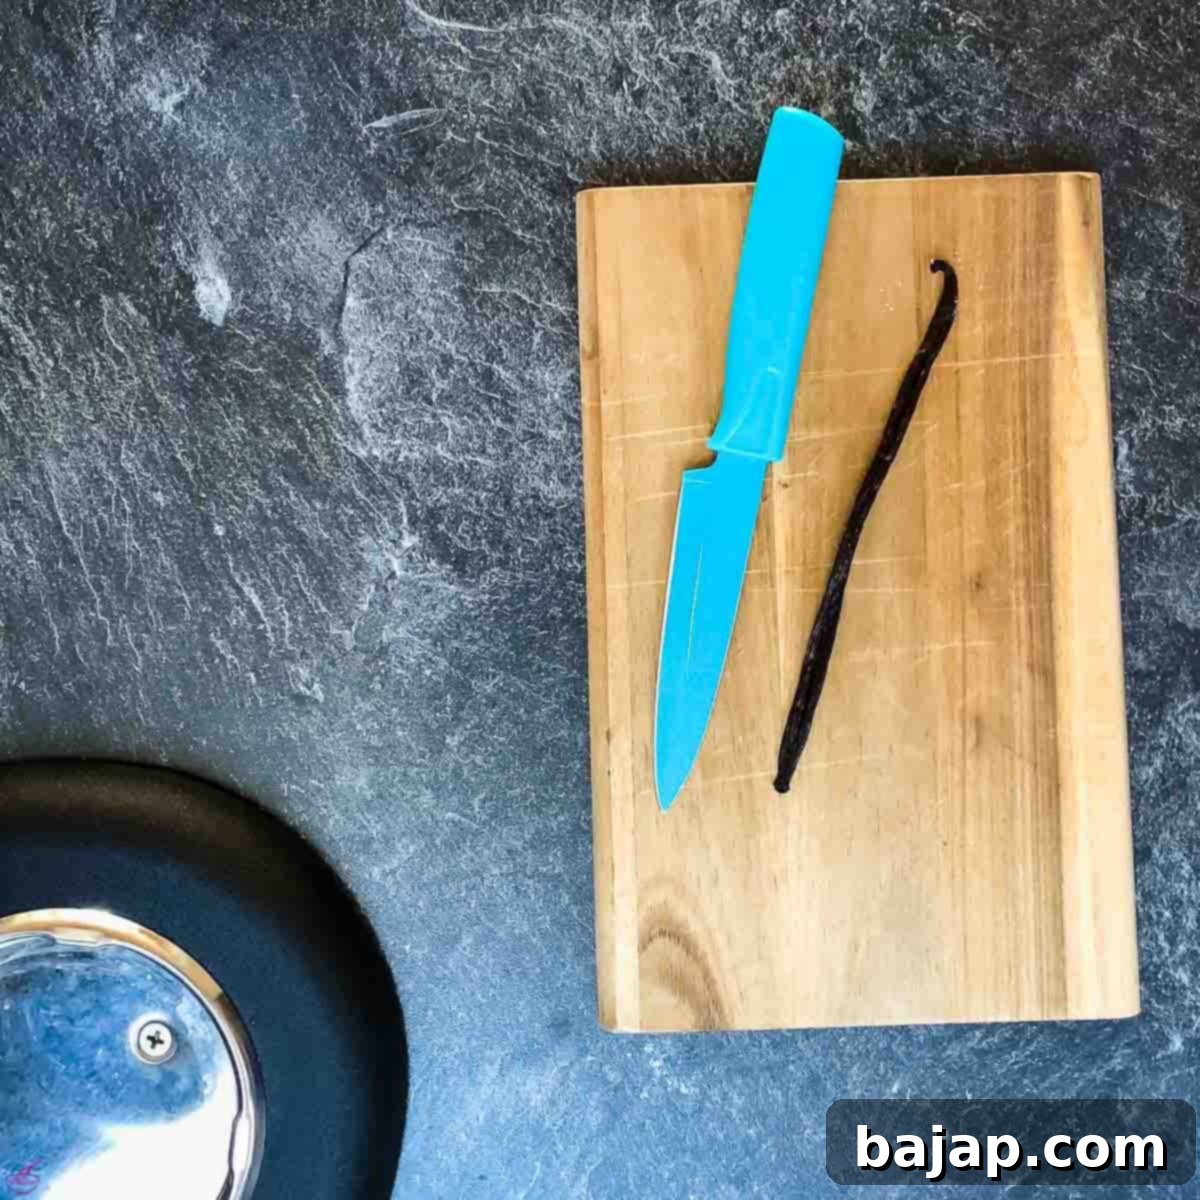
Prepare the Vanilla and Wet Ingredients Base: Begin by preparing the mixing bowl of your food processor. Carefully cut open the vanilla pod lengthwise and scrape out the fragrant pulp with the tip of a knife. Add this scraped vanilla directly into the mixing bowl.

Carefully split the vanilla pod to extract its aromatic seeds. Zero-Waste Tip: Don’t discard the scraped-out vanilla pod! Instead, cut it into small pieces and add them to a jar of granulated sugar. Over time, the sugar will become infused with rich vanilla flavor, creating your homemade vanilla sugar. This simple trick saves money and reduces waste!
-
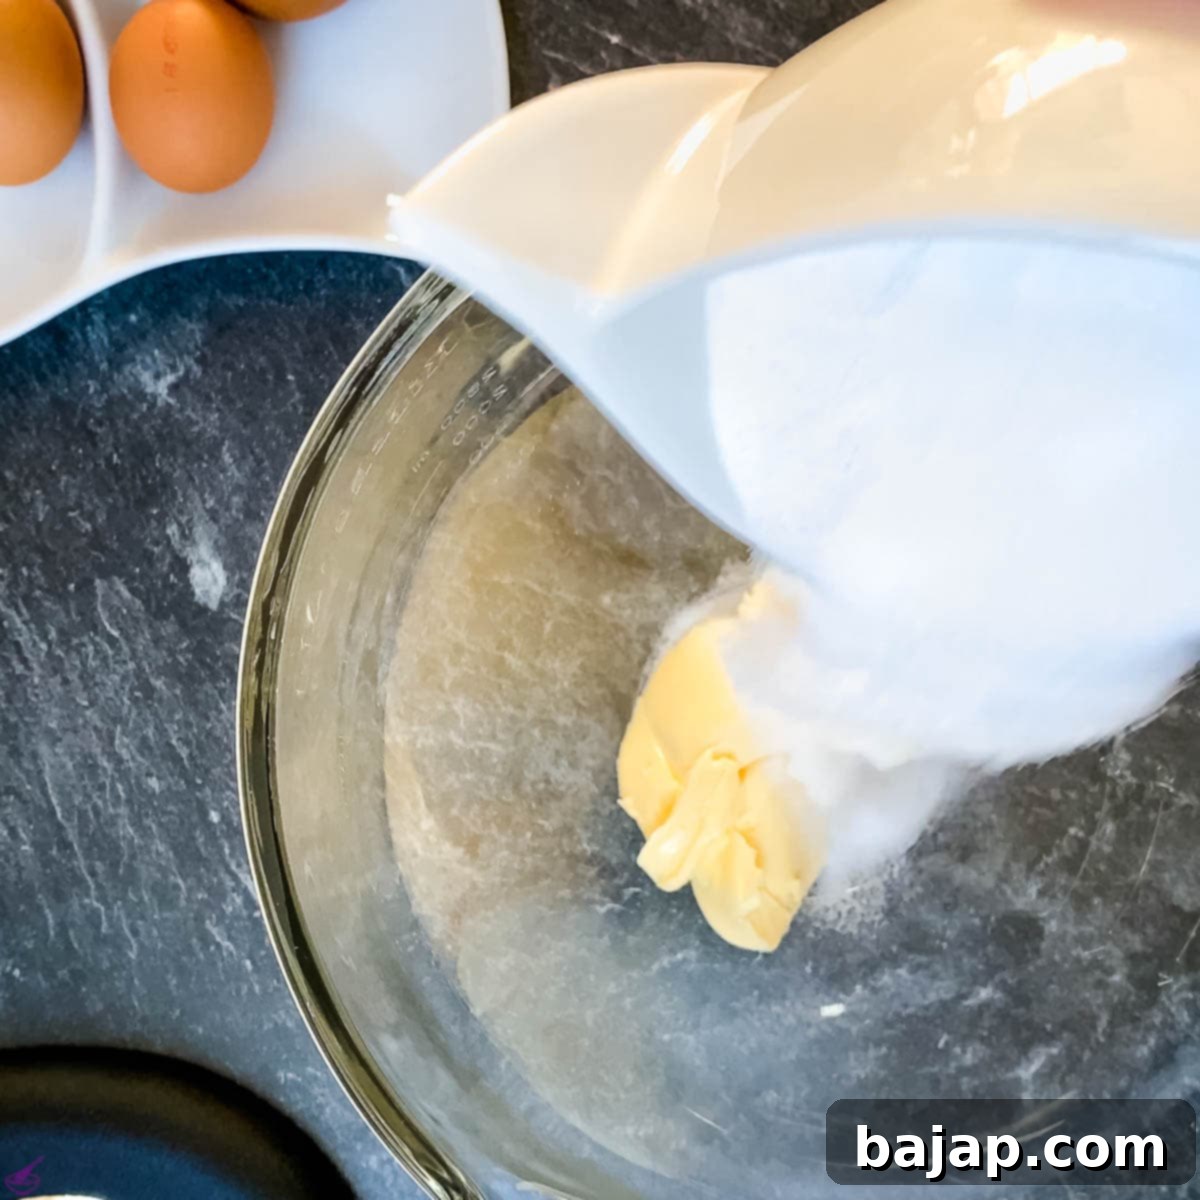
Cream Butter and Sugar: To the mixing bowl with the vanilla, add the very soft, room-temperature unsalted butter and the superfine granulated sugar. Using the food processor fitted with a whisk attachment, beat these ingredients together on medium-high speed until the mixture is light, pale, and fluffy. This step is crucial for incorporating air and creating a tender crumb. It should take several minutes.

Combine the soft butter, sugar, and vanilla for a fluffy base. 
Achieve a light and airy consistency by creaming thoroughly. -
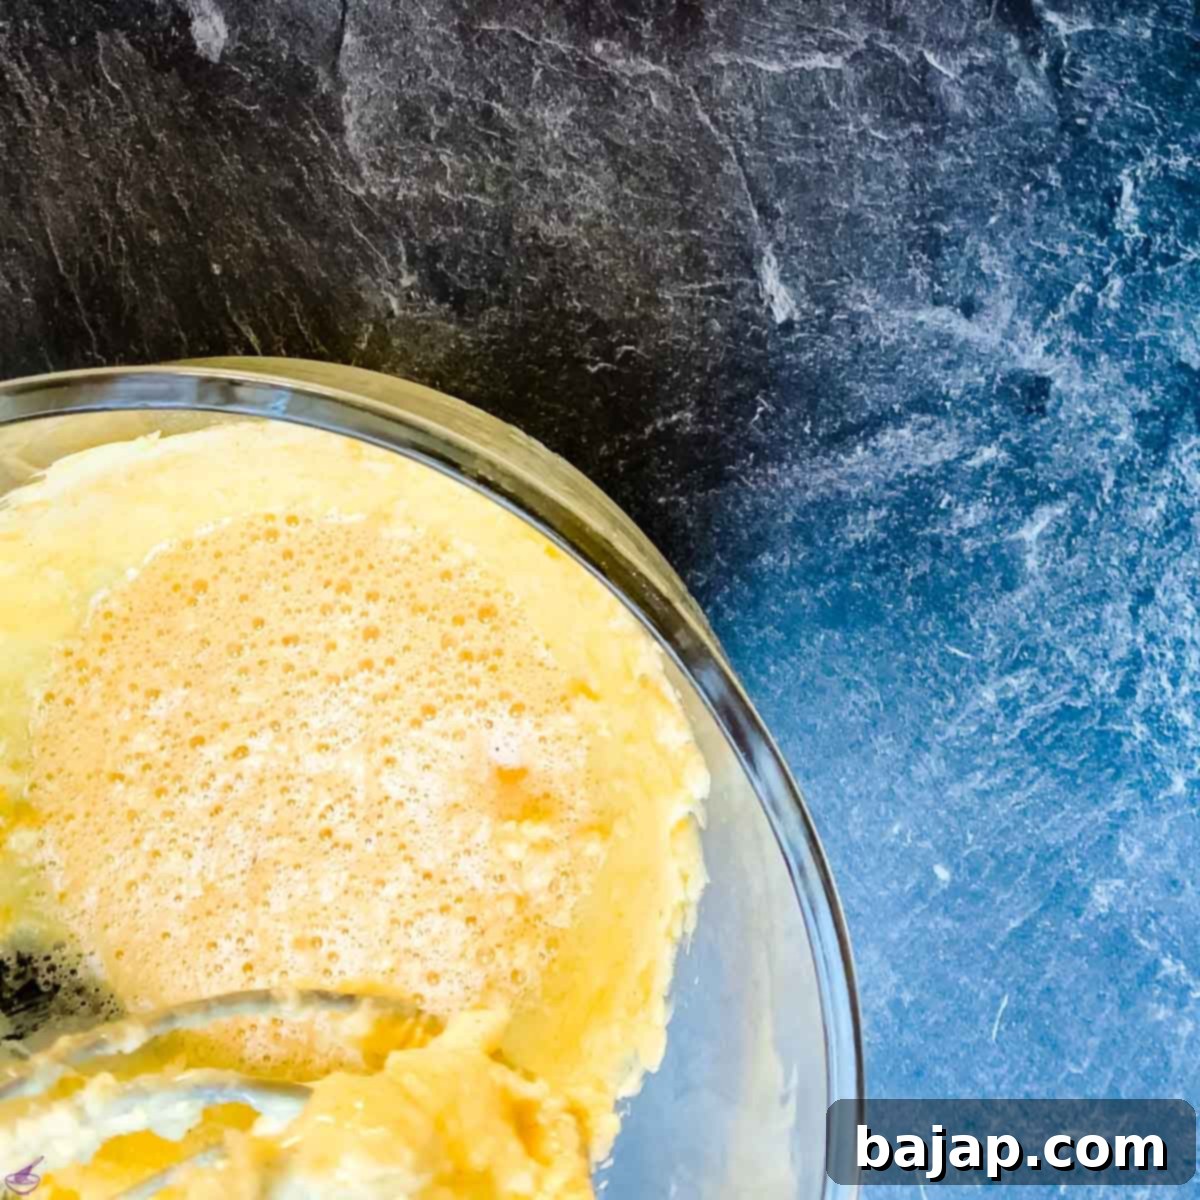
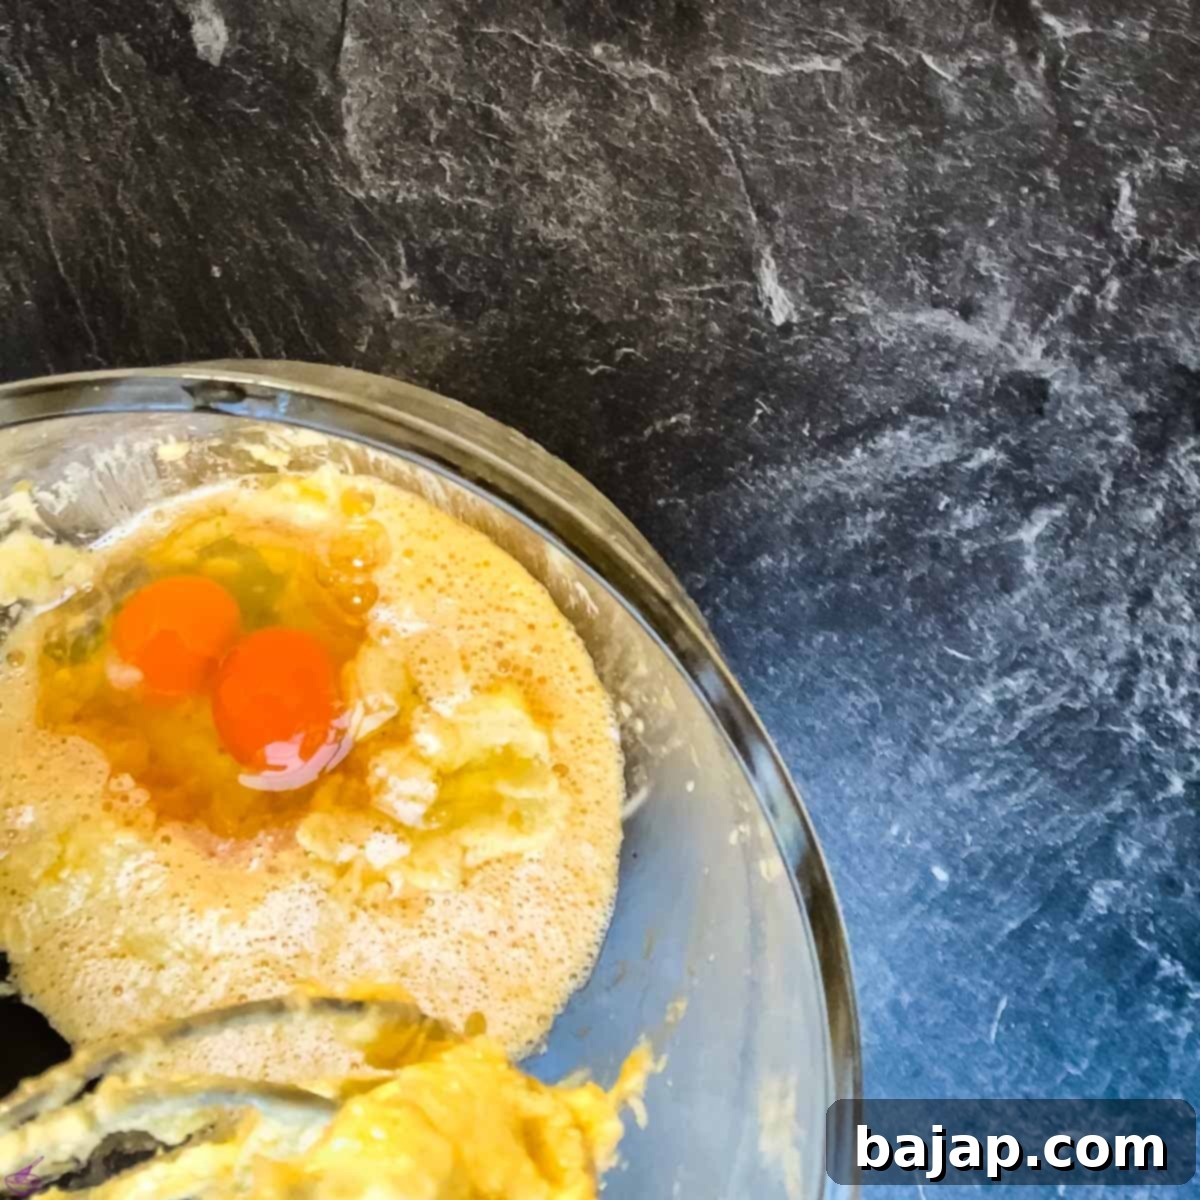
Incorporate the Eggs: Add the room-temperature eggs to the butter and sugar mixture, one at a time, beating well after each addition. Continue to beat the mixture until the eggs are fully combined and the batter is smooth and emulsified. Scrape down the sides of the bowl as needed to ensure everything is well-incorporated.

Beat in the eggs until the mixture is smooth and cohesive. -
Preheat Oven and Prepare Pan: Preheat your oven to 356 °F (180 °C) using the top-bottom heat setting. Line the bottom of an 8-inch (20 cm) springform pan with parchment paper. Greasing the sides of the pan is also recommended to prevent sticking. This preparation ensures a clean release for your finished cake.
-
Melt the Chocolate: In the meantime, melt the semisweet or dark chocolate chips. You can do this using a bain-marie (water bath) or a tempering device, taking care not to overheat the chocolate, which can cause it to seize.
Water bath method: For melting chocolate over a water bath, you’ll need two pots of different sizes. Fill the larger pot with about 3-4 finger-widths of water and bring it to a gentle simmer. Place the second, smaller pot or a heatproof bowl directly on top of the larger pot, ensuring the bottom of the smaller pot does not touch the simmering water. Add your chocolate chips to the smaller pot and stir continuously until they are fully melted and smooth, using the rising steam for gentle heat.
Tempering unit method: If you have a tempering unit, add the chocolate to be melted and set it to the appropriate melting temperature. For white and milk chocolate, typically 40 °C (104 °F); for dark chocolate, aim for 50 °C (122 °F). This method offers precise temperature control for best results.
-
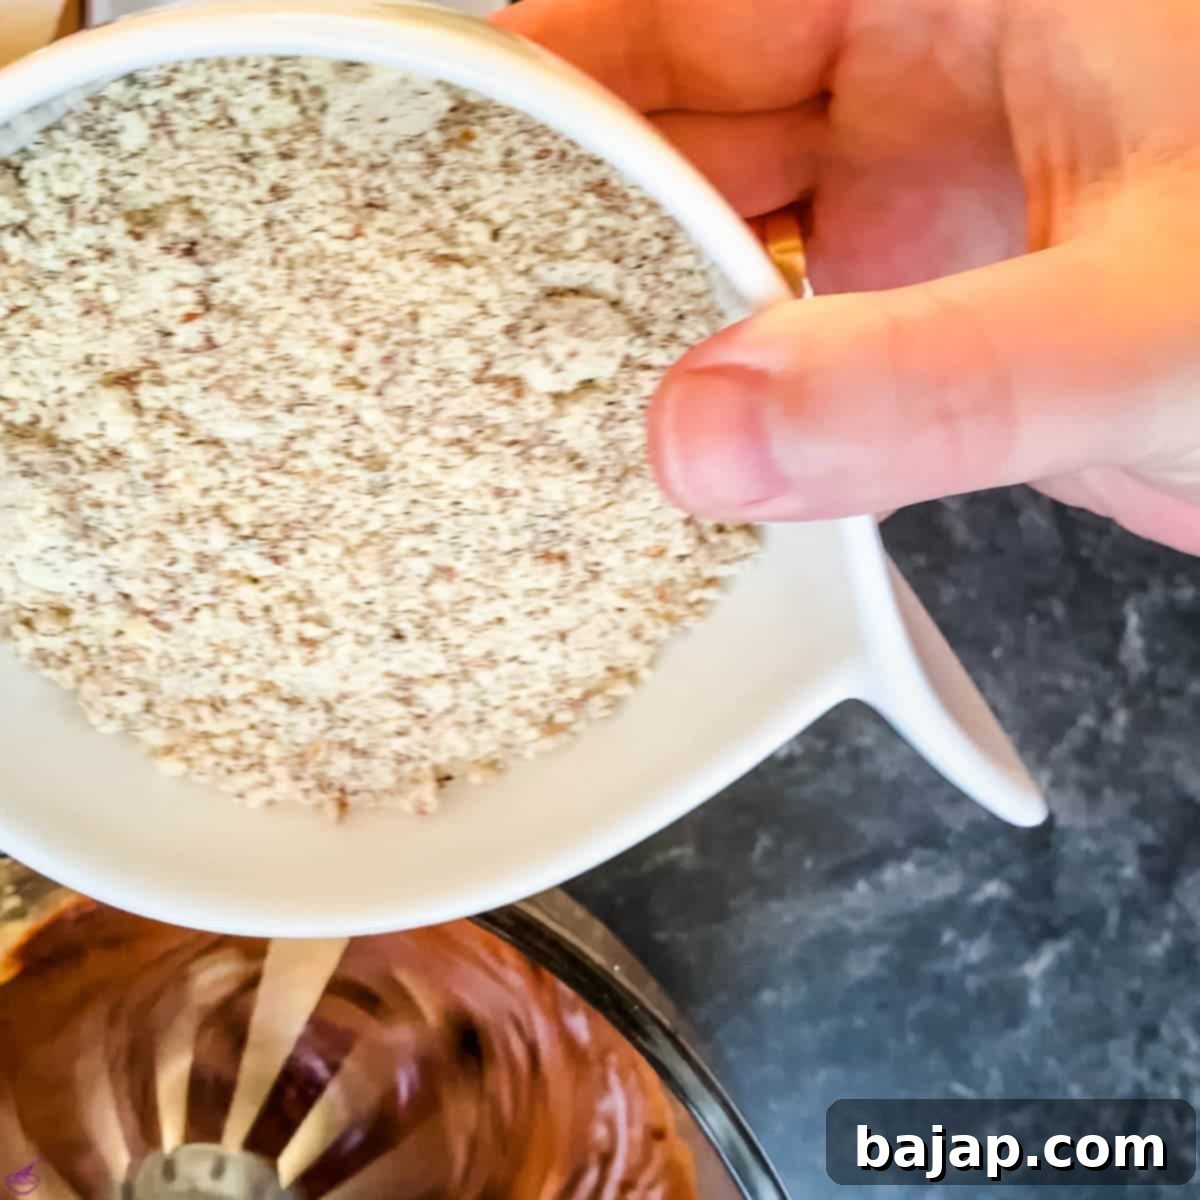
Combine Chocolate and Almonds: Once the chocolate has melted and is smooth, carefully add it to the egg, butter, and sugar mixture in your food processor. Mix until just combined. Finally, gently stir in the grated almonds (or hazelnuts/walnuts, if using). Be careful not to overmix at this stage; just combine until uniform.

Gently fold in the grated almonds to the rich chocolate batter. -
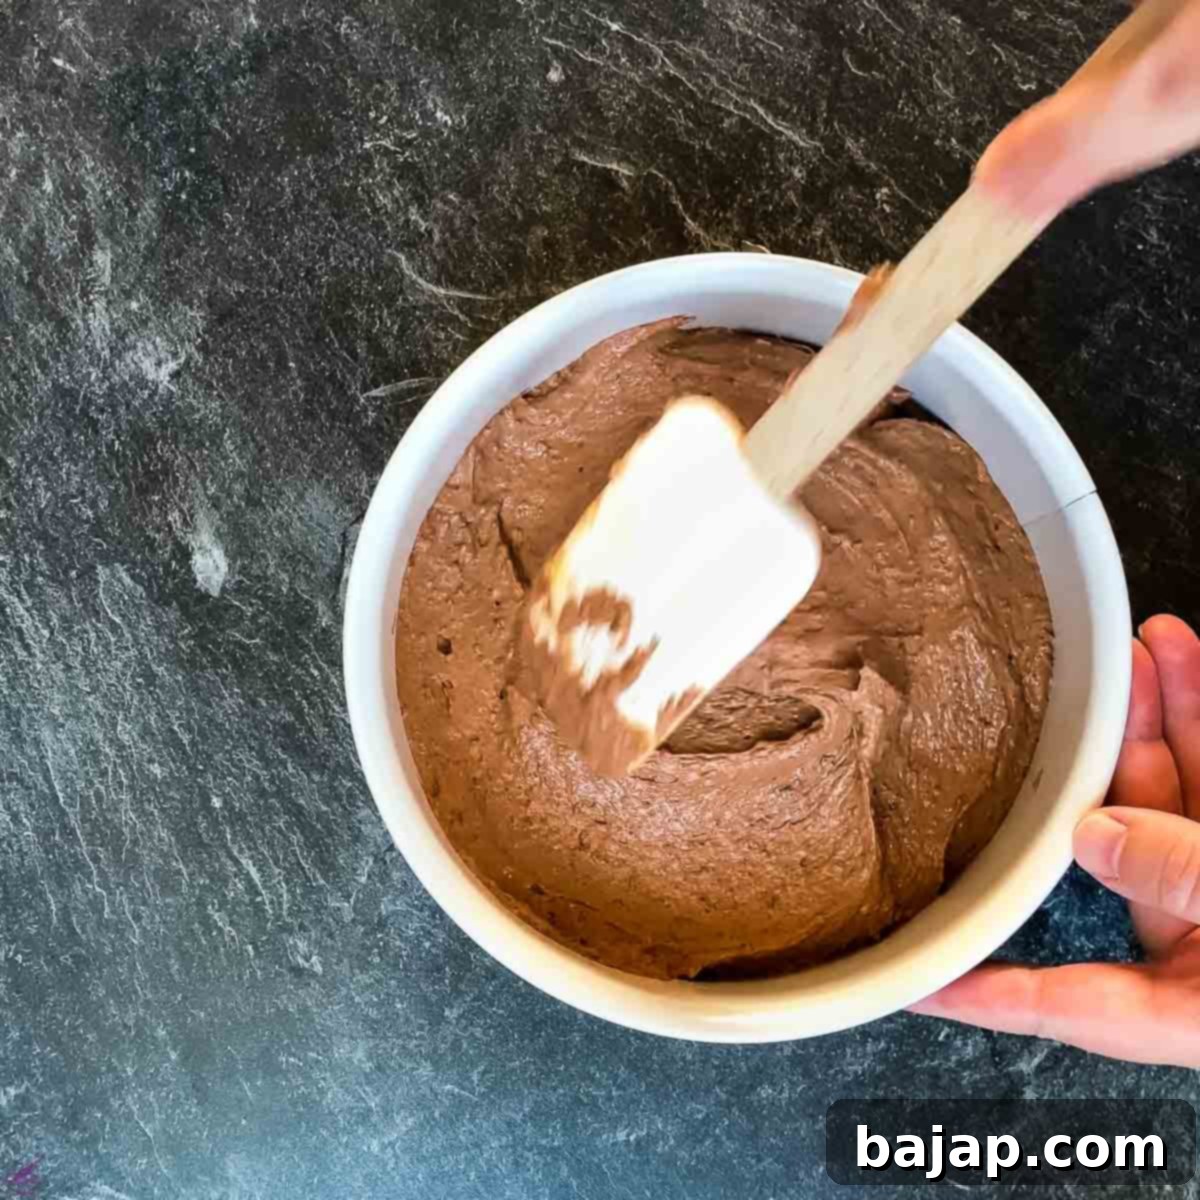
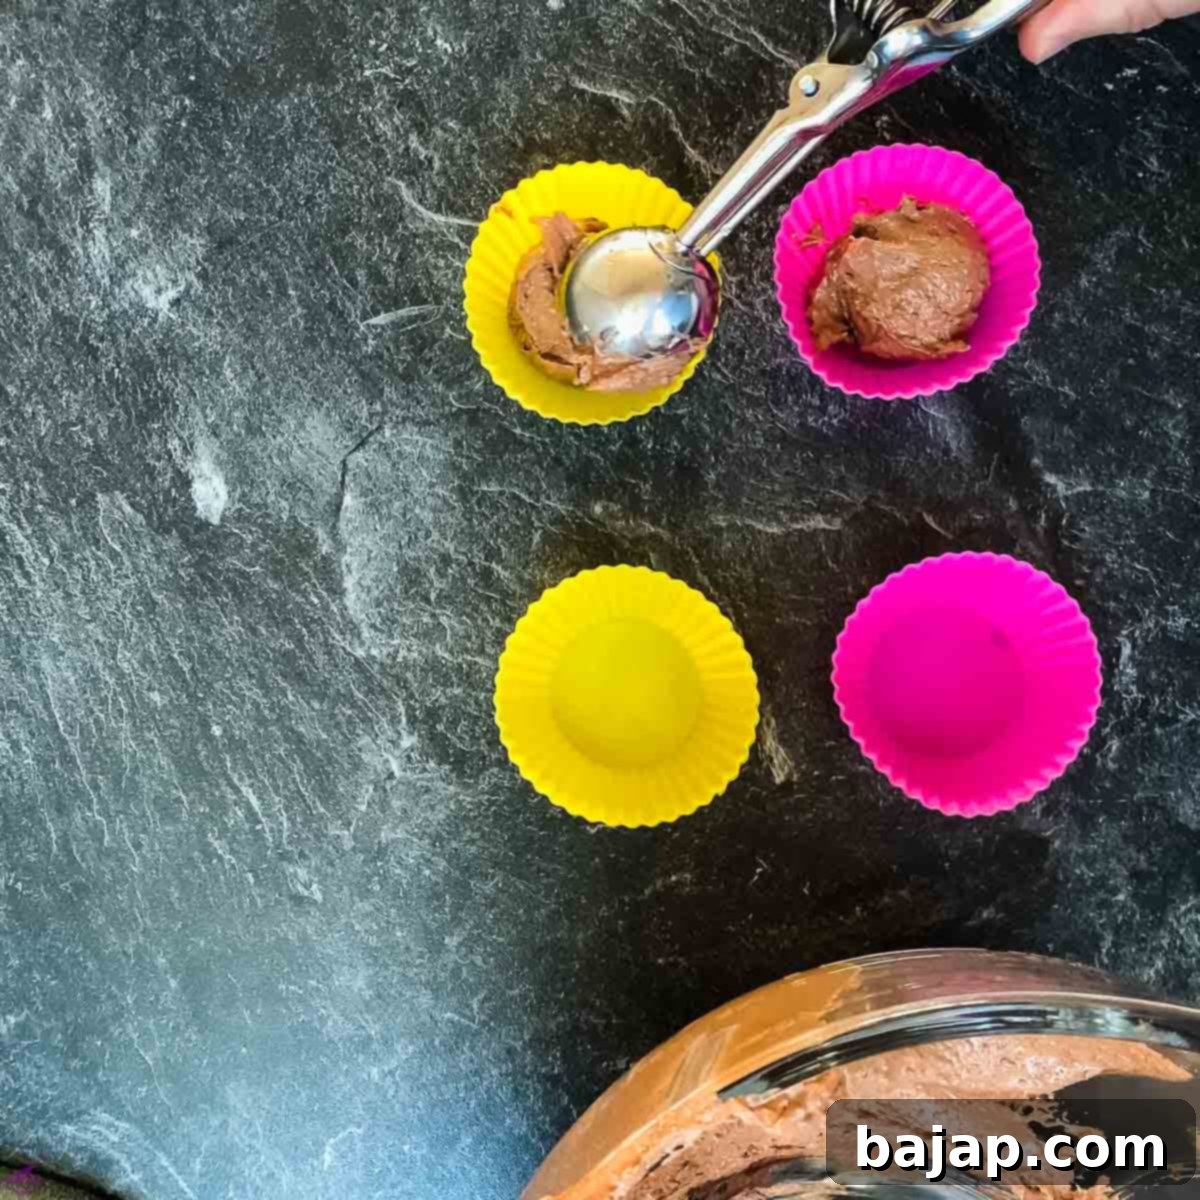
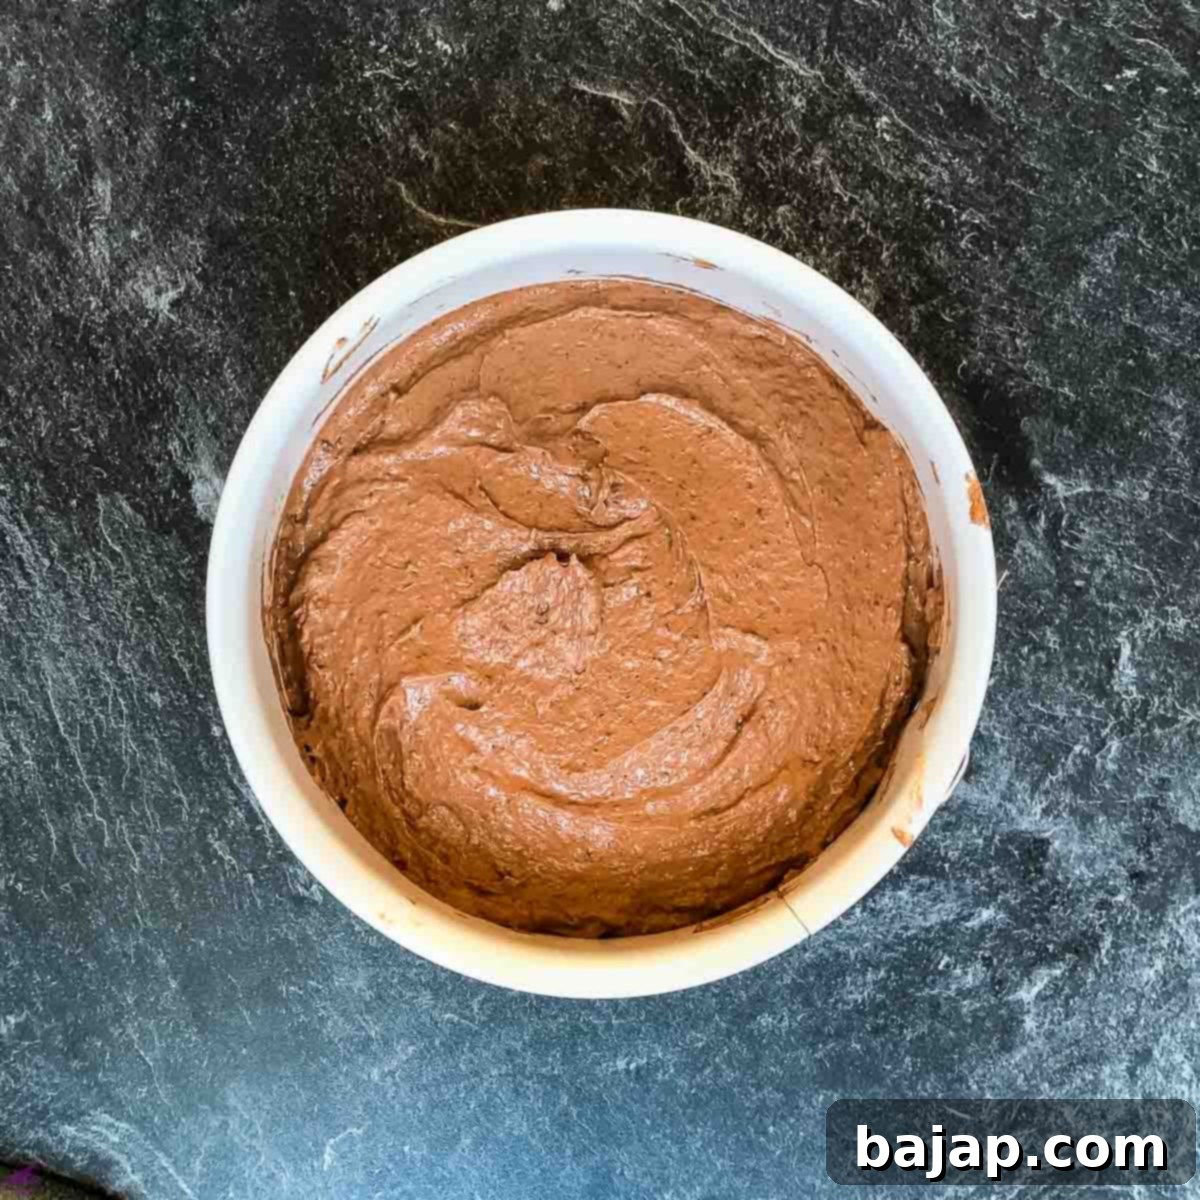
Fill the Pan or Muffin Molds: Once the cake batter is thoroughly combined and smooth, pour it evenly into your prepared springform pan. Use a pastry spatula to spread it out smoothly. If you’re opting for muffins, divide the batter evenly into greased or lined muffin molds, filling each about two-thirds full.

Ensure the batter is spread evenly in the springform pan for consistent baking. 
Alternatively, fill muffin molds for individual gluten-free treats. -
Bake to Perfection: Place the springform pan on the middle shelf of your preheated oven and bake for approximately 45 minutes. If you’ve opted for muffins, their baking time will be significantly shorter, around 20 minutes. To confirm doneness for the cake, insert a toothpick into the center; it should come out clean, with no wet batter clinging to it. For muffins, the toothpick test should also yield a clean result.

Bake the filled pan until a toothpick inserted comes out clean. -
Cool and Serve: Once baked, remove the cake from the oven and let it cool completely in the pan on a wire cake rack. This slow cooling prevents the cake from collapsing. Once cooled, carefully remove it from the springform pan and transfer it to a serving plate.
-
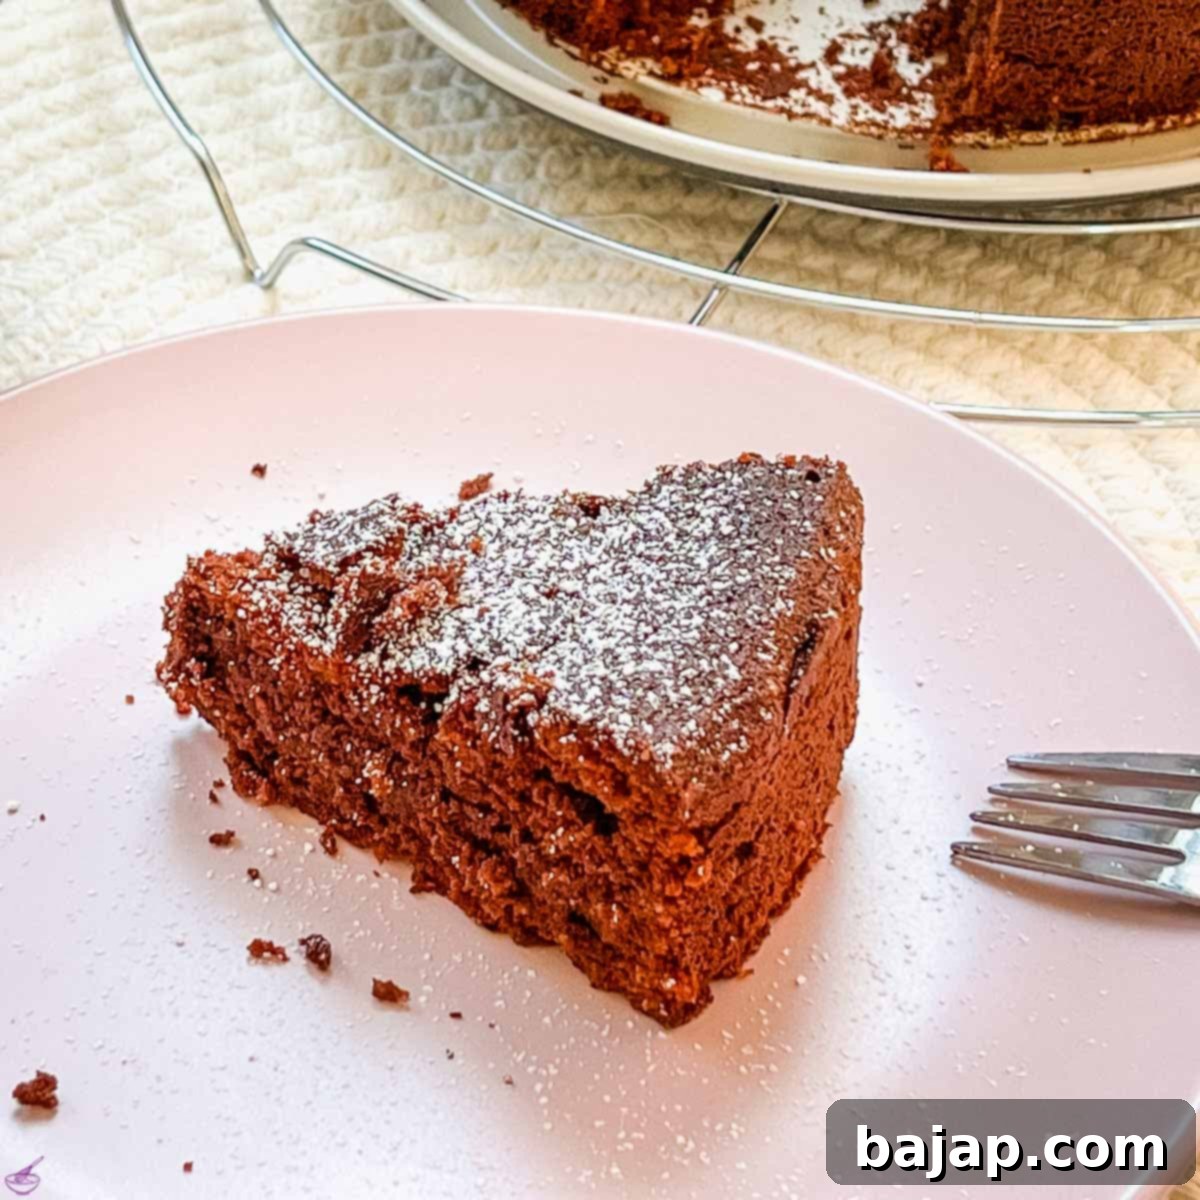
Garnish and Enjoy: For a beautiful presentation, dust the cooled cake generously with powdered sugar. If you’re feeling fancy, add a dollop of freshly whipped cream and scatter some fresh raspberries on top. The tartness of the raspberries and the lightness of the cream provide a wonderful contrast to the rich chocolate. Slice and serve your magnificent flourless chocolate cake!

These gluten-free muffins are versatile, even as cupcake bases! 
Dust with powdered sugar for an elegant finish and truly enjoy!
Looking for more delicious gluten-free recipes? Don’t miss out on these fantastic gluten-free honey rolls for a savory treat that’s just as satisfying!
🥜 Flavor Variations: Easy Ingredient Substitutions
While almonds provide a classic flavor, feel free to experiment with other nuts to create different taste experiences:
- For grated almonds: You can easily substitute with grated hazelnuts for a more earthy, rich flavor, or grated walnuts for a slightly more bitter, robust profile. Each will bring its unique character to the dense chocolate cake. Ensure they are finely grated for the best texture.
- For chocolate chips: If you prefer a less intense chocolate flavor, milk chocolate chips can be used, though this will make the cake significantly sweeter. For a richer, deeper flavor, opt for chocolate with a higher cocoa percentage (70% or more).
🍽 Essential Baking Equipment
Having the right tools makes all the difference for a smooth baking process. Here’s what you’ll need to create this amazing flourless chocolate cake:
- Food processor or hand mixer with a whisk attachment: Essential for creaming the butter and sugar and mixing the batter to a smooth consistency. A stand mixer also works wonderfully.
- Springform pan (8-inch round cake pan) or optional muffin molds: The springform pan makes it easy to release the delicate cake. Muffin molds are perfect if you prefer individual servings or a shorter baking time.
- Parchment paper: For lining the bottom of your springform pan to prevent sticking and ensure easy removal.
- Pastry spatula: Useful for scraping down the sides of the bowl and spreading the batter evenly.
- Cutting board and kitchen knife: For preparing the vanilla pod and any garnishes.
- Water bath (bain-marie) or tempering device: Crucial for gently melting the chocolate without burning it.
- Cooling rack: Allows air to circulate around the cake for even cooling, preventing sogginess.
🌡 Storage and Freezing Tips
Proper storage ensures your flourless chocolate cake stays fresh and delicious for as long as possible:
- Room Temperature: Our flourless chocolate cake will stay wonderfully moist and fresh for up to a week when stored under a cake cover or in an airtight container at room temperature. This helps maintain its delicate texture.
- Freezing: For longer storage, this cake freezes beautifully for up to three months. Before freezing, we recommend cutting the chocolate cake into individual portions. Wrap each portion tightly with plastic wrap, then place them in a freezer-safe bag or airtight container. Thaw at room temperature or in the refrigerator before serving.
💭 Expert Baking Tips for Success
Achieving a perfect flourless chocolate cake is simple with these expert tips:
Understanding Pan Size: 9-inch vs. 8-inch
While this recipe is optimized for an 8-inch springform pan, preparing the chocolate cake with a 9-inch springform pan is also possible. If you use a larger pan, the cake will naturally become flatter and spread out more. Consequently, the baking time can be reduced by a few minutes, so keep a close eye on it and perform the toothpick test earlier.
The Value of Re-using Scraped Vanilla Pods
As mentioned, never throw away the scraped-out vanilla pod! This is a fantastic opportunity for sustainable cooking. Cut them into small pieces and add them to a jar of granulated sugar. This process yields intensely fragrant homemade vanilla sugar that’s perfect for all your baking needs. Check out this blog post to find three easy ways to make homemade vanilla sugar and make the most of your vanilla pods!
Adjusting Baking Time for Chocolate Muffins
If you choose to use this versatile recipe to make individual chocolate muffins instead of a single cake, remember that their baking time is significantly reduced! Muffins typically only take about 20 minutes to bake. Always perform a toothpick test to ensure they are fully cooked through.
These flourless chocolate muffins also make a phenomenal base for cupcakes! Get creative and try them with our luscious strawberry buttercream or the rich and indulgent Bailey’s salted caramel buttercream for a truly spectacular treat!
Room Temperature Ingredients Are Key
For best results, always ensure your butter and eggs are at room temperature. This allows them to emulsify correctly, creating a smooth, cohesive batter that bakes evenly and prevents the cake from falling.
Don’t Overmix the Batter
Once the chocolate and nuts are added, mix just until combined. Overmixing can develop gluten (even with almond flour, though less so than wheat flour) and can lead to a tougher cake. Gently fold for the best texture.
🙋🏻 Frequently Asked Questions About Flourless Chocolate Cake
Here are answers to some common questions about this delightful gluten-free dessert:
Yes, absolutely! A flourless cake, by its very nature of not containing any traditional wheat flour, is inherently gluten-free. This means that individuals with celiac disease or gluten sensitivities can confidently enjoy this rich chocolate cake without any concerns, making it a wonderful and inclusive dessert option for everyone.
The predominant flavor of this cake is, undoubtedly, rich chocolate. This is precisely why it’s essential to use a high-quality chocolate that you truly love, as its flavor will shine through. The grated almonds contribute a beautiful second layer of flavor, adding a subtle nuttiness and a unique, dense yet tender texture that distinguishes it from traditional flour-based cakes. It’s intensely chocolatey, moist, and deeply satisfying.
There are several great reasons to make a flourless cake! Firstly, it provides an excellent and easy chocolate cake option for people with celiac disease or gluten intolerance, ensuring they can enjoy a delicious dessert without dietary restrictions. Secondly, many people simply prefer the unique texture of a flourless cake – it’s often denser, fudgier, and more intensely flavored than typical cakes. It offers a wonderfully rich, melt-in-your-mouth experience that is distinct and often perceived as more luxurious.
A common reason for flourless cakes falling is cooling them too quickly after baking. The sudden temperature change can cause the delicate structure to collapse. However, an even more frequent cause is when the ingredients used are not at room temperature. This is especially true for butter and eggs. When butter and eggs are cold, they don’t emulsify properly with the other ingredients, leading to a less stable batter and a cake prone to falling. Always ensure your eggs and butter are taken out of the fridge in advance to reach room temperature before you start baking.
Absolutely! This flourless chocolate cake is an excellent make-ahead dessert. Its rich, dense texture often improves overnight as the flavors meld. You can bake the cake a day or two in advance, store it covered at room temperature, and then garnish it just before serving for the freshest look.
Explore more delicious cake recipes from our collection to inspire your next baking adventure:
- Chestnut Cake (Note: Original link points to this recipe, changed for variety)
- Egg White Chocolate Cake
- Austrian Strawberry Sponge Cake
- Potato Flour Cake with Eggnog
- Whipping Cream Bundt Cake
- Chocolate Chip Ricotta Loaf Cake
- Double Chocolate Bundt Cake
- Healthy Chocolate Cake (created by fooddoodles.com)
If you make this incredibly satisfying flourless chocolate cake, please let me know how you liked it by giving it a ★★★★★ star rating and leaving a comment below. Your feedback means the world to us! You can also sign up for our Newsletter to receive weekly delicious homemade recipes directly in your inbox. And don’t forget to follow me on Pinterest or Instagram and share your creation with me. Just tag me @combinegoodflavors and hashtag #combinegoodflavors, so I don’t miss your beautiful baking!
📖 Recipe Card: Best Chocolate Flourless Cake
Best Chocolate Flourless Cake
Nora
Save RecipeSaved!
Pin Recipe
