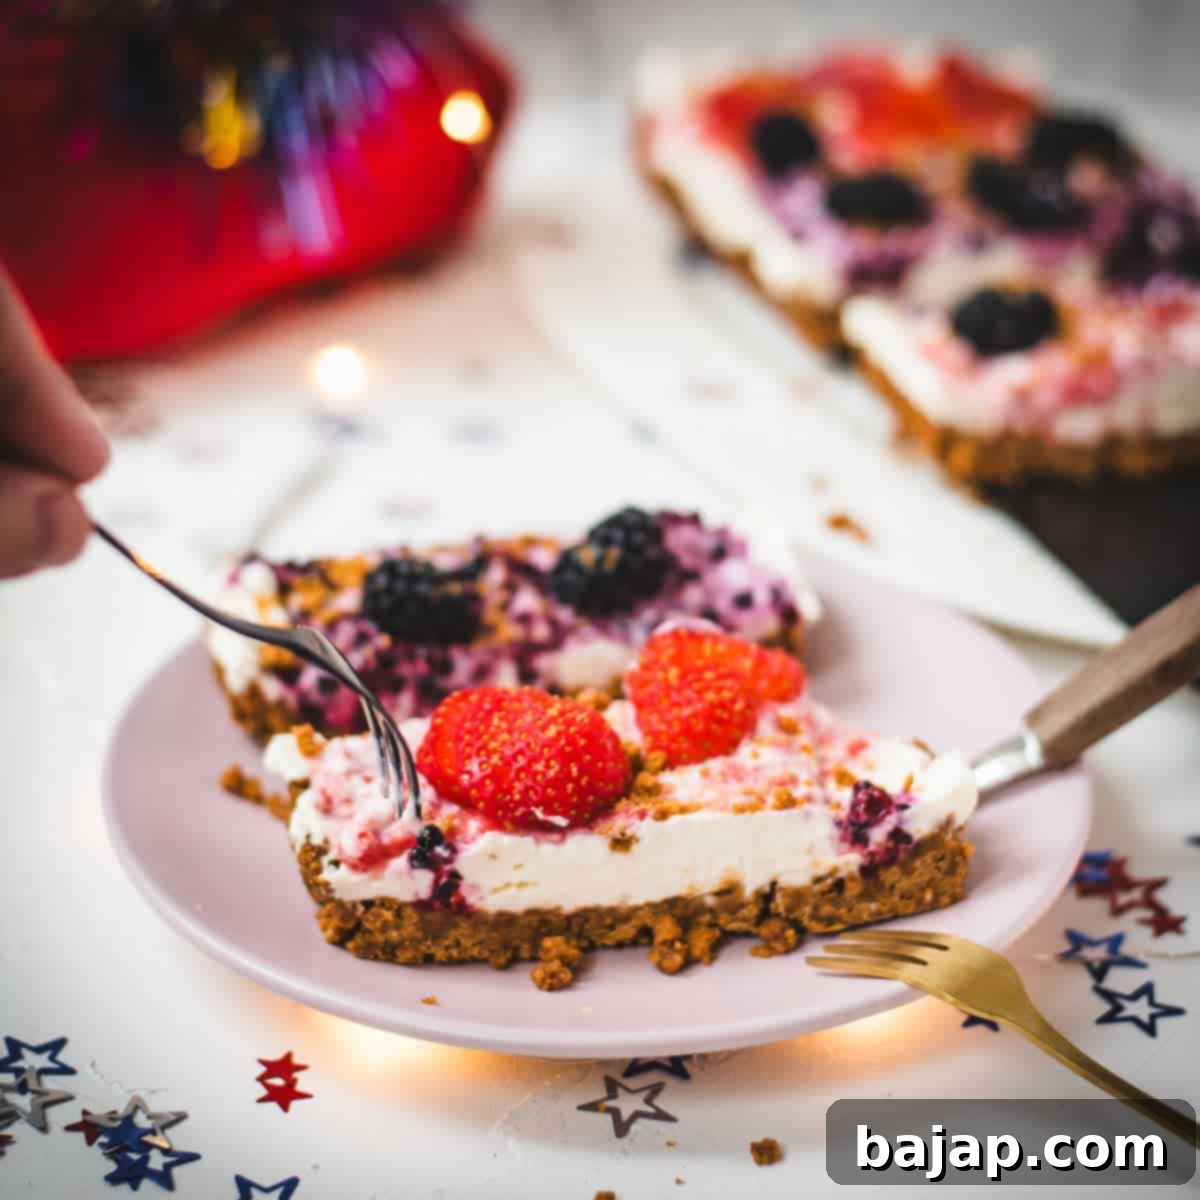
Patriotic Perfection: The Ultimate No-Bake 4th of July Strawberry & Blackberry Biscoff Tart
Are you searching for a show-stopping 4th of July dessert that perfectly balances sweet indulgence with refreshing zest? Look no further! Our No-Bake 4th of July Tart is a truly unique creation, offering a delightful combination of flavors and textures that will make your Independence Day celebration unforgettable. Forget about heating up your kitchen; this easy recipe is designed for maximum flavor with minimal effort, making it the ideal summer treat.
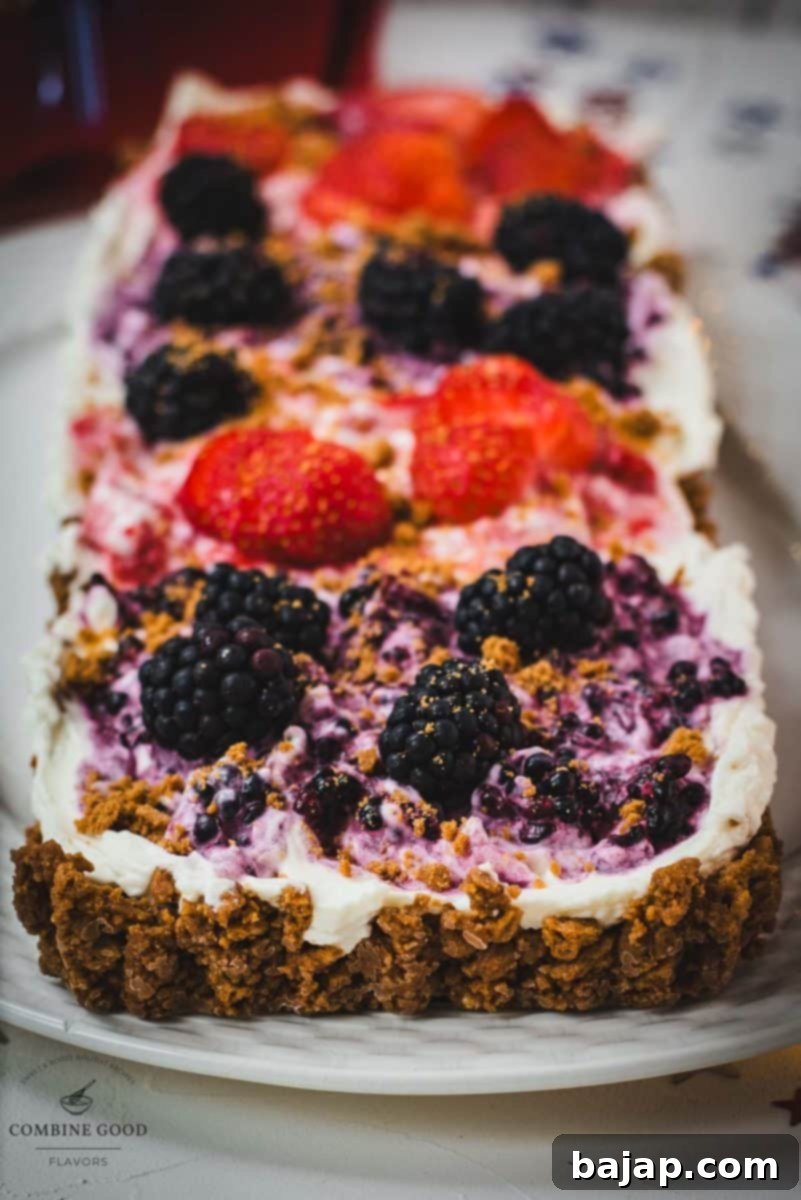
This exquisite no-bake tart is a celebration of flavor, starting with a heavenly Lotus Biscoff crust that provides a rich, caramelized base. It’s perfectly complemented by a luscious cream cheese filling, vibrantly infused with the sweet and tart notes of fresh strawberries and blackberries. The patriotic theme truly comes to life with a charming decoration of whole strawberry pieces and plump blackberries, all beautifully finished with a generous sprinkle of extra Lotus Biscoff cookie crumbs. This dessert isn’t just a treat for your taste buds; it’s a feast for the eyes, embodying the iconic red, white, and blue colors of the American flag.
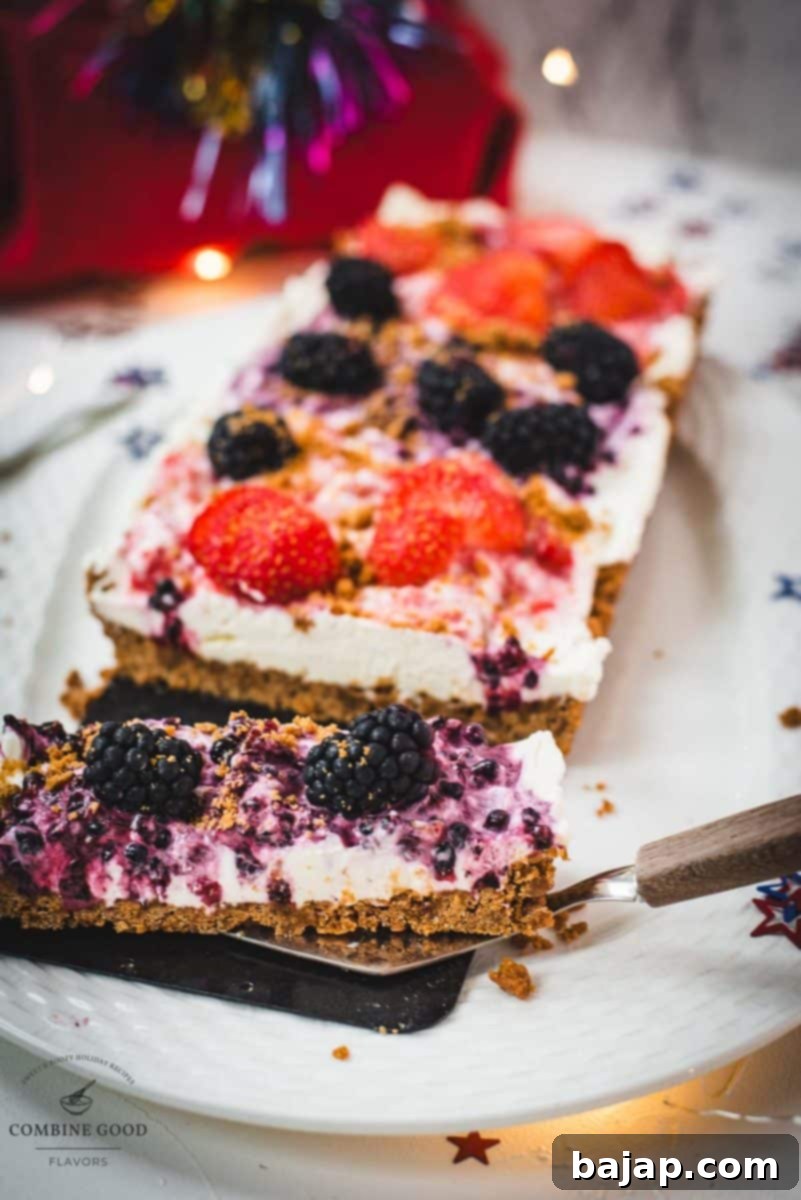
Beyond its irresistible taste, this tart boasts impressive versatility. It can be easily adapted to be gluten-free and lactose-free, ensuring everyone at your gathering can enjoy a slice of this delightful dessert. This refreshing tart requires less than 90 minutes of preparation time, making it an incredibly convenient option for a bustling Fourth of July celebration where time is often of the essence. Its cool, creamy texture and vibrant fruit flavors are absolutely perfect for combating the summer heat, offering a refreshing end to any patriotic feast.
Why This No-Bake Tart is Your 4th of July Hero
Choosing a no-bake dessert for your Fourth of July festivities comes with numerous advantages, especially when the summer sun is blazing. This tart eliminates the need to turn on your oven, keeping your kitchen cool and stress-free. Its impressive presentation and delicious flavor profile make it a crowd-pleaser, while the ease of preparation allows you more time to enjoy the celebration with family and friends. The natural colors of strawberries (red) and blackberries (which contribute a beautiful purplish-blue hue when mashed, or a bold blue if you opt for blueberries) perfectly embody the patriotic spirit, making this tart a visually stunning centerpiece for your dessert table. It’s not just a dessert; it’s a statement piece that’s as easy to assemble as it is to devour.
🥘 Ingredients for a Spectacular 4th of July Tart
Crafting this incredible 4th of July tart begins with selecting quality ingredients that contribute to its distinctive flavor and texture. Here’s a detailed look at what you’ll need and why each component is essential for achieving patriotic perfection:
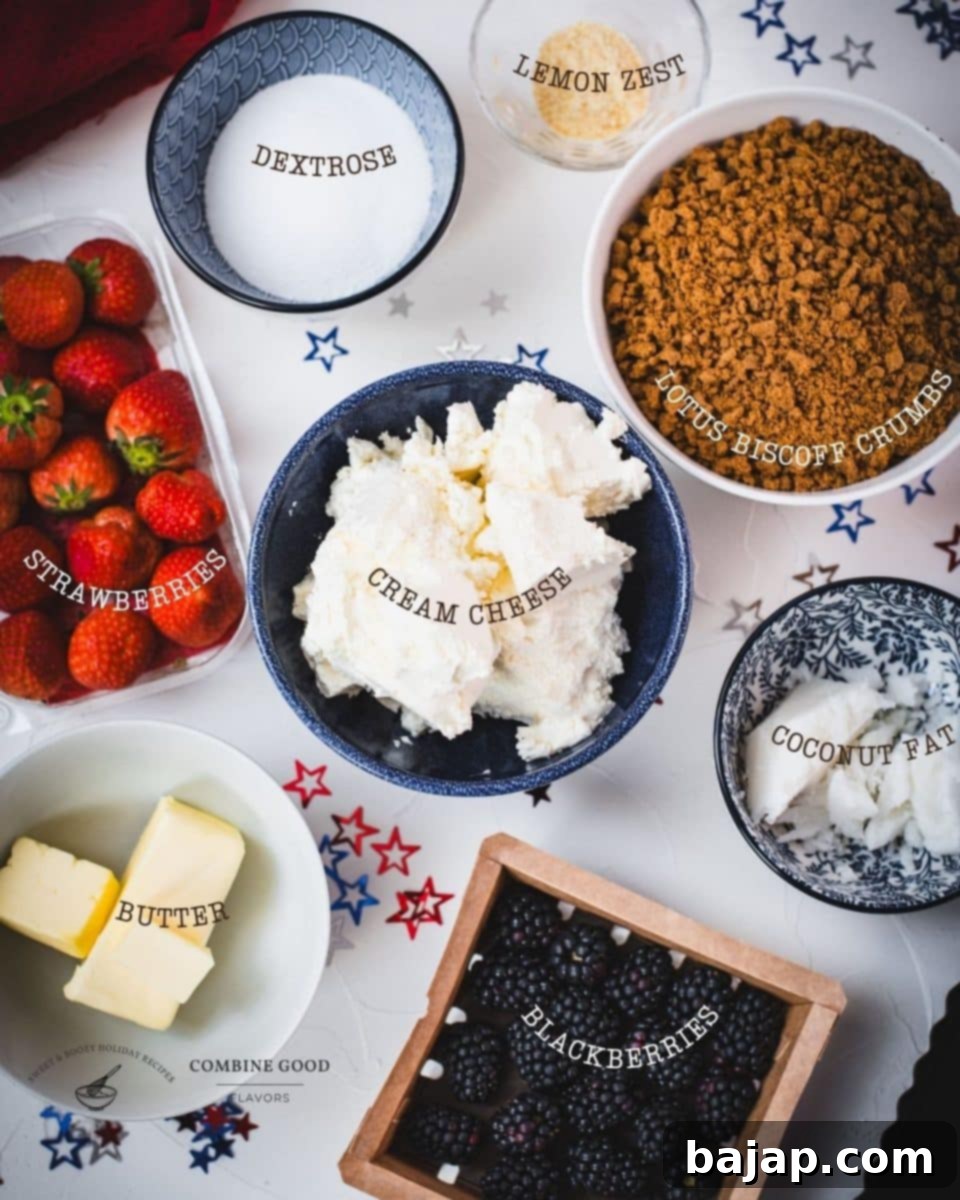
- 250 g (8.8 oz) Lotus Biscoff Cookies
- These iconic cookies are the secret to our uniquely delicious crust, adding a delightful caramelized, subtly spiced flavor that truly sets this tart apart. If you’re catering to dietary restrictions, a gluten-free alternative like gluten-free graham crackers or digestive biscuits can be used. Just ensure they provide a similar crumbly texture when crushed.
- For convenience, pre-made Lotus Biscoff cookie crumbs are excellent, especially if you have leftovers from another no-bake Biscoff cheesecake recipe. Otherwise, crushing whole cookies is simple!
- 110 g (one stick) Unsalted Butter or Margarine
- Butter binds the cookie crumbs together, forming a sturdy and flavorful crust. For those seeking a plant-based option or avoiding dairy, good quality unsalted margarine works as a perfect 1:1 substitute without compromising on texture or taste.
- 50 g (¼ cup) Coconut Fat or Oil
- This ingredient adds a subtle tropical note to the tart’s base and helps solidify the crust when chilled. For a neutral flavor that doesn’t overpower the Biscoff, look for refined coconut oil. If you prefer a more pronounced coconut flavor, unrefined coconut oil can be used.
- 60 g (⅓ cup) Dextrose (or Xylitol)
- Dextrose sweetens the filling and helps achieve its smooth texture. For a sugar-free alternative, xylitol can be used, but remember to consume it in moderation and keep it away from pets, as it can be toxic to them in large quantities.
- If you enjoy cooking with dextrose, be sure to explore our delicious spelt cake recipe, a fantastic option for a different kind of sweet treat!
- 500 g (16 oz) Cream Cheese (or a plant-based alternative)
- The star of our creamy, dreamy filling! Full-fat cream cheese delivers the best richness and stability. For a vegan tart, explore excellent plant-based cream cheese options made from cashews or almonds. Be aware that plant-based alternatives might slightly alter the texture and flavor, so choose a brand you trust.
- 1 tablespoon Lemon Zest
- A burst of fresh lemon zest is crucial! It provides a refreshing citrusy kick that beautifully balances the sweetness of the filling and brightens all the berry flavors. Don’t skip this, as it elevates the entire tart.
- 150 g (1 cup) Fresh Blackberries
- These juicy berries add a delightful tartness and contribute the “blue” component to our patriotic color scheme. When mashed, they lend a lovely purple hue. For a bolder blue, fresh blueberries can be substituted, or even used in combination with blackberries for a richer berry profile.
- 150 g (1 cup) Fresh Strawberries
- The vibrant red of fresh strawberries is essential for the 4th of July theme, offering a sweet, summery flavor. Feel free to experiment with other red fruits like raspberries or pitted cherries for a unique twist, but strawberries remain a classic choice for their iconic color and taste.
- Non-stick Spray for the Tart Tin
- A small but mighty detail that ensures your beautifully crafted tart releases cleanly from the tin, making for a perfect presentation every time.
🔪 Step-by-Step Instructions: Crafting Your Patriotic Tart
Creating this stunning 4th of July tart is surprisingly simple, especially with no baking required! Follow these detailed steps for a perfect dessert:
Step 1: Prepare the Tart Tin. Begin by lightly spraying your rectangular tart tin with non-stick spray. This crucial step ensures easy removal of your finished tart, preserving its beautiful shape.
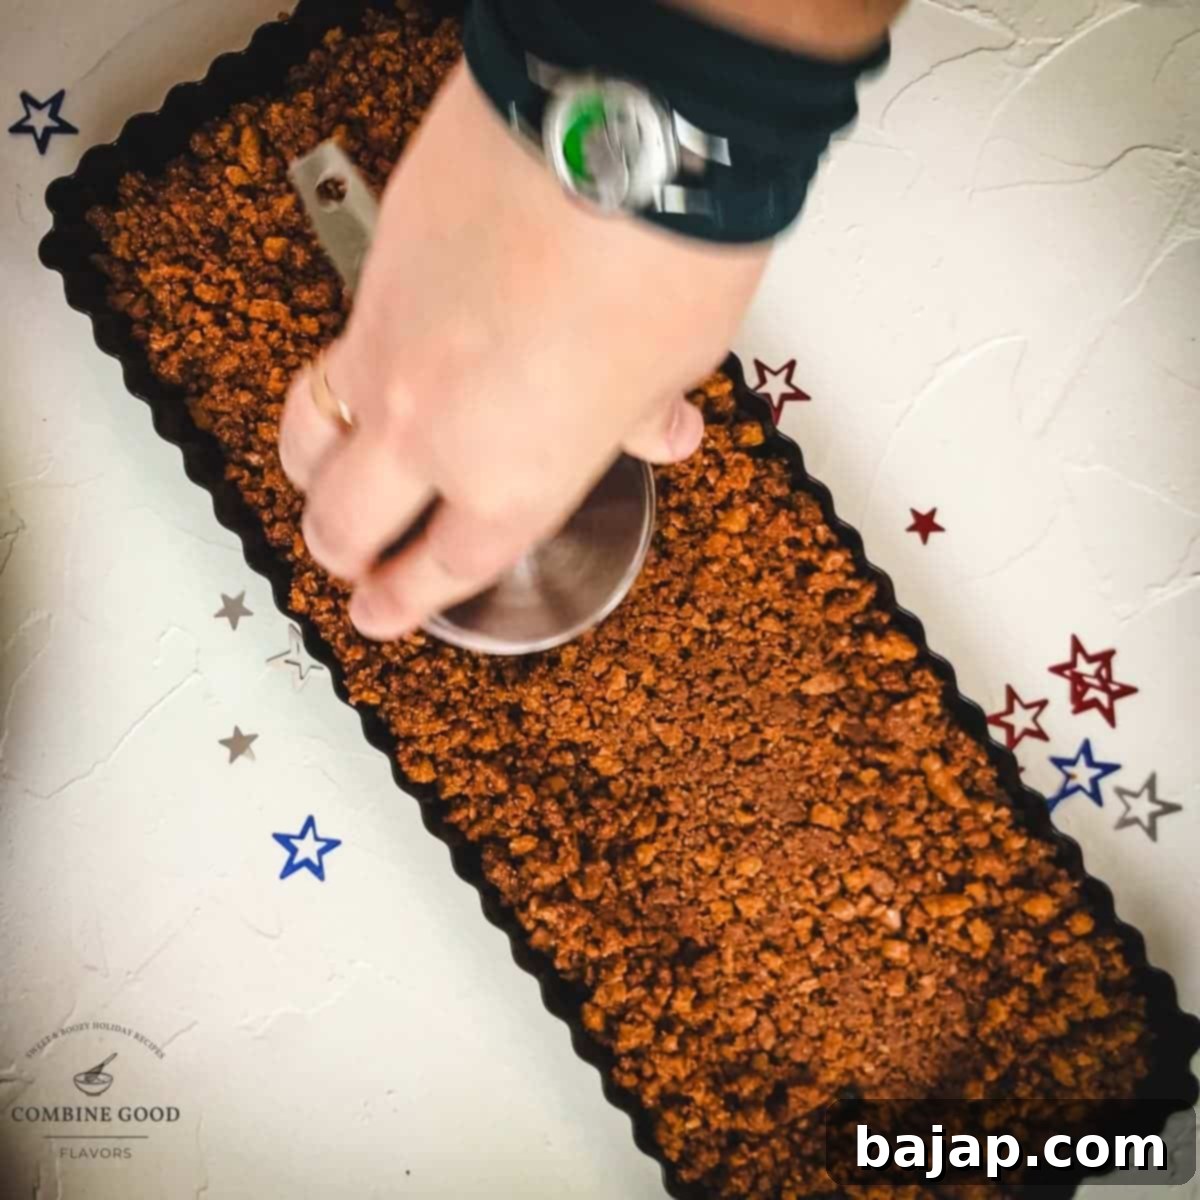
Step 2: Create the Biscoff Crust. In a medium mixing bowl, combine the melted butter (or margarine) with the crushed Lotus Biscoff cookie crumbs. Stir until the crumbs are evenly moistened. Press this mixture firmly and evenly into the bottom and up the sides of your prepared tart tin. Use the back of a spoon or your fingertips to create a compact base. Place the crust in the refrigerator to chill while you prepare the filling – this helps it set firmly.
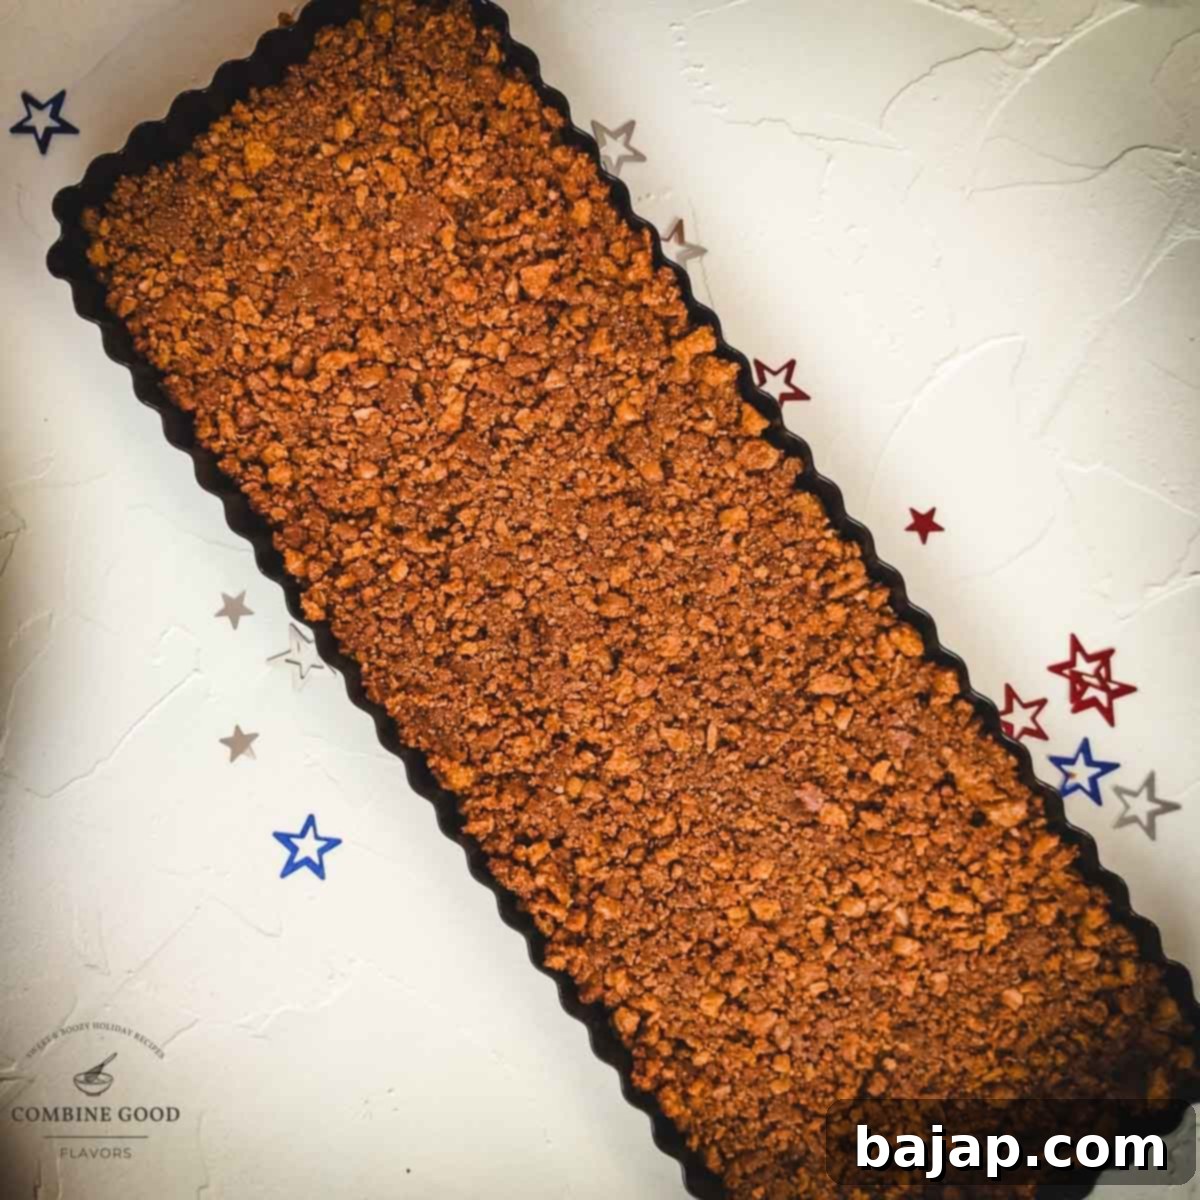
Step 3: Prepare the Creamy Filling. Gently heat the coconut fat (or oil) until melted. In a large mixing bowl, combine the softened cream cheese, dextrose (or xylitol), and lemon zest. Gradually add the melted coconut fat and mix thoroughly until the filling is smooth, creamy, and well combined. Ensure there are no lumps for a silky texture. A kitchen machine with a paddle attachment can make this step even easier, but a good old wooden spoon works just as well.
Step 4: Spread the Filling. Carefully spoon the prepared cream cheese filling over the chilled Biscoff crust. Use a silicone spatula to spread it evenly across the entire surface of the crust, ensuring it reaches the edges.
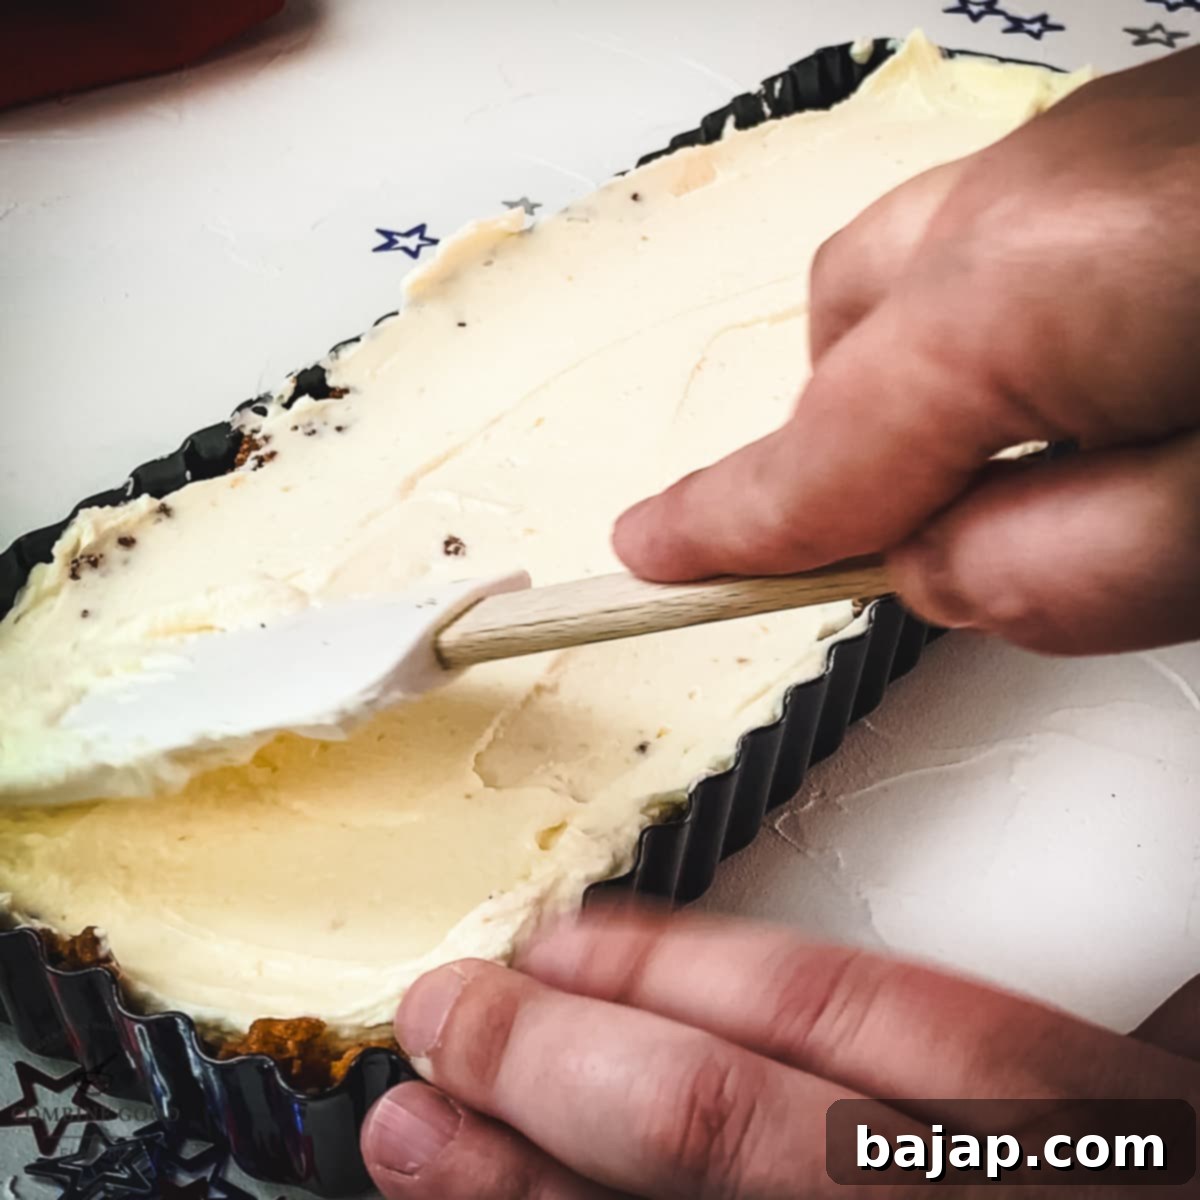
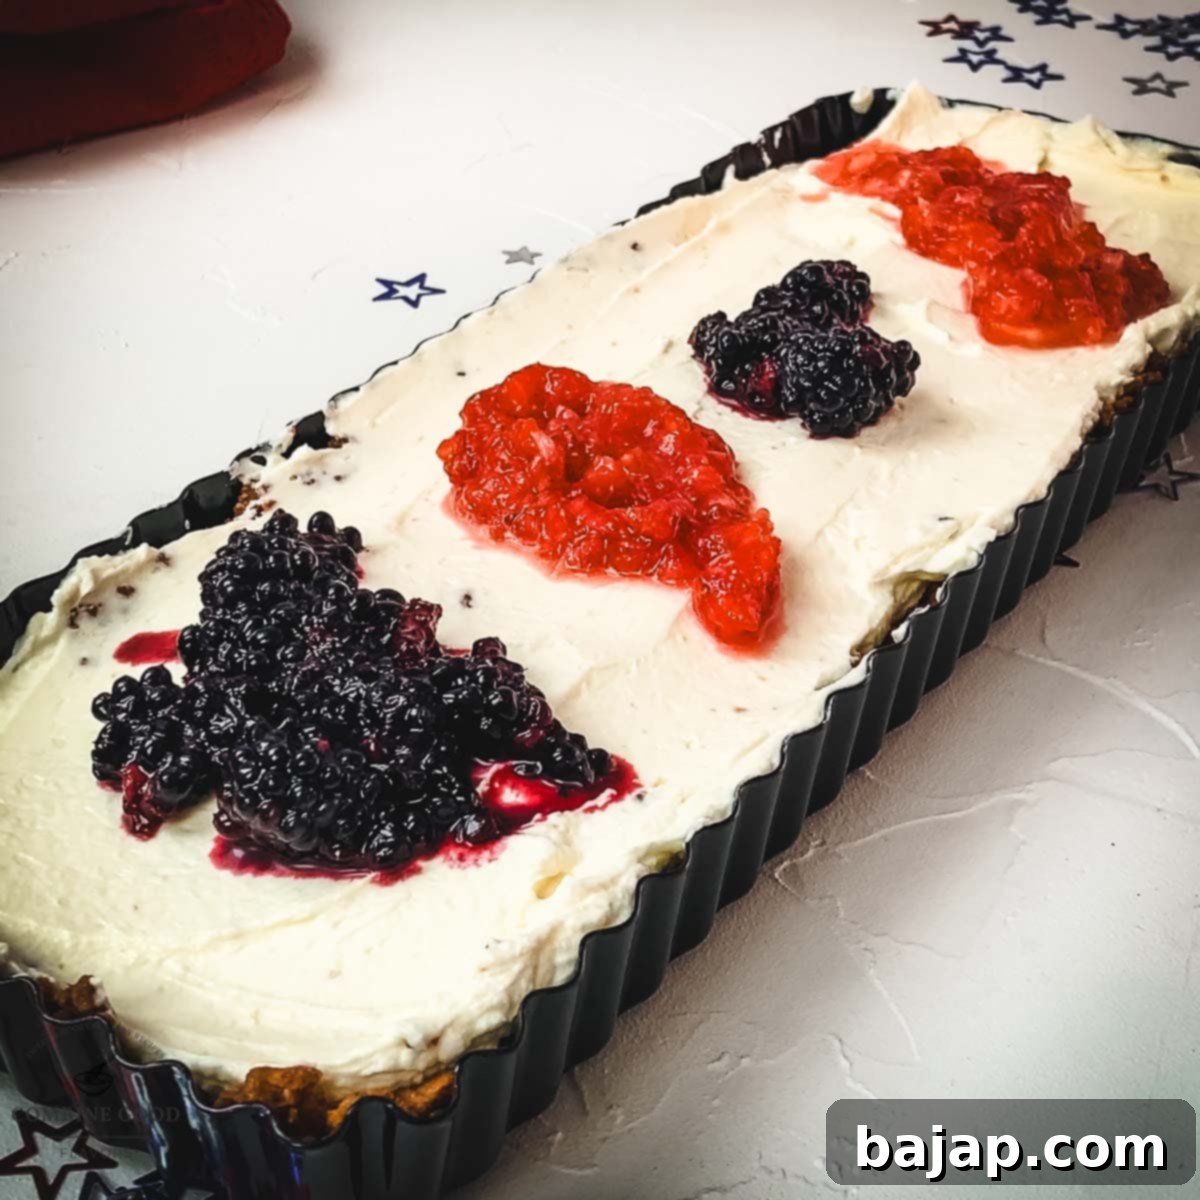
Step 5: Infuse with Berry Flavors. In separate small bowls, mash half of your fresh strawberries and half of your fresh blackberries using a fork or an electric chopper. You want a slightly chunky consistency to add texture and visual appeal. Gently dollop spoonfuls of the mashed strawberry and blackberry mixtures alternately over the cream cheese filling. Using a butter knife or skewer, gently swirl the berry mashes into the cream cheese to create beautiful, patriotic patterns, ensuring not to disturb the crust below.
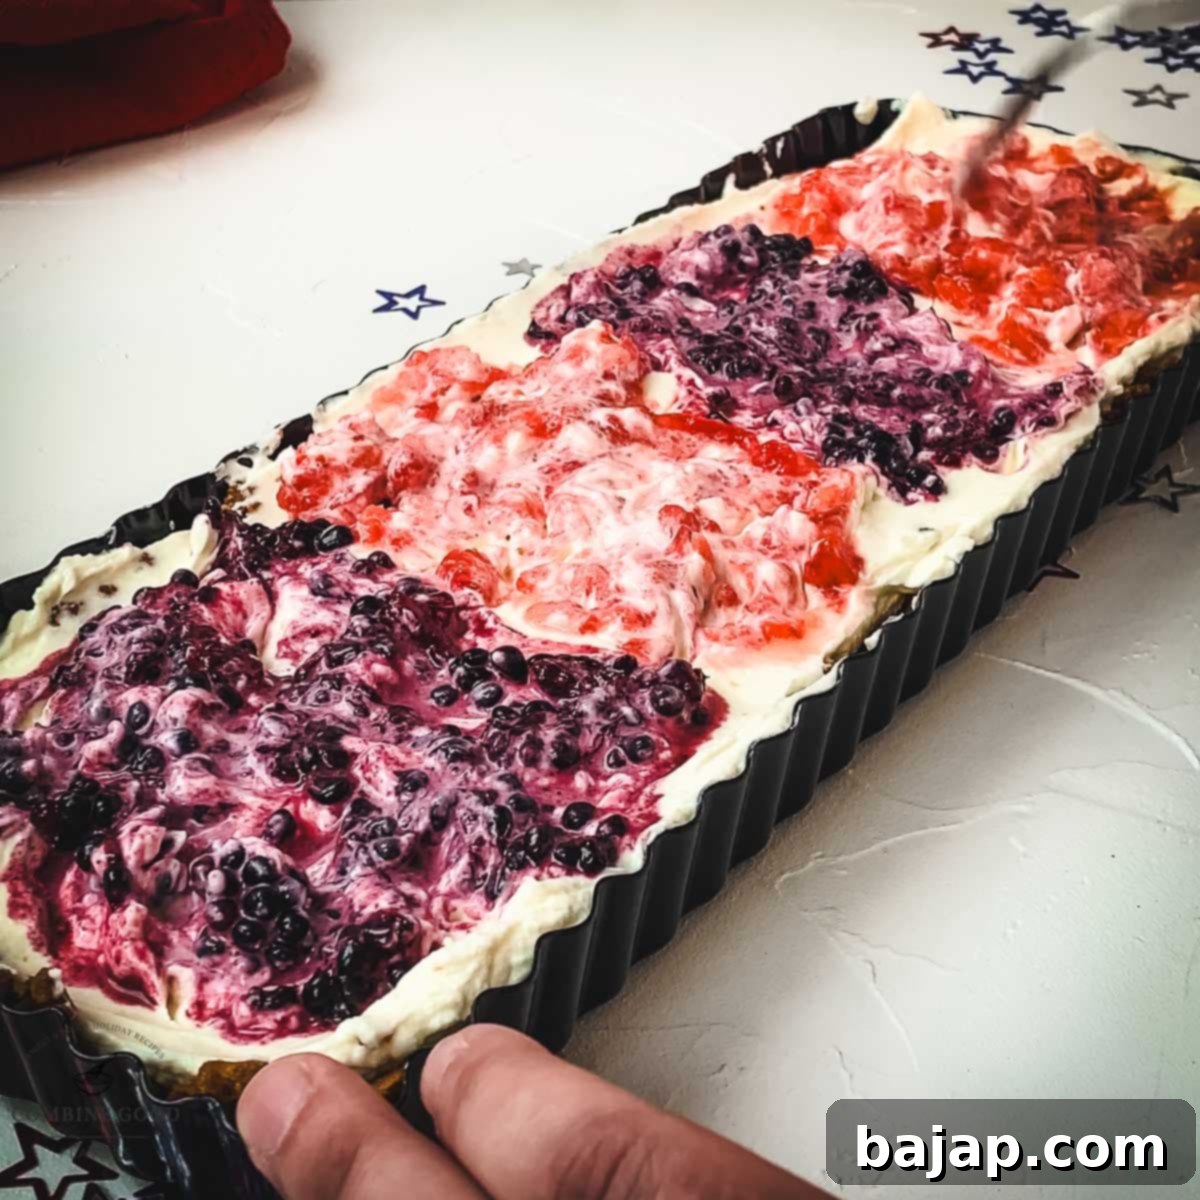
Step 6: Garnish with Freshness. Arrange the remaining fresh whole strawberries and blackberries artfully on top of the swirled filling. This adds a beautiful burst of color and a delightful fresh fruit bite. Finish by sprinkling a handful of extra Lotus Biscoff cookie crumbs over the entire tart for an added touch of flavor and texture.
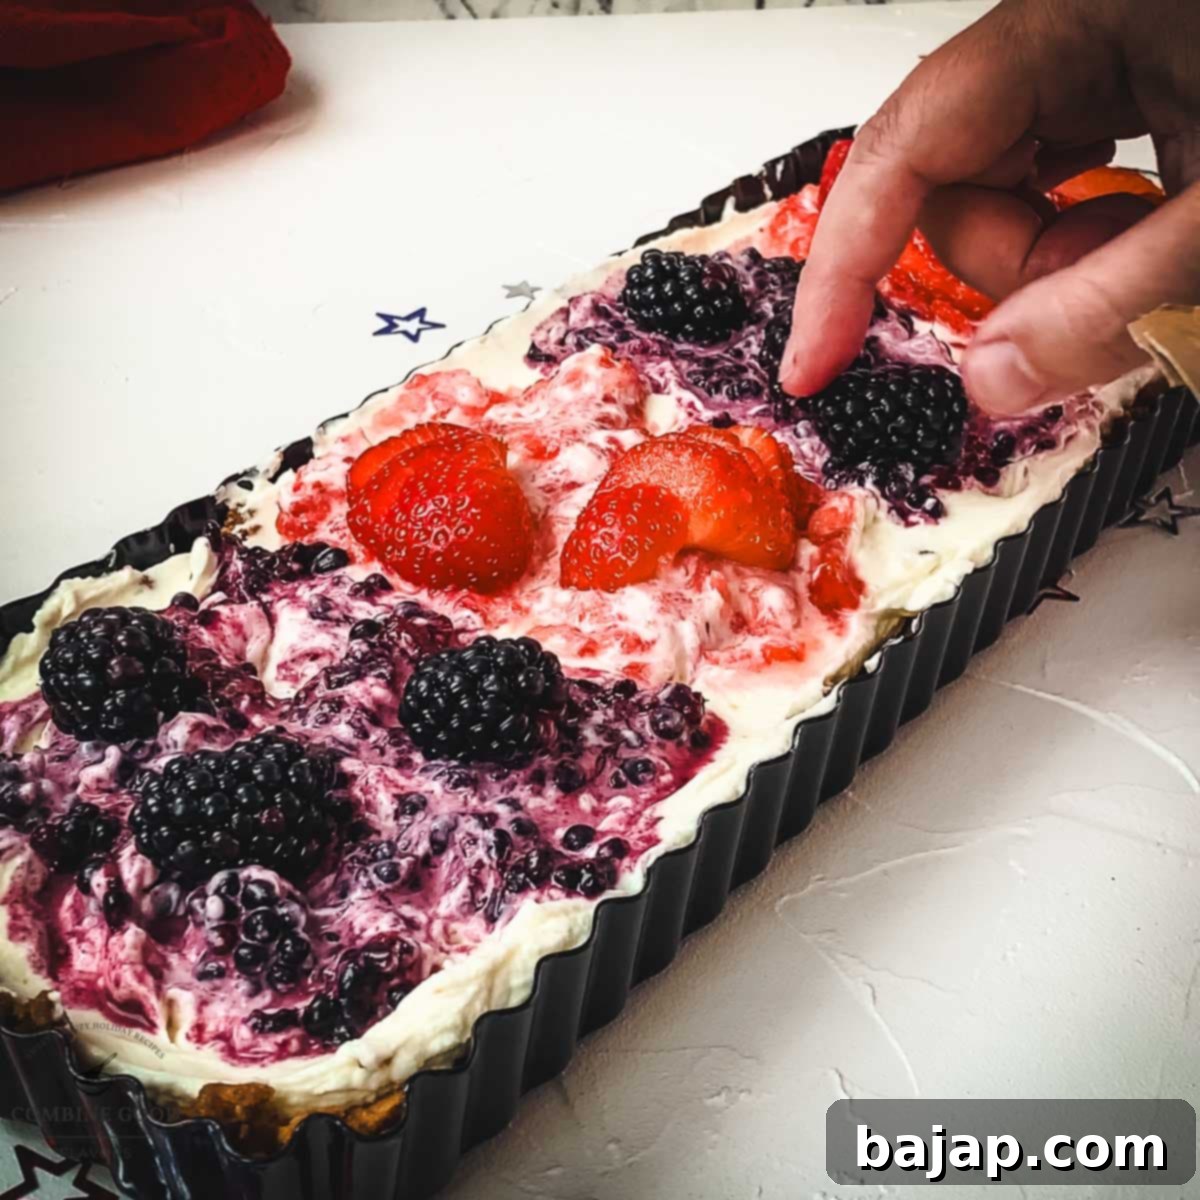
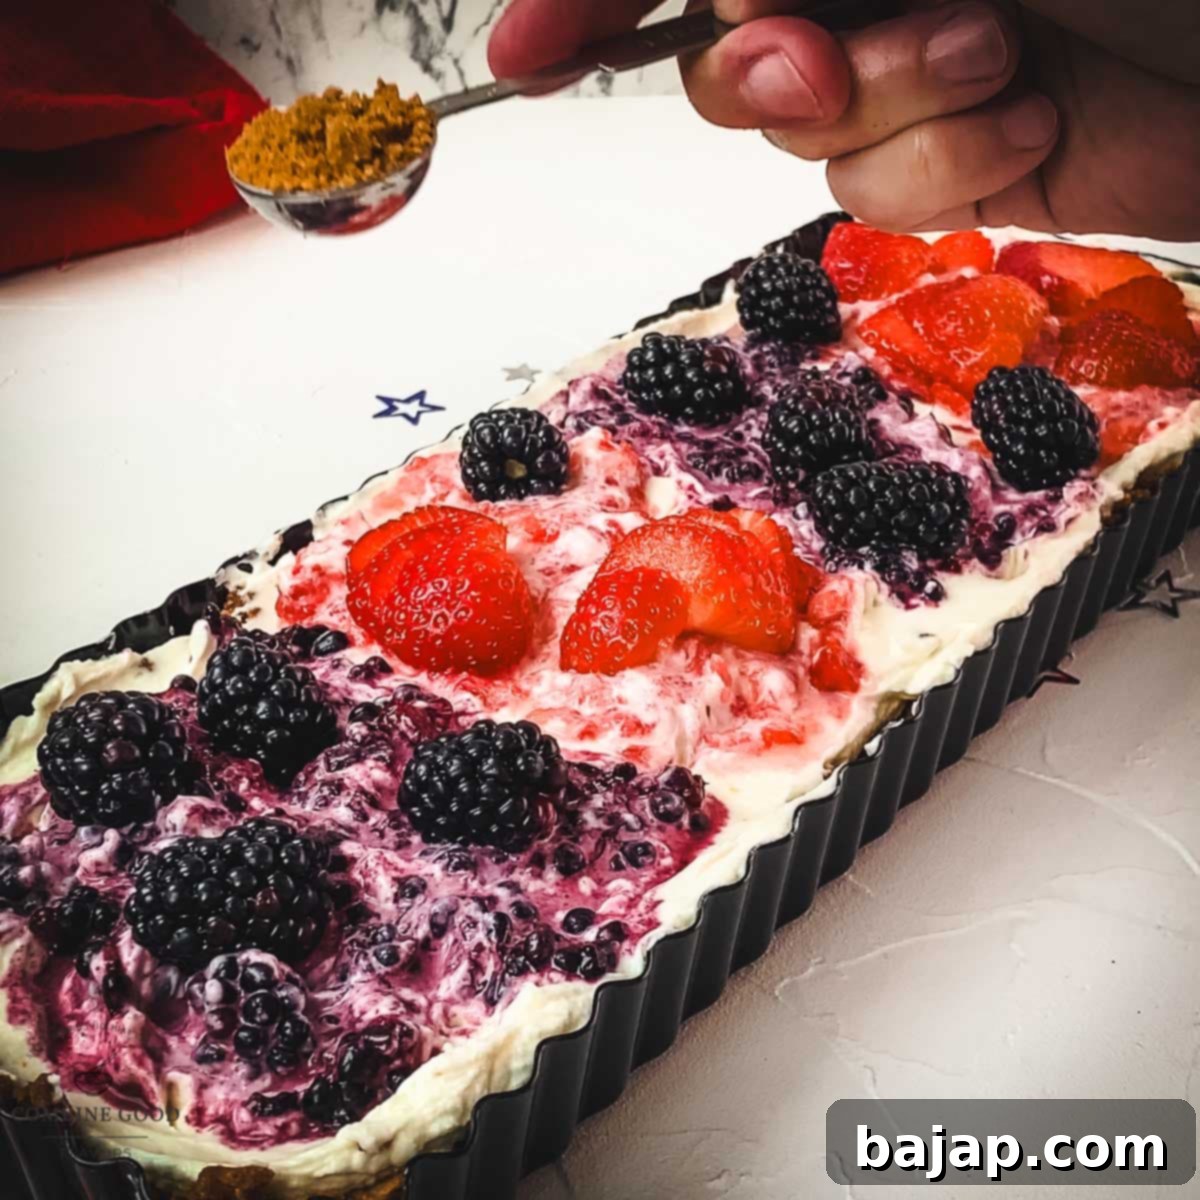
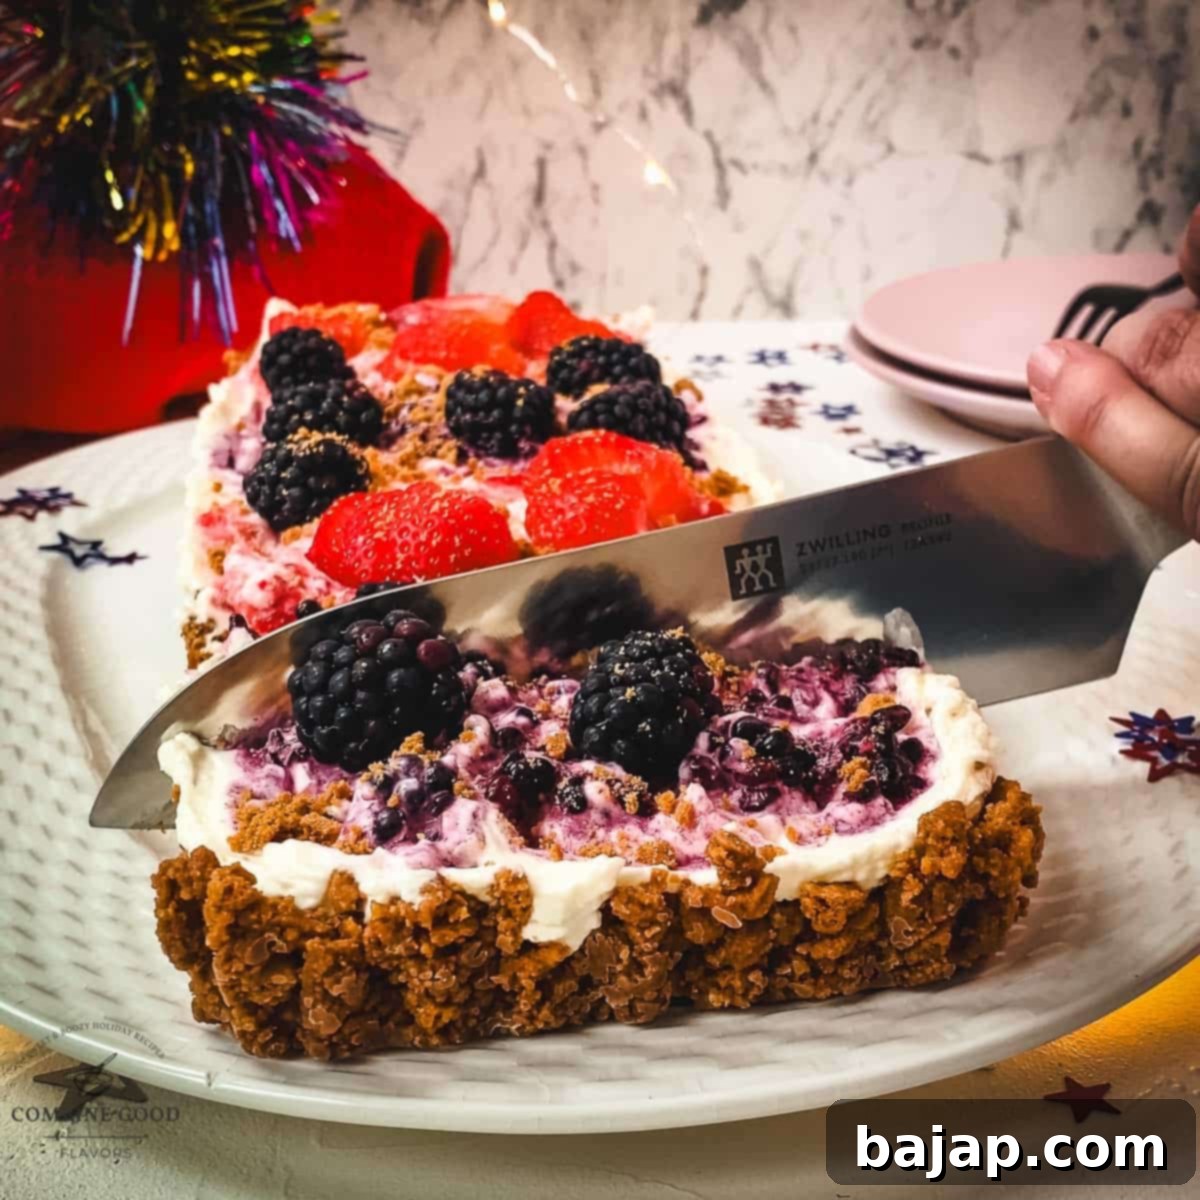
Step 7: Chill, Slice, and Serve! Place the garnished tart in the freezer for at least 1 hour to allow the filling to set thoroughly. Once firm, gently remove the tart from its tin. You may need to let it thaw slightly at room temperature for 10-15 minutes to achieve the perfect slicing consistency. Cut into elegant slices and serve immediately. This tart is best enjoyed cold and fresh!
🥮 Making the Perfect Lotus Biscoff Crust for Your Fruit Tart
The foundation of this incredible no-bake tart is its rich and flavorful Lotus Biscoff crust. While I often use pre-made Lotus Biscoff cookie crumbs for ultimate convenience, don’t fret if you don’t have them on hand. Making your own crumbs from whole cookies is incredibly easy and just as effective!
You have a couple of excellent options for crushing the cookies:
- Electric Chopper/Food Processor: This is my preferred method for most of my cheesecake recipes. Simply place the whole Lotus Biscoff cookies into your electric chopper or food processor and pulse until fine crumbs are formed. Be careful not to over-process, as this can turn them into a paste.
- Manual Crushing: For a more hands-on approach (or if you don’t have a chopper), this method works perfectly, similar to how I prepare the crust for my no-bake chocolate ricotta cheesecake. Place the cookies in a sturdy freezer bag, seal it, and then use a rolling pin or a meat tenderizer to crush them into fine crumbs. This can be quite therapeutic!
Once you have your Biscoff crumbs, simply mix them with melted butter and coconut fat as directed in the recipe. The key to a perfect crust is to ensure the crumbs are thoroughly coated with the fat mixture and then pressed firmly into your tart tin. This creates a solid, flavorful base that won’t crumble when sliced and provides an excellent contrast to the creamy filling.
🌡️ Storage Solutions for Your 4th of July Tart
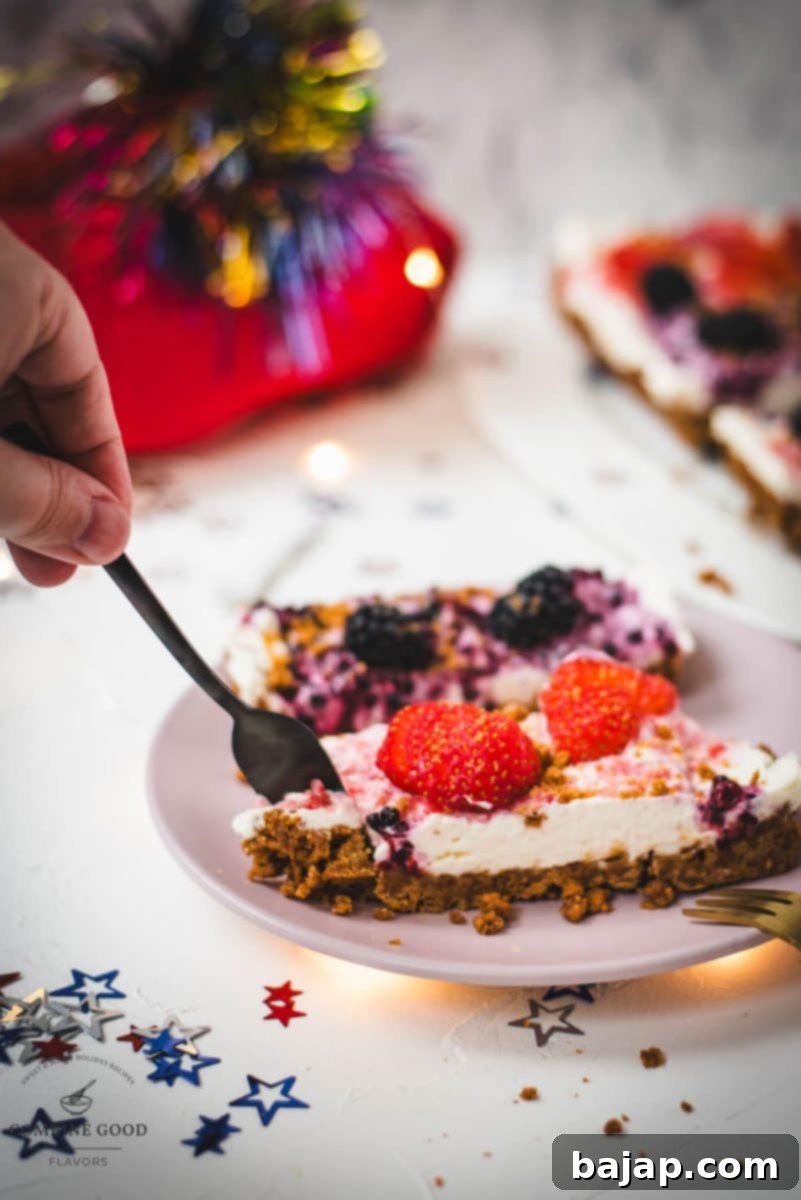
To enjoy this delightful tart at its peak freshness, I highly recommend preparing it on the same day you plan to serve it. This ensures the crust remains perfectly crisp and prevents it from becoming soggy, which can happen with fruit-based desserts over time. The vibrant flavors of the fresh berries and the creamy filling are best experienced when the tart is newly assembled.
However, if you find yourself with leftovers (a rare occurrence with such a delicious dessert!), they can be stored successfully. Simply cover the tart loosely with plastic wrap or transfer individual slices to an airtight container. Keep any leftover tart in the refrigerator for up to 2-3 days. While the crust might soften slightly, the flavors will still be wonderful. Avoid leaving the tart at room temperature for extended periods, especially during warm weather, to maintain food safety and optimal quality.
🌟 Variations & Customization Ideas
One of the joys of cooking is the ability to adapt recipes to your taste or what you have on hand. This 4th of July tart is incredibly versatile! Here are some ideas to inspire your creativity:
- Berry Bonanza: While strawberries and blackberries offer the classic red and blue, feel free to experiment with other berries. Blueberries are a fantastic alternative for a more vibrant blue hue, or you could add raspberries for extra tartness and red depth. A mix of all three would create a truly dynamic flavor profile.
- Crust Creativity: If Biscoff isn’t your preference, consider a graham cracker crust for a more traditional cheesecake flavor, or an Oreo crust for a rich chocolatey base. Simply substitute the Biscoff cookies with an equal amount of your chosen cookie crumbs.
- Flavor Boosters for the Filling: A teaspoon of pure vanilla extract can enhance the cream cheese filling. For a subtle hint of warmth, a pinch of cinnamon or nutmeg could be added to the Biscoff crust mixture. Almond extract could also complement the berry flavors beautifully.
- Dietary Swaps: As mentioned, this recipe is easily adaptable. Ensure your cookies are certified gluten-free, use a plant-based butter alternative and lactose-free cream cheese for a completely dairy-free version. When using sugar-free sweeteners, always adjust to your preferred level of sweetness.
- Mini Tarts: For individual portions or easier serving at a party, consider making mini tarts using muffin tins or small tartlet molds. Adjust chilling time accordingly.
More Cheesecake & Tart Recipes for You to Try
If you’re a fan of creamy, dreamy desserts, especially cheesecakes and tarts, you’re in for a treat! Our collection features a wide array of recipes, from classic no-bake delights to seasonal sensations. Here are some more irresistible recipes to add to your baking (or no-baking) repertoire:
- No-bake Chocolate Ricotta Cheesecake
- No-bake Pumpkin Cheesecake
- No-bake White Chocolate Raspberry Cheesecake {Halloween}
- No-bake Fig Cheesecake in a Jar
- No-bake Eggnog Cheesecake
- No-bake Mint Chocolate Cheesecake
- No-bake Patriotic Cheesecake
- No-bake Strawberry Cheesecake
- No-bake Oreo Cheesecake
- No-bake Lemon Cheesecake with Blueberry Topping
- No-bake Biscoff Cheesecake
- No-Bake Raspberry Cheesecake {Valentine’s Day}
- No-bake Lime Cheesecake in a Jar
🍽 Essential Equipment for Your No-Bake Tart
Having the right tools can make all the difference in the kitchen, simplifying the process and ensuring a perfect result. For this no-bake 4th of July tart, you’ll need a few basic items:
- Rectangular tart tin (14×4.5 inch): Essential for shaping your tart and giving it that classic, elegant look.
- Two big mixing bowls: For preparing the crust and the creamy filling separately.
- Wooden spoon: Ideal for mixing the crust ingredients and ensuring a smooth filling.
- Two small mixing bowls for the fruit: Perfect for mashing berries and keeping them separate before layering.
- Kitchen machine with paddle attachment (optional): A great tool for effortlessly mixing the cream cheese filling to a silky-smooth consistency.
- Fork: Handy for mashing berries and simple stirring tasks.
- Silicone spatula: Perfect for scraping down bowls and spreading the filling evenly without scratching your tart tin.
- Electric chopper (optional): A quick and efficient way to turn whole Biscoff cookies into fine crumbs, or to mash your berries.
💭 Top Tips for a Flawless 4th of July Tart
Achieving a perfect no-bake tart is all about attention to a few key details. Keep these expert tips in mind for a dessert that’s not only delicious but also beautifully presented:
- Crust Perfection: When making the Biscoff crust, it’s vital to press the mixture evenly and *very firmly* into the tart tin. This creates a solid, stable base that won’t fall apart when you slice the tart. A compact crust prevents issues like crumbling or a watery filling seeping through, ensuring a delightful texture in every bite.
- Optimal Chilling Time: The recommended freezing time of 1 hour is a good starting point, but setting times can vary. Factors like the humidity in your kitchen, the exact consistency of your cream cheese, and the temperature of your freezer can influence how quickly the filling sets. If after an hour your tart still feels too soft, don’t hesitate to extend the freezing time by another 30-60 minutes, or simply chill it in the refrigerator for a few hours. A firmer set ensures cleaner slices and a more enjoyable eating experience.
- Room Temperature Cream Cheese: For the smoothest possible filling, ensure your cream cheese is at room temperature before mixing. This allows it to incorporate easily with the other ingredients, preventing lumps and creating that desirable silky texture.
- Gentle Swirling: When adding the mashed berries, resist the urge to over-mix. Gentle swirls are all you need to create those beautiful red and blue patterns without fully blending the colors, preserving the patriotic aesthetic.
- Easy Release from the Tin: If you’re having trouble releasing the tart from a fluted tin, a trick is to briefly run the bottom of the tin under warm water (making sure no water gets into the tart itself!) for just a few seconds before attempting to unmold. This can slightly loosen the crust from the metal.
Other 4th of July Recipes for You to Try
Planning a full menu for your Independence Day celebration? We’ve got you covered beyond just dessert! Explore these other fantastic 4th of July recipes, perfect for adding more patriotic flair and deliciousness to your gathering:
- 4th of July Cheesecake
- Classic Mimosa
- Classic Daiquiri
- Raspberry Daiquiri
- Raspberry Lemon Drop Martini
- 4th of July Cake Pops (coming soon!)
- 4th of July Cupcakes
- Whiskey Sidecar
- Mixed Berry Mimosa
If you’ve tried your hand at this delightful No-Bake 4th of July Tart, we’d absolutely love to hear from you! Please let me know how you enjoyed it by leaving a ★★★★★ star rating and a comment below. Your feedback means the world to us! Don’t forget, you can also sign up for our Newsletter to receive weekly delicious homemade recipes directly in your inbox. And for more inspiration, follow me on Pinterest or Instagram and share your beautiful creations with me. Just tag me @combinegoodflavors and use the hashtag #combinegoodflavors so I don’t miss it!
📖 Recipe Card: No-bake 4th of July Tart with Strawberries and Blackberries
No-bake 4th of July Tart with Strawberries and Blackberries
Nora
Save RecipeSaved!
Pin Recipe
Equipment
-
Rectangular tart tin 14×4.5 inch
-
2 Mixing bowls big
-
Wooden spoon
-
2 Mixing bowls small, for the fruits
-
Kitchen machine with paddle attachment optional
-
Fork
-
Silicone spatula
-
Electric chopper optional
Ingredients
- 8.8 oz Lotus Biscoff Cookies or a gluten-free alternative
- 1 stick Butter or Margarine, unsalted
- ¼ cup Coconut fat or oil
- ⅓ cup Dextrose or Xylitol
- 16 oz Cream cheese or a plant-based alternative
- 1 tablespoon Lemon zest
- 1 cup Blackberries fresh
- 1 cup Strawberries fresh
- Non-stick spray for the tin
Instructions
-
Prepare the tart tin by spraying it with Non-stick spray.Non-stick spray
-
Create the crust by combining 1 stick Butter (melted) with crushed 8.8 oz Lotus Biscoff Cookies and pressing the mixture into the tart tin.8.8 oz Lotus Biscoff Cookies, 1 stick Butter
-
Place the crust in the fridge until the cream is ready.
-
Heat ¼ cup Coconut fat or oil and mix with ⅓ cup Dextrose, 16 oz Cream cheese, and 1 tablespoon Lemon zest to form the filling.¼ cup Coconut fat or oil, ⅓ cup Dextrose, 16 oz Cream cheese, 1 tablespoon Lemon zest
-
Spread the filling over the crust.
-
Mash half of 1 cup Blackberries and half of 1 cup Strawberries separately, then layer them alternately over the filling.1 cup Blackberries, 1 cup Strawberries
-
Garnish with the rest of the fruit and sprinkle with cookie crumbs.
-
Freeze for 1 hour, remove from the tin, let thaw slightly, slice, and serve.
Nutrition values are estimates only, using online calculators. Please verify using your own data.

⛑️ Important Food Safety Guidelines
Ensuring food safety is paramount, especially when preparing dishes for gatherings. Please keep these important guidelines in mind to keep your celebration safe and delicious:
- Cook to a minimum temperature of 165 °F (74 °C): While this is a no-bake dessert, always ensure any cooked components (if added as a variation) reach safe temperatures.
- Do not use the same utensils on cooked food that previously touched raw meat: This prevents cross-contamination.
- Wash hands after touching raw meat: A fundamental rule for preventing the spread of bacteria.
- Don’t leave food sitting out at room temperature for extended periods: Perishable foods, especially those with cream cheese, should not be left out for more than 2 hours. In hot weather, this time is reduced to 1 hour.
- Never leave cooking food unattended: Always be present when cooking to prevent accidents.
- Use oils with high smoking point to avoid harmful compounds: If you’re doing any frying for other dishes, choose appropriate oils.
- Always have good ventilation when using a gas stove: Essential for safety and air quality.
For further comprehensive information on safe food handling practices, please refer to the official guidelines from the Safe Food Handling – FDA.
