Delicious Marbled Baked Creamy Rice Pudding Casserole: An Easy & Cozy Dessert Recipe
Cozy Up with a Baked Creamy Rice Pudding Casserole
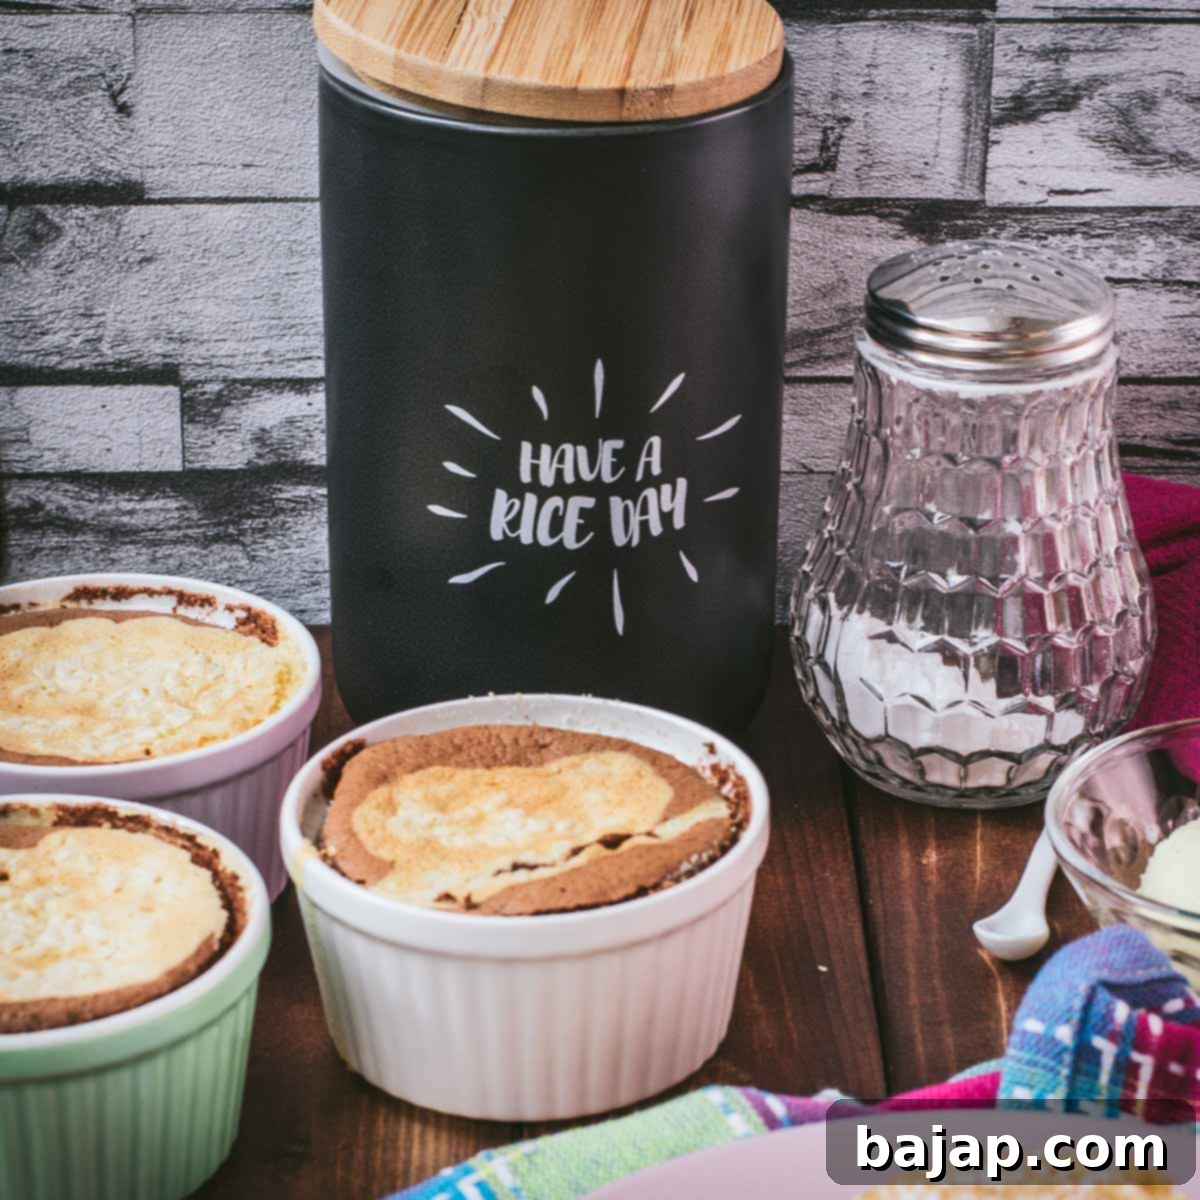
Welcome to a delightful world of comfort and flavor with our incredible baked creamy rice pudding casserole! This isn’t just any rice pudding; it’s a rich, decadent dessert elevated to perfection. Imagine perfectly portioned servings, each nestled in its own adorable mini casserole dish (ramekin), making it ideal for individual indulgence or elegant entertaining. This recipe is designed to be both simple to follow and impressive to serve, bringing a touch of homemade warmth to any table.
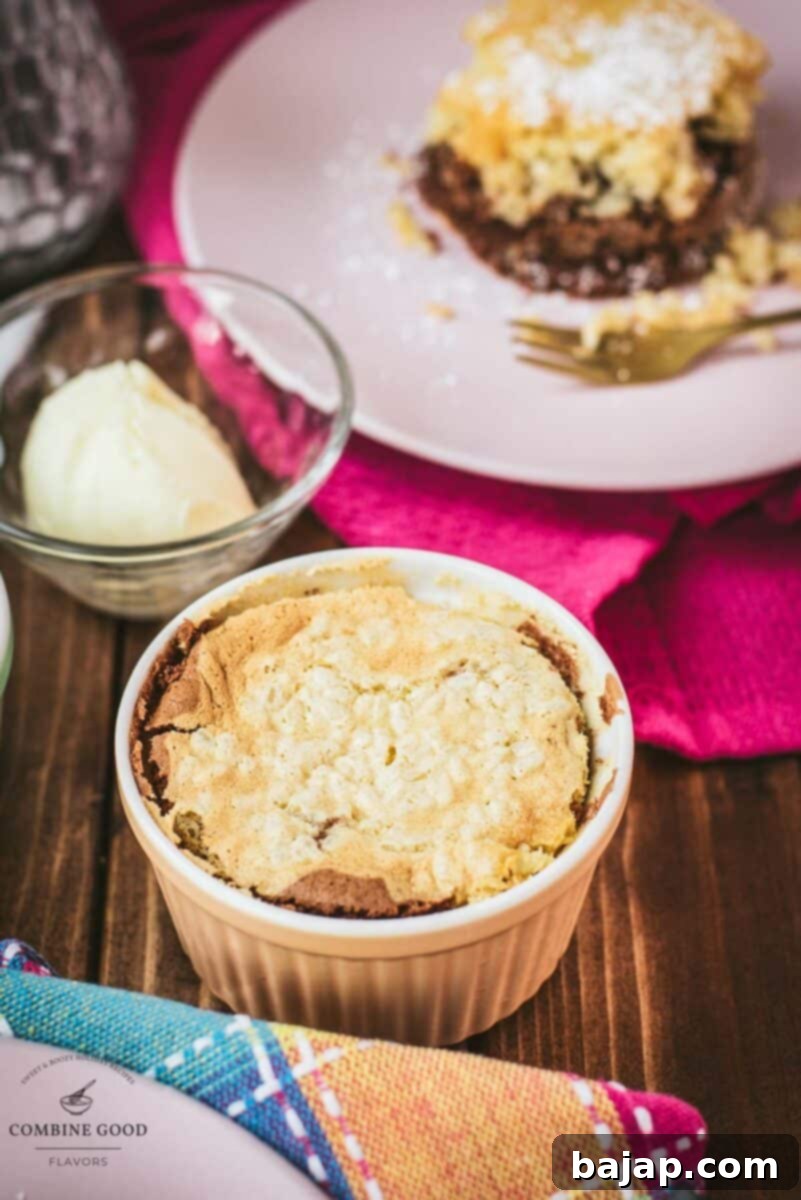
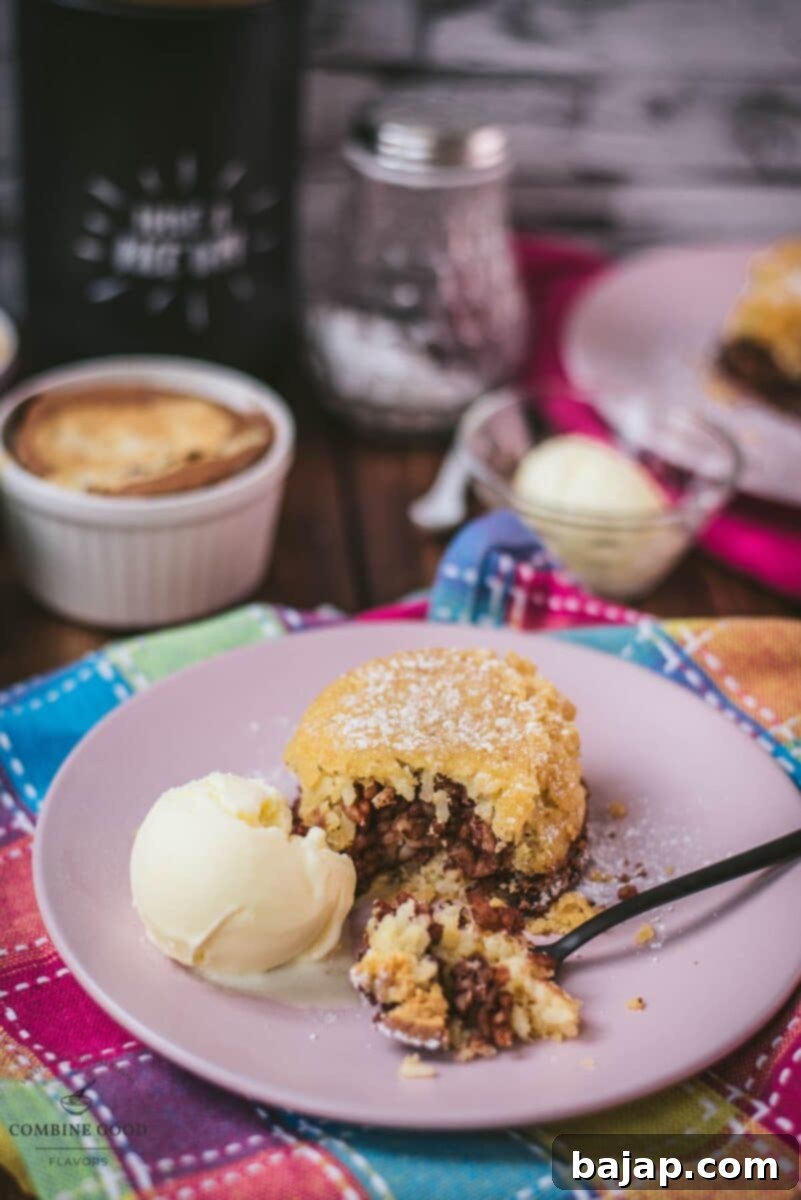
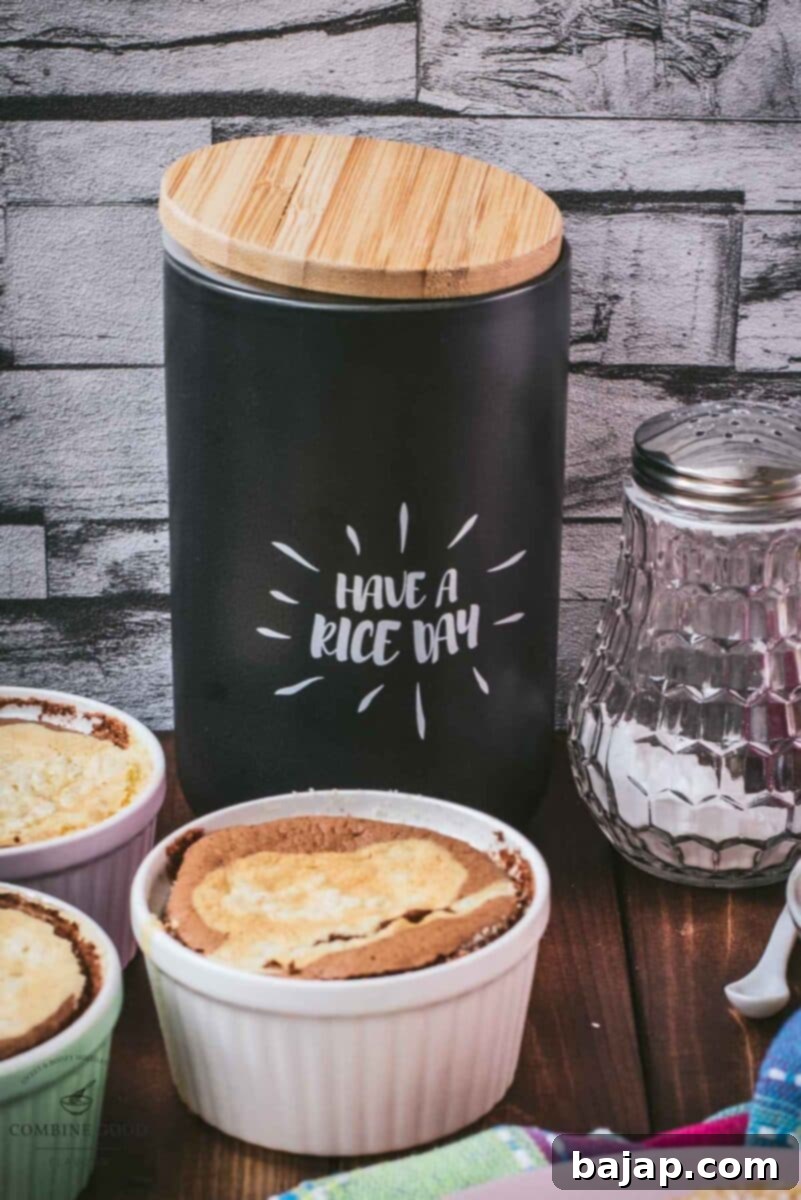
What makes this baked rice pudding truly special is the beautiful cocoa swirl that creates a stunning marbled effect. This not only adds a sophisticated visual appeal but also a subtle hint of chocolatey goodness that perfectly complements the creamy vanilla base. While it’s a fantastic way to kick off a new season or celebrate a special occasion, its comforting nature makes it a perfect treat any time you crave something sweet and satisfying. I personally love serving it with a scoop of my homemade vanilla ice cream, creating that magical hot-and-cold contrast that excites the palate. However, its versatility means it’s equally delightful with a luscious warm vanilla sauce or a vibrant, tangy fruity berry topping.
Why You’ll Love This Marbled Baked Rice Pudding
This recipe transforms a classic comfort food into something extraordinary. Here’s why it’s bound to become a new favorite in your kitchen:
- Stunning Presentation: The marbled cocoa swirl makes each mini casserole a work of art, perfect for impressing guests or simply making a weeknight dessert feel special.
- Perfectly Portioned: Baking in individual ramekins ensures everyone gets their own personal serving, reducing waste and simplifying serving.
- Creamy & Rich: Made with quality ingredients and a careful cooking process, this pudding boasts an incredibly creamy texture and a rich, satisfying flavor that will keep you coming back for more.
- Versatile Toppings: Whether you prefer a hot-and-cold contrast with ice cream, a smooth, warm sauce, or a bright, fruity burst, this pudding pairs beautifully with a variety of toppings.
- Easy to Make: Despite its elegant appearance, this recipe is straightforward and uses simple techniques, making it accessible for bakers of all skill levels.
The Perfect Topping for Every Palate
The beauty of this baked creamy rice pudding casserole lies not only in its delightful base but also in the endless possibilities for customization with toppings. Each option brings a unique flavor and texture profile, allowing you to tailor your dessert experience to your mood or occasion.
- Creamy Indulgence: Vanilla Ice Cream
For that iconic hot-and-cold magic, a generous scoop of homemade vanilla ice cream is simply irresistible. The cool, velvety ice cream slowly melts into the warm, tender rice pudding, creating a symphony of temperatures and textures. It’s a classic pairing that never disappoints, adding an extra layer of richness and a subtle vanilla note that enhances the pudding’s natural sweetness. - Warm & Soothing: Homemade Vanilla Sauce
If you’re seeking pure warmth and an extra layer of luxurious creaminess, my homemade vanilla sauce is an exquisite choice. This velvety, luscious sauce cascades over the pudding, infusing every bite with comforting vanilla flavor. It’s incredibly easy to prepare and transforms the dish into an even more decadent treat, perfect for a cozy evening in. - Fruity & Refreshing: Berry Topping
For those who love a vibrant, tangy contrast to the rich sweetness of the pudding, a berry topping is the way to go. A quick raspberry cheesecake sauce or a simple medley of fresh mixed berries adds a pop of color and a refreshing tartness that cuts through the richness beautifully. The bright, juicy flavors of berries complement the creamy rice, making each spoonful a delightful balance. Consider options like a mixed berry compote, fresh strawberries, or a vibrant cherry sauce. - Other Delicious Ideas: Don’t limit yourself! A drizzle of caramel sauce, a sprinkle of toasted nuts like pecans or almonds, a dollop of whipped cream, or even a dusting of cinnamon can further enhance your marbled rice pudding.
No matter which topping you choose, this baked creamy rice pudding casserole is easy to make, endlessly versatile, and the perfect way to bring a bit of sweetness and comfort to any moment. Let’s dive into the recipe!
🥘 Ingredients
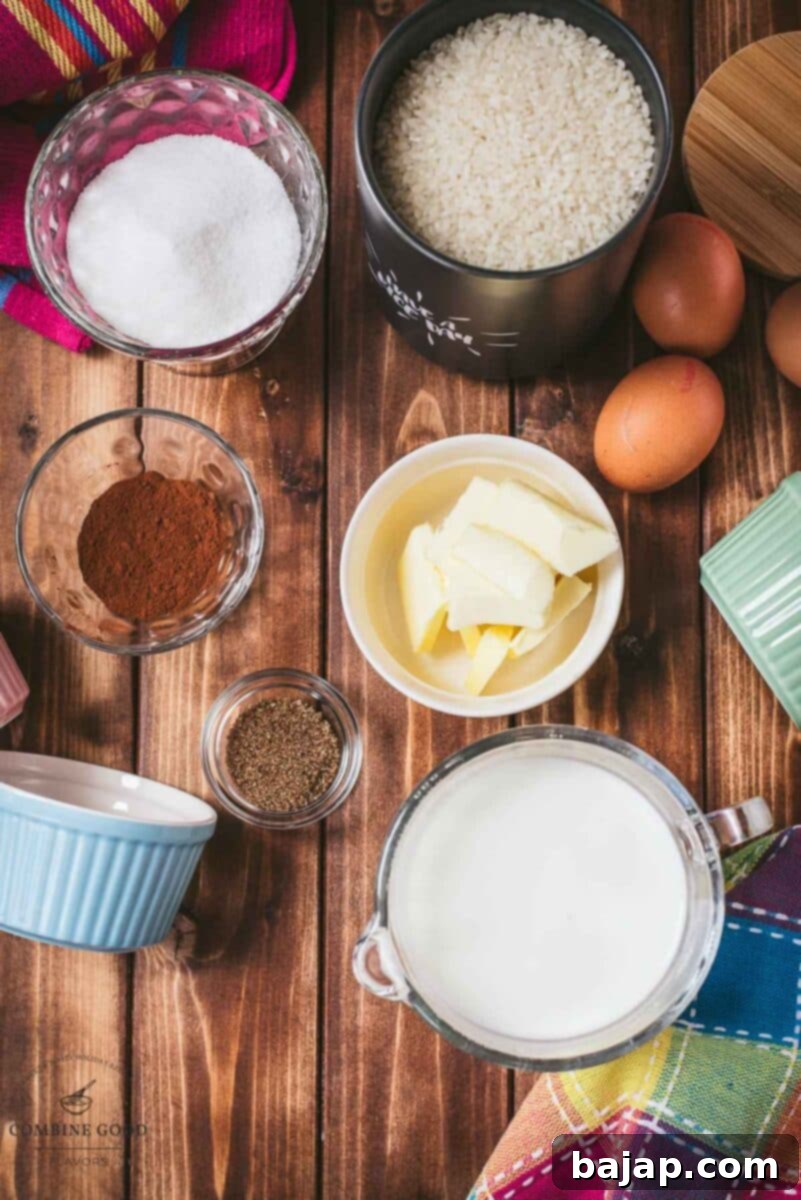
- Short grain rice: Essential for that wonderfully creamy texture. Look for varieties like risotto rice (Arborio) or sushi rice, as their high starch content breaks down to create a luscious consistency.
- Salted water: Used for the initial par-cooking of the rice, which helps ensure even cooking and prevents the pudding from becoming overly sticky.
- Milk: The base for our creamy pudding. Whole milk is recommended for the richest flavor, but you can experiment with lower-fat milk for a lighter version.
- Vanilla sugar: This adds a beautiful depth of vanilla flavor without needing extract. I highly recommend using homemade vanilla sugar if possible, especially one containing real ground vanilla for an authentic taste.
- Eggs: Act as a binder and provide richness and structure, contributing to the casserole’s custardy texture. Separating the yolks and whites is key for the airy lightness.
- Butter: Adds a luxurious mouthfeel and flavor to the pudding mixture.
- Granulated sugar: Sweetens the pudding to perfection, balancing the other flavors.
- Cocoa powder: Creates the distinct marbled pattern and introduces a lovely hint of chocolate. Use unsweetened cocoa for best results.
- Vanilla ice cream & powdered sugar: For an irresistible garnish and serving accompaniment. Powdered sugar adds a final touch of sweetness and a beautiful presentation.
See the recipe card below for precise quantities and detailed instructions.
🔪 Instructions
Follow these steps carefully to achieve a perfectly marbled, creamy, and irresistible baked rice pudding casserole:
Step 1: Prepare the Ramekins
Grease six small ramekins (mini casserole dishes) generously with butter. This prevents sticking and ensures easy removal. Then, sprinkle them lightly with breadcrumbs to create a non-stick surface and a slightly textured crust, adding to the overall experience.
Step 2: Par-Cook the Rice
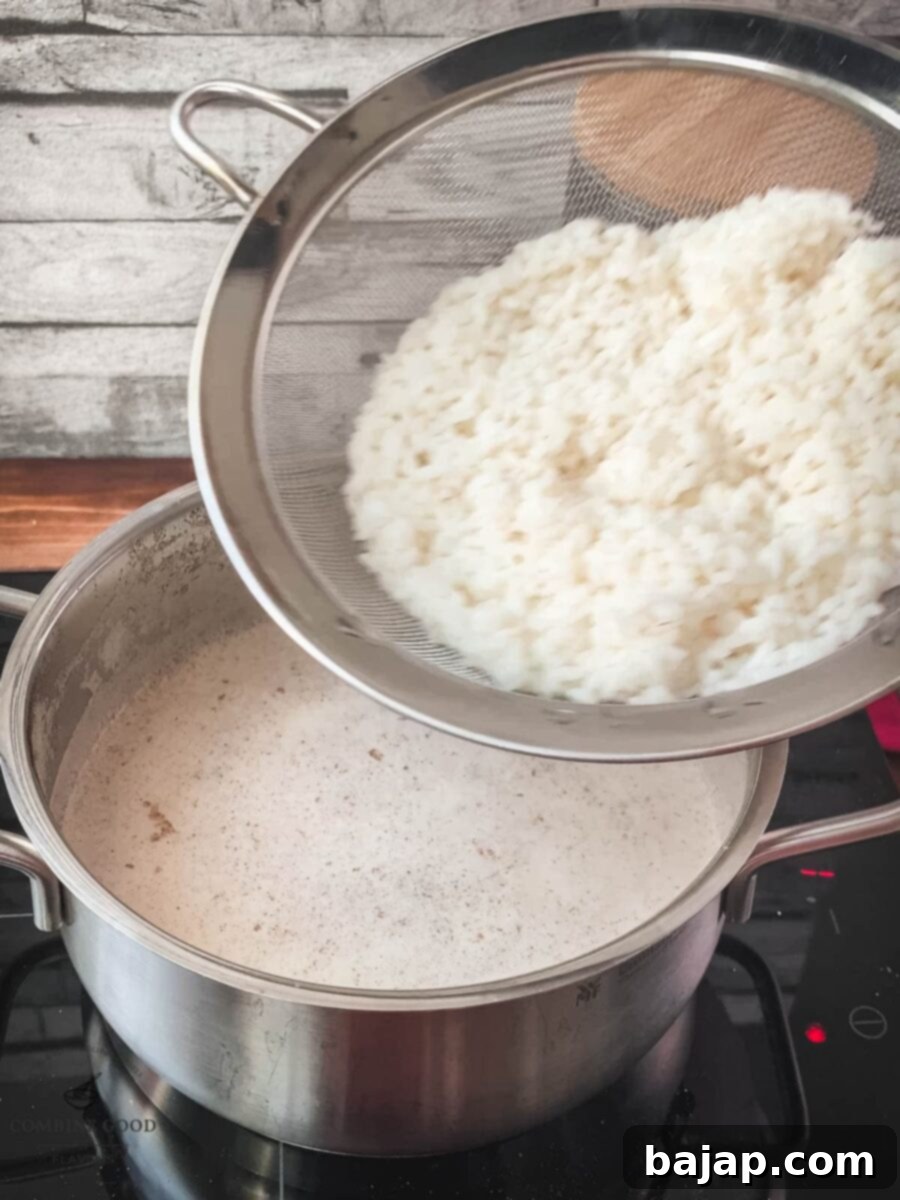
In a medium saucepan, bring 1 ⅔ cups (400 ml) of salted water to a boil. Add the short-grain rice and cook for just 3 minutes. This initial step helps to soften the rice slightly and prepares it for absorbing the milk mixture. After 3 minutes, strain the rice thoroughly and set aside.
Step 3: Simmer in Vanilla Milk
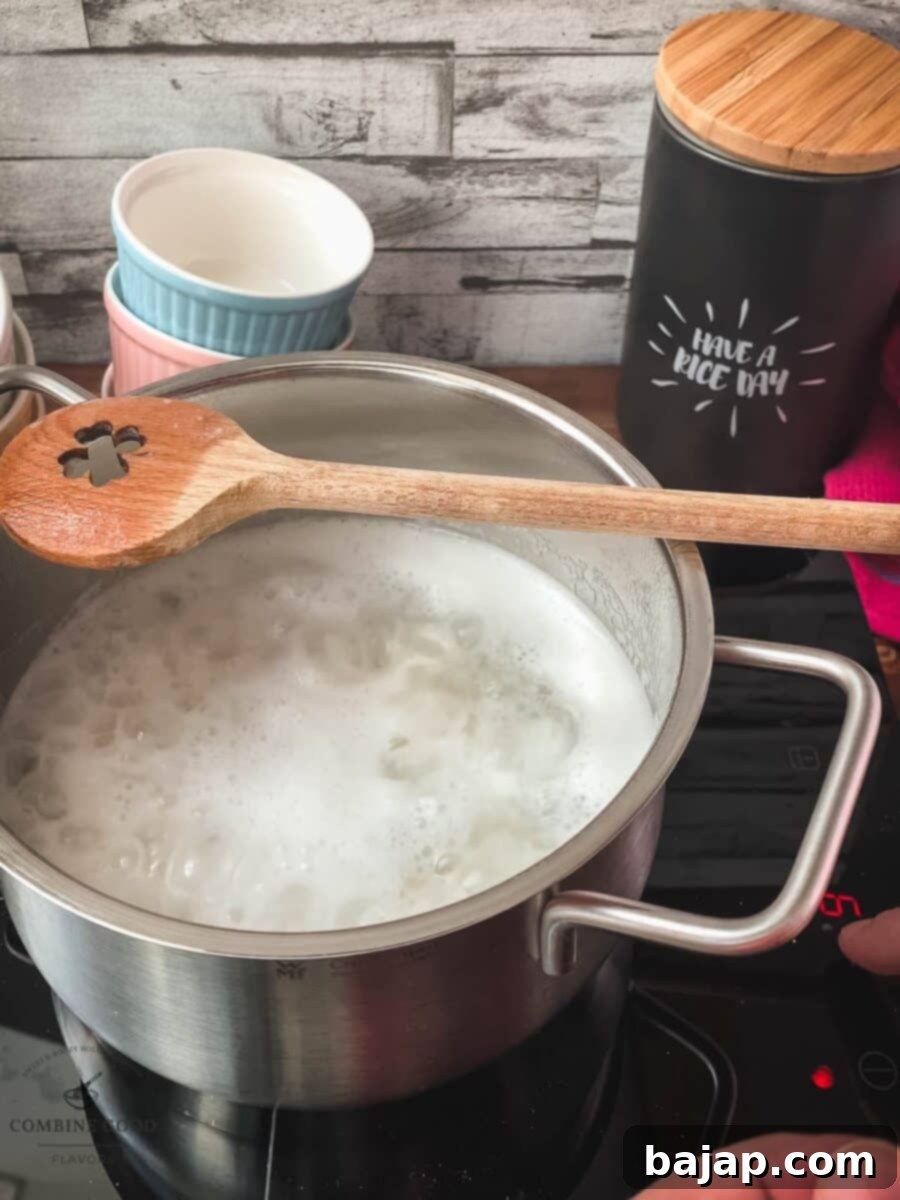
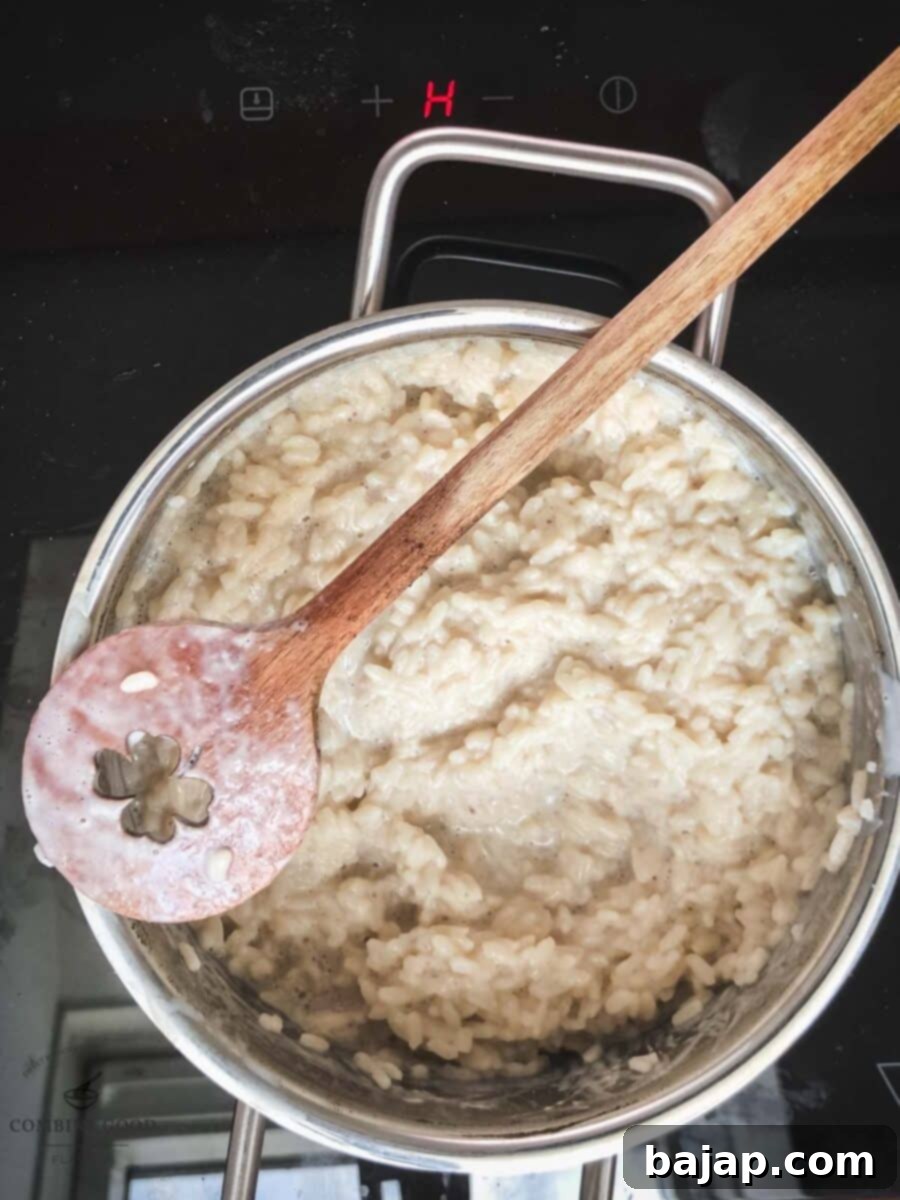
In a separate pot, bring the milk to a gentle boil with the vanilla sugar, stirring to ensure the sugar dissolves completely. Once boiling, add the pre-cooked rice. Reduce the heat and let it simmer for about 20 minutes, stirring occasionally to prevent sticking, until the mixture thickens and the rice is tender. Remove from heat and allow it to cool down completely. This cooling step is crucial before adding the eggs.
Step 4: Preheat the Oven
While the rice mixture cools, preheat your oven to 160°C (320°F). This ensures the oven is at the correct temperature when you’re ready to bake, leading to even cooking.
Step 5: Combine with Yolks and Butter
Separate the eggs, reserving the whites for later. In a large mixing bowl, thoroughly combine the cooled rice pudding mixture with the softened butter and the egg yolks. Mix well until everything is smoothly incorporated and the mixture is rich and cohesive.
Step 6: Fold in Meringue
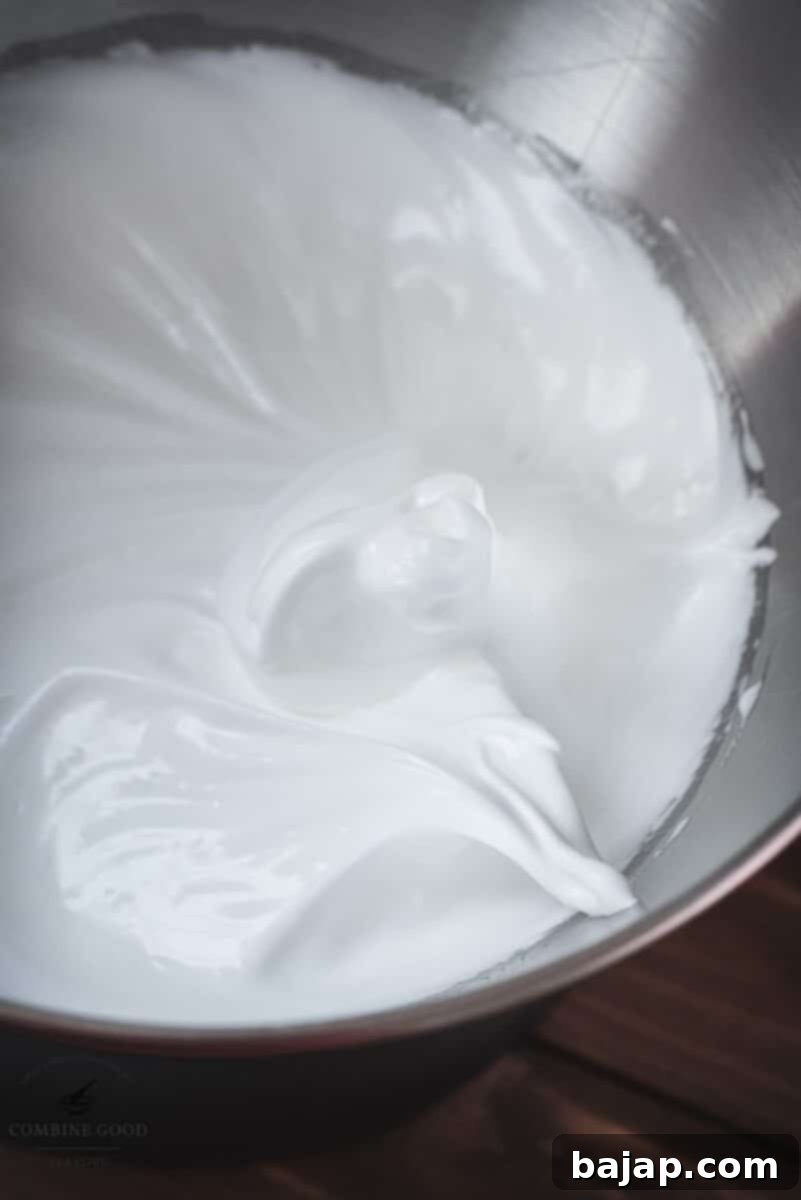
In a separate, clean bowl, beat the egg whites with the granulated sugar until they form soft, creamy peaks. This meringue adds lightness and an airy texture to the pudding. Gently fold the beaten egg whites into the rice mixture in batches, being careful not to deflate the air. This step is crucial for a fluffy, tender casserole.
Step 7: Create the Cocoa Portion
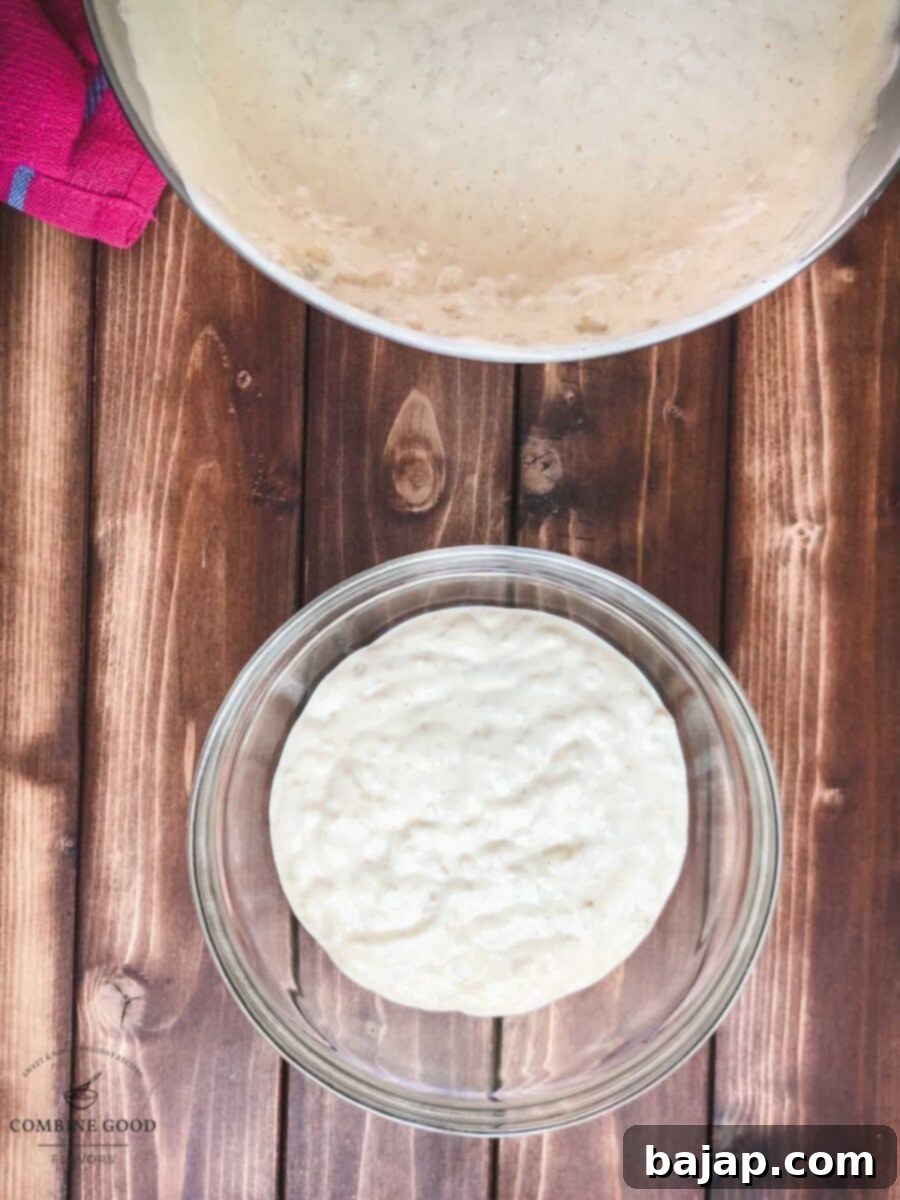
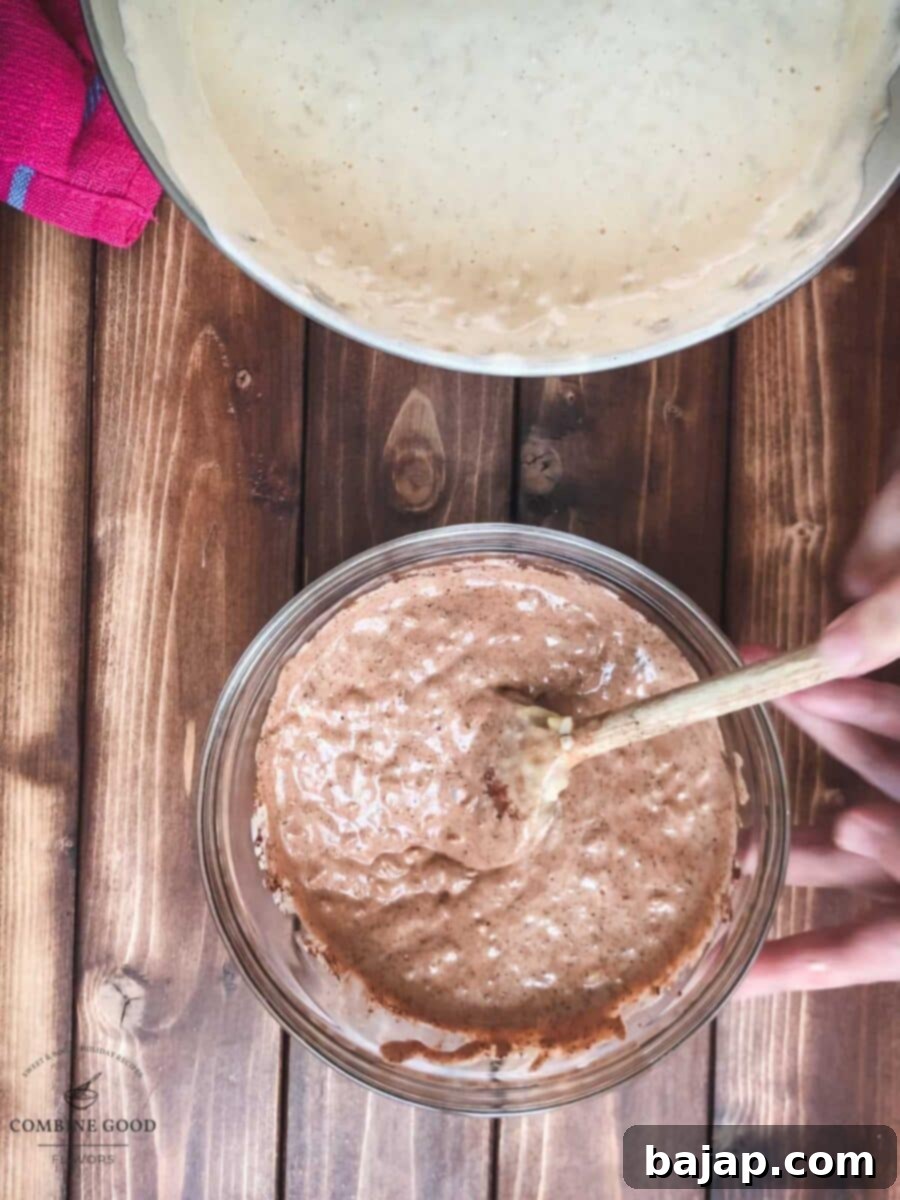
Divide the light rice mixture into two portions: one-third and two-thirds. Mix the smaller, one-third portion with cocoa powder until evenly combined. This will be your darker, contrasting layer for the marble effect.
Step 8: Layer for Marbling
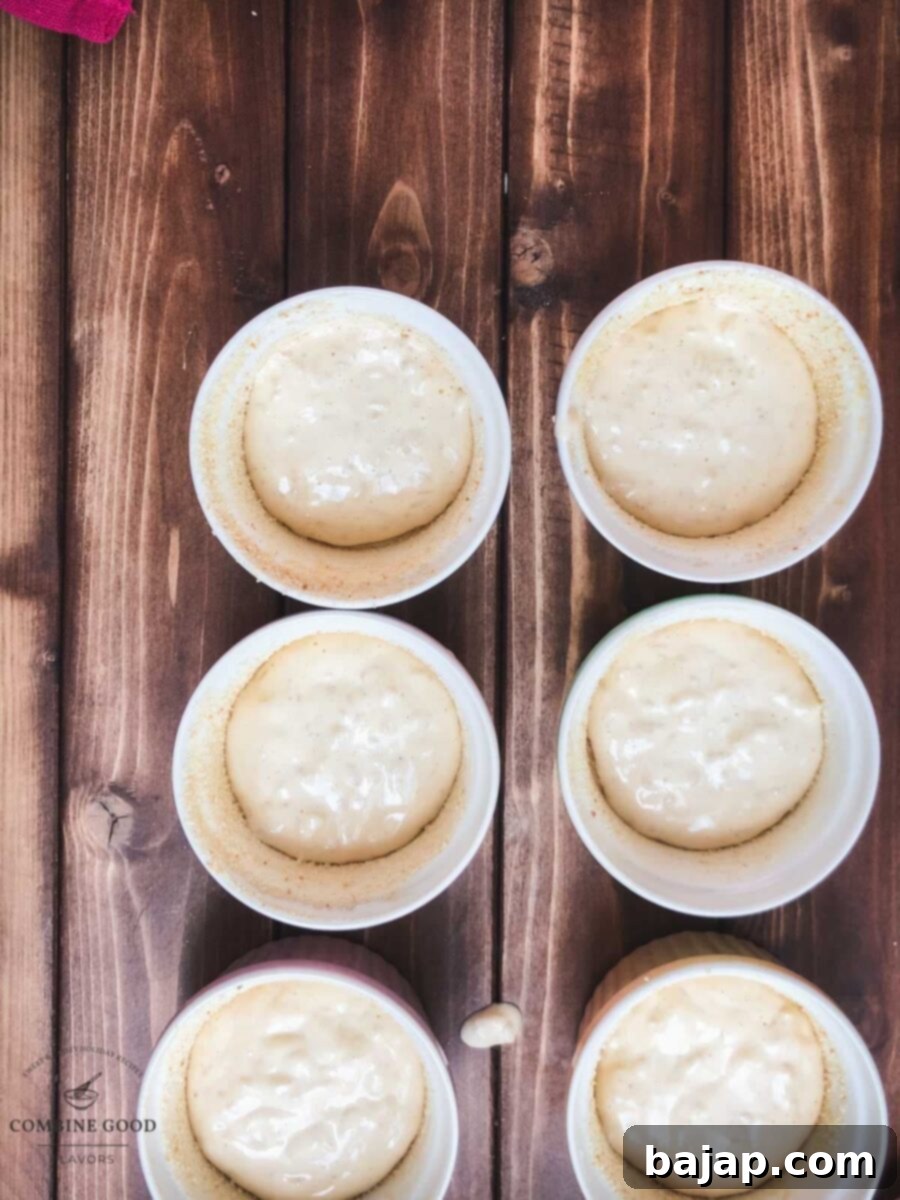
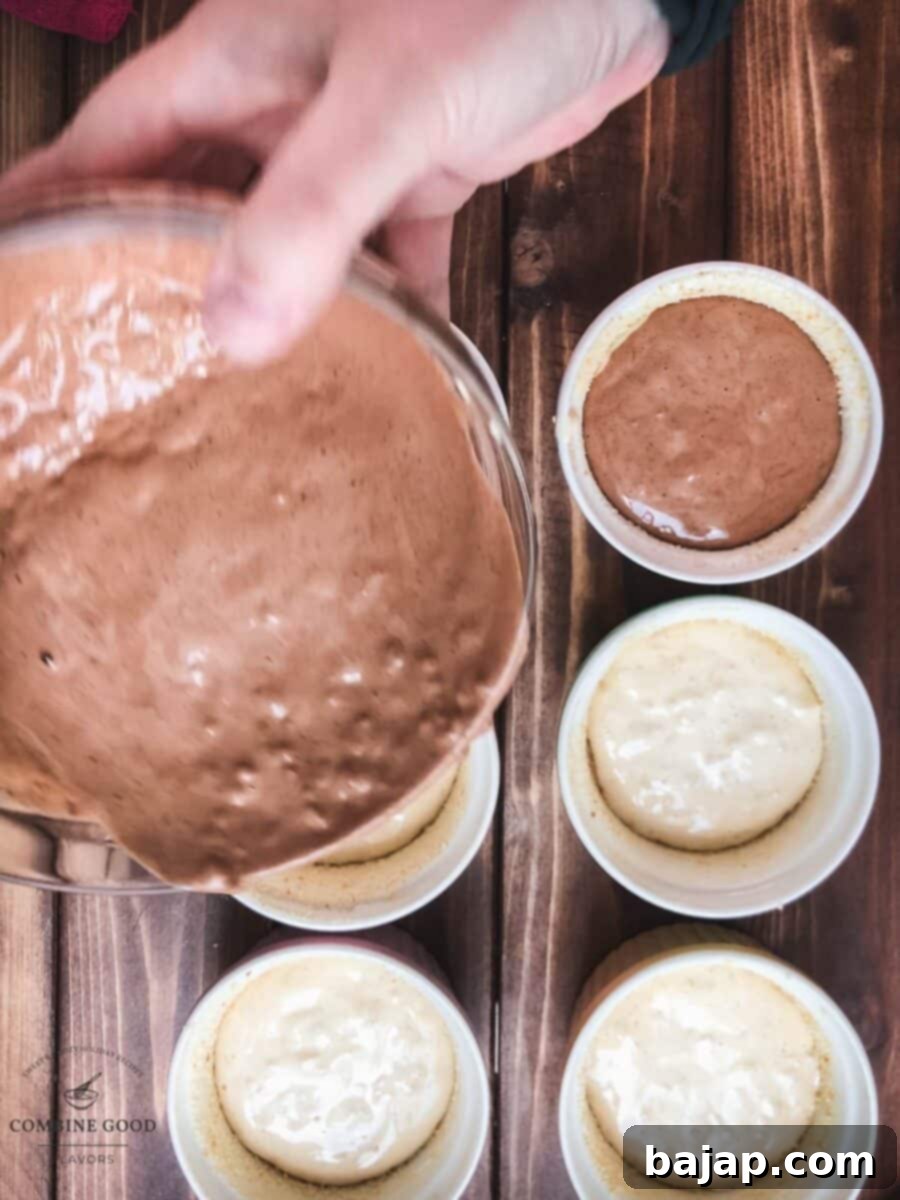
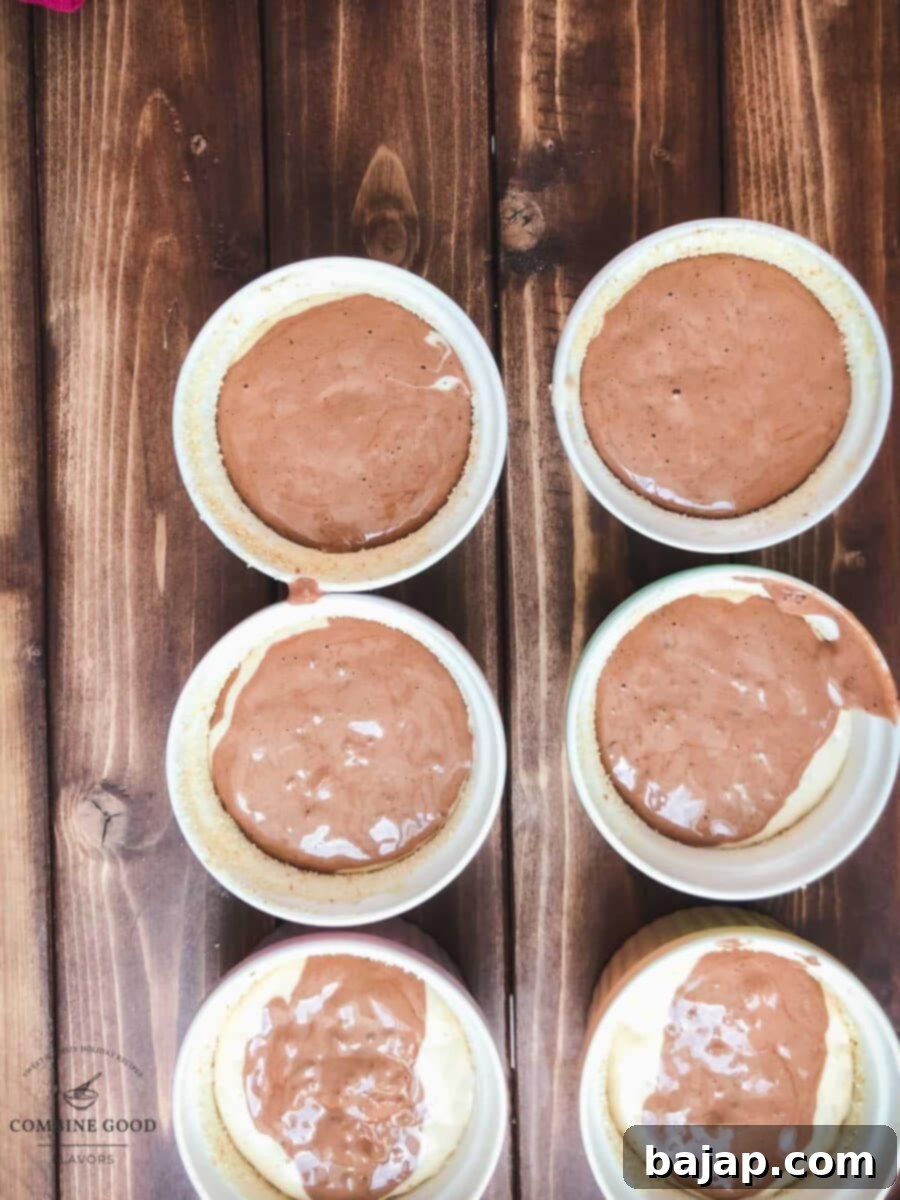
Now for the fun part! Alternately layer spoonfuls of the light rice mixture and the cocoa rice mixture into the prepared ramekins. Use a skewer or a butter knife to gently swirl the two colors together a few times, creating a beautiful marbled effect without overmixing. Be careful not to mix them completely; you want distinct swirls of color.
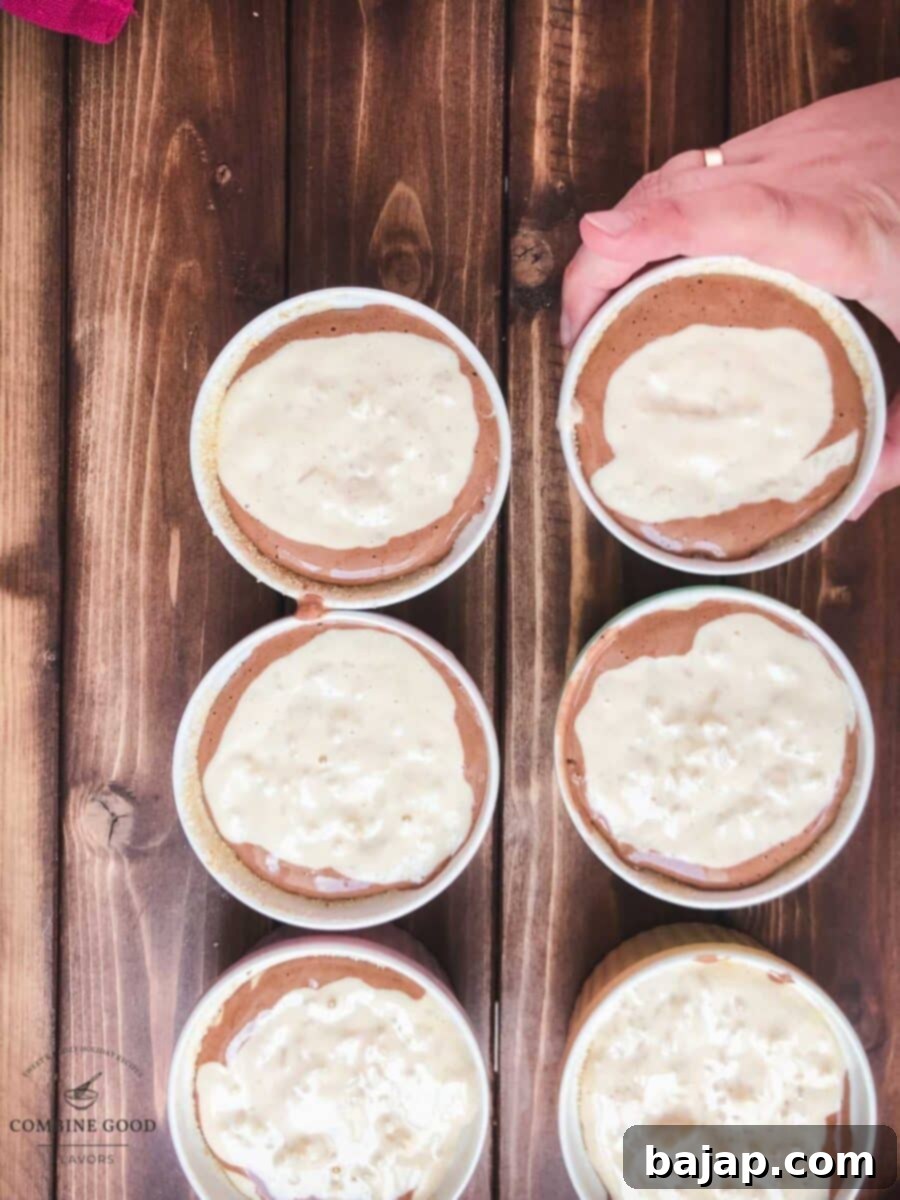
Step 9: Bake to Perfection
Place the filled ramekins on the bottom rack of your preheated oven. Bake for approximately 40 minutes, or until the puddings are set and lightly golden on top. The exact baking time may vary slightly depending on your oven, so keep an eye on them towards the end.
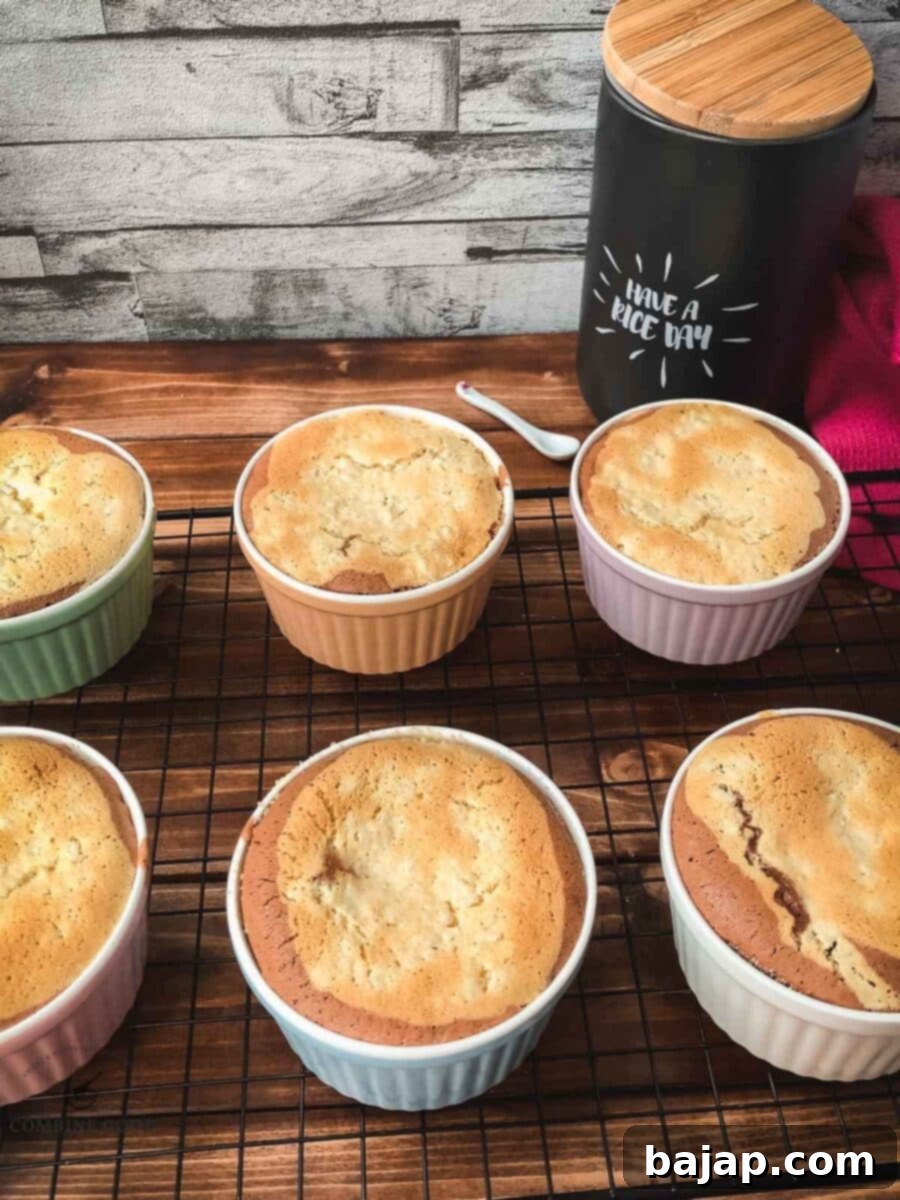
Step 10: Serve and Enjoy!
Once baked, allow the puddings to cool slightly before serving. You have two delicious options for presentation: either serve the dessert directly in the ramekins with a generous scoop of vanilla ice cream on top, or for a more refined look, carefully turn them out onto individual plates, placing the ice cream alongside. Finish with a delicate dusting of powdered sugar for an elegant touch, and enjoy every comforting spoonful!
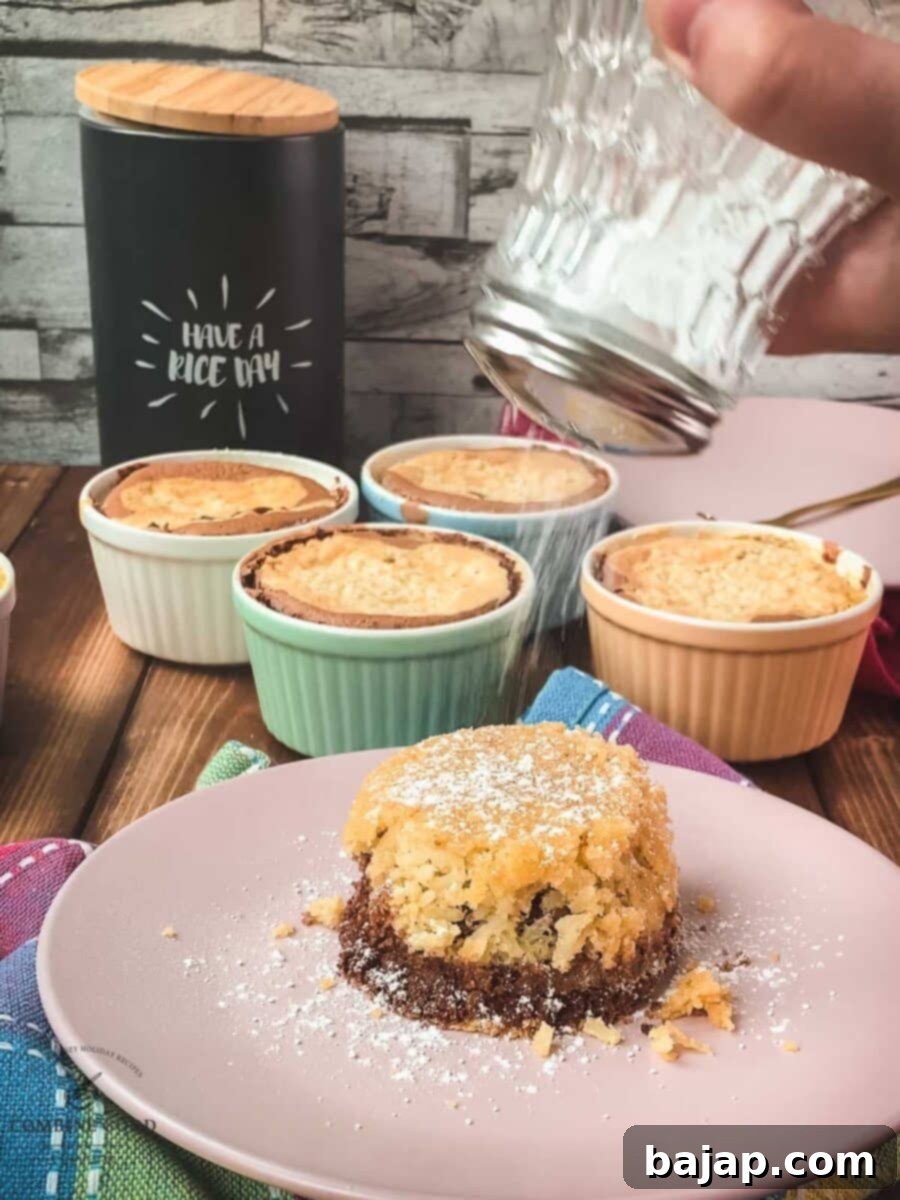
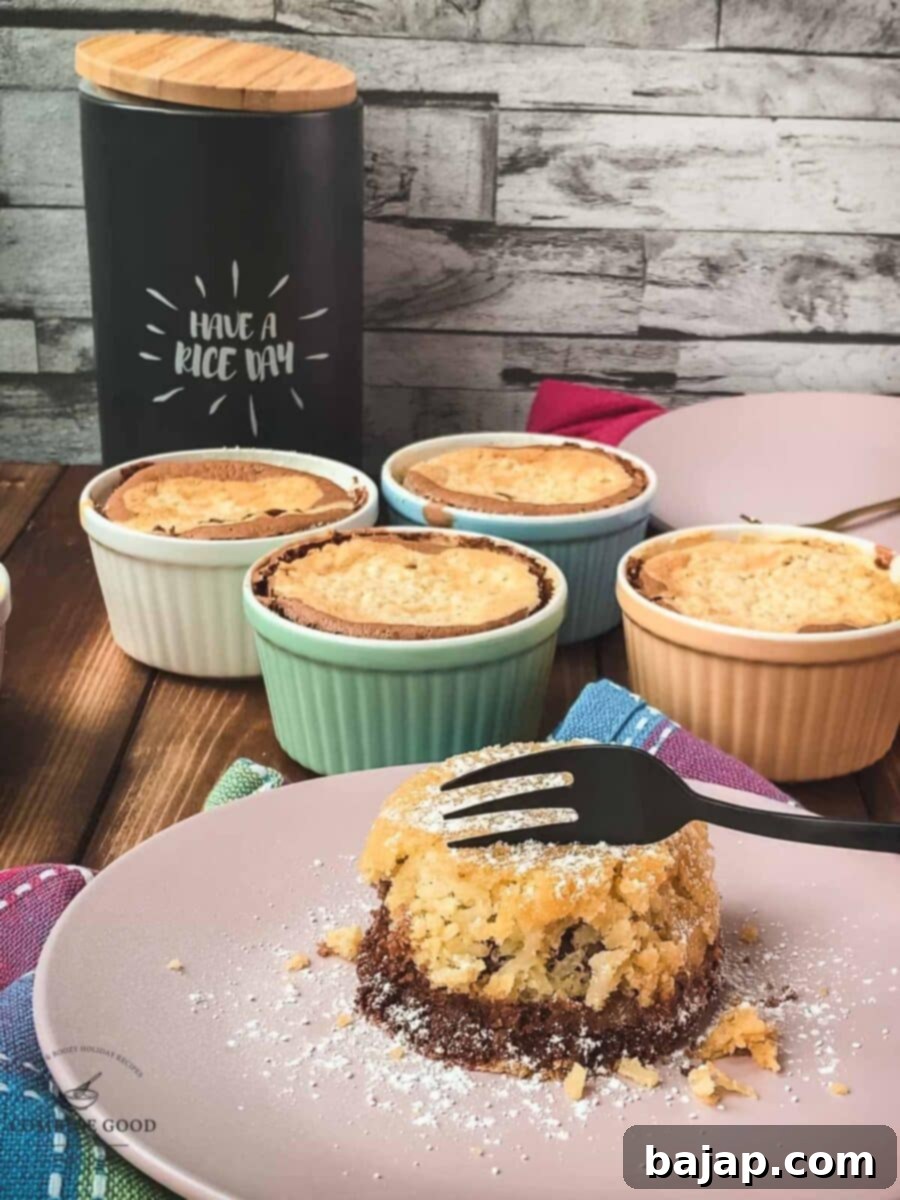
🍽 Equipment
Having the right tools can make your baking experience smoother and more enjoyable. Here’s what you’ll need for this delicious rice pudding:
- 6 ramekins (mini casserole dishes): These individual ceramic dishes are perfect for creating those beautifully portioned puddings. Ensure they are oven-safe.
- Hand or Stand mixer: Essential for beating the egg whites into creamy peaks, which gives the pudding its light texture. A stand mixer makes this effortless, but a hand mixer works just as well.
- Mixing bowls: You’ll need at least two medium to large mixing bowls for combining the rice mixture and beating the egg whites separately.
- Saucepan: A medium-sized saucepan is needed for par-cooking the rice and then simmering it in milk.
- Strainer: To drain the par-cooked rice effectively before adding it to the milk.
💭 Expert Tips for Success
Achieving the perfect baked creamy rice pudding is all about technique and understanding your ingredients. Here are some expert tips to ensure your casserole turns out wonderfully every time:
- Choosing the Right Rice: The type of rice is crucial for the creamy texture. Short-grain rice, like Arborio (risotto rice) or sushi rice, is preferred because of its high starch content. As it cooks, this starch is released, creating a rich, luscious, and slightly chewy consistency that is characteristic of a good rice pudding. Avoid long-grain rice, which tends to stay separate and less creamy.
- Don’t Skip the Par-Cooking: Briefly boiling the rice in salted water before simmering in milk helps to hydrate the grains evenly and prevents them from becoming too sticky or mushy during the longer cooking process. It also helps in breaking down some of the starches initially.
- Gentle Simmering: When simmering the rice in milk, keep the heat low and stir frequently. This prevents the milk from scorching at the bottom of the pot and ensures the rice absorbs the liquid slowly and evenly, resulting in a creamier pudding.
- Cooling the Rice Mixture: It’s essential that the vanilla rice mixture cools completely before you add the egg yolks and especially before folding in the beaten egg whites. If the mixture is too warm, the eggs will scramble, leading to an undesirable texture.
- Perfect Meringue: When beating the egg whites with sugar, aim for soft, creamy peaks. Overbeating can make them dry and difficult to fold. Gently folding the meringue into the cooled rice mixture in two or three additions helps maintain the airiness, which contributes to the pudding’s light and tender baked texture.
- Achieving the Marbled Effect: For a distinct marble, don’t over-swirl the cocoa and plain rice mixtures. A few gentle swirls with a skewer or a butter knife are sufficient to create beautiful streaks without completely blending the colors.
- Water Bath (Optional but Recommended): For an extra custardy and moist pudding, you can bake the ramekins in a water bath. Place the ramekins in a larger baking dish, then pour hot water into the larger dish until it comes halfway up the sides of the ramekins. This gentle, moist heat helps prevent the puddings from drying out and cracking.
- Don’t Overbake: Overbaking can lead to a dry or rubbery texture. The puddings are ready when they are set in the center and lightly golden on top. A slight wobble is fine, as they will continue to set as they cool.
Storage and Make-Ahead Tips
- Make Ahead: You can prepare the rice pudding mixture (up to the point of folding in the egg whites and cocoa) a day in advance and store it in the refrigerator. Before baking, gently fold in the meringue and cocoa swirl, then proceed with the recipe.
- Storage: Leftover baked rice pudding can be stored, covered, in the refrigerator for up to 3-4 days. Enjoy it chilled or gently rewarm it in the microwave.
- Freezing: While possible, freezing might alter the texture slightly, making it a bit grainier. If you choose to freeze, ensure the puddings are completely cooled, then wrap them tightly in plastic wrap and foil. Thaw in the refrigerator overnight and reheat gently.
Variations to Explore
While the marbled cocoa version is a showstopper, feel free to get creative with other flavors:
- Citrus Zest: Add lemon or orange zest to the plain rice mixture for a bright, refreshing twist.
- Spiced Pudding: Incorporate cinnamon, nutmeg, or a hint of cardamom into the milk for a warmer, more aromatic flavor profile.
- Nutty Crunch: Fold in chopped toasted nuts (like almonds or pecans) into the rice mixture before baking for added texture.
- Fruit Infusion: Mix in dried cranberries, raisins, or chopped apricots with the rice before baking for bursts of fruity flavor.
- Caramel Swirl: Instead of cocoa, swirl in a thick caramel sauce for a rich, buttery variation.
Other Recipes for You to Try
- Healthy Rice Pudding Breakfast
- Semolina Cheesecake
- Vanilla Ice Cream Pancakes
- Easy Apple Crisp without Oatmeal
- Strawberry Cobbler
- Elderflower Fritters
- Thin Pancakes with Apricot Jam
- Buchteln – Austrian Filled Sweet Rolls
- Austrian Kaiserschmarrn {torn pancakes}
If you try this delightful Marbled Baked Creamy Rice Pudding Casserole recipe, I would absolutely love to hear from you! Please let me know how you liked it by giving it a ★★★★★ star rating and leaving a comment below. Your feedback means a lot! You can also sign up for our Newsletter to receive delicious recipes weekly, or follow me on Pinterest or Instagram and share your creation with me. Just tag me @combinegoodflavors and use the hashtag #combinegoodflavors, so I don’t miss your beautiful baking!
📖 Recipe
Mini Baked Rice Pudding Recipe
Nora
Save RecipeSaved!
Pin Recipe
Equipment
-
6 ramekins (mini casserole dishes)
-
Hand or stand mixer
-
Mixing bowls
-
Saucepan
-
Strainer
Ingredients
- Breadcrumbs for the mini ramekins
- ¾ cup Short grain rice like risotto rice or sushi rice
- 1 ⅔ cups Salted water
- 1 ⅔ cups Milk
- 2 teaspoon Vanilla sugar
- 3 Eggs medium sized
- 5 ¾ tablespoon Butter
- ½ cup Granulated sugar
- 1 ¼ tablespoon Cocoa
- Vanilla ice cream garnish
- Powdered sugar for sprinkling
Instructions
-
Grease six small ramekins with butter and sprinkle with Breadcrumbs.Breadcrumbs
-
Bring ¾ cup Short grain rice to a boil in 1 ⅔ cups Salted water, then cook for 3 minutes. Strain and drain.¾ cup Short grain rice, 1 ⅔ cups Salted water
-
Bring 1 ⅔ cups Milk to a boil with 2 teaspoon Vanilla sugar. Add the pre-cooked rice and simmer for about 20 minutes. Remove from heat and leave to cool.1 ⅔ cups Milk, 2 teaspoon Vanilla sugar
-
Preheat the oven to 160°C (320°F).
-
Separate 3 Eggs. Mix the cooled rice with 5 ¾ tablespoon Butter and the egg yolks.3 Eggs, 5 ¾ tablespoon Butter
-
Beat the egg whites with ½ cup Granulated sugar in a separate bowl until creamy and fold into the rice mixture.½ cup Granulated sugar
-
Divide the rice mixture into two portions-one-third and two-thirds. Mix the smaller portion with 1 ¼ tablespoon Cocoa.1 ¼ tablespoon Cocoa
-
Layer the light and dark rice mixtures alternately into the prepared ramekins to create a marbled effect.
-
Bake on the bottom rack of the oven for approximately 40 minutes.
-
Serve directly in the ramekins with a scoop of Vanilla ice cream on top or turn out onto plates, placing the ice cream beside them. Sprinkle with Powdered sugarbefore serving.Vanilla ice cream, Powdered sugar
Nutrition values are estimates only, using online calculators. Please verify using your own data.

⛑️ Food Safety
Ensuring food safety is paramount when preparing any meal. Please keep these guidelines in mind:
- Minimum Cooking Temperature: Always cook your food to a minimum internal temperature of 165 °F (74 °C). Use a food thermometer to verify, especially when dealing with egg-based dishes.
- Prevent Cross-Contamination: Do not use the same utensils or cutting boards on cooked food that previously touched raw ingredients, particularly eggs or meat, without thorough cleaning.
- Hand Hygiene: Wash your hands thoroughly with soap and warm water before and after handling raw ingredients to prevent the spread of bacteria.
- Temperature Control: Avoid leaving perishable food, especially those containing dairy and eggs, sitting out at room temperature for extended periods. Refrigerate promptly.
- Unattended Cooking: Never leave cooking food unattended on the stovetop or in the oven. Always be present to monitor the cooking process.
- High Smoking Point Oils: When cooking, use oils with a high smoking point to avoid the formation of harmful compounds and off-flavors.
- Proper Ventilation: Ensure good ventilation in your kitchen when using a gas stove to prevent the buildup of harmful fumes.
For further comprehensive information on safe food handling practices, please refer to the official guidelines from the FDA – Safe Food Handling.
