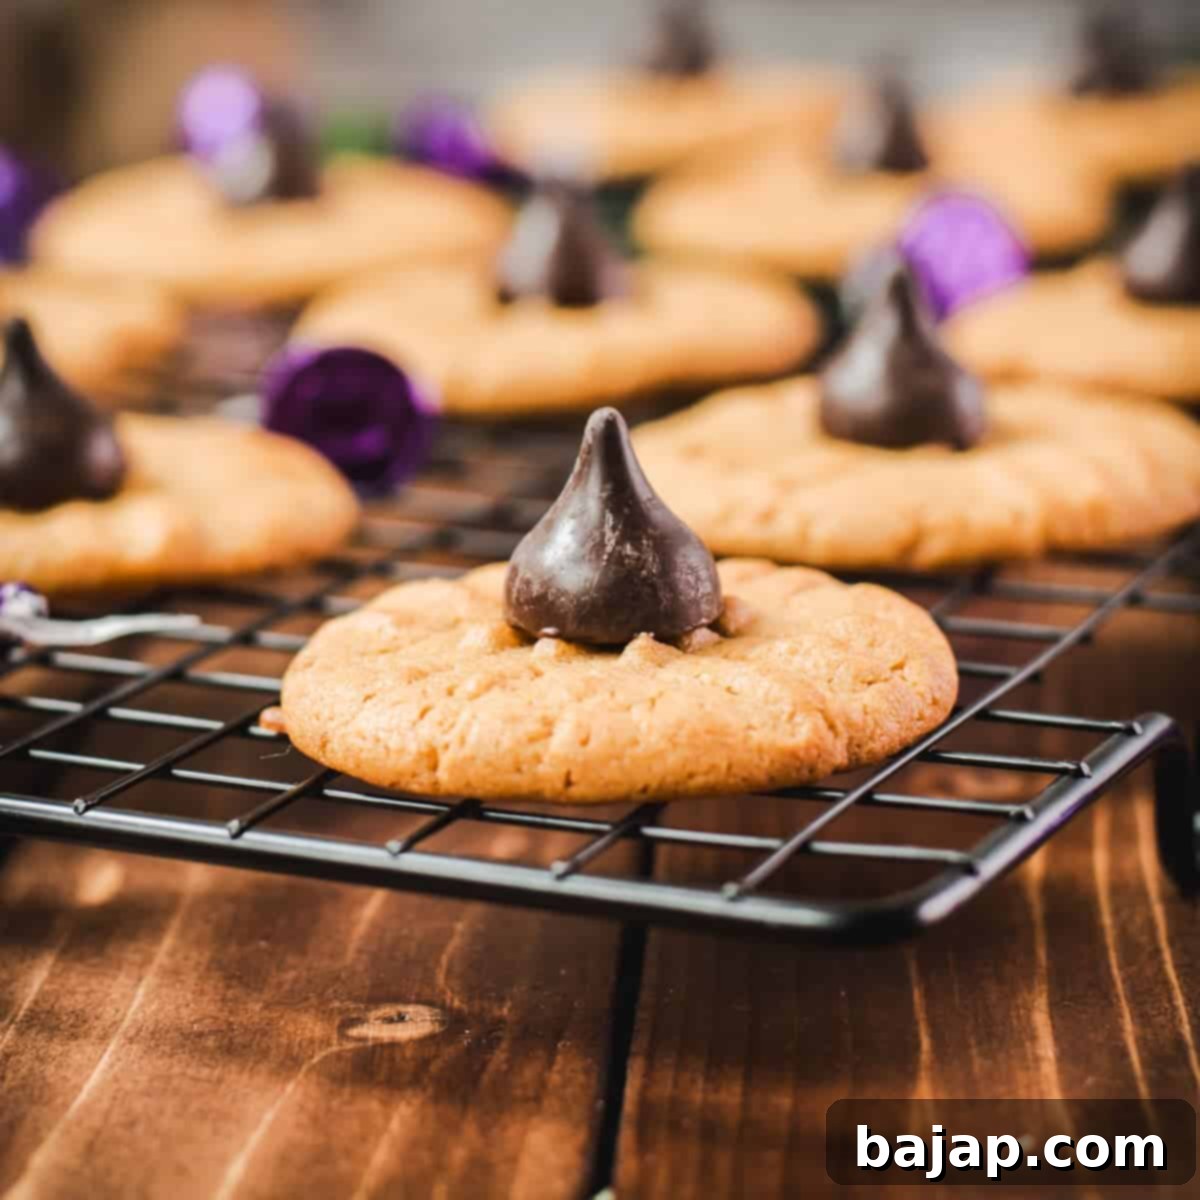
Easy Betty Crocker Peanut Butter Blossoms: The Perfect Holiday Cookie Recipe
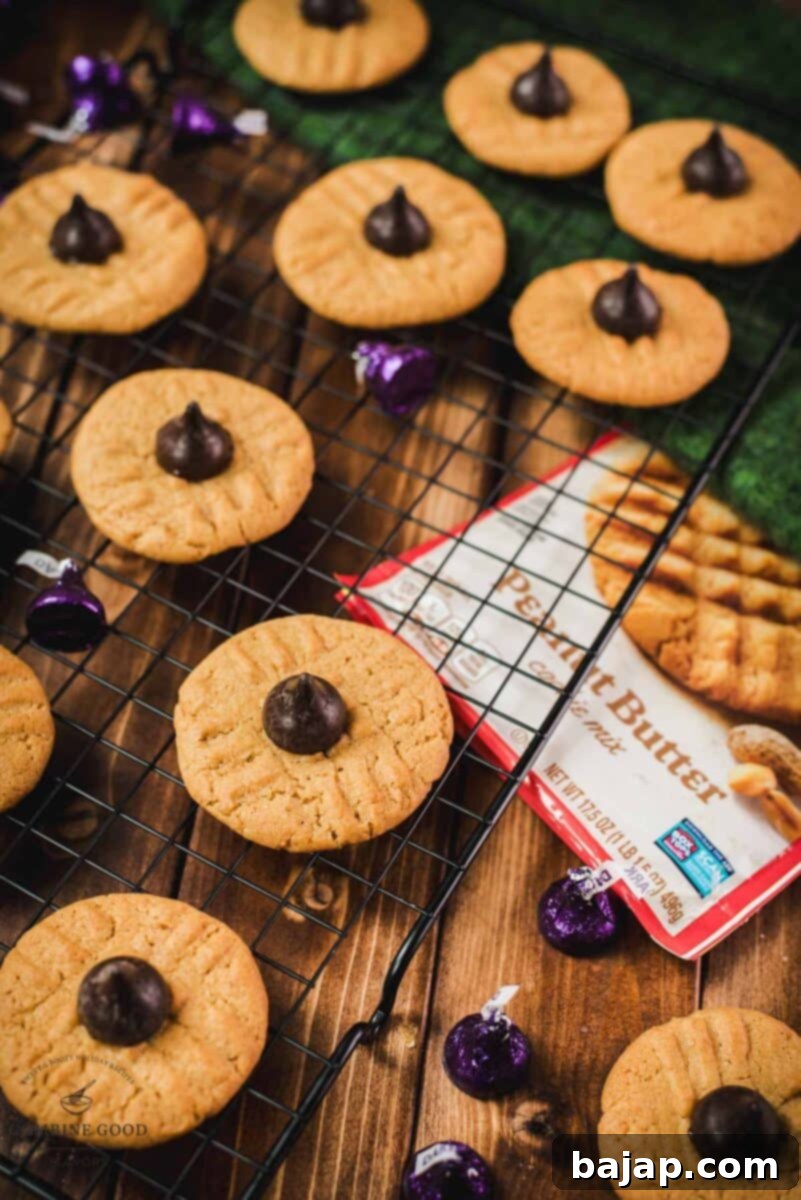
Imagine this: the cozy glow of twinkling lights fills your home, a gentle fire crackles in the hearth, and just as you settle in, the doorbell rings—unexpected guests! Don’t let a surprise visit derail your festive cheer. With this incredibly simple yet utterly delightful recipe for **Peanut Butter Blossoms**, you’ll be able to whip up a batch of warm, homemade cookies in no time, impressing everyone with your effortless baking prowess. These classic holiday cookies, made even easier with the help of a Betty Crocker cookie mix and topped with rich dark chocolate Hershey’s Kisses, are your secret weapon for any spontaneous celebration or a sweet craving.
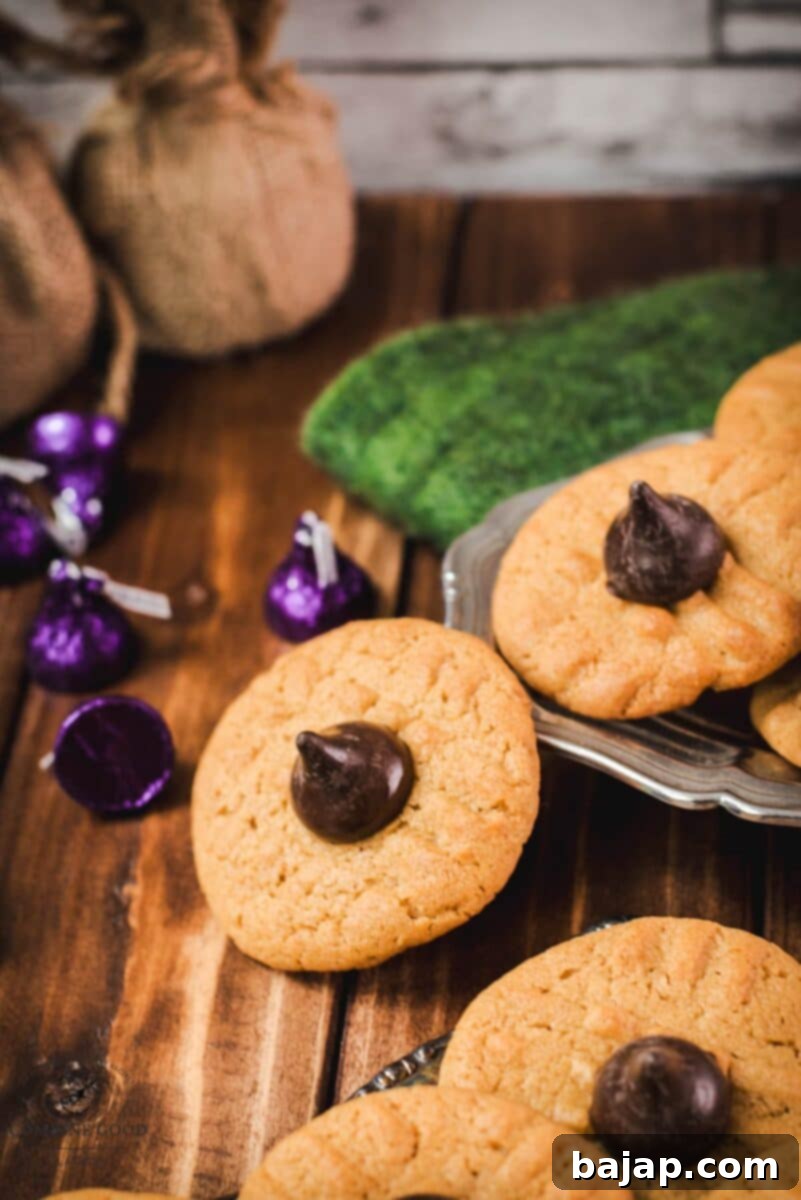
These particular peanut butter blossoms, distinguished by their delightful dark chocolate Hershey Kisses centers, truly are a Christmas miracle in cookie form. Thanks to the convenience of Betty Crocker’s peanut butter cookie mix, you can create these tender, melt-in-your-mouth goodies with minimal effort and maximum impact. They’re not just for holidays; they’re designed for those moments when you need to deliver a show-stopping dessert quickly and deliciously.
🎥 Watch How to Make Easy Peanut Butter Blossoms
🥘 Simple Ingredients for Irresistible Flavor
One of the best things about this recipe is its straightforward ingredient list. You’ll only need a handful of items, most of which you probably already have in your pantry, especially if you love to bake during the holidays!
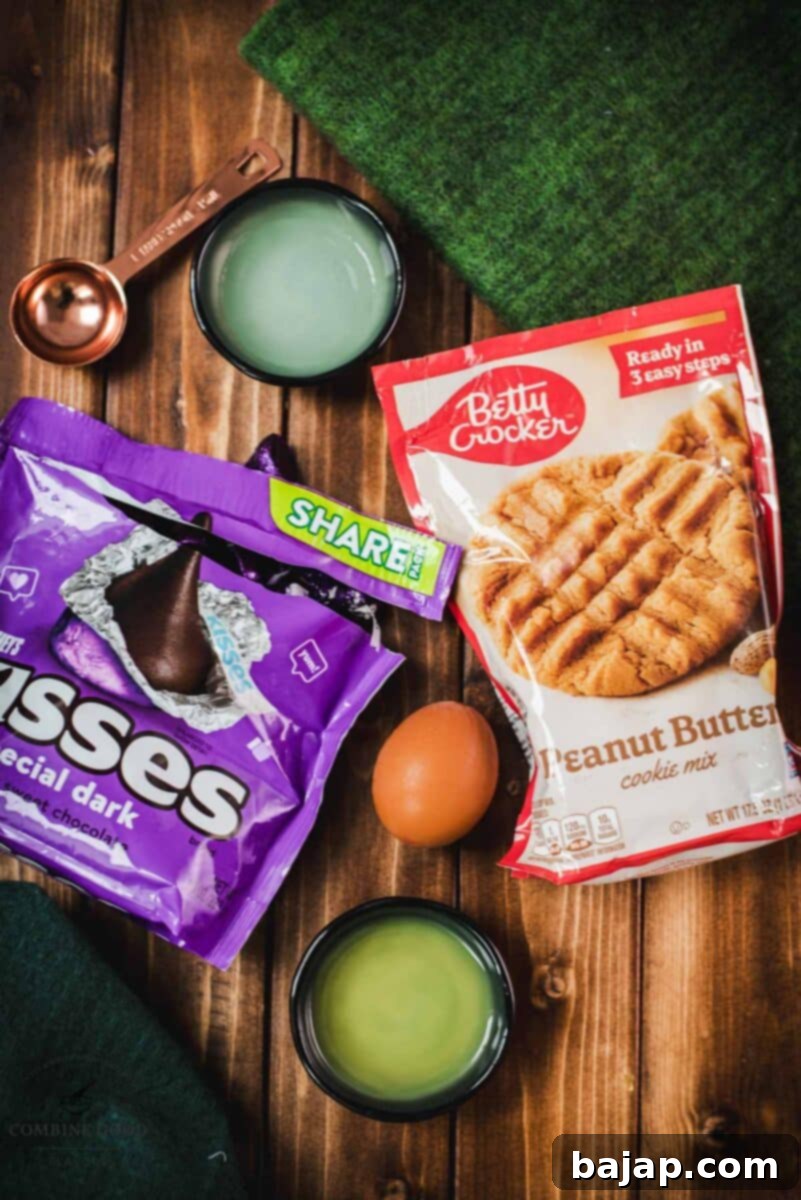
- Betty Crocker Peanut Butter Cookie Mix: This is the star of our easy recipe. Using a high-quality mix like Betty Crocker ensures consistent, delicious results every time. It’s also a fantastic pantry staple for those unexpected baking urges or last-minute holiday preparations. Consider keeping a few bags on hand so you’re always ready to bake!
- Vegetable Oil: A common pantry item, vegetable oil contributes to the cookies’ tender texture and helps achieve that perfectly moist crumb.
- Water: Just a touch of water helps bring the cookie mix to the ideal dough consistency, ensuring it’s easy to work with and bakes beautifully.
- Egg: Eggs act as a binder, adding structure and richness to the cookies. They also help create that lovely golden-brown finish.
- Hershey’s Kisses Dark Chocolate: The signature topping that makes a “blossom” cookie so iconic. Dark chocolate offers a wonderful contrast to the sweet and nutty peanut butter, adding a layer of rich, slightly bitter flavor. It’s always a good idea to have these on hand for an indulgent, bite-sized treat or to add a touch of decadence to any dessert. Milk chocolate Kisses can also be used for a sweeter twist.
For precise measurements and nutritional information, please refer to the comprehensive recipe card below.
🔪 Step-by-Step Instructions for Perfect Peanut Butter Blossoms
Creating these delightful cookies is a breeze. Just follow these simple steps for perfectly baked peanut butter blossoms every time.
Step 1: Prepare Your Oven and Baking Sheets
Preheat your oven to a festive 375°F (190°C). Then, line two baking sheets with parchment paper. This crucial step prevents sticking, ensures even baking, and makes for super easy cleanup – a holiday baker’s dream!
Step 2: Combine the Dry Mix
Pour the entire contents of the Betty Crocker Peanut Butter Cookie Mix into a large mixing bowl. The dry mix is your foundation for these fantastic cookies.
Step 3: Add Wet Ingredients and Mix
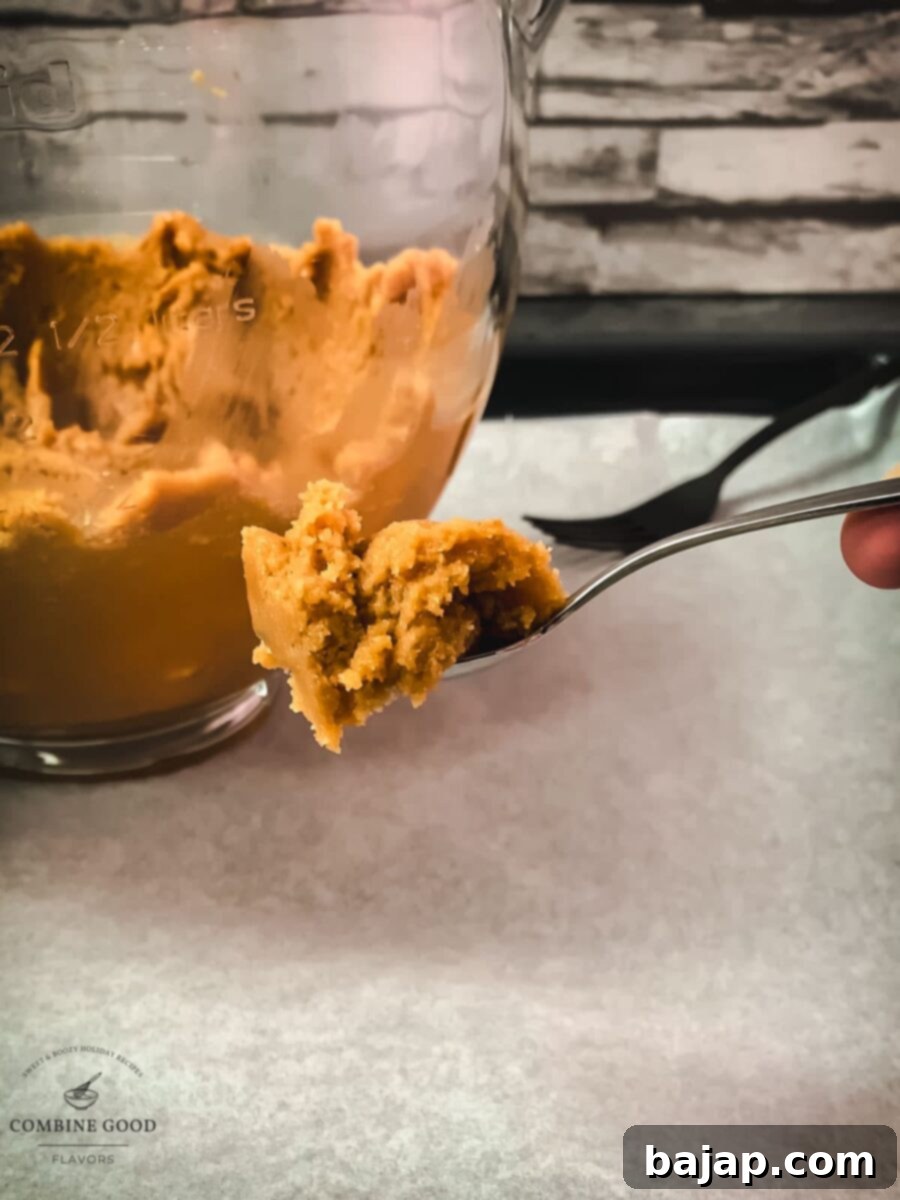
Add the specified amounts of water, vegetable oil, and egg to the cookie mix. Now, it’s time to mix it all together! For a dough that’s as smooth and silky as Santa’s beard, I highly recommend using a stand mixer fitted with a spatula attachment. Mix on low speed until all ingredients are just combined and a cohesive dough forms. Avoid overmixing, as this can lead to tough cookies.
Step 4: Roll the Dough Balls
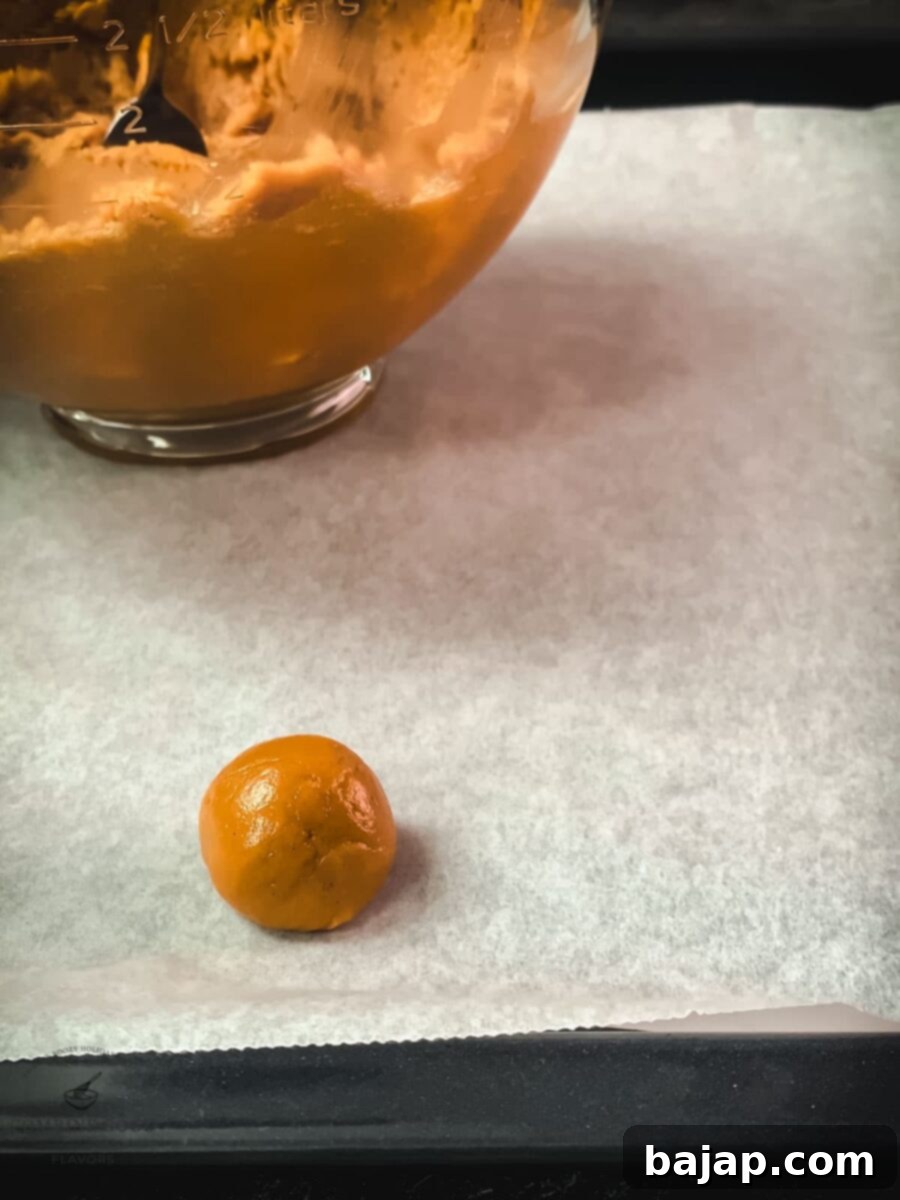
Using a teaspoon or a small cookie scoop, measure out uniform portions of the dough. Roll each portion between your palms to form jolly little balls. Consistency in size ensures that all your cookies bake evenly. Place them on your prepared baking sheets.
Step 5: Create the Iconic Crisscross Pattern
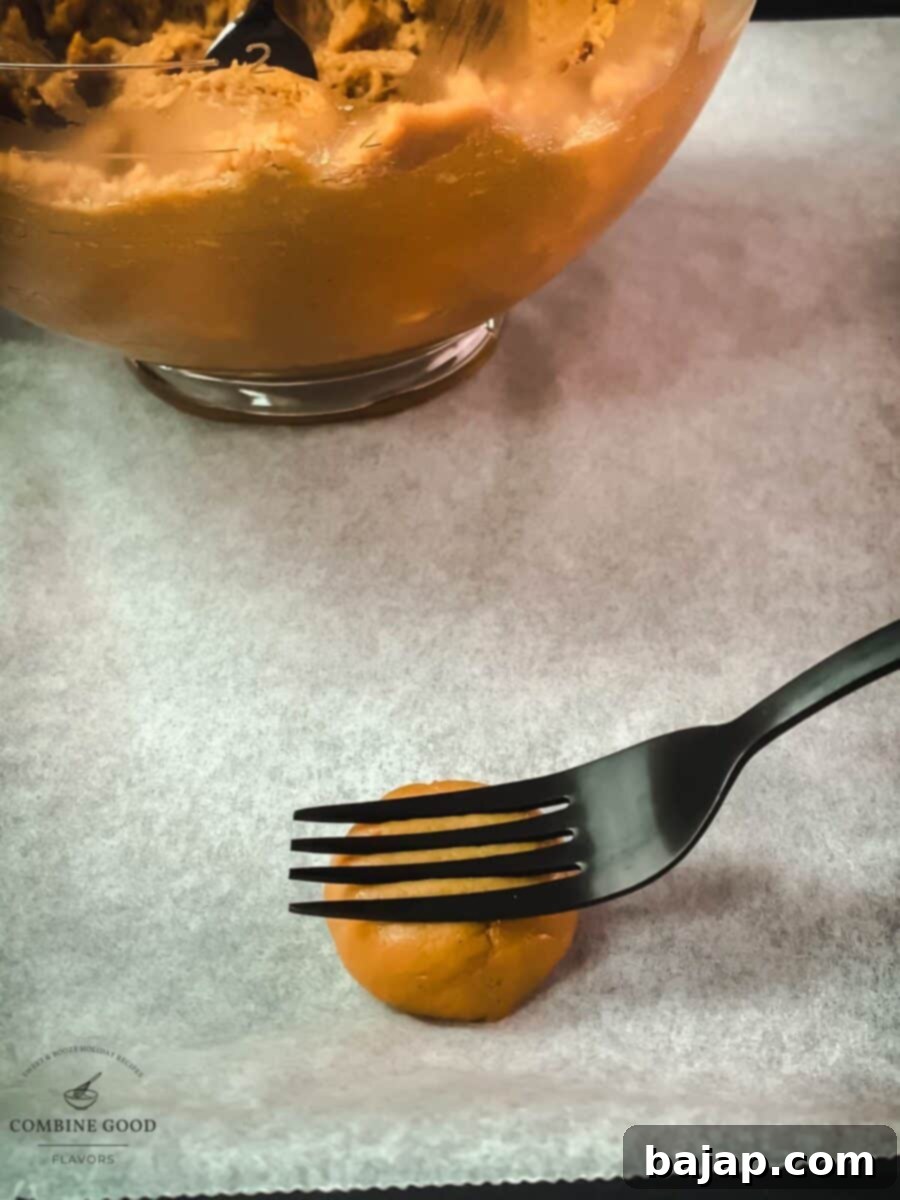
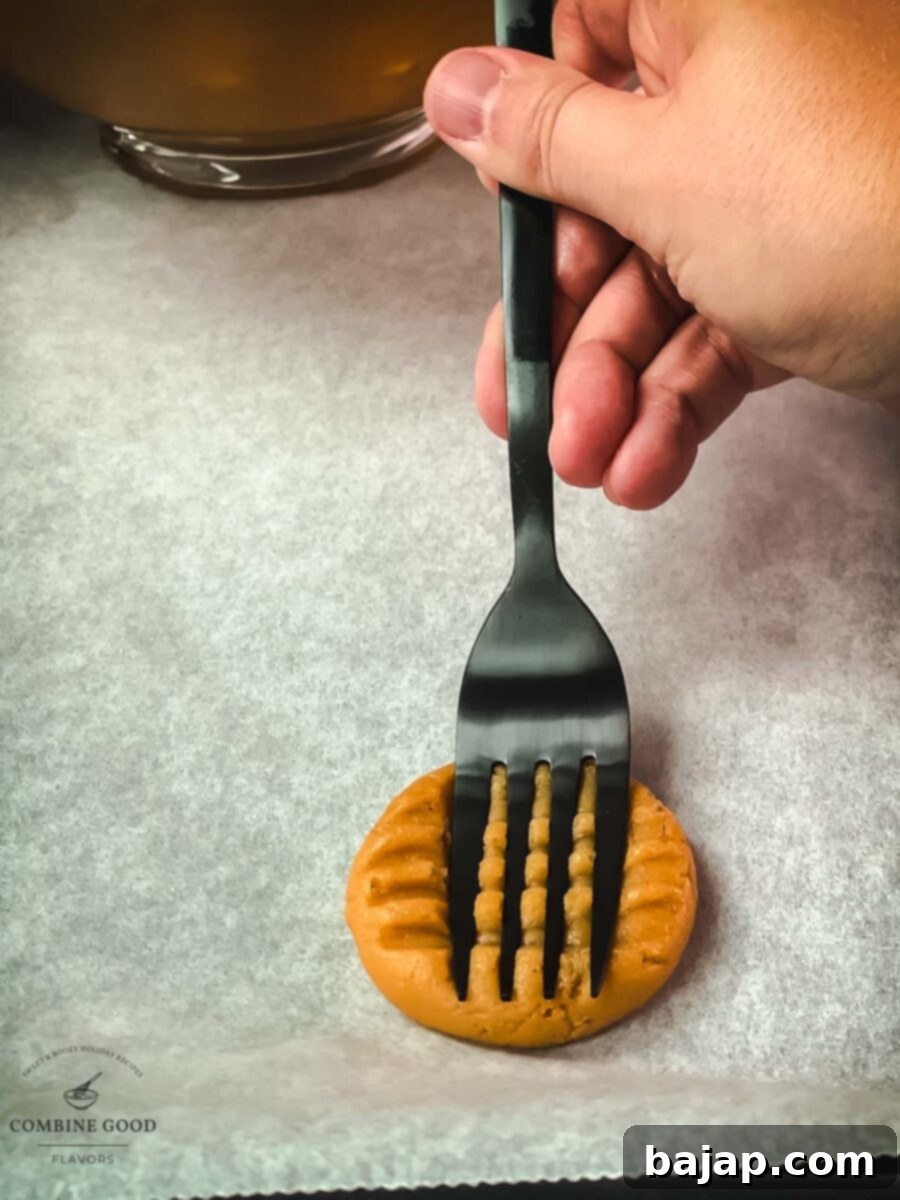
Arrange the dough balls approximately 2 ½ inches apart on your baking sheets to allow for spreading. Then, gently flatten each one with the tines of a fork, pressing once in one direction and then again perpendicularly, to create that signature crisscross pattern. It’s like stamping a bit of holiday cheer onto each cookie, and it helps ensure even baking and a lovely texture.
Step 6: Bake to Golden Perfection
Bake your cookies for 8-10 minutes. For smaller, teaspoon-sized cookies, this timing is perfect, yielding soft, chewy centers with slightly crisp edges. If you prefer larger cookies, follow the package directions for your Betty Crocker mix, which typically suggests baking for 12-14 minutes. Keep an eye on them; they should be lightly golden brown around the edges.
Step 7: A Moment to Cool
Once baked, carefully remove the cookies from the oven. Let them cool on the baking sheet for just 2 minutes. This short resting period allows the cookies to set slightly, preventing them from crumbling when transferred.
Step 8: The Signature Kiss
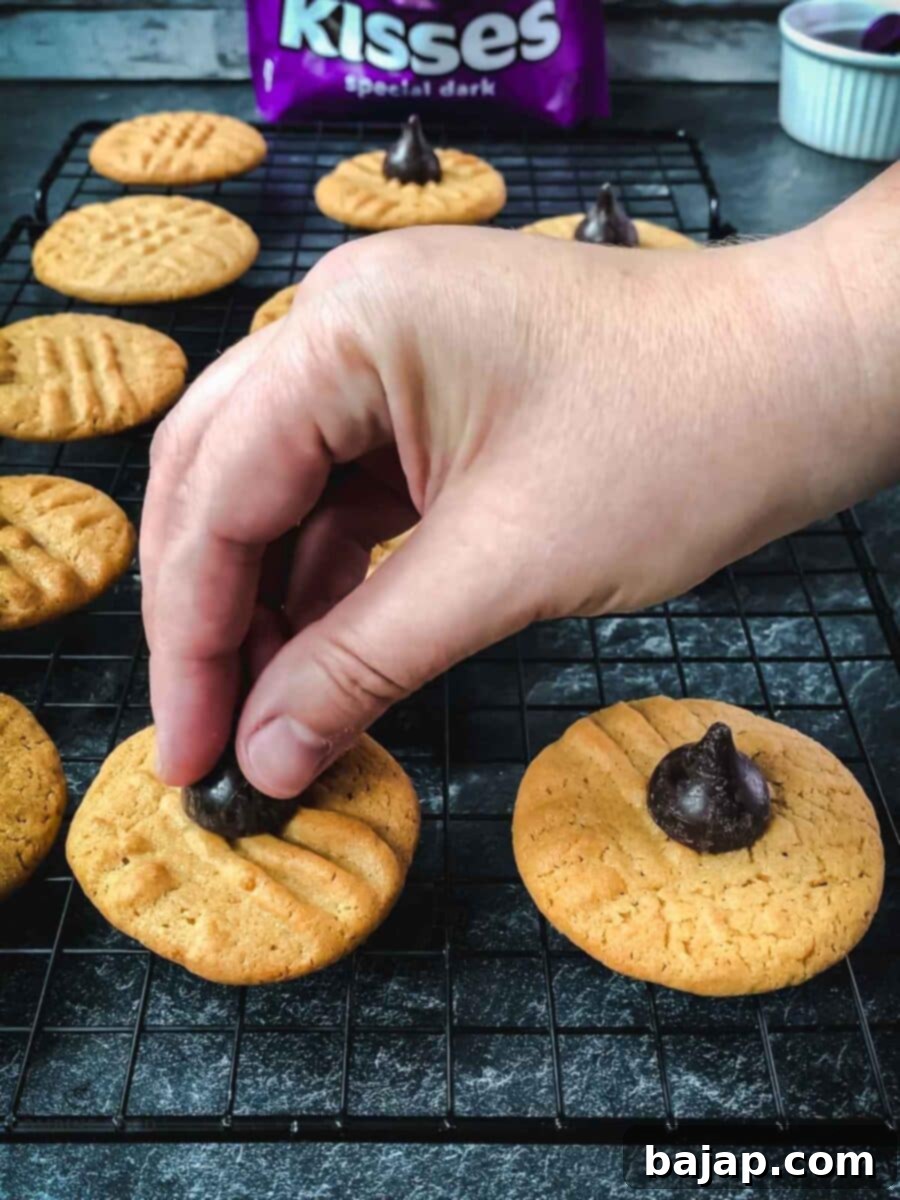
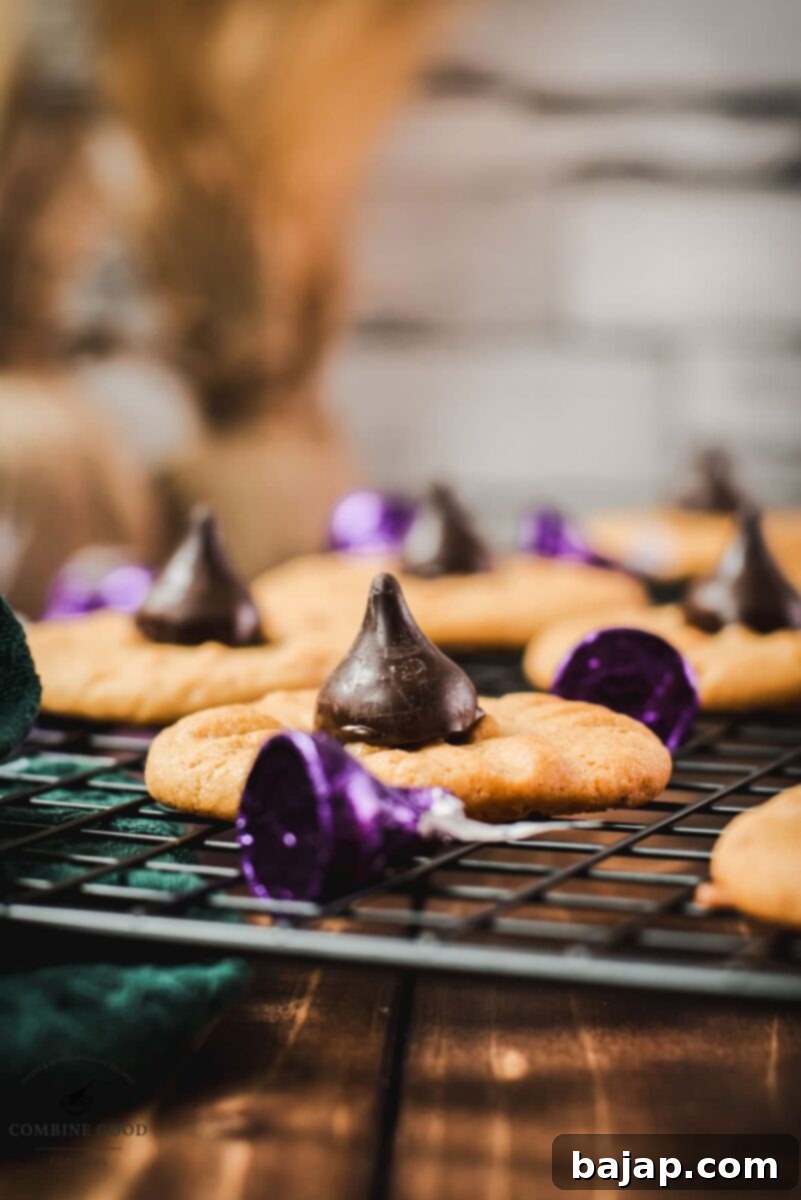
After the initial cooling, transfer the cookies to a wire cooling rack. While they are still warm, gently press a Hershey Dark Chocolate Kiss into the center of each cookie. The residual warmth from the cookie will softly melt the chocolate, creating a deliciously festive bond and that iconic “blossom” look.
Step 9: Serve and Savor!
Voilà! Your beautiful peanut butter blossoms are now ready to spread some holiday magic or simply be enjoyed as a sweet pick-me-up. Allow them to cool completely so the chocolate can set before storing or packaging. They make wonderful gifts, too!
viral recipe!
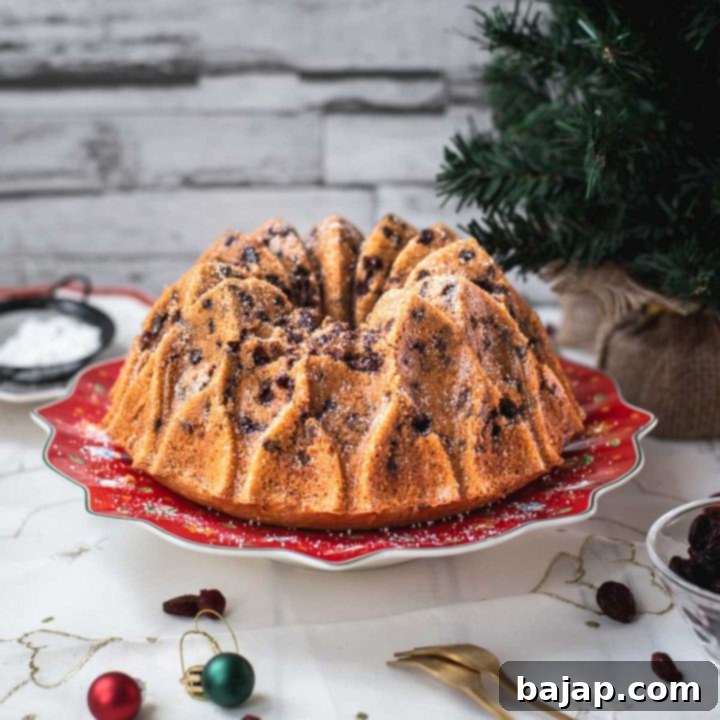
Cranberry Bundt Cake
If you’re looking for another show-stopping holiday dessert, this Cranberry Bundt Cake is a delightful blend of warm cinnamon, rich dark chocolate chips, and tangy dried cranberries. It’s sure to satisfy your sweet cravings and become a new family favorite!
🍽 Essential Equipment for Baking Bliss
Having the right tools can make your baking experience even more enjoyable and efficient. Here’s what you’ll need to create these delicious peanut butter blossoms:
- Hand Mixer or Stand Mixer: While you can mix by hand, a mixer makes quick work of combining the dough ingredients, ensuring a smooth and consistent texture. A stand mixer is especially helpful if you’re making a double batch!
- Teaspoon or Small Cookie Scoop: Essential for portioning the dough evenly. Using a scoop helps ensure all your cookies are the same size, which leads to even baking.
- 2 Baking Sheets with Parchment Paper: Using two sheets allows you to bake more cookies at once. Parchment paper is a must for non-stick baking and easy cleanup.
- Cooling Rack: Important for allowing air to circulate around the cookies, ensuring they cool evenly and don’t become soggy on the bottom.
- Cookie Jar or Airtight Container: Perfect for storing your freshly baked cookies and keeping them fresh for longer.
🌡️ Storage Tips for Freshness
Once your peanut butter blossoms have cooled completely and the chocolate has set, proper storage will keep them fresh and delicious.
Storing at Room Temperature: Store cookies in an airtight container at room temperature for up to 3-5 days. Be sure to place parchment paper between layers to prevent the Kisses from sticking to each other.
Can you freeze peanut butter blossoms?
Absolutely! Peanut butter blossoms freeze beautifully, making them an excellent make-ahead option for holiday baking or to simply have a stash of treats. To freeze them, allow the cookies to cool completely after baking and after the Hershey’s Kisses have fully set. Place them in a single layer on a baking sheet and freeze for about an hour or until solid. This “flash freezing” prevents them from sticking together. Then, transfer the frozen cookies to an airtight freezer bag or container, separating each layer with parchment paper for added protection. They’ll keep well in the freezer for up to 3 months without losing their quality.
How to enjoy frozen cookies: When you’re ready to enjoy these frozen delights, simply let them thaw at room temperature for a few hours. For that fresh-baked taste and a slightly softened chocolate center, you can warm them up gently in a preheated oven at 275°F (135°C) for about 5-7 minutes. This brings out their wonderful aroma and texture!
Other Delightful Cookie Recipes for You to Try
If you loved these easy peanut butter blossoms, you might enjoy exploring some of our other fantastic cookie recipes. Perfect for any occasion or just because!
- Cookies ‘n’ Cream Blossom Cookies: A creamy, chocolatey twist on the classic blossom.
- Cinnamon Cookies (Zimtsterne): Fragrant and festive German star-shaped cookies.
- Leftover Eggyolk Cookies: A clever and delicious way to use up extra egg yolks.
- Reese’s Pieces Peanut Butter Cookies: Double the peanut butter fun!
- Baking Basics for Christmas Cookies: Essential tips for your holiday baking success.
- Raspberry Almond Thumbprint Cookies: Sweet, nutty, and fruit-filled.
- Butterball Cookies: Meltingly tender, buttery shortbread cookies.
- Sour Cream Cookies with Pearl Sugar: A unique and delightful texture.
- Coconut Busserl: Light and airy German coconut meringue cookies.
If you make this scrumptious recipe, please let me know how you liked it by giving it a ★★★★★ star rating and leaving a comment below. Your feedback means the world to me and helps other bakers! This would be awesome! You can also sign up for our Newsletter to get weekly delicious recipes delivered straight to your inbox. Don’t forget to follow me on Pinterest or Instagram and share your delightful creations with me. Just tag me @combinegoodflavors and use the hashtag #combinegoodflavors, so I don’t miss it. Happy baking!
📖 Recipe: Easy Peanut Butter Blossoms

Easy Peanut Butter Blossoms
Nora
Save RecipeSaved!
Pin Recipe
Equipment
-
Hand or stand mixer
-
Teaspoon
-
2 Baking Sheets with Parchment Paper
-
Cooling Rack
-
Cookie jar
Ingredients
- 1 bag Betty Crocker peanut butter cookie mix
- 1 tablespoon Water
- 3 tablespoons Vegetable oil
- 1 Large Egg
- 26 Hershey’s Kisses Dark Chocolate
Instructions
-
Preheat your oven to 375°F (190°C). Prepare your baking sheets by lining two of them with parchment paper for easy release and cleanup.
-
Carefully empty the contents of 1 bag of Betty Crocker peanut butter cookie mix into a spacious mixing bowl.1 bag Betty Crocker peanut butter cookie mix
-
To the dry mix, add 1 tablespoon of water, 3 tablespoons of vegetable oil, and 1 large egg. Mix all ingredients thoroughly until a cohesive dough forms. For optimal texture and ease, using a stand mixer with a spatula attachment is recommended.1 tablespoon Water, 3 tablespoons Vegetable oil, 1 Egg
-
Scoop out teaspoon-sized portions of the prepared dough. Roll each portion into a smooth, even ball between your palms. This ensures uniform cookie size and baking.
-
Place the rolled dough balls onto the parchment-lined baking sheets, spacing them about 2 ½ inches apart to allow for spreading. Gently press each cookie with a fork in a crisscross pattern.
-
Bake the cookies for 8-10 minutes for smaller sizes. If you prefer larger cookies or are following specific package instructions, bake for 12-14 minutes, or until the edges are lightly golden brown.
-
Once baked, remove the cookies from the oven and let them cool on the baking sheet for 2 minutes. This brief cooling period helps them firm up before transferring.
-
Transfer the slightly cooled cookies to a wire cooling rack. Immediately, press one Hershey’s Kiss Dark Chocolate into the center of each warm cookie. The residual heat will slightly melt the chocolate, allowing it to bond perfectly to the cookie.26 Hershey’s Kisses Dark Chocolate
-
Allow the cookies to cool completely on the rack, letting the chocolate Kisses set. Then, enjoy your delightful peanut butter blossoms!
Nutrition values are estimates only, using online calculators. Please verify using your own data.

⛑️ Important Food Safety Reminders
Ensuring food safety is paramount when baking and preparing any meal. Please keep these guidelines in mind for a safe and enjoyable culinary experience:
- Proper Cooking Temperature: Always cook baked goods containing eggs to a minimum internal temperature of 165 °F (74 °C) to eliminate harmful bacteria.
- Prevent Cross-Contamination: Never use the same utensils or cutting boards on cooked food that previously touched raw ingredients, especially raw meat or eggs, without thoroughly washing them in between.
- Hand Hygiene: Always wash your hands thoroughly with soap and warm water after handling raw ingredients, particularly eggs or meat.
- Timely Storage: Do not leave perishable food sitting out at room temperature for extended periods. Promptly cool and refrigerate or freeze any leftovers.
- Unattended Cooking: Never leave cooking food unattended, especially when using an oven or stovetop, to prevent accidents and ensure proper cooking.
- High Smoke Point Oils: When cooking with oil, choose varieties with a high smoking point to avoid the breakdown of oils into harmful compounds.
- Adequate Ventilation: Always ensure good ventilation in your kitchen when using a gas stove to prevent the buildup of fumes and maintain air quality.
For further comprehensive information on safe food handling practices, please check the official guidelines from Safe Food Handling – FDA.
