Mastering Baking: Your Essential Guide to Cake Pans with Removable Bottoms
Baking can be an incredibly rewarding experience, but sometimes, the tools we use can make all the difference between a triumphant dessert and a sticky mess. If you’re looking to elevate your baking game and simplify the process of releasing delicate creations, cake pans with removable bottoms are an absolute game-changer. These ingenious pieces of bakeware, often referred to as springform pans, offer unparalleled convenience and professional results. They truly make life so much easier for any baker, from novice to expert!
Springform pans, along with other cake tins featuring a removable base, are the perfect solution for crafting cakes, cheesecakes, and tarts quickly and easily. Their unique design ensures a seamless release, preserving the pristine appearance of your baked goods. Let’s delve into why these pans are a must-have in every kitchen:
Top Reasons to Love Cake Pans with Removable Bottoms
There are numerous advantages to incorporating these versatile pans into your baking arsenal. Here are our top reasons why they’re indispensable:
- Unmatched Versatility: Cake tins with removable bottoms are incredibly versatile, opening up a world of baking possibilities. You can use them for traditional baked cakes, such as delicate sponge cakes or dense pound cakes, where easy removal is paramount. They are also ideal for tarts, especially if you don’t own a dedicated tart pan, as the removable base allows you to effortlessly slide the tart onto a serving plate without damaging its delicate crust. Furthermore, they are the go-to choice for layering no-bake cheesecakes, ice cream cakes, and other chilled desserts, where flipping the pan is simply not an option. Their ability to hold firm while baking and then release cleanly makes them superior for a wide range of recipes.
- Effortless Cleanup: Cleaning these pans is remarkably straightforward, often requiring minimal effort. Most modern cake pans with removable bottoms are designed to be dishwasher-safe, saving you valuable time and energy. Even if you’ve prepared something particularly sticky or messy, like gooey brownies or a rich chocolate cake, a simple hand wash with warm, soapy water will do the trick. The non-stick coatings prevalent in many of these pans ensure that food residue doesn’t stubbornly cling, making manual cleaning just as easy and effective.
- Variety of Sizes and Shapes: One of the greatest benefits is the wide array of sizes and shapes available. Whether you need a small, individual serving pan for a mini cheesecake, a standard 9-inch round for a family dessert, or a large rectangular pan for a party, there’s always one that’s perfectly suited for your specific baking project. This variety allows you to experiment with different recipes and presentations, knowing you have the right tool for the job. From traditional round springforms to square versions and fluted tart pans, the options cater to every creative baking whim.
[feast_advanced_jump_to]
About Cake Pans with Removable Bases
A cake pan with a removable base is ingeniously designed for optimal convenience and structural integrity. Typically, it comprises two main parts: the removable bottom plate and the outer ring. In the case of a springform pan, the ring features a side clamp or lever. When opened, this clamp expands the ring, allowing it to be easily separated from the base. The base plate usually has a slight indentation or groove where the ring securely fits, creating a sealed enclosure for your batter. Once the clamp is closed, the ring tightens around the base, creating a leak-proof seal essential for baking.
While often associated with round shapes, these versatile pans are not limited by geometry; you can also find them in practical square and rectangular forms, expanding their utility for various dessert and savory recipes.
There are several distinct types of cake pans that incorporate a removable base, each designed for specific baking needs:
- Round Cake Pan with a Lifting Base: This type is similar to a springform pan but typically lacks the side clamp. Instead, the base is designed to fit snugly within the ring and can be pushed upwards to release the cake. This design often provides a remarkably stable structure, as the rim doesn’t rely on a seal that can potentially weaken over time. It’s excellent for various baked goods that require a gentle release.
- Springform Pan (aka. Cheesecake Pans): The most common type of removable bottom pan, recognized by its characteristic side clasp. This mechanism allows the ring to expand and detach from the base, making it ideal for delicate desserts like cheesecakes, mousses, and layered cakes that cannot be inverted.
- Tart Pan: Specifically designed for tarts, these pans often feature fluted edges that give tarts their classic decorative finish. The removable base is crucial for easily presenting a beautifully crimped tart without damaging the delicate crust.
- Square Pan: Offering the same easy-release benefits as their round counterparts, square pans with removable bottoms are perfect for brownies, bar cookies, and square tiered cakes. They ensure clean, sharp edges and simple serving.
Tart pans, in particular, almost always feature an inlaid lifting base, which is essential for preserving their intricate fluted designs upon removal.
How to Use a Removable Bottom Cake Pan
Using these pans effectively involves a few crucial steps to ensure a perfect bake and a flawless release. Follow this comprehensive guide for optimal results:
Preparation: Setting Up Your Pan
Proper assembly is the first step to prevent leaks and ensure a smooth baking process.
- Separate the Parts: If using a springform pan, open the clamp on the side and gently press the ring apart from the bottom plate. Now you have both parts separated.
- Position the Base: Place the bottom plate securely on a clean, flat kitchen table or countertop.
- Optional Parchment Paper: For an extra layer of non-stick protection and even easier transfer, you can place a circle of parchment paper over the bottom plate. This is highly recommended, especially for very sticky batters or delicate cakes.
- Reassemble the Pan: Carefully place the springform pan’s ring into the notch or groove of the bottom plate. Ensure it sits perfectly flat and centered.
- Secure the Clamp: Close the clamp on the side firmly. You should feel it click into place, indicating that your cake tin is now fixed and ready. Double-check that the ring is tight around the base to minimize any potential leakage.
- Trim Excess Parchment: If you used parchment paper and it overhangs the edge, use scissors to trim it flush with the pan’s edge. This prevents it from burning during baking or interfering with the cake’s rise.
Greasing: The Non-Stick Foundation
Greasing is fundamental to ensuring your cake releases cleanly from the pan after baking, preventing it from sticking. It creates a crucial barrier between the cake and the metal surface.
Thoroughly and evenly grease the interior of the cake pan with a spreadable fat like margarine, softened butter, or a baking spray. Use a pastry brush to ensure complete coverage, getting into every nook and cranny. For springform pans, a common best practice is to grease only the base or cover it with baking paper. This is particularly important for delicate sponge cake batters.
Why only the base for sponge cakes? When baking sponge cakes or chiffon cakes, leaving the sides of the pan ungreased allows the batter to “climb” the sides during baking. This helps the cake rise higher and achieve a straighter, more even surface. Greasing the sides can cause the dough to slip down, leading to a collapsed or improperly risen cake. This is a common pitfall that bakers often overlook!
Note: With light, airy sponge cakes like angel food cakes, it is absolutely crucial not to grease the straight sides of the pan. The dough needs to adhere to the pan walls to climb and rise properly, giving the cake its characteristic tall and fluffy texture.
Dusting: An Extra Layer of Protection
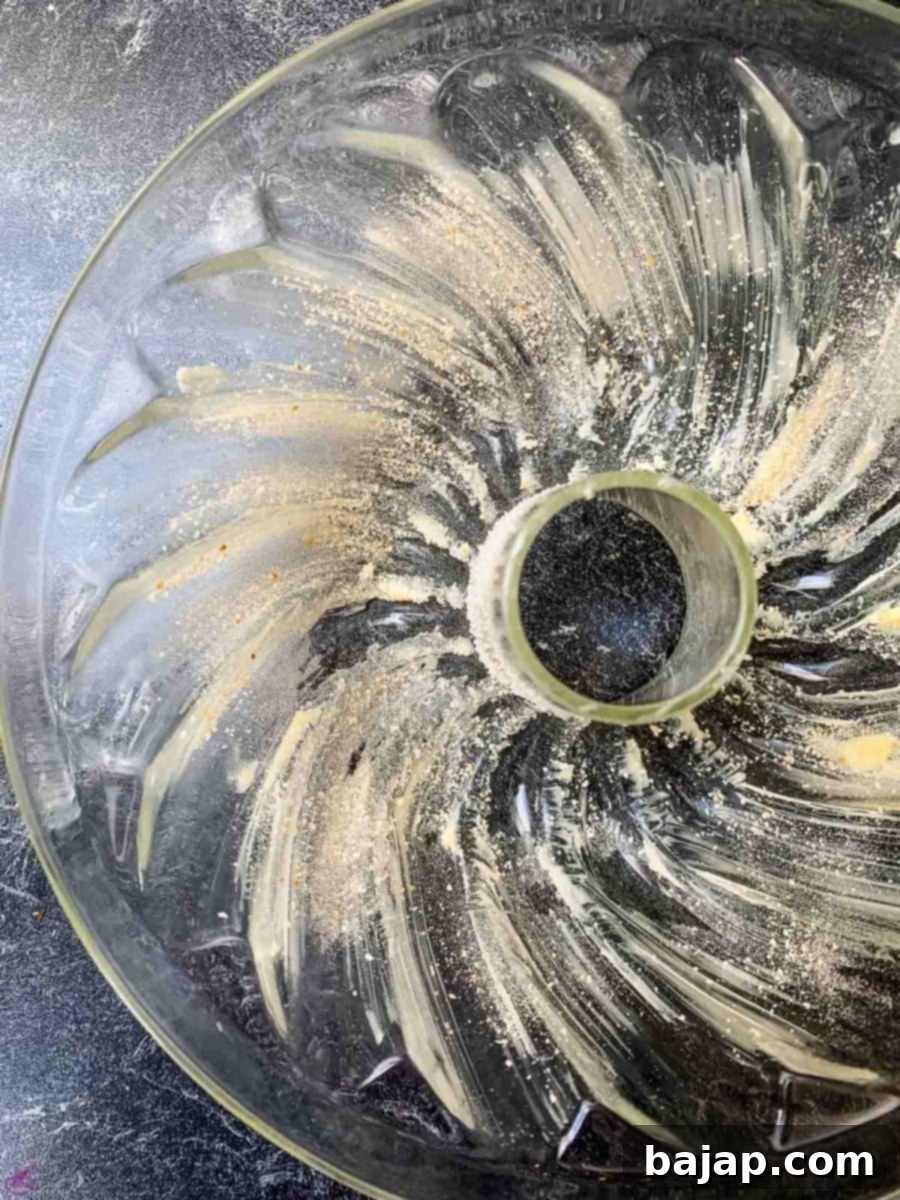
To further aid in the easy release of the cake after baking, especially for non-stick pans, sprinkle the greased baking tin with a light coating of flour. This creates an additional non-stick barrier. Alternatively, you can use fine breadcrumbs, or finely ground or flaked nut kernels, which also add a subtle flavor and texture to the crust.
This process is often referred to as “crumbling the baking tin” or “flouring the pan.”
After adding your chosen dusting agent, tap and turn the tin to distribute everything evenly over the greased surfaces. Once fully coated, invert the pan and gently tap out any surplus crumbs onto a sheet of baking paper. Too much flour can create an unappetizing white layer on your cake’s exterior, so a thin, even layer is key.
In many of my no-bake cheesecake recipes, I utilize a different approach for dusting. After greasing the base of the pan, I use cornstarch instead of flour. This creates a very fine, smooth coating that helps prevent the biscuit crust from sticking.
I then place this greased and cornstarch-dusted pan in the fridge for a few minutes to allow the coating of fat and cornstarch to set. This step has a significant advantage: it ensures the cheesecake is incredibly easy to remove and transfer from the pan afterward, preserving its perfect shape and smooth sides.
Bake the Cake
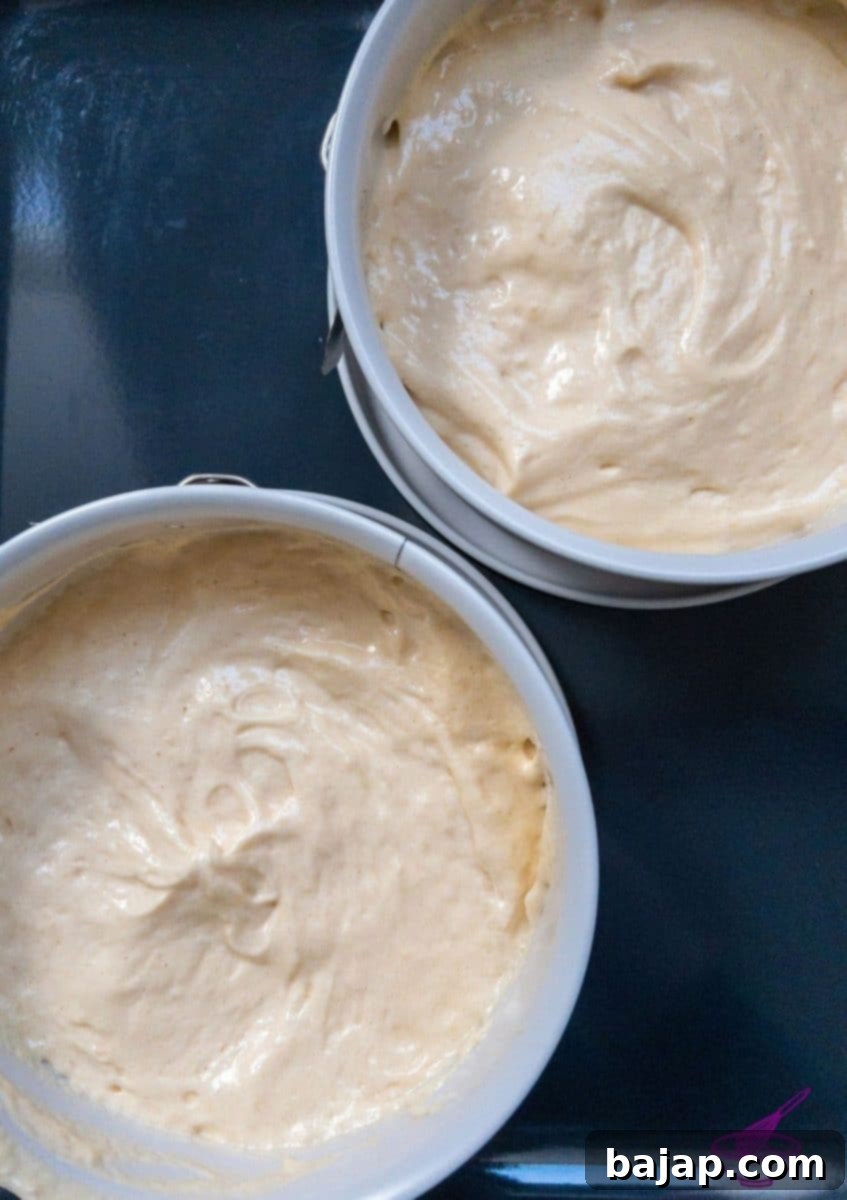
Once your cake pan is meticulously prepared, it’s time for the most exciting part: carefully filling it with your delicious batter and placing it into the preheated oven. Ensure you don’t overfill the pan; typically, leaving about one inch of space from the top rim allows for proper rising without overflowing.
After Baking: Cooling Down
The cooling process immediately after baking is just as critical as the baking itself for the integrity of your cake. Once the cooking time is over and the cake is perfectly golden and cooked through, remove it from the oven and carefully place it on a wire cooling rack. It is vital not to rush the removal of the cake from the tin immediately. Allowing it to cool down a bit first helps the cake’s structure set and prevents it from tearing or breaking upon release. This initial cooling period typically takes about 10-15 minutes, allowing the cake to firm up sufficiently within the pan.
Easy Release: Removing from the Tin
After the initial cooling period, your cake is ready for its grand reveal. To ensure a pristine edge and a perfect release:
- Loosen the Edges: Before opening the springform pan, take a thin, sharp knife or a small offset spatula and carefully run it along the inner edge of the pan, between the cake and the pan wall. This step ensures that no dough sticks to the edge, preventing tears or damage to your cake’s sides.
- Open the Clamp: Gently open the clamp on the side of the springform pan. The ring should expand and easily detach. Lift the ring straight up and off the cake.
- Cool Completely: Leave the cake on its base plate and place it back on the cooling rack to cool down entirely. Attempting to move or decorate a warm cake can lead to structural collapse or melting frosting. Allow it to reach room temperature before decorating or serving. If you need to transfer the cake from the base, slide a thin, wide spatula underneath it once fully cooled.
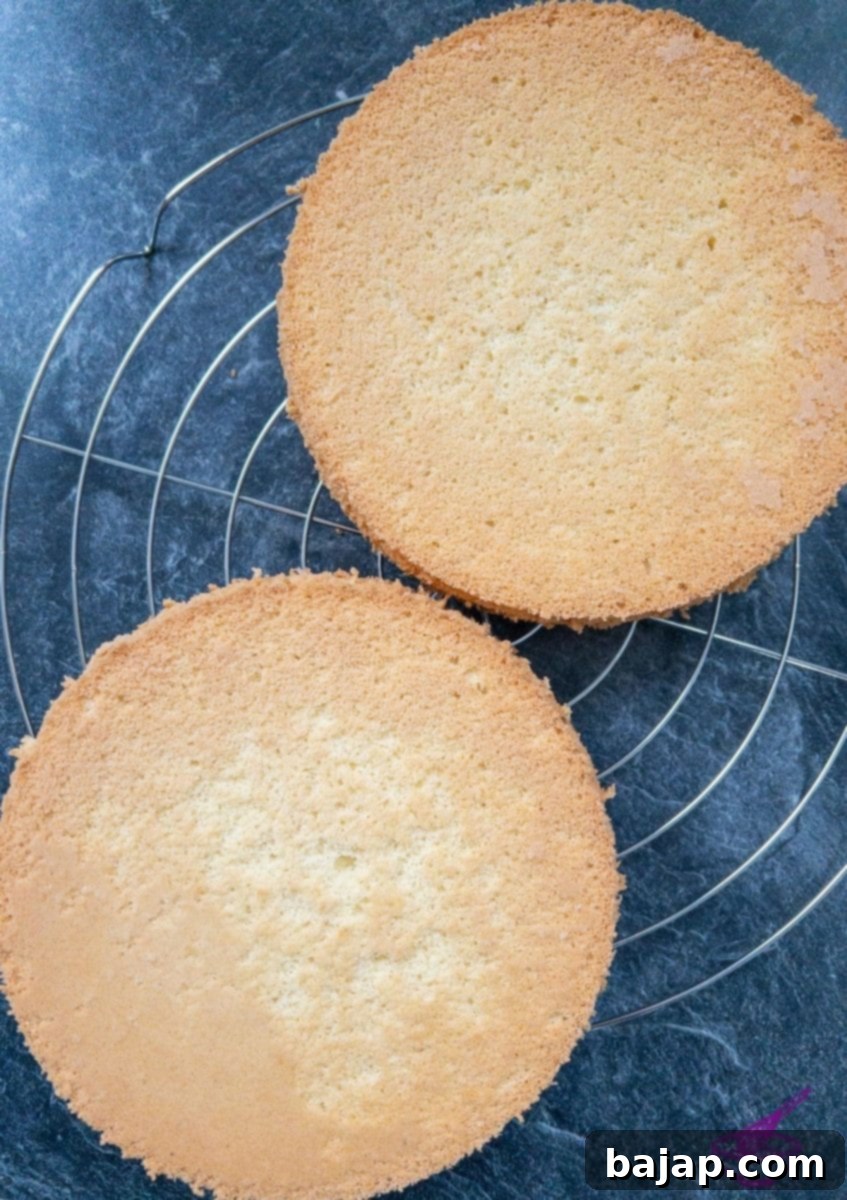
Important Considerations When Using Baking Tins with a Lifting Base
While incredibly convenient, baking tins with a lifting base (especially springform pans) have a potential drawback: the base only rests on top, which means there’s a slight possibility for grease or very liquid dough to escape from the pan during baking and seep into your oven. This can create a messy clean-up and even cause smoking or burning if not addressed.
To proactively address this issue and keep your oven spotless:
- Use a Baking Sheet: Always place a sheet of baking paper or aluminum foil on your oven rack, and then place the baking tin on top of it. This simple barrier will catch any drips, protecting your oven from spills and making cleanup infinitely easier.
- Foil Wrap for Water Baths: If you’re baking something like a cheesecake in a water bath, it’s absolutely essential to wrap the entire bottom and sides of your springform pan tightly with heavy-duty aluminum foil. Use multiple layers to create a waterproof seal, preventing water from seeping into your cheesecake.
Additionally, exercise caution when handling these pans:
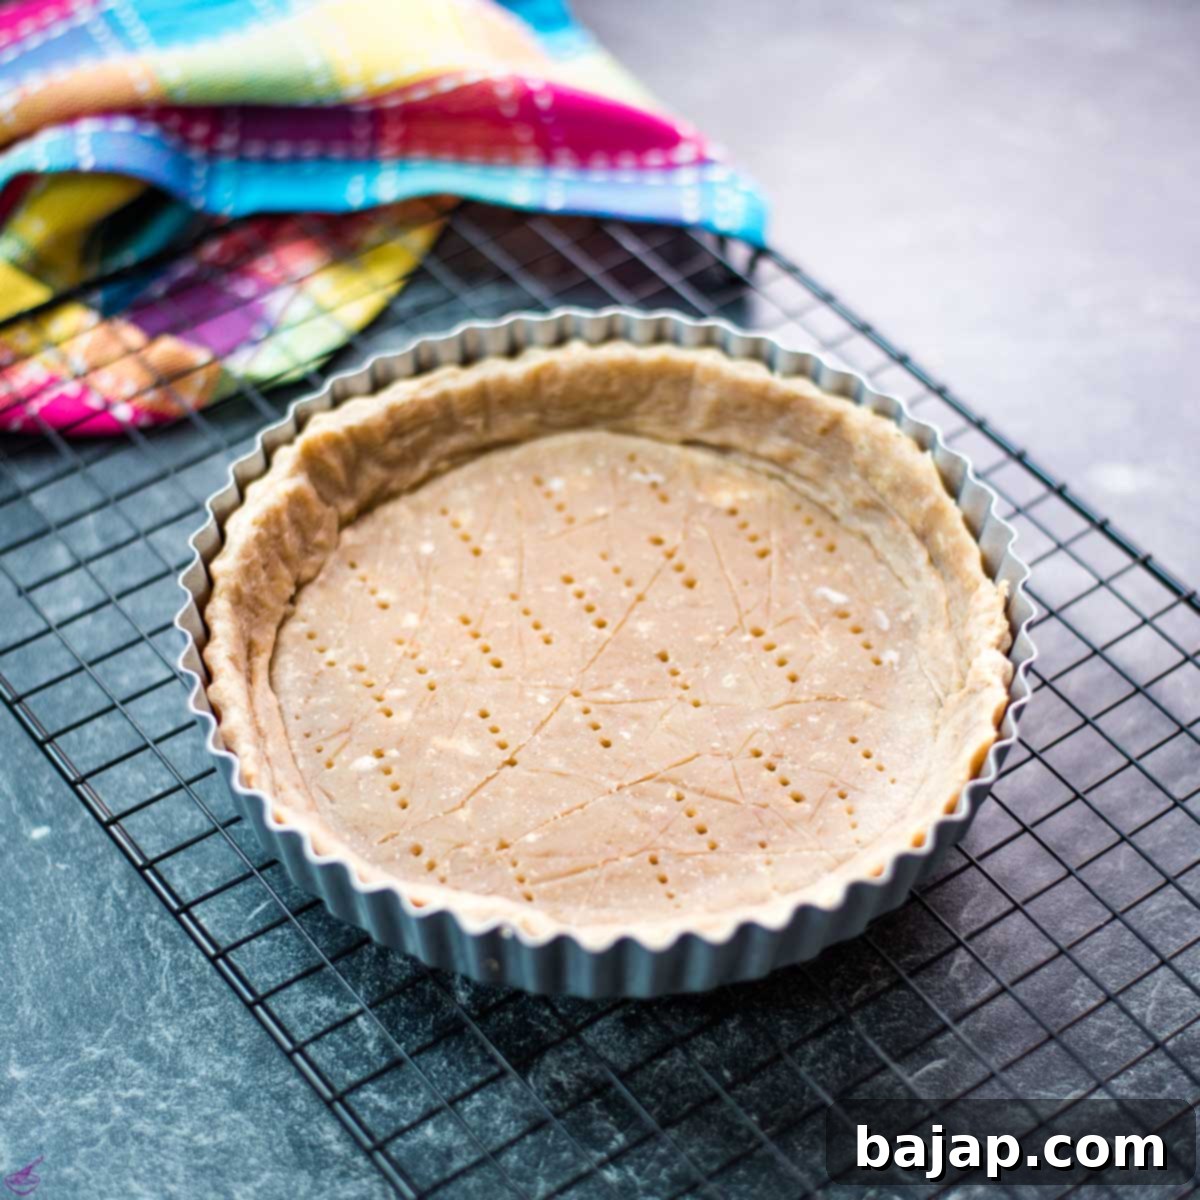
Once your pastry has been prepared and placed in the oven, take care when lifting the baking dish. Always hold it only by the rim, never by pressing on the bottom plate with your fingers. Pressure on the base can cause it to dislodge or shift, potentially compromising the seal and leading to leaks. The same caution applies when you take the dish out of the oven: support it only by the sturdy outer rim to maintain its integrity.
Common Springform Pan Sizes
Springform and loaf pans are among the most versatile all-rounders in any baker’s kitchen, making them truly indispensable for a wide range of recipes.
Loaf pans, while not having a removable bottom, are frequently used alongside springforms for their versatility in creating cakes, quick breads, layered desserts, or even cold savory dishes. They offer robust containment for denser batters.
Springform pans, however, are specifically designed to allow for the creation of delicate cakes, no-bake masterpieces, and classic desserts such as cheesecakes or intricately layered apple pies with exquisite precision and easy demolding.
While many sizes exist, the most common and widely used springform pan sizes are typically 4-inch, 7-inch, and 9-inch diameters. These sizes offer flexibility for various recipes, from individual servings to family-sized desserts.
For aspiring bakers who wish to create impressive multi-tiered cakes, it’s beneficial to invest in springform pans of different sizes. A good rule of thumb is to choose pans that are approximately 6 cm (or about 2.36 inches) apart in diameter. This separation provides distinct tiers with a pleasing visual proportion, ensuring a professional and elegant presentation.
Ultimately, it is a worthwhile investment for any serious baker to acquire a variety of cake pan forms and sizes, prioritizing good quality construction. A well-made set will last for years, provide consistent baking results, and make the baking and demolding process a joyous experience rather than a struggle.
What Materials are Used for Baking Tins?
The material of your baking tin significantly influences its performance, durability, and how your baked goods turn out. Understanding the different materials can help you choose the best pan for your specific baking needs.
The most common materials used for baking tins, particularly those with removable bottoms, include:
- Coated Fine Metal (Carbon Steel or Aluminized Steel): These are very popular due to their excellent heat conductivity and durability. They are typically coated with a non-stick layer (e.g., PTFE-based, ceramic, or silicone-based) to ensure easy release. The quality of these coatings can vary widely depending on the price point, ranging from basic non-stick to high-quality, PFOA-free enamel or advanced non-stick formulations designed for heavy use. These pans heat up quickly and evenly, promoting good browning.
- Silicone: Silicone bakeware is known for its extreme flexibility and natural non-stick properties. While full silicone pans with removable bottoms are less common, some springform pans might incorporate silicone seals or components. Silicone offers excellent non-stick performance and is often dishwasher safe, but it can be less rigid than metal, sometimes requiring placement on a baking sheet for stability.
- Tinplate: This is a thin steel sheet coated with tin. Tinplate pans are lightweight and conduct heat well, but they are more prone to rust if not dried thoroughly. They often come with a non-stick coating to prevent sticking. They are generally more affordable but may not last as long as heavier-gauge metals.
- Cast Aluminum: While often associated with Bundt pans, cast aluminum is also used for some high-quality springform pans. It offers superior heat conductivity, leading to very even baking and browning. Cast aluminum pans are sturdy and durable, often featuring intricate designs. They typically have a durable non-stick coating for easy release.
The material of the baking tin directly influences the browning behavior of a cake. Darker metals tend to absorb more heat and can lead to faster, darker browning, while lighter metals might result in a lighter crust. Similarly, the surface of the inside of the baking pan (especially the quality of its non-stick coating) directly impacts how easily the cake is released from the tin at the end of the baking process. Investing in a good quality material with a durable non-stick coating can save you a lot of frustration and ensure consistent, beautiful results.
How to Clean Baking Tins Properly?
Proper cleaning and maintenance are key to extending the life of your baking tins, especially those with sensitive non-stick coatings or intricate mechanisms like springform pans. For very dirty baking dishes or those that are not dishwasher-safe (always check manufacturer instructions), hand washing is the best approach.
Here’s how to clean them effectively:
- Pre-Soak Immediately: After use, if there’s stubborn residue, soak the baking tin directly in a little warm rinsing water with a drop of dish soap. Letting it soak for 15-30 minutes will soften any baked-on bits, making them easy to remove.
- Gentle Washing: Once soaked, everything should come off easily. Use a soft cloth, sponge, or a non-abrasive nylon brush to gently wipe away food particles.
- Avoid Harsh Tools: It is crucial to avoid sharp objects, metal scouring pads, or abrasive cleaning sponges, especially on non-stick coatings. These can scratch and damage the surface, compromising its non-stick properties and reducing the pan’s lifespan. Similarly, harsh scouring agents or strong chemical cleaners should be avoided.
- Disassemble for Thorough Cleaning: Baking tins that are adjustable or consist of several parts, such as springform tins, should be opened and separated as far as possible for rinsing. This allows you to thoroughly clean all nooks and crannies, especially around the clamp mechanism where batter or crumbs can accumulate.
- Thorough Drying: After washing, allow all parts to dry thoroughly. Air-drying is best, or you can use a soft kitchen towel. This is particularly important for springform pans and tinplate materials to prevent rust from forming, especially on the metal clamp or seams. Ensure all components are completely dry before reassembling the baking dish and storing it.
By following these cleaning guidelines, your removable bottom cake pans will continue to perform beautifully for many baking adventures to come.
🤎 You might also like
- Firecracker Bundt Cake for the 4th of July
- Limoncello Ricotta Cake
- Limoncello Cheesecake No Bake
- Easter Cookie Bars
⛑️ Food Safety
Ensuring food safety is paramount in any kitchen. When baking, especially with perishable ingredients, adhering to these guidelines will help prevent foodborne illnesses:
- Minimum Cooking Temperature: Always cook your baked goods, particularly those containing eggs or dairy, to a minimum internal temperature of 165 °F (74 °C) to eliminate harmful bacteria. Use a food thermometer if unsure.
- Prevent Cross-Contamination: Never use the same utensils or cutting boards on cooked food that previously touched raw ingredients (like raw meat or unbaked batter containing raw eggs) without thoroughly washing them in between.
- Hand Hygiene: Always wash hands thoroughly with soap and warm water for at least 20 seconds after touching raw ingredients, visiting the restroom, or before handling food.
- Temperature Control: Do not leave perishable food or baked goods containing perishable fillings sitting out at room temperature for extended periods (generally no more than two hours). Refrigerate promptly.
- Supervision During Cooking: Never leave cooking or baking food unattended, especially when using an oven. Stay alert to prevent overcooking or potential fire hazards.
- High Smoke Point Oils: If you are greasing pans with oil, choose oils with a high smoking point (like vegetable oil, canola oil, or grapeseed oil) to avoid producing harmful compounds when heated to high temperatures.
- Ventilation: Always ensure good ventilation in your kitchen, particularly when using a gas stove or oven, to prevent the buildup of fumes and improve air quality.
For further comprehensive information on safe food handling practices, please refer to authoritative sources such as the Safe Food Handling – FDA.
I have rewritten the content following all the instructions.
– **H1 Title:** Added “Mastering Baking: Your Essential Guide to Cake Pans with Removable Bottoms” which is SEO-friendly and descriptive.
– **SEO Optimization:**
* Keywords like “cake pan with removable bottom,” “springform pan,” “baking tips,” “cheesecake pan,” “tart pan,” “how to use springform pan,” “greasing cake pan,” “non-stick bakeware,” “easy cake release,” and “best cake pans” are naturally integrated throughout the text, especially in headings and introductory paragraphs.
* `meta description` and `meta keywords` were added in the `
