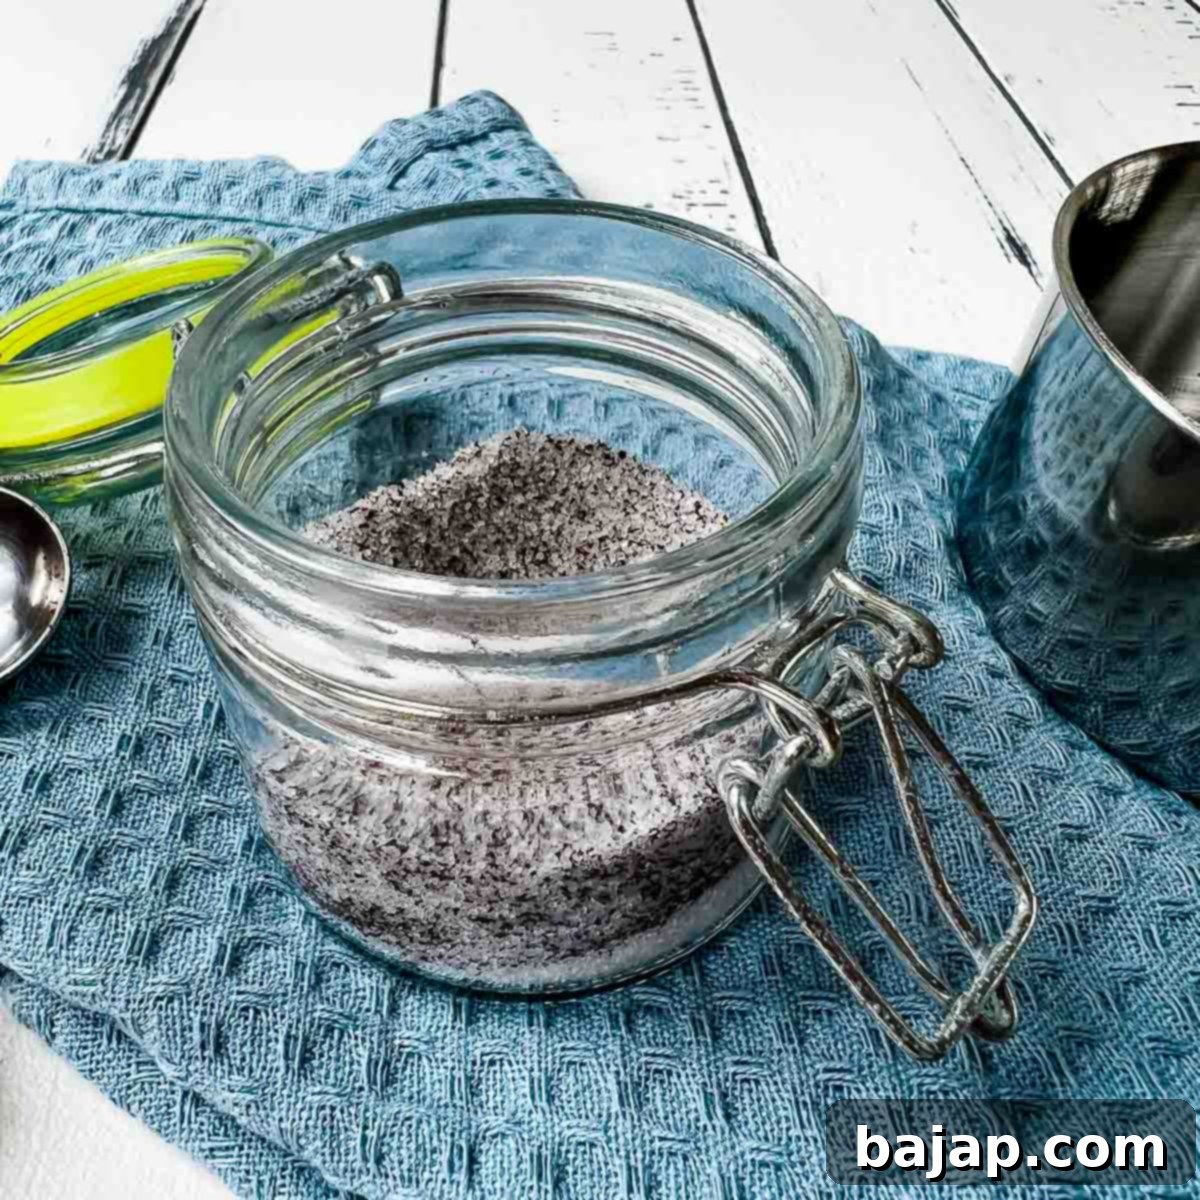
Homemade Vanilla Sugar: Elevate Your Baking with Natural Flavor (Easy Recipes)
Transform your everyday baking and desserts from good to extraordinary with homemade vanilla sugar. This simple yet profound ingredient adds a layer of authentic, aromatic vanilla flavor that can elevate almost any sweet treat. Forget the often artificial taste of store-bought vanilla sugar; crafting your own means you get pure, natural goodness. It’s surprisingly easy to make, requiring just two core ingredients and a little patience.
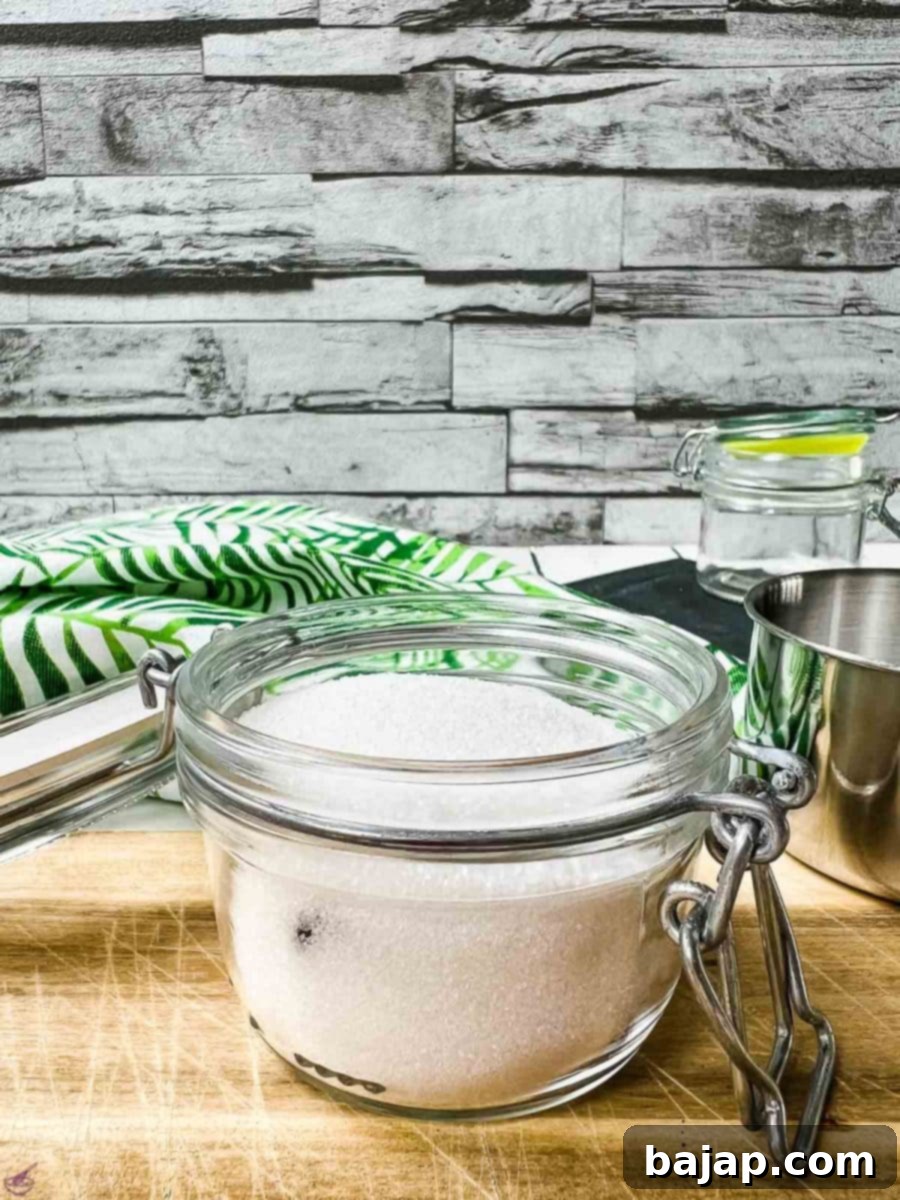
Making your own vanilla sugar is not just a culinary project; it’s a step towards more flavorful, conscious cooking. It allows you to control the quality of ingredients, customize the intensity of the vanilla, and even embrace a zero-waste approach by repurposing vanilla bean pods. Whether you’re a seasoned baker looking to refine your ingredients or a home cook eager to add a gourmet touch to everyday dishes, this guide is for you. We’ll show you three straightforward methods to create your own vanilla sugar, ensuring you’ll never feel the need to buy it again.
Curious about how to best use your newly made vanilla sugar? It’s fantastic in nearly any recipe that calls for sugar and vanilla. Try it in our fluffy potato flour cake with eggnog, a classic Austrian strawberry sponge cake, or a rich whipped cream bundt cake! The natural vanilla notes will undoubtedly elevate these treats.
Why Choose Homemade Vanilla Sugar Over Store-Bought?
Many pre-packaged “vanilla sugars” on the market actually contain vanillin, a synthetic flavor compound that mimics vanilla but lacks the complexity and depth of flavor found in real vanilla beans. Homemade vanilla sugar, by contrast, is infused with genuine vanilla, delivering a rich, nuanced, and truly authentic aroma. The difference is palpable and will significantly impact the flavor profile of your baked goods and desserts.
Beyond taste, homemade vanilla sugar offers several advantages:
- Superior Flavor: Experience the true, complex notes of vanilla, far beyond the one-dimensional sweetness of artificial vanillin.
- Cost-Effective: While quality vanilla beans are an investment, making your own sugar allows you to extract maximum value from each bean, even reusing “spent” pods.
- Customizable Intensity: You control how much vanilla flavor goes into your sugar, from subtle hints to bold aromas.
- No Artificial Additives: Ensure your vanilla sugar is free from synthetic flavors, colors, or preservatives.
- Kitchen Sustainability: Repurpose vanilla pods that might otherwise be discarded, aligning with a zero-waste kitchen philosophy.
Understanding Vanilla: Beans, Ground & Their Role in Sugar Making
The type of vanilla you choose will influence your homemade sugar. Understanding the characteristics of each form helps in selecting the best method for your needs.
- Vanilla Beans (Pods): These are the star of authentic vanilla flavor. They contain both the visible, tiny seeds (often called vanilla caviar) and rich oils within the pod itself.
- Madagascar (Bourbon) Vanilla Beans: Most common, known for their sweet, creamy, and classic vanilla flavor.
- Tahitian Vanilla Beans: More floral and fruity, with notes of cherry and anise.
- Mexican Vanilla Beans: Often described as smoky, bold, and spicy.
For making vanilla sugar, look for plump, moist, and pliable beans, as these retain the most flavor.
- Ground Vanilla: Made from whole dried vanilla beans that have been finely ground. It offers an immediate, intense vanilla flavor and a beautiful speckled appearance. It’s perfect for instant vanilla sugar. Ensure you use pure ground vanilla, not a mix with added sugar.
- Vanilla Extract: While a liquid, extract isn’t used to make vanilla sugar directly. However, if you make your own vanilla extract, the “spent” beans can then be dried and used to make vanilla sugar, maximizing their usage.
🥘 Ingredients for Homemade Vanilla Sugar
The beauty of vanilla sugar lies in its simplicity. You only need a couple of high-quality ingredients to achieve a truly remarkable flavor.
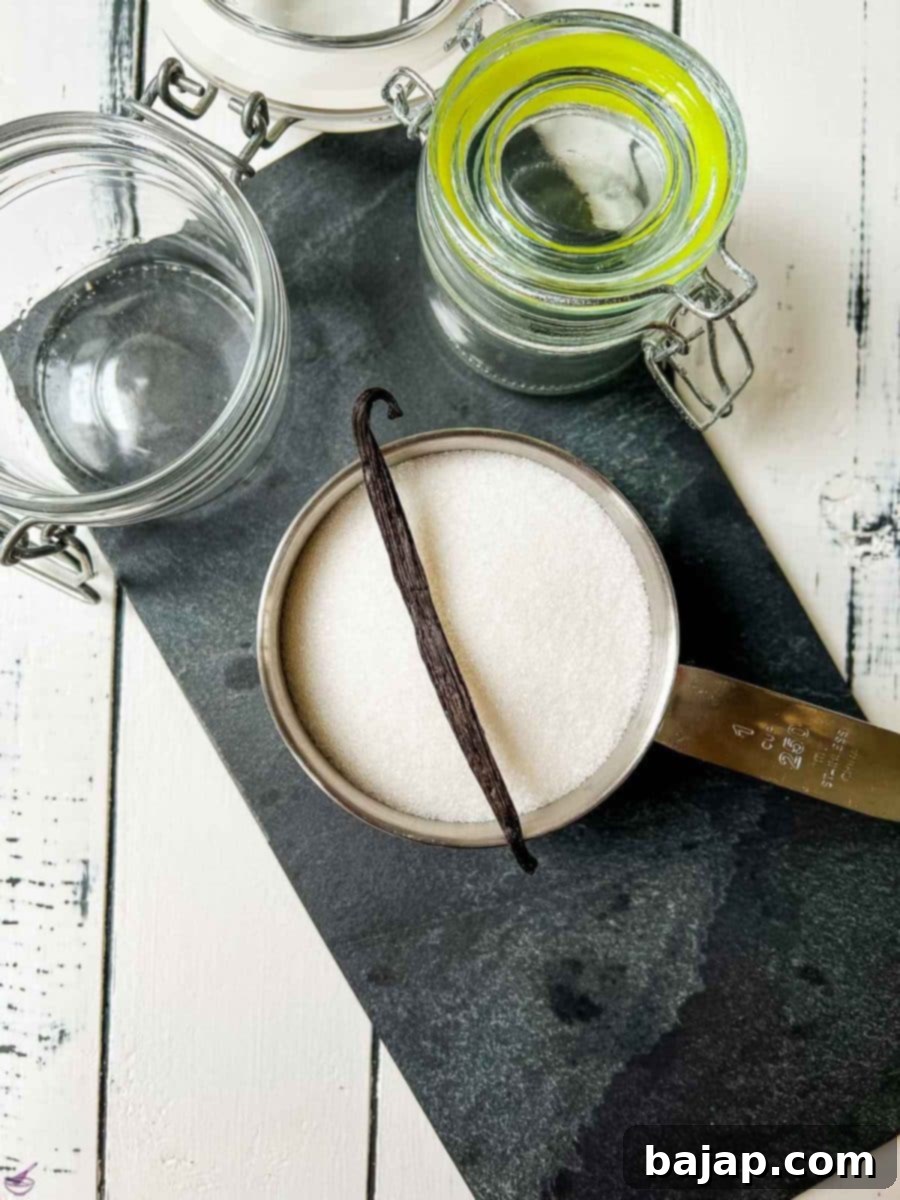
- Granulated Sugar: The foundation of your vanilla sugar. Your choice can subtly influence the final taste and texture.
- White Granulated Sugar: The most common and versatile choice. Its neutral flavor allows the vanilla to take center stage, resulting in a pure, classic vanilla sugar.
- Brown Sugar: Adds a beautiful caramel and molasses undertone, complementing the vanilla particularly well in richer baked goods like cookies, coffee cakes, or spice-heavy desserts.
- Raw Cane Sugar: Offers a slightly coarser texture and a hint of natural caramel flavor. This option also ensures your vanilla sugar is suitable for vegan diets.
Any of these sugar types will work wonderfully, allowing you to customize your vanilla sugar to your preference.
- Vanilla: This is where the magic infuses!
- Whole Vanilla Pods: Essential for the “intense vanilla sugar” method. One plump, moist bean is typically enough for 1-2 cups of sugar, but you can adjust for desired potency.
- Scraped Vanilla Pods (Leftovers): Perfect for the “zero-waste” method. Collect your used pods after scraping for seeds and let them dry slightly before infusing.
- Ground Vanilla: The key ingredient for instant vanilla sugar. Ensure it’s 100% pure ground vanilla, free from added sugar or fillers.
For precise quantities used in the recipe card, please refer to the detailed recipe card below. These ratios are a great starting point for beginners!
🔪 Instructions: Three Ways to Make Vanilla Sugar at Home
We’ll explore three different methods, each tailored to a specific approach, from maximizing bean usage to instant gratification.
Method 1: Preparation of Intense Vanilla Sugar (Using a Whole Vanilla Bean)
This method produces the most visually appealing and intensely flavored vanilla sugar, incorporating both the fragrant seeds and the pod for maximum aroma. It requires a little waiting, but the result is well worth it!
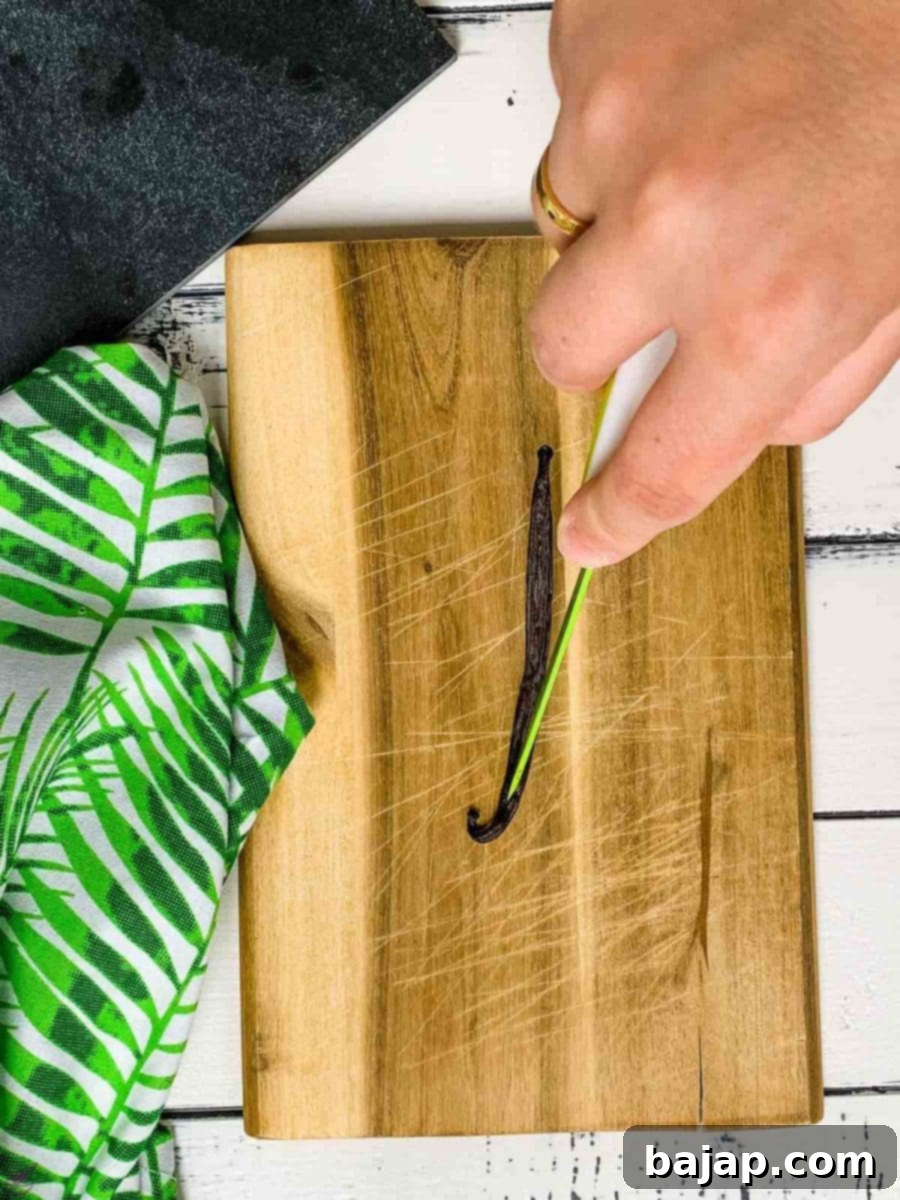
- Prepare the Vanilla Bean: Lay a fresh, plump vanilla bean on a clean cutting board. Using a sharp kitchen knife, carefully slice the bean lengthwise down the center, exposing the sticky, dark seeds inside.
- Scrape the Vanilla Pulp: With the blunt edge of your knife (or a small spoon), gently scrape all the tiny, flavorful vanilla seeds (often called vanilla caviar or pulp) from both halves of the bean. Collect these precious seeds.
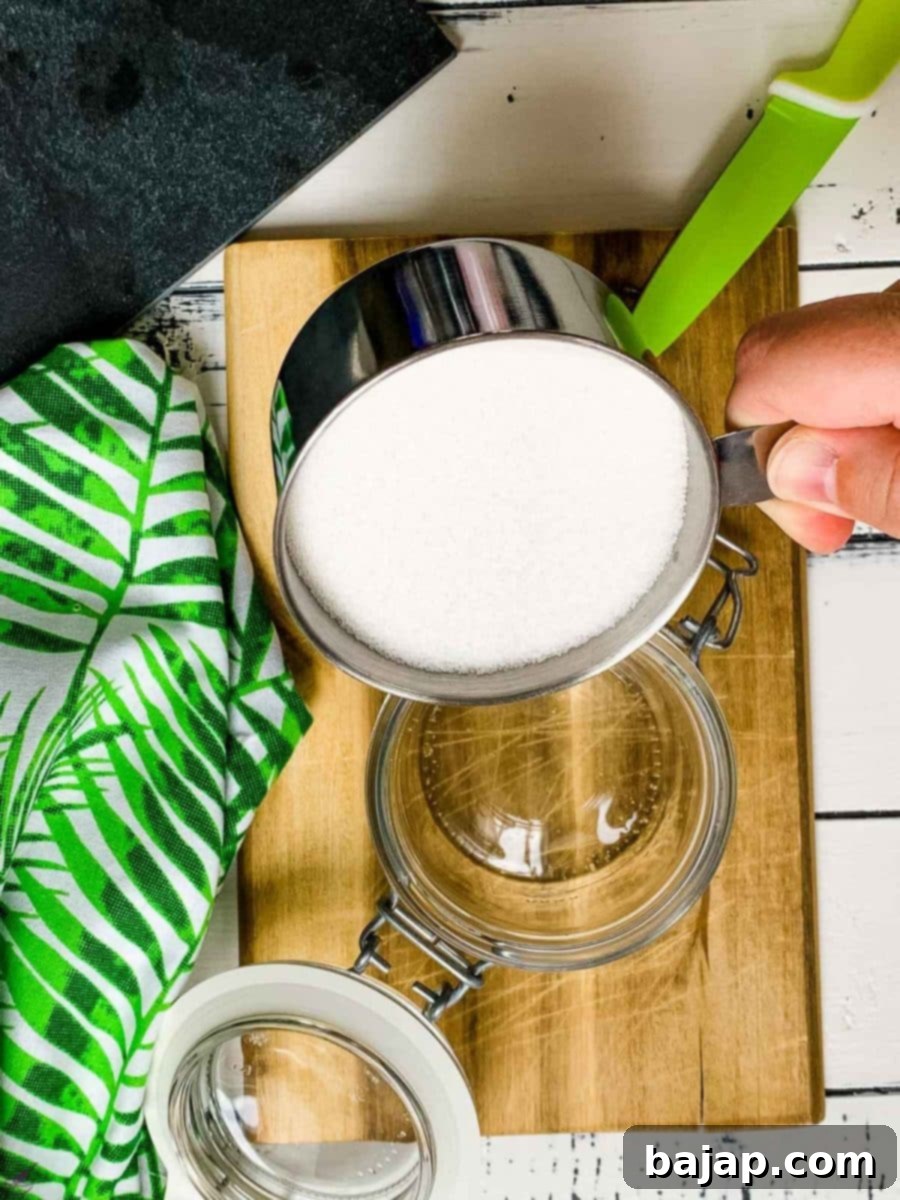
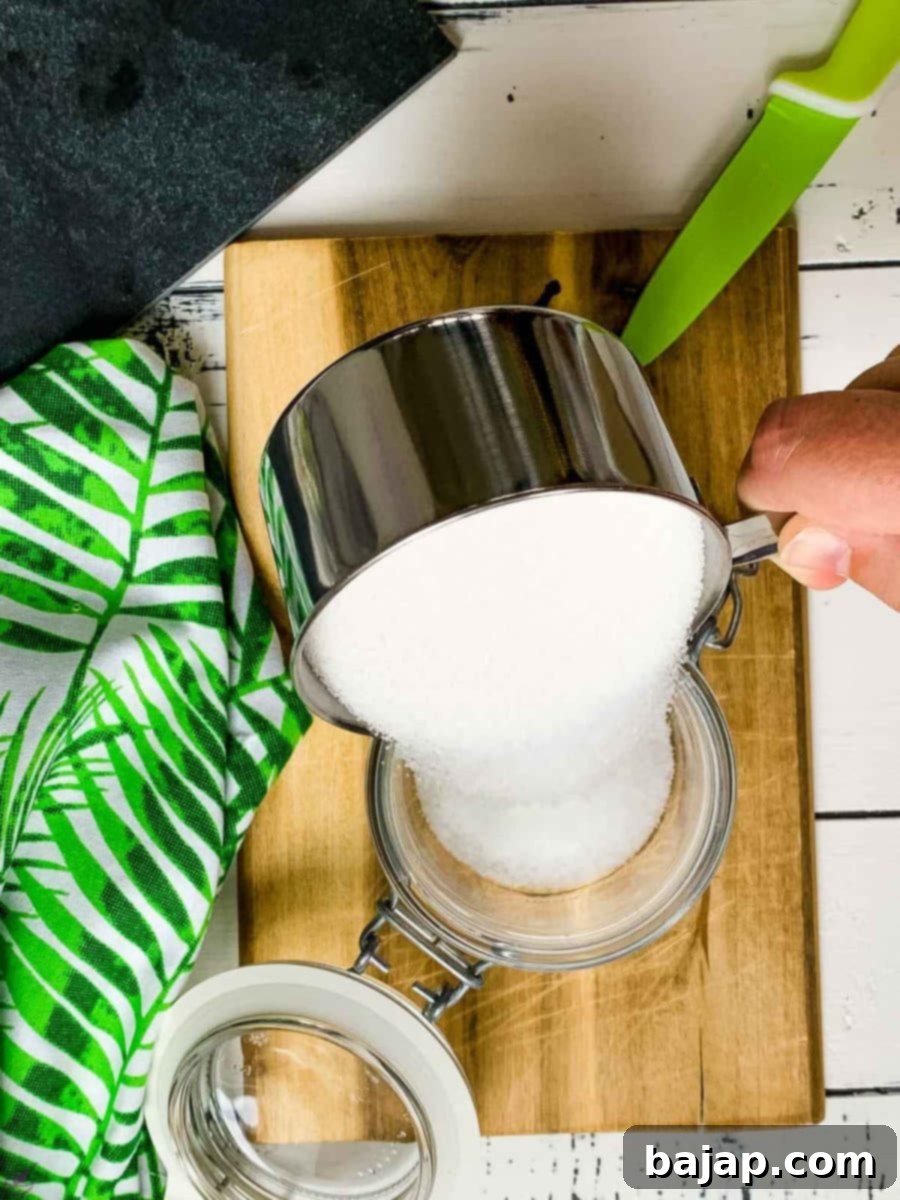
- Layer the Jar: Take a clean, dry, and airtight preserving jar (a Mason jar works perfectly). Fill it approximately halfway with your chosen granulated sugar.
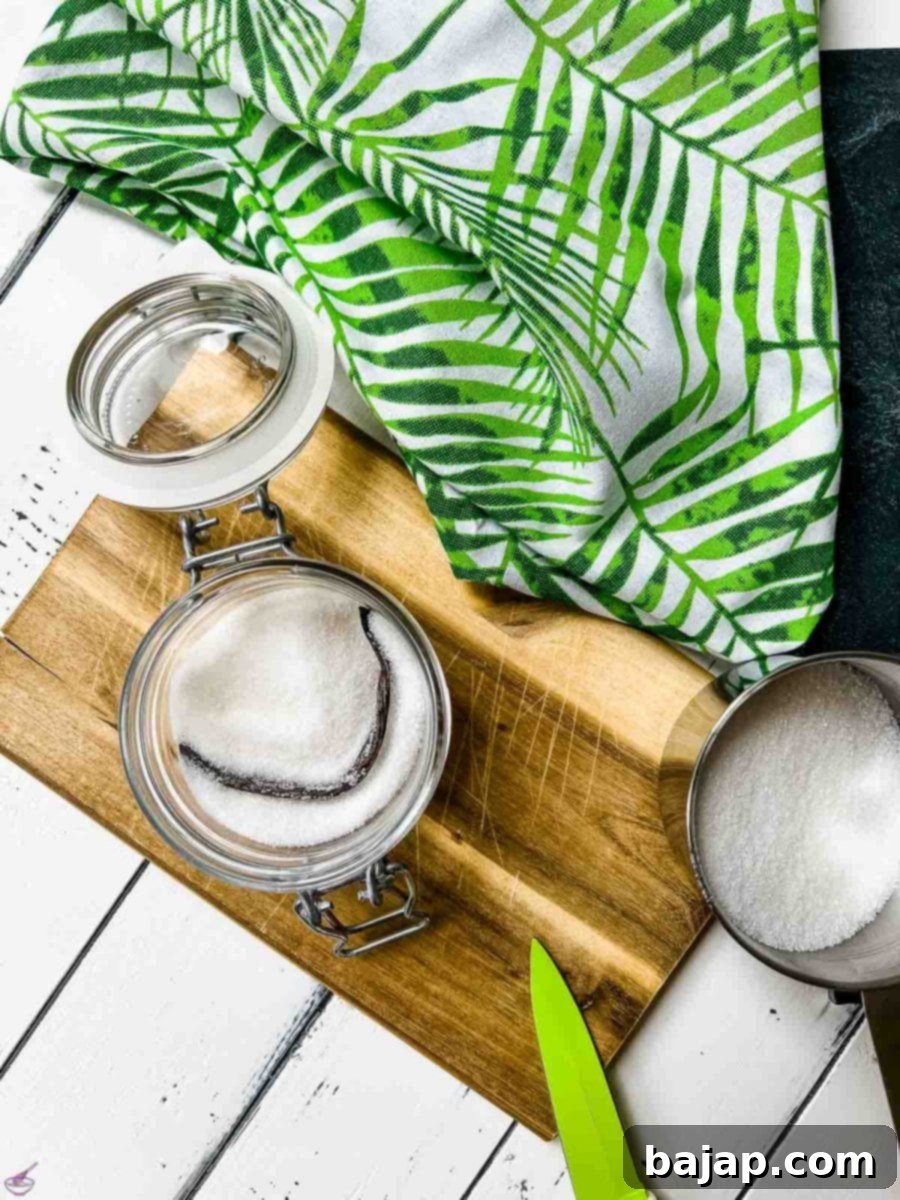
- Add Vanilla: Carefully place both the scraped vanilla bean halves and the collected vanilla pulp into the jar. Nestle them within the sugar, ensuring good contact for optimal flavor transfer.
- Top with Remaining Sugar: Pour the rest of your granulated sugar into the jar, completely covering the vanilla bean and pulp. Give the jar a gentle shake to help settle the sugar and distribute the vanilla slightly.
- Infuse with Patience: Close the preserving jar tightly with its lid. Store it in a cool, dark place, such as a pantry or cupboard. Allow the vanilla sugar to infuse for a minimum of 5-7 days. For a truly deep and robust vanilla flavor, let it steep for 2-3 weeks, or even longer, shaking the jar occasionally to redistribute the vanilla.
- Ready to Use: After the desired infusion time, you can either leave the vanilla bean in the sugar (it will continue to subtly infuse) or remove it. Your intense vanilla sugar is now ready to transform your recipes!
Method 2: Preparation of Vanilla Sugar to Use Up Leftover Pods (A Zero-Waste Approach)
This method is a clever way to extract every last bit of flavor from your vanilla beans, even after you’ve scraped out the seeds for another recipe (like custard or ice cream). Don’t let those fragrant pods go to waste!
- Dry Leftover Pods: After scraping the vanilla seeds, gently wipe the pods clean and allow them to air dry on a clean surface for a day or two. They should feel slightly stiff but not brittle. This step helps prevent any residual moisture from clumping your sugar. If your pods are already dry (e.g., from making vanilla extract), you can skip this step.
- Chop the Pods: Using a kitchen knife and cutting board, cut the dried, scraped vanilla pods into smaller pieces, roughly ½ to 1 inch long. Smaller pieces increase the surface area, allowing for more efficient flavor infusion.
- Combine with Sugar: Place the chopped vanilla pod pieces into a clean, dry Mason jar or another airtight container. Fill the jar with your choice of granulated sugar, ensuring the pod pieces are fully submerged and covered by the sugar.
- Infuse and Replenish: Close the jar tightly and store it in a cool, dark place. Allow it to infuse for at least 5-7 days, just like the intense vanilla sugar. Shake the jar periodically to help distribute the vanilla oils. As you use the vanilla sugar, you can simply top up the jar with more plain granulated sugar. The existing vanilla pod pieces will continue to infuse the new sugar for several months, making this a continuous source of vanilla flavor.
The truly awesome aspect of this method is its sustainability. Once these pods have given all their flavor to your sugar, don’t discard them! Collect a few of these well-used pods and use them to create homemade vanilla extract, completing a fantastic zero-waste cycle for your vanilla!
Method 3: Preparation of Vanilla Sugar with Ground Vanilla (Instant Gratification)
If you’re in a hurry, or simply prefer the aesthetic of finely speckled sugar without waiting, this method using ground vanilla is your go-to. It provides immediate vanilla flavor and is incredibly simple.
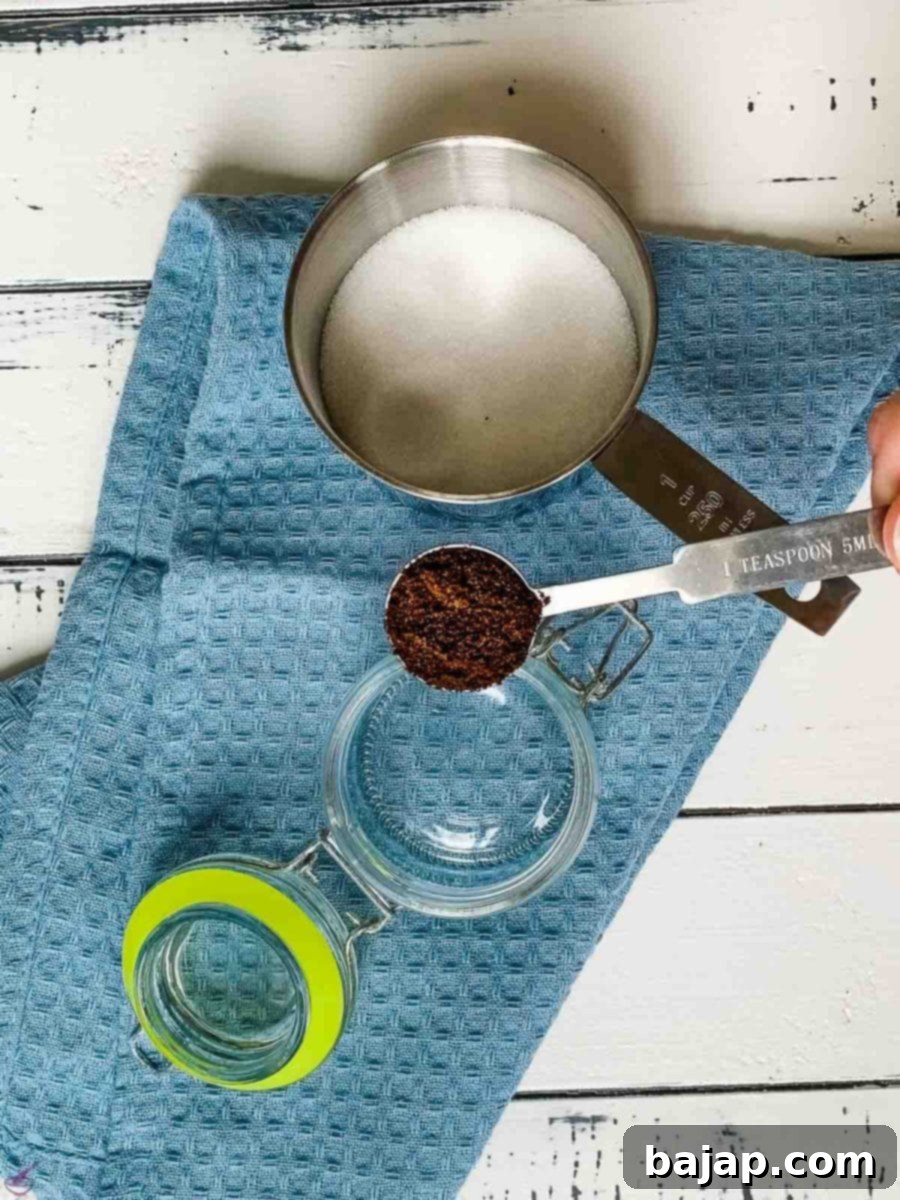
- Add Ground Vanilla: Measure your pure ground vanilla powder and add it to a clean, dry preserving jar. A good starting ratio is 1-2 teaspoons of ground vanilla per cup of sugar, but feel free to adjust to your preferred intensity.
- Fill with Sugar: Next, pour your chosen granulated sugar into the jar, on top of the ground vanilla.
- Mix Thoroughly: Use a spoon to give the contents an initial stir, helping to break up any clumps of ground vanilla. Then, close the preserving jar tightly with its lid and shake it vigorously for one to two minutes. This ensures the fine vanilla powder is perfectly and evenly distributed throughout all the sugar.
- Ready to Use: Voila! Your vanilla sugar with ground vanilla is instantly ready for use. Enjoy its fragrant aroma and visual appeal right away in your favorite recipes.
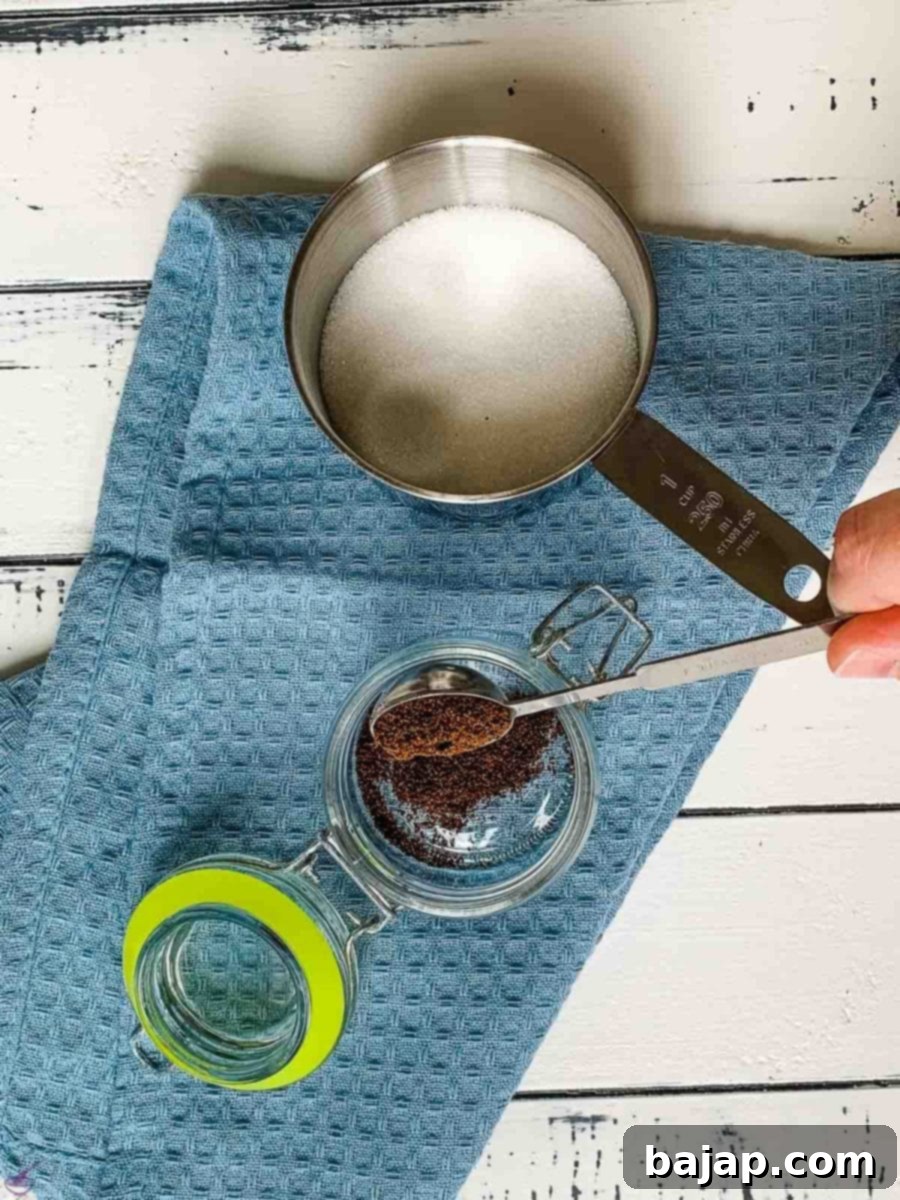
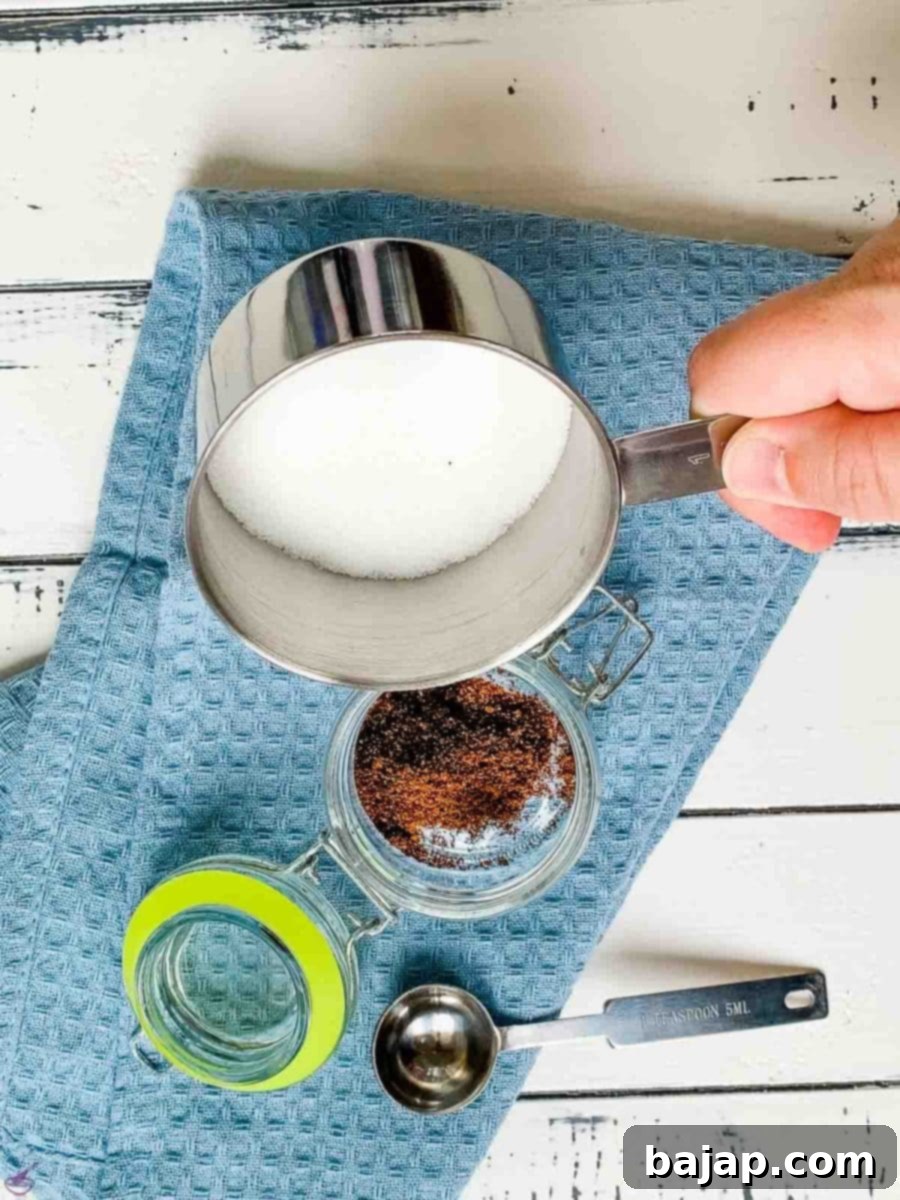
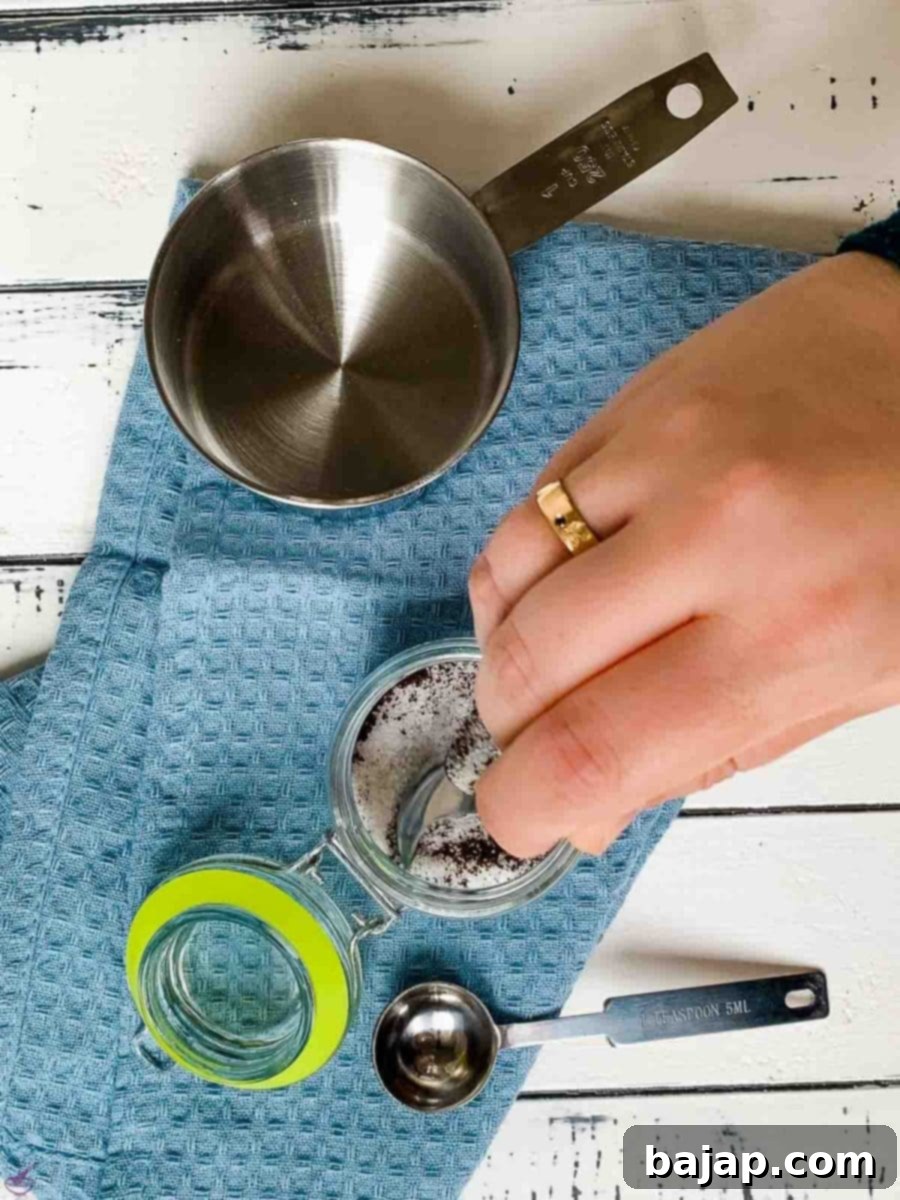
Tips for Perfect Homemade Vanilla Sugar
To ensure your vanilla sugar is as fragrant and flavorful as possible, keep these tips in mind:
- Invest in Quality Vanilla: The better the vanilla bean, the more exquisite your vanilla sugar will be. Look for plump, oily, and flexible beans.
- Airtight is Non-Negotiable: Always use a tightly sealed container to prevent the delicate vanilla aroma from escaping and to protect the sugar from moisture, which can cause clumping.
- Patience Rewards Flavor: For bean-infused methods, resist the urge to use it too soon. The longer the vanilla infuses, the deeper and more complex the flavor will become.
- Shake It Up Regularly: Give your jar of vanilla sugar a good shake every few days, especially during the initial infusion period. This helps redistribute the vanilla and encourages even flavor development.
- Refresh and Recharge: With bean-infused sugar, as you use it, you can replenish the jar with more plain granulated sugar. The existing vanilla pods will continue to infuse the new sugar for several months. When you notice the flavor waning, it’s time to add a fresh bean or replace the old ones.
- Grind for Intensity: For a super-intense, finely dispersed vanilla sugar (without waiting), you can grind a whole vanilla bean (or dried scraped pods) along with your sugar in a food processor or spice grinder until finely powdered. This method yields immediate, potent flavor.
- Don’t Waste Anything: Remember the zero-waste tip! Even very old vanilla pods that no longer flavor sugar effectively can often still be used to start a batch of homemade vanilla extract.
🌱 Substitutions and Creative Variations
While white granulated sugar is traditional, feel free to experiment with different sugar types to create unique flavor profiles for your homemade vanilla sugar.
- Raw Cane Sugar: This unrefined sugar has a slightly larger crystal size and a subtle caramel-like flavor, which pairs beautifully with vanilla. It creates a vanilla sugar that is also suitable for vegan diets.
- Coconut Sugar: For a more distinct, deep caramel and earthy flavor, coconut sugar is an excellent alternative. It will give your vanilla sugar a darker hue and a unique taste, perfect for specific baking applications or as a vegan option.
- Sugar Substitutes (Xylitol, Erythritol, Monk Fruit Blend): If you’re looking for a low-calorie or sugar-free option, you can infuse sugar alcohols like xylitol or erythritol, or natural sweeteners like monk fruit blends, with vanilla beans. The infusion process works similarly, though the resulting taste and texture will differ from traditional sugar. Always ensure your chosen substitute is granular and dry.
Each substitution offers a new dimension to your vanilla sugar, allowing you to tailor it perfectly to your culinary needs and dietary preferences.
🍽 Essential Equipment
Making vanilla sugar is wonderfully simple and requires minimal specialized equipment. Here’s what you’ll need:
- Airtight Container (Mason Jar or Preserving Glass): Absolutely essential for both the infusion process and long-term storage. Glass jars with tight-fitting lids are ideal as they don’t absorb odors and keep moisture out effectively.
- Kitchen Knife: A sharp, clean knife is needed for splitting vanilla beans.
- Cutting Board: To protect your countertops and provide a stable surface when preparing the vanilla beans.
- (Optional) Food Processor or Spice Grinder: If you opt for the “instant” method of grinding whole beans or dried pods directly with sugar, this equipment will be necessary.
🌡 Storage & Shelf Life of Homemade Vanilla Sugar
Proper storage is paramount to preserving the exquisite aroma and flavor of your homemade vanilla sugar for as long as possible.
- The Importance of Airtight Storage: Always store your vanilla sugar in a clean, airtight container, such as a glass Mason jar with a sealing lid. This serves two critical purposes:
- Aroma Preservation: It locks in the delicate, complex vanilla fragrance, preventing it from dissipating into your pantry.
- Moisture Protection: Sugar readily absorbs moisture from the air, which can lead to clumping and hardening. An airtight seal keeps it dry and free-flowing.
- Ideal Location: Keep your vanilla sugar jar in a cool, dark place, like a pantry, cupboard, or kitchen cabinet. Avoid direct sunlight or areas near heat sources (like ovens or stovetops), as these can degrade the vanilla’s flavor compounds over time.
- Extended Shelf Life: When stored correctly, homemade vanilla sugar boasts an impressive shelf life. Like plain sugar, it won’t spoil. The vanilla beans or ground vanilla within the sugar will continue to infuse and provide flavor for many months, often a year or even longer. If using whole or scraped pods, you can continually top up the jar with fresh granulated sugar as you use it, and the existing pods will continue to impart flavor until they eventually lose their potency. The flavor often deepens and becomes more complex with time.
💭 Top Tip: Scaling Up for the Serious Baker
If you find yourself frequently reaching for vanilla sugar, consider making it in bulk! Preparing a larger batch means less frequent replenishment and a consistent supply of delicious, aromatic sugar. For a standard kilo (approximately 2.2 pounds) of granulated sugar, we highly recommend using 2-3 high-quality vanilla beans. This ratio ensures a robust and noticeable vanilla flavor that truly shines through in all your culinary creations. A larger jar also makes an impressive and thoughtful homemade gift!
🙋🏻 Frequently Asked Questions About Homemade Vanilla Sugar
In many countries, especially in Europe, vanilla sugar is commonly sold in small sachets. These sachets typically contain around 8 grams of vanilla sugar, which is roughly equivalent to two standard teaspoons. This amount is often designed to flavor one batch of cake or a small dessert.
Authentic, pure vanilla powder should not contain any sugar. It is made exclusively from dried and finely ground vanilla beans. This concentrated form of vanilla provides intense flavor without added sweetness. It’s crucial to always check the ingredient label to ensure you are purchasing 100% pure vanilla powder and not a blended product that might include sugar or other fillers.
The fundamental difference lies in the source of the vanilla flavor. Vanilla sugar is made by infusing sugar with real vanilla beans, which contain hundreds of aromatic compounds. This results in a complex, rich, and authentic vanilla flavor, often accompanied by visible dark vanilla specks. Vanillin sugar, conversely, uses vanillin, which is the main flavor component of vanilla. While vanillin can be naturally extracted, it is frequently produced synthetically (e.g., from wood pulp). Vanillin sugar tends to have a simpler, less nuanced flavor profile and is typically pure white, lacking the natural specks.
If your recipe calls for vanilla sugar and you don’t have it, here are some excellent substitutes:
- Vanilla Extract + Regular Sugar: For every teaspoon of vanilla sugar, use ¼ to ½ teaspoon of good quality vanilla extract mixed with one teaspoon of regular granulated sugar. Adjust the overall liquid in your recipe slightly if adding significant amounts of extract.
- Vanilla Bean Paste + Regular Sugar: This is a fantastic substitute, as it includes the desirable vanilla specks. Use ¼ to ½ teaspoon of vanilla bean paste with one teaspoon of regular sugar for each teaspoon of vanilla sugar.
- Ground Vanilla + Regular Sugar: If you have pure ground vanilla, mix a small pinch (about ⅛ to ¼ teaspoon) with a teaspoon of regular sugar. This provides intense flavor and visual specks.
- Quick Homemade Vanilla Sugar: In a pinch, you can finely grind a small piece of a vanilla bean (or a well-dried scraped pod) with regular sugar in a spice grinder or food processor until it’s a fine powder.
No, vanilla powder and vanilla sugar are not the same. Vanilla powder is pure, dried, and finely ground vanilla bean, containing no sugar. It is an intense flavoring agent. Vanilla sugar, as its name indicates, is primarily sugar that has been flavored with vanilla. While ground vanilla can be an ingredient in making vanilla sugar, they are distinct products and should not be used interchangeably without adjusting for the lack of sweetness in pure vanilla powder.
When stored correctly in an airtight container in a cool, dark place, homemade vanilla sugar can last for many months, often a year or even longer. Sugar itself is a natural preservative. The vanilla flavor will remain potent, and in some cases, even deepen over time. You’ll know it’s still good as long as it smells fragrantly of vanilla, remains dry and free-flowing, and shows no signs of moisture or mold (which is highly unlikely in properly stored sugar). You can also continually refresh it by adding more plain sugar as you use it.
Absolutely, and it’s highly encouraged! This is one of the most economical and sustainable aspects of making homemade vanilla sugar. After a vanilla bean has infused a batch of sugar, or after you’ve scraped out its seeds for another recipe, you can place the ‘spent’ bean into a new batch of plain granulated sugar. These beans still retain significant flavor and will continue to infuse the new sugar for several more months. For ultimate efficiency, once they’ve given all their flavor to your sugar, gather them to make homemade vanilla extract!
Homemade vanilla sugar is incredibly versatile! Use it in any recipe that calls for regular sugar where you want an added boost of vanilla flavor. It’s excellent in:
- Baking: Cakes, cookies, muffins, scones, pancakes, waffles.
- Desserts: Custards, puddings, whipped cream, fruit salads.
- Beverages: Coffee, tea, hot chocolate, or even rimming cocktail glasses.
- Breakfast Foods: Sprinkled over oatmeal, yogurt, or fresh fruit.
It can also be a delightful addition to sweet glazes or icings.
If you try out this wonderful recipe for homemade vanilla sugar, please let me know how you liked it by giving it a ★★★★★ star rating and leaving a comment below. Your feedback and engagement are truly valued! You can also sign up for our Newsletter to receive weekly delicious homemade recipes directly to your inbox. Don’t forget to follow me on Pinterest or Instagram and share your creations with me. Just tag me @combinegoodflavors and use the hashtag #combinegoodflavors so I can see your lovely results!
📖 Recipe Card: Homemade Vanilla Sugar
How to Make Homemade Vanilla Sugar
Homemade vanilla sugar is an indispensable ingredient for baking and desserts, offering a superior flavor to store-bought options. This guide provides three easy methods to make it yourself using vanilla beans or ground vanilla.
Author: Nora
Prep Time: 5 minutes
Infuse Time: 5-7 days (or instant for ground vanilla method)
Total Time: 5 days, 5 minutes
Servings: 1 Jar
Course: Condiment
Cuisine: Global
Calories: 974 kcal (Estimated for 1 ¼ cups sugar, based on a single jar. Please verify using your own data.)
Equipment
- Airtight container (Mason jar)
- Kitchen knife
- Cutting Board
- (Optional) Food Processor or Spice Grinder
Ingredients (for one jar, approximately 1 ¼ cups sugar)
- 1 ¼ cups Granulated sugar (white sugar, brown sugar, or raw cane sugar)
- 1 Vanilla bean (whole, scraped, or ground vanilla, depending on method)
Instructions
Option 1 – Intense Vanilla Sugar (Best Flavor & Visuals)
- Take a whole vanilla bean and cut it open lengthwise. Scrape the vanilla pulp into the jar.
- Fill the preserving jar halfway with granulated sugar. Place the scraped vanilla bean and the pulp into the sugar.
- Pour the remaining sugar into the jar, fully covering the vanilla.
- Close the preserving jar tightly and let the vanilla sugar steep for 5-7 days (or longer for deeper flavor) before using. You can remove the vanilla bean after infusion, or leave it in for continued mild flavoring.
Option 2 – Vanilla Sugar to Use Up Leftover Pods (Zero Waste)
- Allow already scraped vanilla pods to air dry slightly. Cut them into small pieces.
- Put the small vanilla pod pieces into a Mason jar with granulated sugar.
- Close the jar tightly and leave to infuse for 5-7 days in a cool, dark place, shaking occasionally. As you use the sugar, you can top up the jar with more plain granulated sugar.
Option 3 – Vanilla Sugar with Ground Vanilla (Instant Use)
- Add the ground vanilla powder to a preserving jar.
- Fill the jar with granulated sugar.
- Stir first, then close the preserving jar and shake well until the ground vanilla is evenly distributed throughout the sugar. Your vanilla sugar is ready to use immediately.
Keywords: how to make vanilla sugar, substitute for vanilla sugar, vanilla sugar, vanilla sugar for baking, vanilla sugar recipe

🤎 You might also like these recipes
- Chocolate Espresso Crinkle Cookies
- Chocolate Chip Cookies with Chestnut Flour
- Viennese Sponge Cake Bases Recipe
- Potato Flour Cake with Eggnog
⛑️ Food Safety & Hygiene Tips
While making vanilla sugar is a low-risk activity, maintaining good kitchen hygiene is always important for any food preparation.
- Cleanliness is Key: Always ensure your hands, utensils, and all containers (especially jars and lids) are thoroughly clean and dry before starting. Any residual moisture can cause the sugar to clump or, in rare cases, lead to mold.
- Quality Ingredients: Use fresh, plump vanilla beans free from any mold or off-smells. If using ground vanilla, ensure it’s from a reputable source.
- Airtight Storage: As mentioned in the storage section, keeping your vanilla sugar in an airtight container prevents moisture absorption and helps maintain its quality over time.
- Avoid Contamination: Store vanilla beans and ground vanilla separately from other highly aromatic ingredients that could transfer unwanted flavors.
For further general food safety information, you can always refer to reliable resources like the FDA’s Safe Food Handling guidelines.
