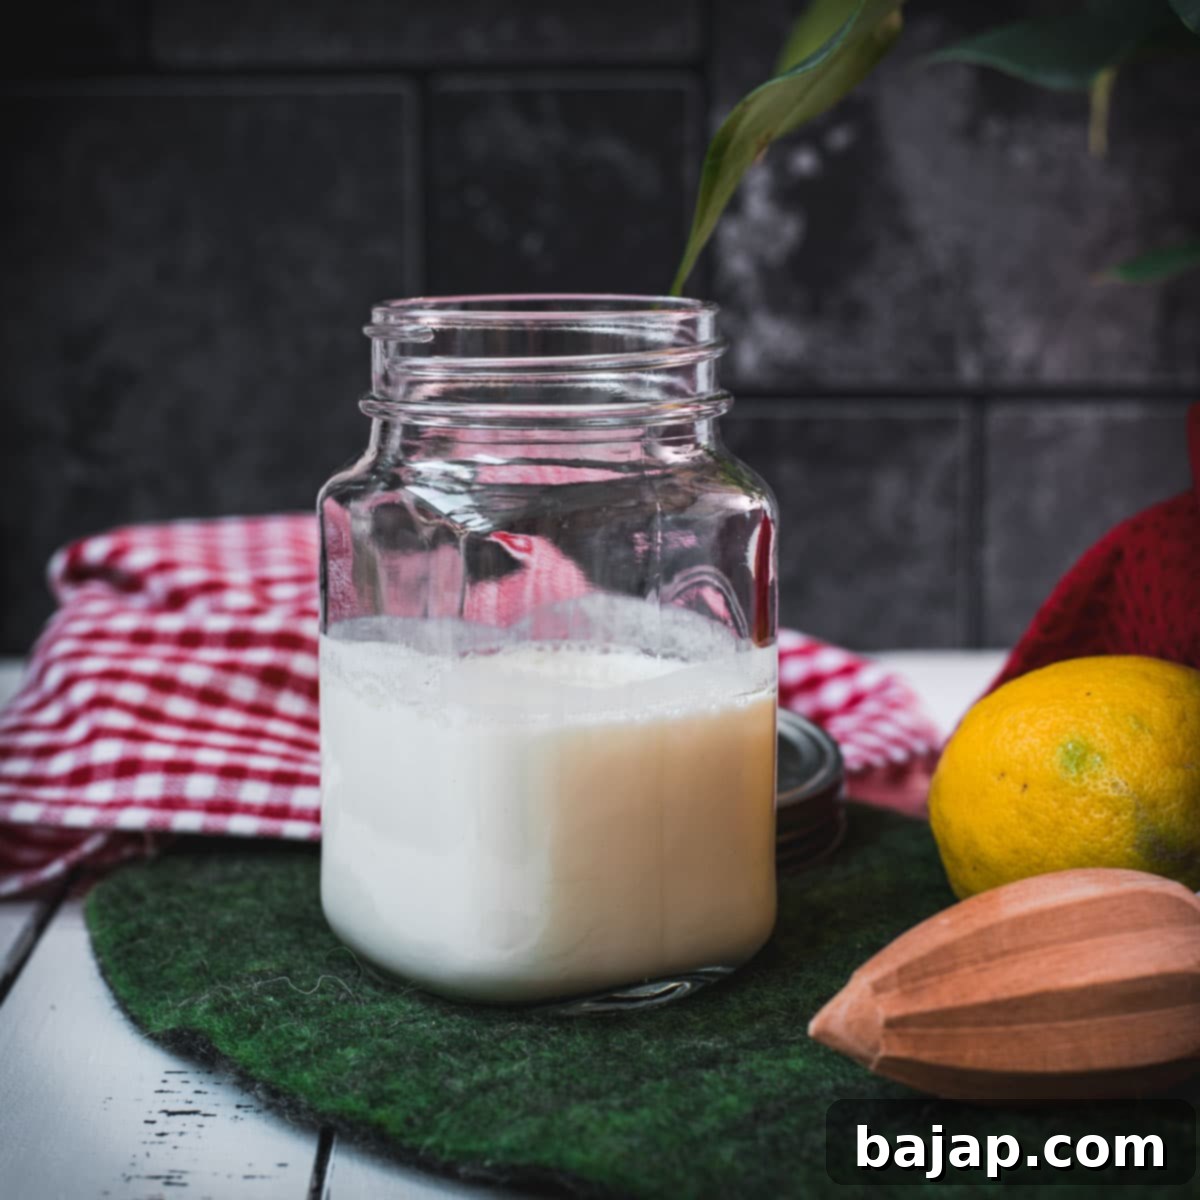
How to Make Homemade Sour Milk: Your Easy & Quick Buttermilk Substitute for Perfect Baking
Imagine this: it’s a cozy Saturday morning, you’re ready to whip up a batch of fluffy pancakes, or perhaps some tender biscuits, only to open your fridge and find you’re completely out of sour milk or buttermilk. It’s a common baking dilemma that can quickly turn your culinary dreams sour. But what if there was a simple, quick, and foolproof solution? Stress no more, because learning how to make homemade sour milk is incredibly easy and will save your baking adventures time and time again! This ingenious two-ingredient recipe ensures you’ll never be caught off guard again, providing a perfect buttermilk substitute in mere minutes.
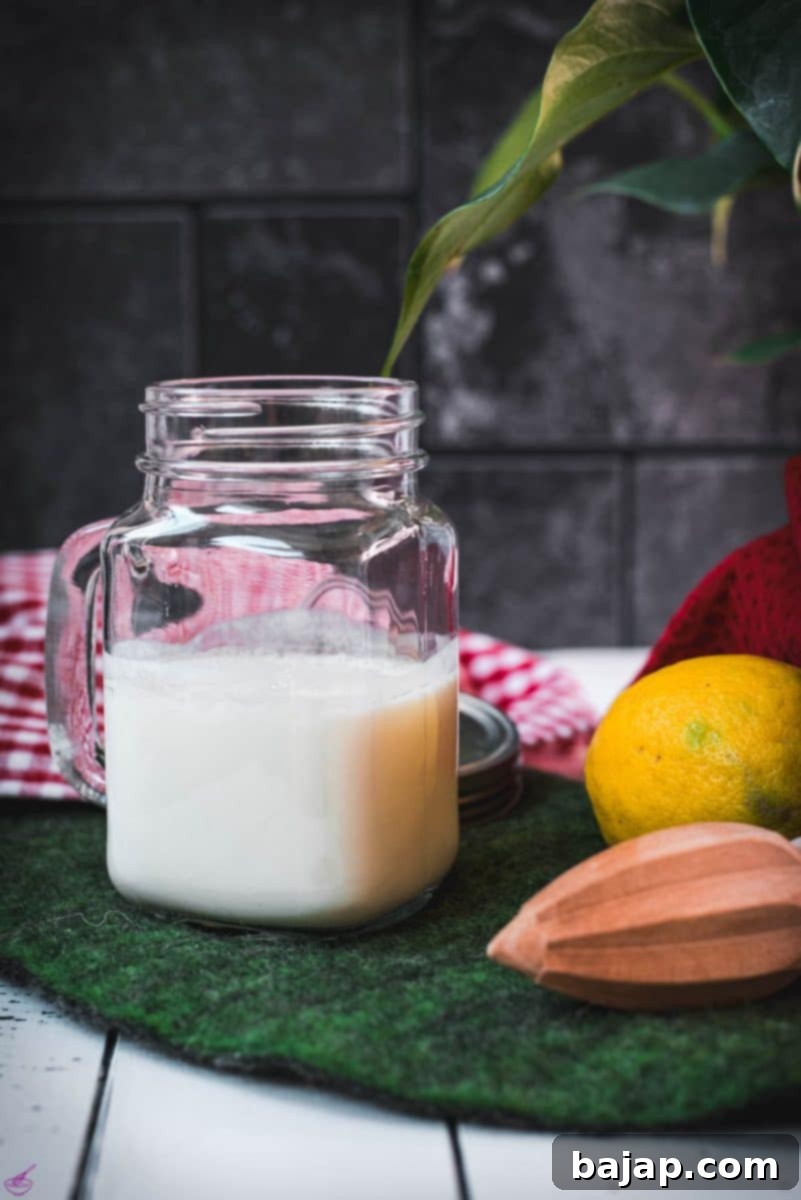
I find immense joy in crafting everything from scratch, connecting with my ingredients, and unwinding in the kitchen. That’s why, whether I’m preparing a batch of rich sour milk biscuits, delightfully tangy buttermilk pancakes, or a moist cake, I prefer to whip up my own sour milk. It’s a rewarding experience, and with this incredibly simple method, you can achieve perfect homemade sour milk in just minutes, making all your kitchen dreams a delicious reality!
This comprehensive guide will walk you through the process, explain the science behind it, and show you how this versatile ingredient can elevate your favorite recipes, ensuring your baked goods are always tender, moist, and bursting with flavor.
What Exactly Is Sour Milk and Why Use It?
For centuries, home bakers and professional chefs alike have cherished sour milk for its transformative properties in a wide array of recipes. Far from being “spoiled” milk, genuine sour milk is a carefully crafted ingredient, born from the simple yet powerful interaction of dairy and an acid. Typically, this acid comes from a citrus source like lemon juice, or even vinegar, which causes the milk proteins to curdle and thicken.
This process results in a distinct, tangy flavor and a thicker, more luscious texture compared to regular milk. In baking, sour milk is invaluable. Its acidity reacts with leavening agents like baking soda, creating carbon dioxide bubbles that yield exceptionally light, airy, and tender baked goods. It’s the secret behind wonderfully fluffy pancakes, moist muffins, and crumbly scones. Beyond its leavening capabilities, sour milk also imparts a subtle, creamy tang that enhances the overall flavor profile of your dishes, adding depth and complexity that regular milk simply cannot provide.
Essentially, homemade sour milk serves as a fantastic, readily available substitute for buttermilk in virtually any recipe. Its acidic nature helps to break down gluten, leading to a softer crumb, and also adds a pleasant tartness that cuts through richness in sweet treats. So, when a recipe calls for that distinctive tang and tender crumb, and you don’t have buttermilk on hand, this simple two-ingredient solution is your culinary superhero!
🥘 Simple Ingredients You’ll Need
One of the beauties of making homemade sour milk is its simplicity, requiring only two staple ingredients you likely already have in your kitchen. This minimalist approach ensures that you’re always just minutes away from a batch of this essential baking component.
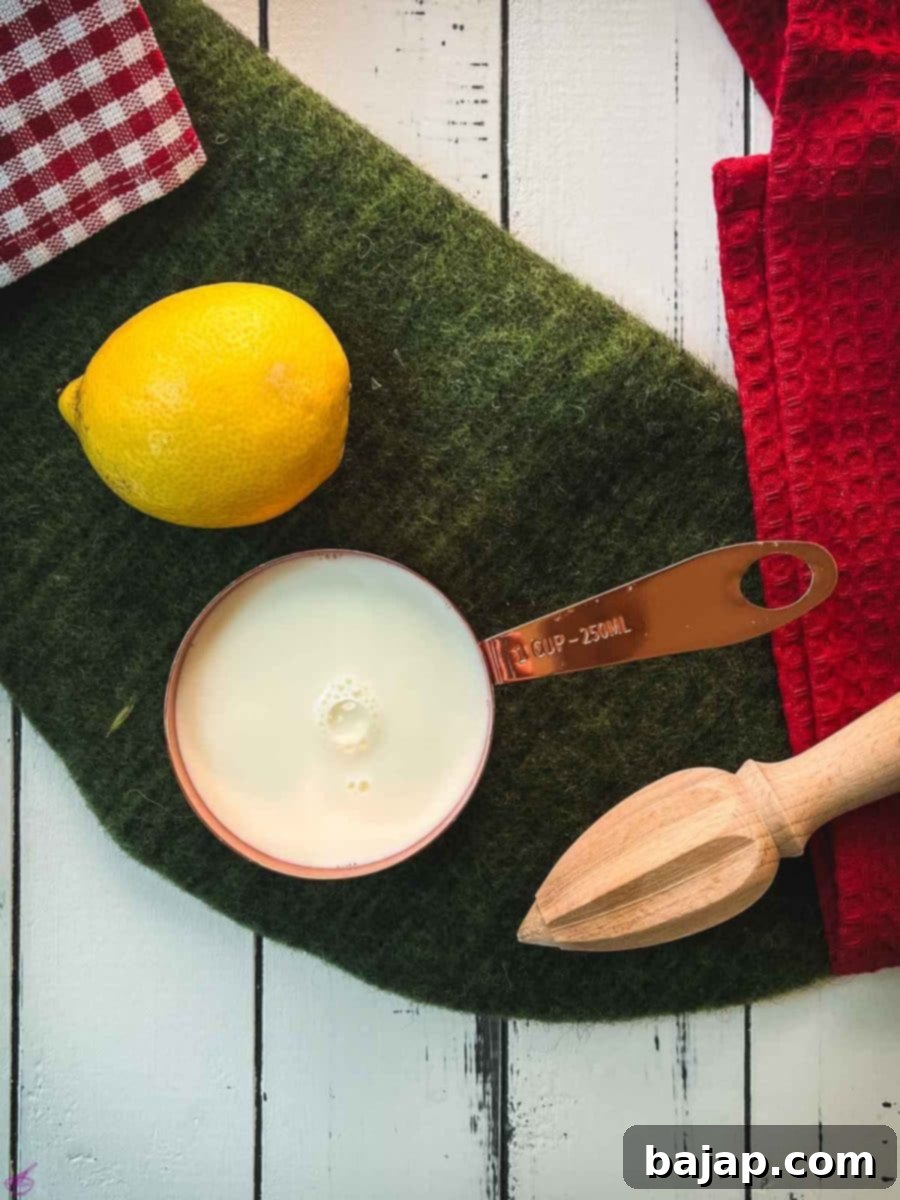
- Milk: For the most luxurious and rich sour milk, I highly recommend using whole milk. Its higher fat content contributes to a creamier texture and results in incredibly moist and rich baked goods. The fat in whole milk also helps to carry flavors better, making your end product more delicious. However, you’re not limited to whole milk. You can certainly use reduced-fat (2%) or even skim milk; just be aware that the final texture might be slightly thinner, and the richness in your baked goods may vary. For a truly indulgent experience, some bakers even experiment with half-and-half for an extra decadent sour cream-like consistency. Choose fresh milk, not expired milk, for food safety reasons and best results.
- Lemon Juice: The vibrant, zesty tang of freshly squeezed lemon juice is unparalleled for this recipe. It not only provides the necessary acidity to curdle the milk but also infuses a bright, natural flavor that will subtly enhance your baked goods and leave your kitchen smelling wonderful for hours. When selecting a lemon, look for one that is bright yellow, firm, and feels heavy for its size—these usually contain more juice. Always remember to wash your lemon thoroughly before juicing. While fresh is best, in a pinch, bottled lemon juice can work, though the flavor might not be as robust or natural. (See our ‘Top Tips’ section for more on this!)
For precise measurements and detailed nutritional information, please refer to the comprehensive recipe card at the bottom of this article.
🔪 Step-by-Step Instructions: Making Your Own Sour Milk
Crafting homemade sour milk is incredibly straightforward, transforming two simple ingredients into a versatile baking staple in just a few easy steps. Follow these instructions for perfect results every time.
Step One: Prepare Your Acid
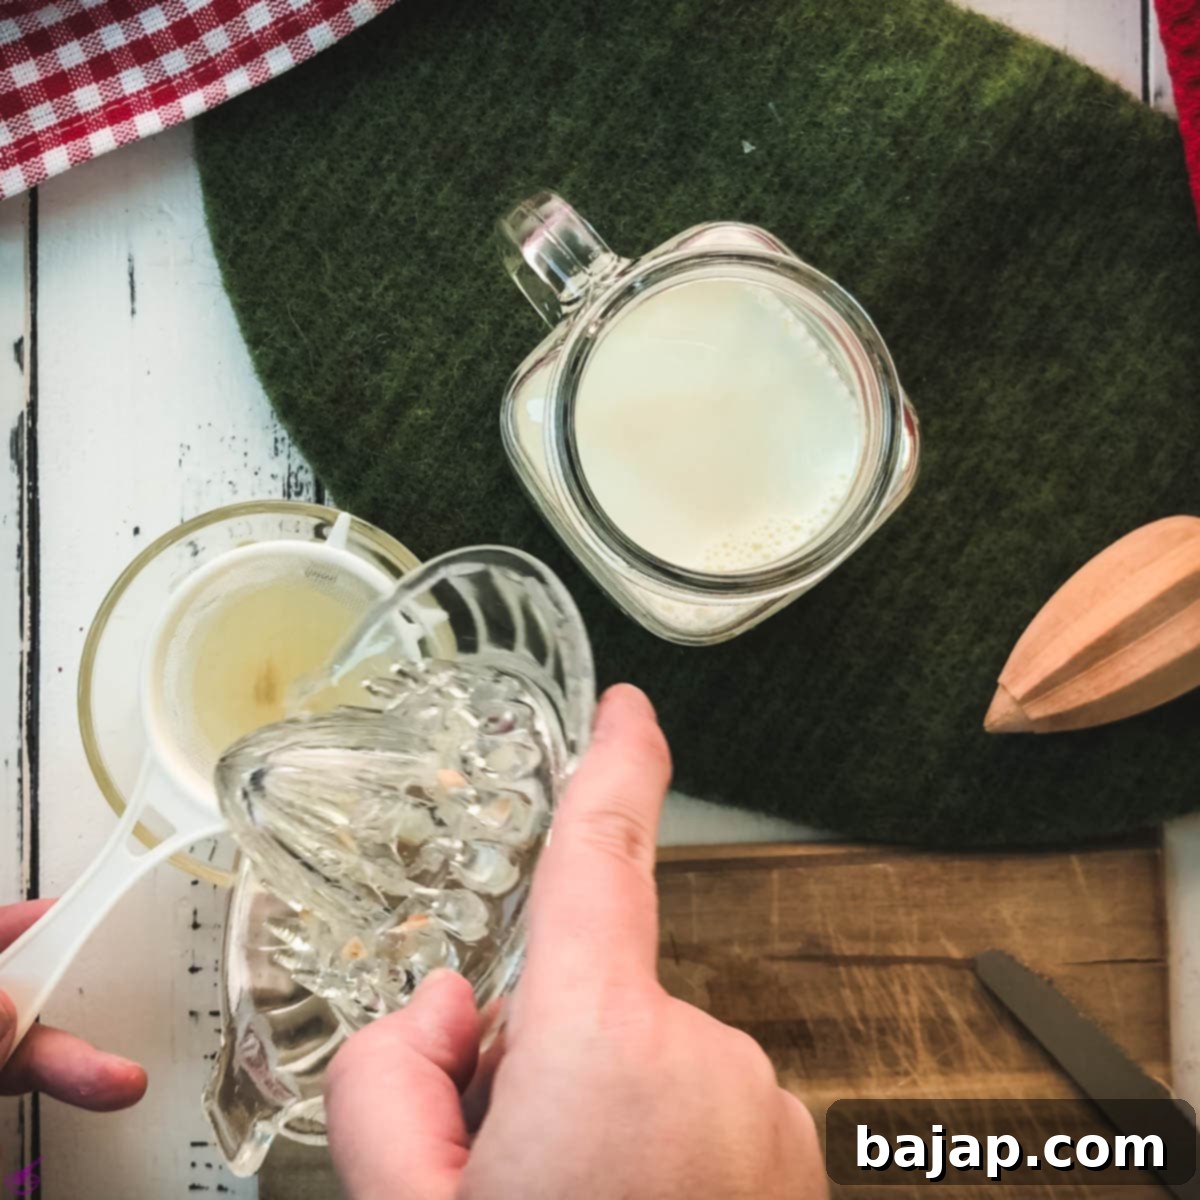
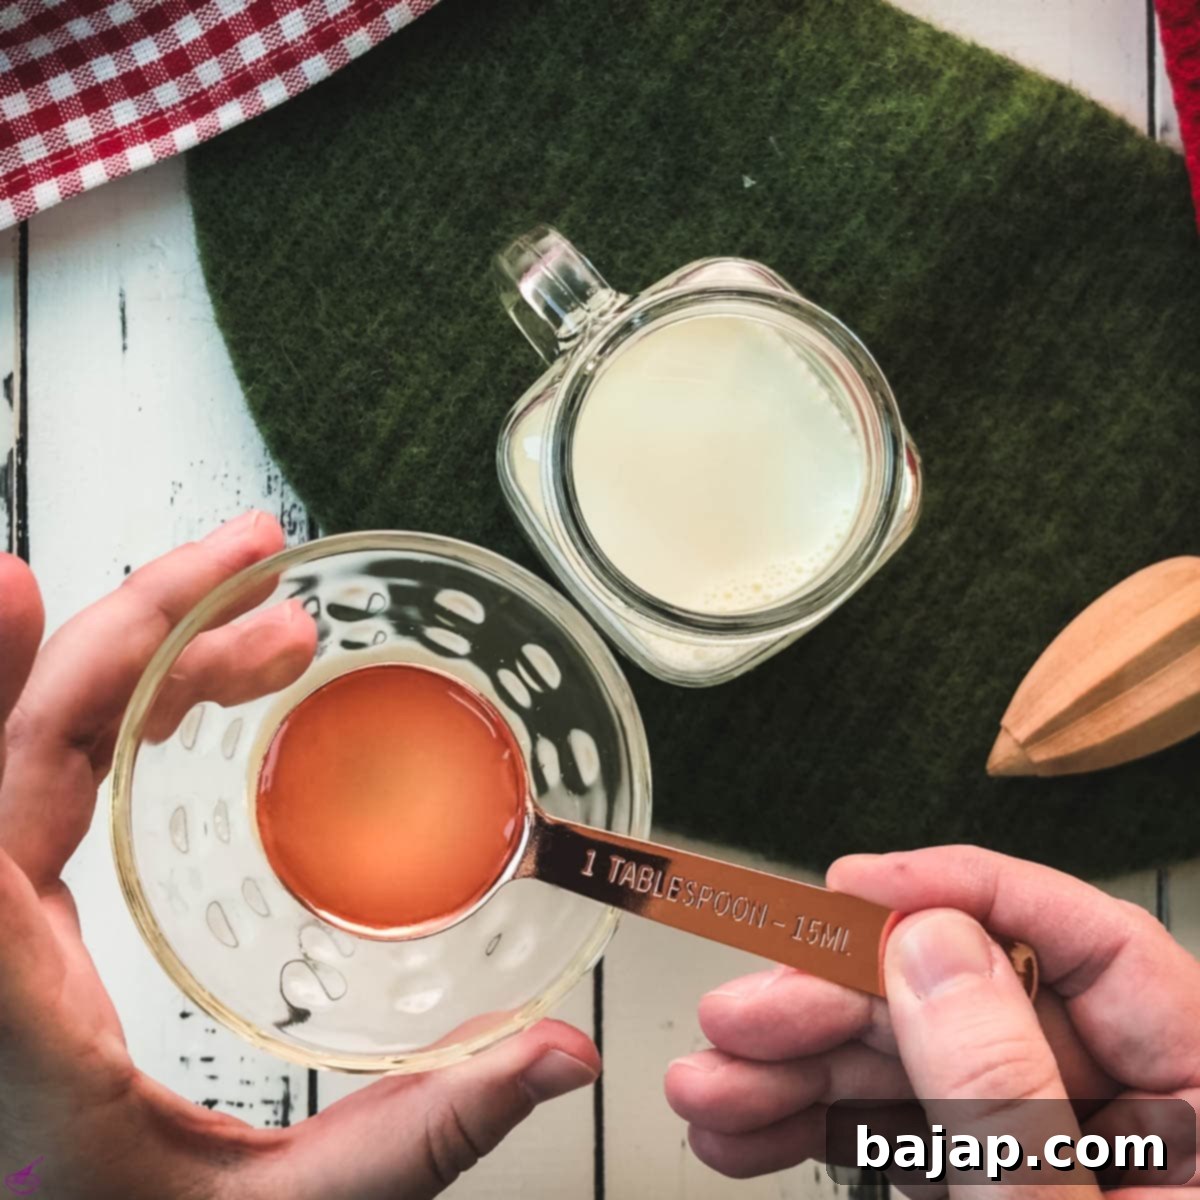
Begin by squeezing a fresh lemon. For best results and to avoid any seeds or pulp from getting into your smooth sour milk, strain the freshly squeezed lemon juice through a fine-meshed sieve directly into your chosen measuring cup or bowl. This ensures a clean and pleasant texture for your final product.
Step Two: Combine and Stir
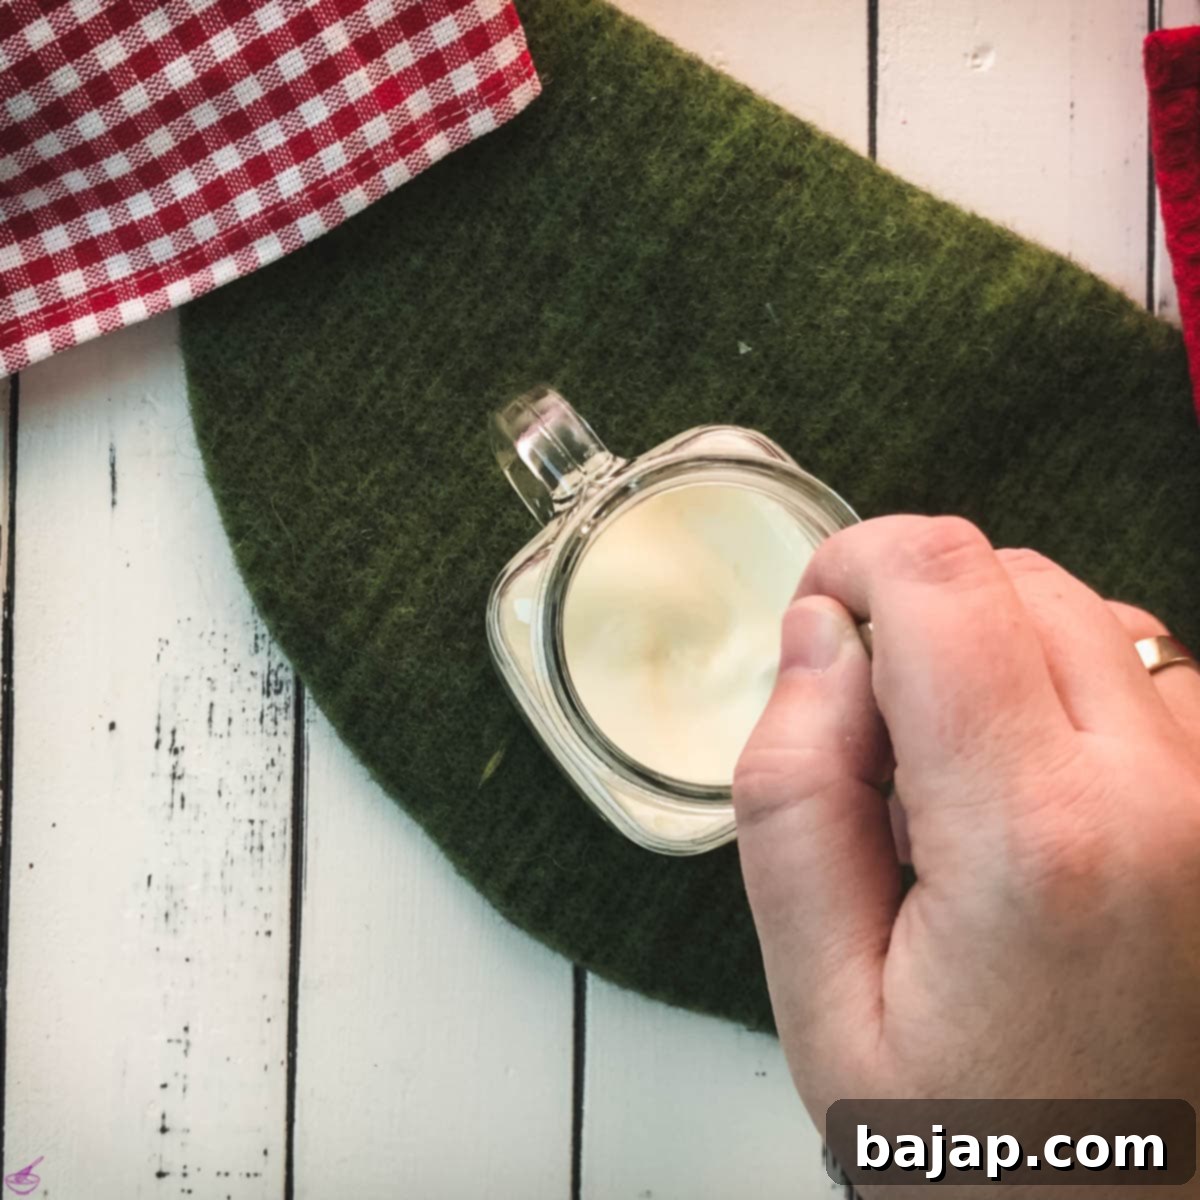
Once your lemon juice is ready, pour your desired amount of milk into the same container. Add the freshly squeezed (and strained) lemon juice to the milk. Gently stir the milk and lemon juice together for a few seconds to ensure they are well combined. The magic begins almost immediately as the acid starts to interact with the milk proteins.
Step Three: Allow to Rest and Thicken
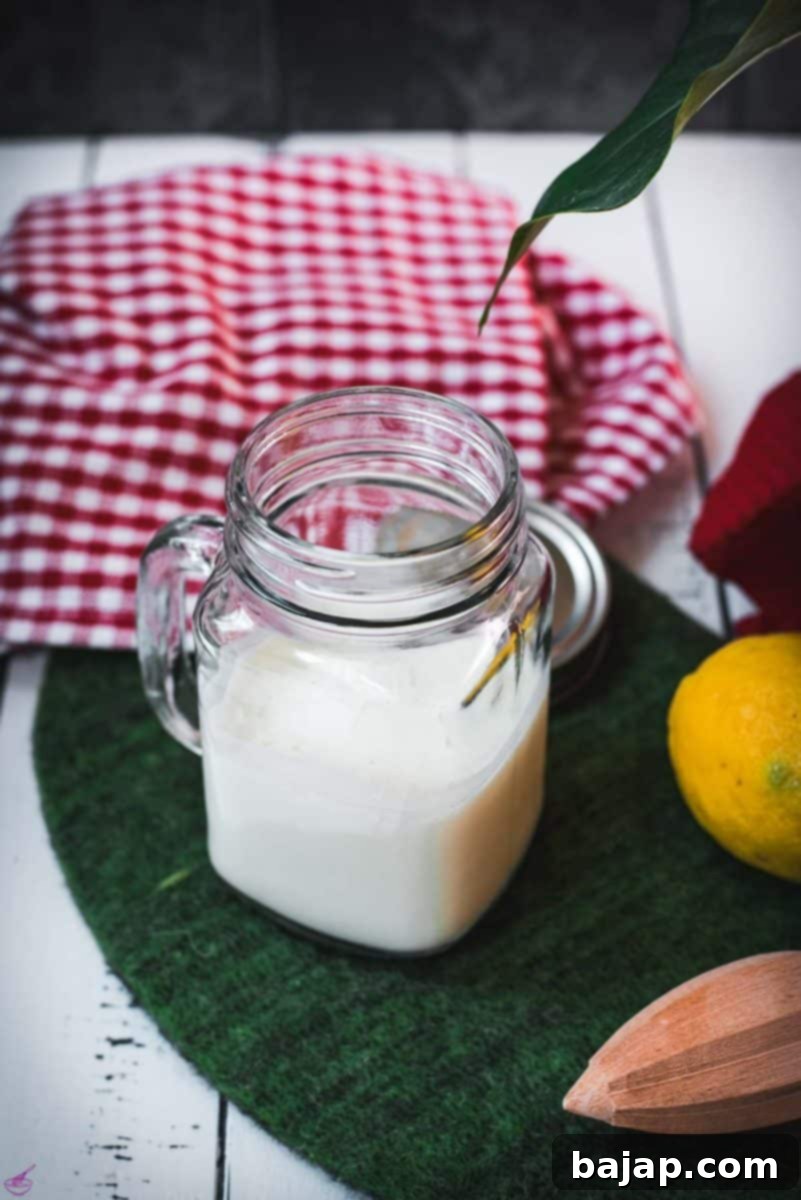
Let the milk and lemon juice mixture sit undisturbed at room temperature for approximately ten minutes. During this brief waiting period, you’ll observe the milk beginning to visibly thicken and small, delicate curds starting to form. This is the tell-tale sign that your milk is transforming into perfect sour milk, developing its characteristic tang and texture.
Step Four: Use Immediately
Once the ten minutes are up, your homemade sour milk is ready to be used! Give it another quick stir before incorporating it into any recipe that calls for sour milk or buttermilk. Its creamy texture and tangy notes will add incredible depth and tenderness to your baked goods, making them truly irresistible.
🍋 Smart Substitutions for Sour Milk
While this recipe specifically calls for milk and lemon juice, the beauty of homemade sour milk lies in its adaptability. If you find yourself without a lemon or prefer a different acidic agent, several excellent substitutions can achieve a similar result, ensuring your baking plans never hit a snag.
- White Vinegar: This is arguably the most common and effective substitute for lemon juice. For every cup of milk, simply add one tablespoon of white vinegar. Stir it in and let it sit for 5-10 minutes, just as you would with lemon juice. The vinegar’s acidity will curdle the milk, providing the necessary tang and texture for your recipes. It has a very neutral flavor profile, making it an ideal choice if you don’t want any citrus notes in your final dish.
- Apple Cider Vinegar: Similar to white vinegar, apple cider vinegar can also be used. Use the same ratio: one tablespoon per cup of milk. While it works effectively, be aware that apple cider vinegar has a slightly more distinct, fruity flavor that might subtly come through in delicate recipes. However, for robust flavors like chocolate cakes or savory batters, it can be a delightful addition.
- Cream of Tartar: A lesser-known but equally effective acidic substitute. Mix 1 ¾ teaspoons of cream of tartar with 1 cup of milk. Whisk thoroughly until fully dissolved, and let it stand for 5-10 minutes. Cream of tartar provides the necessary acidity without adding any liquid volume, making it a handy option, particularly if precise liquid measurements are critical.
- Dairy Milk Alternatives: If you’re looking for a dairy-free option, many plant-based milks can also be “soured” using an acidic agent. Almond milk, soy milk, and oat milk are good candidates. The process is the same: add one tablespoon of lemon juice or vinegar to one cup of your chosen non-dairy milk and let it sit. The curdling may not be as pronounced as with traditional dairy milk due to differing protein structures, but the acidity will still interact with your leavening agents effectively, giving you that desired fluffy texture.
No matter which substitute you choose, the goal is the same: to create a tart, tangy, and slightly thickened milk that will contribute to the tender crumb and unique flavor profile of your baked goods. Always ensure your chosen acid is fresh and hasn’t lost its potency for the best results.
🍽 Essential Equipment for Homemade Sour Milk
You don’t need any fancy gadgets to make sour milk; just a few basic kitchen tools will suffice. Having the right equipment can make the process even smoother and more enjoyable, especially when working with fresh ingredients.
- Lemon Squeezer (or Citrus Reamer): A good quality lemon squeezer is a game-changer for efficiently extracting every last drop of juice from your lemons without much effort or mess. If you don’t have one, a citrus reamer works wonders, or you can simply use a fork to press and twist the lemon half. Juicing directly over a fine-meshed sieve is also an excellent way to catch any errant pips, ensuring your sour milk is smooth.
- Fine-meshed Sieve: This is crucial for straining your freshly squeezed lemon juice. It ensures that no pesky lemon pips or excess pulp make their way into your smooth sour milk, maintaining a consistent and appealing texture for your recipes.
- Measuring Cup or Bowl: Any standard liquid measuring cup, a small mixing bowl, or even a tall glass will work perfectly for combining your two ingredients. Choose one that allows for easy stirring and has enough volume for your desired amount of sour milk. A clear glass can also be helpful to visually observe the curdling process.
- Spoon or Small Whisk: A simple spoon or a small whisk is all you need to gently combine the milk and acidic agent. This ensures even distribution of the acid and kickstarts the curdling process efficiently.
With these basic, readily available tools, you’re well-equipped to make perfect homemade sour milk whenever the need arises, turning a potential baking crisis into a simple kitchen triumph.
💭 Top Tips for the Best Homemade Sour Milk
Achieving consistently perfect homemade sour milk is easy, but a few expert tips can further enhance your results and make the process even more foolproof:
- Fresh is Always Best for Flavor: As emphasized in the ingredients, using freshly squeezed lemon juice will always yield the most authentic and vibrant flavor. Bottled lemon juices, while convenient, often contain preservatives and can sometimes taste dull or artificial, lacking that bright citrus tang you desire for optimal results in your baked goods. However, in a true baking emergency, bottled juice is a perfectly acceptable fallback!
- Milk Temperature Matters (Slightly): While you can use cold milk straight from the fridge, letting your milk come closer to room temperature for about 15-20 minutes before adding the acid can sometimes encourage a slightly more efficient and even curdling process. This isn’t strictly necessary, as the reaction will occur regardless, but it can be a helpful tip for consistent results, especially if you find your milk not curdling as quickly.
- Observe for Curdling: After adding the acid and stirring, actively watch for visible signs of curdling. You’ll typically see small, delicate clumps forming in the milk and a slight thickening of the liquid. If after 10 minutes, the milk doesn’t appear to have thickened much, you can add another half teaspoon of acid, stir gently, and wait a few more minutes. Different types of milk or varying acidity levels in lemons can sometimes affect the speed and degree of curdling.
- Don’t Overdo the Acid: While adding more acid might seem like a way to speed things up, too much can lead to an overly tart or unpleasant flavor that might overpower your baked goods. Stick to the recommended ratio (1 tablespoon of acid per cup of milk) and adjust only if truly necessary after the initial waiting period, tasting a tiny bit of the liquid if you’re unsure.
- Stir Before Use: Before adding your homemade sour milk to your recipe, give it a quick, gentle stir. This helps to redistribute any curds that may have settled at the bottom and ensures an even, consistent texture throughout your mixture, which is vital for uniform baking results.
- Scale the Recipe: This recipe is easily scalable. Need more or less? Simply adjust the quantities of milk and lemon juice proportionally. For example, for 2 cups of sour milk, use 2 cups of milk and 2 tablespoons of lemon juice.
👩🏻🍳 Unleash the Potential: Delicious Uses for Your Sour Milk
The culinary possibilities for your freshly made sour milk are truly expansive. Its unique tangy flavor and tenderizing qualities make it a star ingredient in both sweet and savory applications. Here are just a few fantastic ways to put this versatile recipe to excellent use, elevating your dishes with its distinctive charm and ensuring moist, flavorful results:
- Fluffy Pancakes and Waffles: This is perhaps the most iconic use! Sour milk (or buttermilk) is essential for creating exceptionally light and airy pancakes and waffles. The acid reacts with baking soda, producing bubbles that give them their signature rise, tender crumb, and irresistible texture.
- Tender Biscuits and Scones: For biscuits that are impossibly flaky and scones that are wonderfully soft and crumbly, sour milk is key. It adds essential moisture and tenderness, preventing them from becoming dry or dense, and contributes to those beautiful, airy layers.
- Moist Cakes and Muffins: Incorporating sour milk into your cake and muffin batters results in an incredibly moist and fine-crumbed texture. The acidity helps activate baking soda for a good rise and also adds a subtle tang that beautifully balances sweetness, especially in recipes like a rich Chocolate Bundt Cake, light Lemon Lavender Muffins, or classic vanilla cakes.
- Fried Chicken or Other Battered Goods: Use sour milk as a traditional marinade for fried chicken or as the liquid base for savory batters, such as Buttermilk Battered Green Beans or onion rings. The acid helps to tenderize the meat or vegetables, while the tang adds an extra layer of savory flavor that’s simply irresistible. It creates a perfectly crispy coating.
- Creamy Dressings and Sauces: Sour milk can be a fantastic base for creamy salad dressings (think ranch or blue cheese), marinades, or a component in savory sauces, offering a lighter, tangier alternative to heavy cream or plain yogurt. Its consistency is perfect for creating smooth, pourable dressings.
- Quick Breads: From cornbread to banana bread and zucchini bread, sour milk can lend a superior texture and a pleasant depth of flavor to various quick bread recipes. It helps create a moist interior and a lovely lift.
- Mashed Potatoes: A splash of sour milk in mashed potatoes can add a delightful tang and extra creaminess, elevating a simple side dish into something special.
Don’t be afraid to experiment! Whenever a recipe calls for buttermilk, remember that your homemade sour milk is an excellent, ready-to-go substitute, opening up a world of culinary possibilities right in your own kitchen.
🙋🏻 Frequently Asked Questions About Homemade Sour Milk
This recipe is primarily designed for immediate use, yielding about one cup of fresh sour milk that’s ready to be incorporated into your favorite muffin, cake, or pancake recipe right away. For optimal freshness, flavor, and leavening power, it’s always recommended to make a fresh batch for each baking session. While it’s best fresh, if you have a small amount leftover, you can store it in an airtight container in the refrigerator for up to 1-2 days. Beyond that, its quality and effectiveness for baking may diminish.
Absolutely not! Despite its misleading name, sour milk has an undeserved bad reputation. It is crucial to understand that homemade sour milk is *not* milk that has naturally “gone sour” or spoiled from sitting out too long. Instead, it is a carefully processed dairy product created by intentionally combining fresh, good-quality milk with a fresh acidic agent like lemon juice or vinegar. This controlled curdling process makes it perfectly safe to consume and ideal for baking. Never use milk that has genuinely spoiled, smells off, or has an unpleasant texture for this recipe; always start with fresh milk.
Yes, definitely! While fresh lemon juice is my preferred choice for its bright flavor, you can effectively use other acidic liquids. White vinegar or apple cider vinegar are excellent, common substitutes. The general rule of thumb is to use one tablespoon of vinegar per cup of milk. Simply follow the same instructions: add the vinegar to the milk, stir, and let it sit for 5-10 minutes until it visibly thickens. The key is the acid, which initiates the controlled curdling process that changes the milk’s proteins and pH.
For the richest flavor and creamiest texture in your homemade sour milk and subsequent baked goods, whole milk is highly recommended due to its higher fat content. The fat contributes to a more tender and moist final product. However, 2% reduced-fat milk and even skim milk will work, though the final product may be slightly thinner and less rich. For a dairy-free option, plant-based milks like almond, soy, or oat milk can also be used, with similar curdling effects, though the texture of the “soured” non-dairy milk might differ slightly from traditional dairy.
You’ll know your sour milk is ready when the milk visibly thickens and small, delicate curds begin to form throughout the liquid. After sitting for about 10 minutes, it should have a slightly thicker consistency than regular milk and a distinct tangy aroma. It won’t be as thick as yogurt, but noticeably different from plain milk. Give it a gentle stir before using to ensure an even distribution of the curds throughout your recipe mixture.
While you technically can, it’s generally best to make sour milk fresh for each recipe. Its leavening power is strongest when freshly made, and the texture is optimal. If you must, you can scale the recipe up and store any extra in an airtight container in the refrigerator for up to 1-2 days, but be aware that its quality may decline slightly. For best results in baking, fresh is always superior.
Other Delicious Recipes for You to Try
Now that you’re a pro at making your own sour milk, why not put your newfound skill to good use? Explore these delightful recipes that benefit from the tangy goodness of homemade sour milk or buttermilk. Each of these will be enhanced by the tenderizing and flavor-boosting properties of your freshly made ingredient:
- Three Ingredient Yogurt Cake
- Coconut Pound Cake
- No-bake Lemon Cheesecake with Blueberry Topping
- Lemon Cookies
- Lavender Lemon Muffins
Making homemade sour milk is a simple yet incredibly empowering kitchen hack that elevates your baking with minimal effort. It ensures you’re always prepared, adds wonderful texture and flavor, and contributes to a more mindful, scratch-made cooking experience. So, next time a recipe calls for buttermilk, skip the store and whip up your own tangy, creamy goodness right at home. Happy baking!
If you make this recipe, let me know how you liked it by ★★★★★ star rating it and leaving a comment below. This would be awesome! You can also sign up for our Newsletter or follow me on Pinterest or Instagram and share your creation with me. Just tag me @combinegoodflavors and hashtag #combinegoodflavors, so I don’t miss it.
📖 Recipe
Easy Homemade Sour Milk (Buttermilk Substitute)
Nora
Save RecipeSaved!
Pin Recipe
Equipment
-
Lemon squeezer
-
Spoon
-
Glass or small bowl
Ingredients
- 1 cup Milk
- 1 tablespoon Lemon juice freshly squeezed and strained
Instructions
-
Combine 1 cup Milk with 1 tablespoon freshly squeezed and strained Lemon juice.1 cup Milk, 1 tablespoon Lemon juice
-
Stir the mixture well to combine the ingredients thoroughly.
-
Let it sit at room temperature for 10 minutes to allow the milk to curdle and thicken.
-
Your homemade sour milk is now ready to use immediately in recipes calling for sour milk or buttermilk.
Nutrition values are estimates only, using online calculators. Please verify using your own data.

⛑️ Food Safety
Ensuring food safety is paramount when preparing any food, including homemade sour milk. Follow these guidelines to maintain a safe and healthy kitchen environment:
- Always start with fresh, unexpired milk and lemon juice (or other acidic agent). Never use milk that has naturally spoiled or is past its expiration date.
- Ensure all utensils, bowls, and measuring cups are clean and sanitized before use to prevent contamination.
- Avoid letting sour milk sit at room temperature for extended periods after it has curdled, especially if you plan to store a small amount. Always refrigerate promptly.
- If using this sour milk in recipes involving raw meat (e.g., marinades for fried chicken), practice strict cross-contamination prevention. Do not use the same cutting boards, utensils, or hands on cooked food that previously touched raw meat.
- Wash hands thoroughly with soap and water after handling raw ingredients, particularly meat, and before handling other foods.
- When cooking with oils, use those with a high smoking point to avoid the production of harmful compounds.
- Never leave cooking food unattended, especially when using high heat, to prevent burns or fires.
- Always ensure good ventilation when using a gas stove or other cooking appliances.
For further comprehensive information on safe food handling practices, please check resources like Safe Food Handling – FDA.
