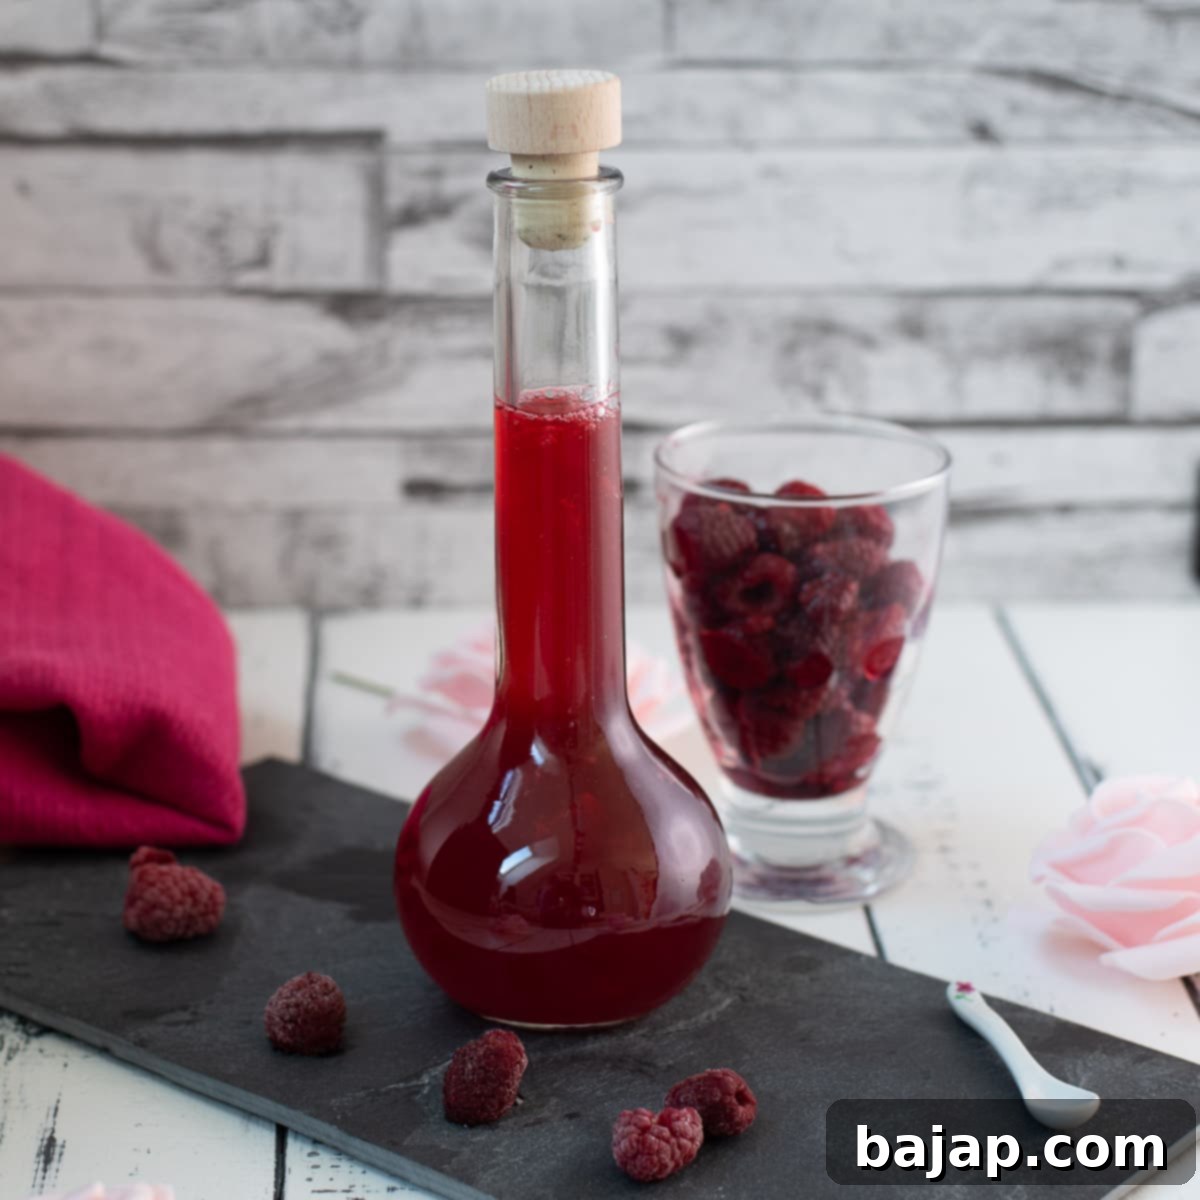
Easy Homemade Raspberry Syrup for Cocktails: A Quick 10-Minute Recipe
Unlock a world of vibrant flavor with your own homemade raspberry syrup! This guide details one of the simplest and quickest methods for crafting a delightful berry syrup perfect for an array of beverages and culinary creations. Requiring just three essential ingredients, a saucepan, a stovetop, and a mere ten minutes of your time, this recipe is designed for both seasoned mixologists and novice home cooks looking to enhance their flavor repertoire. Prepare to transform ordinary drinks into extraordinary experiences with this incredibly fast and easy technique.
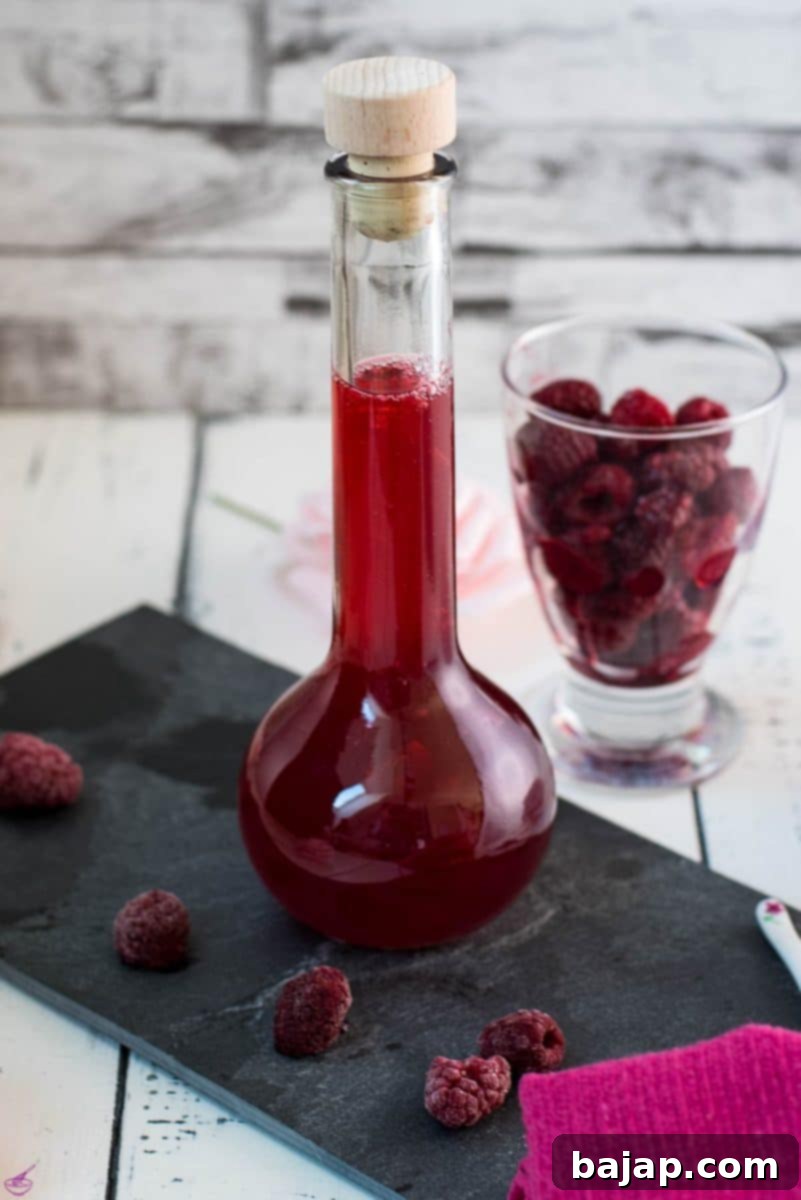
Why Make Homemade Raspberry Syrup?
Beyond the undeniable satisfaction of creating something from scratch, homemade raspberry syrup offers a purity of flavor that store-bought versions often lack. You control the sweetness, the intensity of the raspberry essence, and, most importantly, you avoid artificial colors, flavors, and preservatives. This simple recipe guarantees a fresh, bright, and authentic taste that will elevate any drink or dessert. It’s a small effort with a huge payoff, delivering superior quality and a personalized touch.
Unleash the Flavor: Raspberry Syrup’s Versatility
The magic of raspberry syrup lies in its incredible versatility. Imagine stepping into the world of raspberry syrup and witnessing how it transforms classic cocktails into unforgettable experiences. Take the Clover Club, for example, where the sweet raspberry syrup blends seamlessly with zesty lemon and
But its use extends far beyond the bar. Raspberry syrup is a fantastic addition to non-alcoholic beverages too. Stir it into sparkling water or iced tea for a refreshing summer drink, or drizzle it over a stack of pancakes or waffles for a gourmet breakfast. It’s also superb over ice cream, yogurt, or as a key ingredient in dessert sauces and glazes. Whether you’re a seasoned cocktail enthusiast, a burgeoning mixologist, or simply someone who appreciates a burst of fresh, fruity flavor, raspberry syrup adds excitement and a touch of elegance to any drink or dish.
🥘 Ingredients for Your Quick Raspberry Syrup
Crafting this quick raspberry syrup requires only three simple ingredients. The quality of these ingredients directly impacts the final flavor, so choosing fresh and appropriate components is key to a truly delicious syrup.
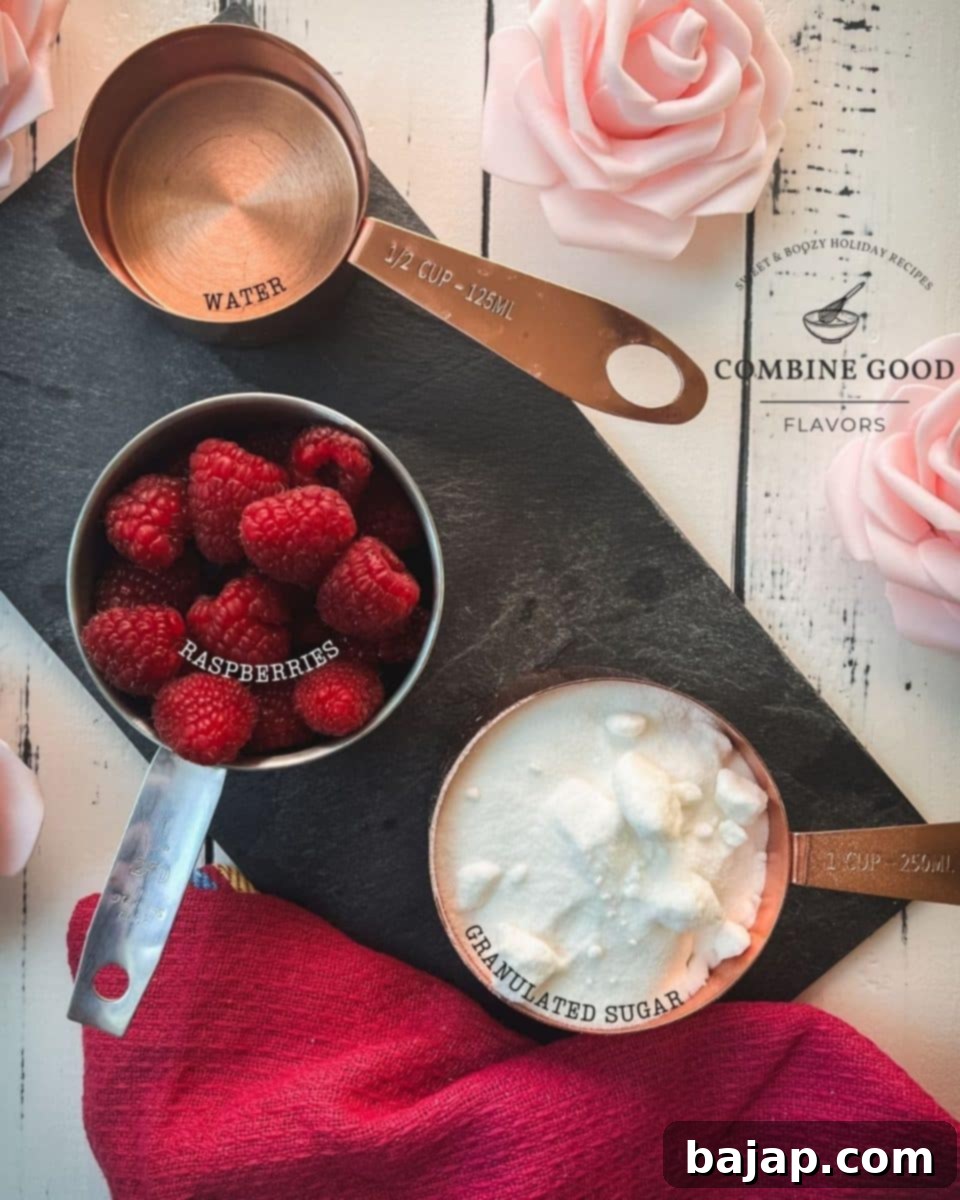
- 2 Parts of Fresh Raspberries: Selecting the ripest, most vibrant raspberries ensures a maximum burst of fruity flavor in every drop of your homemade syrup. Fresh berries will always yield the best taste and color. If fresh aren’t available, high-quality frozen raspberries can be used as a substitute (see the “Substitutes” section for more details).
- 2 Parts of Sugar: For this recipe, granulated sugar (white sugar) is the ideal choice. Its fine crystals dissolve evenly and readily, ensuring a smooth, clear texture for your syrup without introducing any unwanted flavors. Avoid brown sugar, as its molasses notes would significantly alter the delicate raspberry flavor profile. The sugar acts as both a sweetener and a preservative, contributing to the syrup’s shelf life.
- 1 Part of Water: The quality of your water can surprisingly impact the final taste of your syrup, especially if your local tap water has a distinct mineral content or taste. To be on the safe side and ensure a clean, crisp base that allows the pure raspberry flavor to shine through, we highly recommend using purified or filtered water. This small step guarantees consistency and optimal flavor in every batch of syrup you make.
🔪 Step-by-Step Instructions: Crafting Your Raspberry Syrup
Making homemade raspberry syrup is a straightforward process that yields incredible results. Follow these simple steps for a perfect batch every time.
Step 1: Combine Ingredients. In a medium-sized saucepan, combine your measured 2 parts fresh raspberries, 2 parts white granulated sugar, and 1 part water. Give the mixture a gentle stir to ensure the sugar is somewhat distributed among the berries and water before heating. This helps the sugar dissolve more easily once heat is applied.
Step 2: Simmer Gently. Place the saucepan over low heat. Allow the mixture to slowly come to a simmer, stirring gently and occasionally for approximately 10 minutes. The goal is to extract the flavor from the raspberries and dissolve the sugar, not to rapidly boil the mixture. Gentle simmering prevents the syrup from reducing too quickly and ensures a richer, more concentrated flavor.
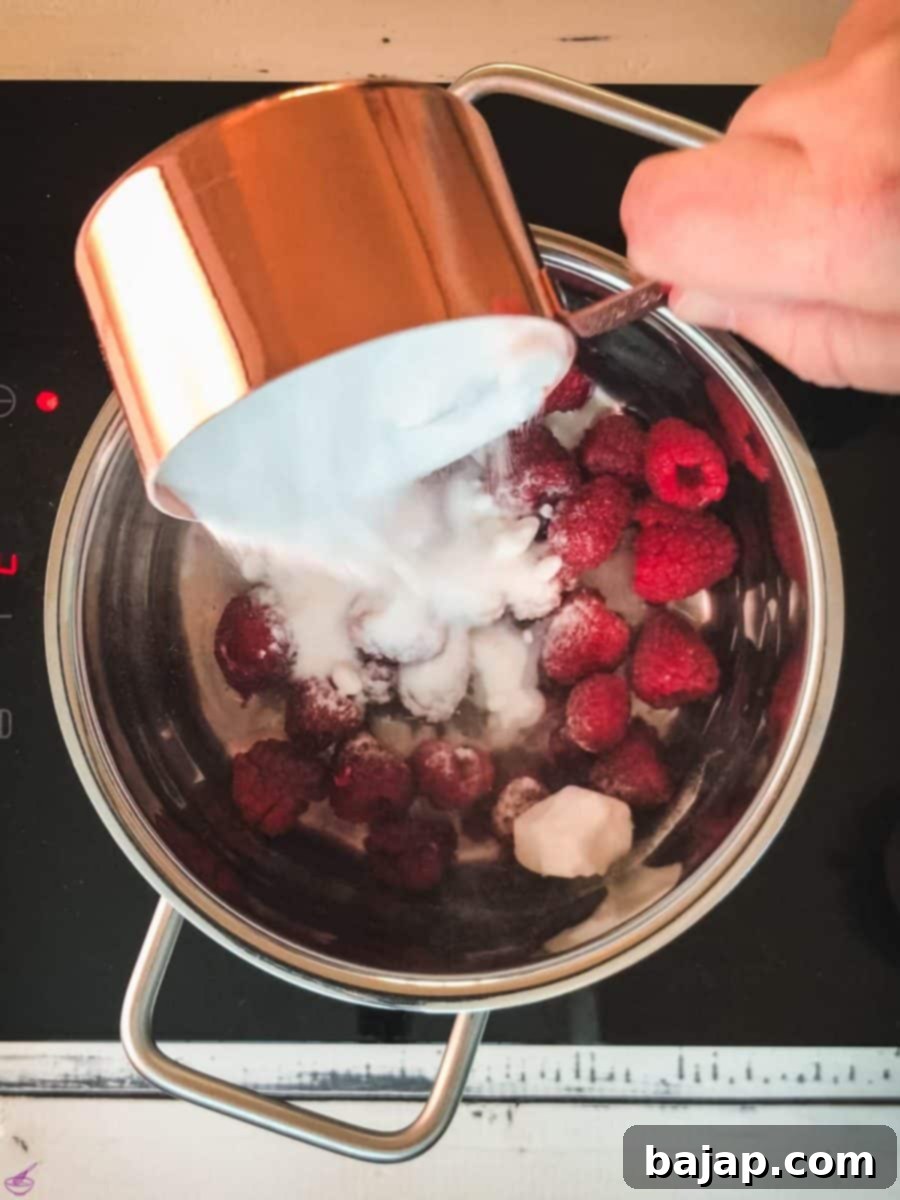
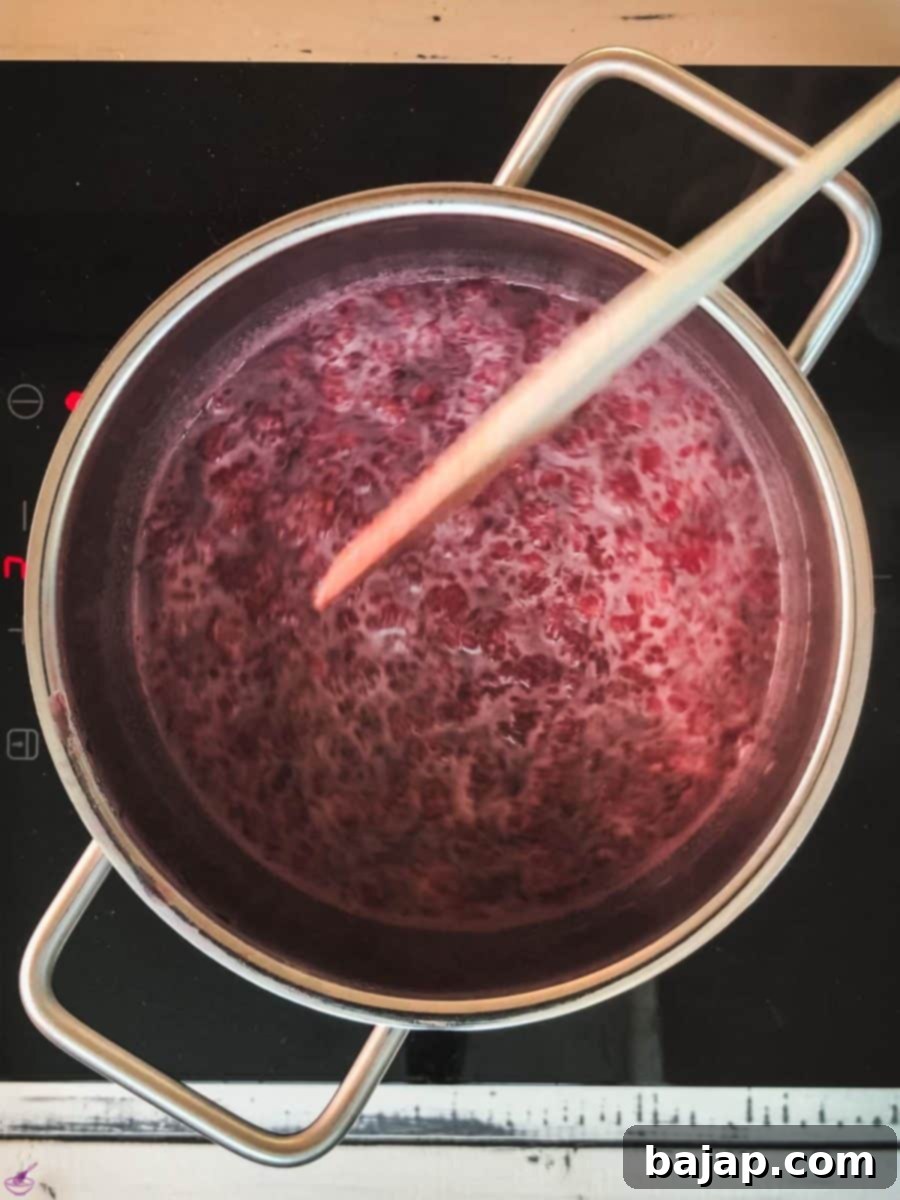
Step 3: Crush and Extract. While the mixture is simmering, use a spoon or a potato masher to gently crush the raspberries. This action helps to break down the fruit, releasing more of its flavorful juices and vibrant color into the liquid. Be gentle to avoid over-mashing, which can make the syrup cloudy later.
Step 4: Dissolve Sugar Completely. Continue stirring occasionally, ensuring that all the granulated sugar completely dissolves into the mixture. You can check this by spooning a small amount of syrup onto a spoon and checking for undissolved crystals. A fully dissolved sugar base is crucial for a smooth syrup texture and optimal shelf life.
Step 5: Strain the Mixture. Once the sugar is dissolved and the raspberries have released their flavor, remove the saucepan from the heat. Place a fine-mesh sieve over a tall, heat-proof container or bowl. Carefully pour the raspberry mixture into the sieve, using the back of a spoon to press down on the solids. This action extracts as much liquid as possible, leaving behind the pulp and seeds for a perfectly smooth syrup. Discard the strained solids.
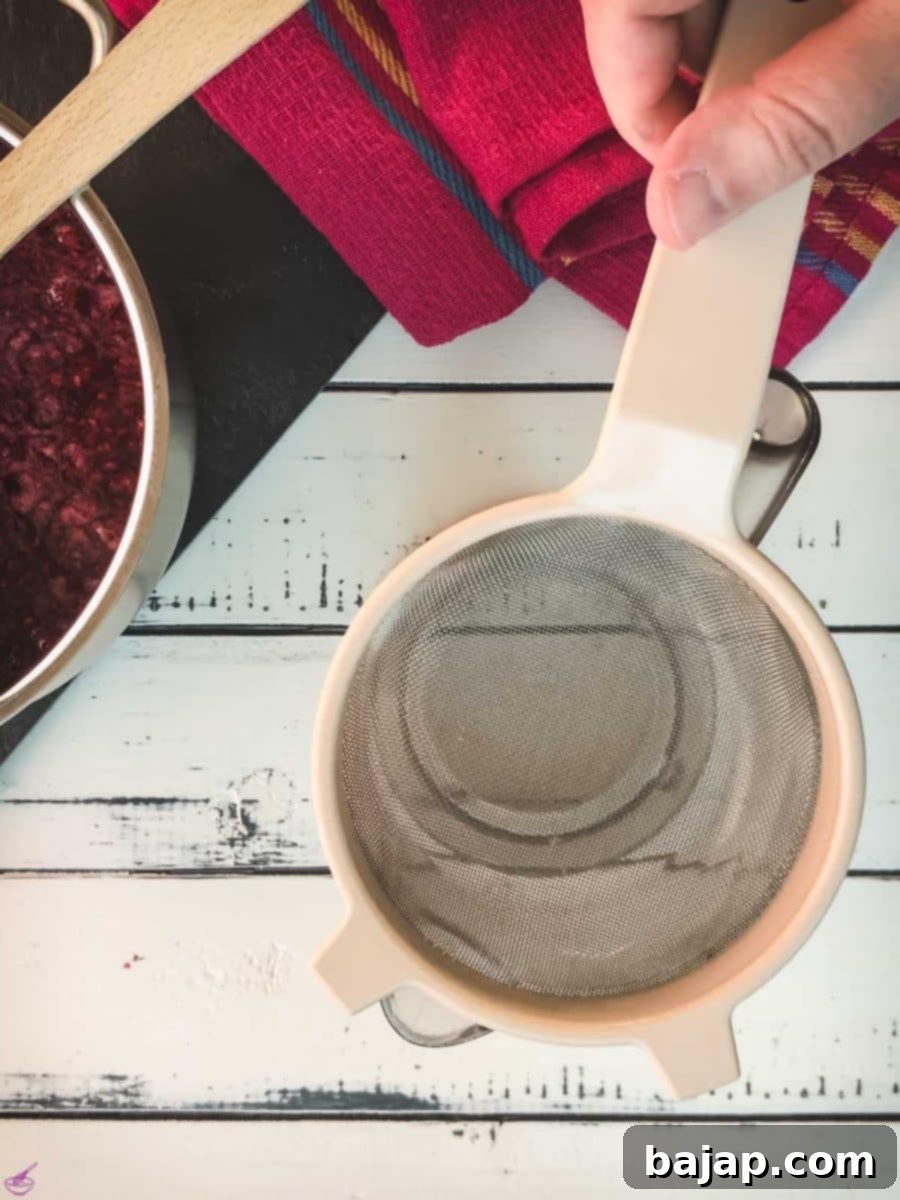
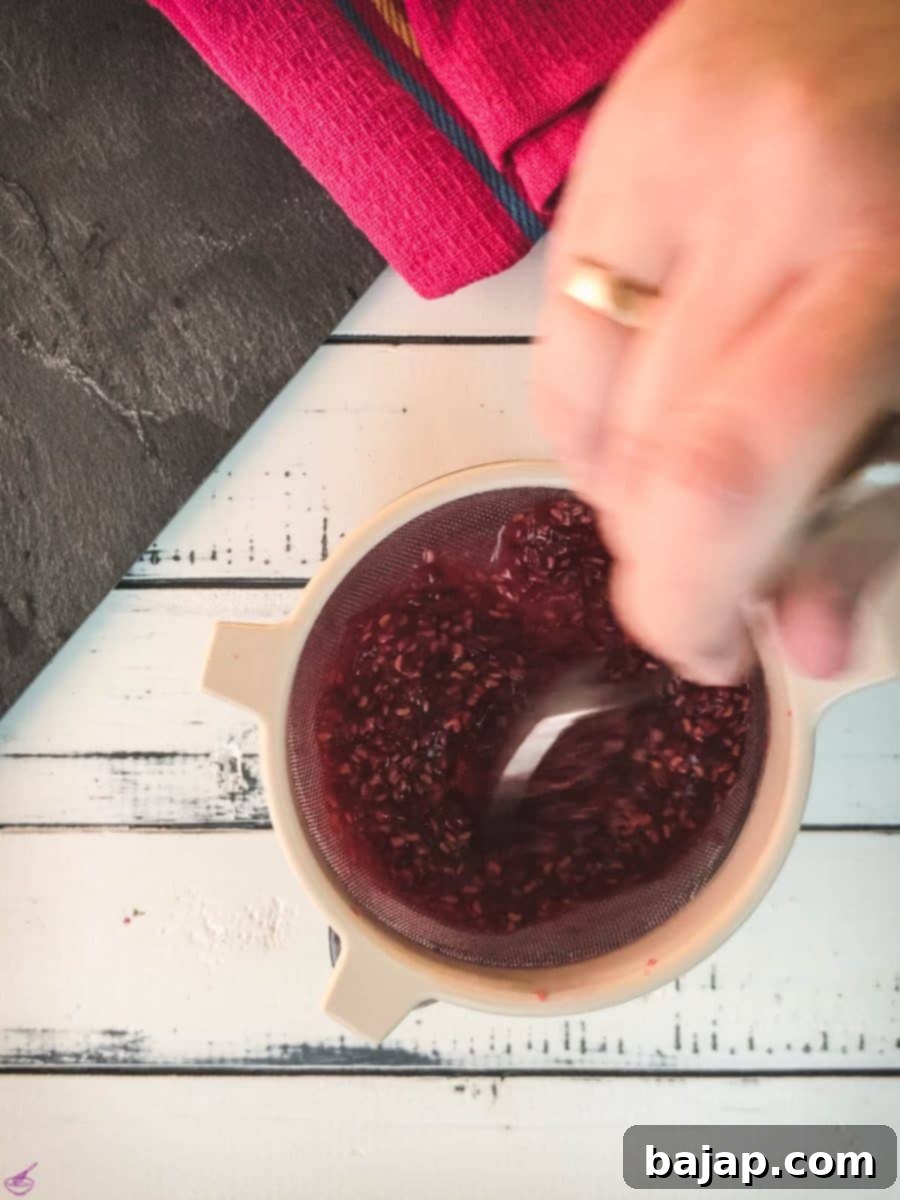
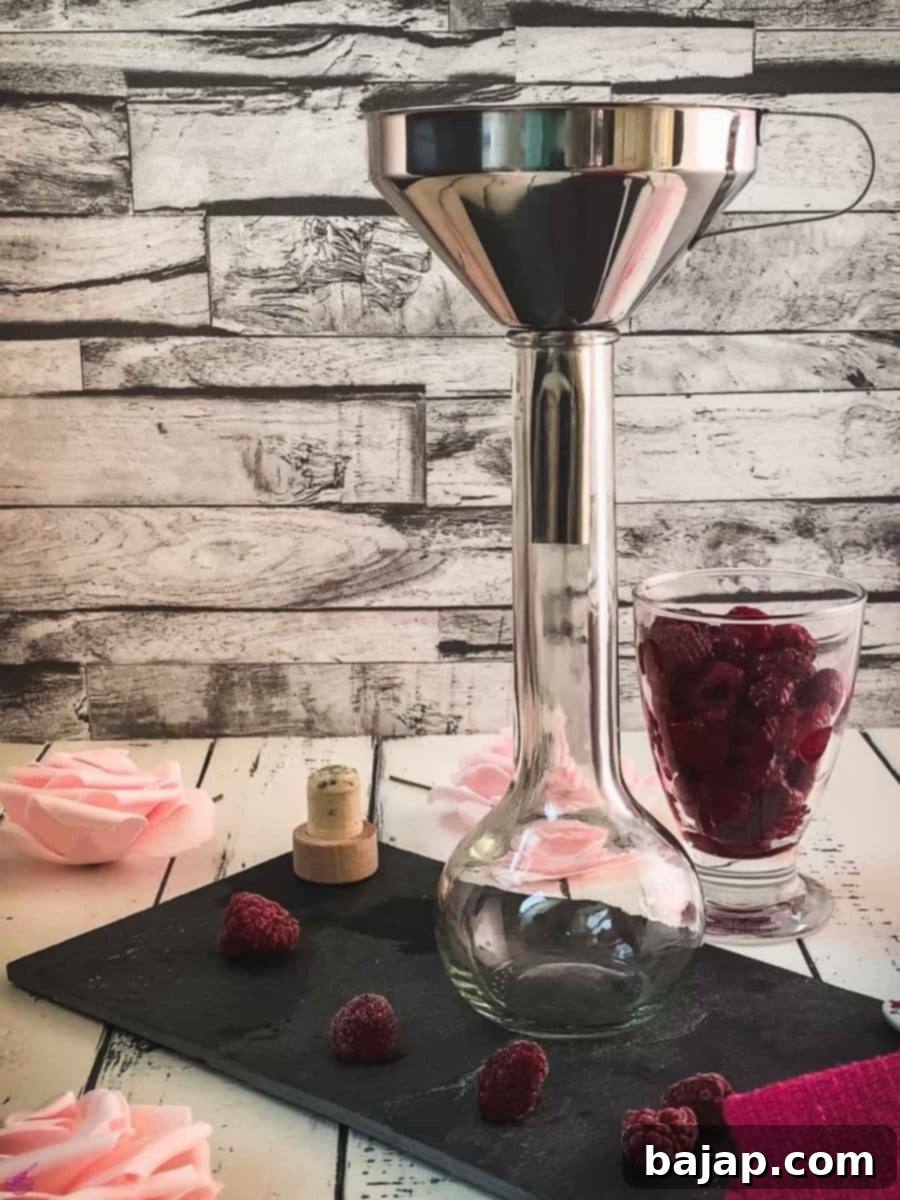
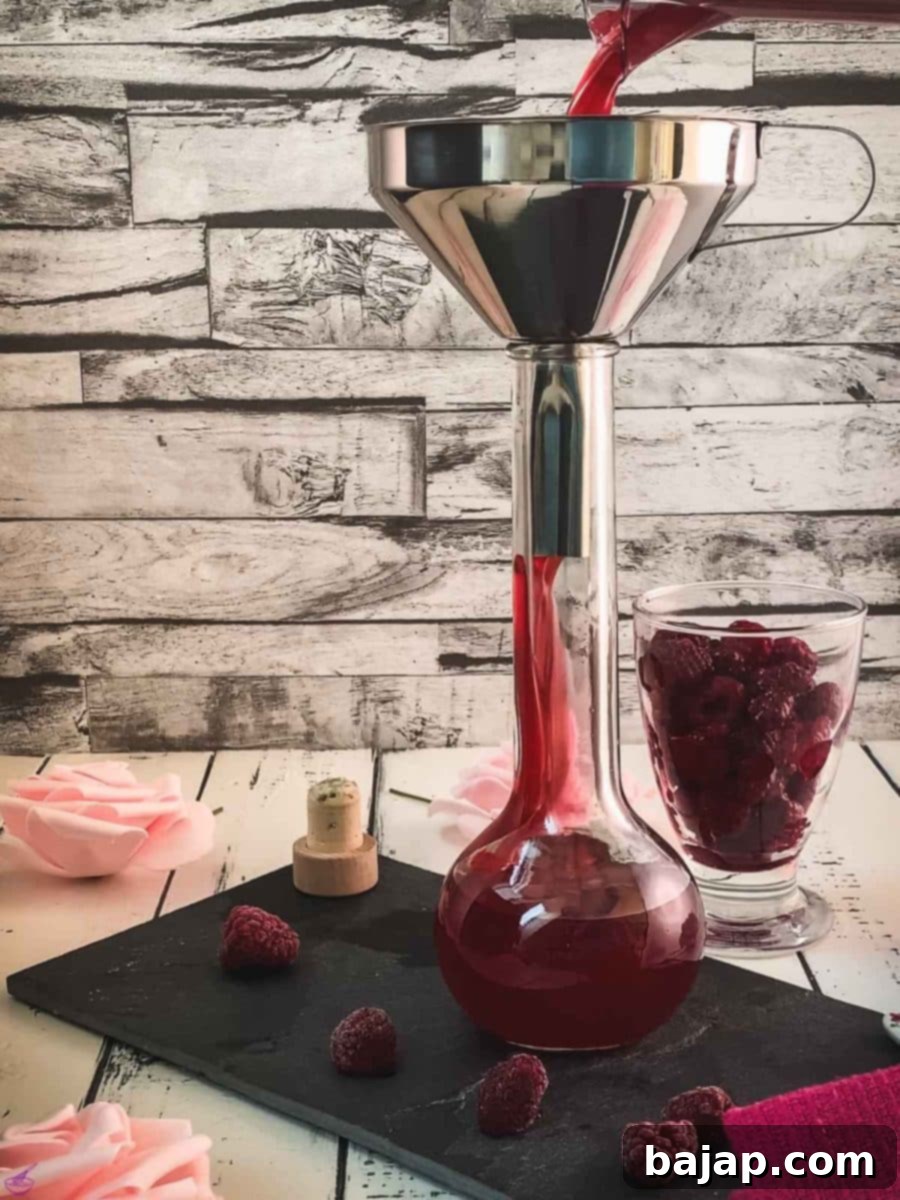
Step 6: Cool and Store. Allow the freshly strained raspberry syrup to cool completely to room temperature. This is important to prevent condensation inside your storage bottle, which can introduce moisture and reduce shelf life. Once cool, use a funnel to transfer the syrup into a clean, sterilized glass bottle or jar. Seal tightly and refrigerate.
🌡️ Storage for Your Homemade Raspberry Syrup
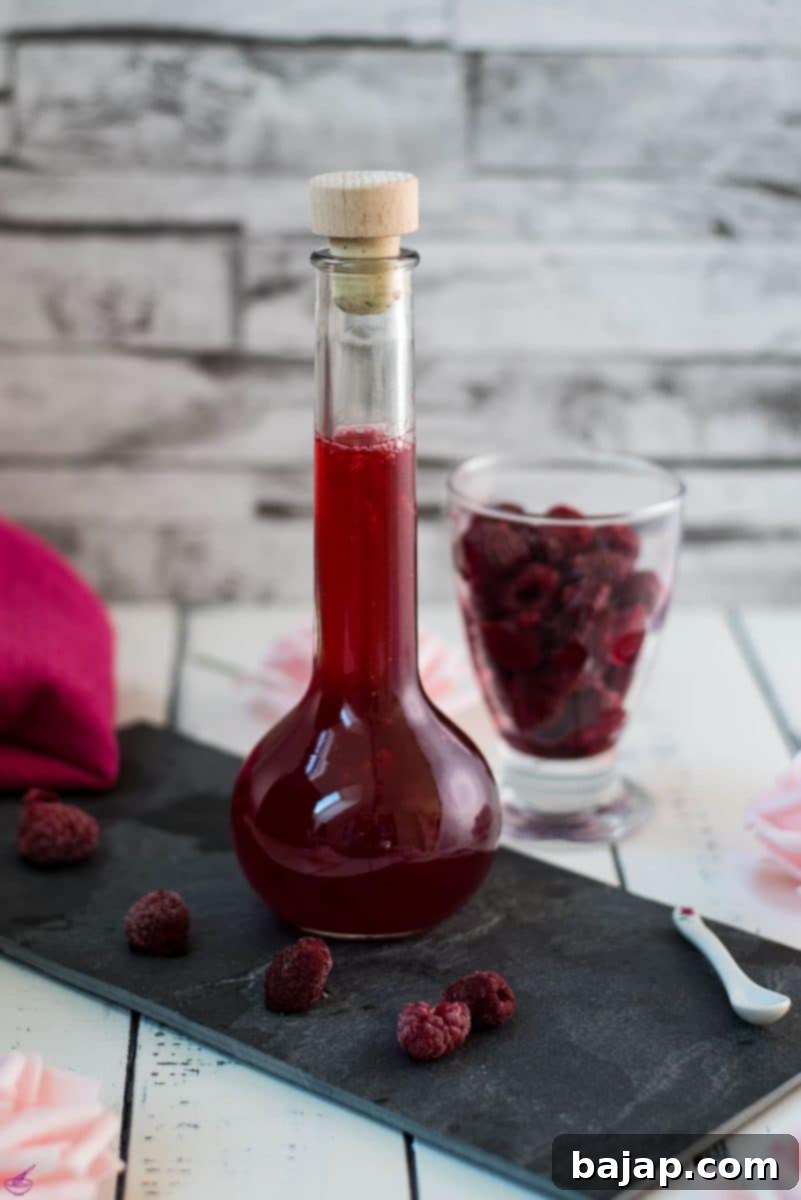
Proper storage is essential to maintain the freshness and extend the shelf life of your delicious homemade raspberry syrup. Once your syrup has cooled completely to room temperature, transfer it to a clean, air-tight glass bottle or jar. Make sure the container is sealed tightly to prevent air exposure, which can lead to spoilage. Store the sealed syrup in the refrigerator. When stored correctly, homemade raspberry syrup is typically good for several weeks, often up to 3-4 weeks. Always check for any signs of spoilage, such as mold, off-smells, or unusual discoloration, before use.
🍽 Essential Equipment for Raspberry Syrup
Having the right tools makes the process of crafting homemade raspberry syrup even smoother. Here’s a list of equipment you’ll need:
- Saucepan: A medium-sized saucepan is perfect for simmering your ingredients.
- Measuring Cups: Essential for accurately measuring your raspberries, sugar, and water.
- Spoon: For stirring the mixture and pressing the berries through the sieve.
- Fine-mesh Sieve: Crucial for separating the smooth syrup from the fruit pulp and seeds.
- Tall Container/Bowl: To place under the sieve and collect the strained syrup.
- Funnel: Helps in cleanly transferring the syrup into your storage bottle.
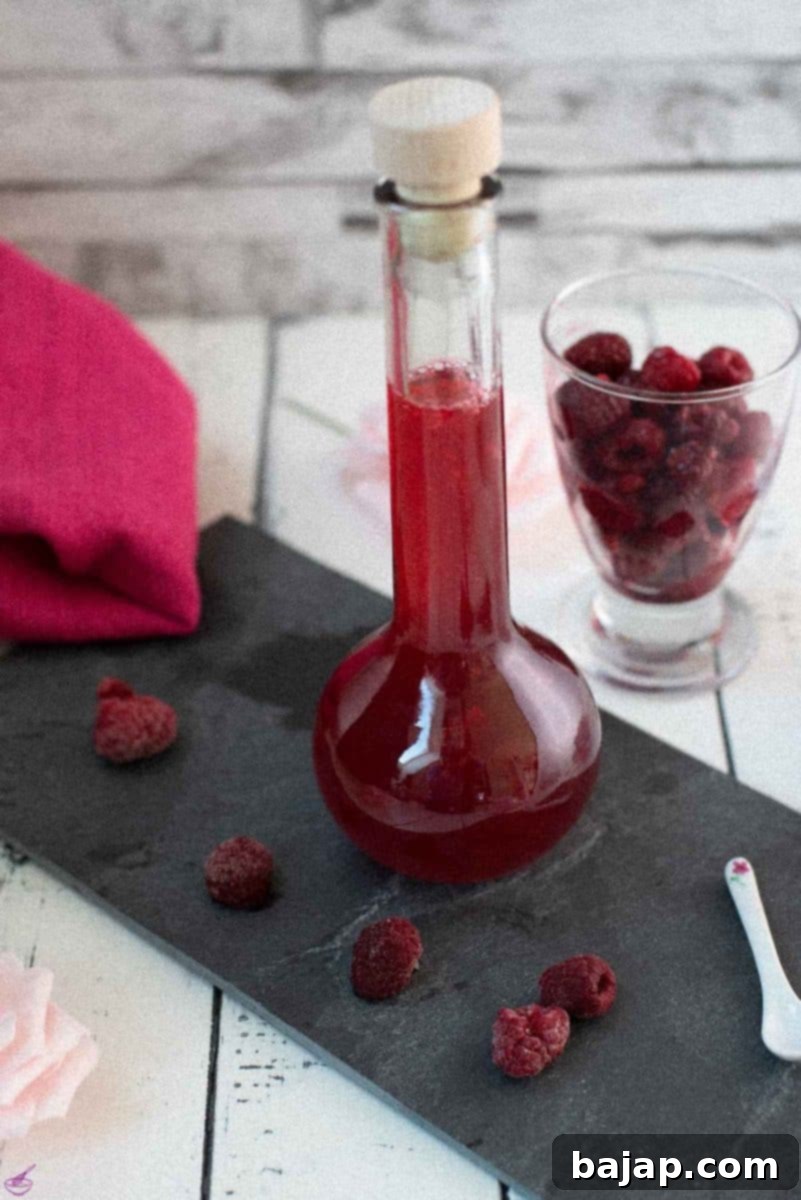
- Preserving Bottle/Jar: An airtight glass bottle or jar is ideal for storing your finished syrup.
💭 Top Tips for Perfect Raspberry Syrup
How to Sterilize Glass Containers
To give your glass containers a spa day and ensure maximum shelf life for your syrup, first, dunk them into a bubbly hot water bath, ensuring they’re fully submerged. Let them soak up the warmth for 30 minutes, which effectively sterilizes them. Then, carefully lift them out and lay them out on clean, cozy paper towels or a drying rack to air dry completely. This crucial step prepares them for their next adventure in storing your homemade delights!
Adjusting Sweetness and Flavor
Taste your syrup as it simmers. If you prefer a less sweet syrup, you can slightly reduce the sugar amount next time, or add a tiny splash of fresh lemon juice at the end for a brighter, tarter profile. For an extra layer of flavor, consider adding a few fresh mint leaves, a vanilla bean split lengthwise, or a tiny pinch of black pepper during the simmering stage. Remove these additions before straining.
Avoiding Cloudy Syrup
To ensure your syrup is brilliantly clear, avoid over-mashing the raspberries. Gently crush them just enough to release their juices. Also, resist the temptation to press the solids too forcefully through the sieve, as this can push fine pulp through and make your syrup cloudy. Let gravity do most of the work, and then gently press the remaining liquid out.
🧊 Substitutes for Your Raspberry Syrup
While fresh raspberries offer the purest flavor, sometimes you need alternatives. Here’s how you can adapt the recipe:
Fresh Raspberries: Beautiful fresh berries are undoubtedly the best choice for this easy syrup, providing the most vibrant color and intense flavor. However, if fresh raspberries are out of season or difficult to find, you can absolutely use frozen raspberries in a pinch. There’s no need to thaw them beforehand; simply add them directly to the saucepan with the sugar and water. The simmering process will thaw and break them down effectively. You can also swap some or all of the raspberries for a mixture of other delicious fresh or frozen berries like strawberries, blueberries, or blackberries for a unique mixed berry syrup.
Sugar Alternatives: While granulated sugar is recommended for its neutral flavor and clear consistency, you can experiment with other sweeteners if desired. However, be aware that they will alter the syrup’s taste and potentially its texture. For example, honey or maple syrup could be used, but they would impart their distinct flavors. Always taste and adjust ratios when using alternative sweeteners.
🙋🏻 Frequently Asked Questions About Raspberry Syrup
Raspberry syrup is typically made of fresh raspberries, sugar, and water. For uncooked versions, you can sometimes skip the water. Our recipe focuses on a cooked method using these three essential ingredients to extract maximum flavor and create a rich, versatile syrup.
When stored properly in a clean, airtight glass bottle or jar in the refrigerator, homemade raspberry syrup is usually good for several weeks, typically up to 3-4 weeks. Always check for any signs of spoilage before use.
Chefs and mixologists often rely on sugar syrups, with the most common being simple syrup and rich syrup. The key difference lies in their sugar-to-water ratio: simple syrup has a 1:1 ratio (equal parts sugar and water), while rich syrup boasts a thicker consistency with a 2:1 ratio (two parts sugar to one part water). Our raspberry syrup, with its 2:1 ratio of raspberries and sugar to water (or more specifically, a high sugar content relative to liquid), falls into the rich syrup category. This offers a concentrated sweetness that requires less per drink and typically boasts a longer shelf life due to the higher sugar content acting as a preservative.
Yes, absolutely! Frozen raspberries work wonderfully for this recipe. There’s no need to thaw them before adding them to the saucepan. The simmering process will break them down just as effectively as fresh berries, yielding a delicious and vibrant syrup.
Cloudy syrup often occurs if the raspberries are mashed too vigorously, pushing fine pulp through the sieve. To avoid this, gently crush the berries and allow the syrup to drain through the fine-mesh sieve with minimal pressure. For an even clearer syrup, you can strain it a second time through a cheesecloth-lined sieve.
Other Raspberry Recipes for You to Try
- Raspberry Lemon Drop Martini
- Raspberry Daiquiri
- Raspberry Cheesecake
- Raspberry Almond Thumbprint Cookies
- Raspberry Syrup {without cooking}
- RaspberryGin& Tonic
- Raspberry Margarita (coming soon)
- Frozen Raspberry Margarita (coming soon)
- Clover Club (coming soon)
If you make this recipe, let me know how you liked it by ★★★★★ star rating it and leaving a comment below. This would be awesome! You can also sign up for our Newsletter or follow me on Pinterest or Instagram and share your creation with me. Just tag me @combinegoodflavors and hashtag #combinegoodflavors, so I don’t miss it.
📖 Recipe: Quick Homemade Raspberry Syrup
How to Make Raspberry Syrup?
Nora
Save RecipeSaved!
Pin Recipe
Equipment
-
Saucepan
-
Spoon
-
Close meshed sieve
-
Preserving bottle
-
Funnel
Ingredients
- 1 cup Raspberries fresh
- 1 cup Granulated sugar
- ½ cup Water
Instructions
-
In a saucepan, combine 1 cup Raspberries, 1 cup Granulated sugar, and ½ cup Water.1 cup Raspberries, 1 cup Granulated sugar, ½ cup Water
-
Simmer the mixture over low heat, stirring gently, for about 10 minutes.
-
Gently crush the raspberries and squeeze out the juice while simmering.
-
Ensure the sugar dissolves completely into the mixture.
-
Press the raspberry mixture through a fine-mesh sieve using a spoon.
-
Let the mixture cool, then strain it into a glass bottle for storage.
Notes
Nutrition values are estimates only, using online calculators. Please verify using your own data.

⛑️ Food Safety Guidelines
Ensuring food safety is paramount when preparing any homemade product. Follow these general guidelines to ensure your raspberry syrup is safe to consume and enjoy:
- Cooking Temperature: If incorporating additional ingredients that require specific temperatures, ensure they are cooked to a minimum safe temperature of 165 °F (74 °C). For this syrup, the simmering process is sufficient for safety.
- Cross-Contamination: Always use separate utensils for cooked and raw ingredients to prevent cross-contamination. Although this recipe doesn’t involve raw meat, maintaining good hygiene practices is crucial.
- Hand Washing: Wash your hands thoroughly with soap and warm water before and after handling any food, especially raw ingredients.
- Temperature Control: Do not leave cooked food, including your raspberry syrup, sitting out at room temperature for extended periods. Once cooled, it should be refrigerated promptly.
- Supervision: Never leave cooking food unattended, especially when simmering on the stove, to prevent burning or boil-overs.
- Heat Safety: If using a gas stove, always ensure you have good ventilation in your kitchen.
For further information and detailed guidelines on safe food handling, check Safe Food Handling – FDA.
