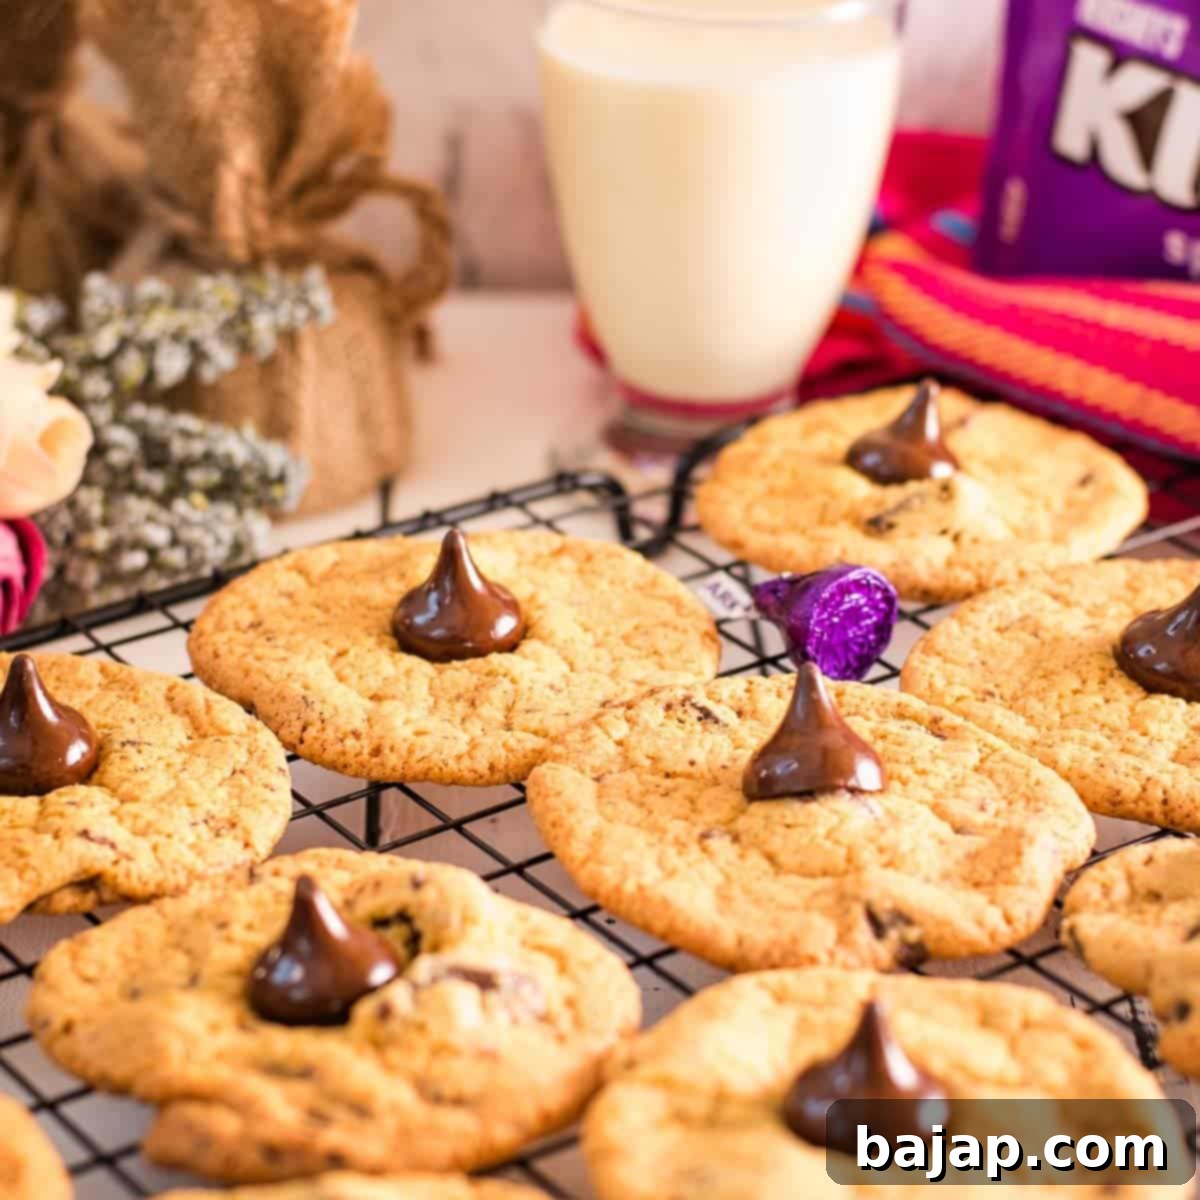
Irresistible Hershey’s Kisses Chocolate Chip Cookies: Soft, Chewy, & Melty Dark Chocolate Perfection
Who can resist a warm, gooey chocolate chip cookie? But what if we told you there’s a way to elevate this classic treat to an even more divine level? Say hello to our incredible Hershey’s Kisses Chocolate Chip Cookies! These aren’t just any cookies; they’re packed with the rich, unmistakable flavor of Hershey’s Kisses Special Dark chocolate, transforming every bite into a melt-in-your-mouth experience.
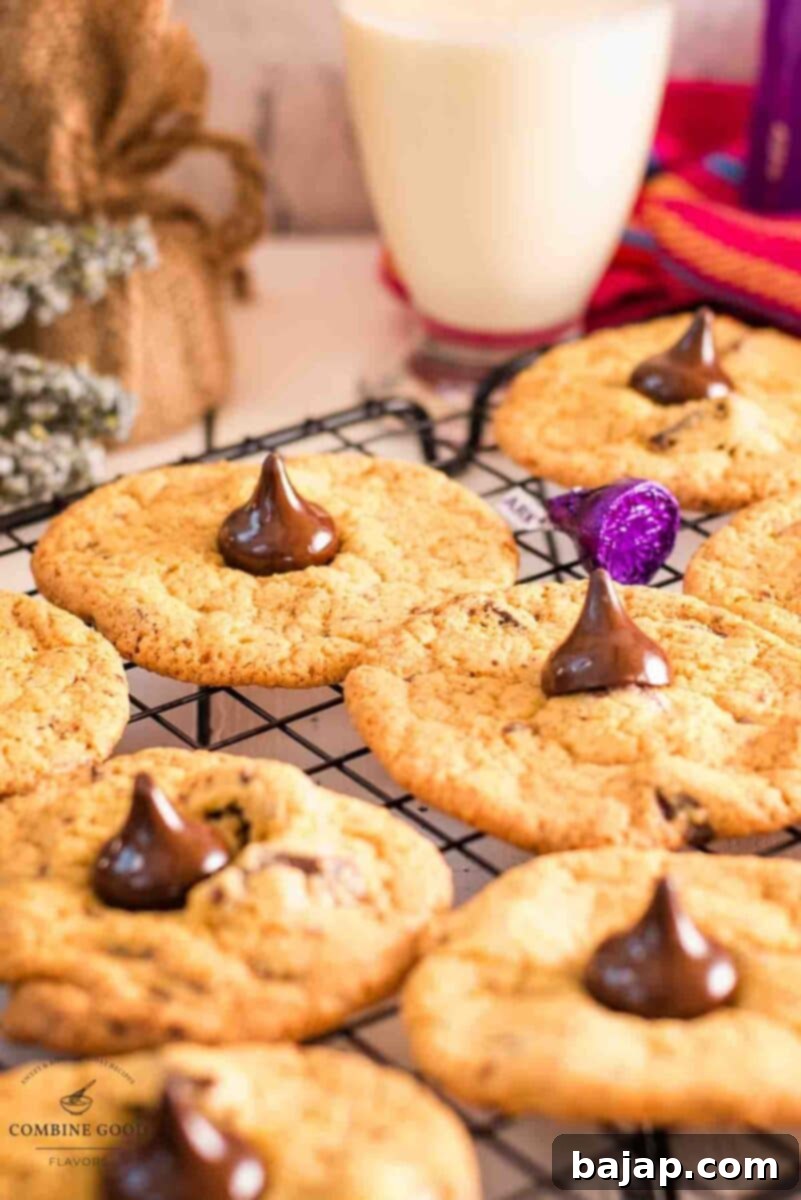
It all started with a leftover bag of Hershey’s Kisses from my last batch of Peanut Butter Blossoms. Those little dark chocolate gems were too good to simply sit in the pantry, practically begging to be transformed into something extraordinary. Since I’ve been in a serious chocolate chip cookie baking frenzy lately, I thought, “Why not substitute the usual chocolate chips for something truly unique?” A quick chop, a little mixing magic, and a touch of patience for chilling the dough, and voilà!
The result was nothing short of perfection: intensely flavorful, melt-in-your-mouth cookies with pockets of rich, dark chocolate in every single bite. These Hershey’s Kisses chocolate chip cookies are an absolute game-changer, offering a sophisticated twist on a beloved classic. They’re soft, they’re chewy, and they boast that irresistible combination of sweet and slightly bitter dark chocolate that keeps you coming back for more.
If you’re ready to learn how to turn those delightful Hershey’s Kisses into the best chocolate chip cookies you’ve ever tasted, you’ve come to the right place. I’m a firm believer in easy, foolproof recipes that deliver maximum flavor with minimal fuss, and this recipe embodies that philosophy perfectly. Whether you’re a seasoned baker or just starting out, you’ll find these cookies a joy to make and an even bigger joy to devour. Plus, they come together surprisingly fast (especially if you plan ahead with the chilling), making them ideal for a spontaneous baking session when that cookie craving hits hard!
Why You’ll Adore This Hershey’s Kisses Cookie Recipe
- Unrivaled Dark Chocolate Flavor: Using Hershey’s Special Dark Kisses brings a deep, complex chocolate note that regular milk chocolate chips can’t match. Each bite is a luxurious dark chocolate experience.
- Perfect Texture: These cookies are the epitome of soft and chewy, with slightly crisp edges. The chopped Kisses melt beautifully, creating gooey pockets throughout the cookie.
- Easy & Foolproof: Despite their gourmet taste, this recipe is incredibly straightforward. With clear, step-by-step instructions, even novice bakers can achieve bakery-quality results.
- Versatile & Customizable: While dark chocolate is king here, you can easily swap in other Hershey’s Kisses flavors or add mix-ins to suit your preference.
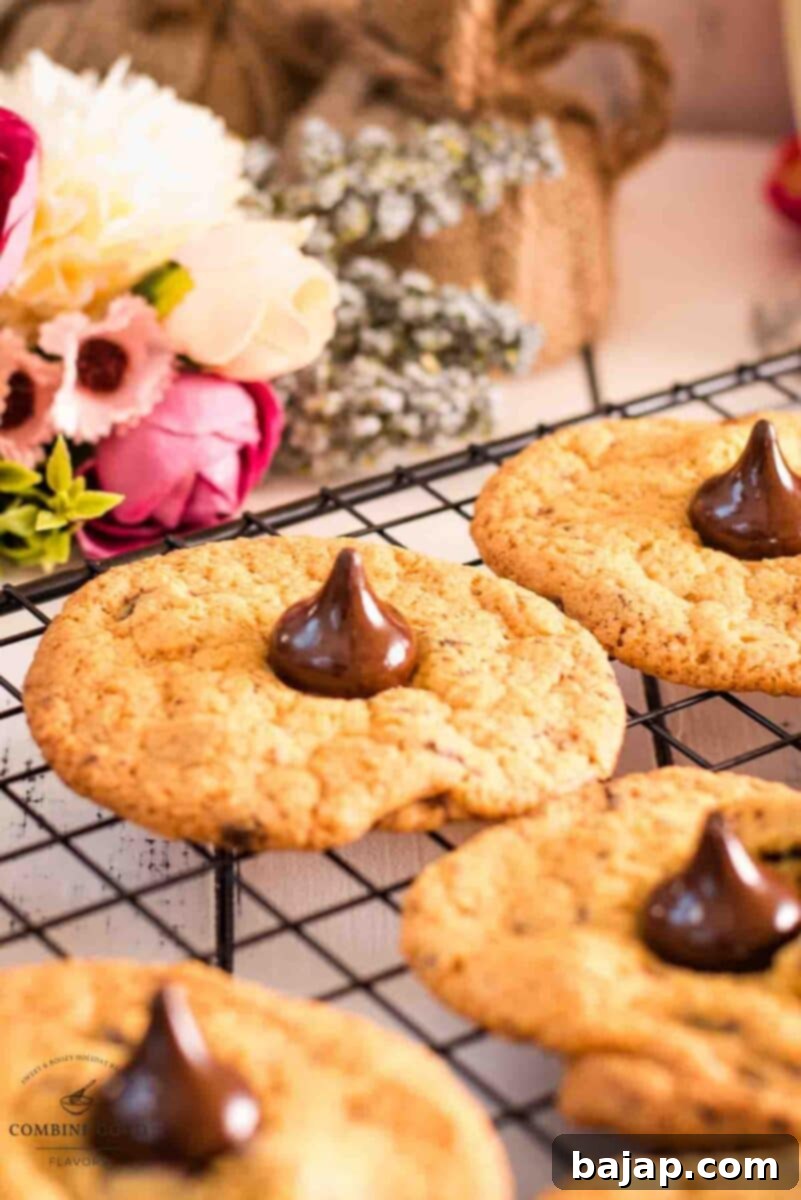
- Impressive & Shareable: Whether for a party, a bake sale, or a simple treat for your family, these cookies are always a hit. The whole Kiss pressed on top adds a lovely visual touch.
🥘 Essential Ingredients for Your Best Batch
Crafting the perfect Hershey’s Kisses chocolate chip cookies starts with a selection of common pantry staples, enhanced by the star ingredient: Hershey’s Kisses! Gathering your ingredients beforehand (mise en place) makes the baking process smooth and enjoyable. Here’s what you’ll need:
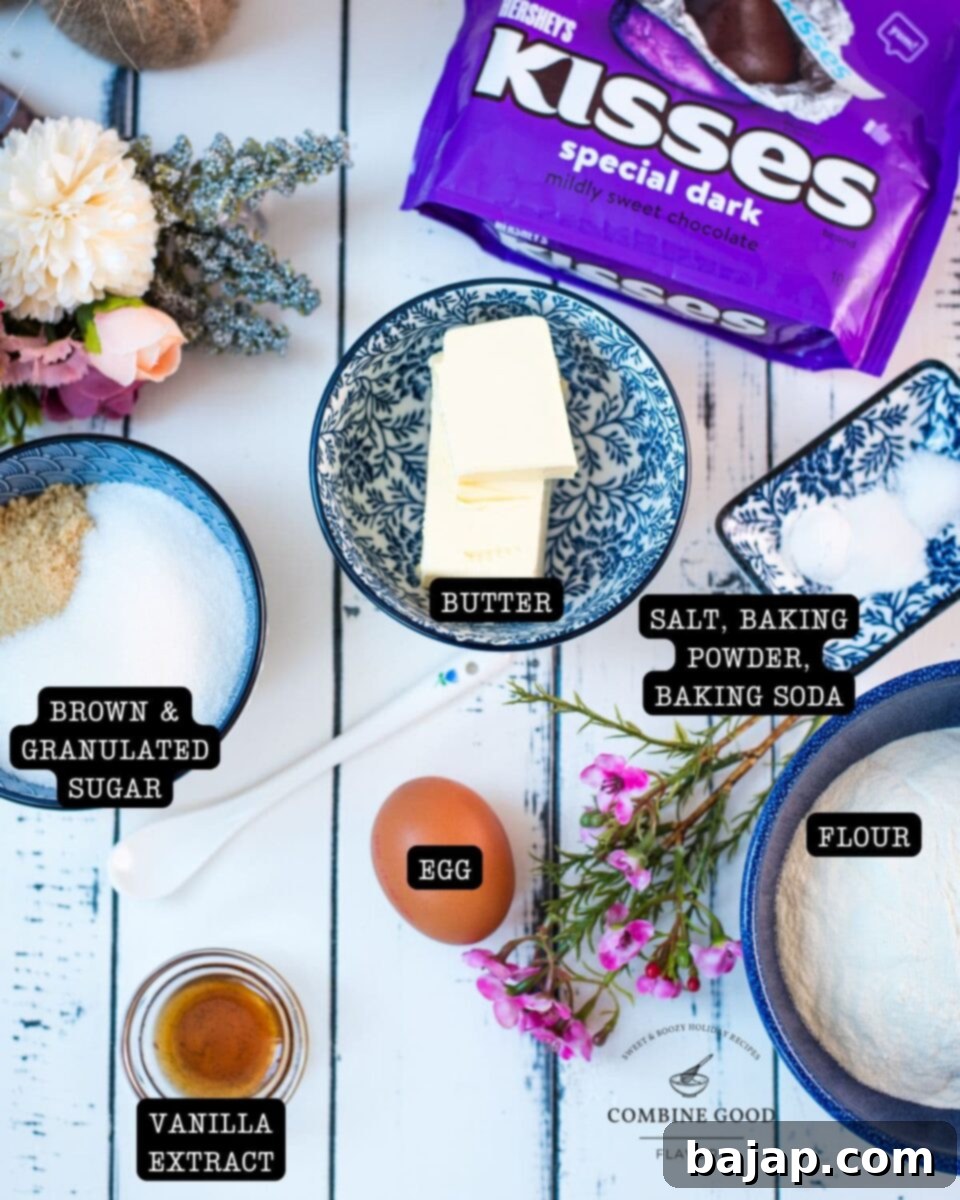
- All-purpose flour: The foundation of our cookies, providing structure.
- Baking soda & Baking powder: Our leavening agents, ensuring a soft rise and perfect chewiness.
- Salt: Essential for balancing the sweetness and enhancing the chocolate flavor.
- Unsalted butter, softened: Room temperature butter is key for creaming properly and creating a tender crumb.
- Granulated sugar: Contributes to crisp edges and overall sweetness.
- Light brown sugar: Adds moisture, chewiness, and a lovely caramel note.
- Egg: Binds the ingredients and adds richness. Make sure it’s at room temperature!
- Vanilla extract: A flavor enhancer that complements the chocolate beautifully.
- Hershey’s Dark Kisses, chopped: The star! Chopping them allows for melty pockets of chocolate throughout the cookie.
- Whole Kisses for pressing on top as a garnish: An optional but highly recommended touch for extra visual appeal and chocolatey goodness.
For exact quantities and detailed nutrition information, please refer to the comprehensive recipe card below.
🔪 Step-by-Step Baking Instructions
Ready to bake the most delightful Hershey’s Kisses chocolate chip cookies? Follow these simple steps for a truly exceptional homemade treat. Remember, precision in baking leads to perfection in taste!
Step 1: Whisk the Dry Ingredients Together
In a medium-sized bowl, combine the all-purpose flour, baking soda, baking powder, and salt. Use a whisk to thoroughly mix them, ensuring the leavening agents are evenly distributed. This prevents lumps and ensures your cookies rise properly. Set this bowl aside for later.
Step 2: Cream the Butter & Sugars Until Fluffy
In a large mixing bowl (using either a hand mixer or a stand mixer with the paddle attachment), beat the softened unsalted butter, granulated sugar, and light brown sugar together. Cream them for about 2-3 minutes on medium speed until the mixture is visibly light, fluffy, and has a creamy texture. This step incorporates air, contributing to the cookies’ soft texture.
Step 3: Incorporate the Wet Ingredients
Add the large egg and vanilla extract to the creamed butter and sugar mixture. Beat on medium speed until everything is smoothly incorporated. Scrape down the sides of the bowl to ensure all ingredients are well combined. You’ll already start to smell the delicious vanilla!
Step 4: Combine Dry & Wet, Then Fold in Chocolate
Gradually add the whisked dry ingredients to the wet mixture, mixing on low speed until *just* combined. Be careful not to overmix the dough, as this can lead to tough cookies. Once the flour streaks have almost disappeared, gently fold in the chopped Hershey’s Dark Kisses with a spatula. Distribute the chocolate evenly so every cookie gets a generous amount of melty goodness.
Step 5: Don’t Skip the Chill! Refrigerate the Dough
Cover the bowl with plastic wrap and let the cookie dough chill in the refrigerator for at least 1 hour. For an even richer flavor and chewier texture, you can chill it for up to 24 hours. This crucial step allows the flavors to meld, the butter to firm up (which prevents spreading), and results in a more robust cookie.
Step 6: Preheat Your Oven & Prepare Baking Sheets
Once your dough is sufficiently chilled, preheat your oven to 350°F (175°C). Line one or two baking sheets with parchment paper. Parchment paper is highly recommended as it prevents sticking and promotes even baking (I prefer it over silicone mats for cookies!).
Step 7: Scoop, Space, & Bake to Golden Perfection
Using a tablespoon-sized cookie scoop (or just a regular tablespoon), portion out balls of dough onto the prepared baking sheet, leaving about 2 inches of space between each one to allow for spreading. Bake for 10-12 minutes, or until the edges are lightly golden brown and the centers still look soft and slightly underbaked. They will continue to set as they cool.

Step 8: Add Whole Kisses & Begin Cooling
Immediately after removing the cookies from the oven, gently press a whole Hershey’s Kiss into the center of each warm cookie. The residual heat will slightly melt the Kiss, creating a beautiful, glossy chocolate center. Let the cookies cool on the baking sheet for about 5 minutes. This allows them to firm up before transferring. Then, carefully transfer them to a wire rack to cool completely.

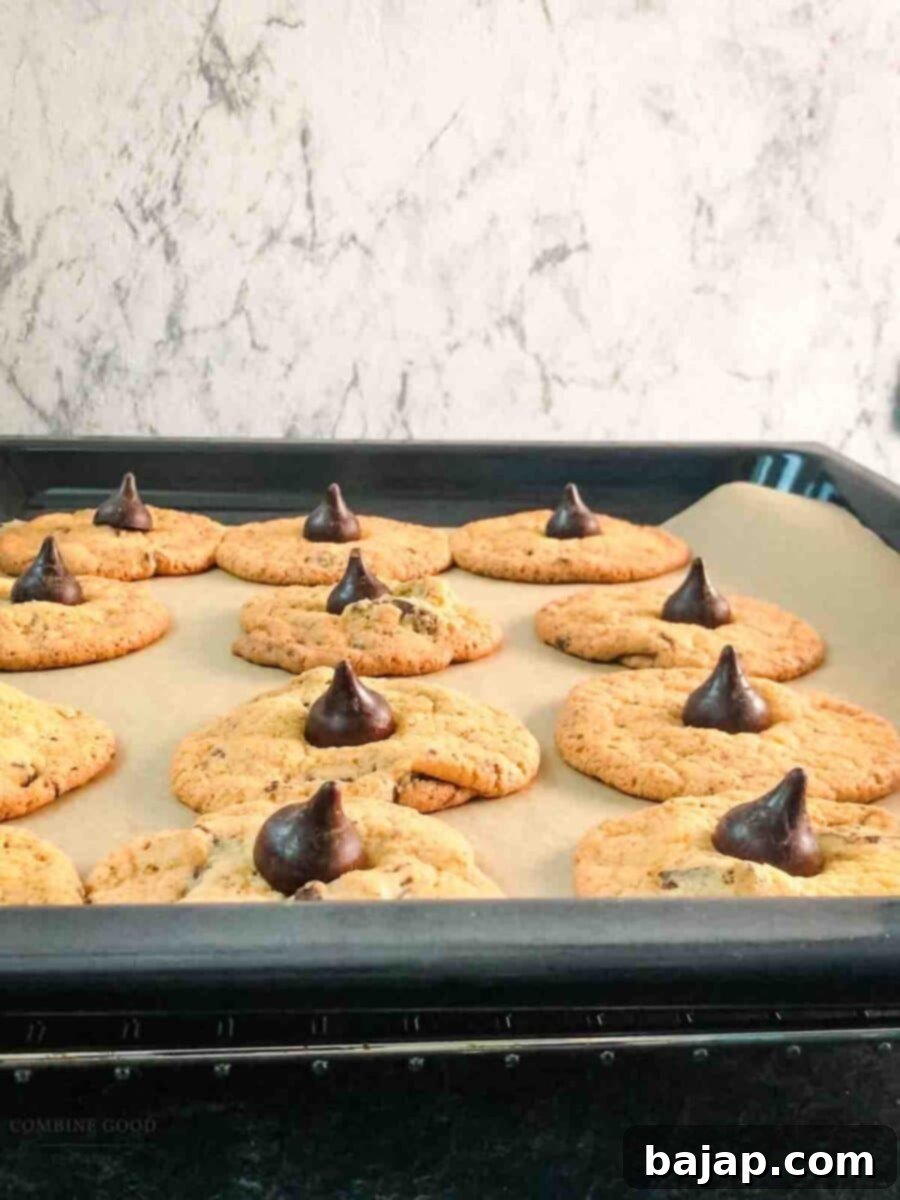
Step 9: Sprinkle, Serve, & Enjoy Every Bite!
For an extra layer of flavor and to beautifully contrast the rich chocolate, sprinkle the warm cookies with a pinch of flaky sea salt. This sweet-and-salty combination is absolutely divine and highly recommended! Now, pour yourself a refreshing glass of milk (or a delicious cup of coffee 😉), grab a still-warm, gooey cookie, and savor every single blissful bite. These cookies are best enjoyed fresh!
Tips for Perfect Hershey’s Kisses Cookies
Achieving bakery-level cookies at home is easier than you think! Here are some crucial tips to ensure your Hershey’s Kisses Chocolate Chip Cookies turn out perfectly every time:
- Room Temperature Ingredients: Ensure your butter and egg are at room temperature. This allows them to cream together properly, creating an emulsified mixture that traps air, leading to a lighter, fluffier cookie texture.
- Don’t Overmix the Dough: Once you add the dry ingredients, mix only until just combined. Overmixing develops the gluten in the flour, which can result in tough, dense cookies instead of soft and chewy ones.
- Chill the Dough Religiously: This step is non-negotiable for the best results! Chilling allows the butter to re-solidify, preventing the cookies from spreading too much in the oven. It also gives the flavors time to meld and intensifies the chewiness. If short on time, even 30 minutes is better than none.
- Even Scooping: Use a cookie scoop (a 1-tablespoon size is perfect for these) to ensure all your cookies are uniform in size. This guarantees even baking, so no cookie is under or overdone.
- Press Kisses Immediately: The moment your cookies come out of the oven, press those whole Hershey’s Kisses into the centers. The residual heat will perfectly melt the chocolate, making them extra gooey and visually appealing.
- Flaky Sea Salt: A sprinkle of flaky sea salt on top right after baking elevates these cookies to another dimension! It provides a wonderful contrast to the sweet dark chocolate and enhances all the flavors.
- Don’t Overbake: For soft and chewy cookies, aim for edges that are lightly golden and centers that still look a little soft. They will continue to cook slightly and firm up as they cool on the baking sheet.
Delicious Variations & Customizations
While the Hershey’s Kisses Special Dark recipe is phenomenal as is, there are many ways to customize these chocolate chip cookies to suit your taste or occasion:
- Different Hershey’s Kisses: Experiment with other Hershey’s Kiss varieties! Try milk chocolate, Hugs (white chocolate swirled with milk chocolate), caramel-filled Kisses, or even seasonal flavors for a unique twist.
- Add Nuts: Fold in ½ cup of chopped pecans, walnuts, or almonds along with the chocolate Kisses for added crunch and nutty flavor.
- Sprinkle Fun: Before baking, sprinkle the cookie dough balls with festive sprinkles for a pop of color, especially great for holidays or birthdays.
- Espresso Powder: For an even deeper chocolate flavor, add 1 teaspoon of espresso powder to your dry ingredients. It won’t make the cookies taste like coffee but will enhance the chocolate notes.
- Peppermint Twist: During the holidays, use peppermint Hershey’s Kisses and a drop of peppermint extract for a festive treat.
- Double Chocolate: Add ¼ cup of cocoa powder to your dry ingredients for a rich, double chocolate cookie base.
🌡️ Storage Tips to Keep Them Fresh
To keep your delectable Hershey’s Kisses chocolate chip cookies tasting fresh and soft for as long as possible, proper storage is key:
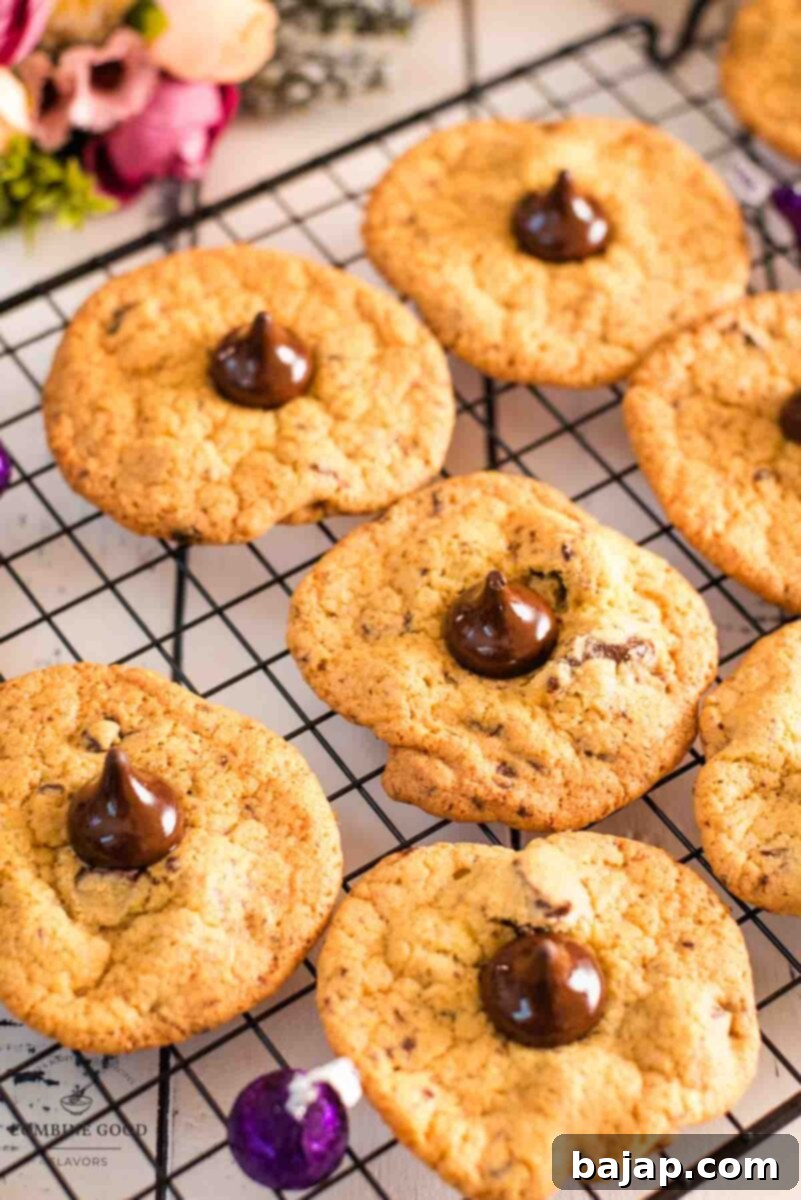
Store your cooled Hershey’s Kisses chocolate chip cookies in an airtight container at room temperature. They will stay wonderfully fresh and soft for up to 5 days. To maintain that just-baked softness and prevent them from drying out, here’s a little trick: add a slice of plain bread (a regular sandwich slice works perfectly) to the container. The bread will absorb moisture, keeping your cookies moist and tender!
Want to save some for later or prepare ahead?
These cookies freeze beautifully! Once completely cooled, arrange them in a single layer on a baking sheet and flash freeze them for about 30 minutes until solid. Then, transfer the frozen cookies to a freezer-safe bag or container, separating layers with parchment paper to prevent sticking. They can be frozen for up to 3 months without losing their quality. When you’re ready to enjoy a treat, simply let them thaw at room temperature for about an hour, or give them a quick warm-up in the microwave (10-15 seconds) or a low oven (300°F/150°C for 5-7 minutes) for that incredible fresh-from-the-oven taste and melty chocolate center! 🍪✨
🍽 Recommended Equipment
Having the right tools makes all the difference in ensuring a smooth baking process and perfect cookies. Here’s the equipment I recommend for this recipe:
- 2 baking sheets lined with parchment paper: Essential for non-stick baking and easy cleanup. (I personally skip silicone baking mats—cookies tend to stick or don’t bake as evenly, and I’m just not a fan! Parchment paper works like a charm every time for a perfectly even bake.)
- Hand- or Stand mixer: For efficiently creaming butter and sugar, creating that light and fluffy base.
- Mixing bowls: You’ll need at least two – one for dry ingredients and one large one for wet ingredients and mixing the dough.
- Whisk: To thoroughly combine your dry ingredients.
- Spatula: For scraping down the bowl and gently folding in the chocolate chips.
- Cutting board & sharp knife: For chopping those Hershey’s Kisses into smaller pieces.
- Cookie scoop (1-tablespoon size): Ensures uniform cookie size for even baking.
- Cooling rack: Allows air to circulate around the cookies, preventing them from getting soggy on the bottom.
- Airtight cookie jar or container: For keeping your freshly baked cookies soft and delicious.
Frequently Asked Questions (FAQ)
Got questions about baking these delightful Hershey’s Kisses chocolate chip cookies? Here are answers to some common inquiries:
Q: Can I use other types of Hershey’s Kisses?
A: Absolutely! While Hershey’s Special Dark Kisses provide a rich, deep chocolate flavor, feel free to experiment with other varieties like milk chocolate Kisses, Hugs (milk chocolate swirled with white creme), caramel-filled Kisses, or even seasonal flavors to create your own unique cookie experience. Just chop them as directed for the best melty texture.
Q: Why is chilling the cookie dough so important?
A: Chilling the dough is a crucial step that makes a big difference! It allows the butter to firm up, which prevents the cookies from spreading too much during baking, resulting in thicker, chewier cookies. It also gives the flavors more time to develop, leading to a richer, more complex taste. If you skip this step, your cookies might be thinner and spread more.
Q: Can I make these cookies ahead of time?
A: Yes! You can prepare the cookie dough and chill it in the refrigerator for up to 24-48 hours before baking. You can also scoop the dough balls and freeze them. Place scooped dough balls on a baking sheet to freeze until solid, then transfer them to a freezer-safe bag. Bake from frozen, adding a minute or two to the baking time.
Q: How can I tell when the cookies are done baking?
A: The cookies are ready when their edges are lightly golden brown, but the centers still look slightly soft and puffy. They will continue to set and firm up as they cool on the baking sheet. Overbaking will result in a drier, crispier cookie rather than a soft and chewy one.
Q: What’s the best way to chop Hershey’s Kisses?
A: Unwrap your Hershey’s Kisses and place them on a cutting board. Use a sharp chef’s knife to roughly chop them into smaller pieces. Don’t worry about perfect uniformity; varying sizes will create different pockets of melted chocolate in your cookies!
Other Chocolate Chip Cookie Recipes for You to Try
If you’re a true chocolate chip cookie enthusiast, you know there’s always room for more! Explore these other delightful variations:
- Chocolate Chip Cookies with Chestnut Flour
- Matcha White Chocolate Chip Cookies
- Rum Chocolate Chip Cookies
- Coffee Chocolate Chip Cookies
- Lemon White Chocolate Chip Cookies
- Cranberry White Chocolate Chip Cookies
- Ugly but Good Chocolate Chip Marshmallow Cookies
- Sugar Cookies with Chocolate Chips {no-chill}
- Pink Cookies
- Strawberry White Chocolate Chip Cookies
- Soft Oatmeal Chocolate Chip Cookies
- Coconut Chocolate Chip Cookies (coming soon)
- National Chocolate Chip Cookie Day {August 4th} {roundup}
I genuinely hope you love baking and enjoying these Hershey’s Kisses Chocolate Chip Cookies as much as I do! If you make this recipe, please let me know how you liked it by giving it a ★★★★★ star rating and leaving a comment below. Your feedback is truly awesome and helps others discover delicious recipes! You can also sign up for our Newsletter to get weekly recipe inspiration, or follow me on Pinterest or Instagram and share your creation with me. Just tag me @combinegoodflavors and use the hashtag #combinegoodflavors, so I don’t miss your culinary masterpieces!
📖 Recipe: Hershey’s Kisses Dark Chocolate Chip Cookies

Chocolate Chip Cookies with Hershey’s Kisses
Nora
Prevent your screen from going dark
Save Recipe
Saved!
Pin Recipe
Equipment
-
Baking trays with parchment paper
-
Sharp knife & cutting board
-
Hand or stand mixer
-
Whisk
-
Spatula
-
Ice cream scoop – For chocolate chip cookies, I always take the smallest scoop, 1 tablespoon size.
-
Cooling Rack
-
Cookie jar
Nutrition values are estimates only, using online calculators. Please verify using your own data.

⛑️ Food Safety Guidelines
Ensuring food safety is paramount when baking. Please adhere to these guidelines to enjoy your delicious cookies without worry:
- Cook to a minimum temperature of 165 °F (74 °C), especially for dishes involving eggs or other potentially hazardous ingredients (though typically not an issue for cookies once baked through).
- Do not use the same utensils on cooked food that previously touched raw ingredients (e.g., raw cookie dough if containing raw egg).
- Always wash hands thoroughly with soap and water after handling raw ingredients like eggs or flour.
- Don’t leave food sitting out at room temperature for extended periods. Baked goods should be cooled and stored properly within a couple of hours.
- Never leave cooking food unattended, especially when using an oven.
- Use oils with high smoking points (if applicable to your recipe) to avoid harmful compounds.
- Always ensure good ventilation when using a gas stove or oven.
For further comprehensive information on safe food handling practices, please check resources from reputable organizations like the FDA – Safe Food Handling.
