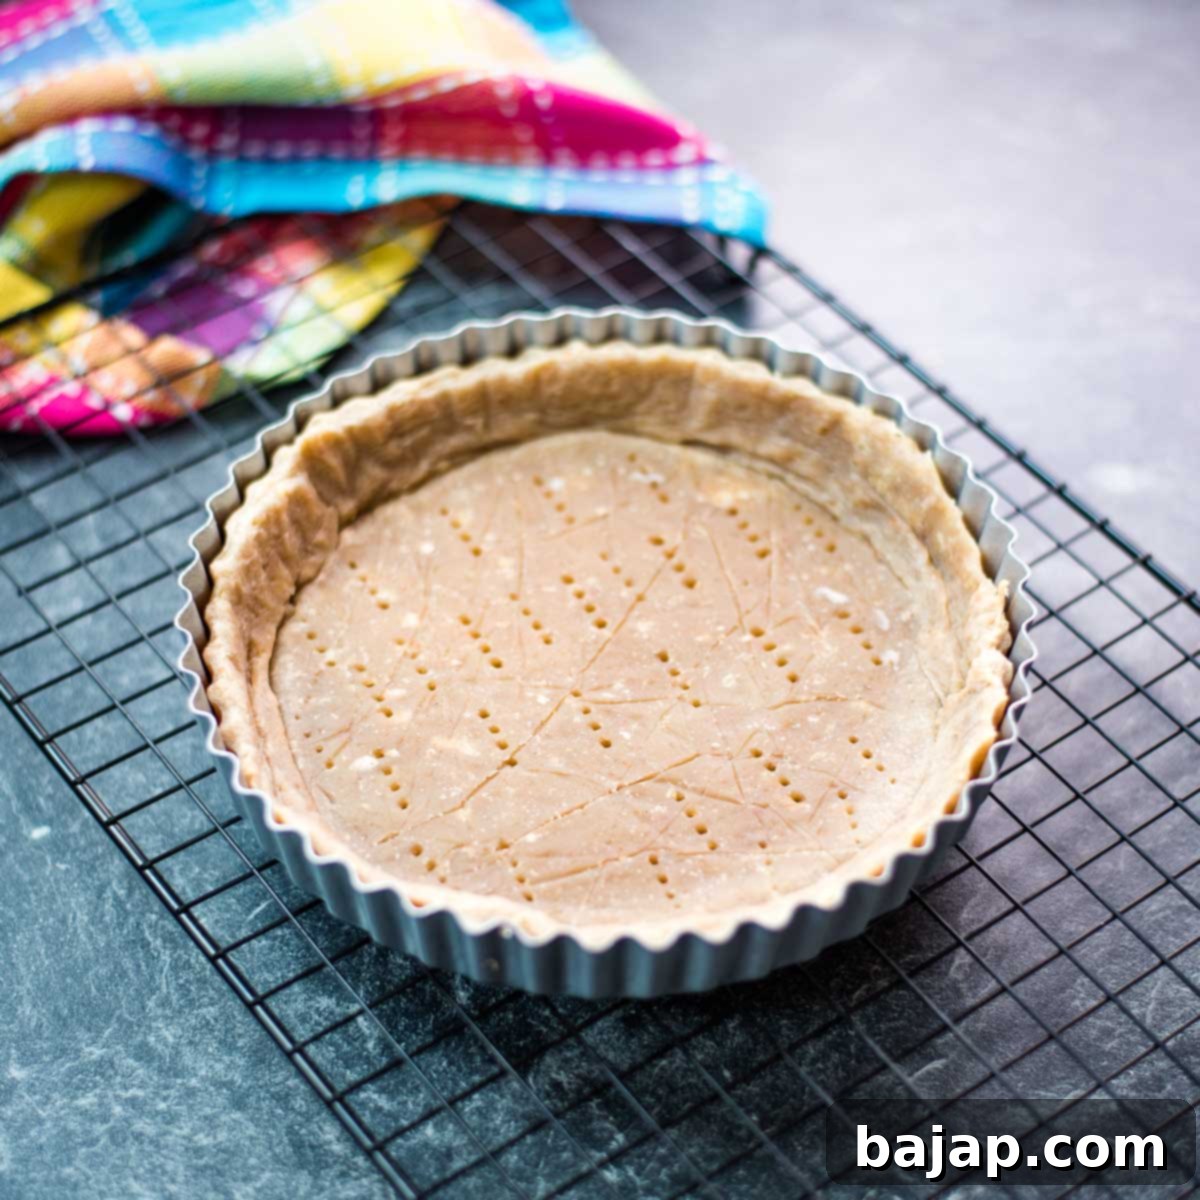
Easy & Delicious Walnut Tart Crust Recipe: Perfect for Sweet or Savory Fillings
Are you ready to elevate your baking game with a truly exceptional tart crust? Whether you’re a seasoned baker or just starting your culinary journey, this walnut tart crust recipe is an absolute must-try! It’s my personal go-to for many creations, including my soon-to-be-revealed famous custard apple tart. The subtle crunch and rich, nutty flavor of walnuts beautifully complement a vast array of sweet and savory fillings, making this crust incredibly versatile and irresistibly delicious.
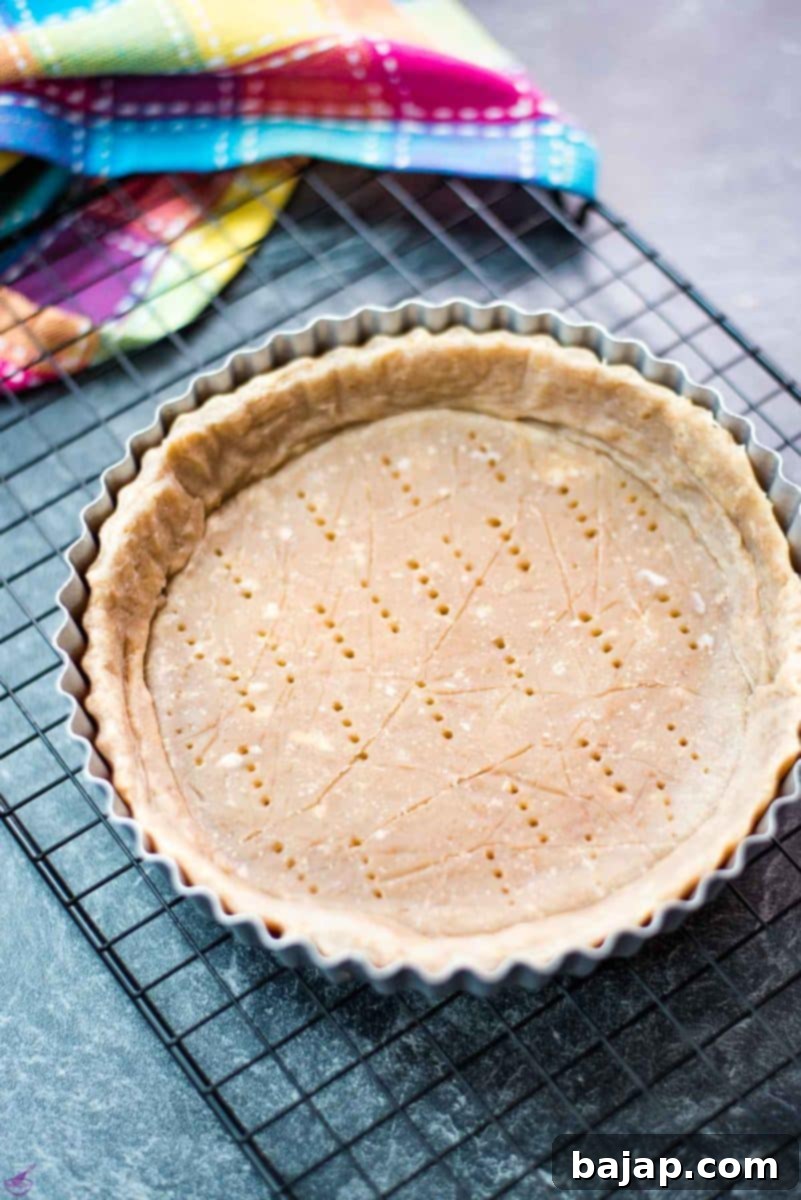
This simple, yet incredibly flavorful, walnut tart crust is surprisingly easy to prepare. It’s designed to infuse a delightful punch of walnut goodness into every bite of your finished dish. One of the best aspects of this recipe? You can confidently substitute this fun and delicious crust into any recipe that calls for a traditional shortcrust pastry, especially those requiring a blind-baked crust. Blind baking, for those unfamiliar, means pre-baking the crust separately before adding the filling. This crucial step prevents soggy bottoms and ensures a perfectly crisp texture, especially for tarts with wet fillings.
I understand that adding an extra step like blind baking might seem daunting, particularly for busy parents or anyone with a packed schedule. As a busy mom myself, I know how precious energy can be at the end of the day. However, I wholeheartedly encourage you to make the extra effort if you’re up for it. The results are truly worth it! A properly blind-baked walnut tart crust will not only hold its shape beautifully but also enhance the overall texture and flavor profile of any tart, transforming it into an elegant and professional-looking dessert or main course.
🥘 Key Ingredients for Your Perfect Walnut Tart Crust
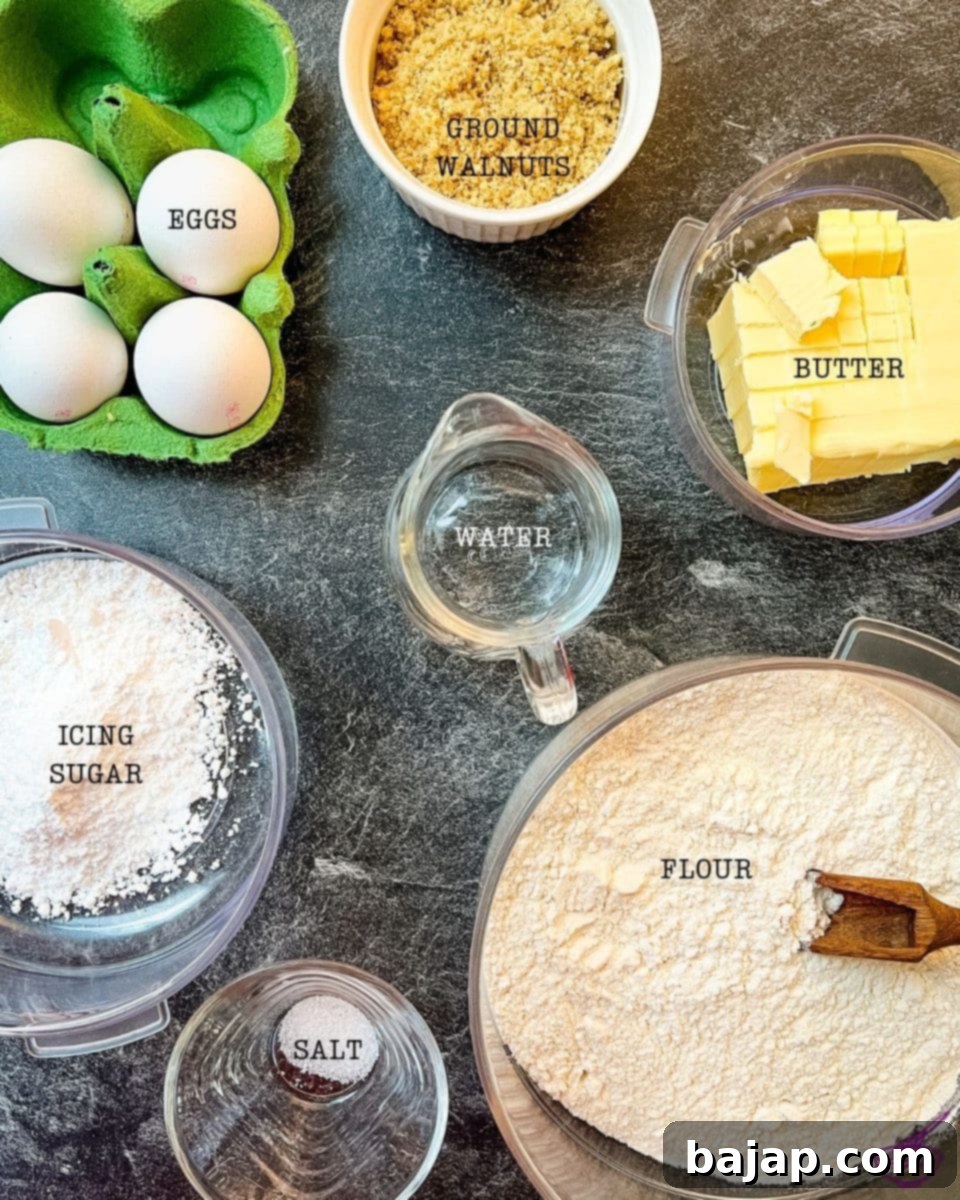
Crafting a truly spectacular tart crust begins with selecting the right ingredients. Each component plays a vital role in achieving that desirable flaky texture and rich, nutty flavor. Here’s what you’ll need for this easy walnut tart crust:
- All-Purpose Flour: The foundation of our crust, providing structure.
- Icing Sugar: Also known as powdered sugar, it contributes to a tender crust and helps achieve a delicate texture without the grittiness of granulated sugar.
- Salt: A crucial flavor enhancer, balancing the sweetness and bringing out the nutty notes of the walnuts.
- Butter (unsalted, chilled): The star for flakiness! Keeping it cold is paramount to creating those beautiful layers in the pastry. Unsalted butter allows you to control the overall saltiness of the crust.
- Walnuts – grated: The hero ingredient, adding incredible flavor and a slight crunch. Grating them ensures they integrate smoothly into the dough.
- Egg Yolks: Provide richness, color, and act as a binder, contributing to a tender crumb.
- Water (ice cold): Used sparingly, ice-cold water helps bring the dough together without overworking the gluten or melting the butter.
For precise quantities, please refer to the detailed recipe card below. Remember, quality ingredients make a noticeable difference in the final taste and texture of your homemade tart crust.
🔪 Step-by-Step Guide to Making Your Flaky Walnut Tart Crust
Follow these instructions carefully to create a perfect, buttery, and nutty tart crust that will be the envy of all your guests. Attention to detail, especially regarding temperature, is key!
- Prepare Dry Ingredients: Begin by sieving your all-purpose flour and icing sugar into a large mixing bowl. Sieving is an important step as it aerates the flour, removes any lumps, and ensures a light, uniform mixture.
- Add Salt and Butter: Create a well (a small “volcano” shape) in the center of your sieved flour mixture. Add your teaspoon of salt to this well. Next, take your chilled, unsalted butter and cut it into small, evenly sized cubes. Add these cold butter cubes directly into the center well.
- Incorporate Butter into Flour: This step is critical for a flaky tart crust. Start working the cold butter into the flour using your fingertips. Gently squeeze and rub the butter cubes with the flour. The goal is to break down the butter into smaller, pea-sized pieces coated with flour. This process takes a bit of time, but it’s essential to prevent the butter from melting too quickly from the heat of your hands. Continue until the mixture resembles coarse breadcrumbs, and when you compress a handful, it should just barely stick together. This indicates proper butter incorporation, which will create the desired flakiness when baked.
- Add Wet Ingredients & Walnuts: Once your butter and flour mixture is perfectly crumbly, create another well in the center. Carefully add the egg yolks, grated walnuts, and ice-cold water into this well. The cold water is crucial as it helps keep the butter firm and prevents the dough from becoming tough.
- Form the Dough: Gently start working all the ingredients together with your hands, or use a kitchen machine with a pastry blade. It’s incredibly important not to overwork the dough at this stage. Overworking develops gluten, which can lead to a tough, inelastic crust that cracks easily during baking. Mix just until the dough comes together into a cohesive ball. It should feel soft and pliable, but not sticky.
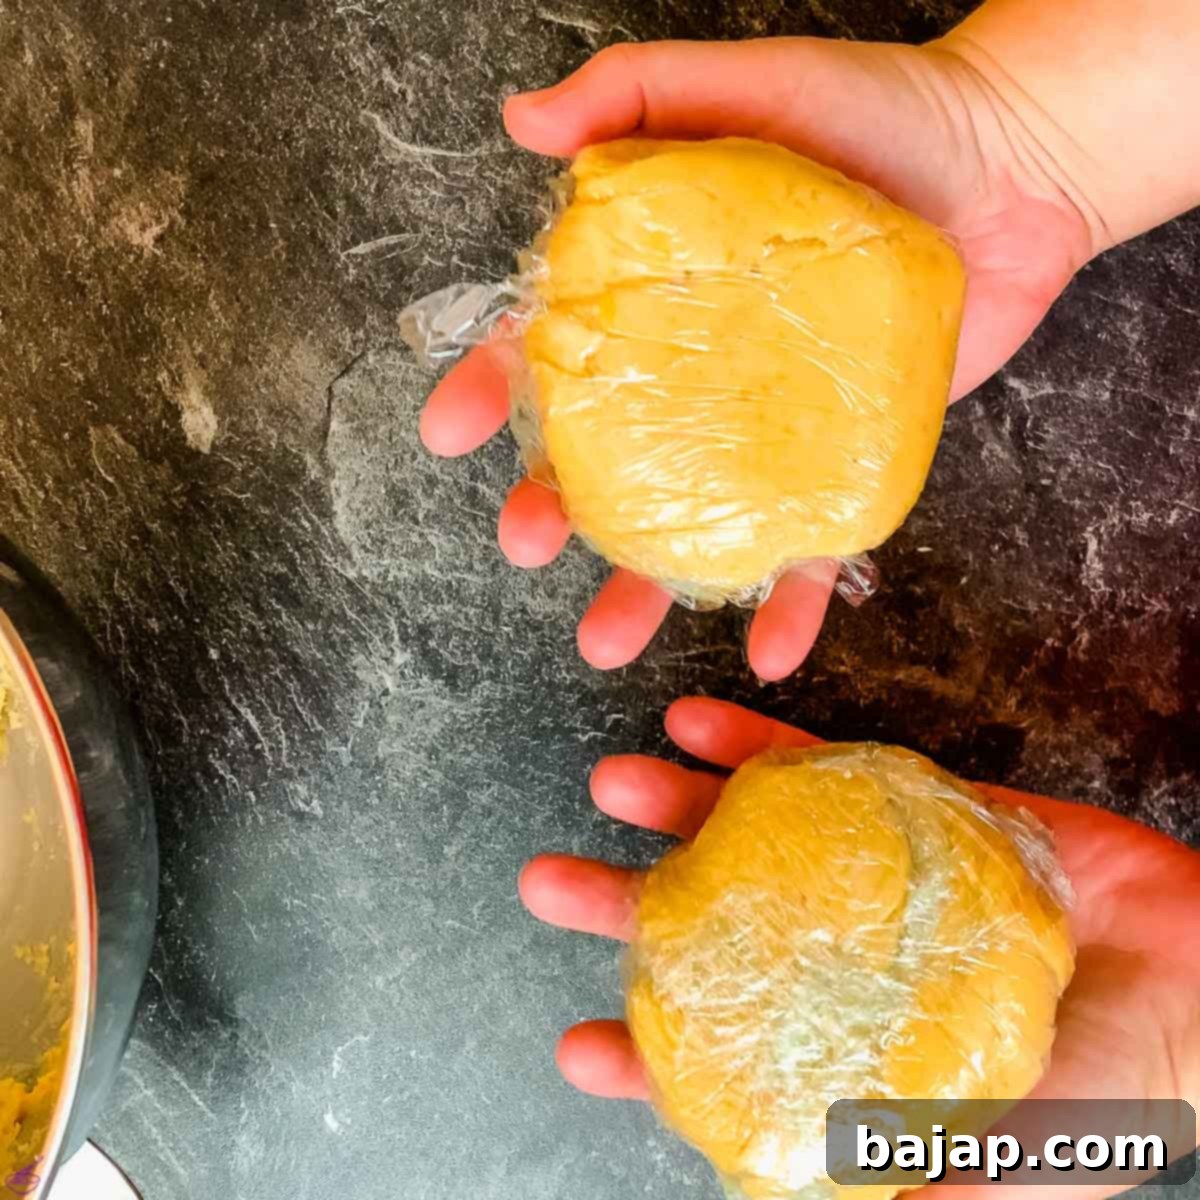
- Chill the Dough: Divide the newly formed dough into two equal balls. Flatten each ball slightly into a disc shape (this makes rolling easier later), wrap them tightly in cling film, and place them in the refrigerator to chill for at least an hour. Chilling allows the butter to firm up again and gives the gluten in the flour time to relax, which makes the dough much easier to roll out without shrinking.
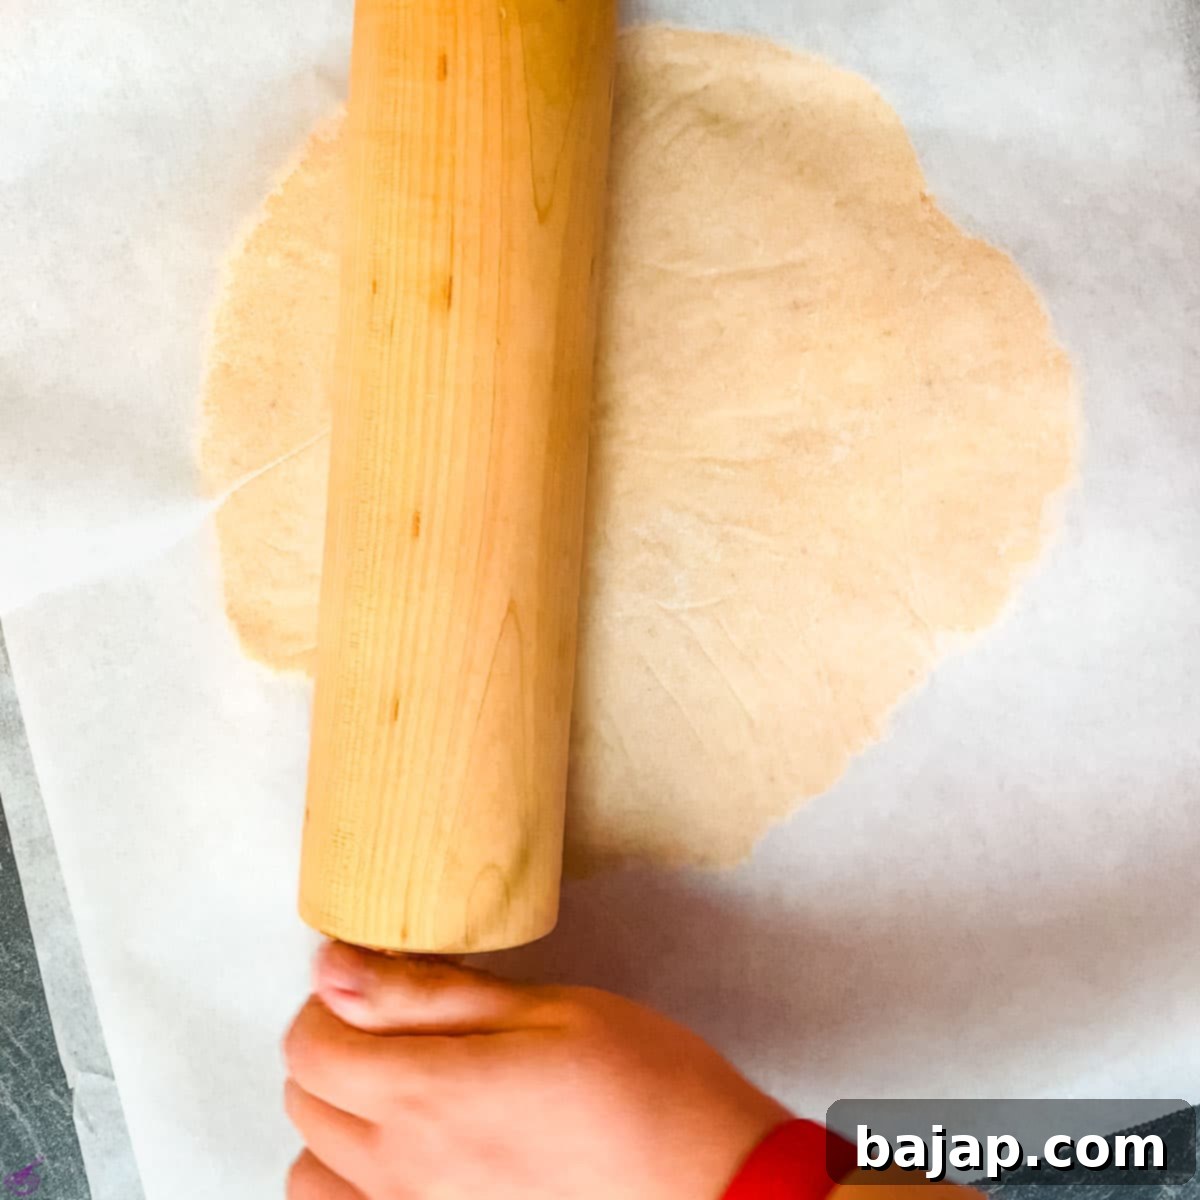
- Roll Out the Dough: Once the dough is properly chilled, take one ball and place it between two sheets of parchment paper. Using a rolling pin, roll the dough evenly to a thickness of approximately 3-4mm (about 0.1 inch). Rolling between parchment paper prevents sticking and makes transferring the dough much simpler. If you notice any small cracks while rolling, simply press them gently together with your fingers to seal them.
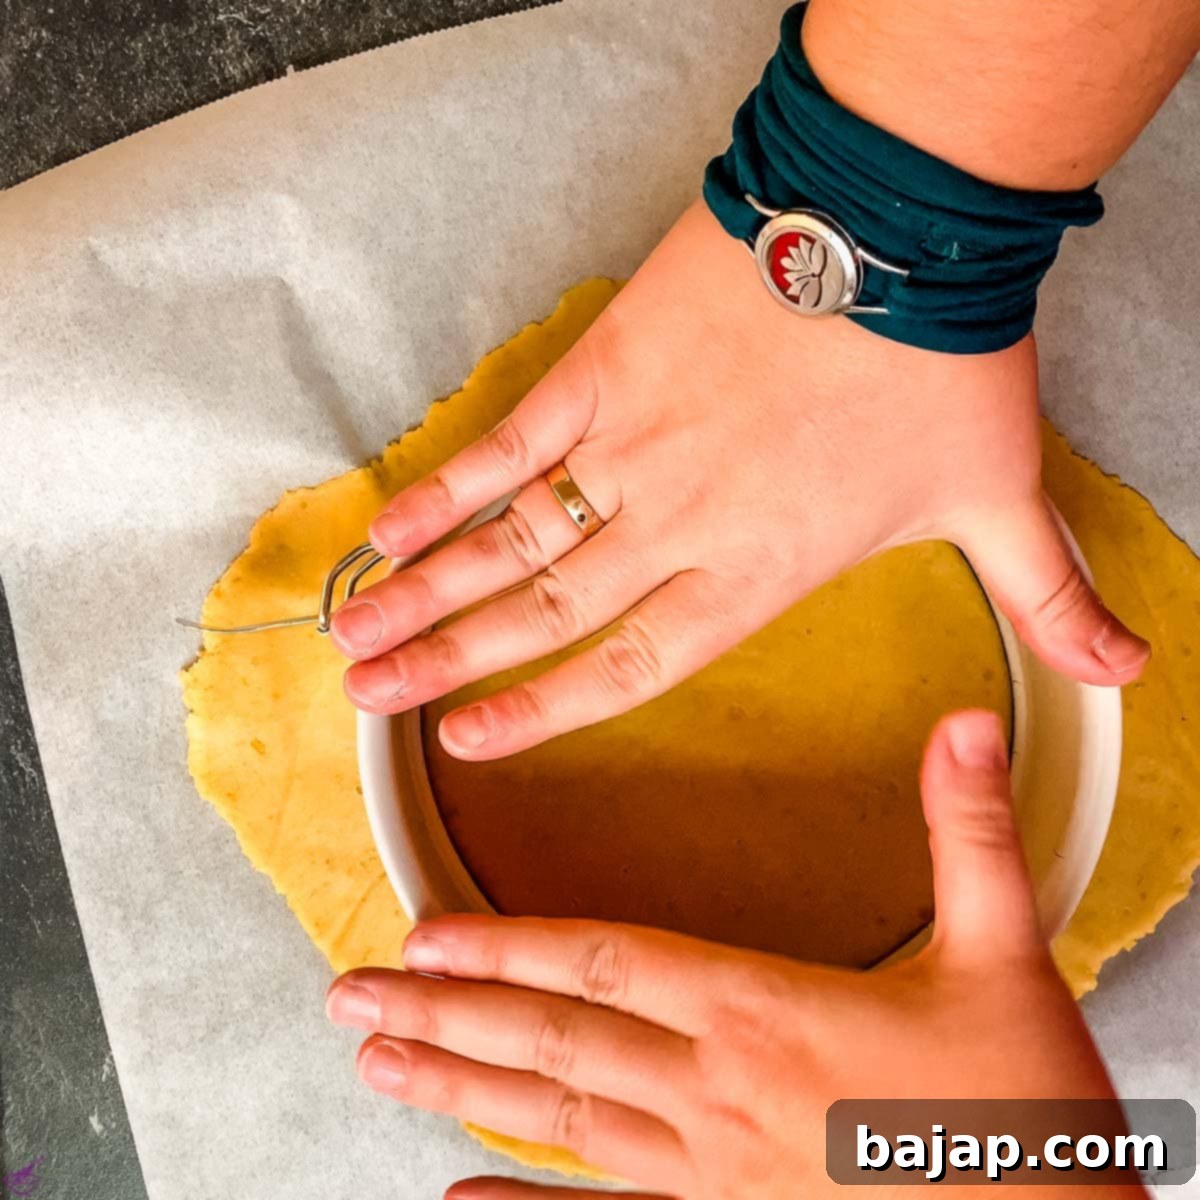
- Form the Base: Use a cake pan ring (or the base of your tart pan) as a guide to cut out a circular base from the rolled dough. Carefully transfer this circle to the bottom of your tart pan.
- Create the Sidewalls: Take the second ball of tart dough and roll it out similarly to the first, aiming for the same 3-4mm thickness. Cut this rolled dough into a long oval shape, approximately 4cm (1.5 inches) wide, or adjusted to match the height of your specific tart pan. Carefully line the sides of your tart pan with this strip of dough, pressing it gently against the base to ensure a seamless connection all around. This creates the “cake wall” for your tart.
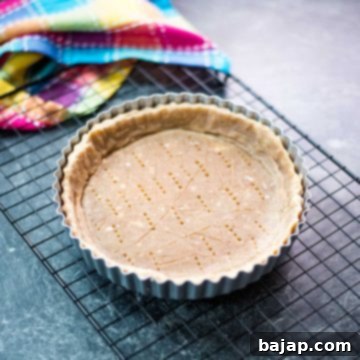
- Finishing Touches: Trim any excess dough from the top edge of the tart pan using a sharp knife. Then, gently poke the base of the crust all over with a toothpick or a fork. This prevents the crust from puffing up unevenly during baking. Any leftover dough can be wrapped and frozen for future use – it’s perfect for small tarts or decorative cut-outs!
- Bake with Filling: At this point, your walnut tart crust is ready to be filled with the filling of your choice and baked according to the specific instructions of your desired tart recipe.
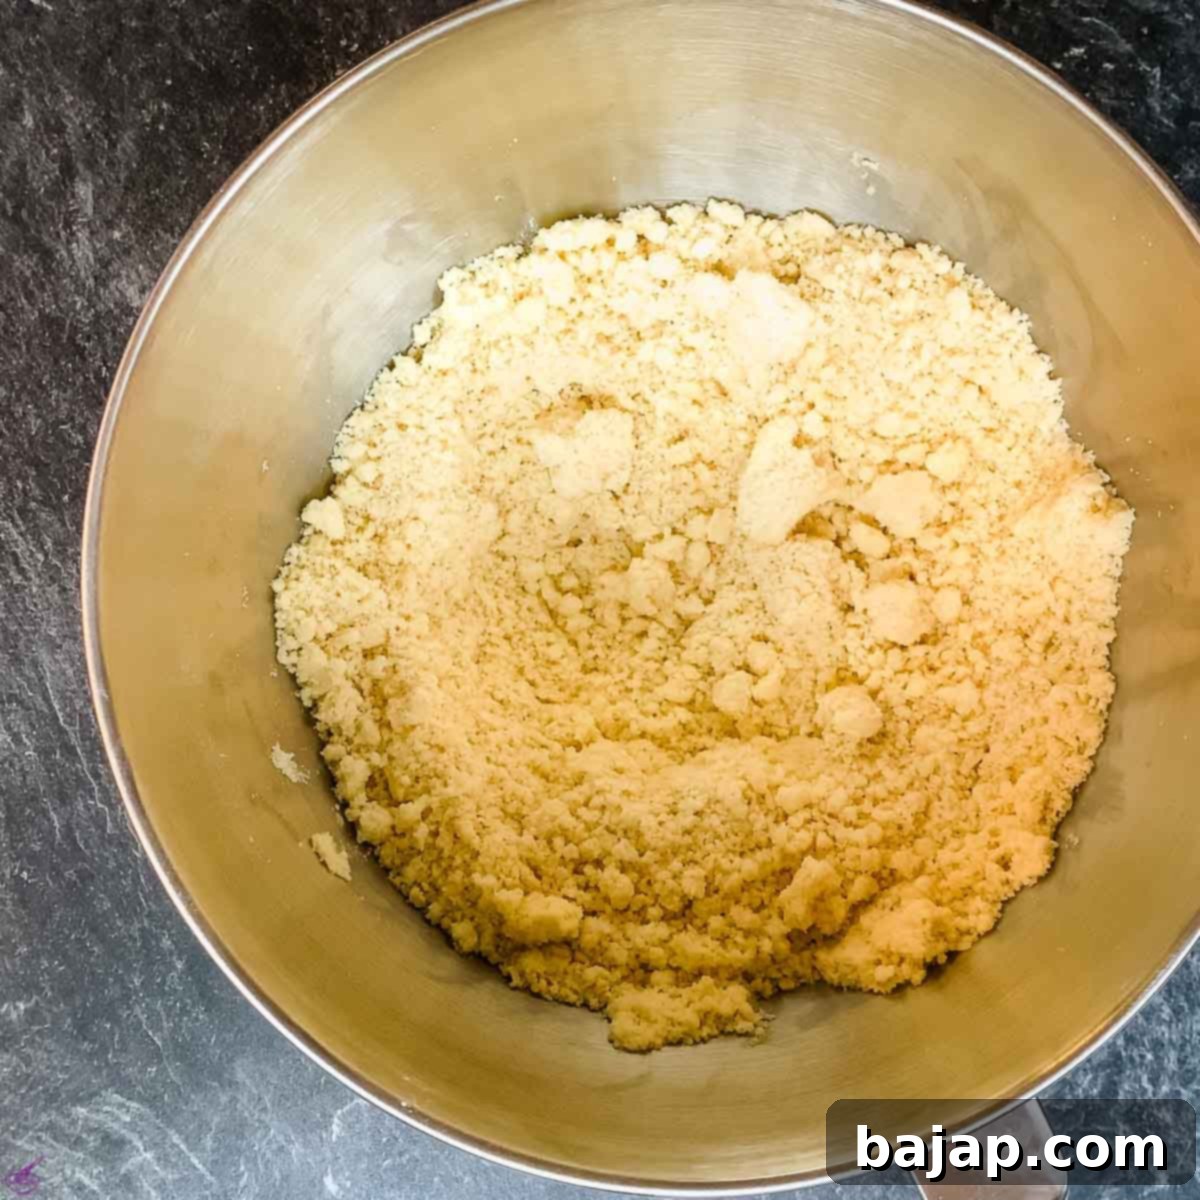
Alternatively, you can also use this recipe to create a pre-baked (blind-baked) tart base. This is especially recommended for tarts with custard, fruit, or no-bake fillings that aren’t baked with the crust itself. Follow the instructions below for a perfectly blind-baked crust!
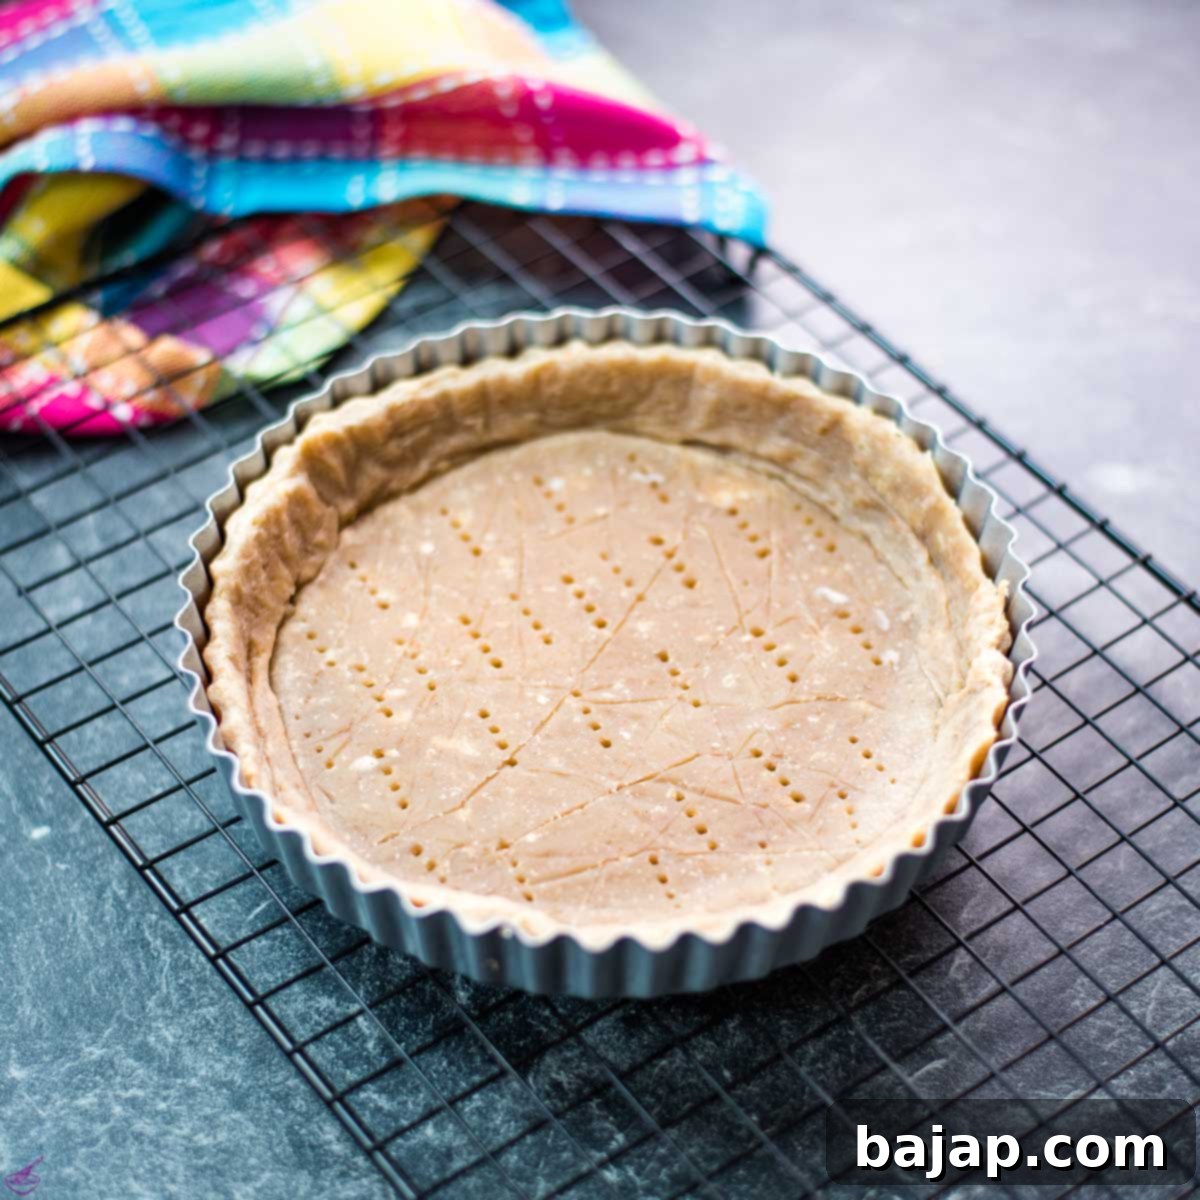
Instructions for Blind Baking Your Walnut Tart Crust
- Second Chill: After you’ve carefully lined your tart pan with the dough (including the base and sidewalls) and trimmed any excess, place the formed crust back into the refrigerator for another 30 minutes. This second chilling period is vital as it helps the butter firm up even more, reducing the chances of the crust shrinking or losing its shape during baking.
- Preheat Oven: While your tart crust is chilling, preheat your oven to 180°C (360°F). Ensuring the oven is at the correct temperature before the crust goes in is important for even baking.
- Weigh Down the Crust: To prevent the crust from puffing up or bubbling excessively during baking, it’s highly recommended to weigh it down. Line the chilled crust with a piece of parchment paper or aluminum foil, ensuring it covers the bottom and extends up the sides. Then, fill it with pie weights, dried beans, or rice to a depth of about 2.5 cm (1 inch). This weight will hold the crust flat and maintain its shape. Remember to remove the weights and parchment/foil before placing it in the oven. While optional, this step significantly contributes to a perfectly flat and even crust.
- Initial Bake: Place the prepared, weighed-down crust into your preheated oven and bake for 15 minutes. This initial bake sets the crust.
- Complete the Bake (if needed): If your tart filling will *not* be baked, after 15 minutes, carefully remove the parchment paper and weights. Return the crust to the oven and continue baking for another 5-10 minutes, or until the crust is golden brown and appears fully cooked. This ensures a crisp and fully baked base. If your filling *will* be baked, you might only par-bake the crust for 15-20 minutes, then add the filling and bake until both are done.
- Cool Completely: Once baked, remove the tart crust from the oven and let it cool down completely to room temperature on a wire rack. This is crucial before adding any filling, as a warm crust can make fillings watery or cause them to curdle.
- Fill and Serve: After it’s completely cooled, your perfectly baked walnut tart base is ready to be filled with the ganache, custard, fruit, or savory filling of your choice! All that’s left is to add your final decorative touches and serve your magnificent creation!
🍑 Creative Variations for Your Walnut Tart Crust
This versatile walnut tart crust recipe serves as a fantastic foundation, but don’t hesitate to experiment with variations to suit your taste or the specific tart you’re making!
- Different Nuts: While walnuts provide a unique flavor, you can easily substitute them with other finely grated nuts like pecans, almonds, or even hazelnuts for different flavor profiles. Each nut will impart its distinct character.
- Added Flavorings: Enhance the crust’s aroma and taste by adding a teaspoon of vanilla extract to the wet ingredients, or incorporate citrus zest (lemon or orange) into the dry ingredients for a bright, refreshing note. A pinch of cinnamon or nutmeg can also add warmth, especially for apple or pumpkin tarts.
- Sweetness Adjustment: For a less sweet tart, you can slightly reduce the amount of icing sugar. Conversely, for a dessert where the crust itself should be sweeter, a little extra sugar can be added, ensuring it remains balanced with your chosen filling.
- Tart Pan Shapes: This recipe works beautifully in various tart pan sizes and shapes, including traditional round pans, rectangular tart molds, or even individual mini tart pans. Just adjust your rolling and cutting to fit your chosen mold.
- Blind Baking Explained: As mentioned, this crust is ideal for “blind baking,” which means baking the crust fully by itself before adding any filling. This technique is indispensable for tarts with wet fillings (like quiches or fruit tarts) or no-bake fillings (like chocolate ganache or pastry cream) to ensure a perfectly crisp, non-soggy bottom. The steps for blind baking are detailed above to guide you through this essential process.
🍽 Essential Equipment for Baking Success
Having the right tools can make all the difference in the ease and success of your tart crust. Here’s a list of equipment you’ll find useful for this recipe:
- 9-inch (23 cm) Tart Pan / Cake Pan: A standard size for many tarts. A pan with a removable bottom is highly recommended for easy demolding.
- Rubber Spatula: Great for scraping bowls and gently folding ingredients.
- Rolling Pin: Essential for rolling out the dough evenly to the desired thickness.
- Hand Mixer (optional, for ingredients): While not strictly necessary for the dough itself (fingers are often best for butter), it can be useful for other baking tasks. For the dough, a food processor with a pastry blade can also be used if preferred, but be careful not to overmix.
- Whisk (for ingredients): Useful for ensuring dry ingredients are well combined if not using a sieve.
- Mixing Bowls: Various sizes for preparing ingredients.
- Parchment Paper: Invaluable for rolling out the dough without sticking and for blind baking.
- Oven: A well-calibrated oven is key for consistent baking results.
- Pie Weights (or dried beans/rice): Crucial for blind baking to prevent the crust from puffing up.
🌡 Storage & Top Baking Tips for Your Walnut Tart Crust
Proper storage ensures your efforts don’t go to waste, and a few clever tips can elevate your baking even further:
- Storing Excess Dough: If you find yourself with extra dough after lining your tart pan, don’t discard it! Wrap it tightly in cling film and store it in the refrigerator for up to three days. For longer storage, the tart dough freezes beautifully for up to three months. Thaw it in the fridge overnight before rolling it out.
- Pre-Baked Crust Storage: If you’re blind baking your tart crust ahead of time, it’s best not to do it more than three days in advance. Once fully cooled, wrap the pre-baked crust tightly in plastic wrap or place it in an airtight container to prevent it from absorbing fridge odors or becoming stale. Store it in the refrigerator.
- Assembly Timing: A really important tip for maintaining crust integrity and freshness: Do not combine your pre-baked tart crust and its filling until the day you plan to serve the tart. This prevents the crust from becoming soggy, especially with moist fillings.
- Leftover Tart Storage: While there’s some flexibility depending on the type of filling, as a general rule of thumb, plan to eat any leftover tart within three days. Always store leftover tart in an airtight container in the refrigerator to keep it fresh and prevent it from drying out or absorbing other food smells.
- Don’t Waste Egg Whites!: This recipe only calls for egg yolks, leaving you with leftover egg whites. Instead of discarding them, freeze them in ice cube trays for easy portioning and use them later! They’re perfect for a variety of delicious recipes:
- 6 Egg White Chocolate Cake: A light and airy cake that’s surprisingly rich.
- Cinnamon Cookies: Delicate and spiced, perfect for a treat.
- Mini Pavlova: Crisp meringue shells, ideal for fruit and cream.
- Walnut Meringue Cookies: A delightful, chewy, and nutty confection.
- Coconut Cookies: Chewy, tropical-flavored treats.
- Keep Ingredients Cold: Throughout the entire process, especially when handling the butter and forming the dough, strive to keep your ingredients as cold as possible. This is the golden rule for achieving a truly flaky and tender tart crust. Warm butter will melt into the flour, resulting in a dense, tough crust rather than one with distinct, flaky layers.
🙋🏻 Frequently Asked Questions About Tart Crusts
While both pie and tart crusts serve as delicious bases for various fillings, they do have distinct characteristics. One of the most noticeable differences is typically the thickness; tart crusts usually boast a thicker, more substantial base compared to their pie counterparts. Furthermore, a classic tart generally features only a bottom crust, often with decorative edges, allowing the beautiful filling to be the star. Pies, on the other hand, frequently come with both a bottom and a top crust, or a lattice top, fully enclosing the filling. Ingredient-wise, tart crusts (pâte sablée or pâte sucrée) often contain egg yolks and a higher proportion of sugar, contributing to a richer, more tender, and crumbly texture that’s less prone to shrinking. Pie crusts (pâte brisée) are typically simpler, focusing on flakiness from butter and less sugar.
There are indeed many delightful variations when it comes to tart crusts, ranging from savory herb-infused options to sweet chocolate-flavored bases. However, the fundamental ingredients you’ll typically find in a basic tart crust include all-purpose flour for structure, sugar (often icing sugar for tenderness) for sweetness, a pinch of salt to enhance flavors, and cold butter for richness and flakiness. Many recipes, like ours, also incorporate egg yolks to add a lovely richness, color, and a more tender, shortbread-like texture. Some classic recipes might also include a touch of vanilla extract for aromatic depth or, in our case, grated walnuts for a unique nutty flavor and pleasant texture.
It’s easy to casually refer to both as “pastry,” but a tart crust and a puff pastry crust are fundamentally made with two entirely different types of dough and techniques! Our walnut tart crust, which falls under the category of shortcrust pastry (pâte sablée), is relatively thick and crumbly, made by cutting cold butter into flour. Puff pastry, conversely, is a much lighter, airier, and highly flaky dough created through a laborious process of repeatedly folding butter into dough (lamination). Puff pastry typically uses only flour, water, and a large amount of fat (butter or shortening) and is rolled out into incredibly thin sheets. Because of its delicate, multi-layered structure, puff pastry is often used for savory applications like vol-au-vents, sausage rolls, or fruit turnovers where a light, crisp texture is desired, whereas our tart crust provides a more robust and rich base for a wide variety of fillings, both sweet and savory.
Technically, yes, in a pinch, you can often substitute a store-bought or homemade pie crust for a tart crust, and your recipe will likely still work. However, it’s important to understand that the final result will be different. Pie crusts are generally designed to be flakier and less rich than tart crusts, which tend to be more tender, crumbly, and sometimes sweeter due to their higher butter and sugar content (and often egg yolks). If the original tart recipe specifically calls for a unique flavor in its crust, such as the delicious walnuts in our recipe, substituting with a plain pie crust would mean missing out on that integral flavor contribution. In such cases, sticking with the specified tart crust recipe will undoubtedly yield a more authentic and flavorful dish that lives up to its original intention.
If you make this delicious walnut tart crust recipe, I would love to hear your thoughts! Please rate it with a ★★★★★ star rating and leave a comment below to let me know how you liked it. Your feedback is truly awesome and helps others too! You can also sign up for our Newsletter to receive weekly delicious homemade recipes directly in your inbox. And don’t forget to follow me on Pinterest or Instagram and share your beautiful creations with me. Just tag me @combinegoodflavors and use the hashtag #combinegoodflavors, so I won’t miss it!
📖 Recipe
Tart Crust with Walnuts
Nora
Save RecipeSaved!
Pin Recipe
Equipment
-
Tart Pan / Cake Pan 9 inch / 23 cm
-
Rubber spatula
-
Rolling Pin
-
Wisk
-
Mixing bowls
-
Parchment Paper
-
Oven
Ingredients
- 3 cups All-Purpose flour sieved
- ¼ cup Icing sugar
- 1 teaspoon Salt
- 1 cup Butter unsalted, chilled
- ¼ cup Walnuts grated
- 4 Egg Yolks
- ½ cup Water ice cold
Instructions
-
Sieve 3 cups All-Purpose flour and ¼ cup Icing sugar through a sieve into a large mixing bowl. This aerates the flour and removes any lumps.3 cups All-Purpose flour, ¼ cup Icing sugar
-
Make a hole in the center of the flour mixture, resembling a small volcano, and add 1 teaspoon Salt.1 teaspoon Salt
-
Cut 1 cup chilled unsalted Butter into small cubes, and add them into the center well.1 cup Butter
-
Start incorporating the flour into the cold butter by squeezing and rubbing it with your fingers. This process should be done quickly to prevent the butter from melting. Continue until the mixture resembles coarse breadcrumbs and clumps together when compressed.
-
Make another hole in the center of the flour-butter mixture. Add 4 Egg Yolks, ¼ cup grated Walnuts, and ½ cup ice-cold Water.¼ cup Walnuts, 4 Egg Yolks, ½ cup Water
-
Gently work all the ingredients together to form a dough. Be careful not to overwork the dough, as this can lead to a tough crust. A kitchen machine with a pastry blade can also be used here.
-
Divide the dough into two equal balls. Flatten each slightly into a disc, wrap both tightly in cling film, and let them rest in the fridge for about an hour.
-
After the dough has chilled, place one ball between two sheets of baking paper. Using a rolling pin, roll it out evenly to about 3-4mm / 0.1 inch thickness.
-
Using a cake pan ring or the base of your tart pan as a guide, cut out the bottom of the crust. Carefully transfer it to the cake pan base.
-
Use the second ball of dough to create a longer, oval-shaped form of the same thickness. Cut it about 4cm / 1.5 inch wide, or according to your cake pan’s height. Use this strip to form the sidewall of the tart, pressing it gently onto the base to ensure a good connection.
-
Trim any excess dough from the top with a sharp knife and poke the base all over with a toothpick or fork. This helps prevent puffing. Freeze extra dough for later!
-
At this stage, you can fill the crust with your chosen tart filling and bake it according to your specific tart recipe’s instructions.
Pre-Bake Crust (Blind Baking)
-
Once your tart pan is lined with the dough (base and sidewalls), place it back in the fridge for about 30 minutes to ensure it’s properly chilled and firm. This is crucial for maintaining its shape during baking.
-
While the crust is chilling, preheat your oven to 180°C / 360°F.
-
To prevent the crust from puffing up, line it with parchment paper or aluminum foil, then fill it with pie weights, dried beans, or rice (about 2.5 cm / 1 inch deep) to weigh it down evenly.
-
Bake the chilled crust for 15 minutes with the weights. If using for a no-bake filling, remove weights and bake for another 5-10 minutes until golden brown.
-
After baking, let the crust cool down completely to room temperature before adding any filling.
-
Your perfectly baked tart base is now ready to be filled with your chosen ganache, custard, or other delightful filling! Add any final decorative touches and serve.
Nutrition values are estimates only, using online calculators. Please verify using your own data.

🤎 You might also like these recipes:
If you loved making this versatile walnut tart crust, you might also enjoy exploring some of these other delicious baking projects:
- Old-fashioned Whipping Cream Bundt Cake
- Potato Flour Cake with Eggnog
- Delicious 6 Egg White Chocolate Cake
- Flourless Chocolate Cake
⛑️ Food Safety Guidelines for Home Baking
Ensuring food safety is paramount when cooking and baking at home. Please keep these important guidelines in mind:
- Minimum Cooking Temperature: Always cook foods to a minimum internal temperature of 165°F (74°C) to kill harmful bacteria, especially when incorporating raw ingredients into fillings that will be baked with the crust.
- Prevent Cross-Contamination: Never use the same utensils, cutting boards, or dishes on cooked food that previously touched raw ingredients (like raw meat or unwashed vegetables) without thorough washing and sanitizing in between.
- Hand Washing: Wash your hands thoroughly with soap and warm water for at least 20 seconds after handling raw ingredients, using the restroom, or before starting any food preparation.
- Avoid Room Temperature Exposure: Do not leave perishable foods sitting out at room temperature for extended periods (generally no more than two hours). This includes baked goods with dairy-based or cream fillings, which should be refrigerated promptly.
- Never Leave Cooking Unattended: Always keep a watchful eye on food that is cooking, especially when using an oven or stovetop, to prevent burning and potential fire hazards.
- High Smoke Point Oils: When cooking with oils, choose those with a high smoke point (e.g., canola, grapeseed, or refined avocado oil) to avoid producing harmful compounds and unpleasant flavors.
- Ensure Ventilation: Always use good ventilation when operating a gas stove or oven to prevent the buildup of carbon monoxide and ensure proper air circulation.
For further comprehensive information on safe food handling practices, please refer to reliable sources such as the Safe Food Handling guide from the FDA. Your health and safety in the kitchen are always the top priority.
