The Ultimate Easy No-Bake Pineapple Dessert: A Tropical Dream with Whipped Cream
Imagine a dessert that’s both effortlessly delicious and delightfully simple to create. This pineapple dessert with whipped cream fits the bill perfectly! It’s the kind of outstanding no-bake treat you can whip up in minutes, requiring only two core ingredients: juicy pineapples and luscious whipped cream. Forget about slaving over a hot oven; this recipe promises a refreshing escape, especially on a sweltering summer day.
Whether you’re hosting a family gathering, firing up the grill for a summer barbecue, or simply craving a sweet and refreshing end to your dinner, this easy pineapple dessert is an absolute winner. Its sweet, tangy flavor and creamy texture hit just the right spot, making it an instant crowd-pleaser and your go-to recipe for any occasion.
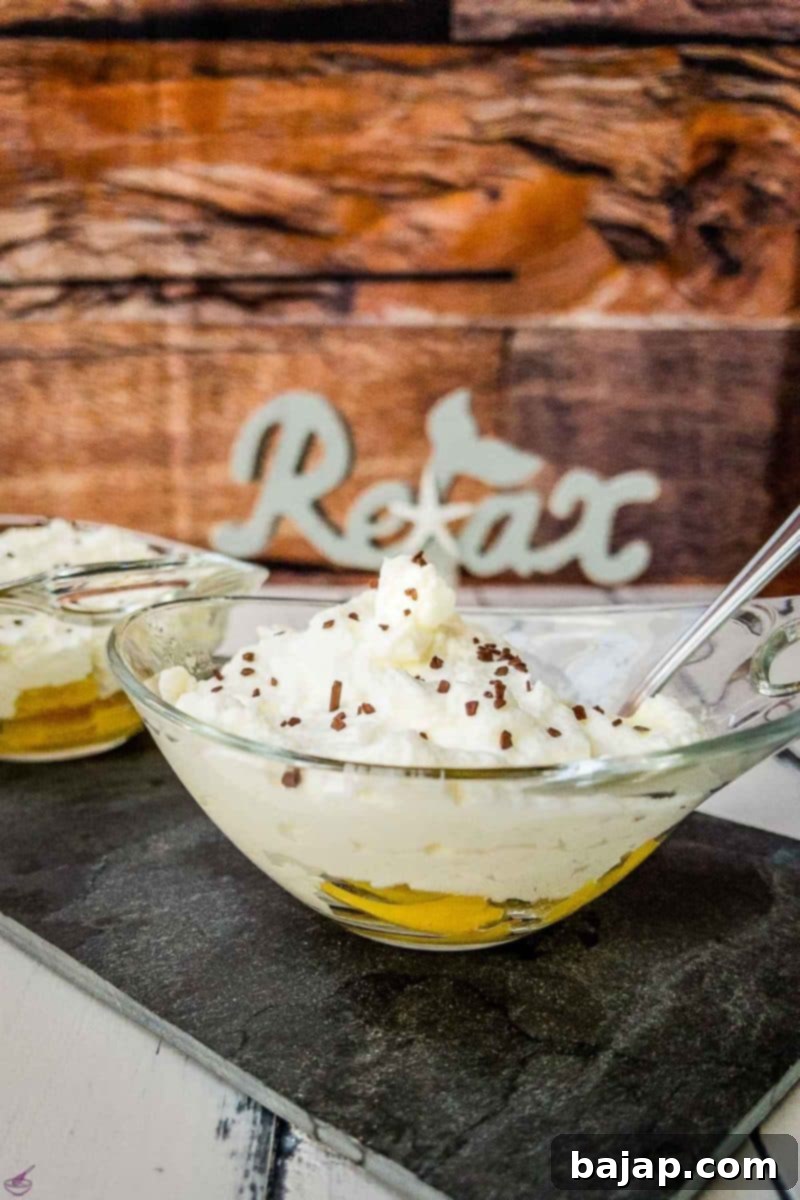
The beauty of this dessert lies not only in its minimal effort but also in the vibrant, naturally sweet taste of pineapple. Its inherent juiciness provides a wonderful contrast to the rich, airy whipped cream, creating a harmonious balance that delights the palate. Say goodbye to heavy, complicated desserts and embrace the refreshing simplicity of this easy pineapple dessert.
If you’re constantly on the lookout for more quick and easy dessert ideas, especially for those lazy summer days or spontaneous get-togethers, you’re in luck! After mastering this pineapple delight, why not explore other no-bake wonders? Consider our fantastic no-bake chocolate ricotta cheesecake for a decadent twist or a delightful eggnog milkshake for a unique treat. For those who adore pineapple in all its forms, don’t miss out on this classic easy pineapple upside down cake!
🥘 Essential Ingredients for Your Tropical Treat
One of the most appealing aspects of this dessert is its incredibly short ingredient list. You likely have most of these on hand already, making it a perfect last-minute indulgence. Quality ingredients make a difference, even in the simplest recipes, so choose wisely!
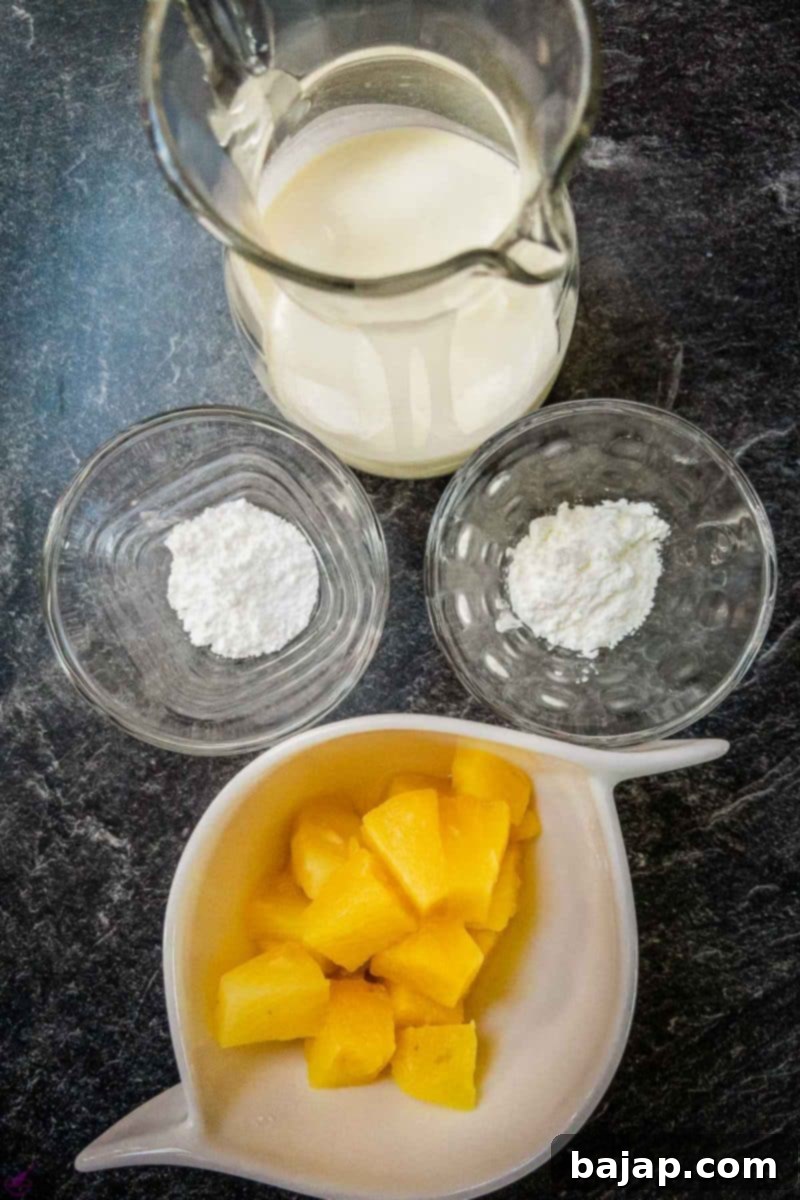
- Canned Pineapple: We recommend using canned pineapple chunks or crushed pineapple for convenience. Ensure it’s packed in its own juice, not heavy syrup, for the best natural flavor. Draining the pineapple well is crucial to prevent the dessert from becoming watery.
- Heavy Whipping Cream: Look for heavy cream with at least 36% milk fat for optimal whipping and stability. The colder the cream, the better it will whip!
- Cornstarch and Powdered Sugar: This duo acts as a fantastic homemade cream stiffener. The cornstarch helps stabilize the whipped cream, preventing it from weeping or deflating too quickly, while powdered sugar adds sweetness and further aids in stabilization. It’s a pantry staple solution!
- Chocolate Sprinkles: An optional but highly recommended touch for decorating! They add a lovely visual appeal and a hint of chocolatey crunch that pairs surprisingly well with the tropical pineapple.
For precise quantities and a printable recipe, please refer to the recipe card below.
🔪 Step-by-Step Instructions: Creating Your Dream Dessert
Creating this delightful pineapple and whipped cream dessert is incredibly straightforward. Follow these simple steps for a perfect, refreshing treat every time.
Step 1: Prepare the Whipped Cream
To achieve perfectly stable and fluffy whipped cream, begin by pouring your cold heavy whipping cream into a high-sided mixing bowl. Adding cornstarch and powdered sugar at this stage is key. These ingredients aren’t just for sweetness; they act as a natural stabilizer, preventing your whipped cream from becoming runny, especially on warmer days. You can certainly use a store-bought cream stiffener if you prefer, but I find cornstarch and powdered sugar work wonderfully and are always readily available in my pantry.
Now, using a hand mixer or a stand mixer with a whisk attachment, whip the cream, cornstarch, and powdered sugar together until it forms nice, firm peaks. Be careful not to over-whip, as it can turn granular. Once firm, set the whipped cream aside. On exceptionally hot days, it’s highly recommended to place it in the refrigerator to maintain its perfect consistency while you prepare the pineapple.
Step 2: Prepare the Pineapple
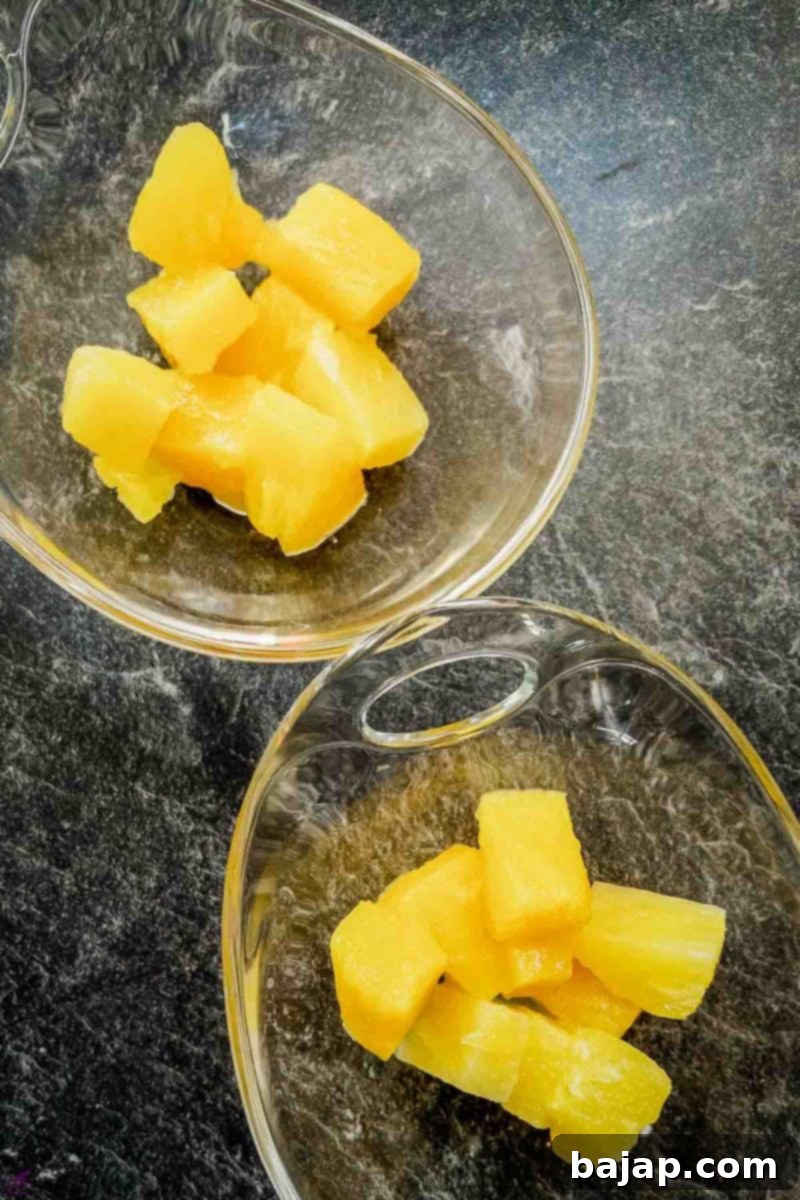
Carefully open your can of pineapple. Using a small sieve, thoroughly drain the pineapple chunks, separating them from the juice. It’s important to catch the pineapple juice in a separate container – don’t discard it! This liquid gold can be used later to enhance the juiciness and flavor of your dessert. Once drained, evenly divide the pineapple chunks between your two chosen serving bowls. This ensures each serving gets an equal amount of tropical goodness.
If you’re opting for fresh pineapple instead of canned, an excellent choice for an even brighter flavor, you’ll need to peel and core it first. Refer to our FAQ section below for detailed instructions on how to properly peel and prepare a fresh pineapple. Once peeled, cut it into small, bite-sized chunks.
Step 3: Layering and Serving
With your pineapple and whipped cream ready, it’s time to assemble this beautiful dessert. Start by ensuring an even layer of pineapple chunks forms the base in each serving bowl. This creates a solid foundation for the creamy layers to come.
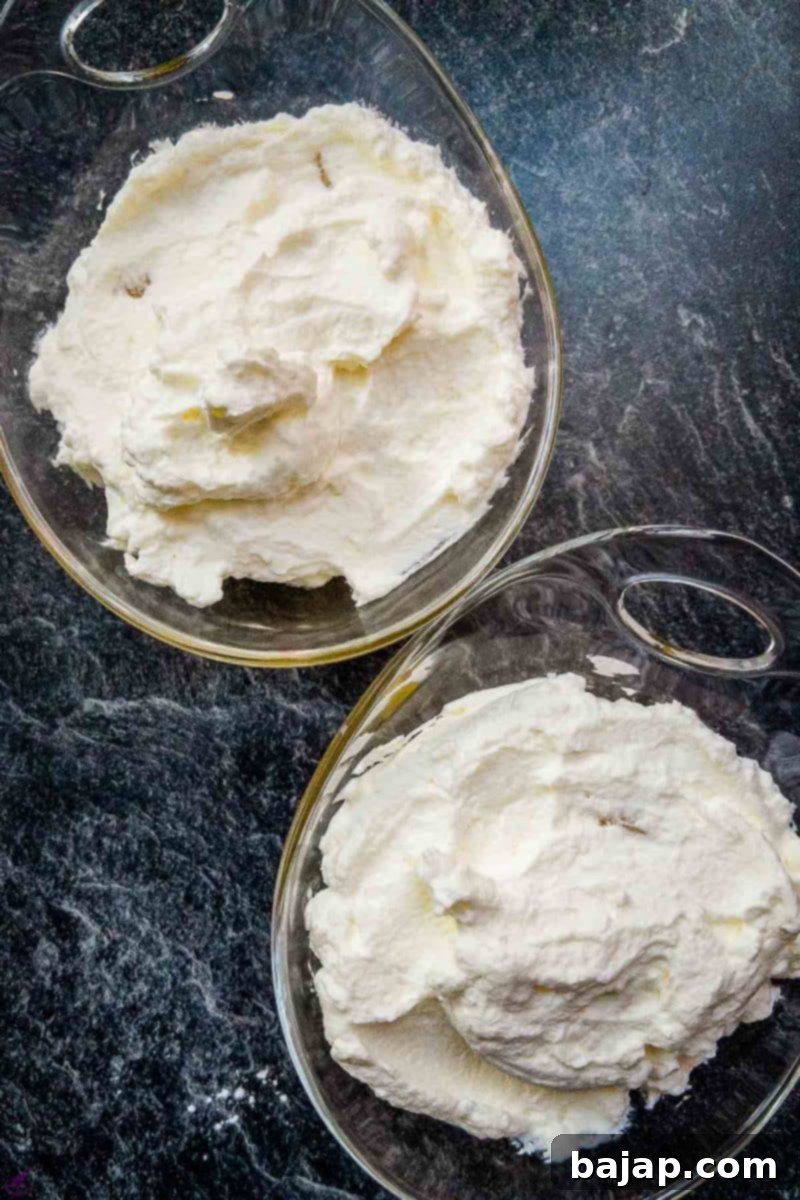
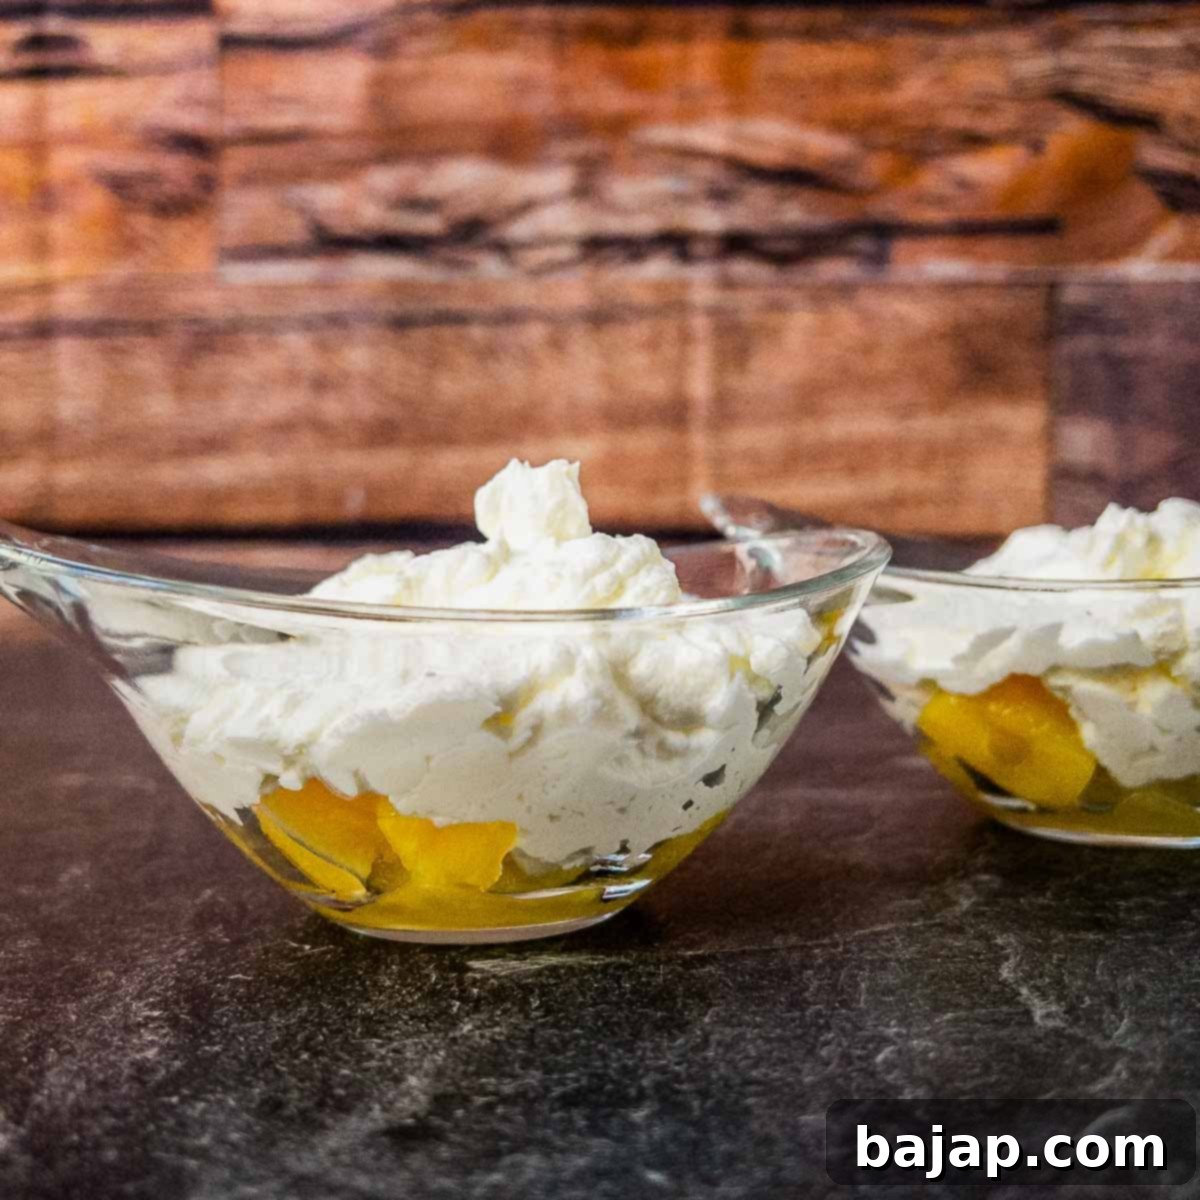
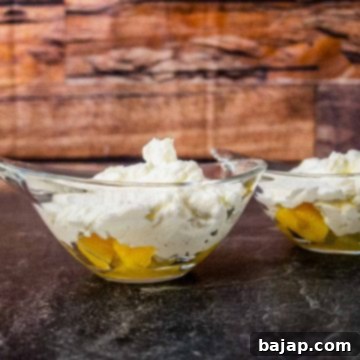
Next, add a generous layer of your firm whipped cream on top of the pineapple. Divide the whipped cream equally between the two bowls, creating a beautiful contrast in color and texture. Spread it gently to cover the pineapple completely, forming a smooth, inviting surface.
Optional Tip for Extra Juiciness: For those who love an even more succulent pineapple dessert, you can now drizzle the reserved pineapple juice over the whipped cream layer. This will soak down into the pineapple chunks and infuse every bite with even more tropical flavor and moisture. Don’t overdo it, though, to maintain the dessert’s consistency.
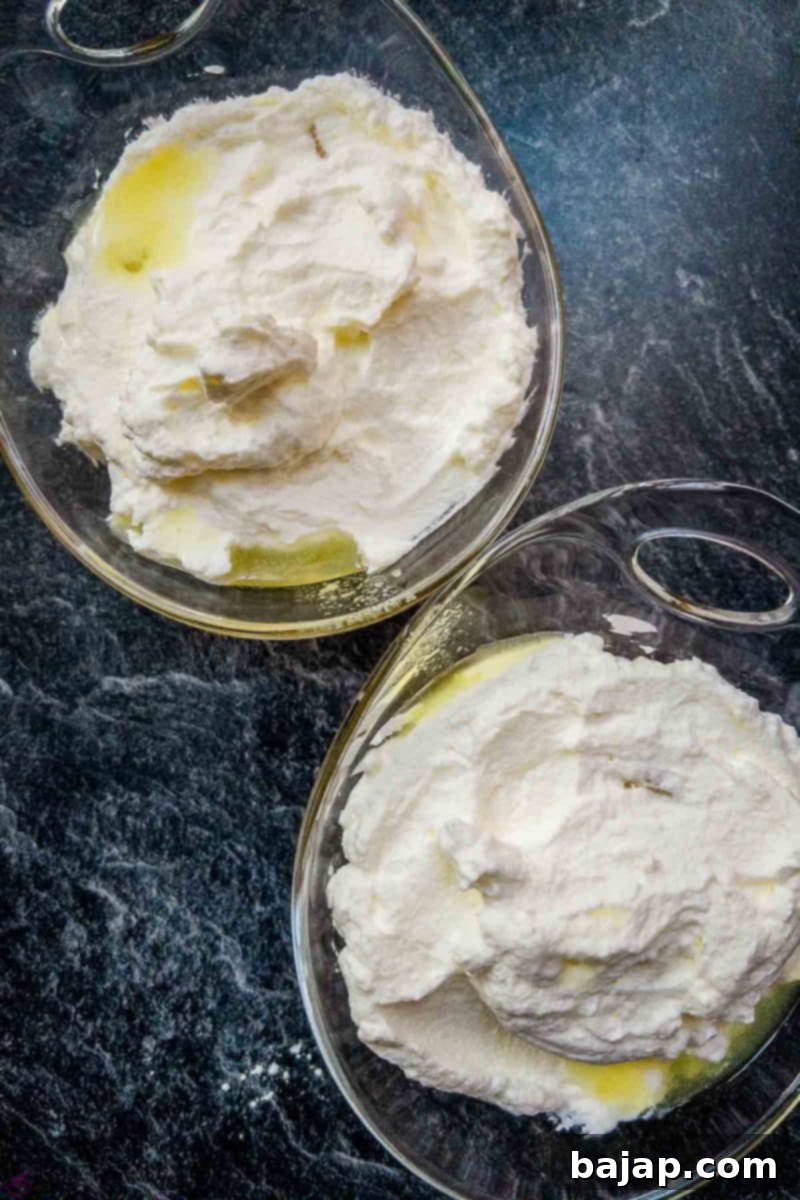
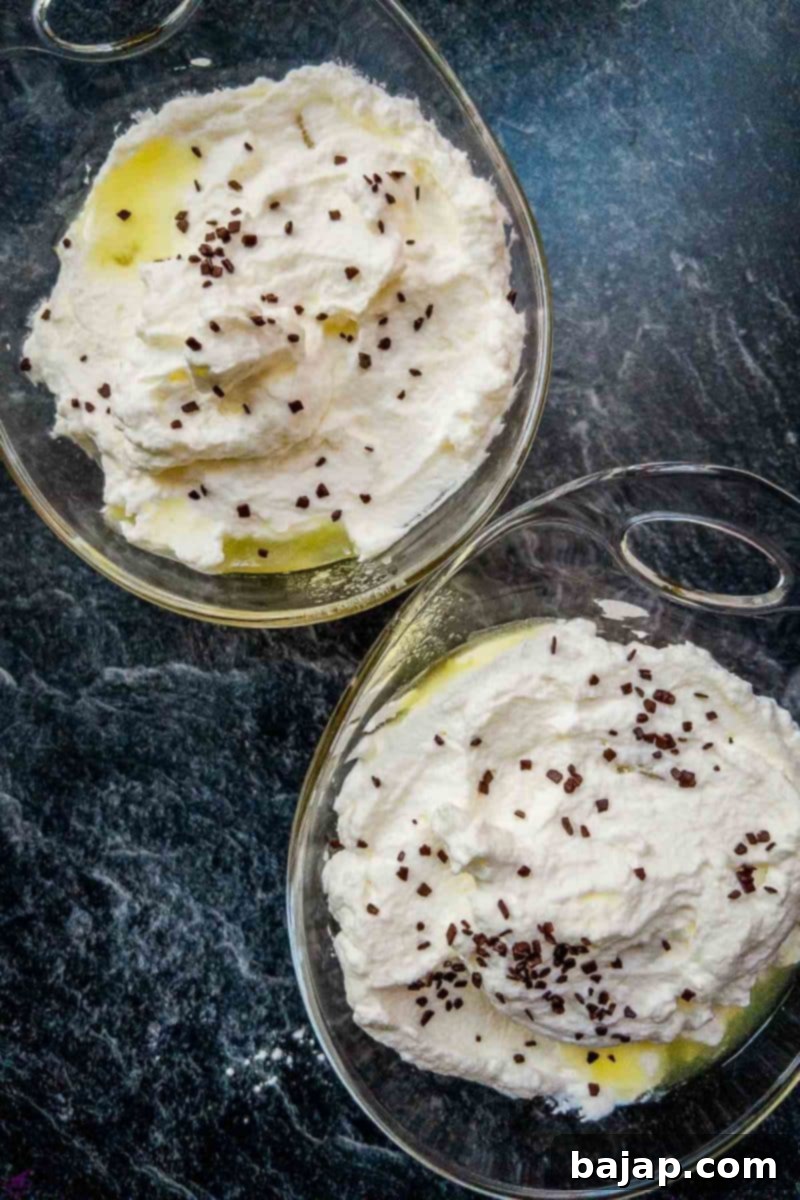
Finally, for that perfect finishing touch, liberally sprinkle your chocolate chips or desired garnish over the top. This adds a delightful textural element and a touch of elegance. And just like that, your incredibly easy, utterly refreshing, and satisfying no-bake pineapple dessert is ready to be enjoyed!
Enjoy every delightful spoonful!
🥜 Creative Substitutions for Every Dietary Need
This recipe is wonderfully adaptable, allowing for various substitutions to cater to different dietary preferences or ingredient availability. Don’t hesitate to experiment and make it your own!
- Vegan Pineapple Dessert: To transform this into a vegan-friendly treat, simply replace the dairy whipped cream with a plant-based alternative. There are many fantastic options available, each offering a slightly different flavor profile.
- Coconut Whipped Cream: Offers a subtle tropical note that beautifully complements pineapple. Ensure you use full-fat canned coconut milk, chilled overnight, and only scoop out the thick cream.
- Oat, Soy, or Pea-based Whipped Topping: These options typically have a more neutral flavor, letting the pineapple shine.
- Almond Whipped Topping: Another popular choice that’s light and airy.
- Cream Stiffener Substitute: As mentioned, our recipe uses cornstarch and powdered sugar as an excellent homemade alternative to commercial cream stiffeners. This blend provides the necessary stability for your whipped cream, ensuring it holds its shape without extra purchases. If you prefer, however, you can use a pre-packaged whipped cream stabilizer according to package directions.
Reddi-Wip Non-Dairy Coconut Milk Whipped Topping
365 by Whole Foods Market Oat-Based Whipped Topping
Reddi-Wip Non-Dairy Almond Milk Whipped Topping
365 by Whole Foods Market Plant-Based Whipped Topping
🍍 Delightful Variations to Elevate Your Pineapple Dessert
While delicious in its simplest form, this easy pineapple dessert is also a fantastic canvas for culinary creativity. Here are some exciting variations to “pimp” your dessert and impress your guests:
- Nuts for Crunch: Nuts add a wonderful texture and depth of flavor. Coconut flakes (toasted or raw), finely chopped hazelnuts, walnuts, or almonds all pair exceptionally well with the tropical notes of pineapple. Sprinkle them generously on top as a crunchy garnish.
- Ice Cream Layer: For an even more indulgent and cooling treat, consider adding a third layer of ice cream. A scoop of classic vanilla ice cream placed between the pineapple and whipped cream layers would be divine. Other complementary flavors like coconut, mango, or even a subtle rum raisin ice cream could also create a memorable experience.
- Cookie Crumbles: Instead of traditional chocolate or nuts, use crushed cookies as a delightful, crunchy topping.
- Graham Crackers: Provide a classic, buttery sweetness.
- Oreo Cookies: Add a rich chocolatey flavor and distinct crunch.
- Biscoff Cookies: Offer a spiced, caramelized note that beautifully complements pineapple.
- Simply crush your chosen cookies and sprinkle them over the top for an irresistible texture contrast.
- Aromatic Spices: Introduce a subtle complexity by infusing your dessert with certain spices.
- Vanilla: A touch of grated vanilla bean or pure vanilla extract in the whipped cream can elevate its flavor significantly.
- Ginger: A pinch of ground ginger or finely grated fresh ginger can add a warm, zesty kick that brightens the pineapple.
- Pink Pepper: For an unexpected gourmet touch, gently crush a few pink peppercorns and steep them in the reserved pineapple juice. Drizzle this spiced juice over the pineapple layers for a subtle floral and peppery note.
- Star Anise: A small amount of star anise, perhaps steeped in the pineapple juice (and then removed), can impart a subtle licorice-like aroma that enhances the exotic feel.
- Chili: For the adventurous palate, a tiny pinch of chili powder or a finely minced fresh chili can create an exciting sweet-and-spicy dynamic. Use sparingly!
- Saffron: The highly prized saffron not only offers potential immune system support but also imparts a truly extraordinary, delicate flavor and beautiful golden hue. For the best effect, gently steep a few saffron threads in a small amount of warm pineapple juice or a little warm milk (if not vegan) for about 10-15 minutes before adding to your dessert.
🍽 Simple Equipment for a Simple Dessert
You won’t need any fancy gadgets for this easy pineapple dessert! Most of these items are probably already in your kitchen drawers:
- Hand Mixer: Essential for quickly whipping your cream to perfect peaks. A stand mixer with a whisk attachment works equally well.
- High Mixing Bowl: A deep bowl prevents splattering while whipping cream and helps keep everything contained.
- Small Strainer: Crucial for separating the pineapple chunks from their juice.
- Dessert Bowls for Serving: Individual clear glasses or bowls beautifully showcase the layers of this vibrant dessert.
🌡 Storage & Freshness Tips
This pineapple dessert is truly best enjoyed fresh. It’s not ideal for extended storage, as the delicate whipped cream can lose its perfect consistency over time, and the pineapple might release too much moisture. For the ultimate taste and texture, assemble and serve it immediately after preparation.
💭 Top Tip for Perfection!
To ensure the best possible taste, texture, and visual appeal, always prepare this pineapple dessert with whipped cream just before serving. The longer it sits, especially in warm conditions, the more the whipped cream risks becoming watery and losing its fluffy consistency. Freshness is key to this simple dessert’s success!
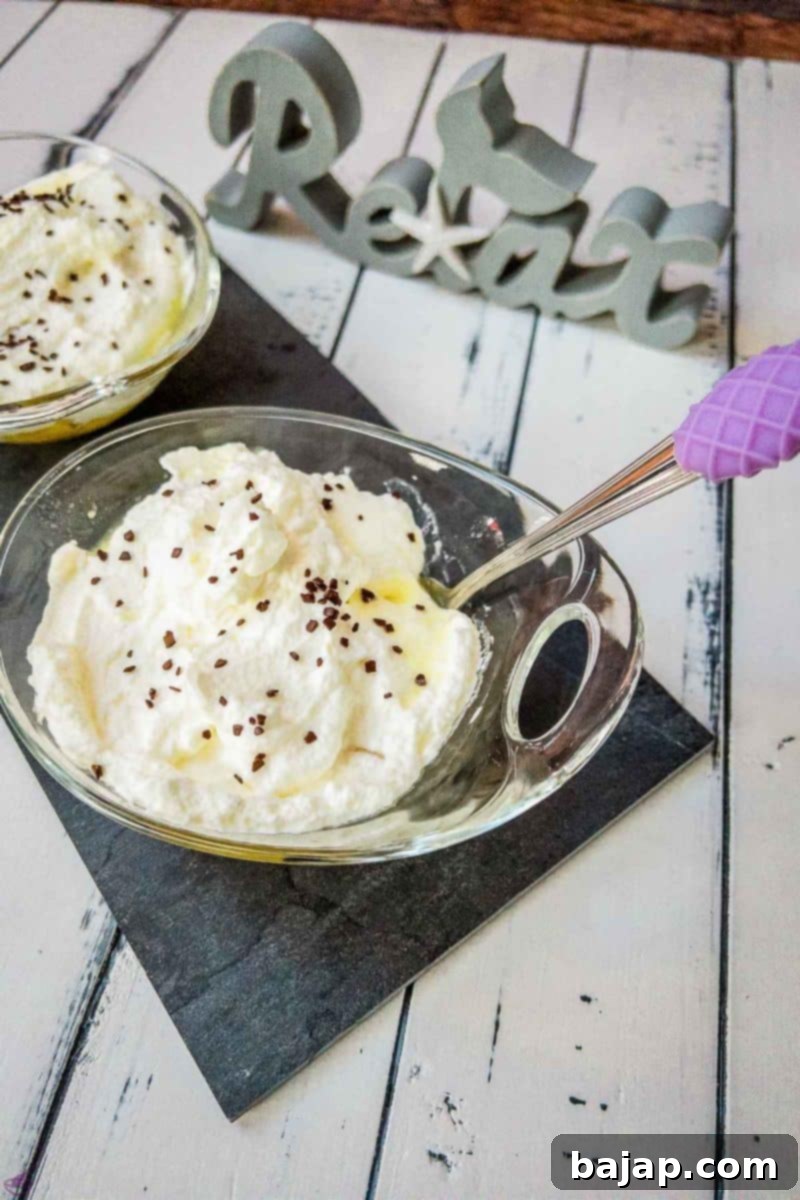
In the mood for more delicious recipes that are perfect for any occasion? Then stop by and check out the following posts for more inspiration:
- Pineapple Dessert Recipe Roundup
- Sweet and Spicy Smoked Pineapple created by cookwhatyoulove.com
- Pineapple Cucumber Juice created by keeshaskitchen.com
- Watermelon Sorbet (created by thriftyjinxy.com)
- Fruit Cocktail (created by texanerin.com)
🙋🏻 Frequently Asked Questions about Pineapple Desserts
If you decide to use fresh pineapple for this dessert, peeling it can seem daunting, but it’s quite simple with the right technique. Here’s how:
Lay the pineapple horizontally on your cutting board. Using a sturdy, medium-sized chef’s knife, first cut off the leafy green crown (flower base) of the fruit. Repeat this process for the bottom of the pineapple, creating two flat, stable surfaces. This preparation is crucial as it allows you to stand the pineapple upright on the cutting board without it wobbling, making the next steps much safer and easier.
The pineapple skin is slightly curved. To remove it, position your knife at the top and carefully slice downwards, following the natural curve of the fruit. Continue rotating the pineapple and cutting off strips of peel, always angling your knife to remove as much of the tough outer skin as possible while preserving the sweet flesh beneath.
Once the majority of the skin is removed, you’ll notice small brownish, prickly “eyes” arranged in diagonal rows. These are not edible and need to be removed. Use a small paring knife to carefully cut V-shaped grooves along these diagonal rows, effectively removing the eyes. This method minimizes waste and leaves you with perfectly prepared pineapple flesh, ready for slicing or dicing into chunks for your dessert.
Yes, pineapples do contain fructose, a natural sugar. Unfortunately, this means they may not be very suitable for individuals with fructose malabsorption, as consuming high-fructose foods can lead to digestive discomfort. However, there’s a helpful trick that might allow you to enjoy a small portion of this delicious fruit.
You can mitigate some of the discomfort by mixing dextrose (glucose) into the pineapple and its juice. Dextrose is a monosaccharide that can help with the absorption of fructose in the small intestine, potentially reducing symptoms. When preparing this dessert, try adding a teaspoon or two of dextrose to your drained pineapple chunks or mixing it into the reserved pineapple juice before drizzling. This method may help your body process the fructose more effectively, leading to less discomfort after enjoying your sweet treat. Always consult with a healthcare professional or a registered dietitian if you have specific dietary concerns or medical conditions.
While this dessert is best made just before serving for optimal texture and appearance, you can do some prep work in advance. You can whip the cream (and store it covered in the fridge) and drain the pineapple a few hours ahead. However, for the freshest taste and to prevent the whipped cream from becoming runny or the pineapple from releasing too much liquid into the cream, it’s always recommended to assemble the layers no more than 30 minutes to an hour before you plan to serve it. This ensures that every spoonful is perfectly fresh and delightful.
If you make this incredibly easy and delicious no-bake pineapple dessert, I would absolutely love to know how you liked it! Please consider rating it with a ★★★★★ star rating and leaving a comment below. Your feedback is truly awesome and helps others discover this fantastic recipe! You can also sign up for our Newsletter to get weekly delicious homemade recipes delivered straight to your inbox, or follow me on Pinterest or Instagram and share your creation with me. Just tag me @combinegoodflavors and use the hashtag #combinegoodflavors, so I don’t miss your culinary masterpiece!
📖 Recipe Card: My Favorite Pineapple Dessert
My Favorite Easy No-Bake Pineapple Dessert Recipe
By Nora
Save RecipeSaved!
Pin Recipe
Equipment
-
Hand mixer
-
Mixing bowl
-
Small strainer
-
2 Dessert bowls for serving
Ingredients
- 4.9 oz Canned pineapple drained weight
- 1 ⅛ cup Heavy Whipping Cream
- 1 teaspoon Cornstarch
- 1 teaspoon Powdered sugar
- Chocolate sprinkles for decorating
Instructions
-
Pour the cold heavy whipping cream into a high-sided mixing bowl. Add the cornstarch and powdered sugar to help stabilize it.1 ⅛ cup Whipped cream, 1 teaspoon Cornstarch, 1 teaspoon Powdered sugar
-
Whip the cream, cornstarch, and powdered sugar together using a hand mixer until firm peaks form. Be careful not to over-whip. Place the whipped cream in the fridge while you prepare the pineapple, especially on hot days.
-
Open the canned pineapple and use a small sieve to thoroughly strain the pineapple chunks from their juice.4.9 oz Canned pineapple
-
Catch the drained pineapple juice in a small container; you can use it later for extra juiciness.
-
Divide the strained pineapple chunks evenly between two individual serving bowls. These will form the base layer of your dessert.
-
Carefully spoon a generous layer of the firm whipped cream on top of the pineapple chunks in each bowl. Spread it gently to create a smooth, even surface.
-
Finally, sprinkle with chocolate chips or your chosen garnish. Serve immediately and enjoy your delicious no-bake pineapple dessert!Chocolate sprinkles
Optional Enhancement for Juiciness
-
To make your pineapple dessert even juicier and infuse more tropical flavor, you can drizzle the pineapple juice you previously set aside evenly between the two bowls, just before adding the sprinkles.
Nutrition values are estimates only, using online calculators. Please verify using your own data.

More Delicious Desserts to Explore!
- No-bake Lotus Biscoff Cake Pops
- Boozy Eggnog Milkshake
- No-bake Candy Cane Oreo Cake Pops
- No-Bake Chocolate Ricotta Cheesecake
⛑️ Important Food Safety Guidelines
Ensuring food safety is paramount, even with simple no-bake desserts. Here are some essential guidelines to keep in mind:
- Temperature Control: If any ingredients require cooking (though not for this particular no-bake recipe), always cook them to a minimum internal temperature of 165 °F (74 °C) to ensure harmful bacteria are eliminated.
- Cross-Contamination: Always use separate utensils, cutting boards, and plates for raw and cooked foods, especially if you’re preparing other dishes alongside this dessert. Never use the same utensils that previously touched raw meat on cooked or ready-to-eat foods.
- Handwashing: Wash your hands thoroughly with soap and warm water for at least 20 seconds before and after handling food, especially after touching raw ingredients.
- Avoid Extended Room Temperature: Do not leave perishable food items, like whipped cream, sitting out at room temperature for extended periods (typically more than 2 hours). This encourages rapid bacterial growth. Always refrigerate promptly.
- Supervision: Never leave cooking food unattended. While this is a no-bake recipe, if you’re toasting nuts or using a stove for another component, always monitor it closely.
- Oil Safety (if applicable): If your recipe calls for cooking with oil, choose oils with a high smoking point to avoid producing harmful compounds. Ensure good ventilation when using a gas stove.
For further comprehensive information on safe food handling practices, please refer to the official guidelines from the U.S. Food and Drug Administration (FDA).
