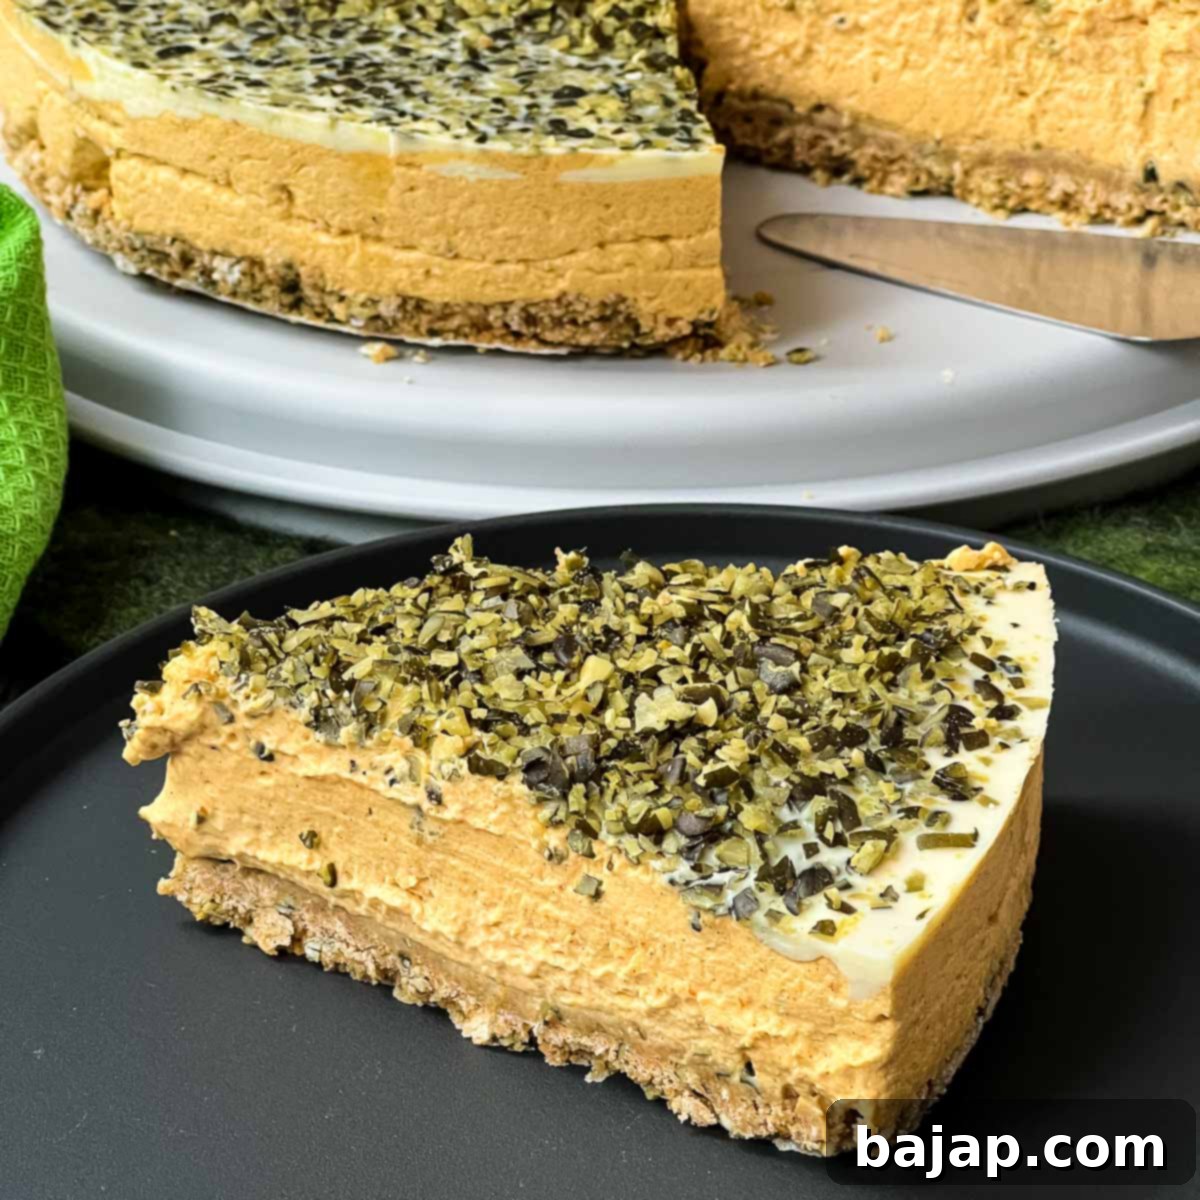
Easy No-Bake Pumpkin Cheesecake: Your Perfect Fall Dessert Recipe
As the leaves begin to turn vibrant shades of red and gold, and a crisp coolness fills the air, autumn truly signals the arrival of pumpkin season! And what better way to celebrate this cozy time of year than with a truly exceptional pumpkin dessert? Forget turning on your oven and fussing with complicated steps – our Easy No-Bake Pumpkin Cheesecake is here to become your new fall favorite.
This delightful dessert is designed for simplicity without sacrificing flavor or texture. It boasts an incredibly fluffy, melt-in-your-mouth consistency and a charming, rich pumpkin taste that will impress everyone. Best of all, it comes together in a jiffy, making it perfect for busy weeknights, holiday gatherings, or simply when a pumpkin craving strikes.
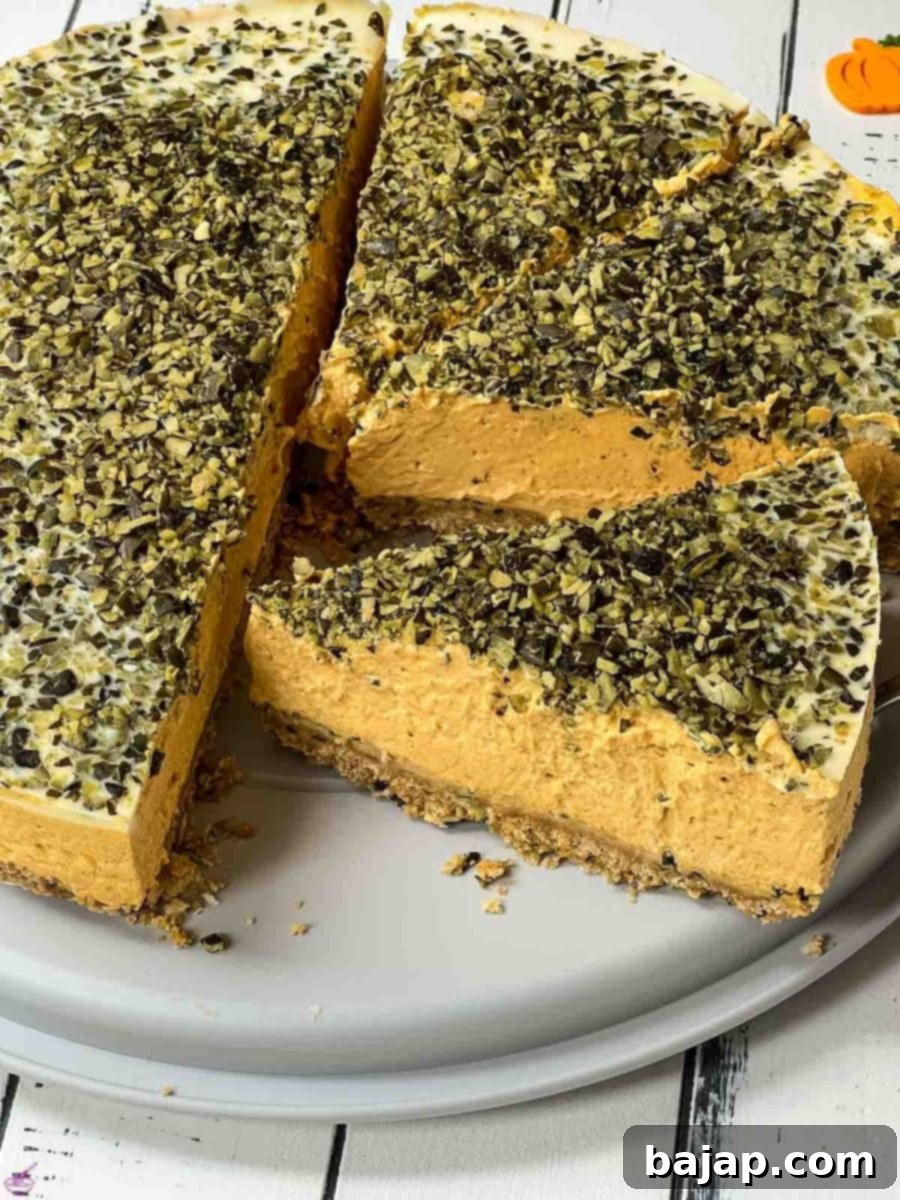
The foundation of this cheesecake is a unique and incredibly tasty crust, a perfect blend of crunchy graham crackers and finely grated pumpkin seeds. This combination adds a wonderful depth of flavor and texture that complements the creamy filling perfectly. For ultimate convenience, this recipe primarily uses unsweetened canned pumpkin purée.
However, if you’re a fan of fresh, vibrant pumpkin flavor, don’t worry! We’ve also included detailed instructions for preparing your own pumpkin purée from scratch. You’ll find these simple steps outlined later in this post, as well as conveniently within the recipe card.
Beyond being a fantastic stand-alone treat, this pumpkin cheesecake makes an exquisite dessert after a hearty autumn meal. Imagine it following a comforting chestnut and porcini mushroom soup or a sophisticated grilled venison with Brussels sprouts with chestnuts and bacon! Its light yet rich flavor provides a perfect end to any memorable fall feast.
Why You’ll Fall in Love with This No-Bake Pumpkin Cheesecake
There are countless reasons to adore this recipe, making it a must-try for pumpkin lovers everywhere:
- Effortless Preparation: No baking means no oven needed! This frees up your oven for other dishes, especially valuable during holiday cooking.
- Quick to Assemble: The hands-on time is minimal, allowing you to whip up this impressive dessert in under an hour.
- Irresistible Texture: The filling is wonderfully fluffy and creamy, contrasting beautifully with the slightly crunchy, flavorful crust.
- Authentic Fall Flavors: Packed with real pumpkin and warm autumn spices, it truly captures the essence of the season.
- Customizable: Easily adapt the spices, crust, or toppings to suit your preferences.
- Perfect for Any Occasion: From casual family desserts to elegant holiday spreads, this cheesecake fits right in.
- Make Ahead Friendly: It requires chilling, making it an ideal make-ahead dessert to reduce stress on the day of serving.
[feast_advanced_jump_to]
🥘 Key Ingredients for a Perfect Pumpkin Cheesecake
Creating a truly delicious no-bake pumpkin cheesecake starts with understanding the role each ingredient plays. Here’s a closer look at what you’ll need to build the ultimate fall dessert:
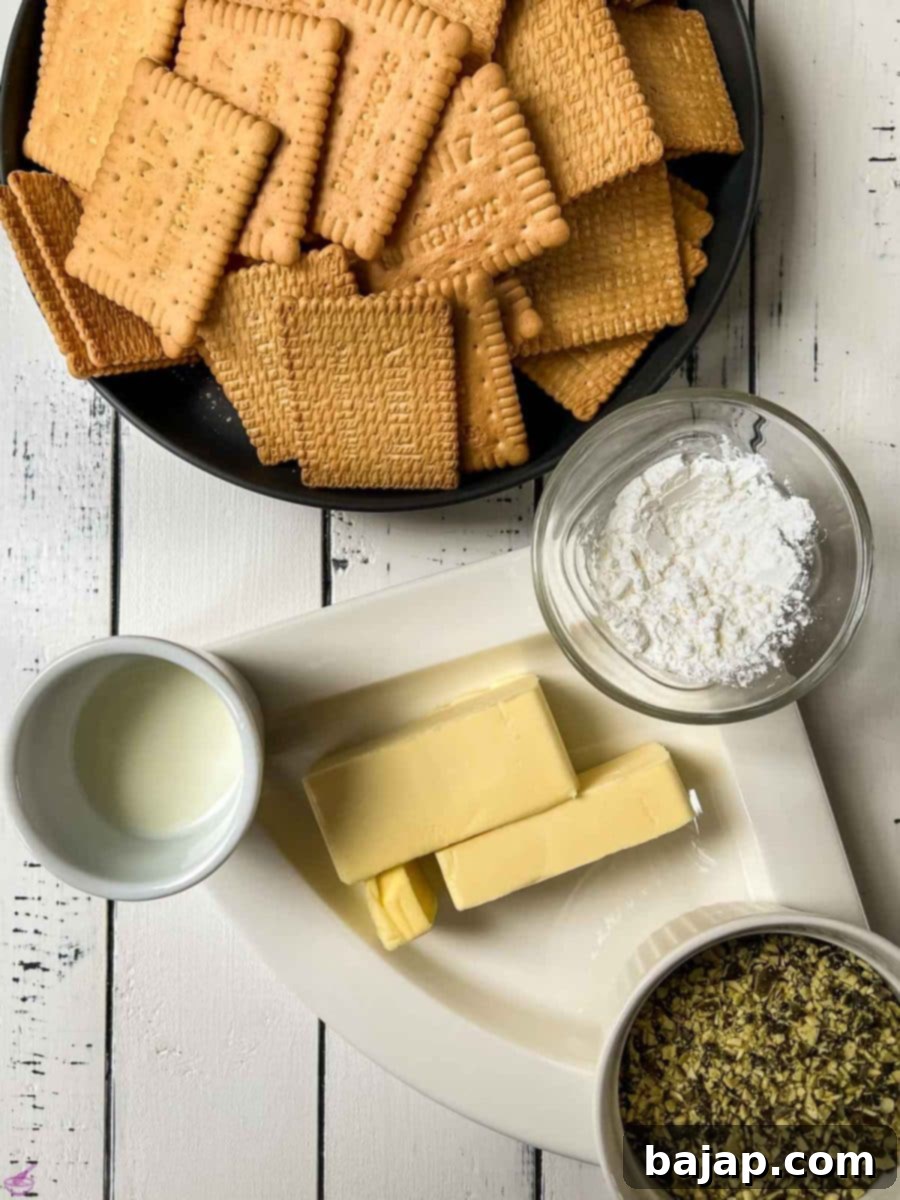
For the Crunchy Cracker Crust
- Graham crackers – These provide the classic crumbly base. If you’re in Europe, Petit beurre biscuits are a fantastic alternative. You can also save time by using ready-made graham cracker crumbs.
- Unsalted butter – Essential for binding the crust together and adding rich flavor.
- Milk – A small amount helps achieve the perfect consistency for the crust.
- Grated pumpkin seeds – These are the secret ingredient that elevates the crust, adding a delightful nutty flavor and extra crunch.
- Cornstarch – Used for preparing the springform pan to ensure easy release of the cheesecake slices.
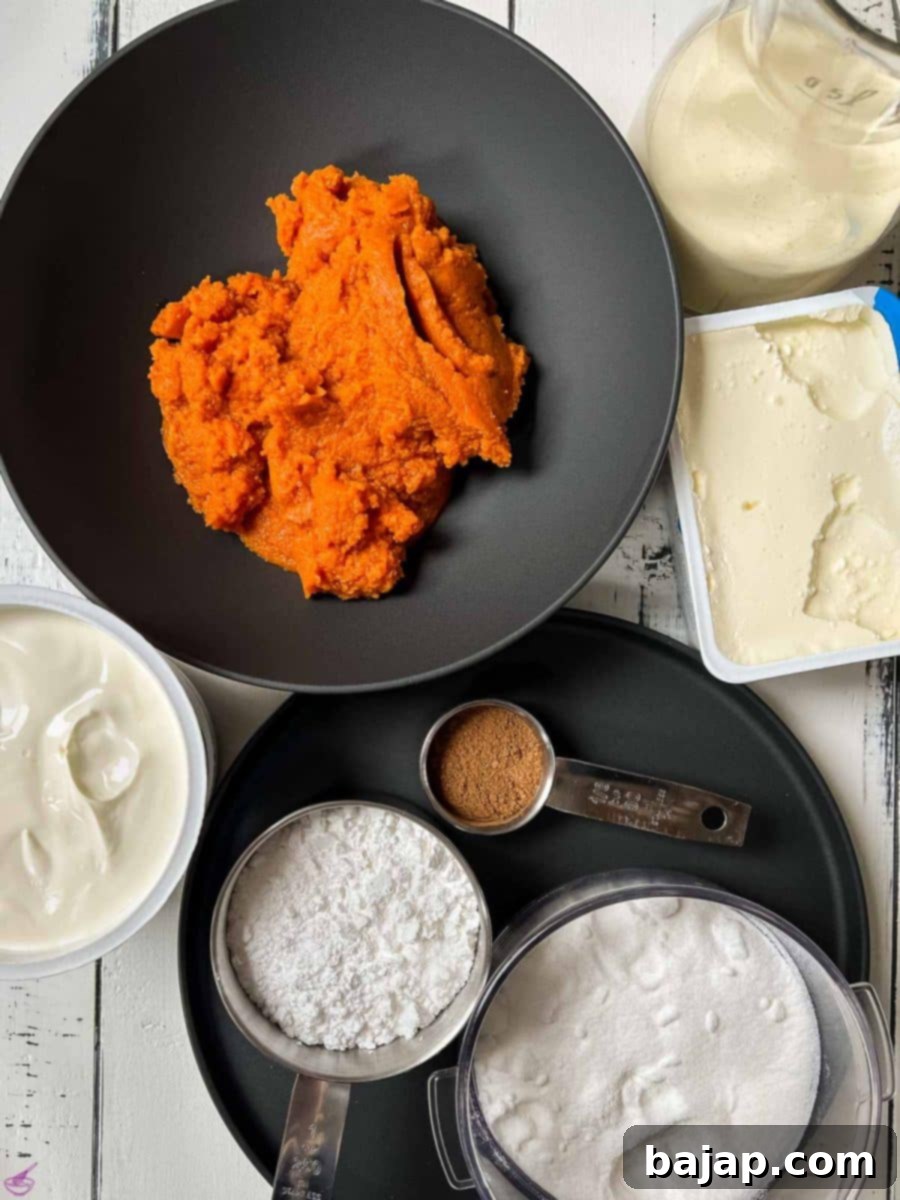
For the Creamy Pumpkin Cheesecake Filling
- Mascarpone – This Italian cream cheese provides an incredibly rich, luxurious, and smooth texture to the filling.
- Cream cheese – The classic cheesecake base, offering that signature tangy flavor. Use full-fat for the best results.
- Heavy whipping cream – Whipped until stiff, it contributes to the light and airy, fluffy texture of the cheesecake.
- Icing sugar (powdered sugar) – Dissolves easily for a perfectly smooth filling without any grainy texture.
- Pumpkin – fresh or canned – The star of the show! Unsweetened canned purée is convenient, but fresh pumpkin offers a more intense flavor.
- Granulated sugar – Sweetens the pumpkin purée to balance its earthy notes.
- Ground cinnamon – A classic fall spice that perfectly complements the pumpkin flavor. You could also use a pumpkin pie spice blend here.
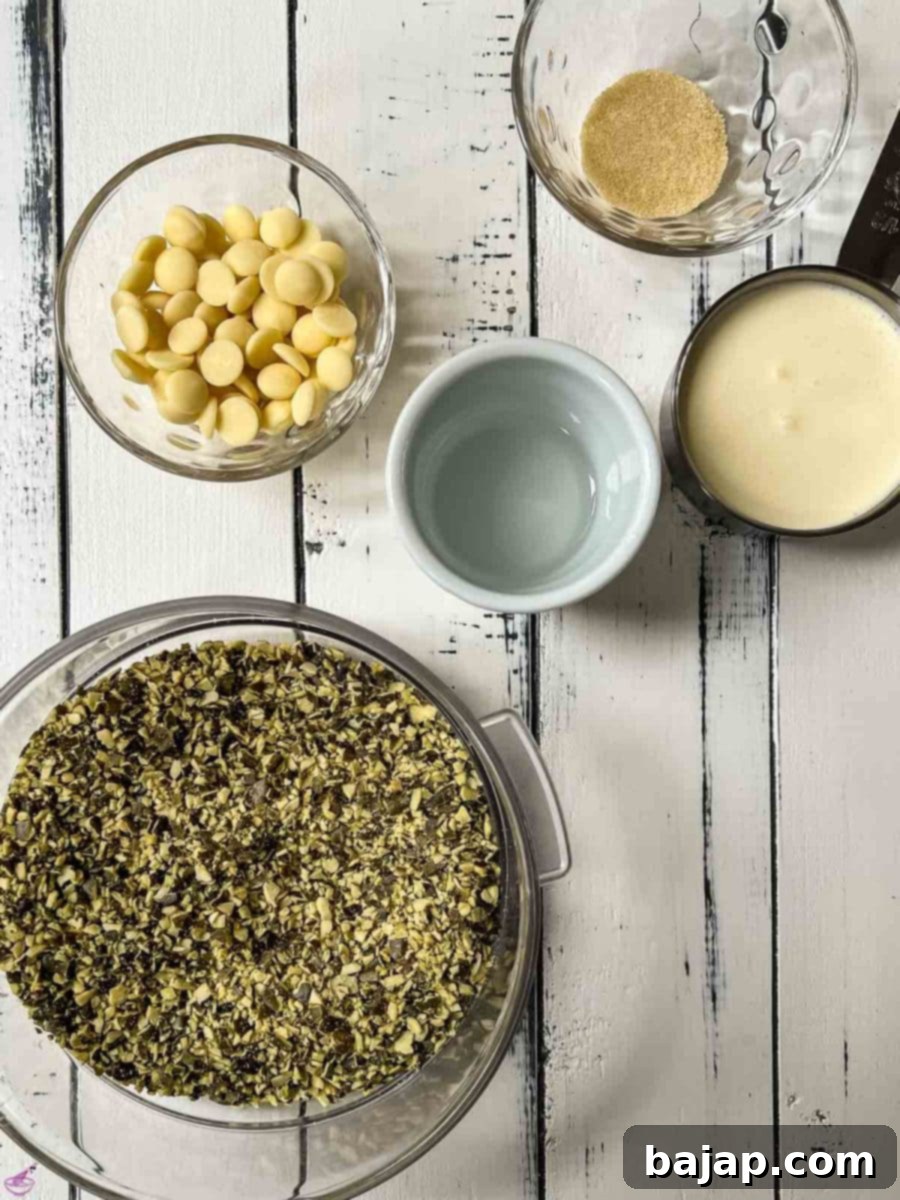
For the Decadent White Chocolate Pumpkin Seed Glaze
- Gelatin granules – The key to a perfectly set, shimmering glaze.
- Water – To hydrate the gelatin.
- Whipped cream – Adds richness and a smooth base to the glaze.
- White chocolate – Provides a sweet, creamy, and visually appealing finish.
- Grated pumpkin seeds – Sprinkled on top for extra texture and a beautiful presentation.
- Optional: Pumpkin pie spices – For a final aromatic dusting that enhances the fall flavor.
For exact quantities and detailed measurements, please refer to the comprehensive recipe card below.
🔪 Step-by-Step Instructions: Crafting Your No-Bake Pumpkin Cheesecake
Follow these easy steps to create a stunning and delicious pumpkin cheesecake that requires no oven time at all!
Step 1: The Flavorful Cookie Crust
The crust is the foundation of our cheesecake, offering a wonderful textural contrast to the creamy filling.
- Begin by creating your graham cracker crumbs. Place the crackers in a sturdy ziplock bag and use a rolling pin to crush them into fine crumbs. Alternatively, a universal chopper or food processor can accomplish this task quickly and efficiently.
- Once crushed, transfer the cracker crumbs to a mixing bowl. Add the grated pumpkin seeds and mix them well with a wooden spoon. This ensures the pumpkin seeds are evenly distributed, giving every bite a hint of nutty goodness.
- In a separate microwave-safe dish, combine the unsalted butter and milk. Heat on medium power until the butter is completely melted. In many microwaves, this takes about 3 x 30 seconds at 540 watts, but adjust as needed. You want the butter fully liquid.
- Crucially, set aside two tablespoons of this melted butter-milk mixture. This reserved liquid will be used later to prepare your springform pan for easy cake removal. Mix the remaining butter-milk mixture thoroughly with your crushed cookies and pumpkin seeds.
- For the best consistency, use a food processor with a paddle attachment (or flat beater) to combine everything until the cookie crumbs are well coated with the butter. If you don’t have a food processor, mixing by hand works perfectly fine; just ensure all crumbs are moistened. The mixture should feel somewhat sticky when pressed together.
- Now, prepare your springform pan (a 30 cm / 12-inch pan works best). Line the bottom with parchment paper, then brush the paper with the two tablespoons of melted butter you set aside earlier. This butter acts as a base for the cornstarch.
- Sprinkle cornstarch evenly over the buttered parchment paper. Gently shake the pan to ensure the cornstarch coats the entire bottom surface. This step is vital for preventing sticking and making it incredibly easy to remove slices later. Tip out any excess cornstarch.
- Place the prepared springform pan in the refrigerator for 2-3 minutes to chill slightly.
- Once the pan is ready, pour the biscuit-butter mixture into it. Using the bottom of a measuring cup or the back of a tablespoon, firmly and evenly press the mixture down across the entire base of the pan, extending to the edges. A well-pressed crust will be firm and hold its shape.
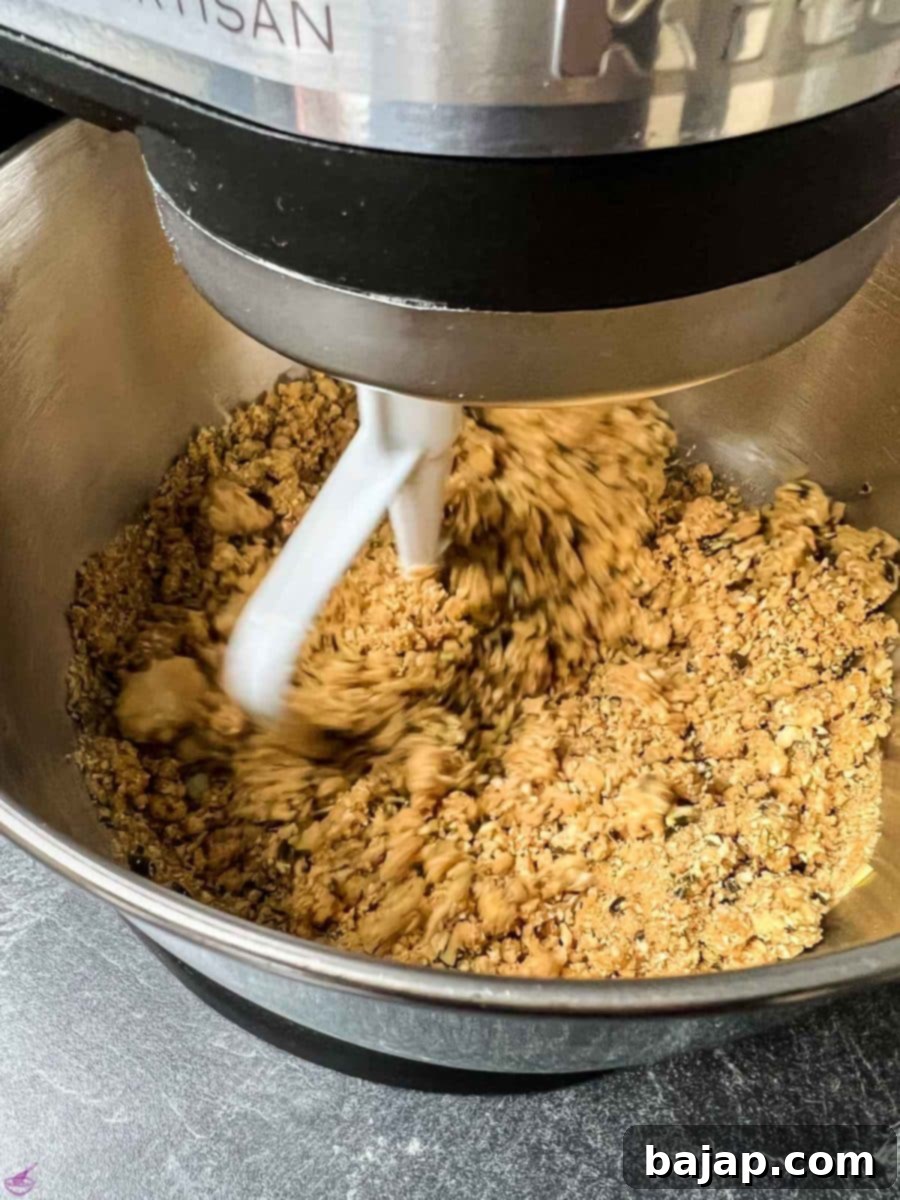
Tightly press the cookie crumbs into the pan.
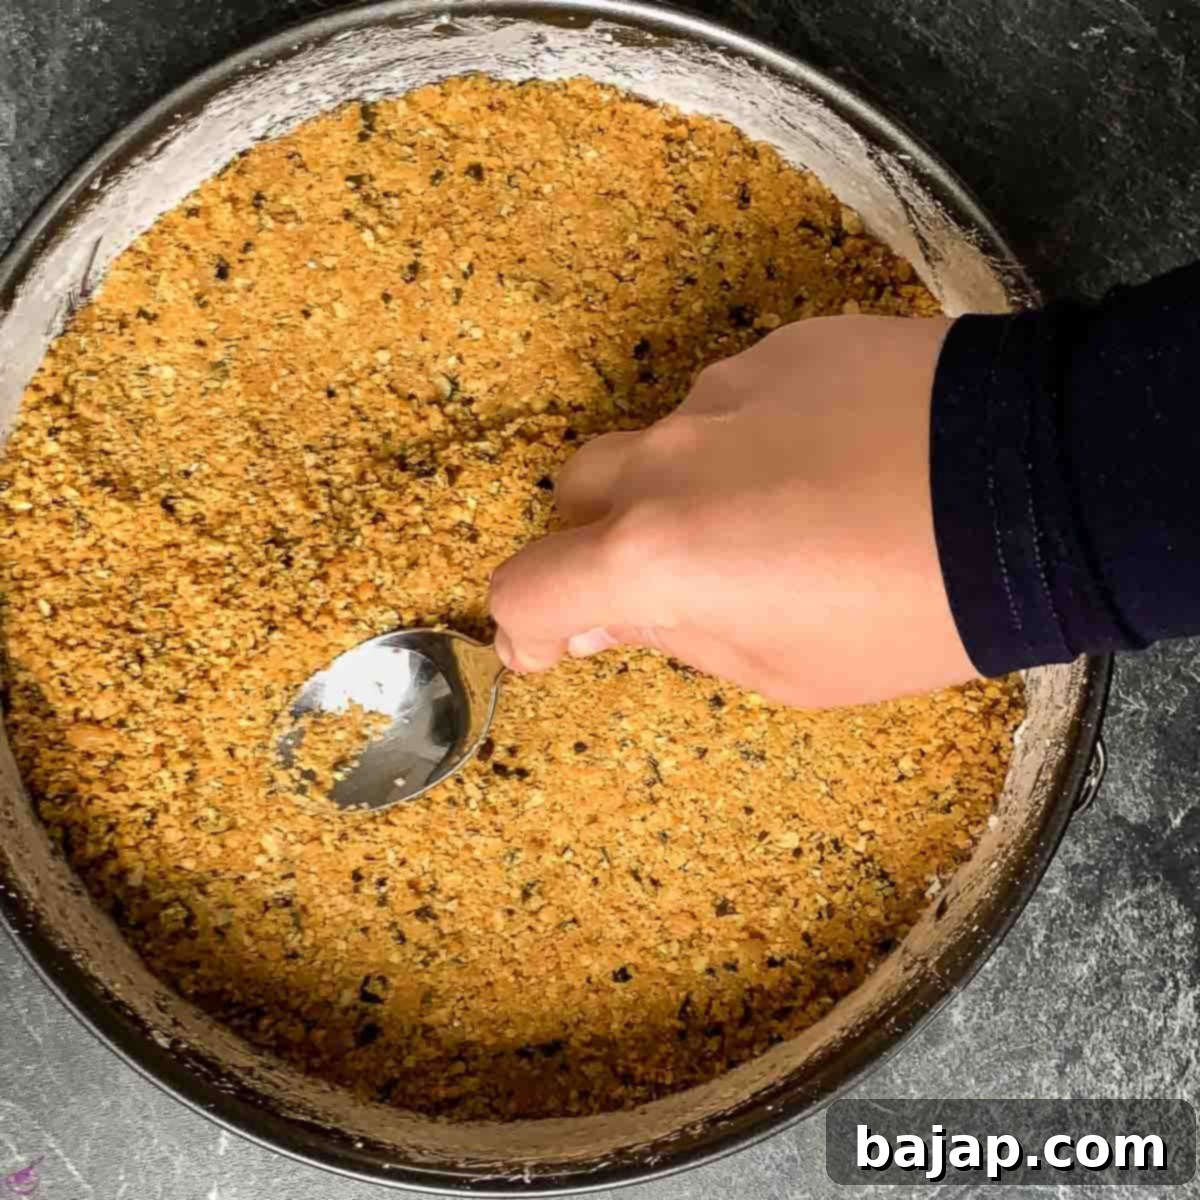
Place the crust in the freezer.
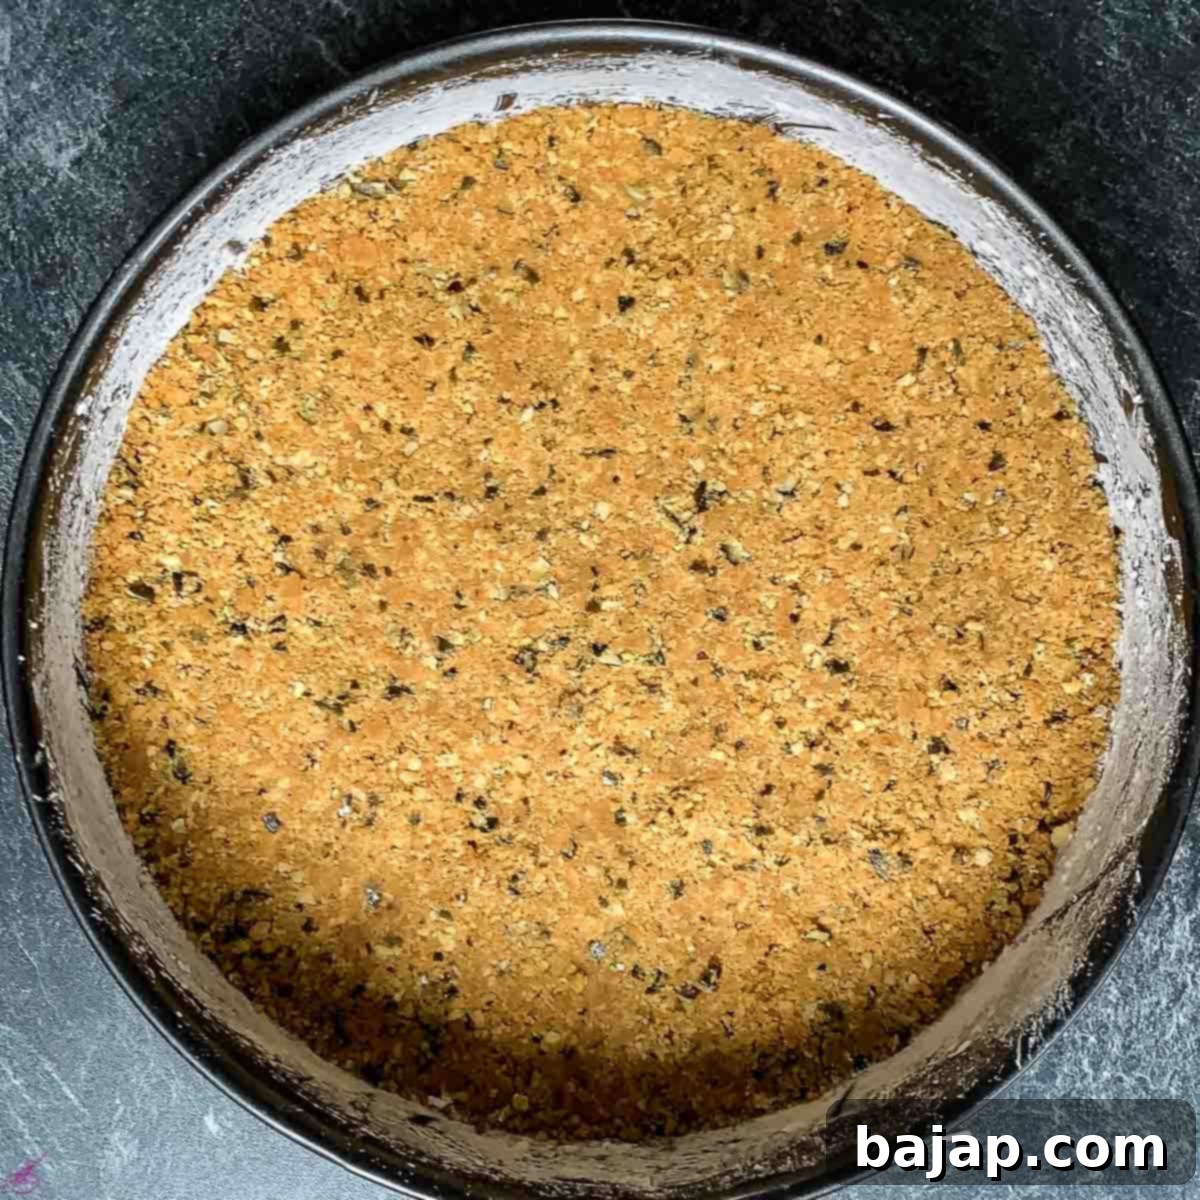
Place the finished crust in the freezer for at least 15 minutes. This chilling time is essential for the butter to solidify, creating a firm base that won’t crumble when the filling is added.
Step 2 OPTIONAL: Preparing Fresh Pumpkin Purée
Using fresh pumpkin can lend a deeper, more authentic flavor to your cheesecake. While it requires a little more effort, the result is truly rewarding. Here’s how to do it:
- Start by scooping out the seeds and fibrous strands from your fresh pumpkin. Then, cut the pumpkin into manageable 2.5 cm (approximately 1-inch) cubes.
- Place the pumpkin cubes in a pot with a little water at the bottom (just enough to prevent scorching). Cook until the pumpkin is very soft and easily pierced with a fork, which typically takes at least 20 minutes, depending on the pumpkin variety.
- Once cooked, strain the pumpkin through a fine-mesh sieve to remove any excess water. This step is crucial to prevent a watery cheesecake filling.
- Allow the strained pumpkin purée to cool completely for 20-30 minutes before proceeding. Warm purée can melt the cream cheese and affect the texture of your filling.
Step 3: Creating the Velvety Pumpkin Cream Cheese Filling
This is where the magic happens, transforming simple ingredients into a rich, fluffy, and perfectly spiced pumpkin filling.
- If using your freshly prepared (and cooled!) pumpkin purée, place it in a tall mixing bowl. Using a hand blender, blend until completely smooth. While blending, gradually add the granulated sugar until fully incorporated. Set this pumpkin mixture aside.
- If you chose the convenience of canned pumpkin purée, simply add it to a mixing bowl. A hand blender isn’t strictly necessary here, but a hand mixer can be helpful to ensure the granulated sugar is thoroughly mixed into the purée.
- Next, in the mixing bowl of your stand mixer (or a large bowl with a hand mixer), combine the mascarpone and cream cheese. Using a whisk attachment, beat on medium-high speed until the mascarpone and cream cheese are softened and smooth. Gradually add the icing sugar as you continue to blend, ensuring it’s fully incorporated.
- Once the cheese mixture is smooth and all the icing sugar is added, gently fold in your pumpkin purée and ground cinnamon. Mix until just combined, being careful not to overmix.
- In a separate, clean bowl, whip the heavy cream until stiff peaks form. This means the cream will hold its shape when the whisk is lifted. Be careful not to over-whip, or it could turn grainy.
- Finally, gently fold the whipped cream into the mascarpone-pumpkin mixture using a spatula. Use a circular motion, being careful not to deflate the whipped cream, until the mixture is uniform and light. This step is key to achieving that delightful fluffy texture.
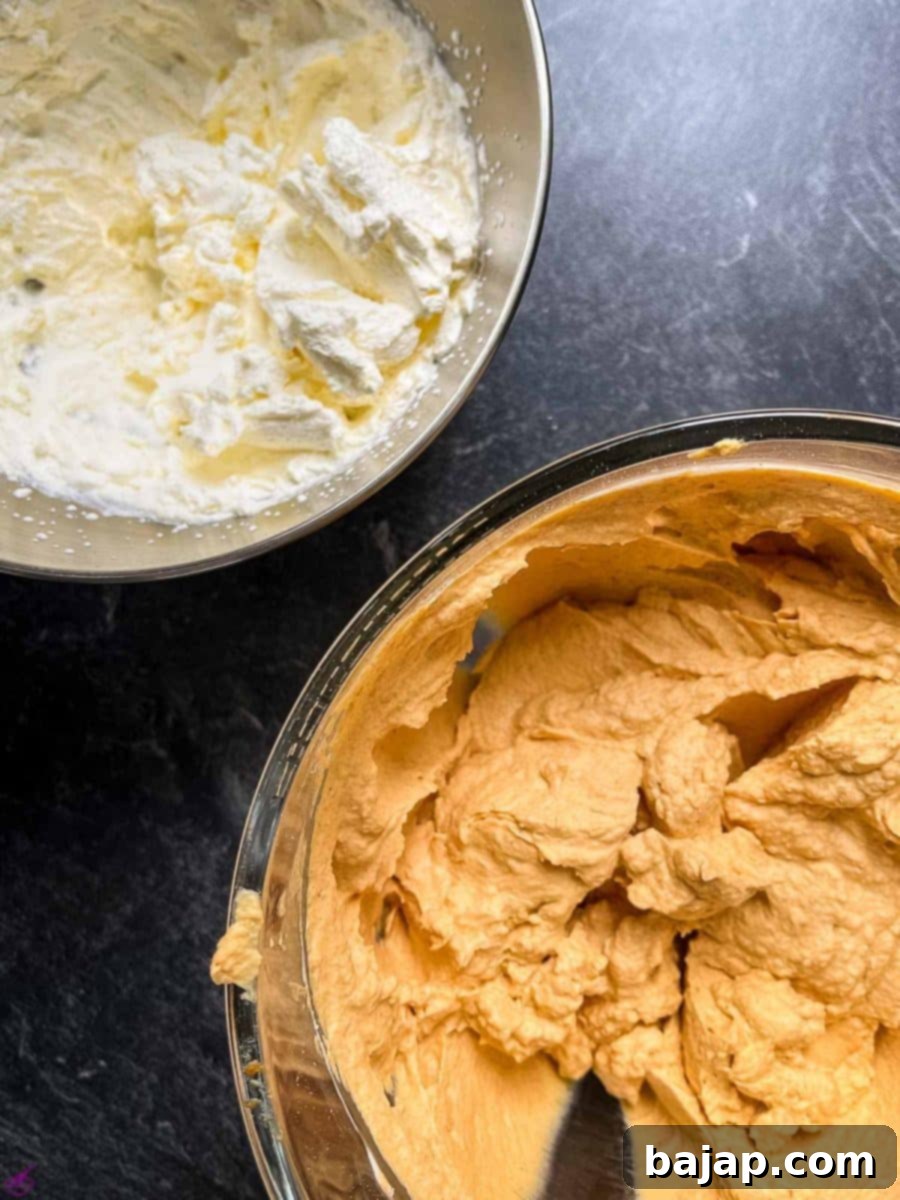
Whipped cream and pumpkin cream prior combining.
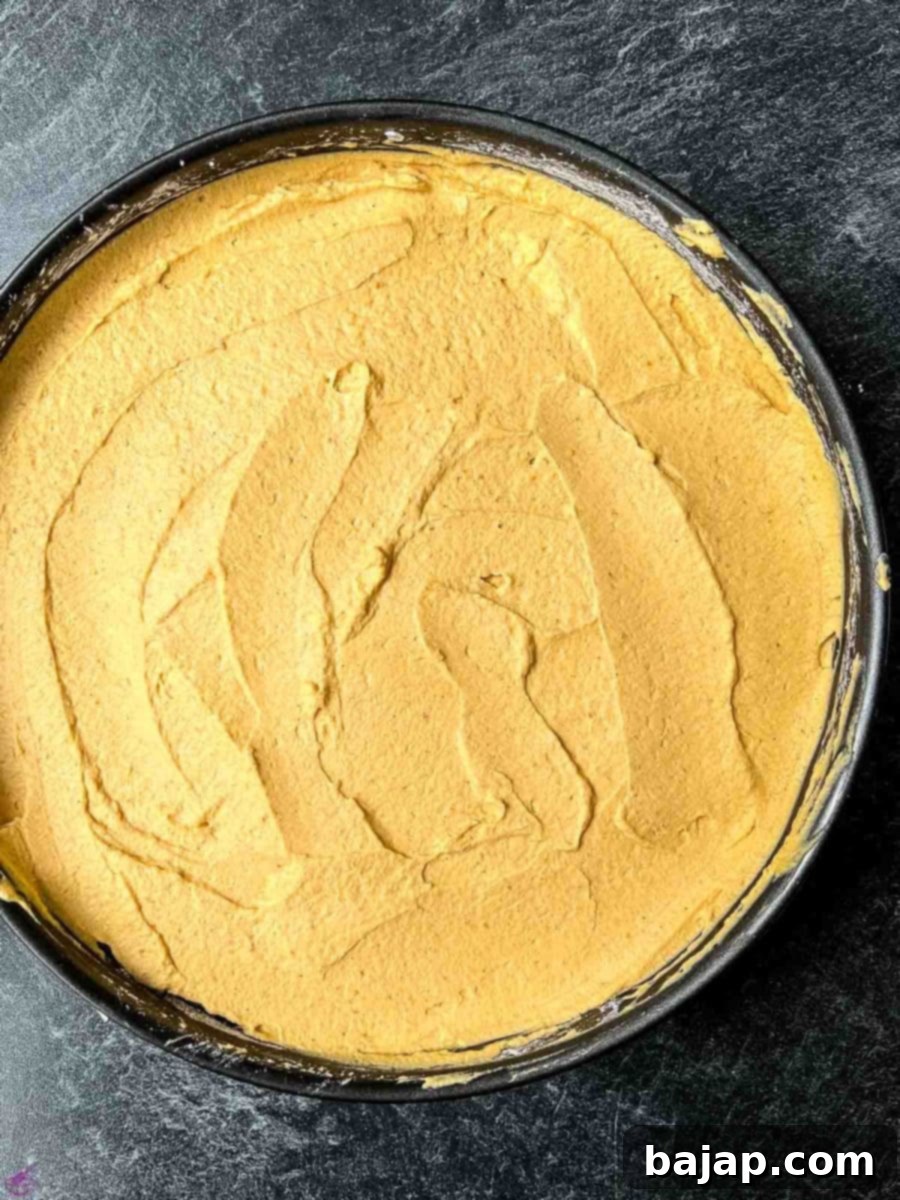
Spread the finished cream onto the cookie crust.
Retrieve your chilled cookie crust from the freezer. Carefully spoon the finished pumpkin cream cheese filling into the springform pan, spreading it evenly over the crust with a spatula to create a smooth, flat surface. Once the filling is spread, return the filled springform pan to the freezer while you prepare the glaze.
Step 4: The Elegant White Chocolate Pumpkin Seed Glaze
A beautiful glaze adds a professional touch and an extra layer of flavor to your cheesecake.
- For the glaze, start by adding the gelatin granules to the water in a small bowl. Allow the gelatin to hydrate for 5 minutes; it will bloom and become translucent.
- Meanwhile, gently heat the whipping cream in the microwave until it reaches over 60 degrees Celsius (or for about 2 minutes on maximum power). A kitchen thermometer can be very helpful here to ensure the correct temperature, which is crucial for melting the white chocolate effectively.
- Once the gelatin is fully hydrated and the cream is hot, combine the white chocolate, heated whipping cream, and gelatin in a small mixing bowl.
- Use a fork to mix these three ingredients together thoroughly. Continue mixing until the white chocolate is completely melted and a smooth, liquid cream forms. Ensure there are no lumps of chocolate remaining.
- Carefully retrieve the cheesecake from the freezer. Pour the warm, smooth white chocolate glaze evenly over the top of the cheesecake.
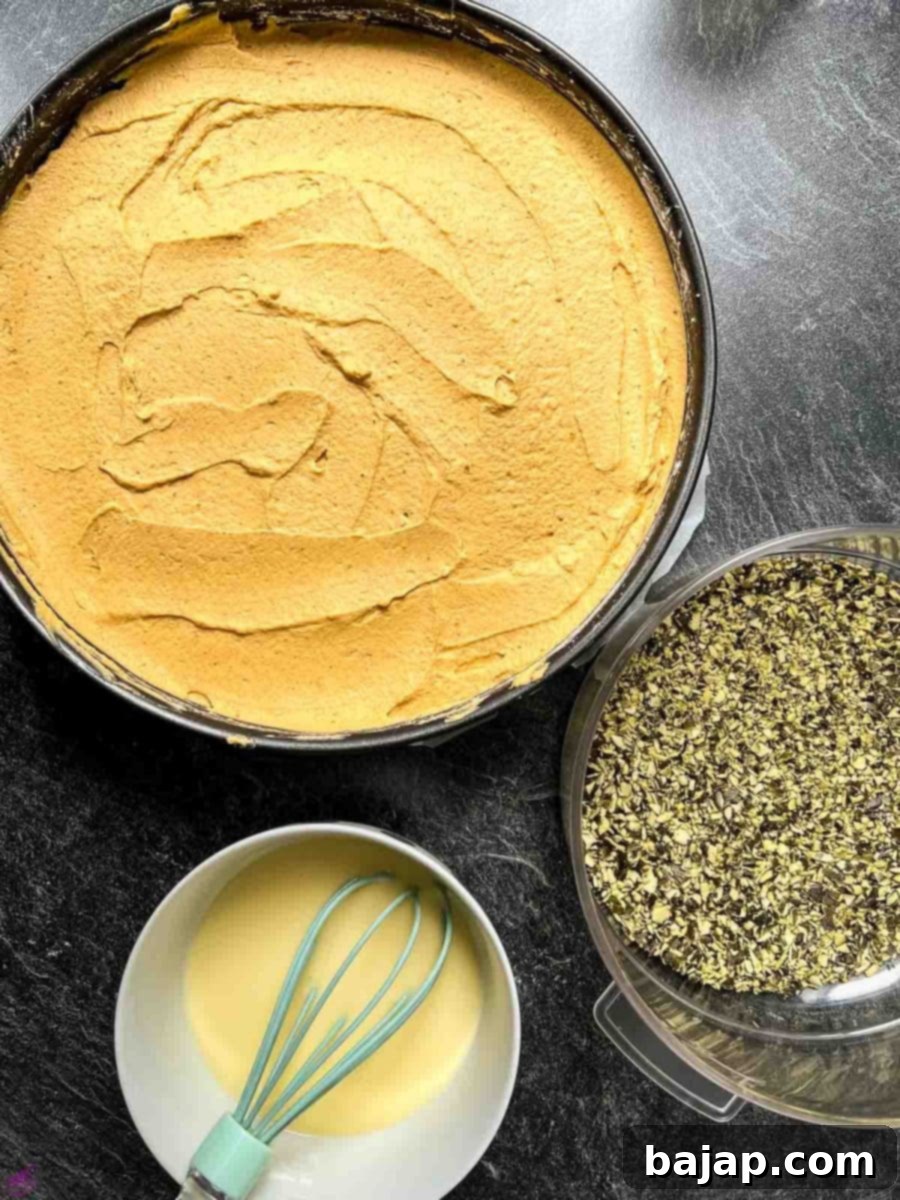
Everything is ready for the glaze.
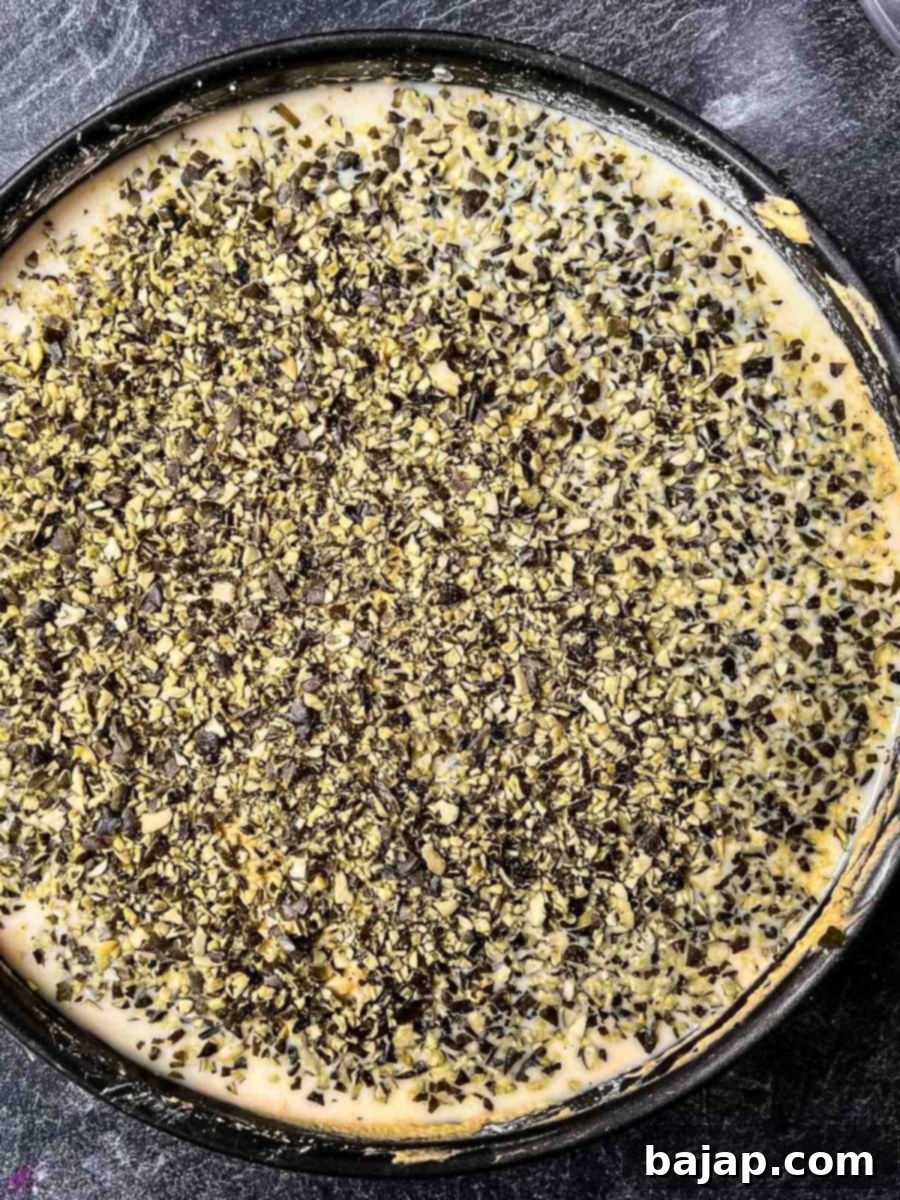
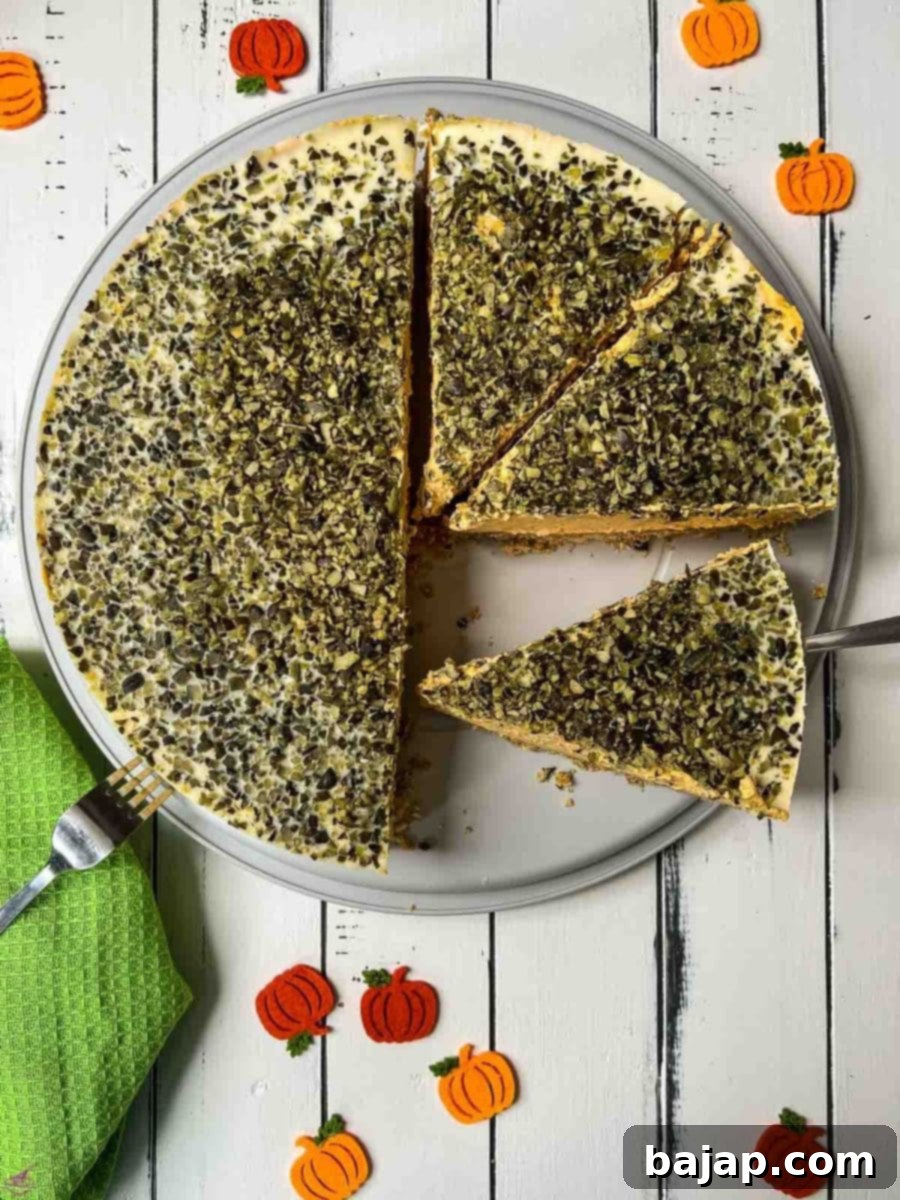
Cheesecake, sprinkled with grated pumpkin seeds.
- Finally, generously sprinkle the grated pumpkin seeds on top of the still-wet glaze. This adds a beautiful visual appeal and a lovely texture. For an extra touch of autumnal aroma, you can also lightly dust the top with pumpkin pie spice.
- Place the finished cheesecake back in the freezer for at least 3 hours to set completely. For the best results and easiest slicing, chilling it overnight is highly recommended.
- Once the cheesecake has hardened, you can carefully remove it from the springform pan. If the seal of the springform pan freezes solid, you can gently warm the outside edge with a blowtorch, gas flame, or lighter for a few seconds to help loosen it.
- Allow the cheesecake to thaw slightly at room temperature for about 15-20 minutes before slicing and serving. This ensures a creamy texture.
- Enjoy this perfectly chilled, easy, and incredibly flavorful no-bake pumpkin cheesecake!
Tips for the Best No-Bake Pumpkin Cheesecake
Achieving a perfectly creamy and set no-bake cheesecake is simple with a few key tips:
- Room Temperature Ingredients: Ensure your mascarpone and cream cheese are at room temperature. This makes them much easier to blend into a smooth, lump-free filling.
- Don’t Skimp on Chilling: The chilling time is crucial for the cheesecake to set properly. Resist the urge to cut it short! Overnight in the freezer yields the firmest, most sliceable results.
- Whip Cream Properly: Whip the heavy cream until it forms stiff peaks, but be careful not to over-whip, which can result in a grainy texture.
- Gentle Folding: When combining the whipped cream with the pumpkin-cheese mixture, fold gently with a spatula. This preserves the airiness of the whipped cream, ensuring a light and fluffy cheesecake.
- Smooth Glaze: Ensure your white chocolate is completely melted into the hot cream and gelatin for a perfectly smooth, glossy glaze.
- Garnish Generously: Don’t forget the grated pumpkin seeds and optional pumpkin pie spice for a beautiful finish. A swirl of extra whipped cream or a drizzle of caramel sauce can also be lovely.
- Springform Pan Prep is Key: The parchment paper, butter, and cornstarch method detailed in the crust instructions is essential for effortless removal of the cheesecake from the pan and clean slices.
Variations and Customizations
This no-bake pumpkin cheesecake recipe is wonderfully versatile! Feel free to experiment and make it your own:
- Crust Variations:
- Ginger Snaps: For a spicier crust, use crushed ginger snap cookies instead of graham crackers.
- Shortbread: Crushed shortbread cookies offer a buttery, less sweet crust.
- Nutty Twist: Add chopped pecans or walnuts to the graham cracker crust for extra texture and flavor.
- Filling Enhancements:
- Spiced Up: Increase the amount of cinnamon or add other pumpkin pie spices like nutmeg, ginger, and cloves to the filling for a bolder flavor.
- Extracts: A splash of vanilla extract or even a tiny bit of maple extract can deepen the flavor profile.
- Glaze Alternatives:
- Caramel Drizzle: Skip the white chocolate glaze and drizzle with homemade or store-bought caramel sauce instead.
- Chocolate Ganache: A simple dark or milk chocolate ganache can provide a decadent contrast.
- Plain Whipped Cream: A dollop of plain whipped cream and a sprinkle of cinnamon can be just as elegant.
- Gluten-Free Pumpkin Cheesecake:
Making this cheesecake gluten-free is incredibly simple! Just swap out the regular graham crackers for your favorite brand of gluten-free cookies (such as gluten-free graham crackers or shortbread). The rest of the ingredients are naturally gluten-free, so you’re good to go! For more inspiration, you could also try this delicious gluten free pumpkin cheesecake recipe!
More Autumn Delights
If you’re looking for other delicious recipes to enjoy this fall, or just exploring more no-bake treats, check out some of these:
- Bourbon Highball
- Beetroot Sour Cocktail
- Rum Muffins
- Negroni Cocktail Recipe
🍽 Essential Equipment for No-Bake Cheesecake
You don’t need a lot of specialized tools to make this cheesecake, but having these items will make the process smooth and enjoyable:
- Electric mixer (stand mixer with whisk attachment recommended for ease)
- Kitchen machine
- Universal Chopper – or a ziplock bag and rolling pin for crushing crackers
- Dough scraper (useful for spreading the filling)
- Whisk
- Hand mixer
- Hand blender (optional, for fresh pumpkin purée)
- Microwave (optional, for melting butter and heating cream)
- Parchment paper
- Mixing bowls (several for different components)
- Wooden spoon
- Brush (for buttering the springform pan)
- Springform pan – 30 cm // 12 inch (essential for easy removal)
- Saucepan (for cooking fresh pumpkin)
- Close-meshed sieve (for straining fresh pumpkin)
- Thermometer (optional, but helpful for glaze temperature)
🌡 Storage & Freezing Tips for Your Cheesecake
This no-bake pumpkin cheesecake is perfect for making ahead, and stores beautifully:
- Refrigerator: The finished pumpkin cheesecake will last three to five days when stored covered in the refrigerator. Ensure it’s tightly wrapped to prevent it from absorbing other food odors.
- Freezer: For longer storage, you can freeze the assembled cheesecake for three to six months. Wrap it tightly in plastic wrap, then a layer of aluminum foil, before placing it in the freezer.
- Thawing: When ready to enjoy, transfer the frozen cheesecake to the refrigerator to thaw overnight, or for a few hours at room temperature until it reaches your desired consistency.
💭 Top Tip
For truly exceptional flavor and quality, I highly recommend sourcing pumpkin seeds from the Styrian company Steirerkraft. If you ever have the opportunity to get your hands on them, they make a noticeable difference in the crust and glaze!
If you’re captivated by pumpkin recipes, be sure to try our incredibly soft pumpkin cookies, these delightful pumpkin cream cheese swirl muffins, or a gorgeous pumpkin cake roll! They are all charming and utterly delicious ways to celebrate the season!
🙋🏻 Frequently Asked Questions (FAQ)
The finished pumpkin cheesecake will last three to five days when properly stored in an airtight container in the refrigerator.
Yes, absolutely! Because it solidifies nicely in the freezer, you can store it there for an extended period. It will maintain its quality in a frozen state for three to six months. Make sure it’s well-wrapped to prevent freezer burn.
It certainly can! To make this recipe gluten-free, simply substitute the regular graham crackers (or Petit beurre biscuits) with your preferred brand of gluten-free cookies for the crust. The rest of the ingredients are naturally gluten-free.
No, that’s the beauty of it! This is a true no-bake recipe, meaning no oven time is required for the crust or the filling. It simply needs adequate chilling time to set.
Yes, this cheesecake is an excellent make-ahead dessert! You can prepare it 1-2 days in advance and store it in the refrigerator, or freeze it for up to 3-6 months. Just remember to thaw it properly before serving.
Fancy more delicious no-bake cheesecakes? Explore some of our other delightful recipes:
- No-Bake Chocolate Ricotta Cheesecake
- No-Bake Eggnog Cheesecake
- No-Bake White Chocolate Raspberry Cheesecake {Halloween}
- No-Bake Fig Cheesecake in a Jar
- No-Bake Mint Chocolate Cheesecake
- No-Bake 4th of July Cheesecake
- 5-Ingredient Mini Oreo Cheesecakes
- No-Bake Strawberry Cheesecake
If you make this recipe, let me know how you liked it by ★★★★★ star rating it and leaving a comment below. This would be awesome! You can also sign up for our Newsletter or follow me on Pinterest or Instagram and share your creation with me. Just tag me @combinegoodflavors and hashtag #combinegoodflavors, so I don’t miss it.
📖 Recipe
Pumpkin Cheesecake (no bake)
Nora
Save RecipeSaved!
Pin Recipe
Equipment
-
Electric Mixer
-
Kitchen machine
-
Universal Chopper or ziplock bag and rolling pin
-
Dough scraper
-
Whisk
-
Hand mixer
-
Hand blender (optional)
-
Microwave (optional)
-
Parchment Paper
-
Mixing bowls
-
Cooking spoon
-
Brush
-
Springform pan 30 cm // 12 inch
-
Saucepan
-
Close meshed sieve
-
Thermometer (optional)
Ingredients
For the cracker crust
- 10 oz Graham cracker or Petit beurre biscuits
- 5 oz Unsalted butter
- ¼ cup Milk
- 8 tablespoon Grated pumpkin seeds
- 1 tablespoon Cornstarch
For the cheesecake filling
- 17.5 oz Mascarpone
- 10.5 oz Cream cheese
- 1 cup Heavy whipping cream
- ¾ cup Icing sugar
- 12.5 oz Pumpkin fresh or canned
- ½ cup Sugar
- ½ tablespoon Ground cinnamon
For the glaze
- ⅓ tablespoon Gelatin granules
- ⅛ cup Water
- 7 tablespoon Whipped cream
- ¼ cup White chocolate
- ¾ cup Grated pumpkin seeds
Optional
- Pumpkin pie spices for the final dusting
Instructions
Cookie base
-
Place the crackers in a ziplock bag and crush them with a rolling pin or let a universal chopper do the task.10 oz Graham cracker
-
Add the cracker crumbs and the grated pumpkin seeds to a mixing bowl and mix well with a wooden spoon.
-
Place the butter together with the milk in a microwave-safe dish and heat on medium until the butter is completely melted.5 oz Unsalted butter, ¼ cup Milk
-
Set aside two tablespoons of the melted butter-milk mixture and mix the rest with the crushed cookies and pumpkin seeds.8 tablespoon Grated pumpkin seeds
-
Mix until all the cookie crumbs are well combined with the butter.
-
Line the bottom of the springform pan with parchment paper and brush with the melted butter.
-
Then sprinkle the cornstarch on the parchment paper and shake the cake pan until it is evenly coated with cornstarch.1 tablespoon Cornstarch
-
Remove the excess by turning the mold and place the pan in the refrigerator for 2-3 minutes.
-
Once the springform pan is ready, pour the biscuit-butter mixture on top and press it down evenly to the edge of the cake pan.
-
Place the finished base in the freezer for at least 15 minutes or until the cream cheese filling is prepared.
OPTIONAL: Prepare the fresh pumpkin
-
First, scoop out the fresh pumpkin and remove the pumpkin seeds. Cut the pumpkin into 2.5 cm cubes and cook in a pot until soft (at least 20 minutes).12.5 oz Pumpkin
-
After cooking, strain through a fine sieve and leave to cool for 20-30 minutes.
Pumpkin cream cheese filling
-
Place the cooled pumpkin in a tall mixing bowl and blend with a hand blender. While blending, gradually add the icing sugar and set it aside.¾ cup Icing sugar, 12.5 oz Pumpkin
-
If you opted for the canned puree, add it to a mixing bowl. You don’t need a hand blender here, but it’s a good idea to mix the sugar with the pumpkin puree using a hand mixer.
-
In the meantime, take the mixing bowl of your kitchen machine and add the mascarpone and cream cheese.17.5 oz Mascarpone, 10.5 oz Cream cheese
-
Blend on medium-high speed with a whisk attachment until the mascarpone softens, gradually adding the powdered sugar as you go.½ cup Sugar
-
Once all the powdered sugar is added, you can mix in the pumpkin purée and ground cinnamon.½ tablespoon Ground cinnamon, 12.5 oz Pumpkin
-
Whip the heavy cream in a separate bowl until stiff peaks form.1 cup Heavy whipping cream
-
Add the whipped cream to the mascarpone with a spatula and mix in a circular motion until well combined.
-
Now get the cookie base out of the freezer. The finished pumpkin cream can now be spread with a spatula into the springform pan onto the previously prepared cookie base, creating a flat surface.
-
Return the filled springform pan to the freezer while you make the glaze.
White Chocolate Pumpkin Seed Glaze
-
Add the gelatin granules to the water and hydrate for 5 minutes.⅓ tablespoon Gelatin granules, ⅛ cup Water
-
Meanwhile, heat the whipping cream in the microwave to over 60 degrees (or 2 minutes on maximum).7 tablespoon Whipped cream
-
Once the gelatin is ready, place the white chocolate, heated whipped cream, and gelatin in a small mixing bowl. Mix the three ingredients together well by using a fork.7 tablespoon Whipped cream, ¼ cup White chocolate, ⅓ tablespoon Gelatin granules
-
Once forming a liquid cream and there are no white chocolate pieces left, pour the cream over the cheesecake.
-
Finally, sprinkle the grated pumpkin seeds on top and place the cheesecake in the freezer for at least 3 hours. (Overnight is best).¾ cup Grated pumpkin seeds
-
Additionally, sprinkle pumpkin pie spice on top.Pumpkin pie spices
-
You can remove the cake from the springform pan when it has hardened.
-
Now the cake can be released from the mold and served after thawing.
Nutrition values are estimates only, using online calculators. Please verify using your own data.

🤎 You Might Also Like These Recipes
- Spooktacular Cheesecake with “Bloody” Raspberry Filling
- Fall in Love with these Soft Pumpkin Cookies
- How to make an Apple Compote
- Fall in Love with this Cranberry Bundt Cake
⛑️ Food Safety and Handling
While this is a no-bake recipe, proper food safety is still crucial, especially when working with dairy products. Please keep these guidelines in mind:
- Maintain a clean working environment. Always wash your hands thoroughly before and after handling ingredients.
- Ensure all dairy products (mascarpone, cream cheese, heavy cream) are fresh and within their expiry dates.
- Keep perishable ingredients refrigerated until ready to use.
- Do not leave the cheesecake sitting out at room temperature for extended periods once assembled. It should be refrigerated promptly to set and then stored cold.
- When preparing fresh pumpkin, ensure it is cooked thoroughly until soft.
- Use a thermometer when heating the whipping cream for the glaze to ensure it reaches the correct temperature for melting white chocolate effectively, without overheating.
- Always have good ventilation when using a gas stove, even for minor tasks like heating water.
For further comprehensive information on safe food handling practices, please refer to the Safe Food Handling – FDA guidelines.
