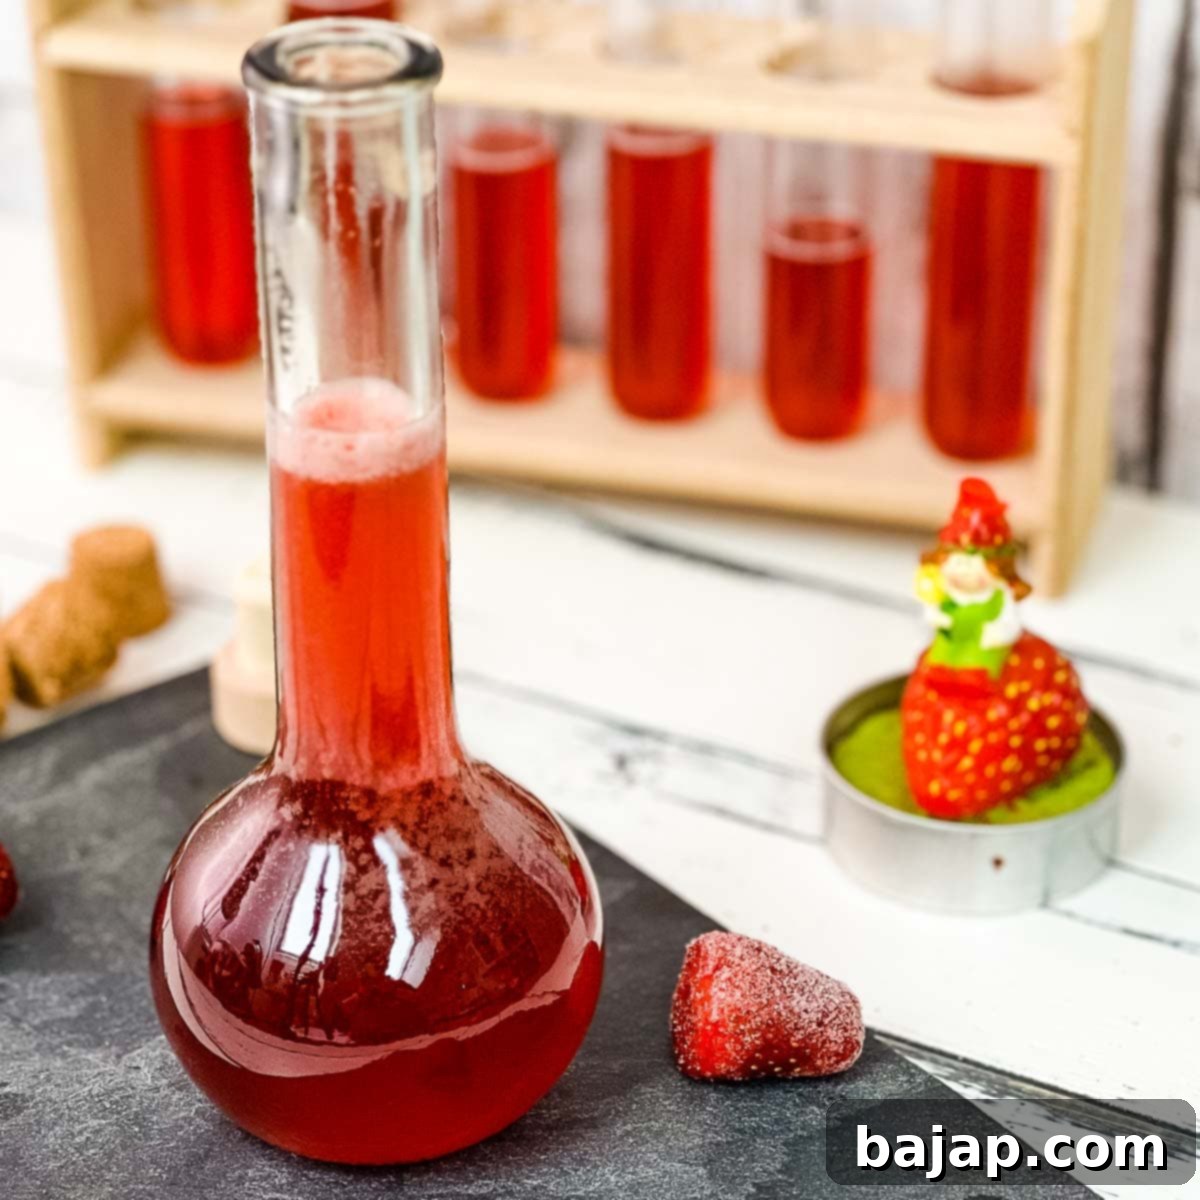
Homemade Strawberry Simple Syrup: Elevate Your Drinks & Desserts
Unlock a world of vibrant flavor with this incredibly easy and sweet homemade strawberry simple syrup. It’s the perfect finishing touch, adding a burst of fruity sweetness to countless recipes. Imagine the delightful addition it brings to your favorite summertime treats, like a refreshing four-ingredient frozen strawberry daiquiri or a zesty strawberry lemon spritz. This versatile syrup not only infuses a rich strawberry essence but also provides that perfect balance of sweetness, elevating your refreshing drinks to a new level.
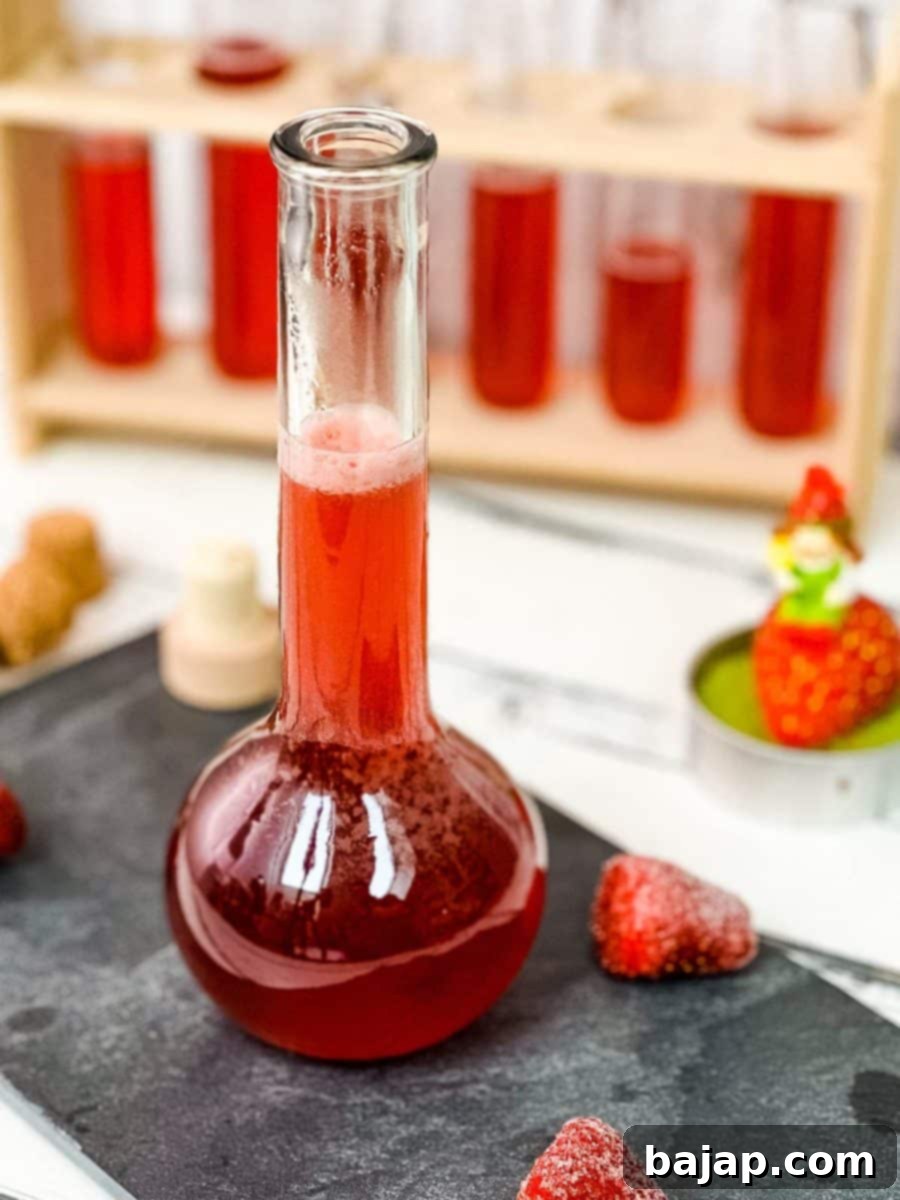
While it shines in warm-weather beverages, don’t limit this delicious syrup to just the summer months. It’s a fantastic addition to wintertime recipes, too, such as a cozy white strawberry hot chocolate. For an extra indulgent twist, consider drizzling this simple syrup into the whipped cream you layer on top of your hot chocolate, intensifying that irresistible strawberry flavor even further.
For those with a sweet tooth who enjoy a delightful breakfast, this syrup makes a wonderful alternative to traditional maple syrup. Imagine it generously poured over fluffy pancakes, golden waffles, or classic French toast. Take it a step further and serve your French toast à la mode, with a scoop of creamy vanilla ice cream and a generous swirl of this homemade strawberry syrup. It’s a breakfast experience you won’t soon forget!
If you’re a true strawberry enthusiast, someone who simply can’t get enough of this vibrant red fruit, then this is an absolute must-have in your kitchen. Keeping a batch of this versatile syrup on hand means you’re always just a pour away from transforming ordinary dishes and drinks into something extraordinary. Its bright, natural strawberry taste adds a gourmet touch with minimal effort, making it a staple for any home cook or aspiring mixologist.
More Strawberry Creations You’ll Love
Can’t get enough of strawberries? Here are more delightful recipes to satisfy your cravings:
- Austrian Strawberry Sponge Cake
- Strawberry Cupcakes with Ricotta
- Strawberry Flavored Whipped Cream
- Strawberry Cobbler
- Strawberry Popsicles
- Strawberry Spritz
- No-bake Strawberry Cheesecake
- Strawberry Milkshake
- Strawberry Cream
- Strawberry Milk
- Strawberry Moscow Mule
🥘 Essential Ingredients for Strawberry Simple Syrup
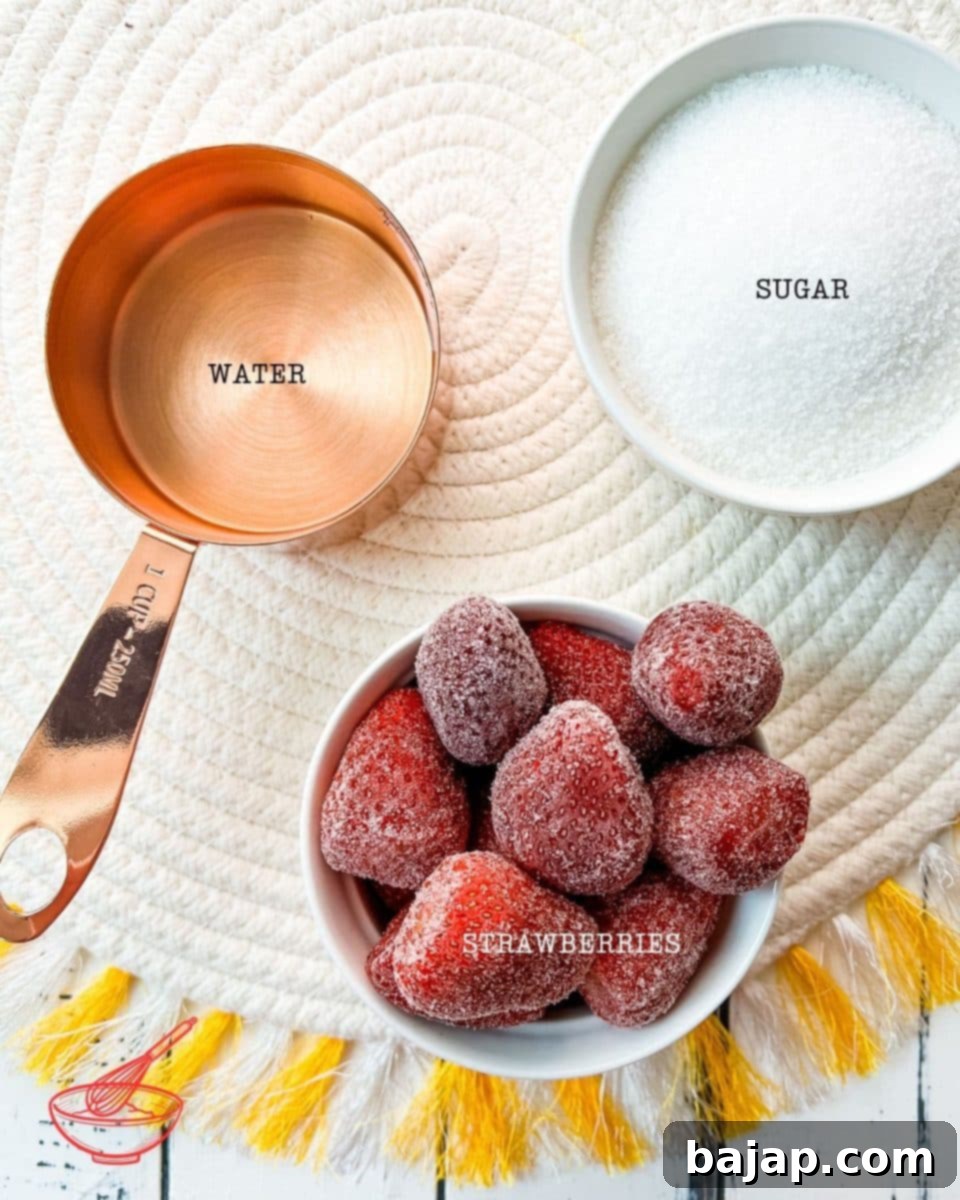
Creating this flavorful strawberry simple syrup requires only three basic ingredients, proving that the best flavors often come from simplicity:
- Strawberries: The star of our show! You can use either fresh or frozen strawberries. Fresh, ripe strawberries will offer the most intense and natural flavor, especially when they are in season. However, frozen strawberries are an excellent alternative, readily available year-round, and often more cost-effective. They work perfectly as they break down easily during cooking, releasing their juices and flavor.
- Granulated Sugar: This provides the sweetness and helps create the syrup’s characteristic thick, pourable consistency. Granulated sugar dissolves easily, making it ideal for simple syrups. While other sugars like brown sugar could be used for a different flavor profile, granulated sugar allows the strawberry taste to truly shine.
- Water: The solvent that brings everything together. It helps dissolve the sugar and extract the beautiful color and flavor from the strawberries. Using filtered water can sometimes enhance the purity of the flavor, but tap water is perfectly fine for this recipe.
For the precise quantities, please refer to the comprehensive recipe cardfurther down.
🔪 Step-by-Step Instructions for Homemade Strawberry Simple Syrup
Making your own strawberry simple syrup is incredibly straightforward. Follow these steps for a perfect batch every time:
- Prepare the Strawberries: The first crucial step is to thoroughly wash and clean your strawberries. Rinse them under cool running water to remove any dirt or debris. Don’t forget to carefully remove the small green leaves and stems (the calyx). While technically edible, leaving them on can impart an undesirable grassy flavor and disrupt the smooth texture of your syrup. Pat them dry gently after washing.
- Combine Ingredients in a Saucepan: In a small to medium-sized saucepan, combine your prepared strawberries, granulated sugar, and water. Ensure the pan is not too large, as a smaller surface area helps with faster boiling and better flavor concentration.
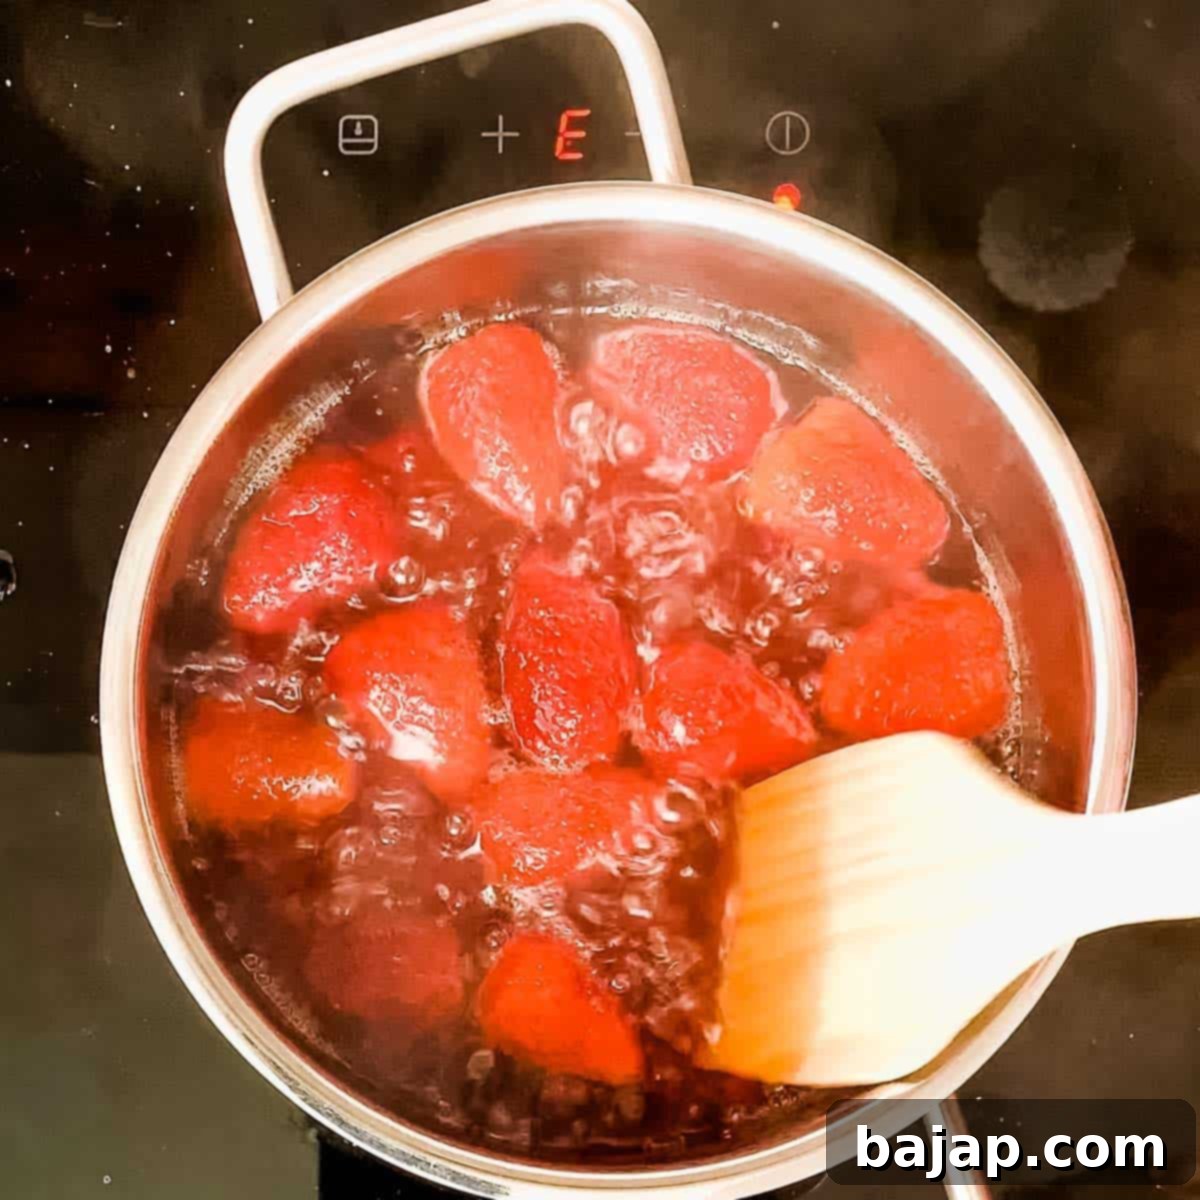
- Bring to a Slow Boil and Dissolve Sugar: Place the saucepan over medium-high heat and bring the mixture to a slow, gentle boil. As the mixture heats up, stir continuously or very frequently. This is important to ensure the sugar fully dissolves and prevents it from sticking to the bottom of the pan and caramelizing too quickly. You’ll know the sugar is dissolved when the liquid appears clear and no granules are visible when stirred.
- Crush the Strawberries: Once the mixture has reached a slow boil and the sugar is completely dissolved, reduce the heat slightly to maintain a gentle simmer. Now, take your potato masher and begin crushing the strawberries directly in the pot. This step is vital for releasing all their delicious juices and intensifying the strawberry flavor and color in your syrup. Continue mashing until the strawberries are well broken down, creating a pulpy consistency.
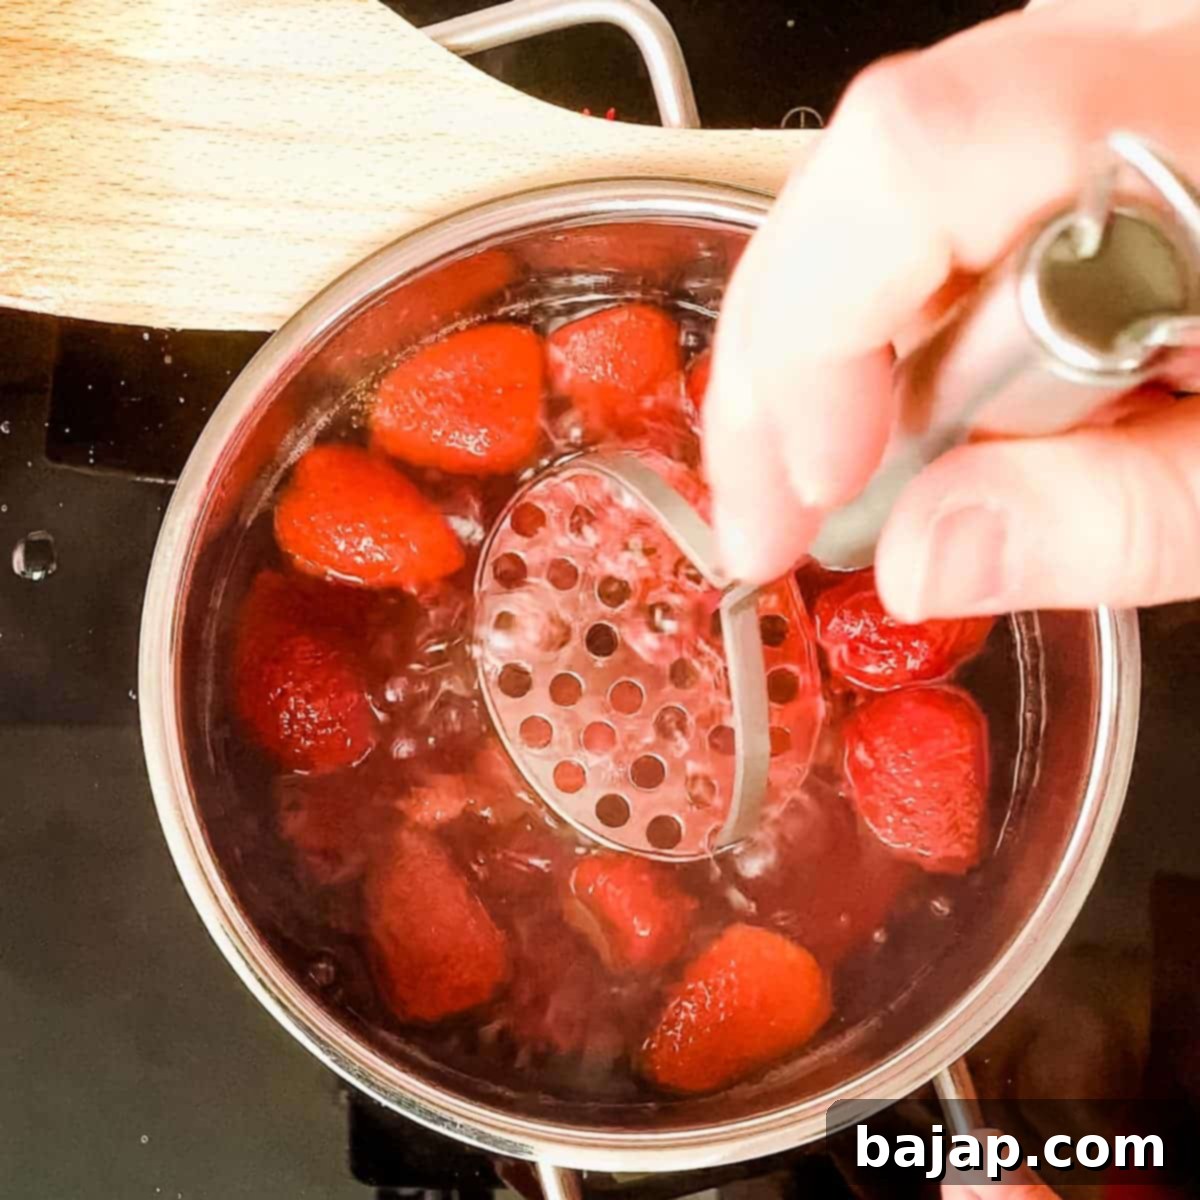
- Steep for Flavor: After the strawberries have been thoroughly crushed, remove the pot from the heat. Cover it and let the mixture steep for about 15-20 minutes. This resting period is crucial as it allows the hot syrup to continue extracting maximum flavor and color from the strawberry solids, resulting in a richer, more robust syrup.
- Strain the Syrup: Once steeped, it’s time to separate the liquid gold from the solids. Place a fine-mesh sieve over a clean bowl or container. Carefully pour the strawberry mixture through the sieve, allowing the liquid syrup to drip into the container below. You can gently press the solids against the sieve with the back of a spoon to extract every last drop of flavorful syrup, but avoid forcing them through, as this can make your syrup cloudy. You want a beautifully clear, vibrant syrup free of any fibrous bits.
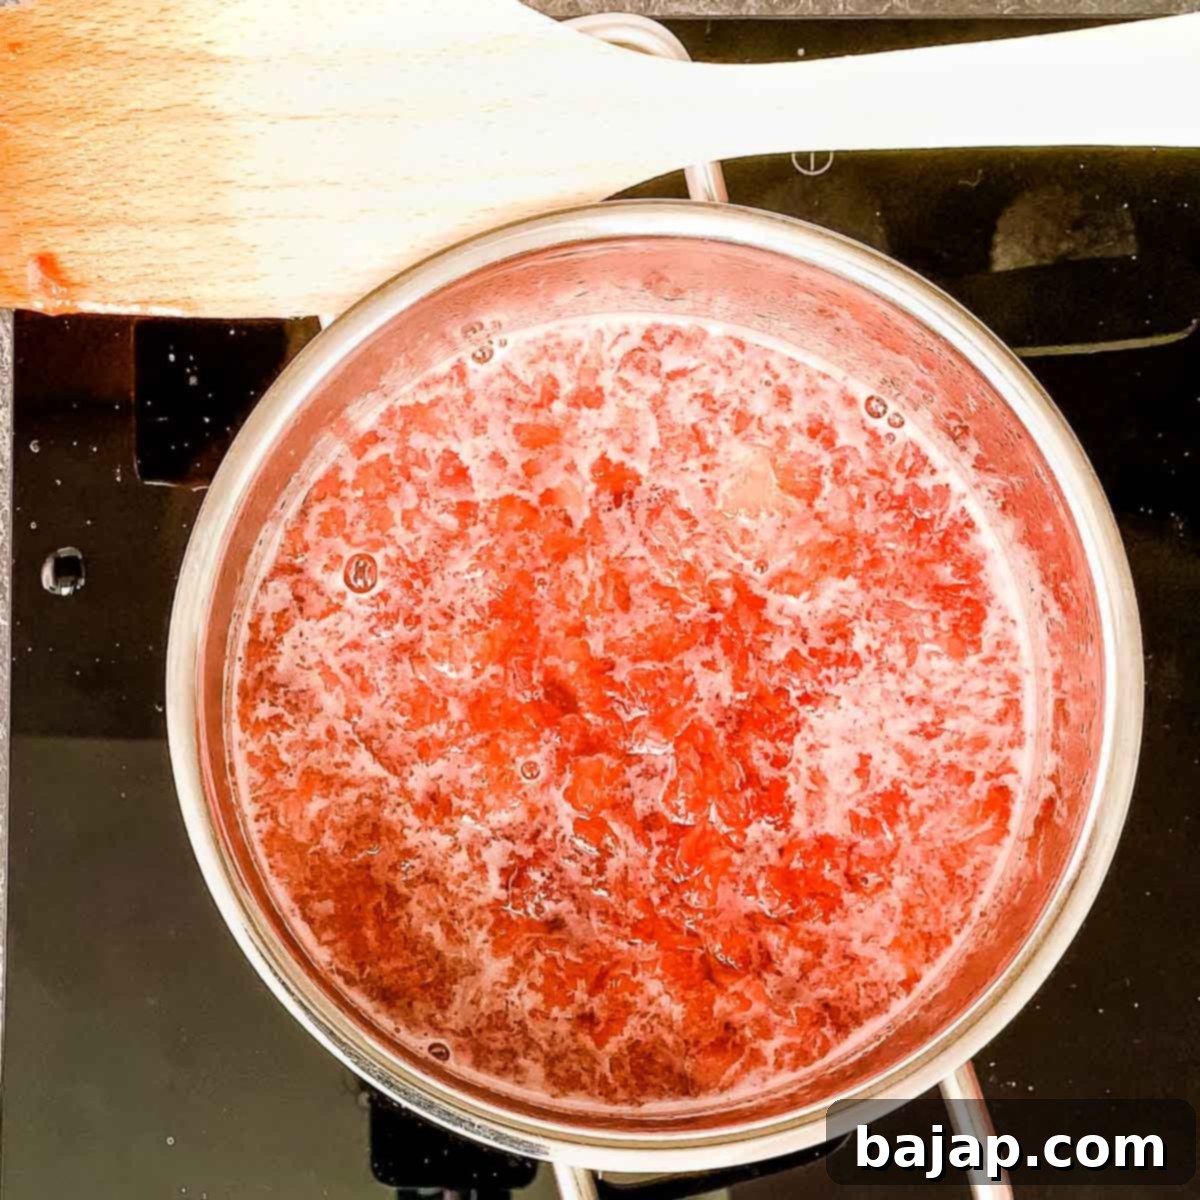
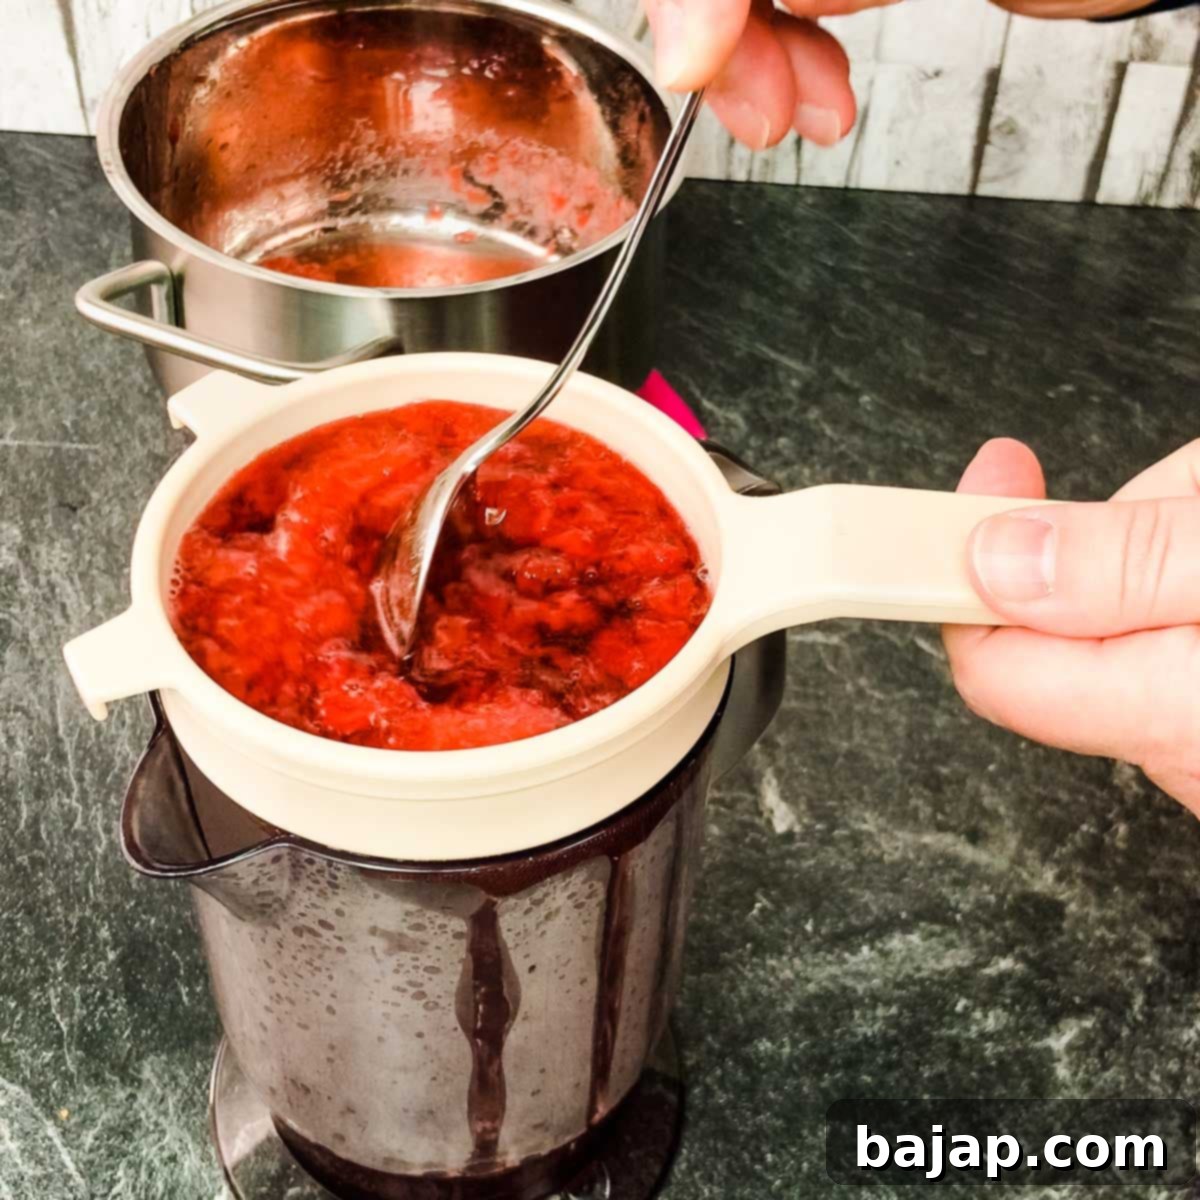
- Cool and Store: Before you can incorporate your delicious homemade strawberry syrup into any fun drinks or dessert recipes, it must cool completely to room temperature. This prevents condensation from forming in your storage container, which can lead to mold. Once fully cooled, carefully pour the syrup into a clean, sterilized airtight container (such as a glass bottle or jar). Store it in the refrigerator. Proper cooling and storage are key to maximizing its shelf life.
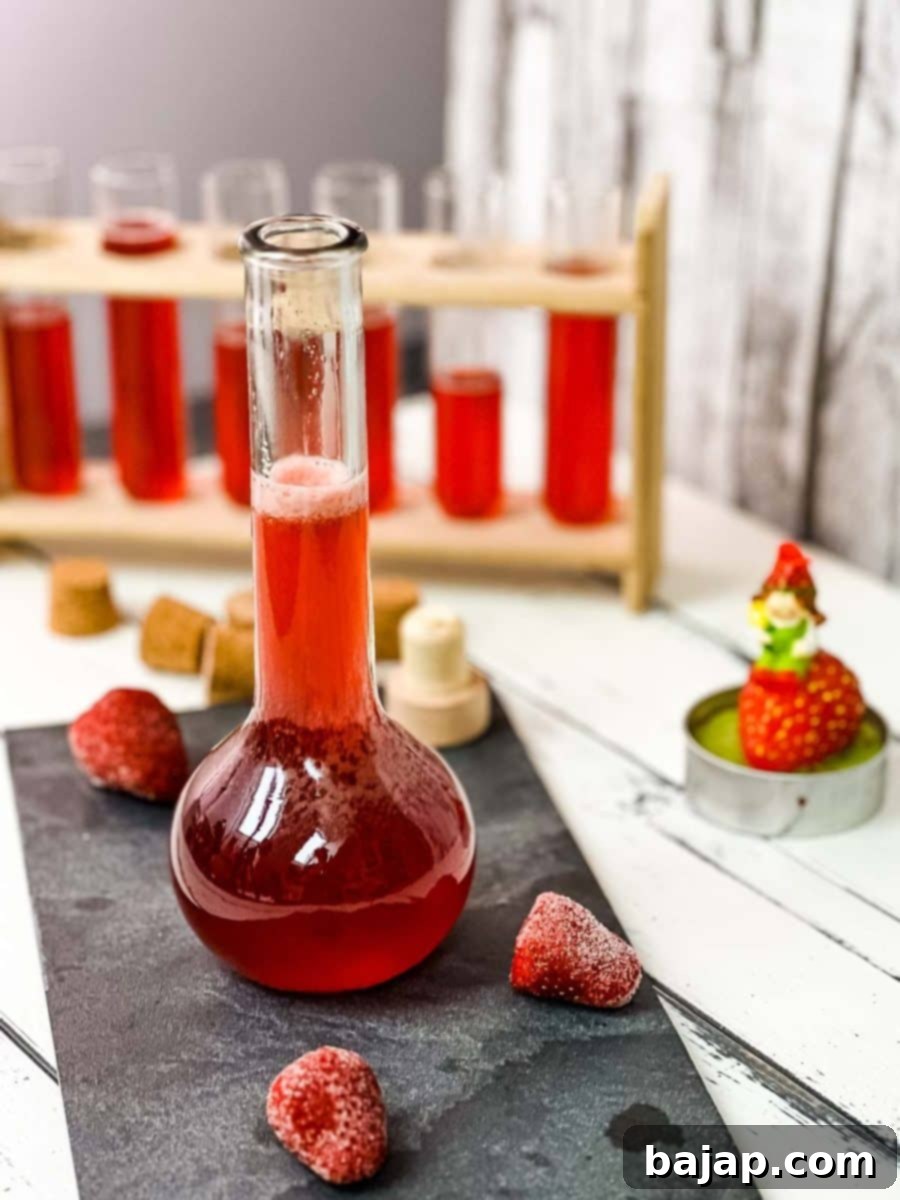
🫐 Creative Substitutions & Variations
One of the most appealing aspects of this simple syrup recipe is its incredible adaptability. While strawberries are undeniably delicious, you can easily customize the flavor profile by swapping out the fruit or adding other exciting ingredients. This makes it a fantastic base recipe for endless culinary experimentation!
- Other Berries: If you’re a fan of blueberries, raspberries, or blackberries (especially when they’re in season), you can easily substitute them for strawberries. Simply follow the same cooking and steeping process. Each berry will yield a unique color and flavor. Mixed berry simple syrup is also a delightful option!
- Stone Fruits: Try using pitted and chopped peaches, cherries, or plums for a different seasonal syrup. These will create a richer, more complex flavor.
- Citrus Zest: For an added bright note, toss in a strip or two of lemon or orange zest (avoid the white pith, which can be bitter) during the simmering and steeping process. Remove the zest before straining.
- Herbs: Infusing fresh herbs can create sophisticated flavor combinations. Add a few sprigs of fresh mint or basil during the steeping phase for a herbaceous twist. Rosemary or thyme can also pair beautifully with certain fruits.
- Spices: A vanilla bean pod split lengthwise, a cinnamon stick, or a few cardamom pods added while simmering can impart warm, aromatic notes.
- Sweetener Alternatives: While granulated sugar is standard, you could experiment with honey or maple syrup for a portion of the sugar. Keep in mind that these will alter the flavor profile and potentially the syrup’s consistency slightly, making it less “simple” but equally delicious.
🍽 Essential Equipment for Syrup Making
Having the right tools makes the process of making strawberry simple syrup even easier. Here’s what you’ll need:
- Small Saucepan: A saucepan of appropriate size is crucial for simmering the ingredients efficiently and evenly.
- Potato Masher: This tool is perfect for crushing the softened strawberries to release their maximum flavor and color.
- Spoon/Wooden Spoon: For stirring the mixture constantly to ensure the sugar dissolves completely and to prevent sticking.
- Close-Meshed Sieve: Essential for straining the syrup, ensuring a smooth, chunk-free final product.
- Airtight Glass Container: A sterilized glass bottle or jar is paramount for proper storage, extending the syrup’s shelf life and maintaining its freshness.
🌡 Storage & Top Tips for Longevity
This homemade strawberry simple syrup, when stored correctly, boasts an impressive shelf life, lasting for up to a whole month in your refrigerator. The secret to achieving this longevity and ensuring your syrup stays fresh and delicious is meticulous storage in a sterilized, airtight glass container. Here’s why and how:
Why Sterilize and How to Do It
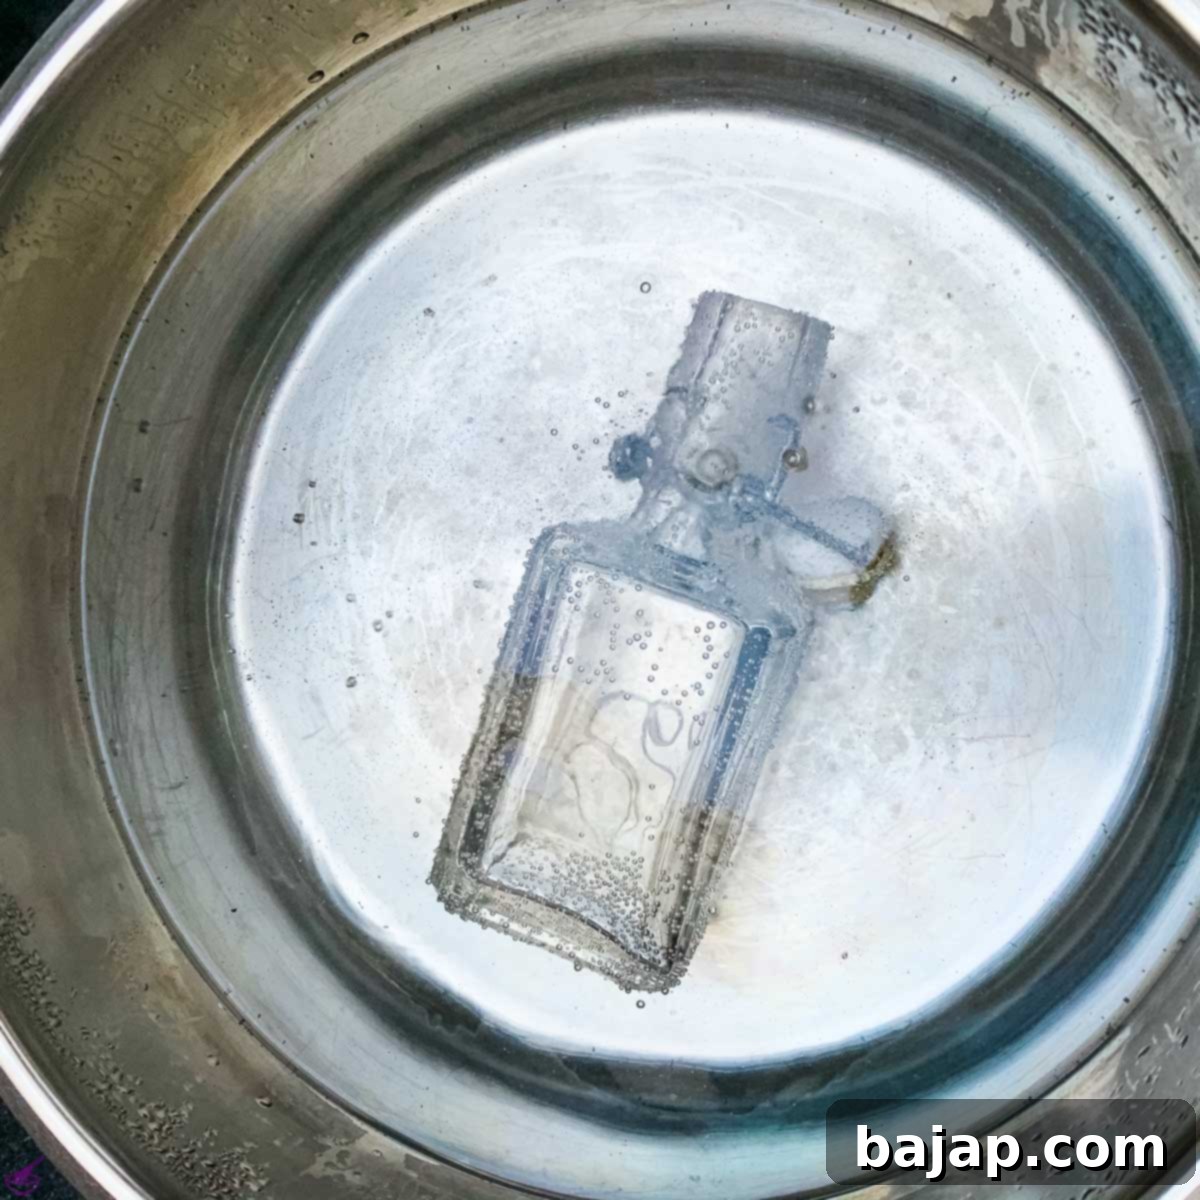
Sterilization is critical because it eliminates any bacteria or microorganisms present on the glass surface that could otherwise contaminate your syrup and cause it to spoil prematurely. This simple step can significantly extend the shelf life of your homemade concoctions.
To sterilize glass containers (jars, bottles, and their lids), you’ll need to prepare a hot water bath:
- Prepare Your Jars: Ensure your glass jars, bottles, and lids are thoroughly washed with hot, soapy water and rinsed clean. Inspect them for any cracks or chips.
- Submerge in Water: Place the clean jars, bottles (opened), and lids into a large pot. Fill the pot with water, ensuring that all items are completely submerged by at least an inch.
- Boil for Sterilization: Bring the water to a rolling boil. Once boiling, continue to boil the jars and lids for a minimum of 30 minutes. This high heat effectively kills off any lingering bacteria.
- Careful Removal and Drying: After 30 minutes, carefully remove the hot jars, bottles, and lids one by one using sterile tongs or a jar lifter. Place them upside down on clean paper towels or a wire rack to air dry completely. Avoid touching the inside surfaces of the containers or lids after sterilization. Allow them to cool before filling with your syrup.
Storing the cooled syrup in these sterilized, airtight containers in the refrigerator creates an environment where spoilage is significantly inhibited, allowing you to enjoy your delicious strawberry syrup for weeks to come.
🙋🏻 Frequently Asked Questions about Strawberry Simple Syrup
At its core, all simple syrups are made from equal parts water and sugar. This classic ratio forms the “simple” base. Where you can truly have fun and transform it into a “not-so-simple” or infused syrup is by playing with flavors! Strawberry simple syrup, specifically, is made by infusing this water and sugar base with fresh strawberries (or frozen strawberries when they’re out of season). The process extracts the natural sweetness, vibrant color, and distinct taste of the fruit, creating a versatile liquid sweetener. You can easily apply this concept to make all different kinds of flavored syrups using various fresh berries, herbs, and spices.
When prepared and stored properly, your homemade fruit simple syrup, including this strawberry version, will typically last up to a full month in the refrigerator. The key to this extended shelf life is ensuring it’s stored in a clean, sterilized, and airtight glass container. This particular recipe yields approximately 2.5 cups, making it a perfect quantity to use up gradually over time in various cocktails, mocktails, desserts, and breakfast dishes before it begins to lose its freshness. Always inspect for any signs of mold or off-smells before use.
Yes, when you’re making homemade simple syrup, especially an infused one like strawberry syrup, it’s essential to bring the mixture to a slow boil over medium-high heat. The boiling process serves multiple purposes: primarily, it ensures that the granulated sugar fully dissolves into the water, preventing a grainy texture. For fruit-infused syrups, boiling also helps to break down the fruit’s cell walls, allowing the strawberries to release their juices, color, and intense flavor into the syrup base more effectively. This creates a much richer and more flavorful end product than simply steeping the fruit in hot water.
While traditional simple syrup uses a 1:1 ratio of sugar to water, and infused syrups often maintain this for optimal preservation and texture, you can experiment with slightly less sugar. A 1:0.75 (water to sugar) ratio can work, but keep in mind that reducing sugar will affect the syrup’s consistency (it might be thinner) and its shelf life (it may not last as long). Sugar acts as a preservative, so less sugar means it’s more prone to spoilage. Always taste and adjust to your preference, and if using less sugar, ensure strict sterilization and consume within 2-3 weeks.
If you are looking for a delicious, refreshing drink, try out this awesome strawberry acai refresher recipe!
More Delicious Recipes You’ll Love
Beyond simple syrup, explore these other fantastic recipes that celebrate fresh flavors:
- Fresh Strawberry Sponge Cake
- Strawberry Ricotta Cupcakes
- The Best Homemade Strawberry Popsicles
- Strawberry Cream
- Strawberry Cobbler
- Lovely Lavender Spritz Cocktail
- Refreshing Lavender Daiquiri
- Intense Orange Flavor Whipped Cream
If you make this fantastic recipe, please let me know how you liked it by giving it a ★★★★★ star rating and leaving a comment below. Your feedback is truly awesome! You can also sign up for our Newsletter or follow me on Pinterest or Instagram and share your delightful creation with me. Just tag me @combinegoodflavors and use the hashtag #combinegoodflavors, so I don’t miss it!
📖 Recipe: No Fuss Strawberry Simple Syrup
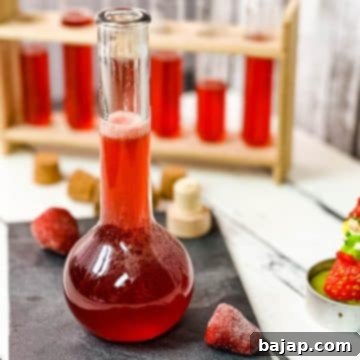
No Fuss Strawberry Simple Syrup
By Nora
Kick up your beverages and desserts with this incredibly easy-to-make, three-ingredient Strawberry Simple Syrup. Zero fuss and perfectly delicious for all kinds of drinks and sweet treats!
Print Recipe
Pin Recipe
Prep Time: 10 mins
Cook Time: 20 mins
Total Time: 30 mins
Course: Beverage, Cocktails, Condiment, Food gift
Cuisine: European
Servings: 2.5 cups
Calories: 326 kcal
Equipment
- Saucepan small
- Potato Masher for crushing the strawberries
- Spoon
- Wooden spoon
- Close meshed sieve
- Airtight Glass Container Sterilized
Ingredients
- 1 cup Strawberries fresh or frozen
- 1 cup Granulated Sugar
- 1 cup Water
Instructions
- Wash and clean 1 cup Strawberries. Remove the green stems.
- Place 1 cup Strawberries in a small saucepan with 1 cup Granulated Sugar and 1 cup Water.
- Bring the ingredients to a slow boil over medium-high heat.
- Keep stirring until you are sure that the sugar has fully dissolved.
- After the sugar is fully dissolved, crush the strawberries thoroughly with a potato masher.
- Remove from heat and set the pot aside for 15-20 minutes, allowing the mixture to steep and infuse flavor.
- Then, strain the mixture through a fine mesh sieve into a clean bowl to obtain the smooth strawberry simple syrup. Gently press the solids to extract more liquid.
- Allow the syrup to cool completely to room temperature before using. Pour it into sterile, airtight containers.
- Store in the fridge for up to a month.
Never miss a recipe! Sign up and let me spoil you weekly with a delicious homemade recipe!
Keyword: homemade strawberry syrup, strawberry, Strawberry syrup, strawberry syrup for cocktails
Watch How to Make It!
Like this recipe? Mention @combinegoodflavors or tag #combinegoodflavors!
Nutrition values are estimates only, using online calculators. Please verify using your own data.
Serving: 1 cup | Calories: 326 kcal | Carbohydrates: 84g | Protein: 0.4g | Fat: 0.4g | Saturated Fat: 0.01g | Polyunsaturated Fat: 0.1g | Monounsaturated Fat: 0.02g | Sodium: 6mg | Potassium: 90mg | Fiber: 1g | Sugar: 83g | Vitamin A: 7IU | Vitamin C: 34mg | Calcium: 13mg | Iron: 0.3mg

🤎 You Might Also Like These Recipes
- How to make fresh Strawberry Cupcakes with Ricotta
- Fresh Strawberry Sponge Cake
- Homemade Strawberry Popsicles
- “Easy As Pie” Strawberry Cobbler Recipe
⛑️ Important Food Safety Tips
Always prioritize food safety when preparing any homemade recipe:
- Cook to a minimum internal temperature of 165 °F (74 °C) for any raw ingredients that require it (though not applicable to this syrup, it’s a good general practice).
- Do not use the same utensils on cooked food that previously touched raw ingredients (e.g., if you were to process raw meat before making syrup, though not in this recipe).
- Wash hands thoroughly after touching any raw ingredients, especially before handling cooked or finished products.
- Do not leave food sitting out at room temperature for extended periods, as this can encourage bacterial growth. Cool and refrigerate your syrup promptly.
- Never leave cooking food unattended on the stovetop.
- If using other ingredients that require cooking, use oils with a high smoking point to avoid harmful compounds.
- Always ensure good ventilation when using a gas stove.
For further comprehensive information on safe food handling practices, please check the Safe Food Handling guidelines from the FDA.
