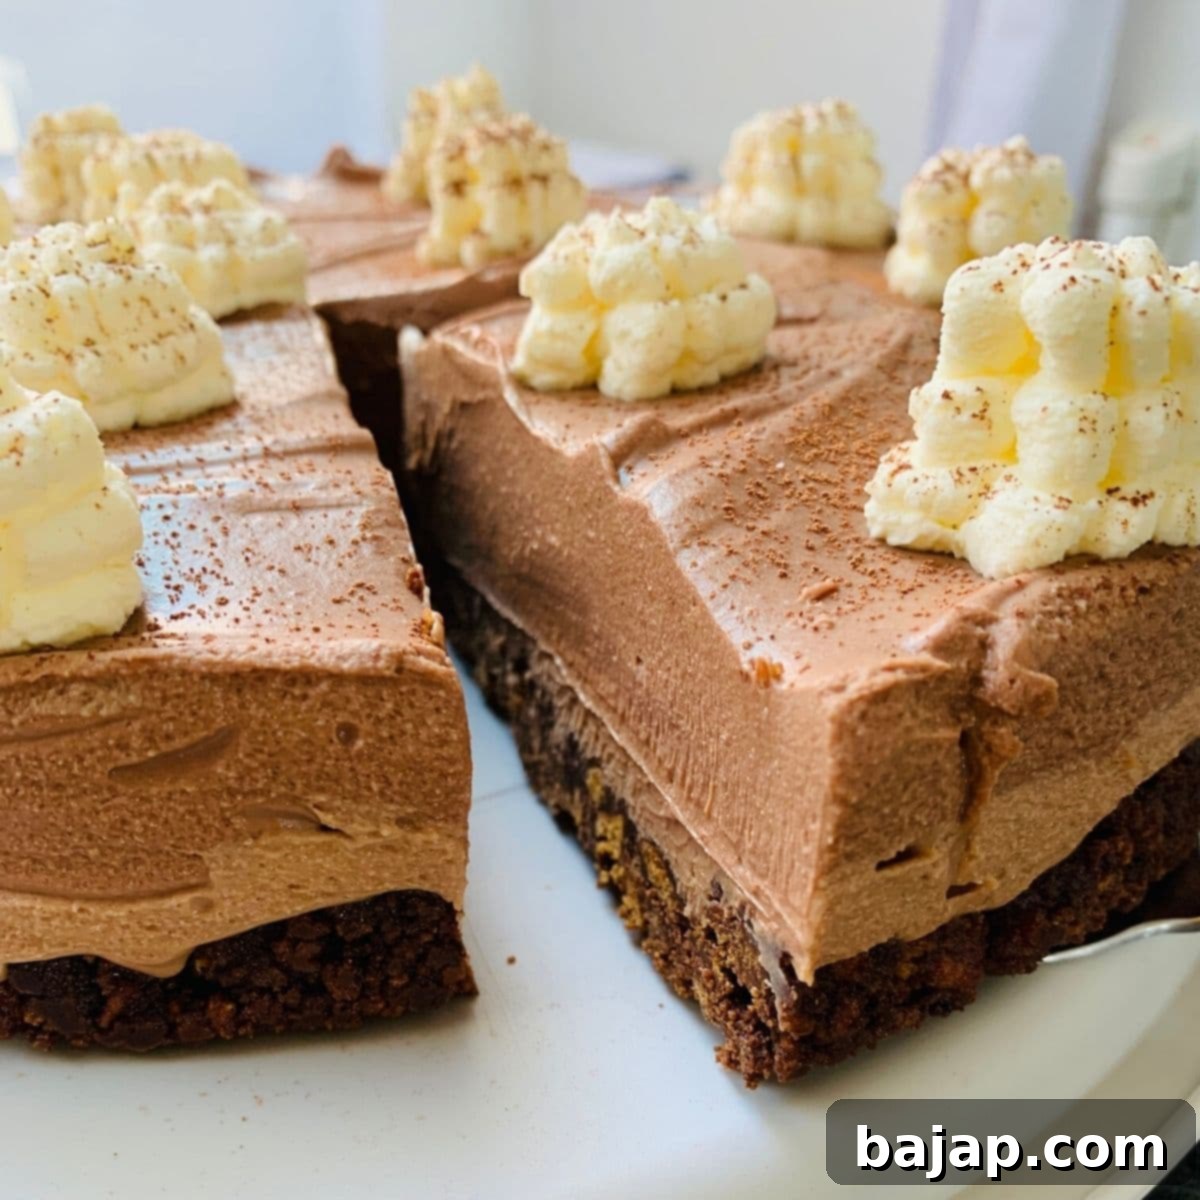
Indulge in the Creamy Delight: The Ultimate No-Bake Chocolate Ricotta Cheesecake with Biscoff Crust
Are you ready to discover a cheesecake experience unlike any other? Forget traditional cream cheese and get ready to be amazed by this unbelievably luscious no-bake chocolate ricotta cheesecake! Nestled on a delightful, crunchy Biscoff cookie base, this dessert is a game-changer. If you’ve never tried a cheesecake made with ricotta, prepare for a revelation. Its light, airy texture and subtly sweet flavor create a truly unique and irresistible treat that will quickly become your new go-to. I, for one, was so captivated that I now exclusively use ricotta for my no-bake cheesecakes – and I bet you will too!
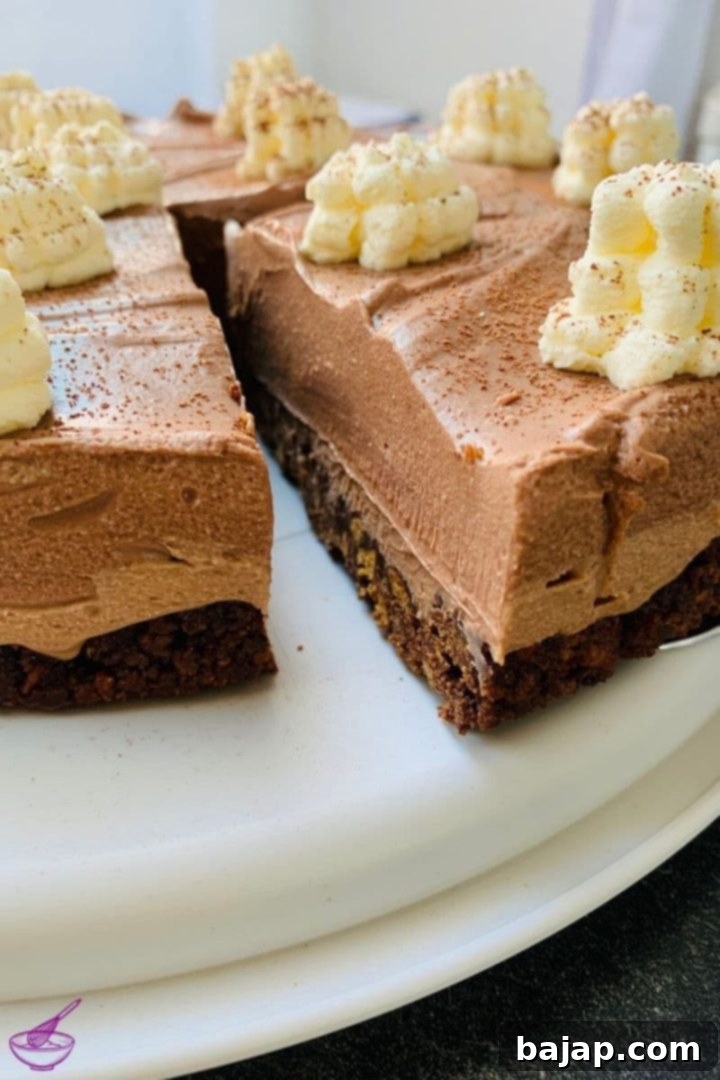
Why You’ll Fall in Love with This No-Bake Chocolate Ricotta Cheesecake
This exquisite cheesecake is more than just a dessert; it’s a celebration of flavor and convenience, making it a perfect winner for any occasion. What truly sets this recipe apart is its incredible versatility and the sheer ease of preparation. You can effortlessly whip it up the day before your event, which makes it an absolute lifesaver for busy hosts and festive gatherings. Imagine the stress-free joy of Christmas dinner or a special holiday feast when your show-stopping dessert is already perfectly chilled and ready to impress!
Beyond the holidays, this no-bake cheesecake truly shines in the warmer months. When summer temperatures soar, the last thing anyone wants is to be tethered to a hot oven. This recipe allows you to enjoy a deliciously cool, creamy, and decadent cake without breaking a sweat. It’s the ideal treat to cool down and satisfy those sweet cravings during barbecues, garden parties, or simply a relaxed evening at home. The rich chocolate combined with the delicate ricotta and the unique crunch of the Biscoff crust creates a harmonious blend that’s both comforting and refreshing.
Furthermore, the absence of traditional cream cheese offers a lighter, yet still incredibly rich, texture. Ricotta cheese provides a beautifully smooth and slightly grainy consistency that is truly unique, enhancing the overall creaminess without being overly heavy. This makes each bite a delightful balance of flavors and textures, leaving you feeling satisfied but not weighed down. It’s a sophisticated dessert that looks impressive but is surprisingly simple to create, guaranteeing compliments from every guest.
[feast_advanced_jump_to]
🥘 Ingredients for Your Dream Cheesecake
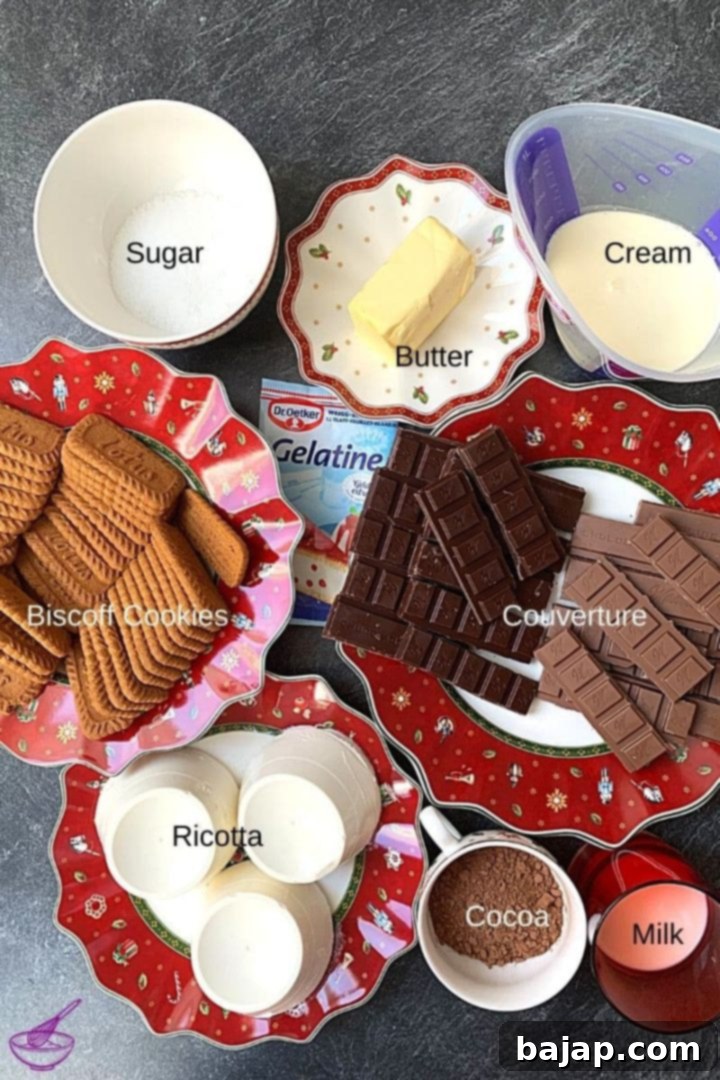
Crafting this delightful no-bake chocolate ricotta cheesecake requires a selection of quality ingredients that come together to form an unforgettable dessert. The beauty of this recipe lies in its carefully chosen components, each playing a vital role in creating the perfect balance of flavors and textures. We’ll start with a distinctive base, move to the star of the show – the rich chocolate ricotta cream – and finish with a simple yet elegant decoration.
The Irresistible Biscoff Cookie Crust
The foundation of this cheesecake is a truly special Biscoff cookie crust. These caramelized biscuits bring an unparalleled depth of flavor and a wonderfully crisp texture that elevates the entire dessert. Combined with unsweetened cocoa powder, the crust offers a delightful sweet and slightly bitter contrast that perfectly complements the creamy filling. Melted unsalted butter binds it all together, ensuring a firm yet crumbly base that’s a joy to bite into.
- Lotus Biscoff Cookies
- Unsweetened Cocoa Powder
- Melted unsalted butter
The Silky Chocolate Ricotta Cream
The heart of our cheesecake lies in its incredibly smooth and rich chocolate ricotta cream. We use a combination of milk and dark chocolate couverture to achieve a complex, balanced chocolate flavor – sweet enough to be indulgent but with a hint of dark chocolate bitterness to keep it sophisticated. Ricotta cheese, of course, provides the signature light and creamy texture, while gelatin ensures the cheesecake sets beautifully without any baking. Granulated sugar adds sweetness, and heavy cream contributes to the luxurious mouthfeel, all brought together with a touch of milk.
- Milk chocolate Couverture (chopped)
- Dark Chocolate Couverture (chopped)
- Gelatin
- Ricotta
- Granulated Sugar
- Heavy Cream
- Milk
Simple Yet Elegant Decoration
To finish off your masterpiece, a simple decoration of whipped cream and a dusting of cocoa powder adds both visual appeal and an extra layer of creamy delight. A little cornstarch and powdered sugar ensure your whipped cream holds its shape beautifully, making your cheesecake look as professional as it tastes.
- Heavy Cream
- 1 teaspoon Cornstarch
- 1 teaspoon Powdered Sugar
- Unsweetened Cocoa Powder for dusting
See the recipe card for exact quantities.
Get your high-quality chocolate couverture at Prime Chocolate and save 10 % with the code ThankYouNora
🔪 Step-by-Step Instructions to Create Your No-Bake Delight
Essential Preparations to Streamline Your Process
Before diving into the exciting part of assembling your cheesecake, a few preliminary steps will ensure a smooth and efficient baking (or rather, no-baking) experience. These small preparations are crucial for saving you time later and preventing any last-minute rushes, allowing you to focus on creating perfect layers and textures. Taking these moments to prepare will make the entire process more enjoyable and guarantee a flawless end product.
- First, prepare your springform pan. Line the bottom with a circle of baking paper and then line the sides with strips of baking paper. This ensures your cheesecake will be easy to release and serve without any sticking. Set this prepared pan aside.
- Next, gently melt your unsalted butter in a small saucepan over low heat. Simultaneously, set up two separate water baths (bain-maries) to melt both your milk chocolate and dark chocolate couverture. It’s important to melt them separately to maintain their distinct flavors and ensure they cool down appropriately. Once melted to a smooth consistency, pour each into its own bowl and allow them to cool slightly to room temperature. This prevents the chocolate from seizing when combined with other ingredients.
- Finally, take your gelatin leaves and soak them in a bowl of cold water. This softens the gelatin, preparing it to dissolve smoothly into your milk, which is essential for the cheesecake to set correctly.
By completing these steps beforehand, you’ll avoid any waiting time when you’re ready to mix your delicious ricotta creams, making the entire assembly process much faster and more enjoyable. It’s all about working smarter, not harder!
Crafting the Delicious Lotus Biscoff Cookie Crust
The base of this no-bake cheesecake is a true star on its own: a crunchy, aromatic crust made from Lotus Biscoff cookies. I am a huge enthusiast of these caramelized biscuits, as they infuse the cheesecake with an exceptional and unmistakable caramel flavor that perfectly complements the rich chocolate. However, if you prefer, you can certainly substitute them with your favorite chocolate cookies for a different, but equally delicious, twist. The key is to get the texture just right for that satisfying crunch.
Begin by taking half of your Biscoff cookies and placing them into a sturdy, sealable Ziploc bag. Using a meat tenderizer or a rolling pin, crush the cookies until they are mostly fine crumbs. A few larger chunks are actually desirable, as they contribute to a delightful, varied texture in the final crust. Once crushed, open the bag and transfer the cookie crumbs into a large mixing bowl. Repeat this process with the remaining half of the cookies, ensuring all are finely crushed but with some lovely, intentional larger pieces.
Next, add the unsweetened cocoa powder to the bowl with the crushed Biscoff cookies. This addition enhances the chocolate flavor profile and provides a beautiful dark contrast to the creamy filling.
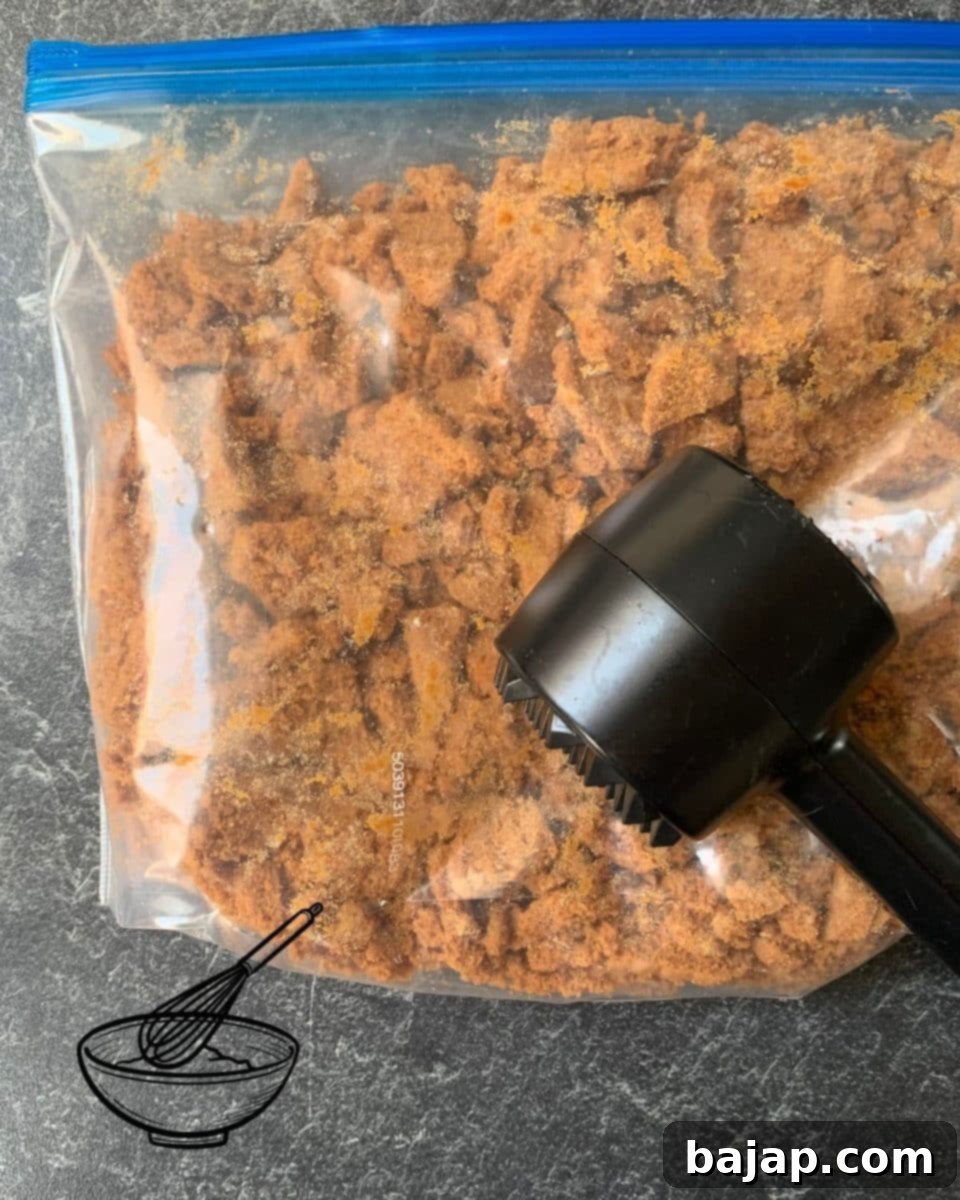
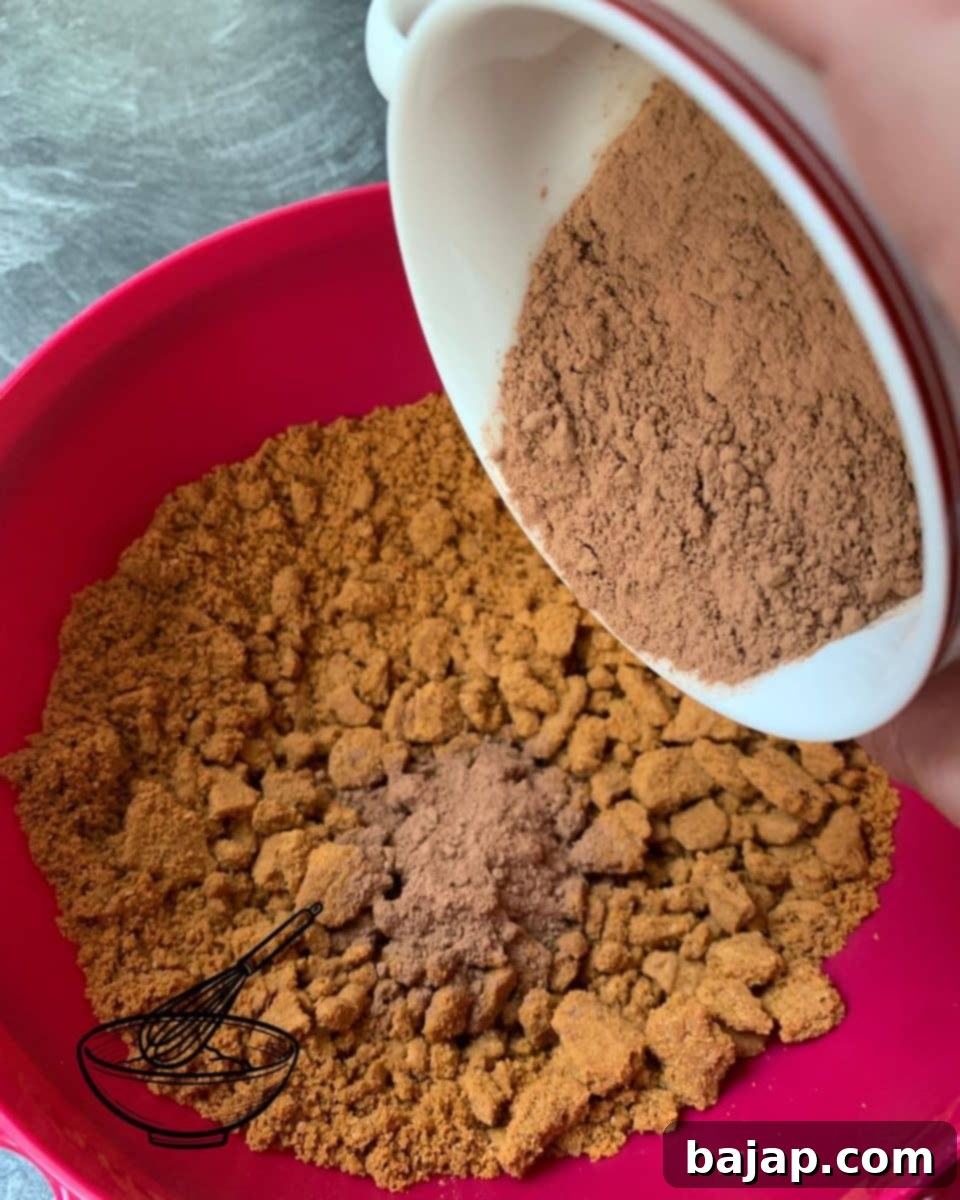
PRO TIP: Don’t worry if not all cookies are uniform crumbs! Those delightful bigger chunks will add a wonderful, crunchy texture to your cake base, providing an exciting contrast to the smooth ricotta filling.
Now, pour the pre-melted butter into the bowl with the crushed Biscoff cookies and cocoa powder. Using a spoon or your hands, thoroughly combine all the ingredients until the cookie crumbs are evenly coated and moist. The butter acts as a binder, ensuring the crust holds its shape once chilled.
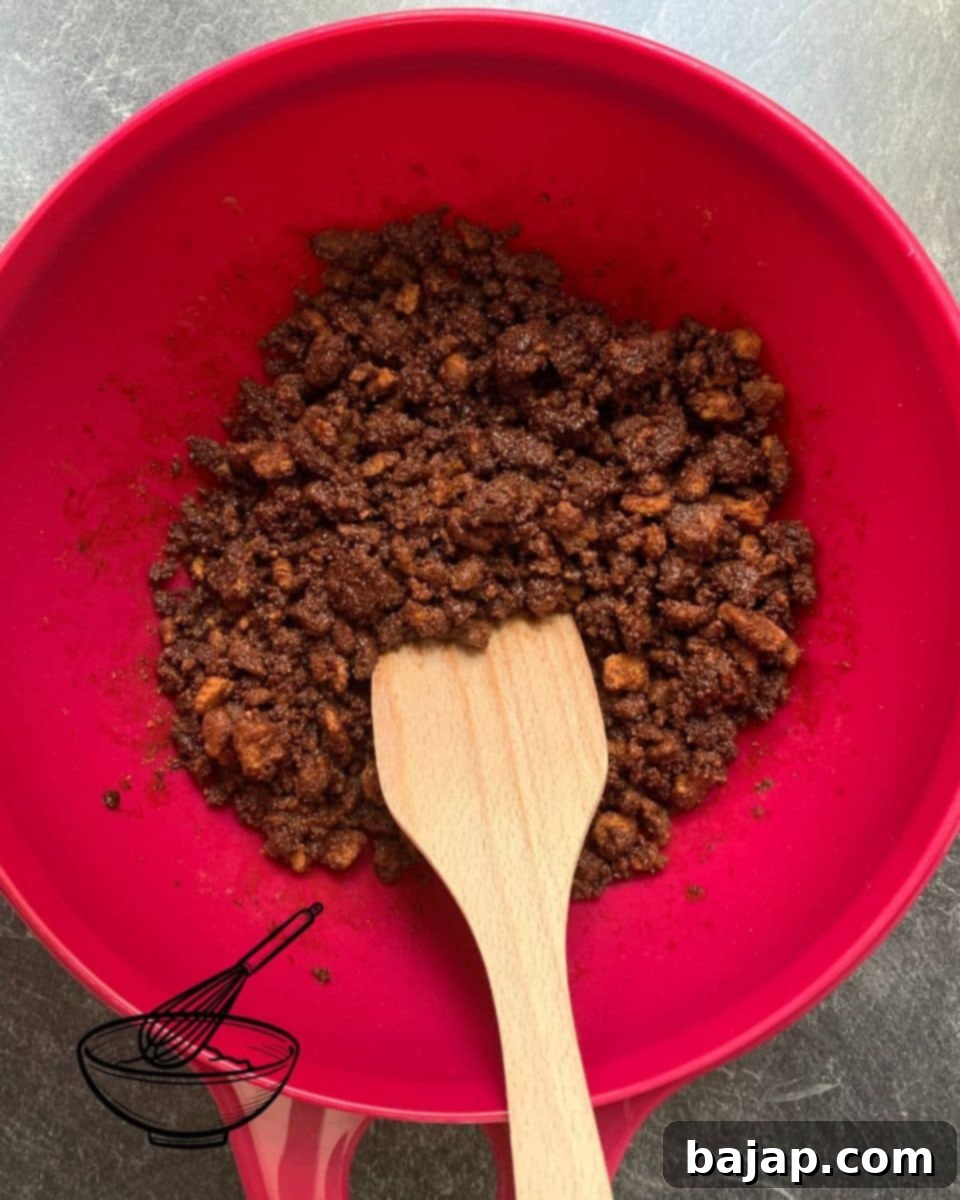
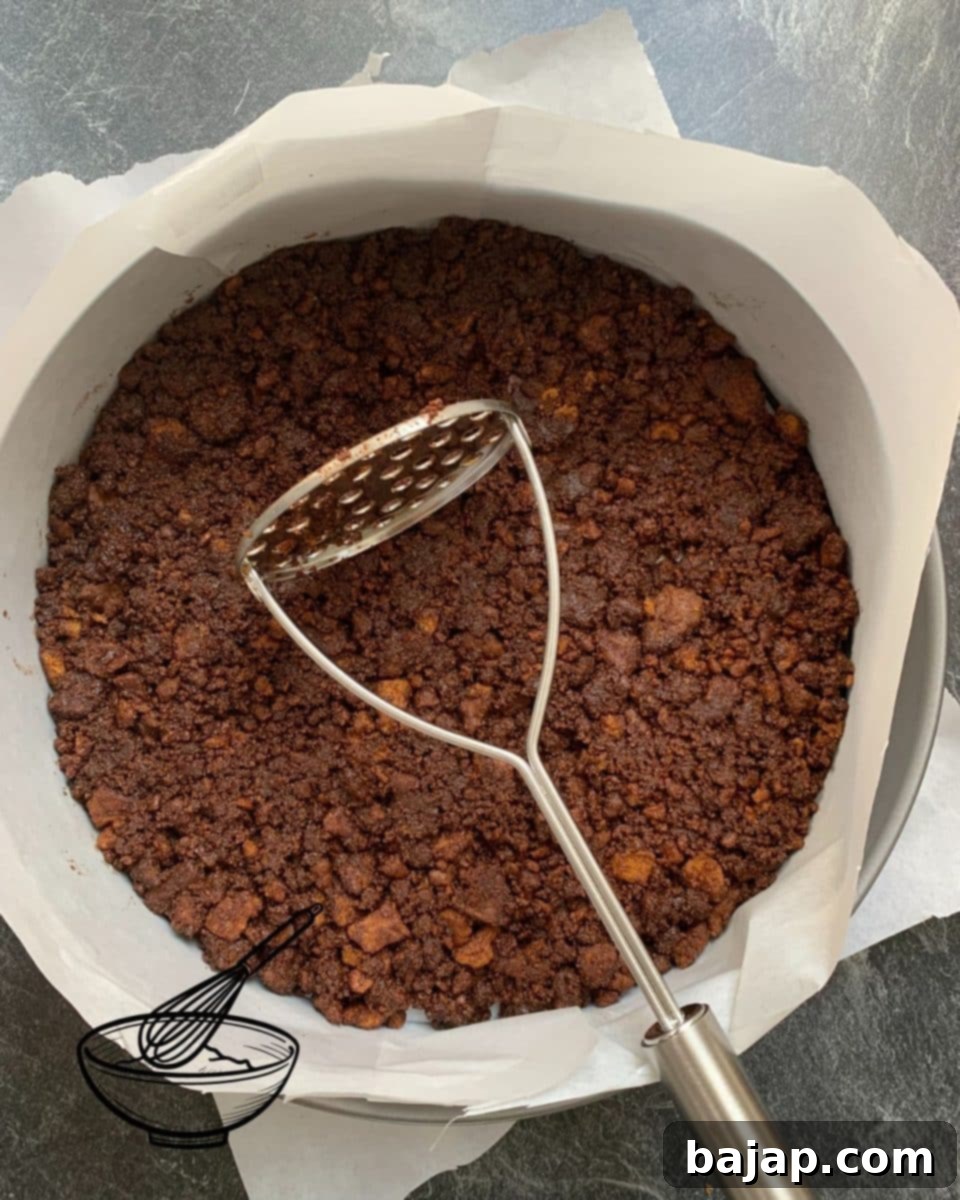
Once combined, distribute the cookie mixture evenly across the bottom of your prepared springform pan. Then, using the flat bottom of a glass, a potato masher (which I found works exceptionally well!), or your hands, press the mixture down firmly and evenly. This creates a compact and stable crust. After shaping, immediately place the pan into the fridge for cooling. This chilling step is crucial, as it allows the butter to solidify, setting the crust and making it perfectly firm and ready for the creamy layers.
Preparing the Luxurious Ricotta Cream and Assembling Your Cheesecake
Now for the star of the show: the incredibly smooth and decadent ricotta cream. This step involves careful blending and layering to achieve the beautiful two-toned chocolate effect and the perfect creamy consistency that defines this cheesecake. Remember, the quality of your ricotta makes a difference here – full-fat ricotta will yield the creamiest result!
In a food processor or a stand mixer fitted with a whisk attachment, combine the ricotta cheese and granulated sugar. Blend on medium speed until the mixture is completely smooth and creamy, with no noticeable sugar granules. Next, pour in the heavy cream and continue to blend for approximately 2 minutes until the mixture is light, fluffy, and well combined. This aeration helps create a wonderfully airy texture for your cheesecake.
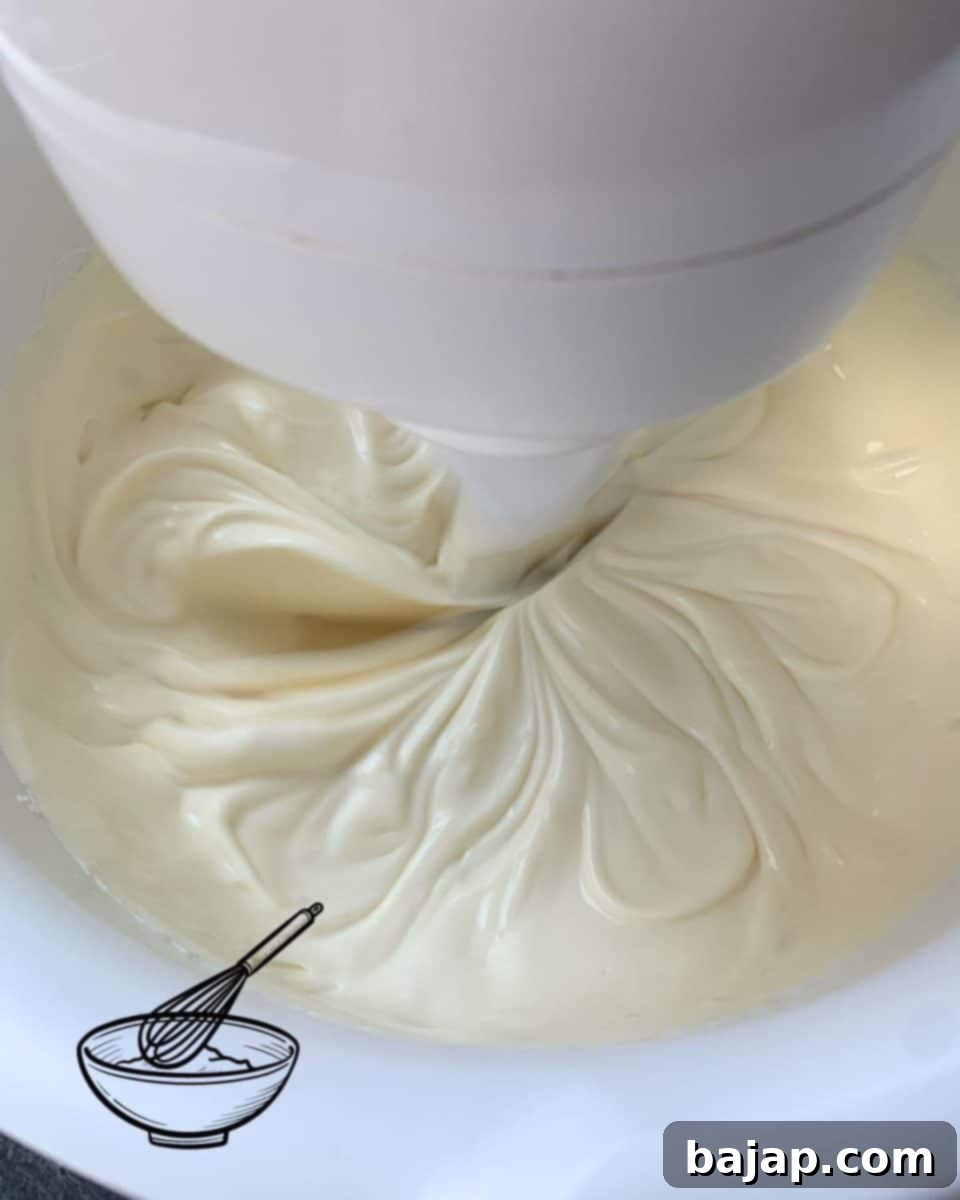
While your ricotta mixture is blending, heat the milk in a small saucepan over low heat. Be careful not to let it boil, just warm enough to dissolve the gelatin. Squeeze the excess water from your soaked gelatin leaves, then add them to the warm milk, stirring constantly until they are completely dissolved. Immediately pour this warm milk-gelatin mixture into your ricotta and sugar mixture, blending thoroughly to ensure the gelatin is fully incorporated. This is what will give your cheesecake its structure.
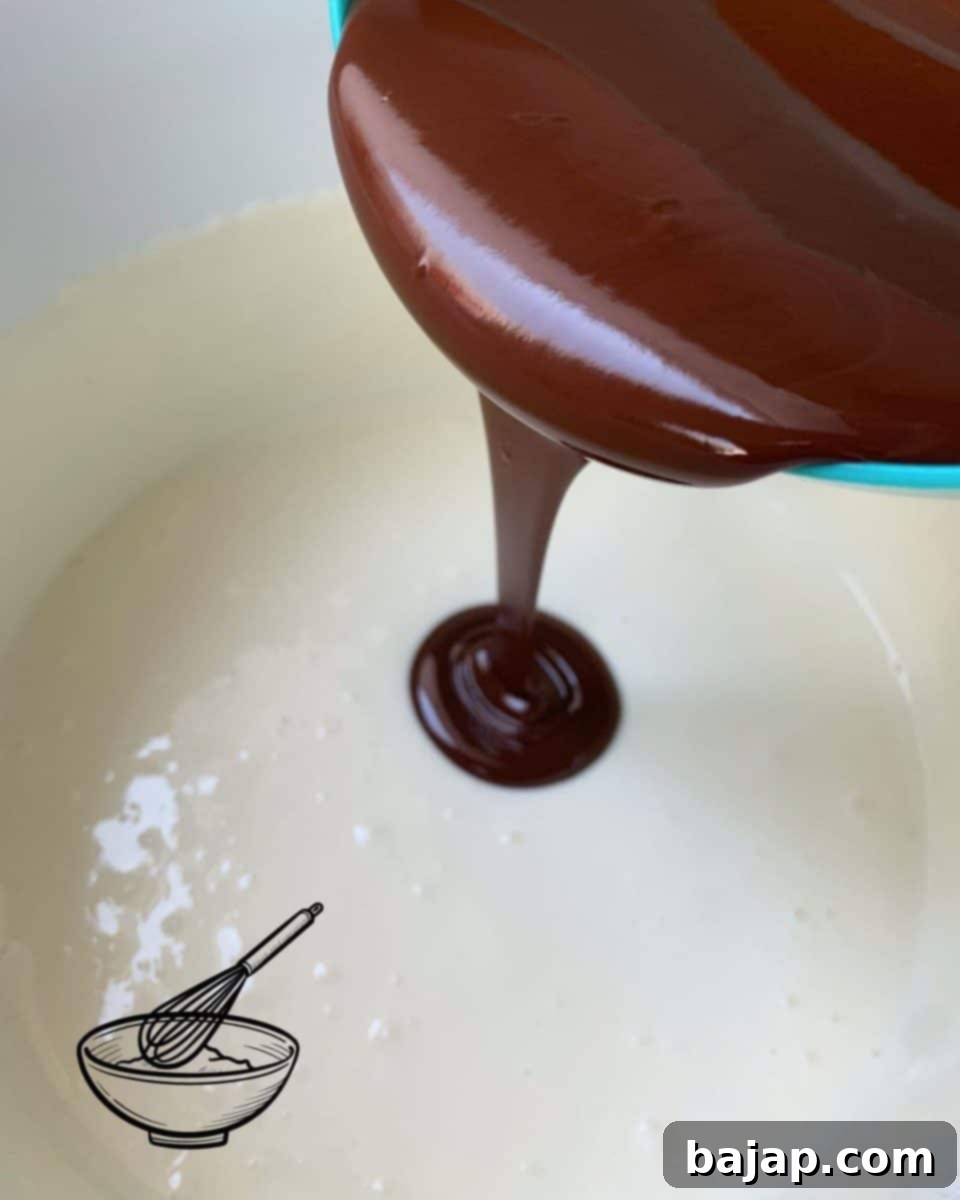
Now, divide this creamy ricotta mixture evenly between two separate mixing bowls. Into one bowl, pour the cooled melted milk chocolate couverture and stir gently until it’s perfectly combined and you have a smooth, delicious milk chocolate ricotta cream. Take care not to overmix, as this can affect the texture.
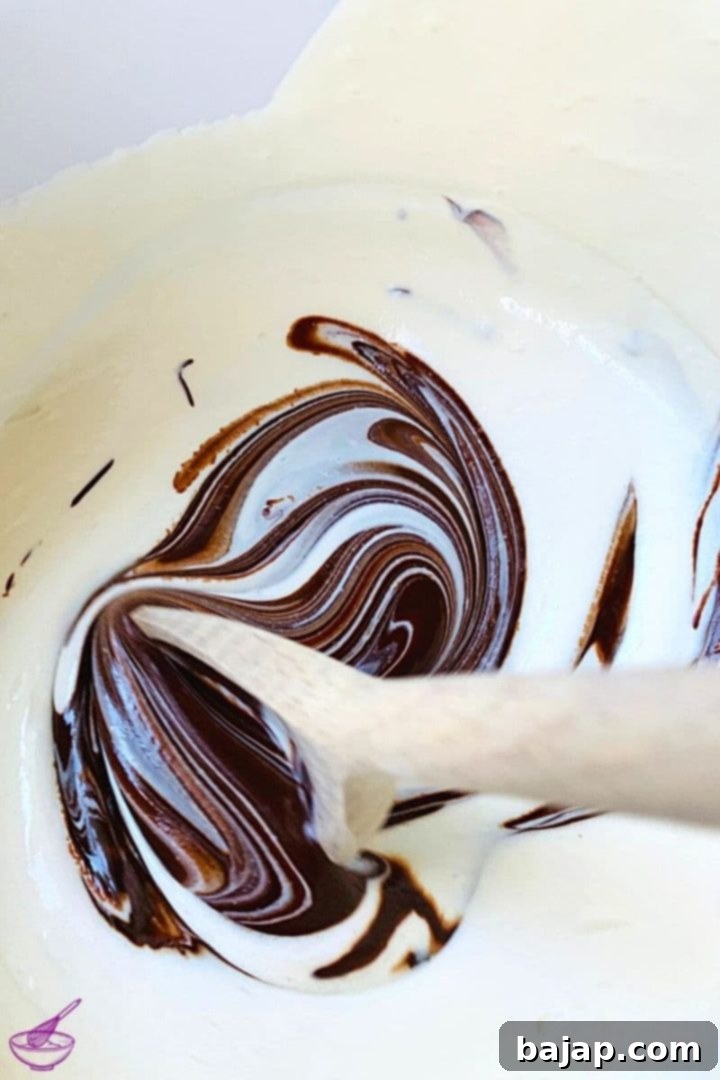
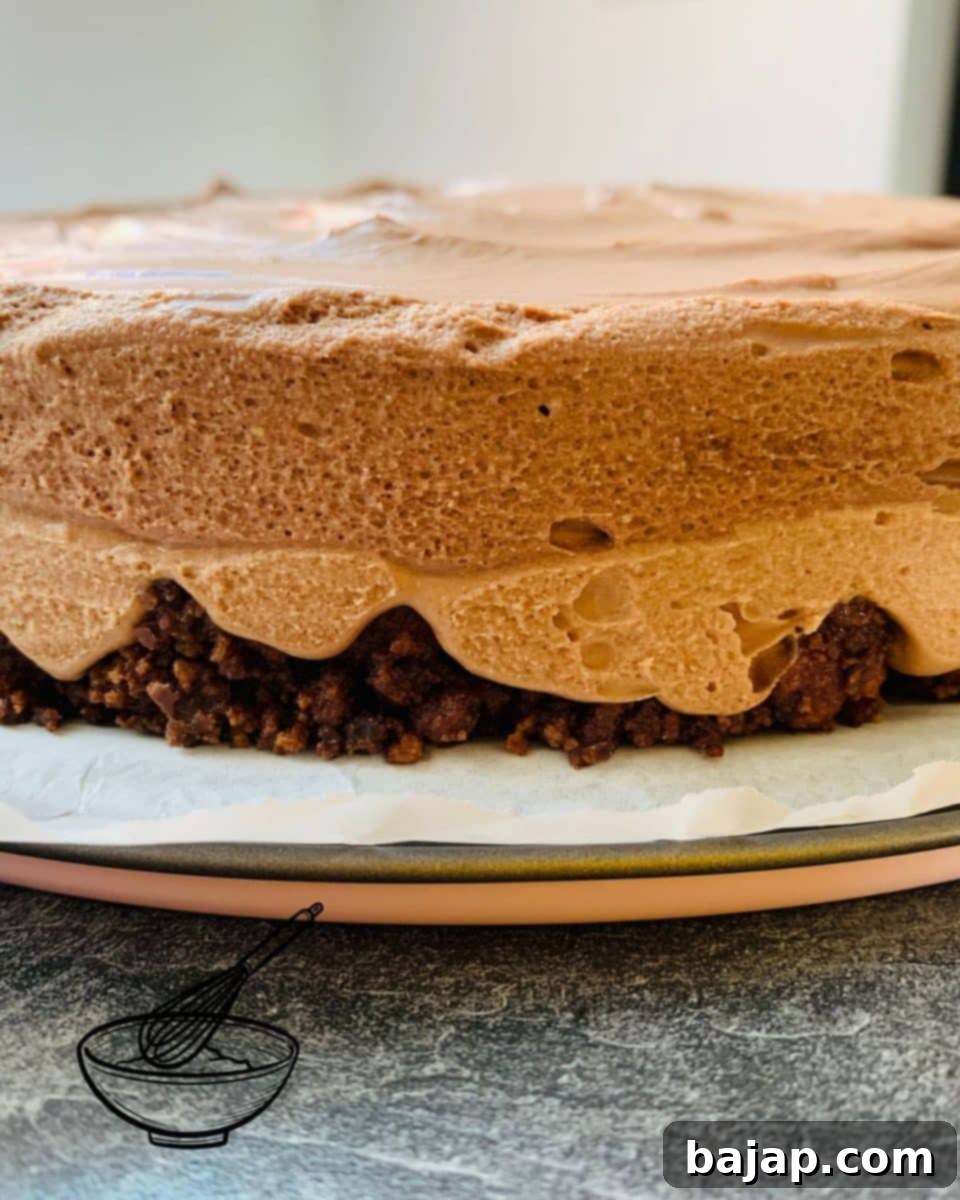
Retrieve your springform pan with the chilled Biscoff crust from the fridge. Carefully pour the milk chocolate ricotta cream over the crust, spreading it evenly to form the first creamy layer. To ensure a clean separation between layers and to speed up the setting process, place the springform pan in the freezer for at least 10 minutes. This quick chill will help firm up the milk chocolate layer, making it easy to spread the second layer without mixing.
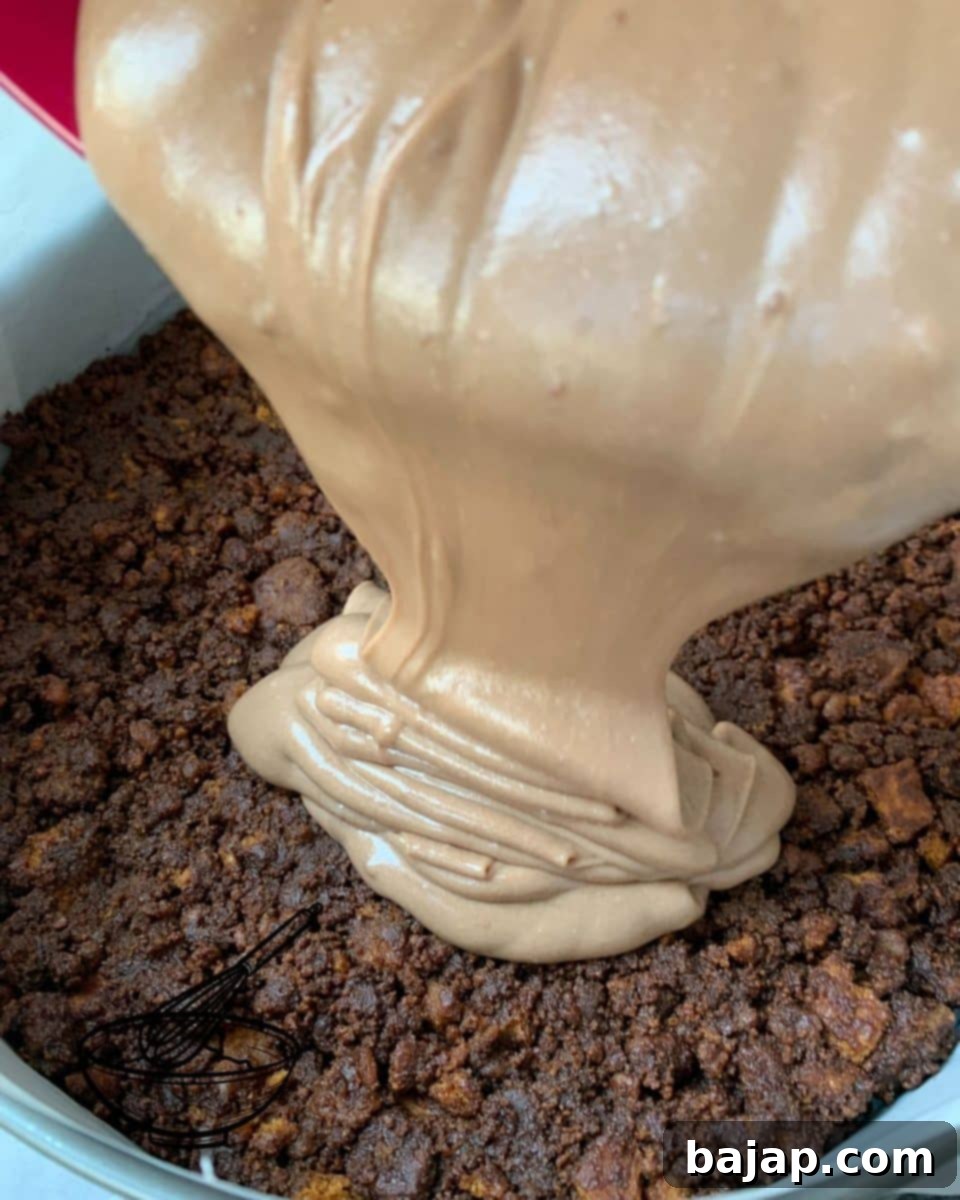
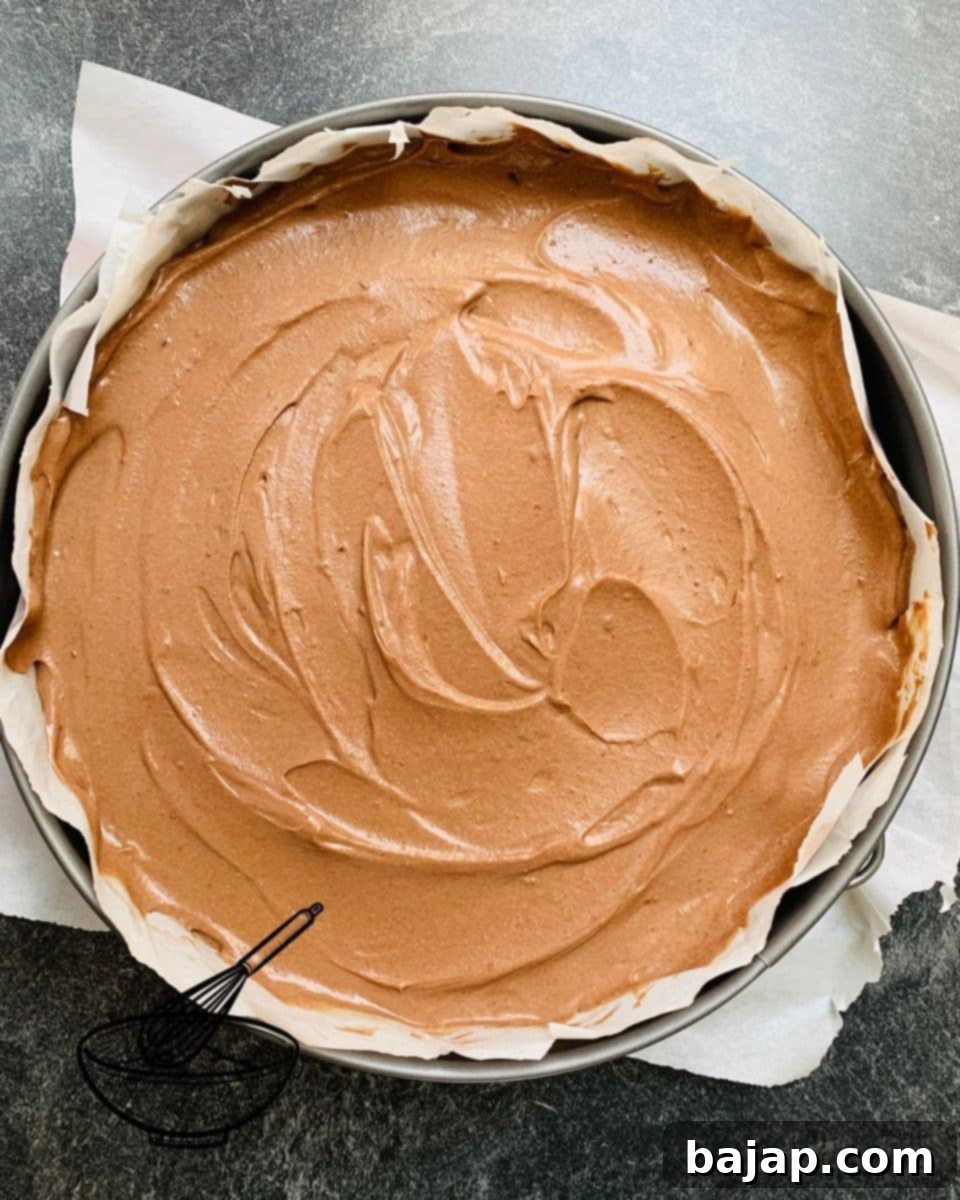
While the first layer is chilling, pour the cooled melted dark chocolate couverture into the second bowl of ricotta mixture. Stir gently until thoroughly combined, creating a rich dark chocolate ricotta cream. Once the milk chocolate layer in the springform pan has set slightly (after about 10 minutes in the freezer), carefully spread the dark chocolate ricotta cream over it, ensuring an even and smooth second layer. This creates a beautiful visual contrast and a delightful complexity of chocolate flavors.
Finally, and perhaps the most crucial step for setting, return the entire cheesecake to the refrigerator. It needs to chill overnight, or for a minimum of 8 hours, to allow the gelatin to fully set and the flavors to meld beautifully. Patience is key here – a well-chilled cheesecake is a perfectly structured and delicious cheesecake!
Elegantly Decorating Your Chocolate Ricotta Cheesecake Before Serving
The final touches are what transform a delicious dessert into a true showstopper. Decorating your chilled chocolate ricotta cheesecake just before serving adds a fresh, appealing finish and allows for a moment of creative expression. A few simple steps will ensure your presentation is as impressive as the taste.
Just before you plan to serve, prepare the whipped cream for decoration. Pour the heavy cream into a tall mixing bowl. Add one teaspoon of cornstarch and one teaspoon of powdered sugar. These two ingredients act as a natural stabilizer, ensuring your whipped cream holds its shape beautifully and doesn’t deflate too quickly. Using a hand mixer, whisk the mixture on high speed until it forms firm peaks. Be careful not to overmix, or you’ll end up with butter!
CHEF’S TIP: For naturally stable whipped cream, I find cornstarch and powdered sugar to be excellent substitutes for commercial cream stiffeners. They provide structure without altering the flavor.
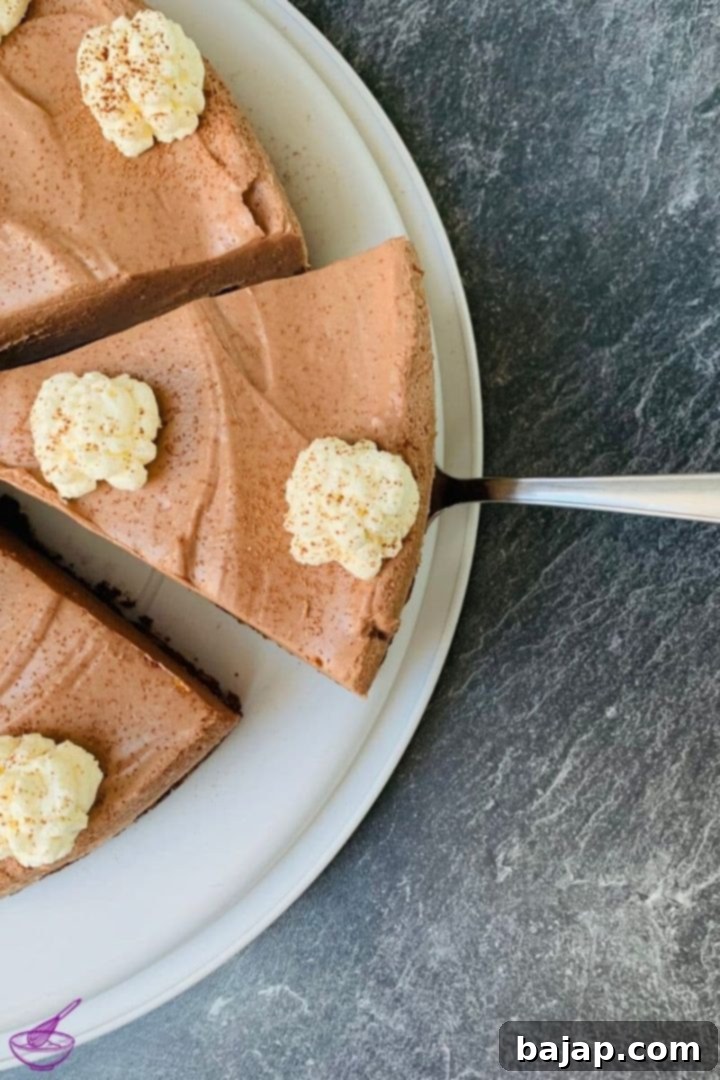
Once your whipped cream is ready, retrieve your perfectly chilled chocolate ricotta cheesecake from the refrigerator. Carefully open the springform pan and gently remove the baking paper strips from the sides. To transfer the cheesecake smoothly, slide a wide, flat flipping shovel or a thin spatula carefully between the cake base and the bottom layer of baking paper. Lift the entire cheesecake onto your chosen serving platter or cake stand. The pre-lined paper makes this step surprisingly easy!
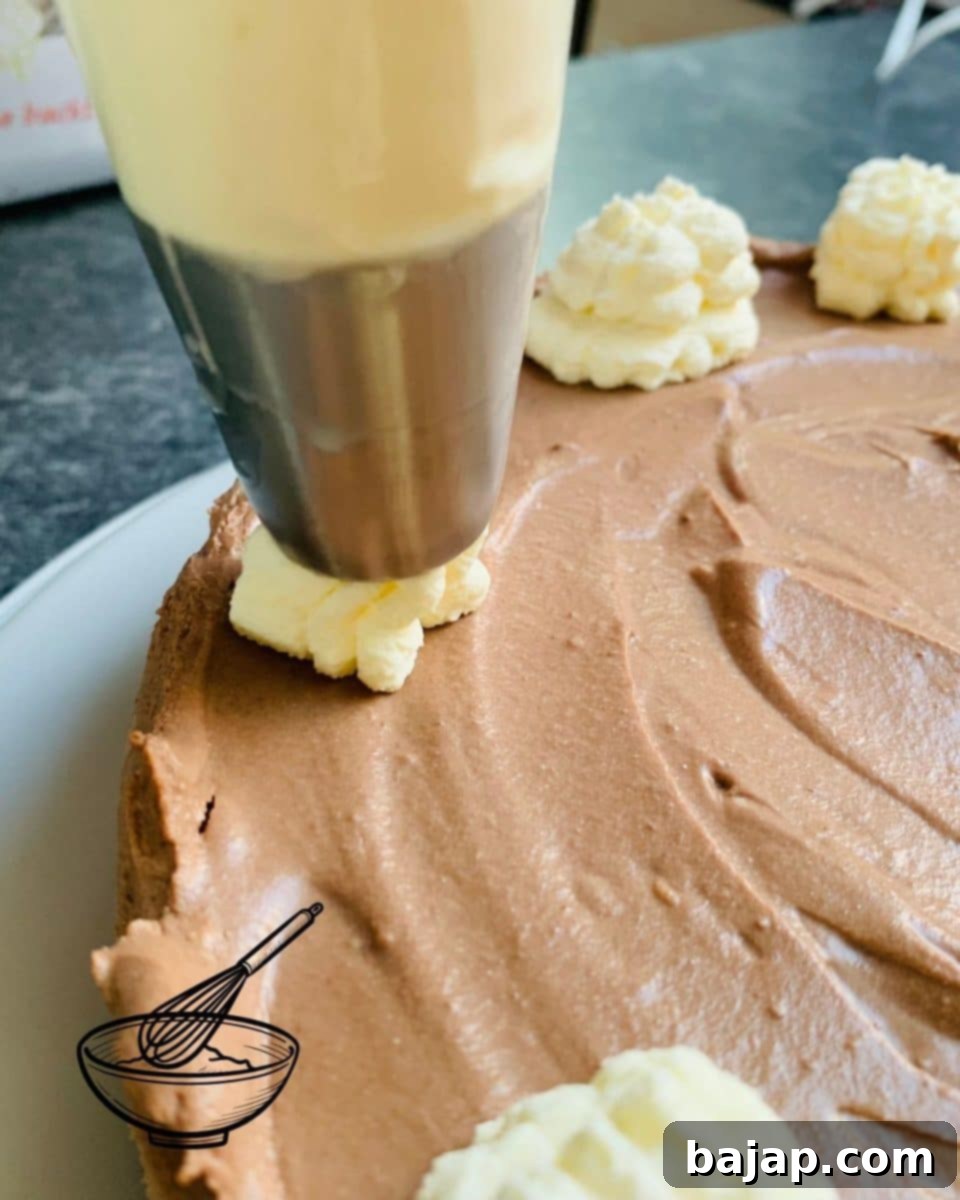
Fill the whipped cream into a pastry bag fitted with your favorite decorative tip. Pipe rosettes, swirls, or a simple border around the edge of your cheesecake – let your creativity guide you! You can also just spread a layer of whipped cream over the top for a simpler look.
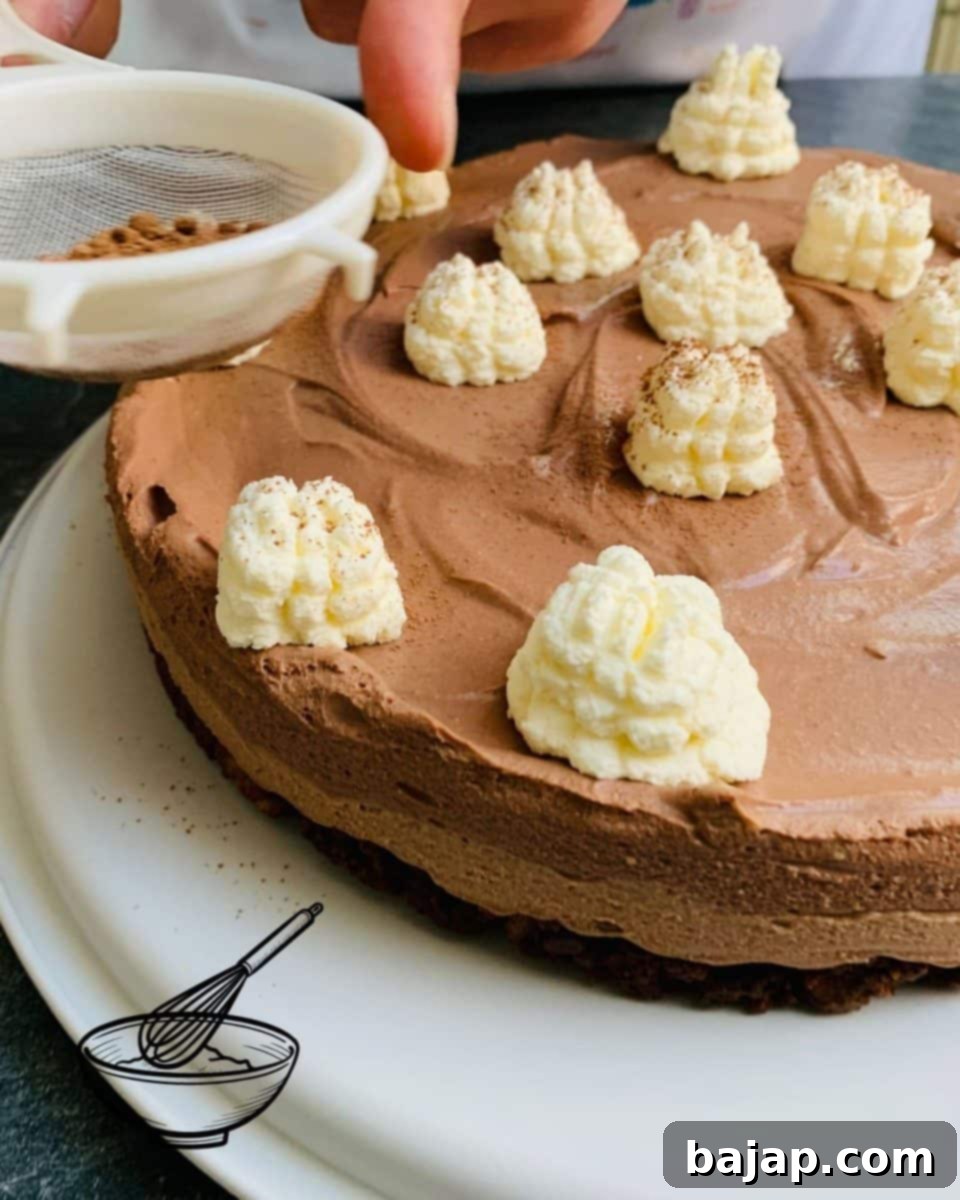
For a final touch of elegance and a hint of extra chocolate flavor, use a small sieve to lightly dust the entire cheesecake with unsweetened cocoa powder. This creates a beautiful contrast and adds a subtle bitterness that enhances the sweetness of the cream. Once decorated, cut the cheesecake into equal pieces using a sharp, warm knife (wipe the knife clean between each cut for perfect slices) and serve immediately. Enjoy the rich, creamy goodness!
If you are a fan of Ricotta like me, try out our delicious Strawberry Cupcakes, with Ricotta Sponge or Chocolate Chip Ricotta Loaf Cake! For more no-bake cheesecake inspiration, don’t miss this fancy Toblerone cheesecake!
🌡️ Storage Tips for Your Ricotta Cheesecake
While this no-bake chocolate ricotta cheesecake is truly at its best when enjoyed freshly made, you can certainly store any leftovers to savor later! Proper storage is key to maintaining its exquisite flavor and creamy texture. If you find yourself with extra slices (a rare occurrence, I’m sure!), this cheesecake can be safely stored in the refrigerator for up to 3-4 days.
To ensure your cheesecake remains delicious and fresh, it’s best to keep it covered. An airtight container is ideal, or you can place it under a cake bell. This prevents the delicate flavors of the cheesecake from absorbing any unwanted odors from other foods in the refrigerator, and also keeps it from drying out. For individual slices, wrap them tightly in plastic wrap before placing them in an airtight container. This extra step helps maintain the moisture and prevents the whipped cream decoration from getting squashed. Always bring individual slices to room temperature for about 15-20 minutes before serving to fully appreciate their creamy texture and rich flavor.
🍽 Essential Equipment for Cheesecake Success
Having the right tools on hand makes preparing this no-bake chocolate ricotta cheesecake a breeze. Here’s a list of the equipment you’ll need to create this delectable dessert with ease and precision:
- Ø23 cm / 9-Inch Springform Pan: Essential for forming and easily releasing your cheesecake.
- Kitchen Machine or Electric Hand Mixer: For blending the ricotta mixture to a perfectly smooth and creamy consistency.
- Plastic Wrap: Useful for covering ingredients and keeping your cheesecake fresh during chilling.
- Sandwich paper or baking paper: To line the springform pan, ensuring a non-stick release.
- Pastry Bag with a Tip of Your Liking: For elegantly piping the whipped cream decoration.
- Small Sieve for Dusting: Perfect for a light, even coating of cocoa powder.
- Wooden Spoon: For stirring and combining various ingredients.
- 3-4 Mixing Bowls: You’ll need these for melting chocolates, mixing cream, and separating layers.
- Bain Marie (double boiler) for Melting the Couverture: Provides gentle, even heat to melt chocolate without burning it.
- Electric Handmixer (if not using a stand mixer).
- Small Pan for Melting the Butter: For the cookie crust.
- Plastic Ziploc Bag: A mess-free way to crush cookies into crumbs.
- Meat Tenderizer or Rolling Pin: For efficiently crushing those Biscoff cookies.
- Potato Masher (Optional): Excellent for pressing the cookie crumbs firmly into the pan to create a solid crust.
🙋🏻 Frequently Asked Questions About No-Bake Ricotta Cheesecake
For the best results in this recipe, we highly recommend using full-fat, soft ricotta cheese. The higher fat content contributes significantly to the creamy, luxurious texture that makes this cheesecake so delightful. We advise against using reduced-fat or skim ricotta, as it can result in a less rich and potentially more watery dessert. When you open your package of ricotta, it’s a good practice to gently pour out any excess liquid or water that may have accumulated, as this will help ensure your cheesecake sets perfectly firm and creamy.
If you’re looking for alternatives to gelatin, whether for dietary reasons or simply because you don’t have it on hand, several plant-based thickeners can work. You can replace gelatin with Agar Agar, a powerful vegetarian gelling agent derived from seaweed. Other options include Carrageenan (also from seaweed), Kuzu root starch, Guar Gum, Xanthan Gum, or Arrowroot powder. When substituting, always refer to the specific package instructions for the recommended quantities, as their gelling power can vary significantly from gelatin. Generally, you’ll use less of these substitutes than gelatin, so it’s important to measure carefully.
Fancy more delicious no-bake cheesecakes? Check out the following recipes:
- Fig Cheesecake in a Jar {no bake}
- No-bake Pumpkin Cheesecake
- No-bake White Chocolate Raspberry Cheesecake {Halloween}
- No-bake Mint Chocolate Cheesecake
- No-bake 4th of July Cheesecake
- No-bake Eggnog Cheesecake
- 5 ingredient mini Oreo Cheesecakes
- No-bake Strawberry Cheesecake
If you are looking for a creamy cake that is baked, why not try this delicious Single Layer Chocolate Nutella Cake?
📖 Recipe
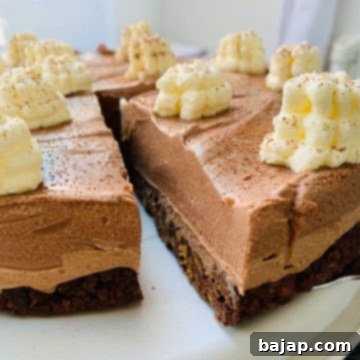
No-Bake Chocolate Ricotta Cheesecake with Biscoff Crust
Nora
Save RecipeSaved!
Pin Recipe
Equipment
-
9-Inch Springform Pan
-
Standmixer or electric handmixer
-
Plastic Wrap
-
Sandwich paper or baking paper
-
Pastry Bag with a tip of your liking
-
Small Sieve for dusting
-
Wooden spoon
-
medium sized bowls
-
Baine Marie for melting the couverture
-
Small pan for melting the butter
-
Plastic Ziploc bag
-
Meat Tenderizer
-
Potato Masher
Ingredients
Biscoff Cookie Crust
- 10.6 oz Lotus Biscoff Cookies halved
- 4 tablespoon Unsweetened Cocoa Powder
- ½ cup Melted unsalted butter
Cream
- 2 cups Chocolate-Milk Couverture chopped
- 2 cups Dark Chocolate Couverture chopped
- 3 Sheets Gelatin
- 3 cups Ricotta
- ½ cup Granulated Sugar
- 1 ¼ cups Heavy Cream
- ¼ cup Milk
Decoration
- ⅞ cup Heavy Cream
- 1 teaspoon Cornstarch
- 1 teaspoon Powdered Sugar
- Unsweetened Cocoa Powder for dusting
Instructions
Necessary Preparations to save you time
-
Line the springform pan with baking paper (cut to size on the bottom and sides). Set it aside.
-
Melt ½ cup Melted unsalted butter in a small pan on low heat, and set up two water baths to melt 2 cups Chocolate-Milk Couverture and 2 cups Dark Chocolate Couverture separately.½ cup Melted unsalted butter, 2 cups Chocolate-Milk Couverture, 2 cups Dark Chocolate Couverture
-
After melting the couverture completely, pour each into a separate bowl and let cool down a bit.
-
Soak 3 Sheets Gelatin leaves in cold water.3 Sheets Gelatin
Making the delicious Biscoff cookie cake base
-
Fill half of 10.6 oz Lotus Biscoff Cookies into a sealable Ziploc baggie and crush with a meat tenderizer. Once only crumbs are left, open the Ziploc bag and empty the crumbs into a mixing bowl. Repeat with the remaining Lotus Biscoff Cookies.10.6 oz Lotus Biscoff Cookies
-
Now pour the melted butter into the cookie crumbs and add 4 tablespoon Unsweetened Cocoa Powder. Stir well and distribute the mixture evenly in the springform pan. Then press the mass a little firmly (I used a potato masher. That worked very well!) and put the form afterward in the fridge for cooling.4 tablespoon Unsweetened Cocoa Powder
Preparing the Cream and Putting it all Together
-
Blend 3 cups Ricotta and ½ cup Granulated Sugar with a food processor until creamy. Pour in 1 ¼ cups Heavy Cream and blend for about 2 minutes until creamy.3 cups Ricotta, ½ cup Granulated Sugar, 1 ¼ cups Heavy Cream
-
Meanwhile, heat ¼ cup Milk in a saucepan (do not boil!). Squeeze the gelatin, dissolve it in the warm milk, and stir the milk-gelatin mixture into the ricotta mixture.¼ cup Milk
-
Now divide this mixture evenly between two mixing bowls. Pour the melted milk chocolate couverture into one of them and stir well to create a delicious cream.
-
Take the springform pan out of the fridge and pour the milk chocolate ricotta cream into it.
-
Spread it in the form and put it in the freezer for at least 10 minutes so that it becomes firm and you can easily make the second layer.
-
Mix the melted dark chocolate couverture with the second half of the ricotta mass and spread it carefully on the cooled milk chocolate cream.
-
Chill the cheesecake overnight in the refrigerator so that it can set.
Decorating the Chocolate-Ricotta-Cheesecake before serving
-
Pour ⅞ cup Heavy Cream into a tall mixing bowl and add 1 teaspoon Cornstarch and 1 teaspoon Powdered Sugar. Now mix it with a hand mixer until it is firm.⅞ cup Heavy Cream, 1 teaspoon Cornstarch, 1 teaspoon Powdered Sugar
-
Take the chilled chocolate ricotta cheesecake out of the refrigerator. Open the springform pan and remove the strips of baking paper on the sides. Take a wide flipping shovel, carefully slide it between the cake and the baking paper and lift the cheesecake onto a serving platter or cake plate.
-
Fill the whipped cream into a pastry bag and decorate your cheesecake as you like.
-
Sprinkle the cheesecake with Unsweetened Cocoa Powder, cut it into equal pieces and serve immediately.Unsweetened Cocoa Powder
Nutrition values are estimates only, using online calculators. Please verify using your own data.

🤎 You Might Also Enjoy These No-Bake Delights
If you’ve fallen in love with the ease and deliciousness of no-bake cheesecakes, you’re in for a treat! We have a collection of other fantastic recipes that require no oven time, perfect for satisfying your sweet tooth any time of the year. From seasonal favorites to fruity delights, there’s a no-bake cheesecake for every craving and occasion. Explore these easy-to-make, crowd-pleasing desserts:
- National Cheesecake Day {July 30th}
- Patriotic Fourth of July no-bake Cheesecake
- Fig Cheesecake in a Jar {no-bake}
- No Bake Pumpkin Cheesecake
⛑️ Important Food Safety Guidelines
Ensuring food safety is paramount when preparing any meal, even a no-bake dessert. Following these guidelines will help keep your kitchen and your delicious cheesecake safe and enjoyable:
- Cook all raw ingredients, especially those like eggs in other recipes or any meat, to a minimum safe temperature of 165 °F (74 °C) to eliminate harmful bacteria. (Though not applicable to this no-bake recipe, it’s a good general rule of thumb for kitchen safety.)
- Always use separate utensils and cutting boards for raw foods (like uncooked meats or poultry) and cooked foods to prevent cross-contamination.
- Thoroughly wash your hands with soap and warm water for at least 20 seconds after handling raw meat or any unwashed produce.
- Never leave perishable food sitting out at room temperature for extended periods, especially dairy-based desserts. Promptly refrigerate any leftovers to inhibit bacterial growth.
- Always supervise cooking food, particularly when using stovetops or ovens, to prevent accidents and ensure proper cooking.
- When cooking with oils, choose those with a high smoking point to avoid the formation of harmful compounds, which can occur when oil overheats and begins to smoke.
- Ensure good ventilation in your kitchen when using a gas stove to prevent the buildup of fumes and improve air quality.
For further comprehensive information on safe food handling practices, please refer to the expert guidance from the Safe Food Handling – FDA.
