Unlock Effortless Baking: The Ultimate Guide to Cake Pans with Removable Bottoms
Baking can be a truly rewarding experience, but sometimes, the simple act of releasing a perfectly baked cake from its pan can turn into a kitchen nightmare. That’s where cake pans with removable bottoms come to the rescue! These ingenious baking tools, often referred to as springform pans, are game-changers for home bakers, making the entire process from prep to presentation incredibly simple and stress-free. If you’ve ever struggled with an upside-down cake or a broken crust, you’ll quickly appreciate the convenience and reliability these pans offer.
Discover why these essential baking tools are a must-have in every kitchen:
-
Unmatched Versatility for Every Recipe: Cake pans with removable bottoms are not just for cakes! Their adaptable design makes them incredibly versatile, suitable for a wide array of sweet and savory dishes. Whether you’re baking delicate sponge cakes, hearty cheesecakes, crumbly tarts (especially if you don’t own a dedicated tart pan), or even crafting elaborate no-bake layered desserts, these pans handle it all with ease. The ability to remove the sides without disturbing the base is invaluable for maintaining the integrity and beautiful presentation of your culinary creations.
-
Effortless Cleanup for Busy Bakers: We all love baking, but dread the aftermath of scrubbing stubborn residue. Fortunately, most cake pans with removable bottoms are designed for easy cleaning. Many models are dishwasher-safe, allowing you to simply load them after use and let your machine do the work. For those extra sticky situations, or for pans that require hand washing, a quick soak in warm, soapy water will usually loosen any baked-on bits, making manual cleaning just as simple. Their non-stick coatings further contribute to a hassle-free cleanup, ensuring that even messy bakes like brownies or sticky buns won’t leave you with a difficult scrubbing task.
-
A Size for Every Occasion and Creation: Baking projects come in all shapes and sizes, and so do cake pans with removable bottoms! From charming mini-pans perfect for individual desserts or small gatherings to large, multi-tiered options ideal for grand celebrations, there’s a pan designed to fit your specific needs. This variety means you’ll always have the right tool for the job, whether you’re experimenting with a new recipe or perfecting a classic family favorite. Investing in a range of sizes ensures you’re prepared for any baking challenge that comes your way, allowing for creative freedom and flawless results every time.
[feast_advanced_jump_to]
Understanding Cake Pans with Removable Bottoms
At their core, a cake pan with a removable base is a two-part system designed for ultimate convenience. It consists of the main pan body, which forms the sides, and a separate, snugly fitting bottom plate. The magic happens with a simple latch or clamp located on the side of the pan. When opened, this mechanism allows the side ring to expand and detach from the base, making it incredibly easy to release your baked goods without flipping or wrestling them out. This innovative design ensures your cakes, tarts, and cheesecakes maintain their perfect shape and structural integrity.
While often associated with round shapes, these versatile cake tins are also available in square and rectangular configurations, offering even more creative possibilities for your baking projects. The design principles remain the same: a secure side wall that can be easily removed from its base.
There are several distinct types of cake pans that feature a removable base, each suited for particular baking needs:
- Round Cake Pan with a Lifting Base: This type is a close cousin to the springform pan and can be used for virtually anything you’d bake in a springform. The primary advantage is its often more robust construction, as the rim doesn’t rely on a hinge for sealing. Instead, the base simply lifts out from the bottom, offering remarkable stability and making it ideal for heavier cakes or dense batters.
- Springform Pan (aka. Cheesecake Pans): The most common type, characterized by its hinged side that unlatches to release the base. They are perfect for delicate cakes like cheesecakes and tortes where inversion would be disastrous.
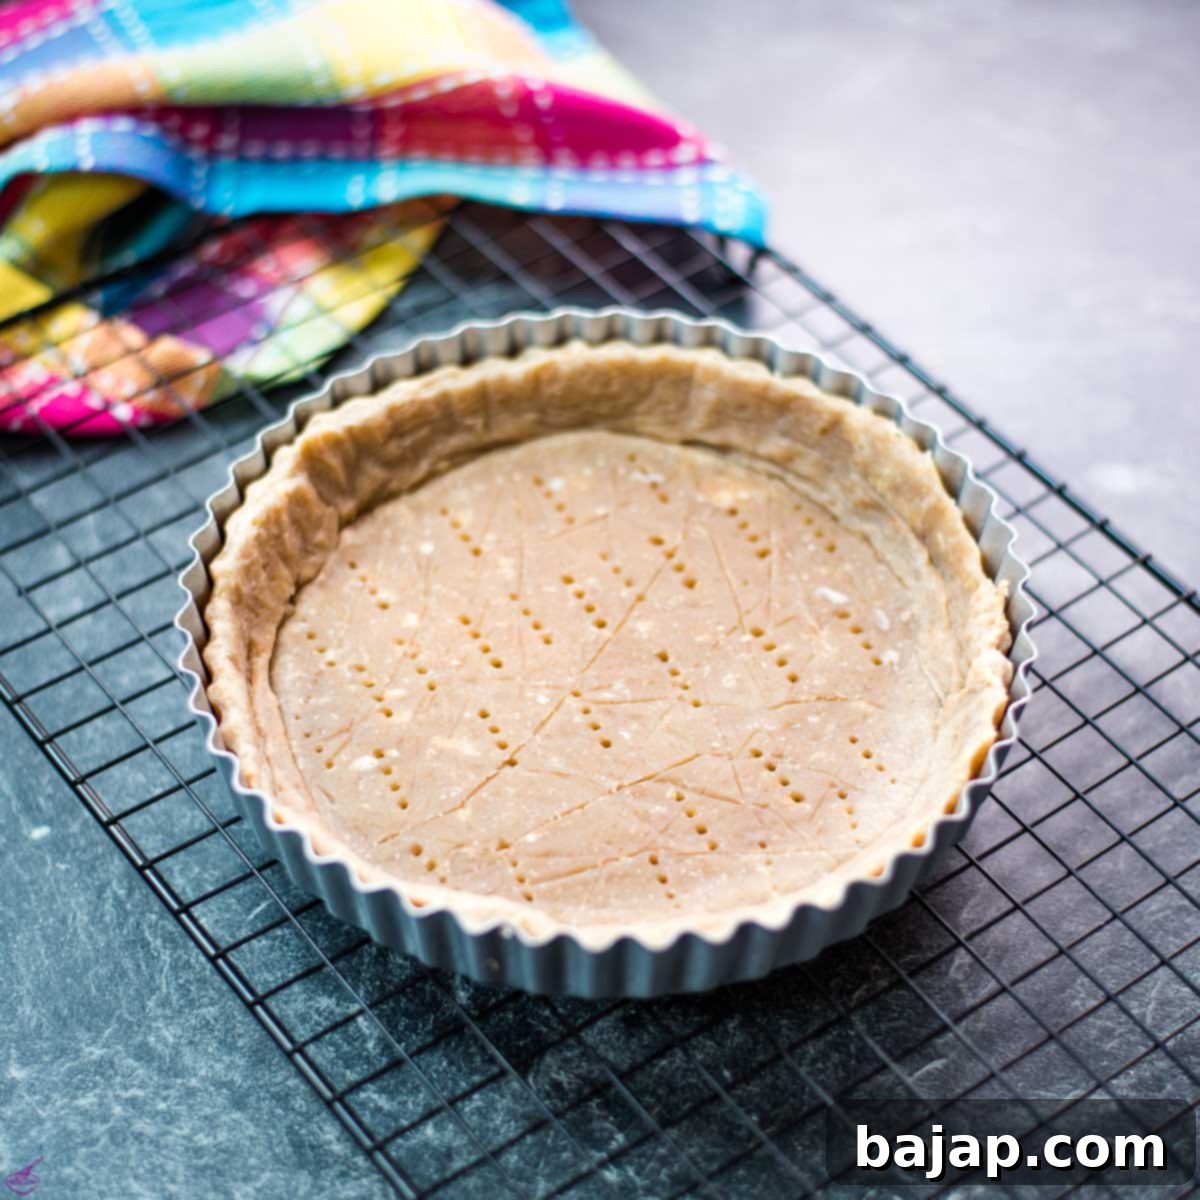
- Tart Pan with a Removable Bottom: Specifically designed for tarts and quiches, these pans typically feature fluted edges and a flat, loose bottom. The removable base is essential for achieving those beautiful, crisp tart crusts without breaking them during removal.
- Square and Rectangular Pans with Removable Bases: Offering the same easy-release benefits as their round counterparts, these are excellent for sheet cakes, bar cookies, brownies, and even savory dishes like lasagna, ensuring clean, sharp edges every time.
Tart pans, in particular, almost universally feature an inlaid lifting base, which is crucial for achieving that quintessential perfectly fluted edge without damaging the delicate pastry.
How to Use Your Removable Bottom Cake Pan Like a Pro
Preparation: Assembling Your Pan
Getting your springform pan ready is a straightforward process. First, open the clamp on the side of the pan and gently pull the ring apart. This will separate the side ring from the bottom plate. Place the bottom plate on a flat, stable surface like your kitchen counter. For an extra layer of non-stick protection and easier release, you can optionally place a round of parchment paper directly onto the bottom plate, ensuring it’s centered. Next, carefully position the springform pan’s side ring around the bottom plate, aligning it with the small groove or notch on the base. Finally, close the clamp firmly on the side to secure the pan. Give it a gentle shake to ensure it’s tightly fixed and won’t leak. If you used parchment paper, trim any excess that overhangs the edges with scissors for a neat finish, preventing it from catching fire or interfering with baking.
Greasing: The Foundation for a Perfect Release
Proper greasing is paramount to ensure your cake releases flawlessly from the pan after baking. Begin by generously and evenly coating the entire interior surface of the cake pan—both the bottom and the sides—with a spreadable fat like softened butter or margarine. A pastry brush is your best friend here, helping you reach every nook and cranny and ensure an even layer. For springform pans, a common technique is to grease only the base or line it with parchment paper, leaving the sides ungreased. This strategy is particularly important for delicate sponge cakes or chiffon cakes. Why? Because the ungreased sides provide a surface for the cake batter to “climb” as it rises, helping it achieve maximum height and a perfectly level top. Greasing the sides of such cakes can prevent proper adhesion, leading to a cake that doesn’t rise as much or collapses in the center. Remember this crucial detail, especially for recipes like angel food cakes, where the absence of grease on the straight sides is key to their airy texture and impressive lift.
Dusting: An Extra Layer of Non-Stick Protection
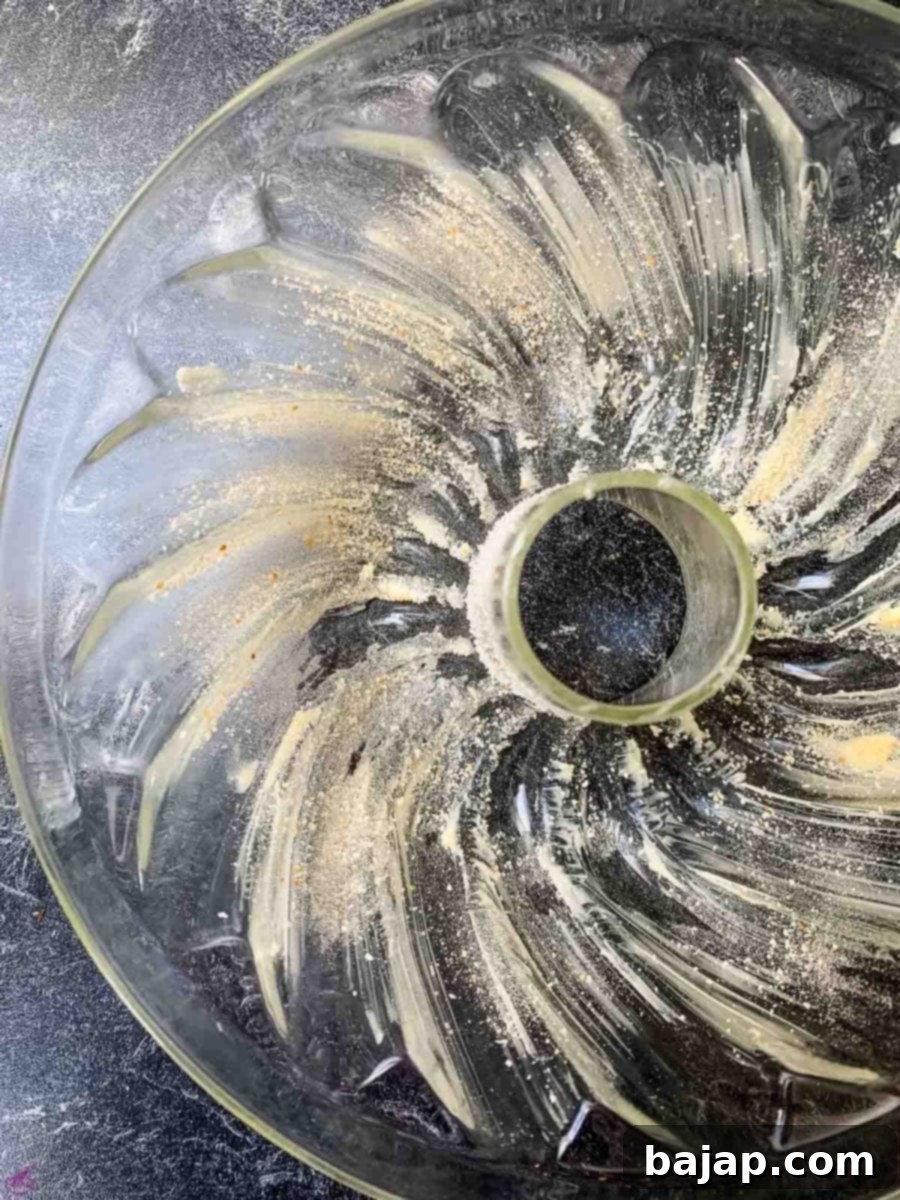
After greasing, dusting the pan provides an additional layer of non-stick security, ensuring your cake slides out effortlessly. The most common dusting agent is flour, but you have several excellent alternatives depending on your recipe and preference. You can also use fine breadcrumbs, finely ground nuts (like almond flour or hazelnut meal), or even shredded coconut. This process is sometimes referred to as “crumbling the baking tin.” To dust effectively, add a tablespoon or two of your chosen agent to the greased pan, then tap and turn the tin to distribute it evenly across the bottom and sides. Once fully coated, invert the pan and gently tap out any excess crumbs onto a piece of baking paper. For specific recipes, like many of my no-bake cheesecake crusts, I prefer using cornstarch instead of flour to dust the greased base. After applying this coating of fat and cornstarch, I often chill the pan in the fridge for a few minutes to set the layer before pressing in the biscuit crust. This method creates a highly effective non-stick barrier, making the cheesecake remarkably easy to remove from the pan later on, preventing any sticking or crumbling of the delicate crust.
Bake the Cake: The Heart of the Process
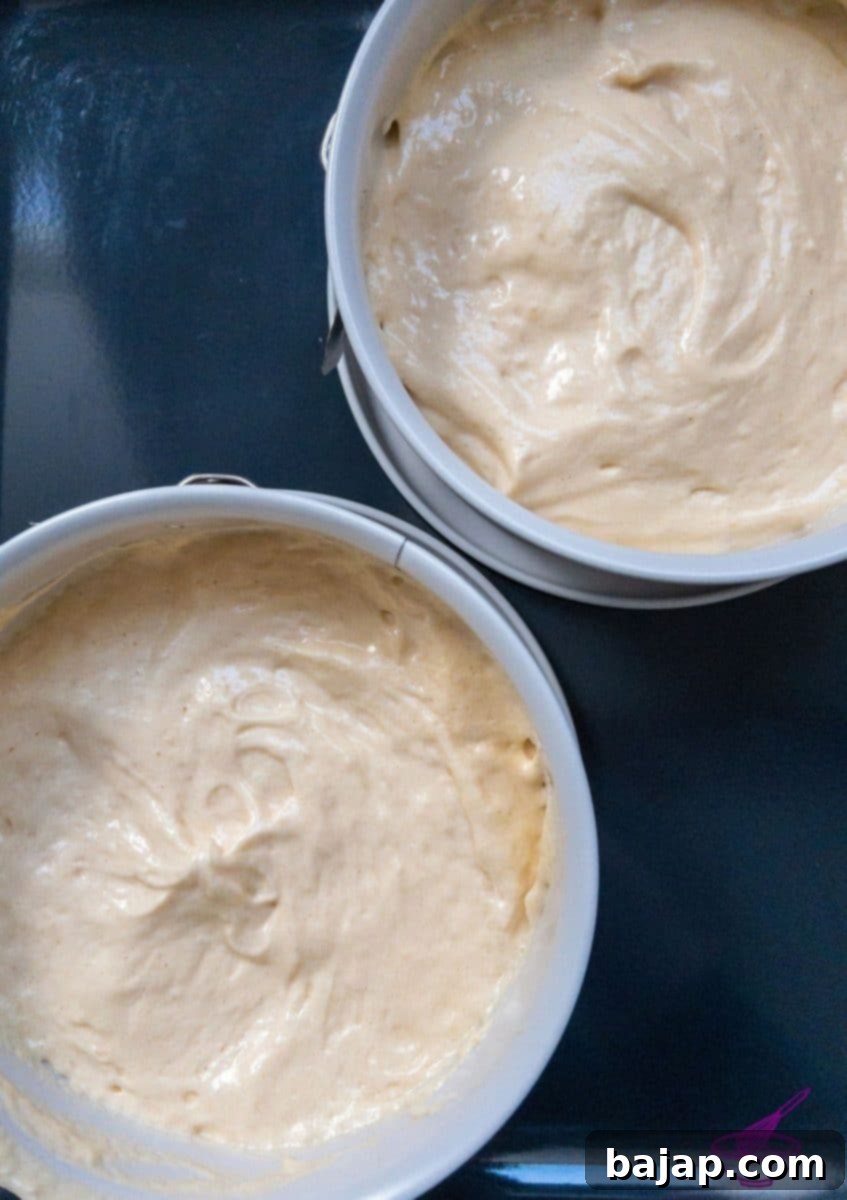
With your cake pan meticulously prepared, it’s time for the most exciting part: filling it with your delicious batter and baking your culinary masterpiece. Carefully pour or spoon the batter into the prepared pan, ensuring it’s evenly distributed. Place the pan in your preheated oven according to your recipe’s instructions. Keep an eye on the baking process, resisting the urge to open the oven door too frequently, as this can affect the cake’s rise and texture. Once the baking time is complete and a toothpick inserted into the center comes out clean, your cake is ready for the next step.
After Baking: The Crucial Cooling Phase
Once your cake emerges golden and fragrant from the oven, resist the immediate urge to unmold it. This cooling period is critical for the cake’s structure. Carefully remove the pan from the oven and place it on a wire cooling rack. Allow the cake to cool in the pan for approximately 10-15 minutes. This brief resting period allows the cake to firm up slightly, preventing it from collapsing or tearing when released. The residual heat continues to cook the cake gently, and as it cools, it will naturally shrink away from the sides of the pan, making removal significantly easier.
Easy Release: Unmolding Your Masterpiece
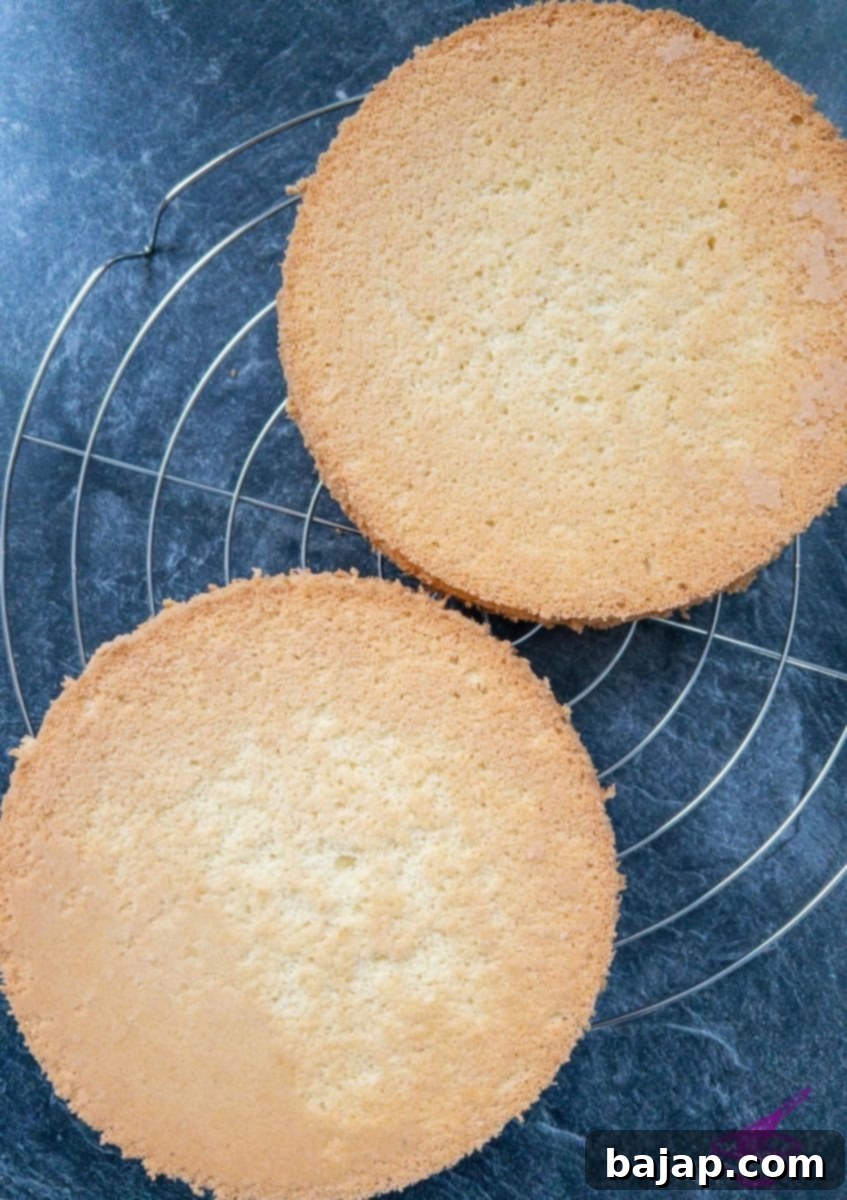
After the initial cooling in the pan, it’s time for the grand reveal. Before you unclip the springform, take a sharp, thin knife and carefully run it along the inner edge of the pan, between the cake and the side wall. This simple step ensures that no part of the cake is clinging to the pan, preventing any potential tearing when the sides are removed. Once you’ve done this, slowly open the clamp on the side of the springform pan and gently lift the ring straight up and away from the cake. You’ll be left with your beautifully baked creation resting perfectly on the removable base. Now, carefully transfer the cake, still on its base, to a cooling rack to allow it to cool completely before decorating or serving. Patience during the final cooling phase will ensure your cake is firm enough to handle and decorate without incident.
Important Considerations for Lifting-Base Baking Tins
While exceptionally convenient, baking tins with lifting bases (including springform pans) have one crucial characteristic to keep in mind: their base simply rests on the bottom, meaning they are not hermetically sealed. This design can sometimes allow thin batters, melted butter from a pie crust, or other liquids to seep out during baking, potentially creating a mess in your oven. To prevent this, always place a sheet of baking paper (parchment paper) or aluminum foil on the oven rack directly beneath your baking tin. This acts as a protective barrier, catching any drips and keeping your oven pristine.
Furthermore, careful handling is essential both when placing the pan into and removing it from the oven. Always lift the baking dish by its outer rim, ensuring your fingers do not press against the bottom plate. Applying pressure to the base can inadvertently push it upwards, causing the contents to spill or the pan to become unstable. This practice is equally important when transferring the hot pan; holding it only by the rim will prevent any mishaps and ensure your beautifully baked item remains intact.
Common Springform Pan Sizes: Your Guide to Versatile Baking
Springform pans, alongside standard loaf pans, are considered essential all-rounders in any baker’s collection. While loaf pans excel for various breads, quick loaves, and layered cold desserts, springform pans offer unparalleled flexibility for creating a vast array of cakes and no-bake delights, from classic cheesecakes and delicate apple pies to intricate tortes. Their ability to easily release delicate structures makes them indispensable.
The most commonly used springform pan sizes are typically 4-inch, 7-inch, and 9-inch. The 4-inch size is perfect for individual mini-cakes, small-batch desserts, or creating charming single servings. The 7-inch pan is ideal for smaller families, intimate gatherings, or when you want to make a recipe slightly scaled down. The 9-inch pan is the standard workhorse, suitable for most classic cake and cheesecake recipes, serving a moderate crowd. For those ambitious bakers dreaming of elegant, multi-tiered celebration cakes, investing in a set of springform pans in varying sizes is highly recommended. A good rule of thumb is to choose pans with a size difference of approximately 6 cm (or 2.36 inches) between each tier, allowing for a visually appealing and stable cake structure.
Considering the frequent use and the critical role they play in successful baking, it is always a worthwhile investment to acquire high-quality cake pan forms and sizes. Durable materials and reliable non-stick coatings will serve you well for years to come, ensuring consistent results and making your baking journey more enjoyable and less stressful.
Exploring the Materials Used for Baking Tins
The material of your baking tin significantly impacts your baking results, influencing everything from heat distribution to how easily your cake releases. The most common materials you’ll find for baking tins, especially those with removable bottoms, include coated fine metal, silicone, tinplate, and cast aluminum. Each comes with its own set of characteristics that cater to different baking needs and preferences.
Coated Fine Metal: These are very popular, often made from carbon steel or aluminum, and feature various non-stick or enamel coatings. The quality of these coatings can vary greatly with price, ranging from basic non-stick to high-end, durable enamel. Good quality non-stick coatings ensure easy food release and simpler cleanup, while enamel coatings are known for their durability and resistance to scratches. These pans generally provide good, even heat distribution for consistent baking.
Silicone: Silicone baking molds are flexible, truly non-stick, and can withstand extreme temperatures. They are excellent for delicate items that might stick to metal, and their flexibility makes unmolding incredibly easy. However, they can be less rigid than metal pans, sometimes requiring placement on a baking sheet for stability. Silicone’s heat conductivity is different; it generally bakes more slowly, resulting in less browning than metal pans, which can be an advantage for certain delicate cakes.
Tinplate: Traditionally used, tinplate pans are made from steel sheets coated with a thin layer of tin. They are relatively inexpensive and conduct heat well, leading to good browning. However, tinplate is more prone to rust if not dried properly and typically requires more thorough greasing and flouring than non-stick coated pans.
Cast Aluminum: Known for its exceptional heat conductivity and durability, cast aluminum pans heat up quickly and evenly, promoting consistent baking and browning. They are sturdy and long-lasting, often featuring a lighter color that helps prevent over-browning of crusts. Many cast aluminum pans also come with non-stick coatings for added convenience.
Ultimately, the choice of material influences the browning behavior of your cake – darker metals often result in a crispier, darker crust, while lighter metals and silicone provide a more evenly golden bake. The surface of the inside of the baking pan also critically impacts how the cake is released from the tin at the end, making non-stick properties a key consideration for removable bottom pans.
How to Clean Baking Tins Properly for Longevity
Maintaining the cleanliness and integrity of your baking tins, especially those with non-stick coatings or removable parts, is crucial for their longevity and consistent performance. While many modern baking pans are dishwasher safe, it’s always best to check the manufacturer’s instructions, as harsh dishwasher detergents can sometimes degrade non-stick coatings over time. For pans that are heavily soiled or not suitable for the dishwasher, hand washing is the recommended approach.
To make hand washing easier, immediately after use, soak the baking tin in a little warm, soapy rinsing water. This proactive step helps loosen any baked-on food particles, preventing them from hardening and becoming difficult to remove. After a short soak, most residue should come off easily with a soft cloth or sponge. It’s vital to avoid using abrasive cleaning sponges, steel wool, or harsh scouring agents, as these can scratch and damage delicate non-stick coatings, compromising their effectiveness and leading to future sticking issues. Similarly, never use sharp objects to scrape off food remnants.
For baking tins that are adjustable or composed of multiple parts, such as springform tins, it’s important to disassemble them as much as possible before washing. Open the clamp and separate the base from the ring to ensure every surface can be thoroughly cleaned. This prevents food residue from accumulating in crevices or under the clamp mechanism. After washing, allow all parts to dry thoroughly. Air-drying on a rack is ideal, or you can gently towel-dry them. Ensuring all moisture is gone before reassembling and storing the baking dish prevents rust, especially for tinplate or steel pans, and helps maintain the overall hygiene and condition of your valuable baking equipment.
🤎 You might also like
- Firecracker Bundt Cake for the 4th of July
- Limoncello Ricotta Cake
- Limoncello Cheesecake No Bake
- Easter Cookie Bars
⛑️ Food Safety
- Cook to a minimum temperature of 165 °F (74 °C) to ensure all harmful bacteria are eliminated.
- Avoid cross-contamination by never using the same utensils or cutting boards on cooked food that previously touched raw meat or unwashed produce.
- Always wash your hands thoroughly with soap and warm water after handling raw meat, poultry, seafood, or eggs.
- To prevent bacterial growth, do not leave perishable food sitting out at room temperature for extended periods, especially in warm environments.
- Never leave cooking food unattended on the stovetop or in the oven; always monitor it closely.
- When frying or sautéing, use cooking oils with a high smoke point to avoid the formation of harmful compounds and off-flavors.
- Ensure good ventilation in your kitchen when using a gas stove or oven to prevent the buildup of fumes and improve air quality.
For further comprehensive information on safe food handling practices, please check resources from reputable organizations like Safe Food Handling – FDA.
