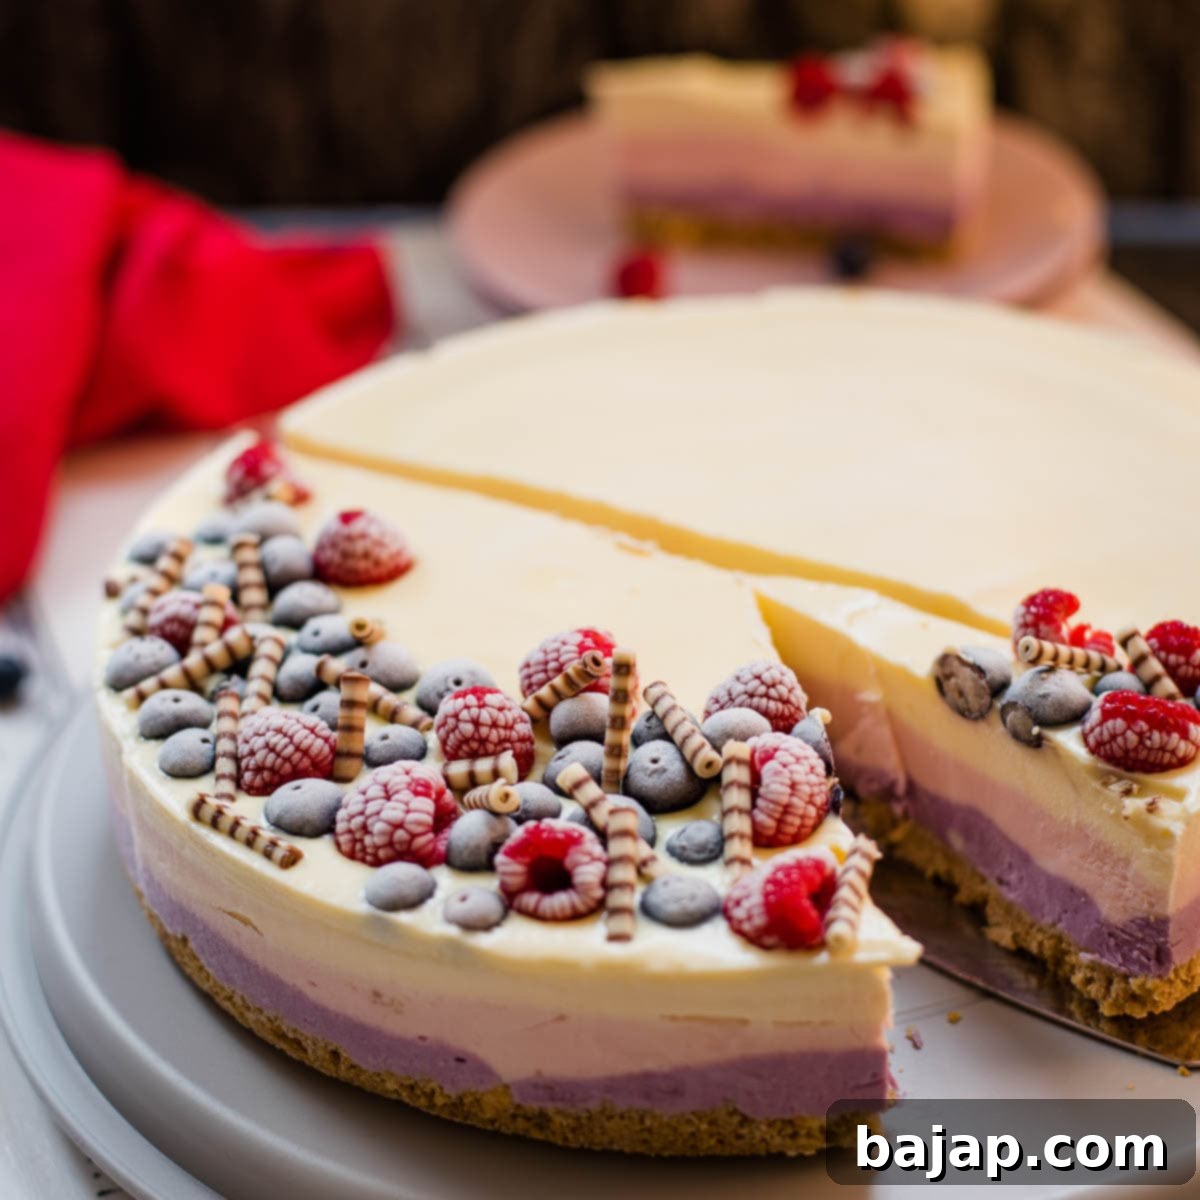
Ultimate No-Bake 4th of July Cheesecake Recipe: A Red, White & Blue Celebration!
Get ready to sing the “Star-Spangled Banner” from the rooftops with this incredibly delicious **no-bake 4th of July cheesecake**! This show-stopping dessert is more than just a treat; it’s a vibrant celebration of flavors and colors, perfectly capturing the spirit of Independence Day. Imagine sinking your teeth into layers of creamy, velvety cheesecake, bursting with the fresh taste of raspberries and blueberries, all naturally colored to create a stunning red, white, and blue masterpiece.
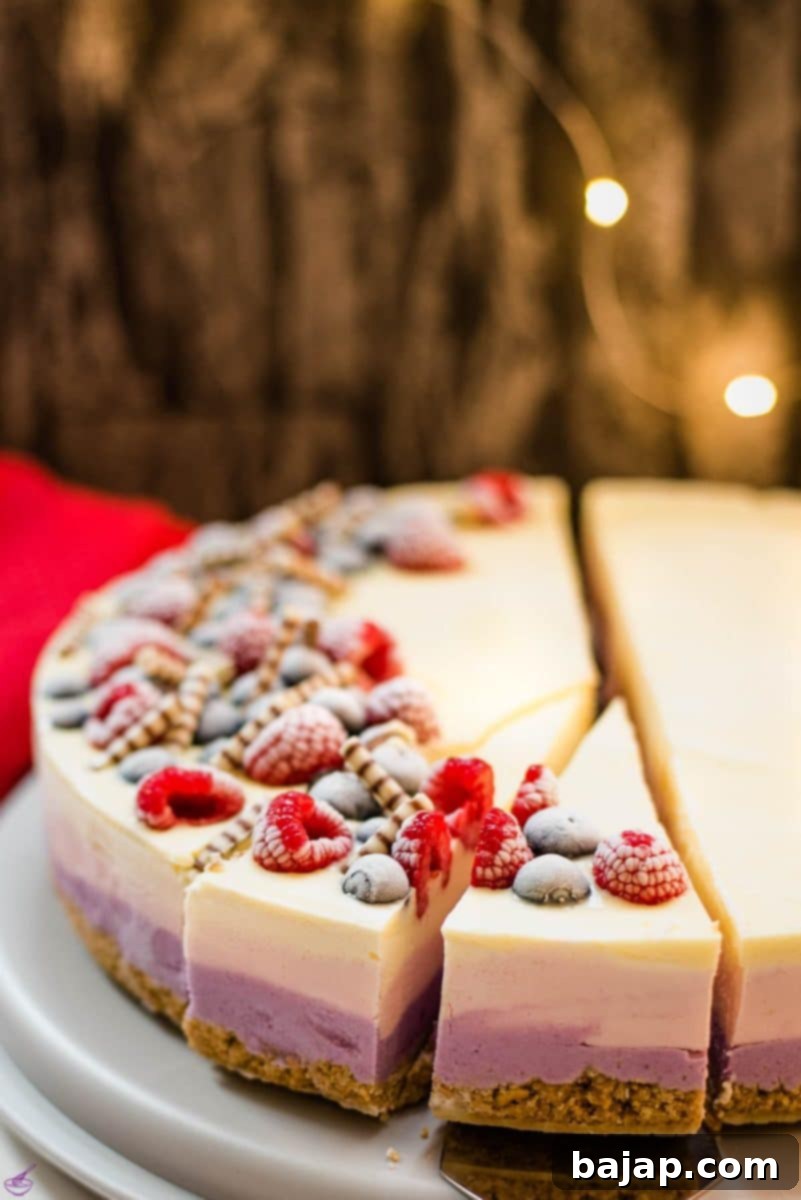
If you’ve been following my culinary adventures, you already know my deep affection for cheesecakes – like this delightful no-bake chocolate ricotta cheesecake. While this recipe leans on the traditional charm of cream cheese, we elevate it further with the luxurious addition of mascarpone. This secret ingredient is what gives our **red, white, and blue cheesecake** its irresistibly creamy, velvety texture that truly melts in your mouth.
Cheesecakes have long been a beloved dessert for the Fourth of July, and for good reason! Their rich flavor and customizable nature make them ideal for festive occasions. But when you prepare this particular recipe, you’ll experience a level of deliciousness that is truly irresistible. Prepare for rave reviews from family and friends, who will undoubtedly declare it the best **Fourth of July cheesecake** they’ve ever tasted!
While this recipe is undeniably perfect for Independence Day, there’s no need to wait for a special occasion to enjoy it. This cheesecake is so incredibly delicious and refreshing, I wholeheartedly encourage you to savor this sweet treat all year long! One of its standout features is the use of fresh raspberries and blueberries, combined with freshly squeezed orange juice. These natural ingredients not only deliver incredible flavor but also create the vibrant red, white, and blue layers without the need for artificial food coloring or processed gels.
Many recipes attempt to achieve patriotic coloring for holiday festivities, but few can match the exquisite taste and natural vibrancy of this one. This **easy no-bake cheesecake** is designed to impress, both in appearance and flavor. Its beautiful layered look will blow all your guests away, making it the perfect centerpiece for your summer gatherings or any time you crave a truly special dessert.
🥘 Ingredients
Creating this stunning dessert requires a selection of fresh, high-quality ingredients for each distinct layer. Here’s what you’ll need to gather:
Crust
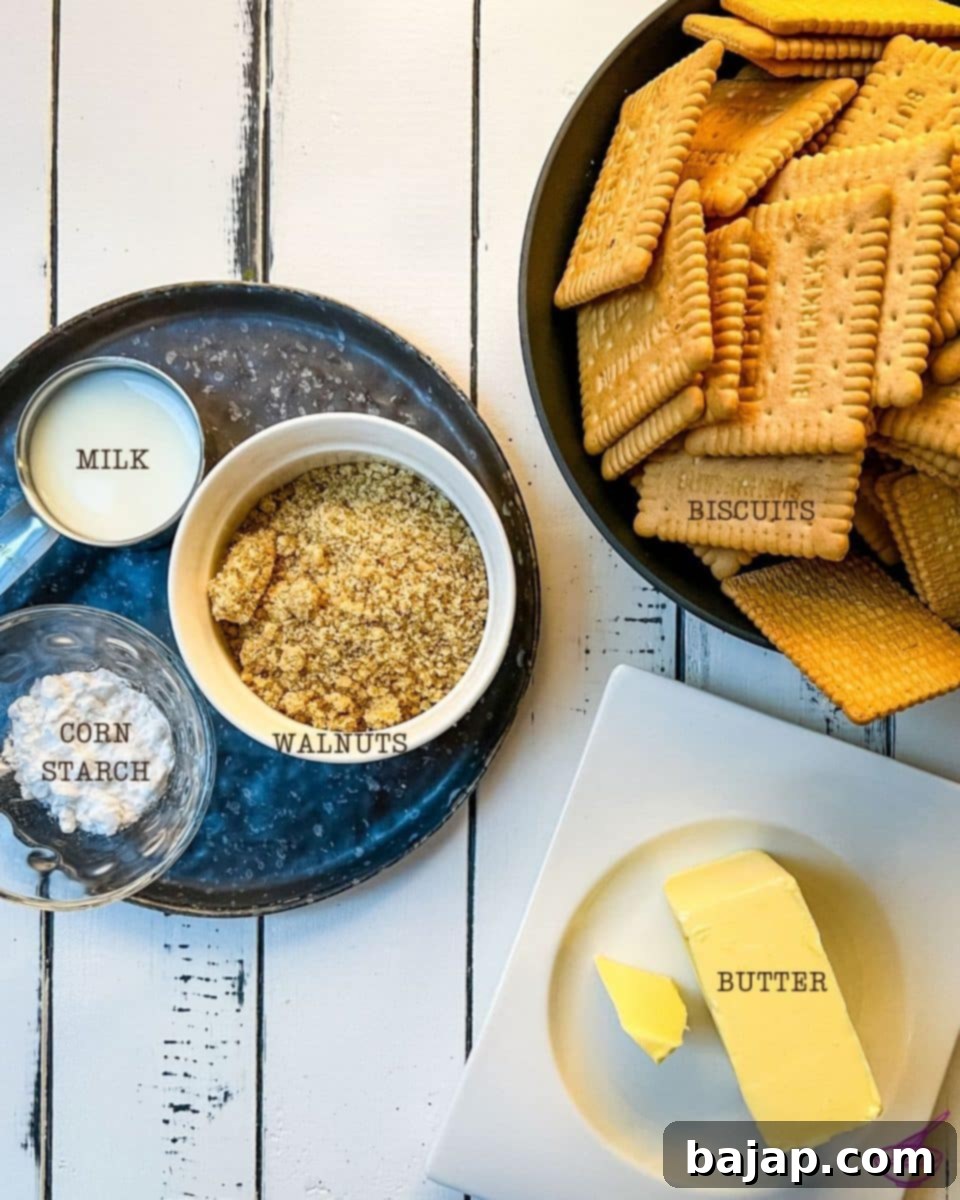
- Graham crackers – or Petit beurre biscuits, which are a common alternative in Europe. For convenience, you can also use ready-made graham cracker crumbs.
- Butter – to bind the crust and add richness.
- Milk – helps achieve the perfect crumb consistency.
- Ground walnuts – adds a wonderful nutty flavor and texture to the crust.
- Corn starch – prevents sticking and helps the crust release cleanly.
Cheesecake Filling
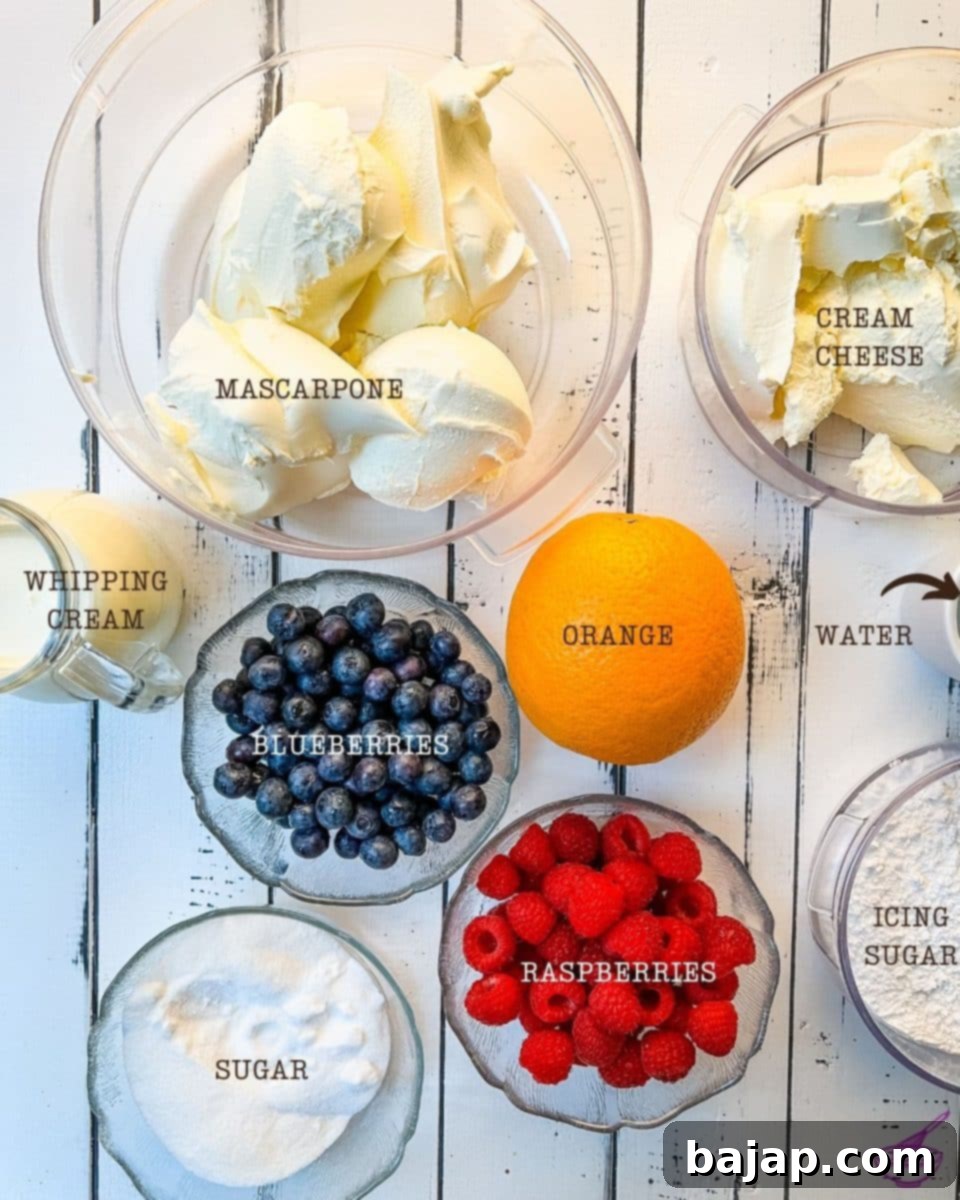
- Mascarpone – key for that rich, velvety texture.
- Cream cheese – the classic cheesecake base, providing tang and body.
- Whipping cream – for a light, airy consistency when whipped.
- Icing sugar – sweetens the filling and ensures a smooth blend.
- Blueberries – for the beautiful blue layer and a sweet-tart flavor.
- Raspberries – for the vibrant red layer and a delicious fruity note.
- Water – used in making the fruit purees.
- Freshly squeezed orange juice – for the white/orange layer, offering a bright citrus kick and natural coloring.
- Sugar – to sweeten the fruit purees.
Glaze
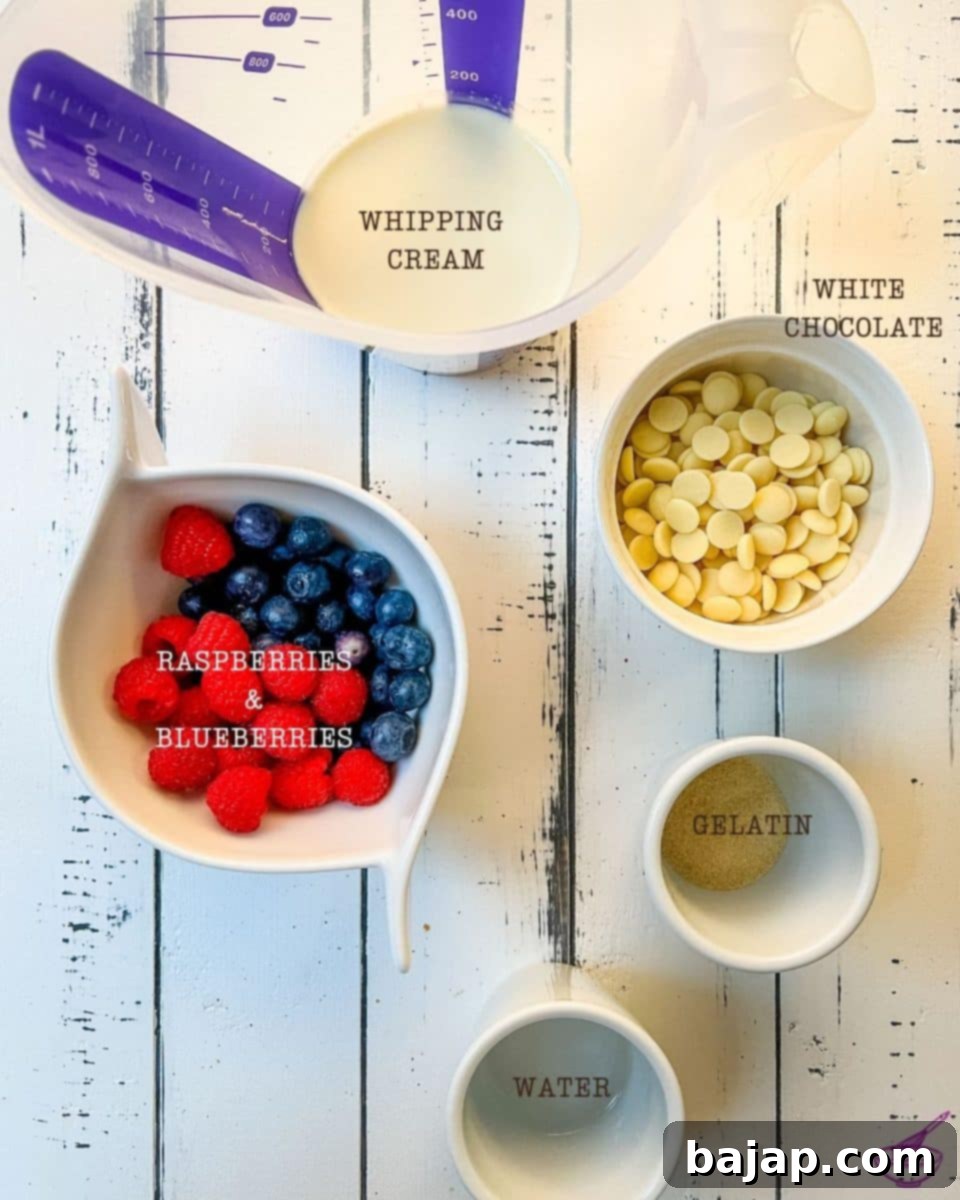
- Gelatin granules – to set the beautiful mirror glaze.
- Water – to hydrate the gelatin.
- Whipping cream – for a smooth, rich glaze base.
- White chocolate – adds sweetness and helps create the opaque white glaze.
- Blueberries – for garnish.
- Raspberries – for garnish.
- And lastly, for an extra touch of elegance and crunch, I love adding chocolate zebra rolls!
For precise quantities, please refer to the comprehensive recipe card provided below.
🔪 Instructions – How to Make 4th of July Cheesecake
Follow these step-by-step instructions to create your show-stopping **no-bake 4th of July cheesecake**.
Crust
- Prepare the crumbs: Start by crushing your biscuits (graham crackers or Petit beurre) and ground walnuts. You can do this by placing them in a sturdy plastic bag and using a rolling pin, or for a quicker method, a food processor works perfectly. If you can find ready-made biscuit crumbs at the market, don’t hesitate to use them to save yourself a step!
- Melt the butter and milk: In a microwave-safe bowl, combine the butter and milk. Heat on a medium setting until the butter is completely melted. Alternatively, melt them gently in a saucepan over a low flame on your stove.
- Mix the crust: Reserve 2 tablespoons of the molten butter mixture for later. Pour the remaining butter and milk mixture over your crushed biscuits and walnuts. Mix thoroughly until all the crumbs are well coated and combined with the butter. The mixture should feel slightly sticky when pressed together.
- Prepare the pan: Line the bottom of your springform cake pan with parchment paper. Brush the paper with the 2 tablespoons of molten butter you set aside earlier. Then, sprinkle the cornstarch evenly over the buttered parchment paper. Gently shake the cake pan to ensure an even coating of cornstarch, then invert it to remove any excess.
- Chill the pan: Place the prepared pan in the refrigerator for 2-3 minutes. This crucial step helps the crust cut more cleanly and allows the finished cheesecake slices to release from the pan with ease.
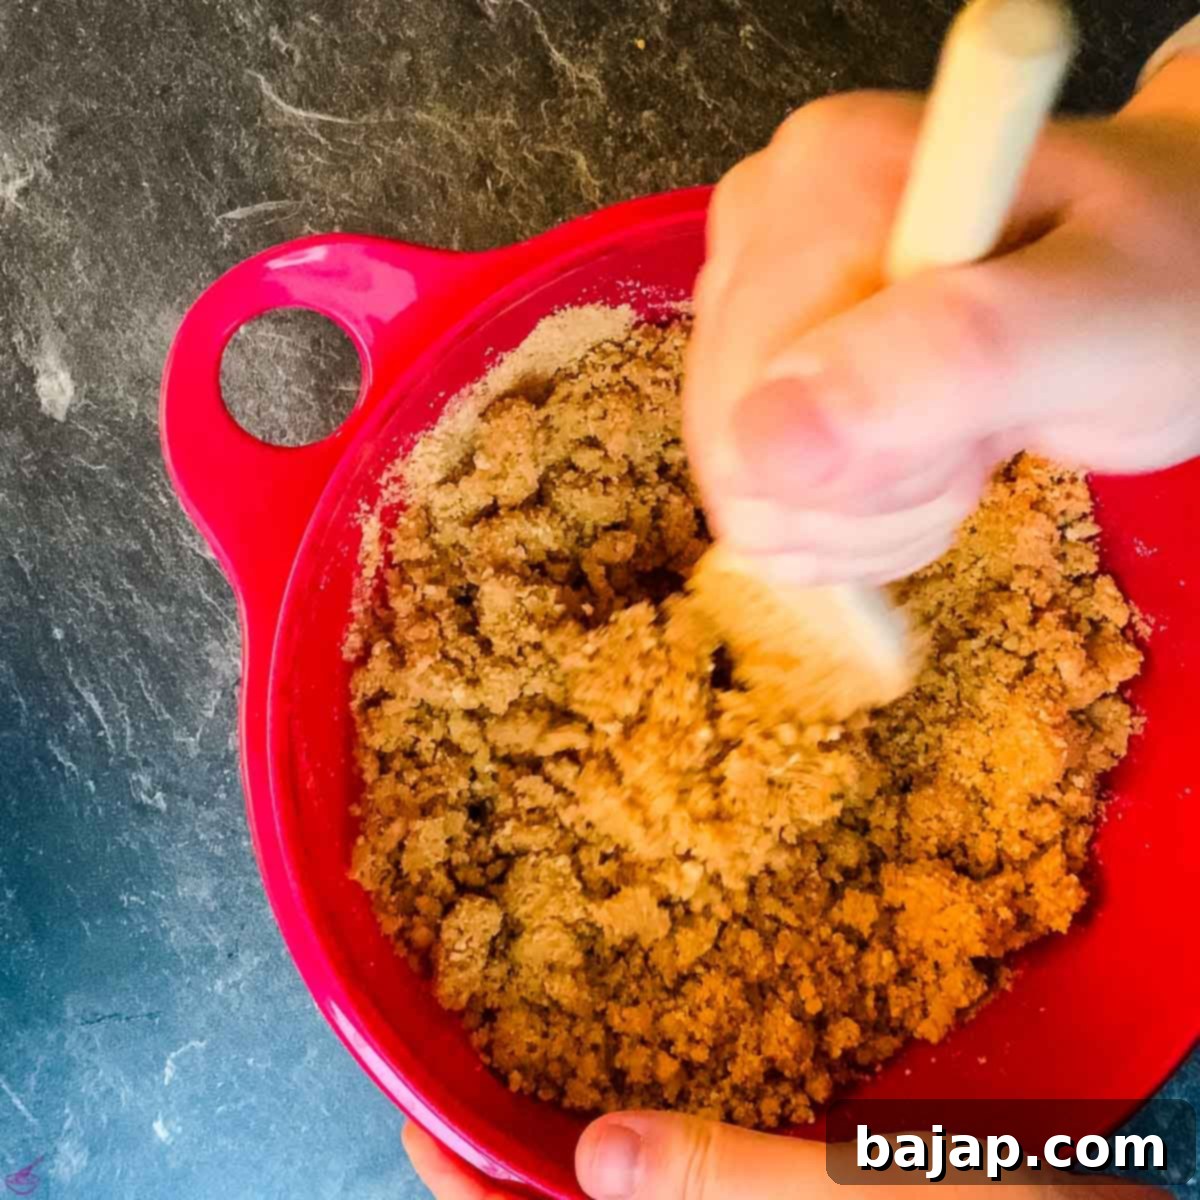
Combine the melted butter with the ground walnuts and crushed biscuits.
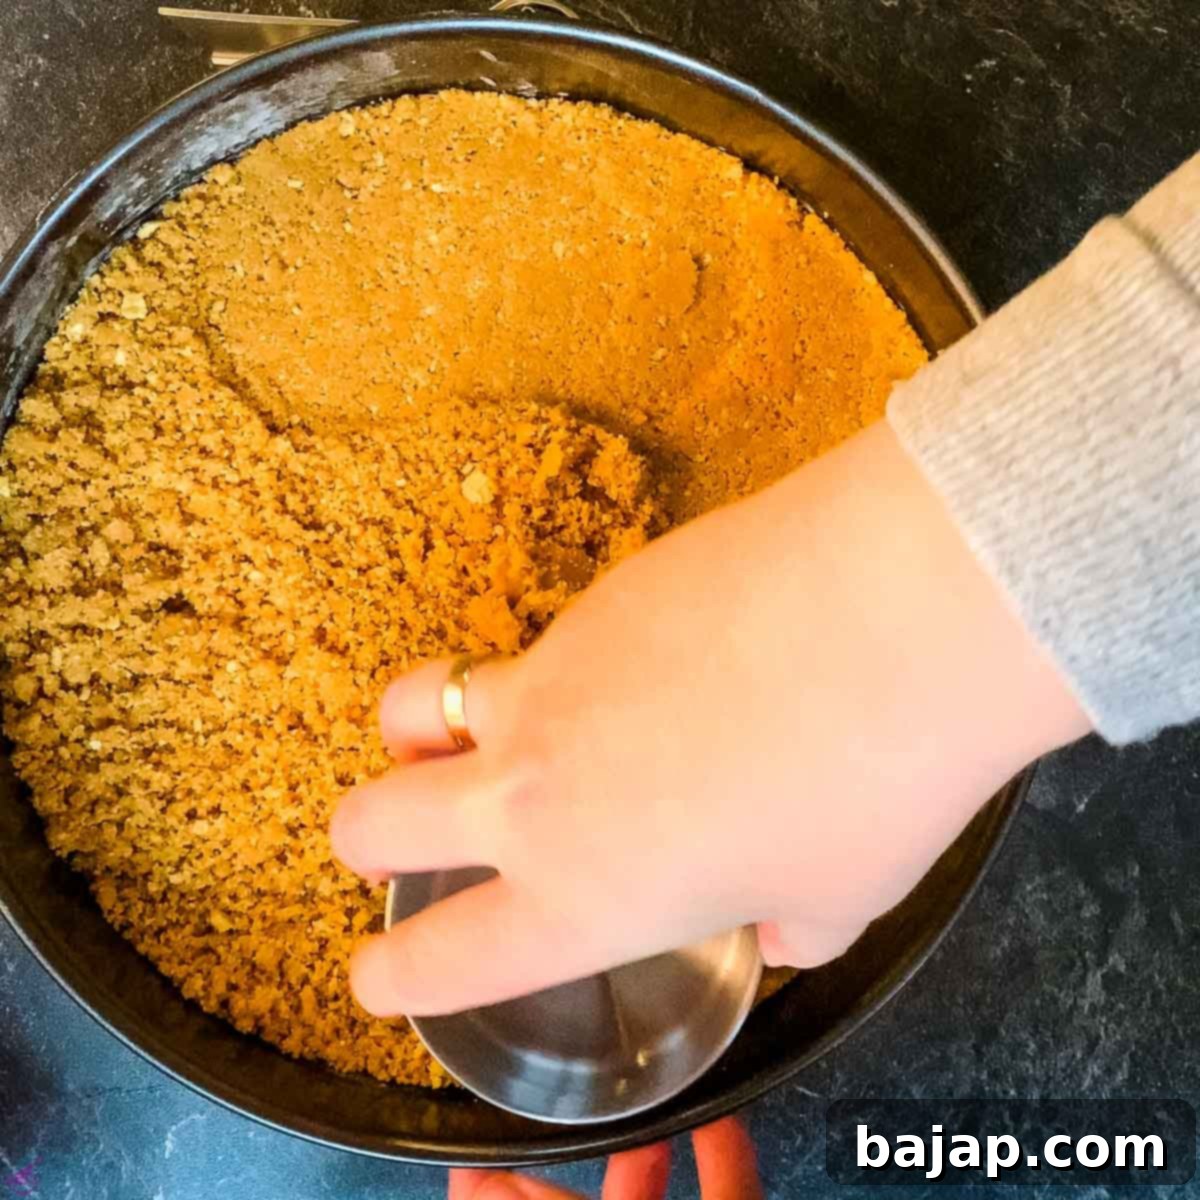
Press the walnut and biscuit crumbs firmly into the springform pan.
- Form the crust: Once the starch and butter dusting in the pan is cool, pour the biscuit mixture on top. Using the back of a spoon or your fingers, tightly press the mixture evenly across the bottom and up to the edges of the cake pan. A smooth, firm crust is key for stability.
- Freeze the crust: Place the pan with the crust in the freezer for at least 15 minutes, or until you are ready with the cheesecake fillings. This sets the crust and prevents it from crumbling when layers are added.
Cheesecake Filling
Step 1 – Cheesecake Base Cream
- Whip mascarpone: In a large mixing bowl (ideally using a stand mixer with a whisk attachment or a hand mixer), place all the mascarpone. Mix for 3-5 minutes until it becomes smooth and creamy.
- Add sweeteners and cheese: While the mascarpone is mixing, gradually add the icing sugar, followed by the cream cheese. Continue mixing until everything is well combined and smooth.
- Whip cream separately: In a second large bowl, use a whisk to whip the cold whipping cream until it forms soft peaks. Be careful not to over-whip it into butter!
- Combine gently: Carefully fold the mascarpone mixture and the whipped cream together by hand, a little at a time, using gentle circular motions. This preserves the airy texture of the whipped cream.
- Divide the mixture: Once all ingredients are perfectly blended, divide the cheesecake base mixture evenly among three medium bowls. These will form the foundation for our three distinct red, white, and blue layers.
Step 2 – Blueberry Cream (Blue Layer)
- Make blueberry sauce: In a medium-sized saucepan, combine ¼ cup (50 g) of sugar, ⅛ cup (30 ml) of water, and 1 cup (150 g) of fresh blueberries. Place the saucepan over medium heat. Stir continuously with a wooden spoon, gently crushing the blueberries as they cook, until the sugar has completely dissolved and the mixture thickens slightly.
- Strain and mix: Pass the warm blueberry sauce through a close-meshed sieve directly into one of the bowls containing the mascarpone cream. Press down on the solids to extract as much liquid and flavor as possible. Mix the blueberry sauce thoroughly with the cream until a smooth, vibrant blue cheesecake cream is achieved.
- First layer and freeze: Retrieve your springform pan with the chilled biscuit crust from the freezer. Carefully and evenly spread the blueberry mascarpone cream over the crust. Once spread, return the pan immediately to the freezer. This intermediate freezing step is vital for clean, distinct layers.
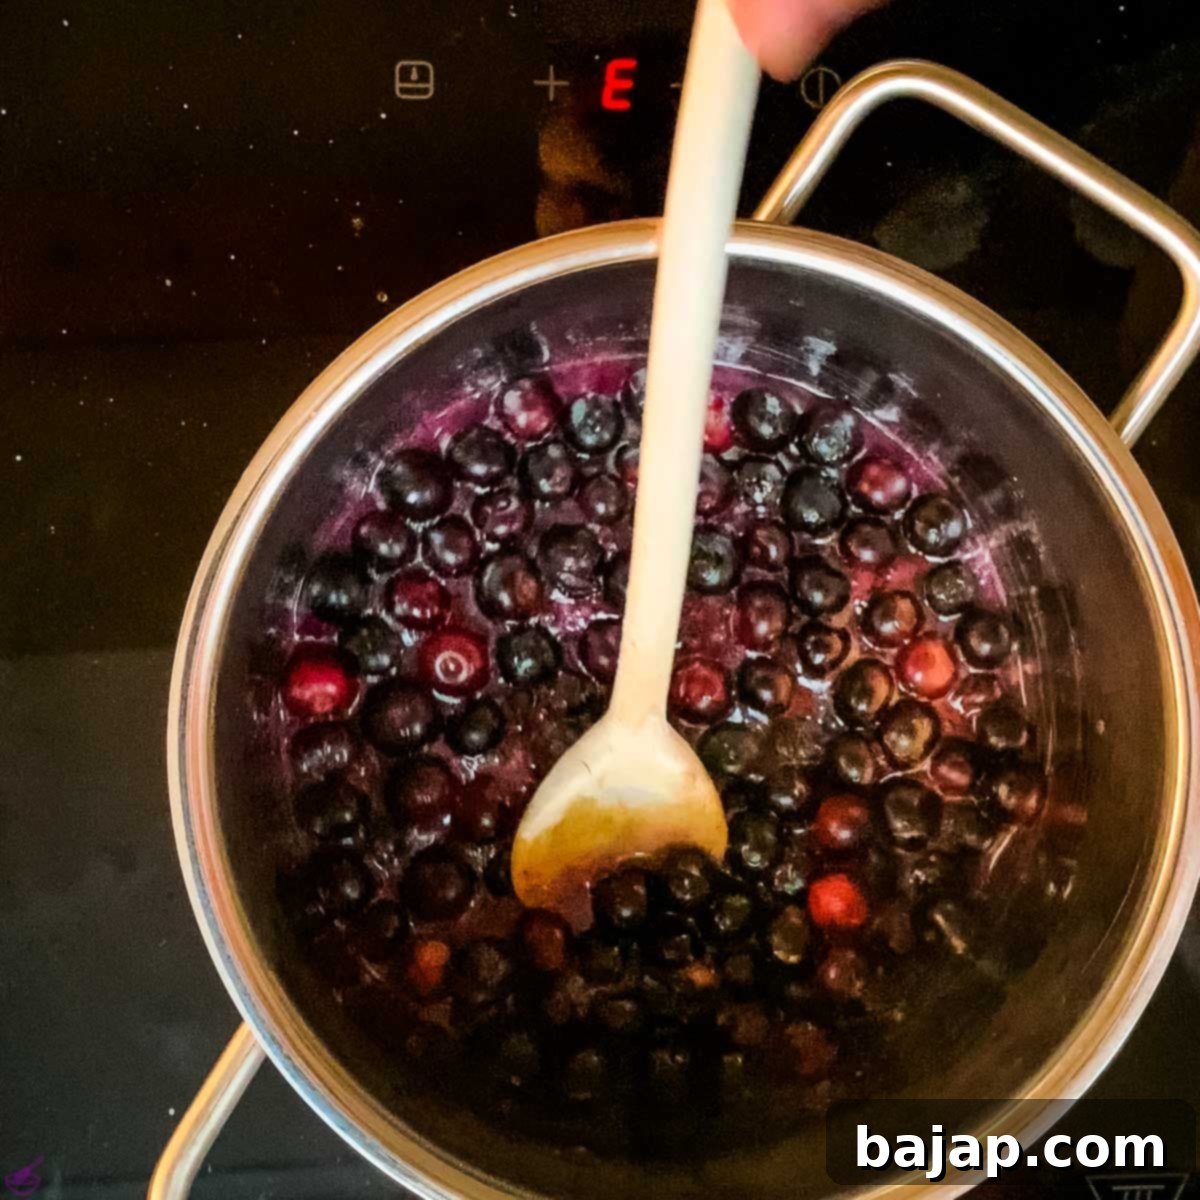
Make the blueberry flavoring.
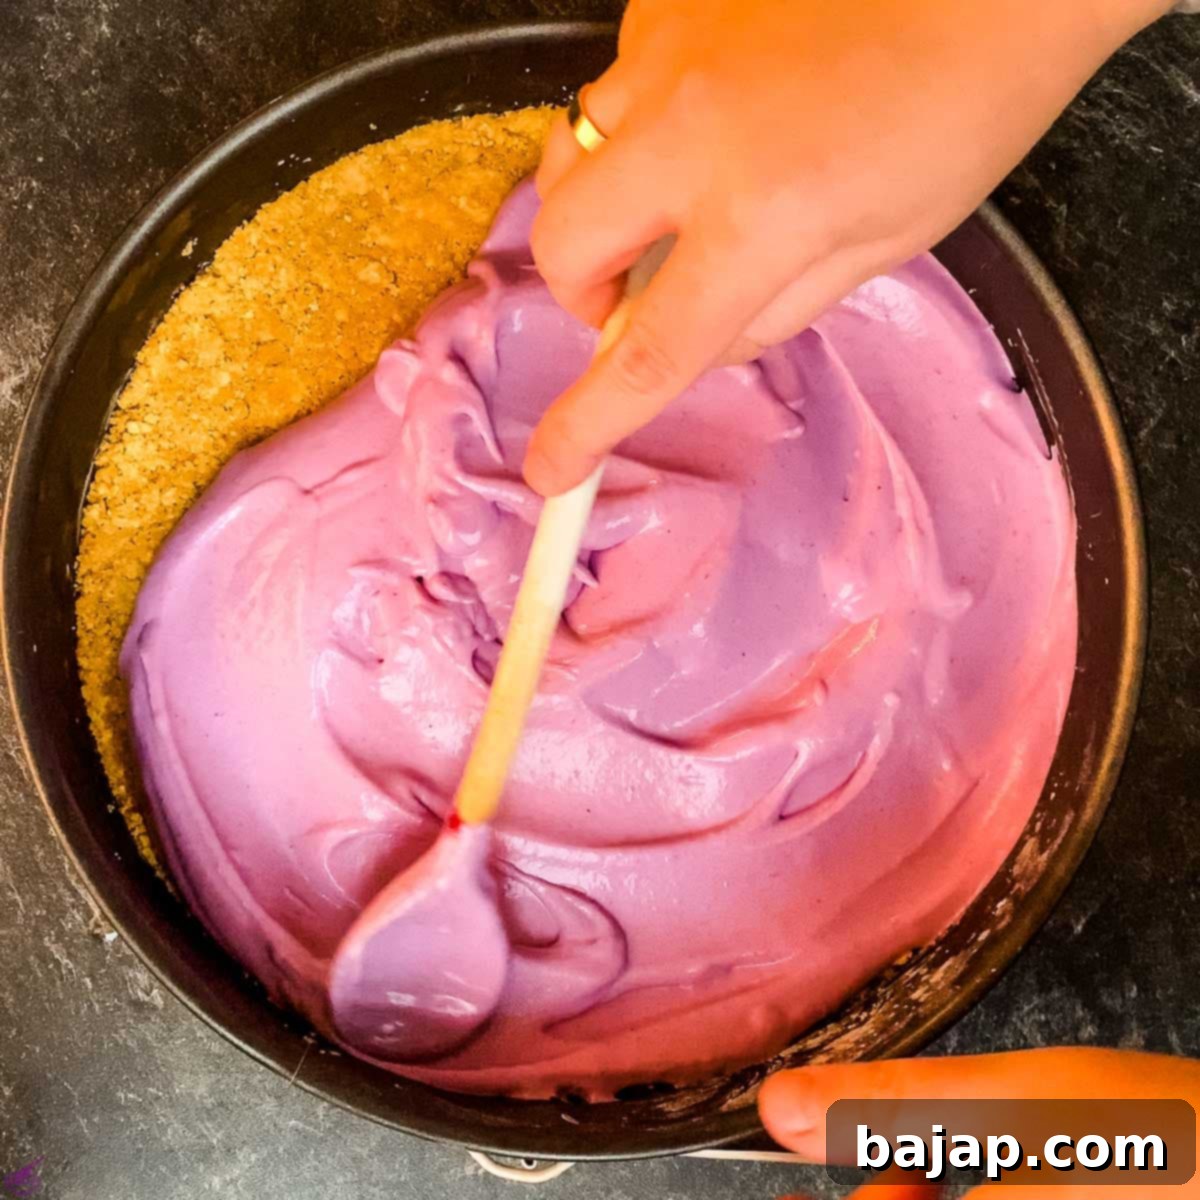
Spread the blueberry cream cheese on top of the crust.
Step 3 – Raspberry Cream (Red Layer)
- Make raspberry sauce: Repeat the exact same process as with the blueberries in a separate saucepan, using the raspberries, ¼ cup sugar, and ⅛ cup water. Stir and crush the raspberries over medium heat until the sugar dissolves and a sauce forms.
- Strain and mix: Once again, pass the raspberry sauce through a fine mesh sieve into another bowl of mascarpone cream. Mix well to create a smooth, beautiful red cheesecake cream.
- Second layer and freeze: Take the cheesecake pan out of the freezer. Thanks to the previous chilling, the blueberry layer should be firm enough to easily spread the raspberry cream directly on top without mixing. Spread evenly.
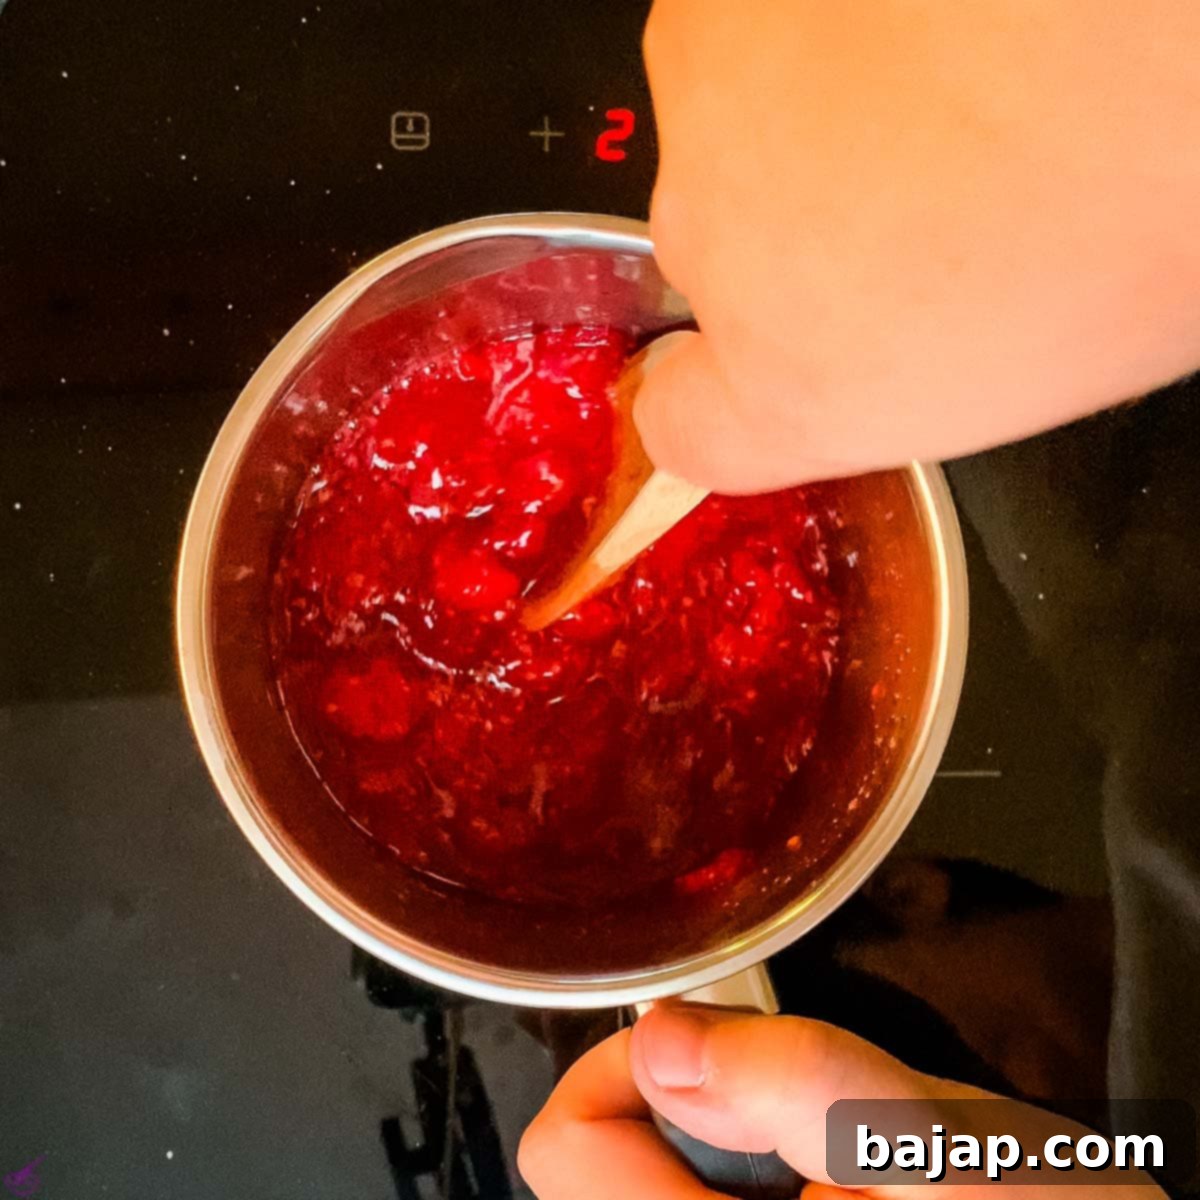
Make the raspberry flavoring.
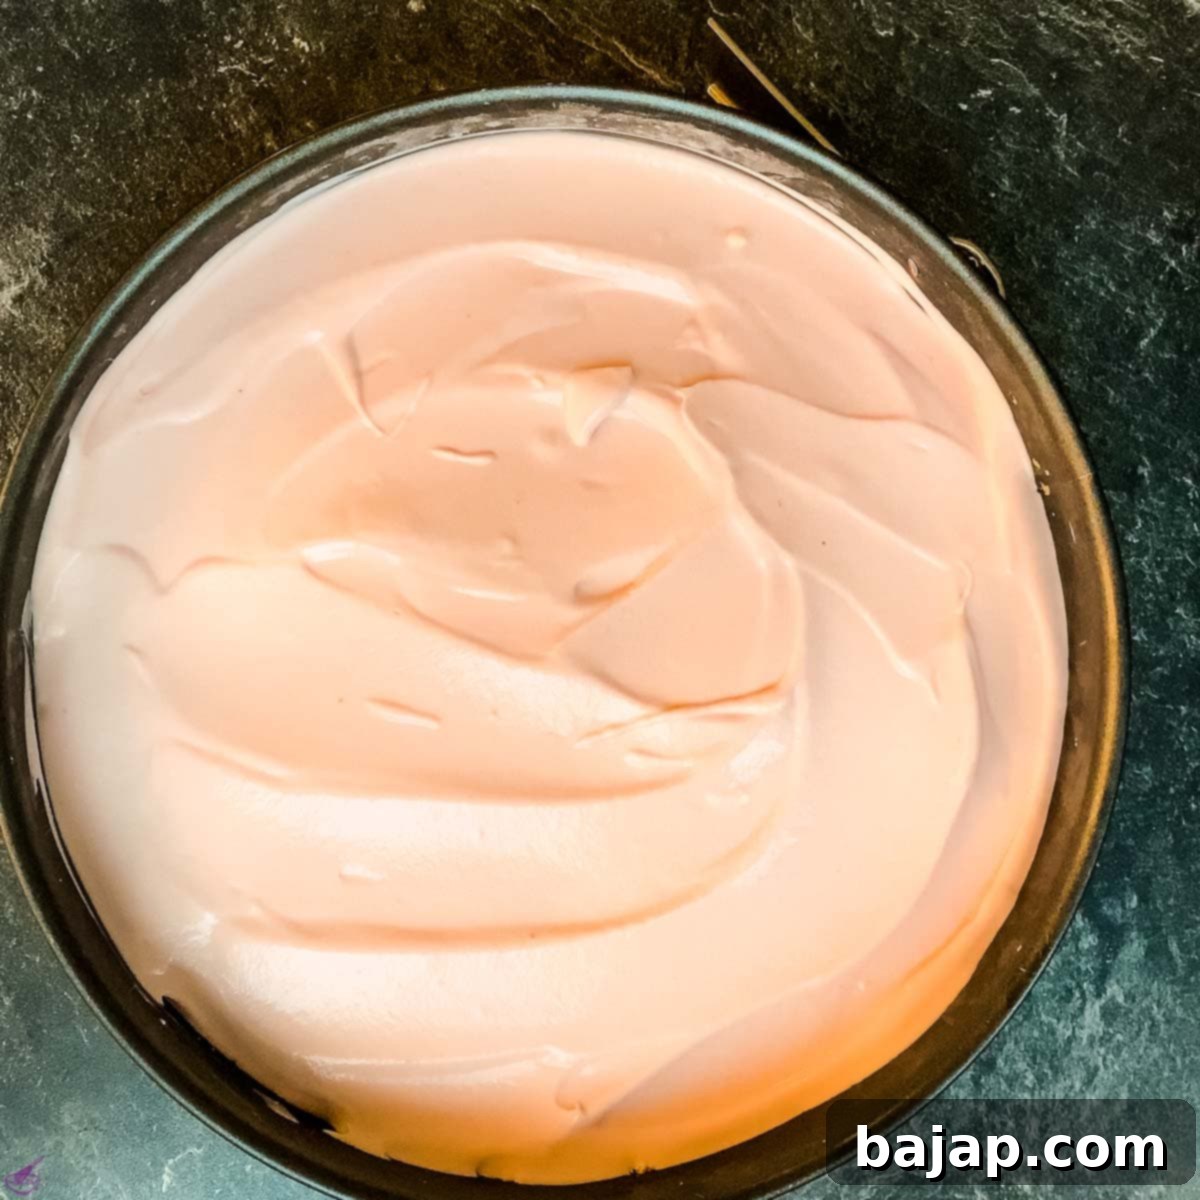
Spread the raspberry cream cheese on top of the crust.
- Freeze again: Return the pan to the freezer.
Step 4 – Orange Cream (White/Orange Layer)
- Prepare orange cream: Squeeze a fresh orange and strain the juice into the remaining bowl of mascarpone cream. The fresh orange juice will give a beautiful light, natural white/pale orange hue, ideal for our patriotic theme.
- Mix and spread: Mix the cream well with the orange juice until fully incorporated. Carefully spread this final cream layer evenly over the firm raspberry layer.
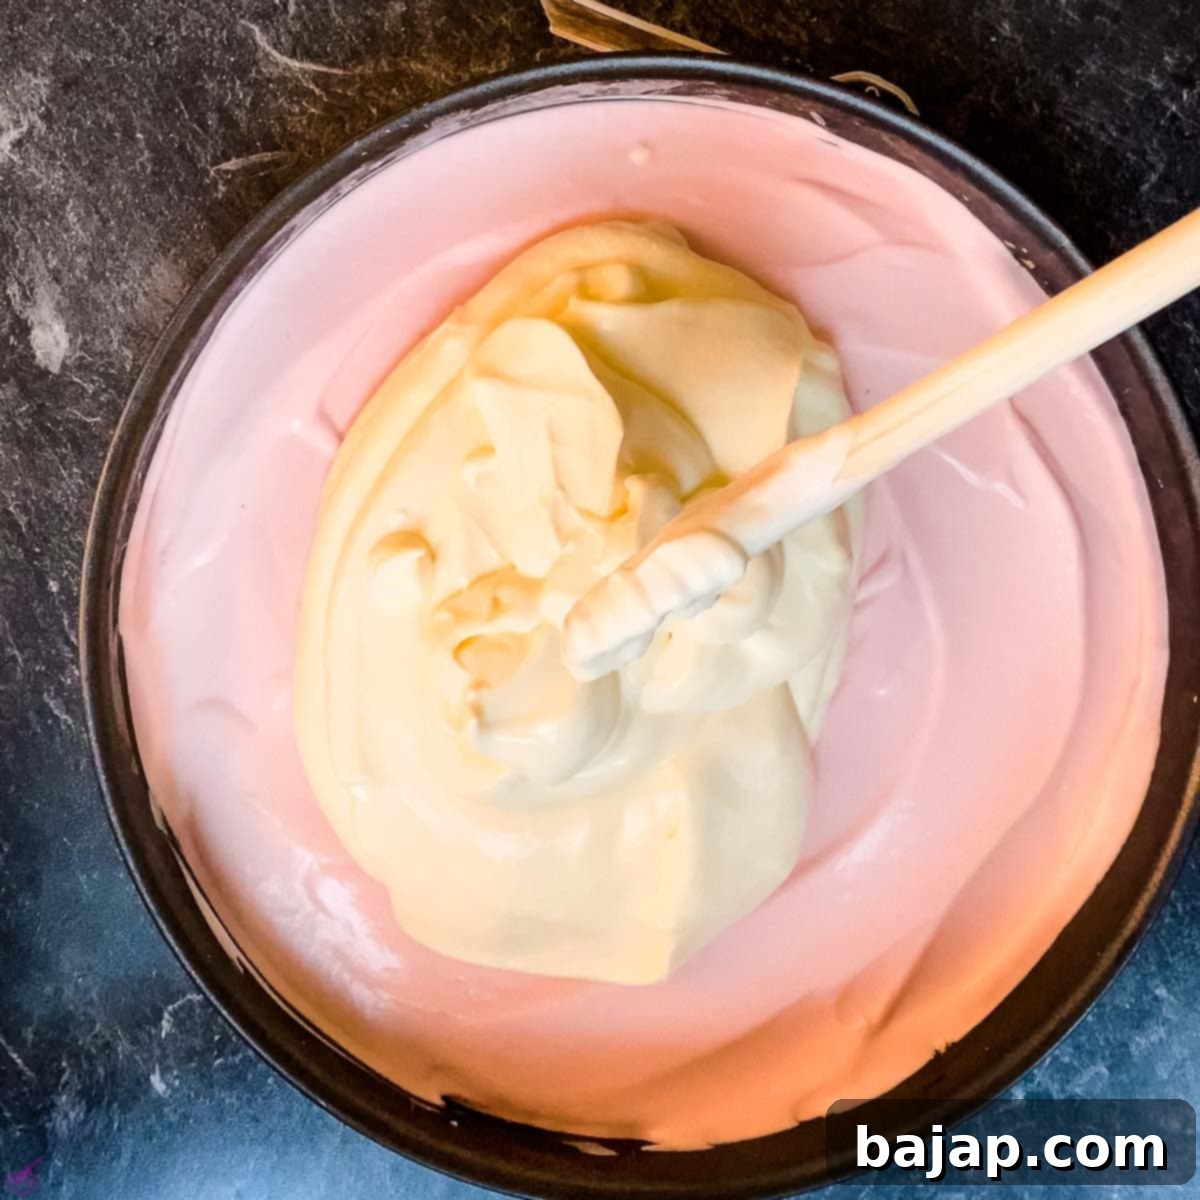
Add the orange cream cheese layer.
- Final chill for layers: Place the cheesecake back into the freezer. Let it chill for about half an hour before proceeding to make the glaze.
Glaze
- Hydrate gelatin: Begin by putting the gelatin granules in the specified amount of water. Allow them to hydrate for about 5 minutes until bloomed.
- Heat whipping cream: While the gelatin hydrates, heat the whipping cream in a microwave until it reaches over 60 °C (140 °F). This usually takes 2-3 minutes on a high setting, but watch it carefully.
- Combine glaze ingredients: Add the bloomed gelatin to the hot cream, along with the white chocolate. Mix well until all ingredients are thoroughly combined and the white chocolate has melted into a smooth, glossy glaze.
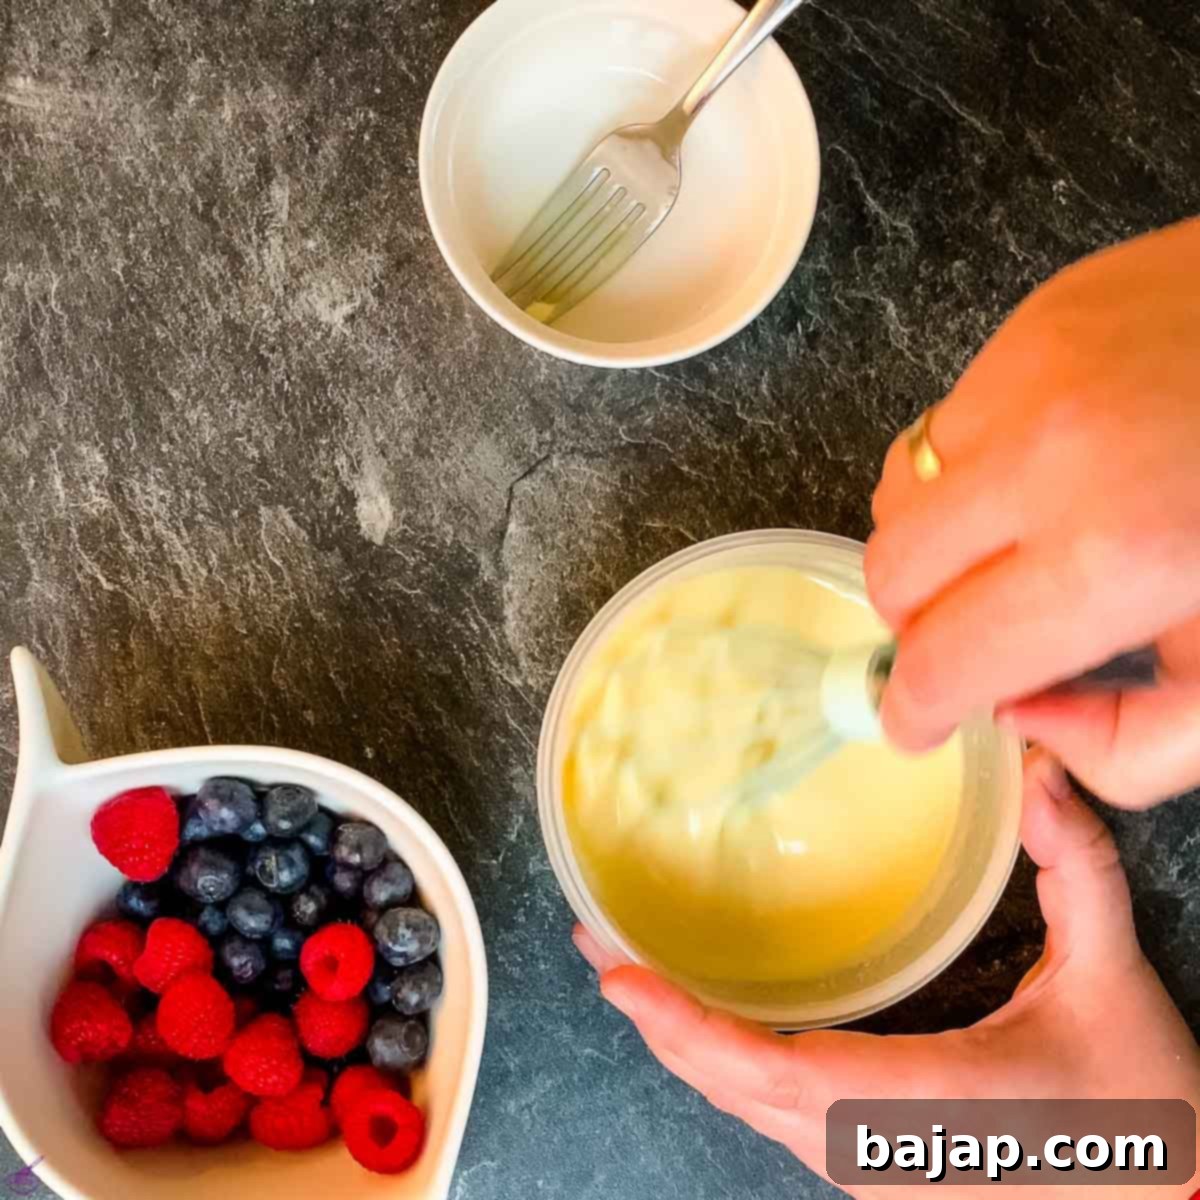
Combine the white chocolate, whipped cream, and gelatin.
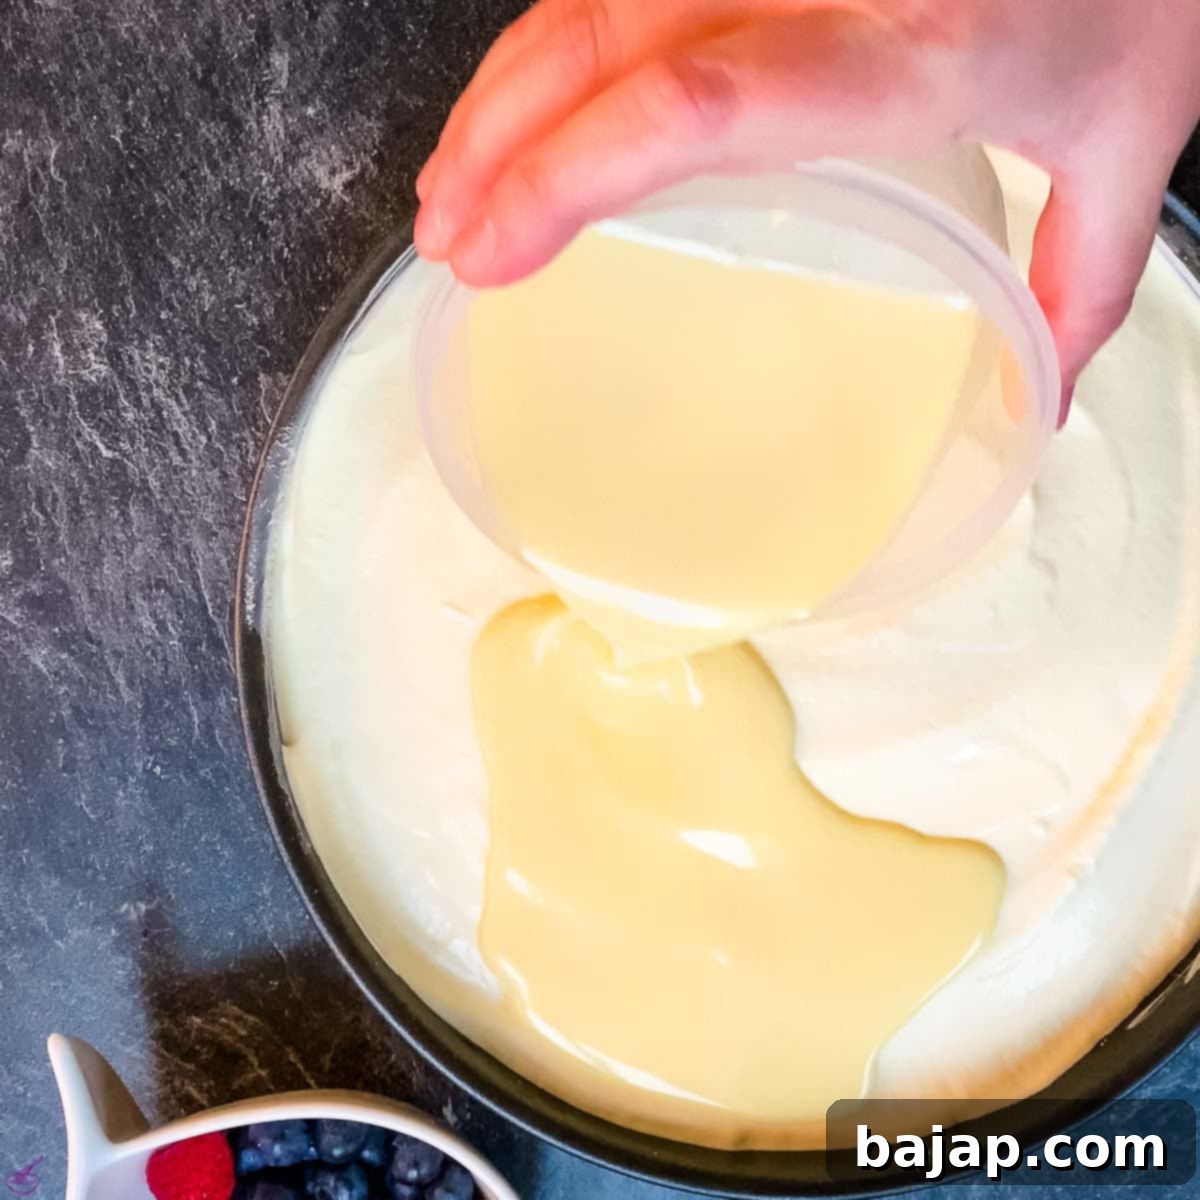
Pour the glaze over the orange cheesecake layer.
- Pour the glaze: Once combined, carefully pour the warm glaze evenly over the topmost orange cheesecake layer. Work quickly as the glaze will begin to set.
- Garnish and final freeze: Garnish your beautiful cheesecake with the remaining fresh blueberries and raspberries. For an extra decorative flair, add a handful of elegant chocolate zebra rolls.
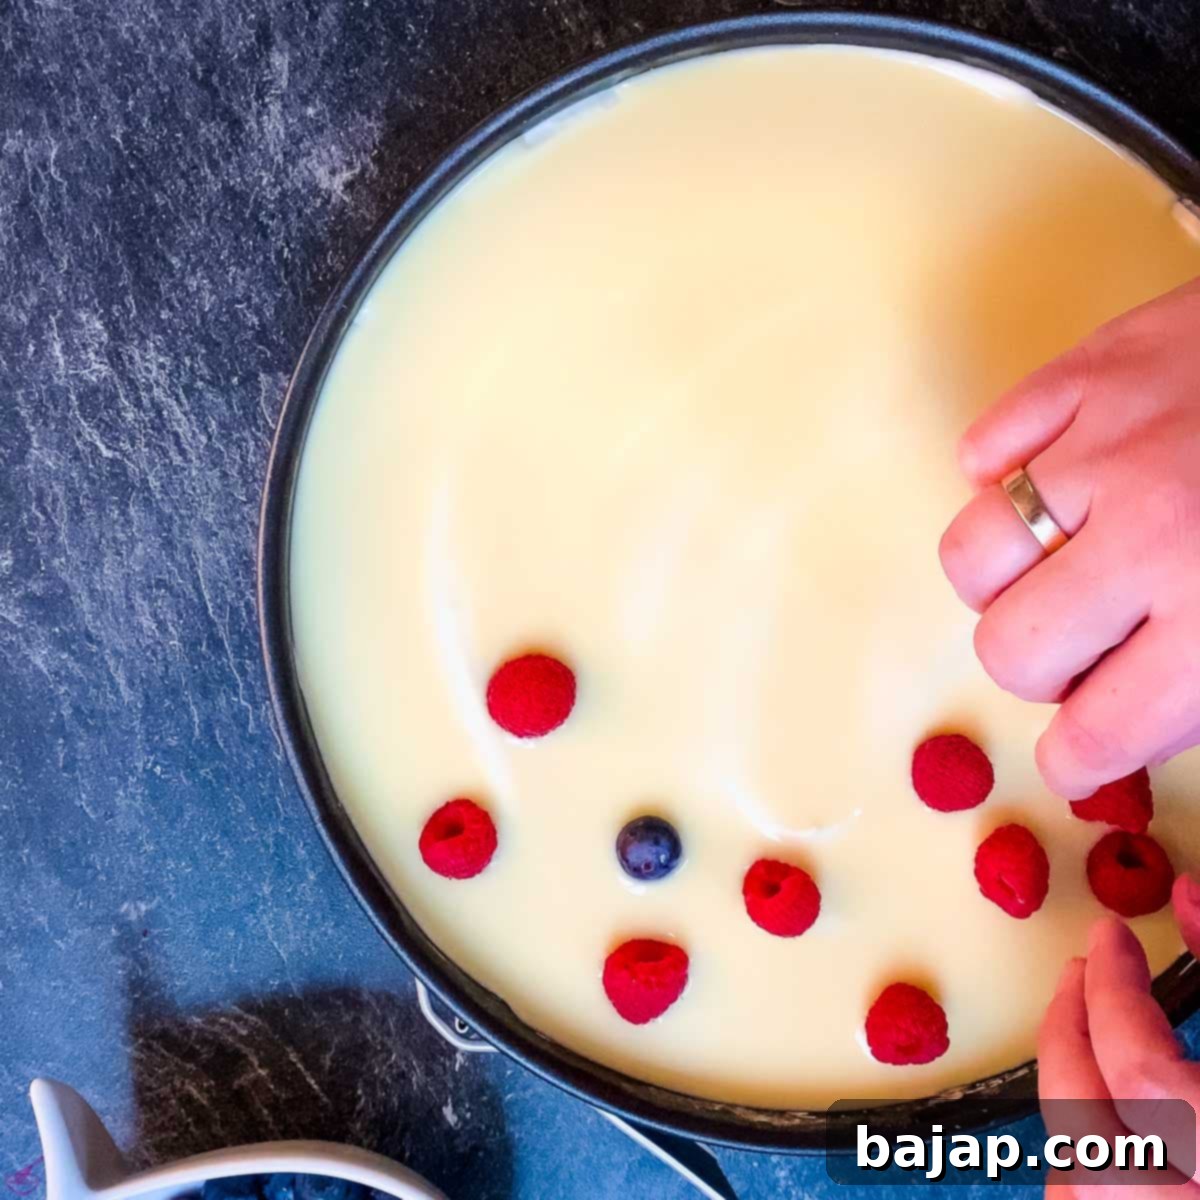
Decorate with vibrant fresh fruit.
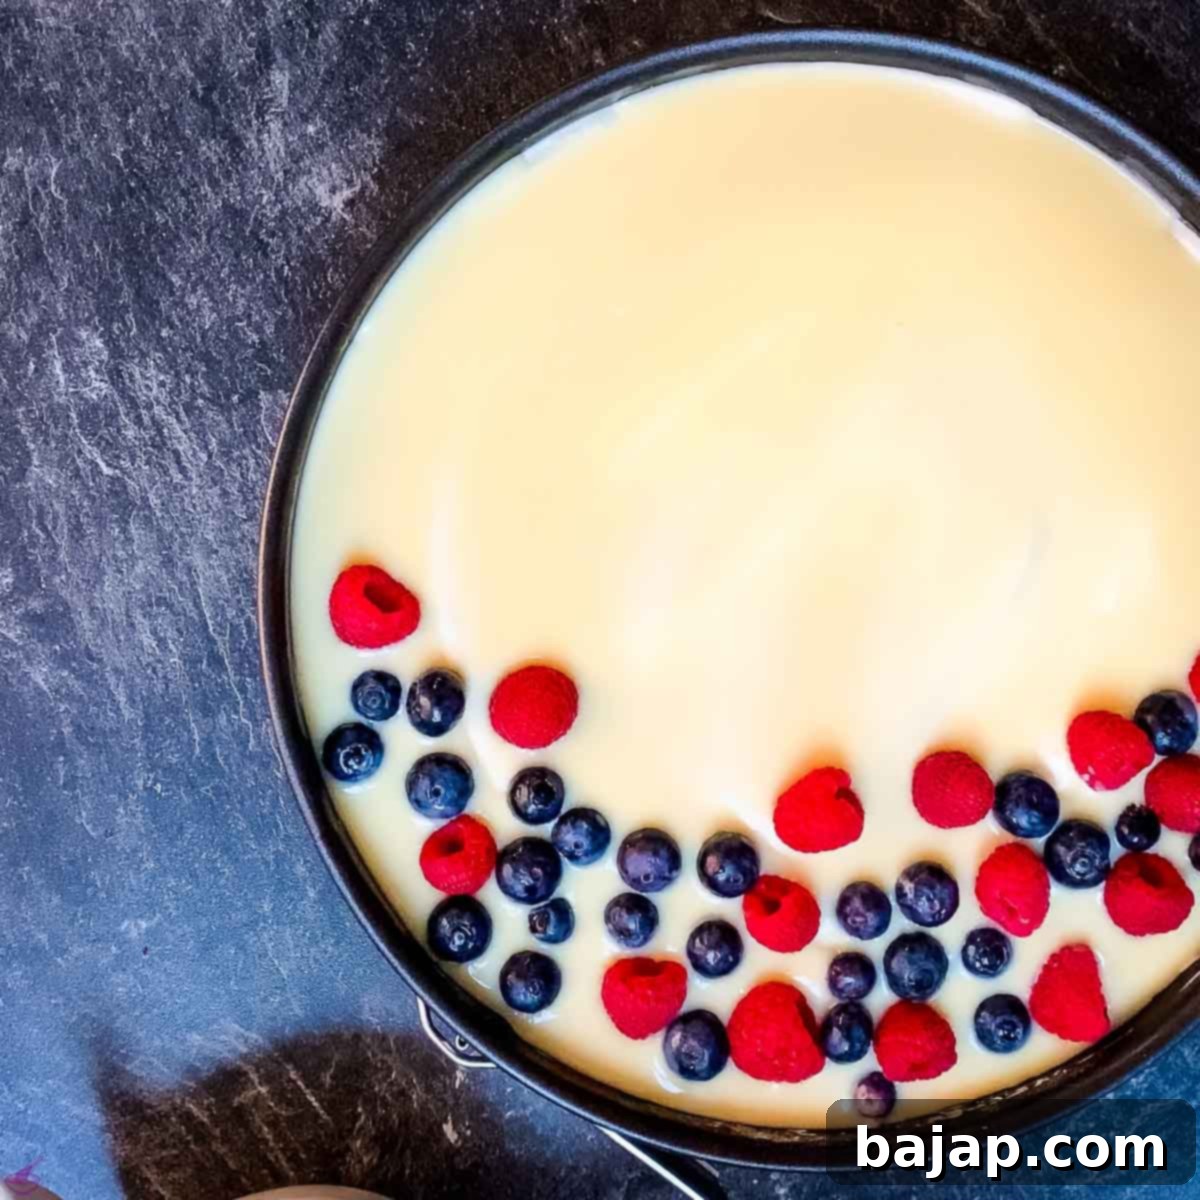
And elegant chocolate zebra rolls for extra flair.
- Harden the cheesecake: Place the entire cheesecake back into the freezer for at least 3 hours, but preferably overnight. This extended chill time is crucial for achieving the perfect firm, sliceable no-bake cheesecake texture.
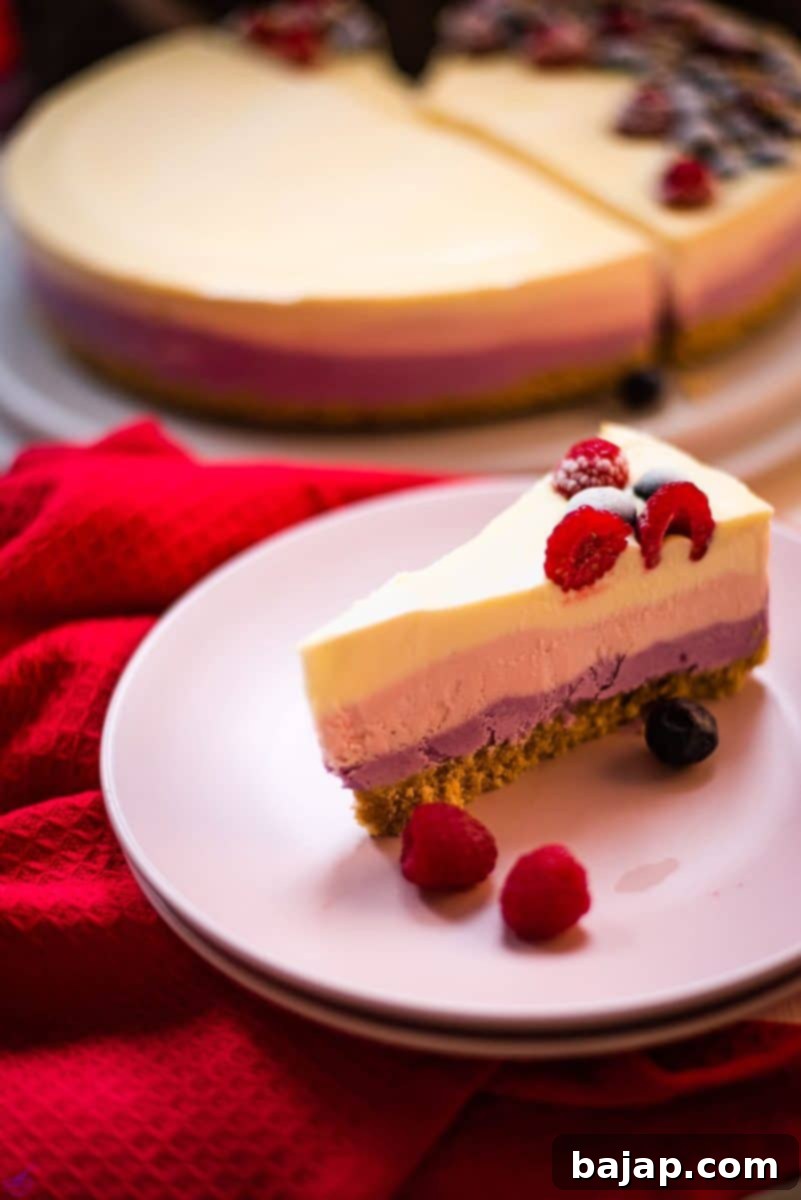
- Unmold and serve: When the cheesecake is fully hardened, carefully remove it from the springform pan. You can use a blow torch, a gas stove flame, or even a lighter to gently warm the outside edge of the pan for a very short interval of time. This slight warmth will help release the cheesecake cleanly. Once unmolded and allowed to thaw for about 15-20 minutes, your magnificent **red, white, and blue no-bake cheesecake** is ready to slice and serve!
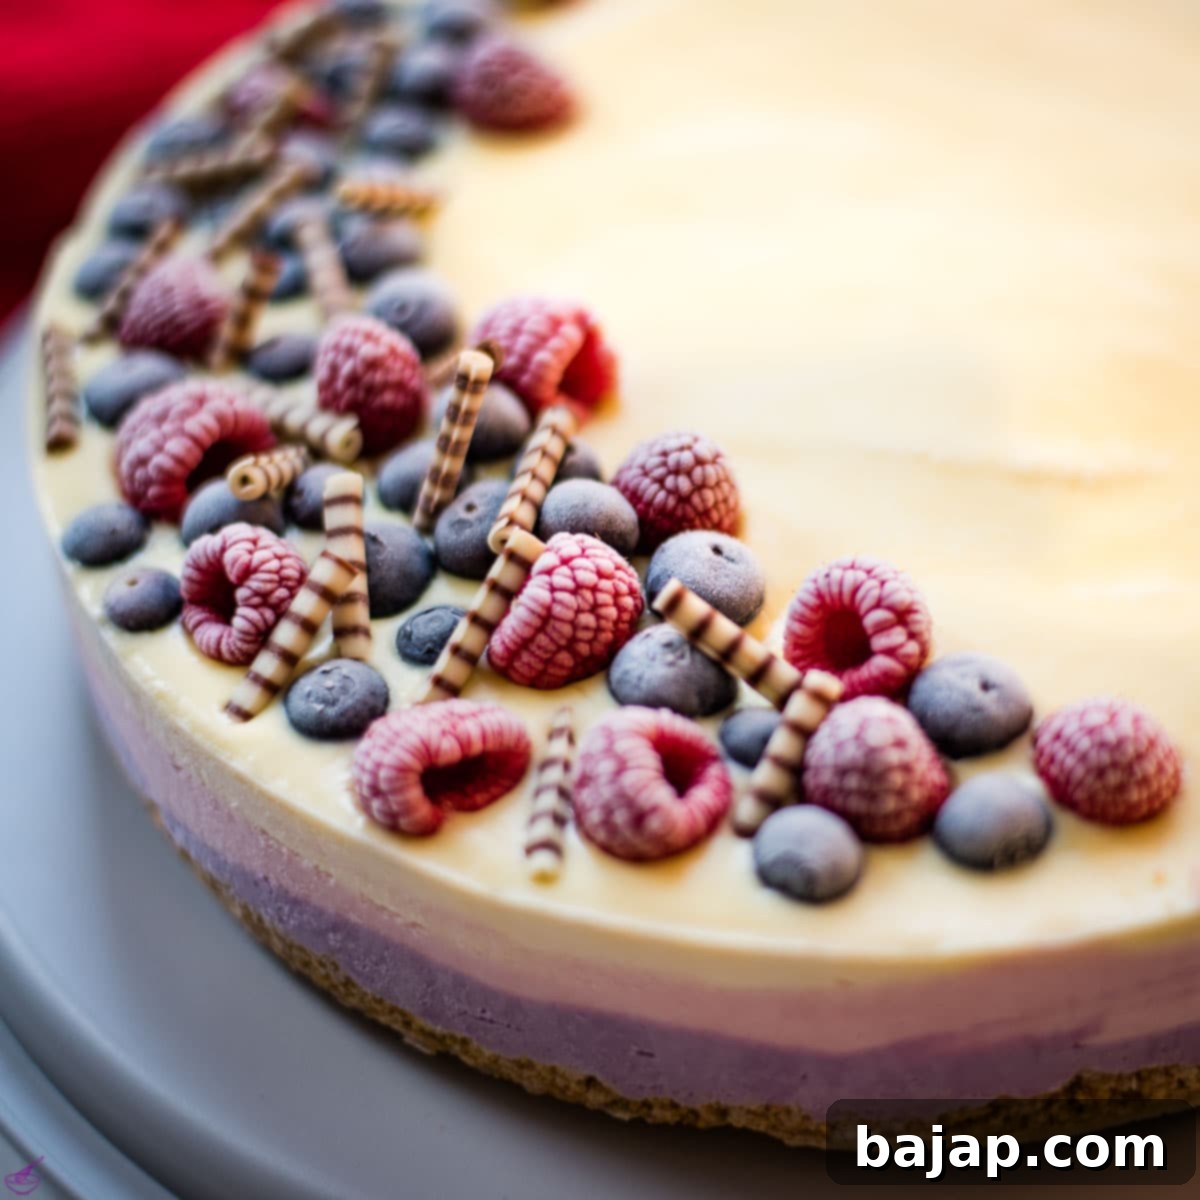
Carefully remove the frozen cake from its pan.
And there you have it – a festive, delicious, and easy-to-make dessert that’s sure to be the star of your celebration!
🥜 Substitutions
Sometimes you need to make adjustments based on what you have on hand or dietary preferences. Here are some smart substitutions for this **no-bake cheesecake**:
- Mascarpone: If mascarpone is hard to find, you can substitute it with a full-fat cream cheese for a similar rich flavor. Alternatively, ricotta cheese can be used for a very moist cheesecake; just be sure to add extra confectioner’s sugar to compensate for its less sweet profile and ensure the desired sweetness and consistency.
- Raspberries: Not a fan of raspberries? Fresh strawberries make an excellent alternative. They will still contribute to the perfect red, white, and blue aesthetic for your **4th of July dessert**. Remember to sieve them after cooking, just as recommended for the raspberries, to ensure a smooth, seedless puree for your cream mixture.
- Graham Crackers: If you can’t find graham crackers, plain digestive biscuits or even shortbread cookies can be used as a delicious base for the crust.
🍽 Equipment
Having the right tools makes the process smoother and more enjoyable:
- Hand, Stand, or Electric Mixer: Essential for whipping the creams to perfection.
- Food processor: Great for quickly crushing biscuits and walnuts for the crust.
- Spatula: For mixing, folding, and spreading layers evenly.
- Mixing bowls: Multiple bowls are needed to prepare the different cream layers.
- Whisk: For whipping cream and combining ingredients.
- Microwave (optional): Useful for melting butter and heating cream efficiently.
- Parchment Paper: For lining the springform pan and easy release.
- Springform pan (12 inch / 30 cm): Crucial for easily unmolding the cheesecake.
- Close meshed sieve: To ensure smooth, seedless fruit purees for the filling.
🌡 Storage & Top Tips
Ensure your **no-bake 4th of July cheesecake** stays fresh and delicious with these tips:
- Storage: This cheesecake can be stored in the refrigerator for 3-5 days. However, given its irresistible taste, it’s highly doubtful it will last that long! You can also store individual slices in an airtight container in the freezer for up to 1 month, just thaw in the fridge before serving.
- Serving Size: This generous recipe yields approximately 16-20 servings, making it ideal for parties and gatherings.
- Smooth Fruit Puree: For the best possible texture and a truly smooth cheesecake, always be sure to sieve the fresh raspberries, blueberries, and freshly squeezed orange juice after preparing them. This removes any seeds or pulp, ensuring a silky-smooth integration into your mascarpone mixture.
- Unmolding Tip: When unmolding, a quick, gentle application of heat around the springform pan’s edge (with a blow torch or even a warm cloth) can prevent sticking and create a perfectly clean release.
- Pairing Suggestions: To complete your festive spread, consider serving this patriotic cheesecake alongside other fun, themed treats like red white and blue jello shots and blue muddy buddies!
🙋🏻 FAQ about No-Bake Cheesecakes
Unlike baked cheesecakes that rely on eggs and oven heat to set, no-bake cheesecakes achieve their firm, sliceable texture through chilling. The most crucial step is to place your **no-bake cheesecake** in the freezer for at least three hours, but for the absolute best results and a truly firm set, chilling it overnight is highly recommended. Skipping or shortening this crucial step will result in a soft, pudding-like consistency rather than a classic cheesecake.
No, the beauty of a **no-bake cheesecake recipe** is that absolutely no baking is required! You won’t need to turn on your oven, and there’s no need to cool anything on a wire rack. Even the crust, typically made from crushed cookies or graham crackers, sets perfectly in the freezer without any baking. You also don’t need to buy a pre-baked crust. All the preparation happens on your kitchen counter, making it a truly simple and convenient dessert. The only “setting” required is time spent in the freezer.
Generally, no-bake cheesecakes can last for 4-5 days when properly stored in the refrigerator. For this particular **no-bake 4th of July cheesecake**, which incorporates fresh fruit purees, I recommend consuming it within 3-5 days to ensure optimal freshness and flavor. Always keep it covered to prevent it from absorbing other odors and to maintain its moisture.
The primary difference, as the names suggest, is the cooking method. A baked cheesecake typically contains eggs and is cooked in a water bath in the oven, resulting in a dense, custard-like, often fluffy texture. A **no-bake cheesecake**, on the other hand, contains no eggs and relies on chilling (often with gelatin or whipped cream as stabilizers) to achieve its firm, creamy consistency. While some argue for the superior density of baked cheesecakes, each type offers a uniquely delicious experience. I personally love no-bake cheesecakes for their simplicity and the instant gratification of not waiting for it to cool after baking!
🍰 More Cheesecake Recipes
- No-bake Ricotta Cheesecake
- No-bake Pumpkin Cheesecake
- No-bake White Chocolate Raspberry Cheesecake {Halloween}
- Fig Cheesecake in a Jar
- No-bake Mint Chocolate Cheesecake
- Eggnog Cheesecake
- 5 ingredient mini Oreo Cheesecakes
If you try this delightful **4th of July cheesecake recipe**, I would absolutely love to hear from you! Please let me know how you liked it by giving it a ★★★★★ star rating and leaving a comment below. Your feedback is truly awesome! You can also sign up for our Newsletter or follow me on Pinterest or Instagram and share your beautiful creation with me. Just tag me @combinegoodflavors and use the hashtag #combinegoodflavors, so I don’t miss it!
📖 Recipe
Fourth of July No-Bake Cheesecake
Nora
Save Recipe
Saved!
Pin Recipe
Equipment
-
Hand or stand mixer
-
Springform pan 12 inch // 30 cm
-
Food processor
-
Mixing bowls
-
Spatula
-
Whisk
-
Microwave optional
-
Parchment Paper
-
Close meshed sieve
Ingredients
Crust
- 10 oz Biscuits Graham cracker or petit beurre biscuits
- 5 oz Butter
- ¼ cup Milk
- ½ cup Walnuts
- 1 tablespoon Cornstarch
Cheesecake Filling
- 25 oz Mascarpone
- 15 oz Cream cheese
- 1 cup Whipping cream
- ¾ cup Icing sugar
- 1 cup Blueberries
- ⅛ cup Water
- ¼ cup Sugar
- 1 cup Raspberries
- ⅛ cup Water
- ¼ cup Sugar
- 1 Orange freshly squeezed
Glaze
- ⅓ tablespoon Gelatin granules
- ⅛ cup Water
- 7 tablespoon Whipping cream
- ¼ cup White chocolate
- ¼ cup Blueberry/Raspberry
- Zebra rolls
Instructions
Crust
-
Crush 10 oz Biscuits and ½ cup Walnuts with a rolling pin once you put them in a plastic bag. If you can get biscuit crumbs in the market, go for them or use a food processor for crushing the biscuits.10 oz Biscuits, ½ cup Walnuts
-
Place 5 oz Butter and ¼ cup Milk in a microwave-safe bowl and melt it on a medium setting until the butter is completely molten.5 oz Butter, ¼ cup Milk
-
Save 2 tbsp. of the molten butter mixture on the side and mix the rest of the butter and milk with the crushed biscuits and walnuts.
-
Mix until all the crumbs are well incorporated with the butter, creating a slightly sticky mixture when pressed.
-
Line the bottom of your cake pan with parchment paper and brush it with the molten butter that you kept on the side. Sprinkle 1 tablespoon Cornstarch on top of the paper, gently shake the pan until it’s evenly covered, and then invert to remove any excess.1 tablespoon Cornstarch
-
Place the prepared pan in the refrigerator for 2-3 minutes to cool.
-
Once the starch and butter dusting is cooled, pour the biscuit mix into the pan and tightly press it evenly across the bottom and up to the edges of the cake pan.
-
Place the crust in the freezer for at least 15 minutes while you prepare the fillings.
Cheesecake Filling
-
In a large mixing bowl (preferably from a kitchen machine), add 25 oz Mascarpone and mix with a mixer for 3-5 minutes until smooth and softened.25 oz Mascarpone
-
While mixing, gradually add ¾ cup Icing sugar to the mascarpone, followed by 15 oz Cream cheese. Continue mixing until fully combined and lump-free.15 oz Cream cheese, ¾ cup Icing sugar
-
In a separate bowl, whip 1 cup Whipping cream with a whisk until it forms soft peaks.1 cup Whipping cream
-
Gently fold the mascarpone mixture and the whipped cream together by hand using circular motions until just combined. Be careful not to overmix.
-
Divide the combined cream mixture evenly into three separate medium bowls to prepare for the different flavors and colors.
-
Now, start making the fruit flavorings in two separate pans.
-
In one saucepan, combine ¼ cup Sugar (50 g), ⅛ cup Water (30 ml), and 1 cup Blueberries (150 g). Cook over medium heat, stirring and gently crushing the blueberries with a spatula until the sugar is completely dissolved and a sauce forms.1 cup Blueberries, ⅛ cup Water, ¼ cup Sugar
-
Pass the blueberry sauce through a close-meshed sieve directly into one of the mascarpone cream bowls. Mix thoroughly until you have a smooth, blue cheesecake cream.
-
Take the springform pan with the biscuit base out of the freezer and evenly spread the blueberry mascarpone cream over it. Then, immediately return the pan to the freezer to set.
-
Repeat the same fruit sauce process in a separate pan with the raspberries.
-
Combine ¼ cup Sugar (50 g), ⅛ cup Water (30 ml), and 1 cup Raspberries (150 g) in a pan. Cook over medium heat, stirring and crushing the raspberries with a spatula until the sugar is completely dissolved and a sauce forms.1 cup Raspberries, ⅛ cup Water, ¼ cup Sugar
-
Pass the raspberry sauce through a fine mesh sieve into a second bowl of cream and mix well. Spread this beautiful red layer evenly on top of the already firm blueberry layer.
-
Return the pan to the freezer to set this layer.
-
For the third, orange-tinted cream, squeeze 1 Orange and strain the freshly squeezed orange juice directly into the remaining mascarpone cream.1 Orange
-
Mix the cream thoroughly with the orange juice and spread it evenly over the set raspberry cream layer.
-
Place the cheesecake back in the freezer for about half an hour before proceeding with the glaze.
Glaze
-
To make the glaze, put ⅓ tablespoon Gelatin granules in ⅛ cup Water and allow them to hydrate for 5 minutes.⅓ tablespoon Gelatin granules, ⅛ cup Water
-
Meanwhile, heat 7 tablespoon Whipping cream in a microwave until it reaches over 60 °C (140 °F), typically 2-3 minutes on a high setting.7 tablespoon Whipping cream
-
Add the bloomed gelatin and ¼ cup White chocolate to the hot cream. Mix thoroughly until all ingredients are well combined and the white chocolate has melted smoothly.¼ cup White chocolate
-
Once combined, carefully pour the prepared glaze evenly over the topmost cheesecake layer.
-
Garnish your cheesecake generously with the remaining ¼ cup Blueberry/Raspberry. For an added touch of elegance and crunch, sprinkle some Zebra rolls on top if desired.¼ cup Blueberry/Raspberry, Zebra rolls
-
Place the entire cheesecake back in the freezer for at least 3 hours, but ideally overnight, to ensure it is completely hardened and set.
-
When the cheesecake is fully hardened, carefully remove it from the springform pan. A brief, gentle warming of the pan’s exterior can aid in a clean release.
-
Allow the cheesecake to thaw for about 15-20 minutes at room temperature before slicing and serving. Enjoy your spectacular **Red, White, and Blue No-Bake Cheesecake**!
Never miss a recipe!Sign up and let me spoil you weekly with a delicious homemade recipe!
Like this recipe?Mention @combinegoodflavors or tag #combinegoodflavors!
Nutrition values are estimates only, using online calculators. Please verify using your own data.
Calories: 491kcal |
Carbohydrates: 28g |
Protein: 6g |
Fat: 40g |
Saturated Fat: 23g |
Polyunsaturated Fat: 3g |
Monounsaturated Fat: 6g |
Trans Fat: 0.2g |
Cholesterol: 92mg |
Sodium: 273mg |
Potassium: 128mg |
Fiber: 1g |
Sugar: 19g |
Vitamin A: 1239IU |
Vitamin C: 6mg |
Calcium: 105mg |
Iron: 1mg

🤎 You might also like
- National Cheesecake Day {July 30th}
- Simple Layered Eggnog Vanilla Pudding Dessert
- Fig Cheesecake in a Jar {no-bake}
- No Bake Pumpkin Cheesecake
⛑️ Food Safety
- Cook any raw ingredients (if applicable in other recipes) to a minimum temperature of 165 °F (74 °C).
- Do not use the same utensils on cooked food that previously touched raw meat (not applicable for this no-bake recipe, but good general practice).
- Wash hands thoroughly after touching raw meat or handling produce.
- Don’t leave food sitting out at room temperature for extended periods; promptly refrigerate leftovers.
- Never leave cooking food unattended (not applicable for this no-bake recipe, but a critical general safety rule).
- Use oils with high smoking point to avoid harmful compounds (not applicable for this no-bake recipe).
- Always ensure good ventilation when using a gas stove (if using for melting butter or making fruit purees).
For further information on safe food handling practices, please refer to the Safe Food Handling – FDA guidelines.
