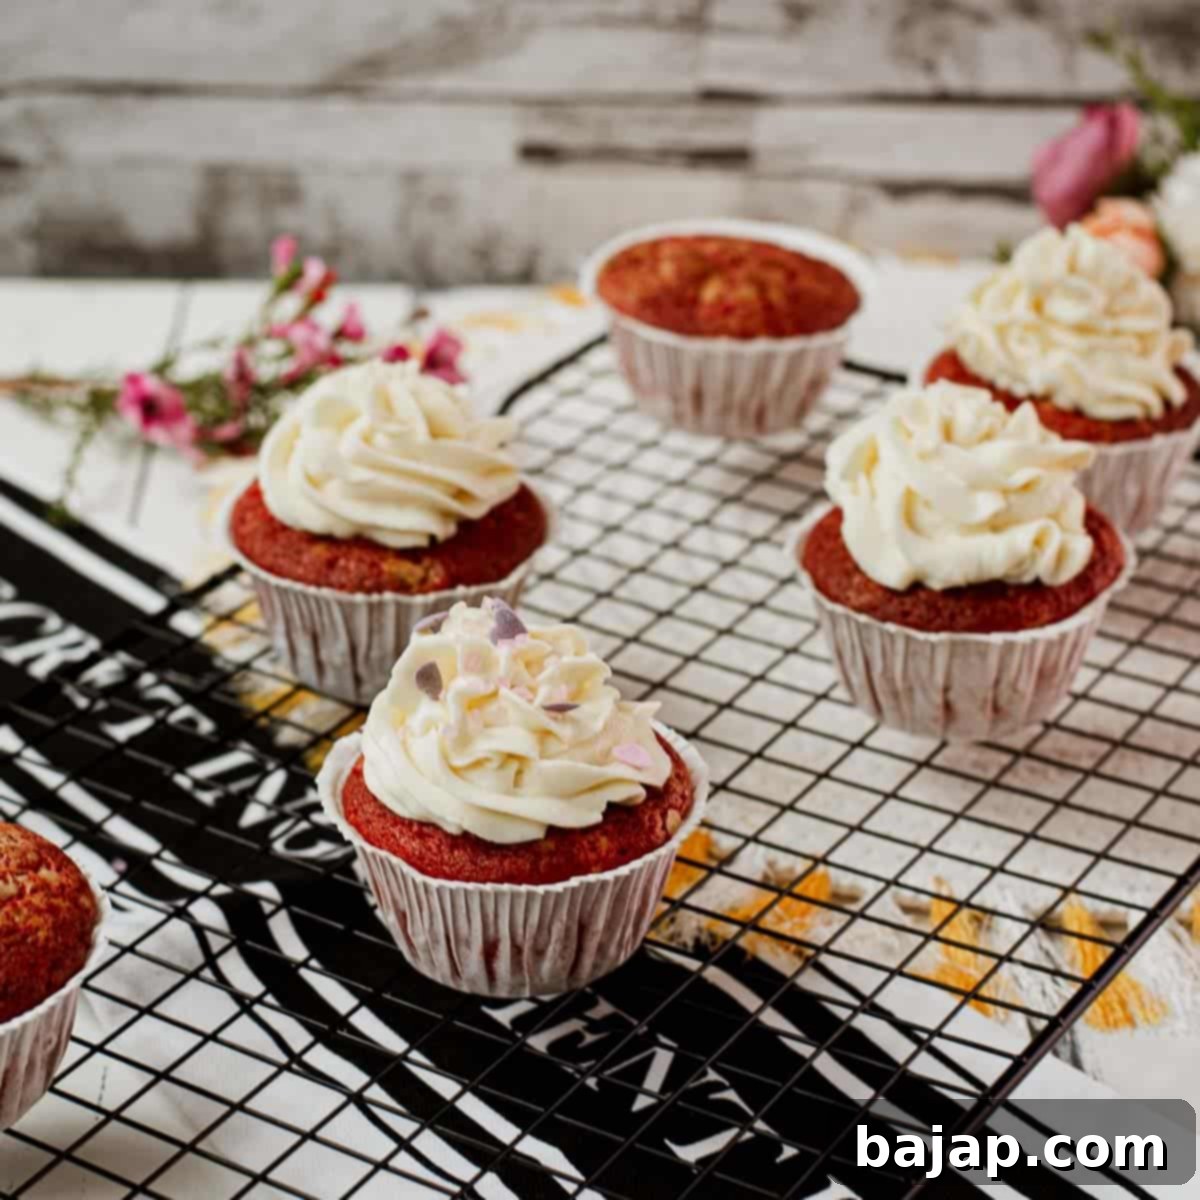
The Ultimate Guide to Baking Moist Red Velvet Cupcakes with Cream Cheese Frosting (No Buttermilk Needed!)
There’s an undeniable allure to Red Velvet cupcakes. Their vibrant crimson hue, delicate crumb, and the irresistible tang of rich cream cheese frosting combine to create a timeless classic, perfect for any celebration or heartfelt gesture. Often, baking is an act of love, and few treats convey that emotion as beautifully as a freshly baked Red Velvet cupcake. This decadent, delicious, and utterly lovely recipe for homemade Red Velvet Cupcakes with luscious Cream Cheese Frosting promises to master the art of baking romance, all without the need for traditional buttermilk!
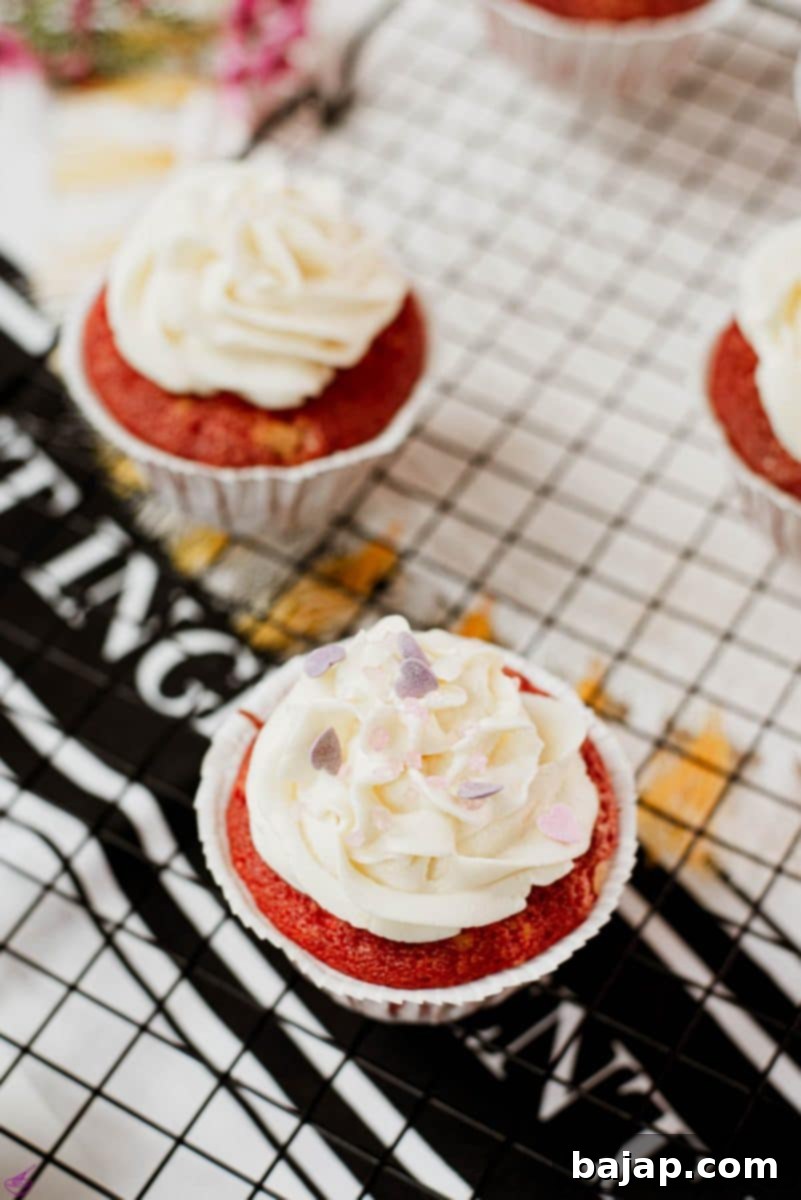
The enchanting color red has long been associated with passion, love, and excitement, known to make our hearts flutter. These crimson delights are crafted to make your heart skip a beat with their truly fantastic flavor profile. Imagine a cake that is rich, subtly cocoa-infused, incredibly tender, and wonderfully moist, all crowned with a luscious, tangy, and sweet cream cheese frosting. It’s more than just a dessert; it’s a delightful symphony for your senses, offering a perfect harmony of textures and tastes in every bite.
You will absolutely adore how remarkably easy these Red Velvet Cupcakes are to prepare, and how elegantly they present for any occasion, from intimate family dinners to grand holiday parties. They truly shine as a beautiful centerpiece. However, the real magic, the genuine romance of these delicious treats, truly comes alive as they vanish from the platter in mere moments. Bake these crimson darlings for someone special, or simply indulge yourself, to experience how truly scrumptious and easy homemade love can be!
Why This Red Velvet Cupcake Recipe Will Become Your Favorite
Beyond their stunning appearance and delightful taste, these Red Velvet Cupcakes offer several compelling reasons to make them your go-to recipe:
- Effortlessly Delicious Results: This recipe is meticulously crafted for ease, ensuring that both novice bakers and seasoned pros can achieve bakery-quality results with minimal effort. The steps are straightforward, leading to consistently perfect cupcakes every time.
- No Buttermilk Required: Say goodbye to special grocery trips for buttermilk! This innovative recipe creates exceptionally moist and tender Red Velvet Cupcakes using common pantry staples. It simplifies your baking process significantly without compromising on the iconic flavor or desirable soft texture.
- Luxurious Cream Cheese Frosting: The homemade cream cheese frosting is more than just a topping; it’s an integral part of the experience. Its balanced sweetness and delightful tangy kick perfectly complement and enhance the subtle cocoa notes of the cupcakes, creating a harmonious flavor profile that is truly irresistible.
- Visually Stunning Presentation: With their vibrant red interior and elegant swirls of creamy white frosting, these cupcakes are visually captivating. They are naturally festive and make an impressive centerpiece for Valentine’s Day, Christmas, birthdays, anniversaries, or any occasion where you want to add a touch of charm and elegance.
- Versatile for Any Occasion: Whether you’re planning a romantic dinner, a festive holiday gathering, or simply craving a special treat, these cupcakes fit right in. Their universal appeal makes them a guaranteed crowd-pleaser for all ages.
- Easily Customizable: Feel free to get creative! The recipe is flexible enough for you to experiment with different chocolate types in the batter or to add a touch of food coloring to your frosting for unique themed celebrations.
- Perfectly Moist & Tender: The use of oil in the cake batter ensures that these cupcakes remain wonderfully moist and tender for days, making them excellent for meal prepping desserts or for enjoying over several days.
🥘 Key Ingredients for Your Perfect Red Velvet Cupcakes
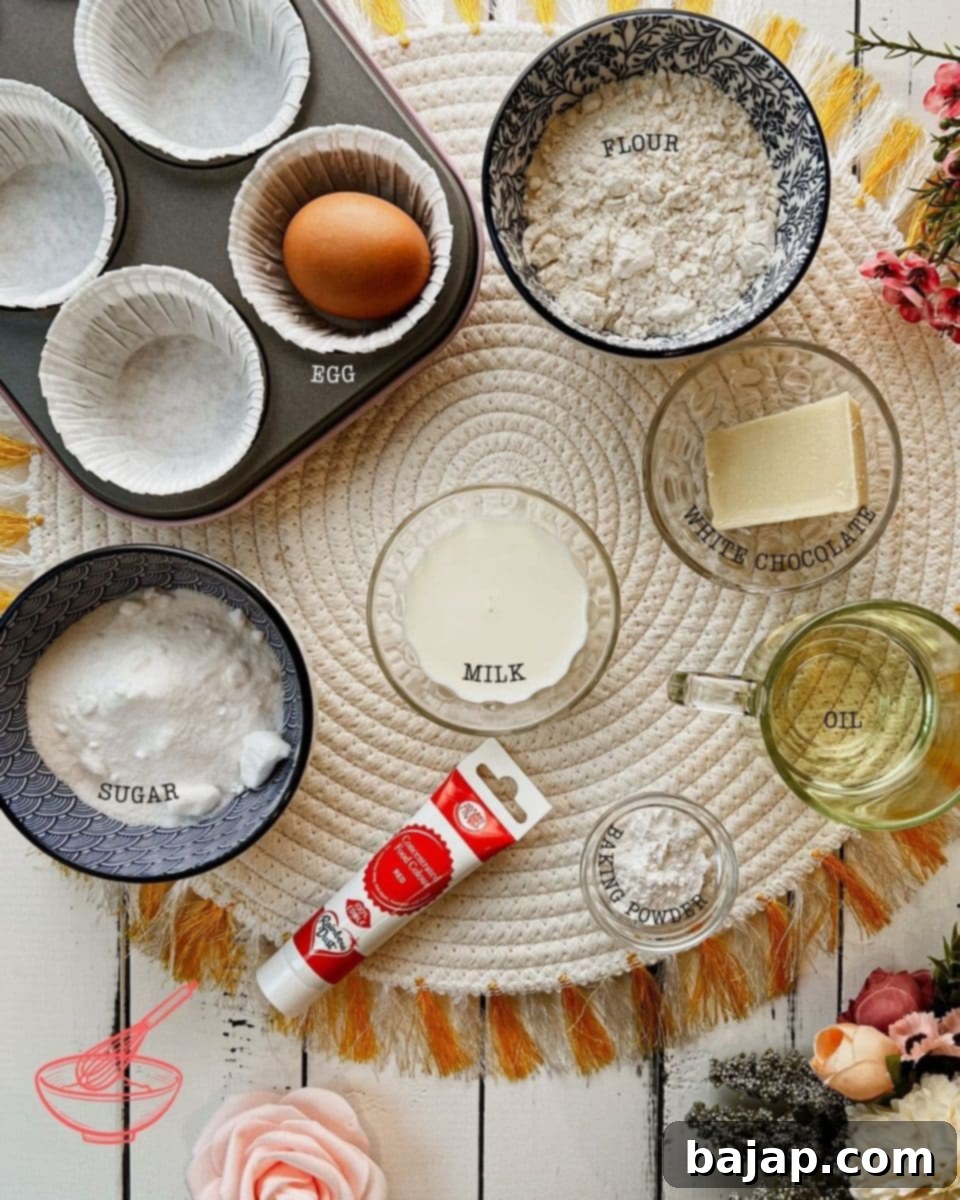
- Granulated Sugar: This essential sweetener not only provides the perfect level of sweetness but also plays a vital role in creating the tender crumb and wonderfully moist texture that defines these beautiful red cakes.
- Eggs: Using fresh, room-temperature large eggs is paramount for achieving light, airy, and rich cupcakes. Eggs bind the ingredients, add moisture, and contribute significantly to the overall structure and richness of the batter.
- All-Purpose Flour: A versatile and reliable choice, all-purpose flour forms the perfect structural base for this easy Red Velvet recipe. For an even finer, softer crumb, you can opt for cake flour.
- Canola or Sunflower Oil: Unlike solid fats such as butter, neutral-flavored liquid fats like canola or sunflower oil ensure an incredibly smooth cake batter and are key to the cupcakes’ moistness, helping them stay tender and fresh for a longer period.
- Milk: A touch of dairy milk in the cake batter contributes to its creamy consistency and smooth texture. For those with dietary restrictions, lactose-free or any non-dairy milk alternative (such as almond, oat, or soy milk) can be used with equally delicious results.
- Liquid Red Food Coloring: This is the star ingredient responsible for imparting the iconic, deeply saturated crimson hue that makes Red Velvet cupcakes so distinctive and visually appealing. For the best color, a high-quality gel or liquid food coloring is recommended.
- Baking Powder: As a primary leavening agent, baking powder is crucial for helping your delicious cupcakes rise beautifully and evenly, ensuring they develop a light, fluffy texture with a satisfying chew.
- White Chocolate: This recipe utilizes white chocolate in two key ways. A small amount is finely chopped and folded into the cupcake batter, adding a subtle sweetness and enhancing the spongy cake’s flavor. A more substantial portion of high-quality white chocolate (preferably couverture for its superior melting and setting properties) is melted and incorporated into the frosting, providing luxurious flavor and stability.
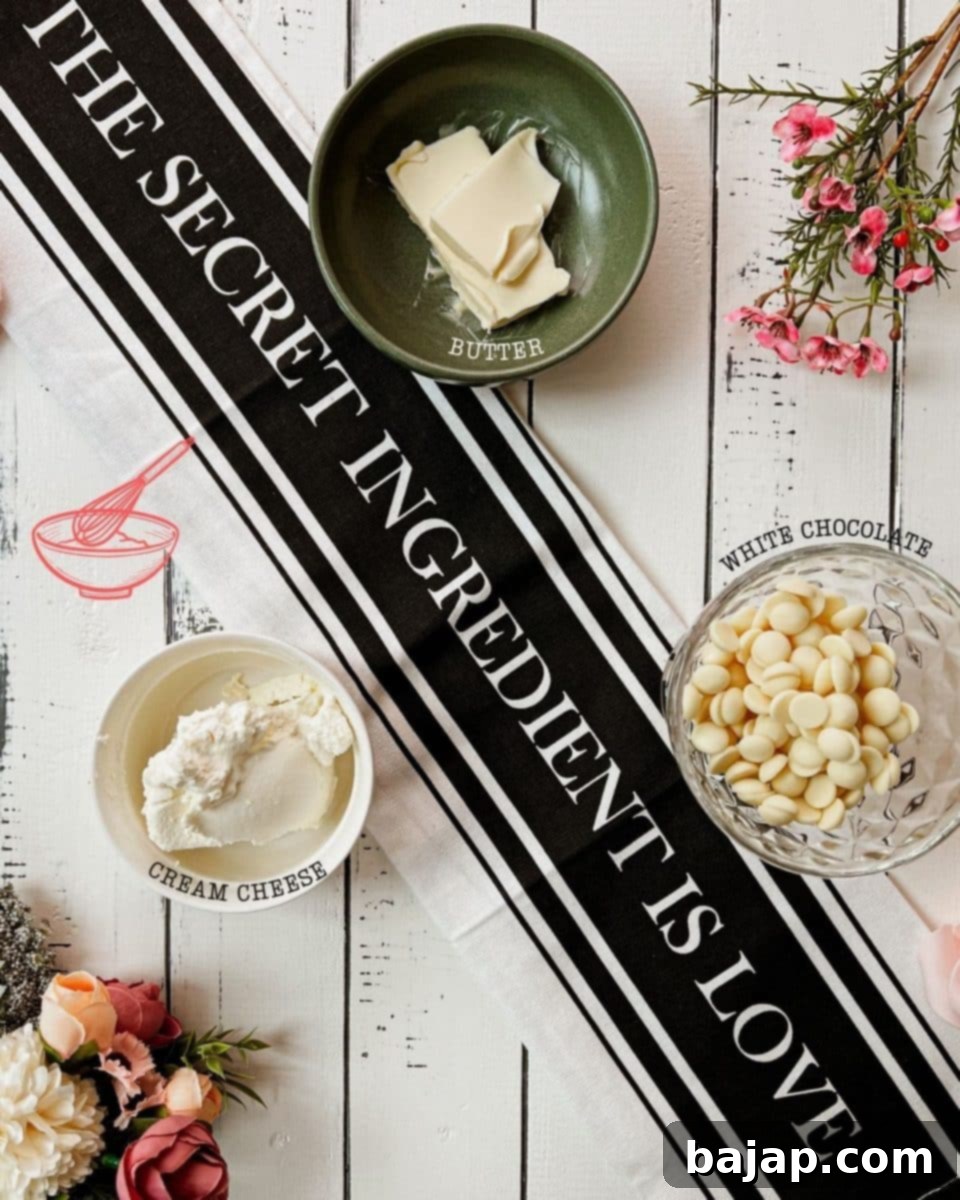
- Unsalted Butter: This forms the rich, indulgent foundation of our easy cream cheese frosting. Always choose unsalted butter and remember to allow it to soften to true room temperature before using; this is vital for achieving the smoothest and most creamy frosting consistency.
- Cream Cheese: The undisputed star of the frosting, this soft, tangy cheese imparts an unbelievable texture and a deliciously balanced tangy-yet-sweet flavor that perfectly complements the Red Velvet cake. For the richest and most authentic taste, opt for full-fat block cream cheese.
- Powdered Sugar: Also widely known as confectioners’ sugar or icing sugar, this finely milled sugar is what gives the frosting its desired body, smooth consistency, and essential sweetness, ensuring it is both pipeable and delectable.
For precise quantities and a complete nutritional breakdown, please refer to the comprehensive recipe cardprovided below.
🔪 Step-by-Step Instructions: Baking Red Velvet Perfection
Follow these detailed instructions carefully to create your own batch of irresistible Red Velvet Cupcakes, complete with our signature Cream Cheese Frosting.
Step One: Prepare the Light and Airy Egg and Sugar Mixture
In a large mixing bowl, begin by combining your room-temperature large egg(s) with the granulated sugar. Using an electric mixer (either hand-held or stand mixer) set to maximum speed, beat this mixture vigorously until it transforms into an incredibly light, fluffy, and pale-yellow concoction. This essential creaming process incorporates a significant amount of air into the batter, which is fundamental for ensuring a tender and airy cupcake texture.
Step Two: Gently Combine Wet and Dry Ingredients
Once your egg and sugar mixture has reached that wonderfully fluffy stage, it’s time to carefully incorporate the remaining ingredients. Gently add the neutral-flavored oil, the vibrant liquid red food coloring, milk, baking powder, and finally, the all-purpose flour. Mix everything on a low speed, just until all the ingredients are combined and no dry streaks of flour are visible. It is crucial not to overmix the batter at this stage, as overmixing can develop the gluten in the flour, leading to tough, chewy cupcakes rather than soft, tender ones.
Step Three: Fill Muffin Cups and Add White Chocolate Enhancements
Before proceeding, ensure your cupcake pan is lined with paper cupcake cups. Carefully pour the prepared Red Velvet batter into each cup, making sure to fill them approximately two-thirds full. This optimal filling level allows the cupcakes ample room to rise beautifully without the risk of overflowing during baking. As a special touch, take your finely chopped white chocolate and generously sprinkle a few chips over the top of each cupcake. These delicate pieces will melt into delicious pockets of sweet flavor as the cupcakes bake, adding an extra layer of indulgence.
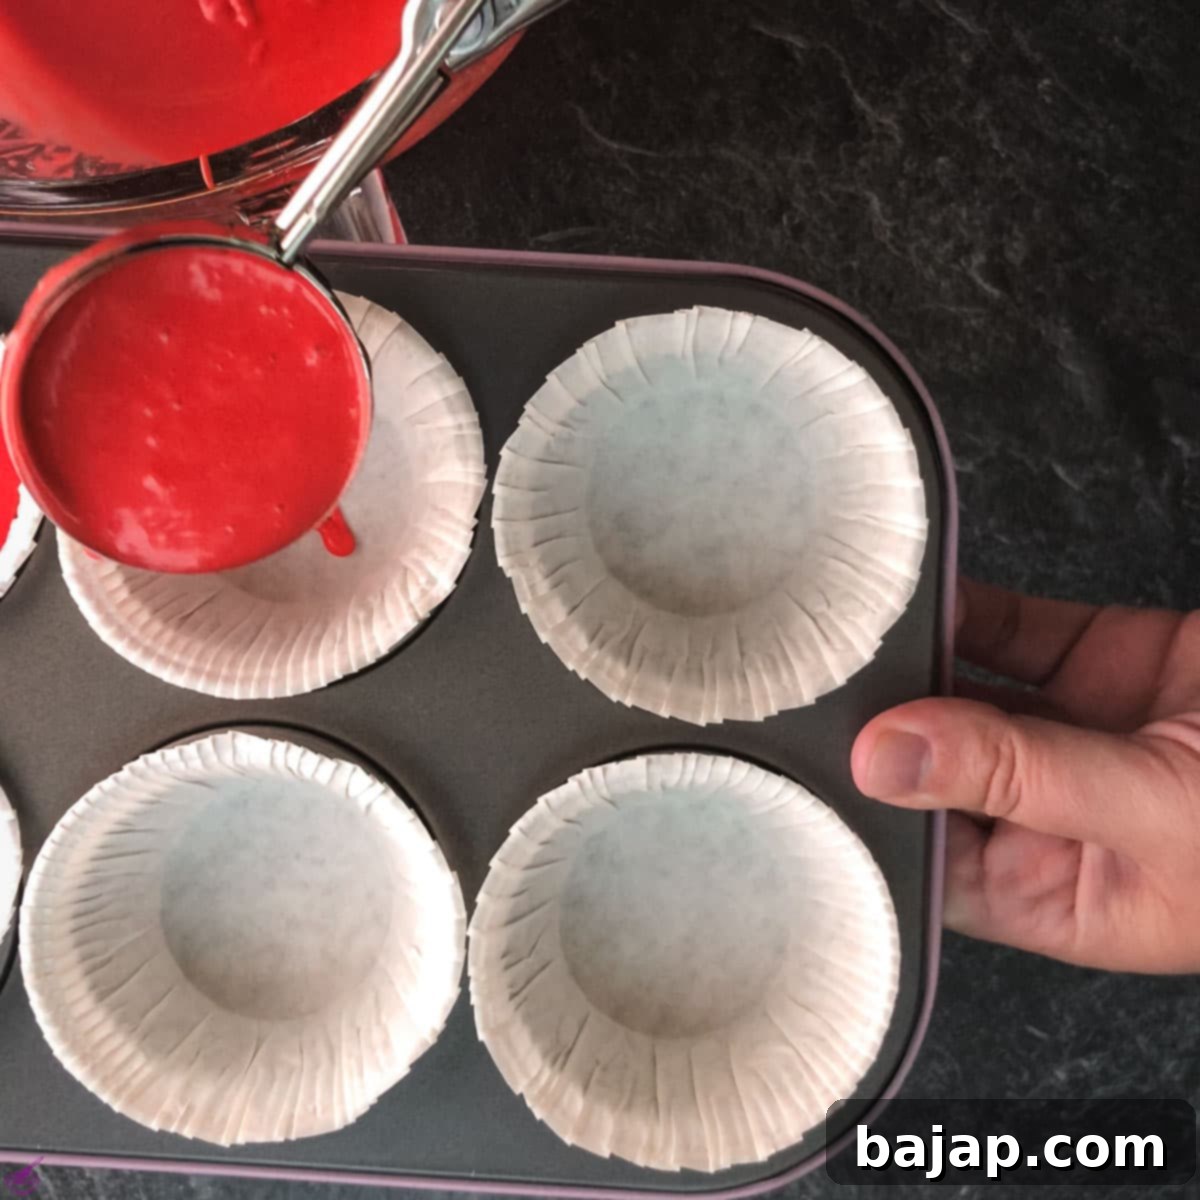
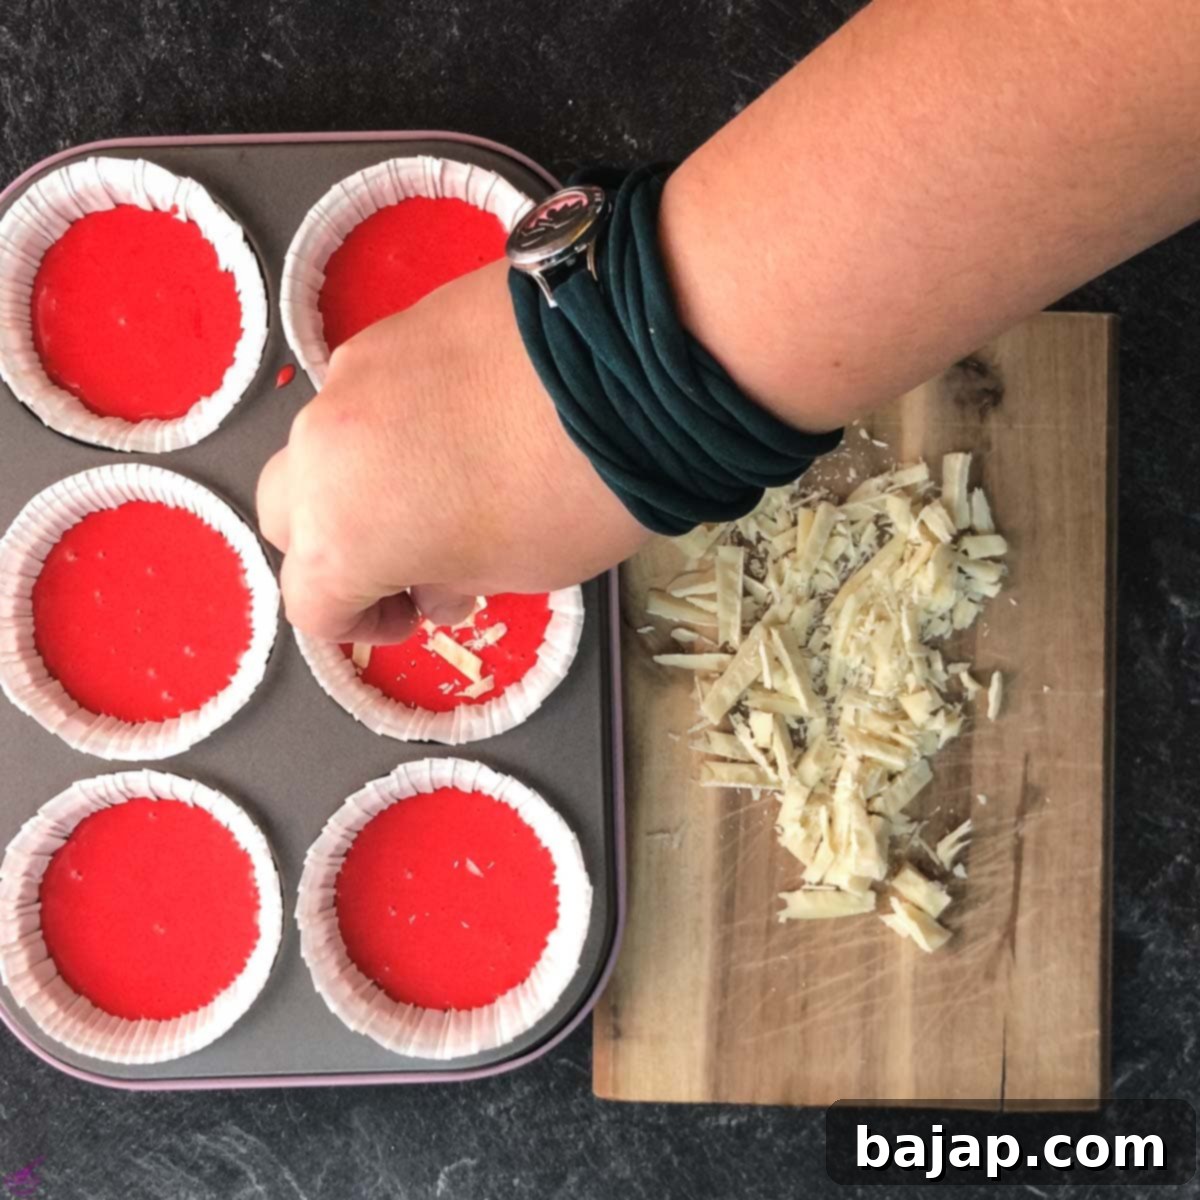
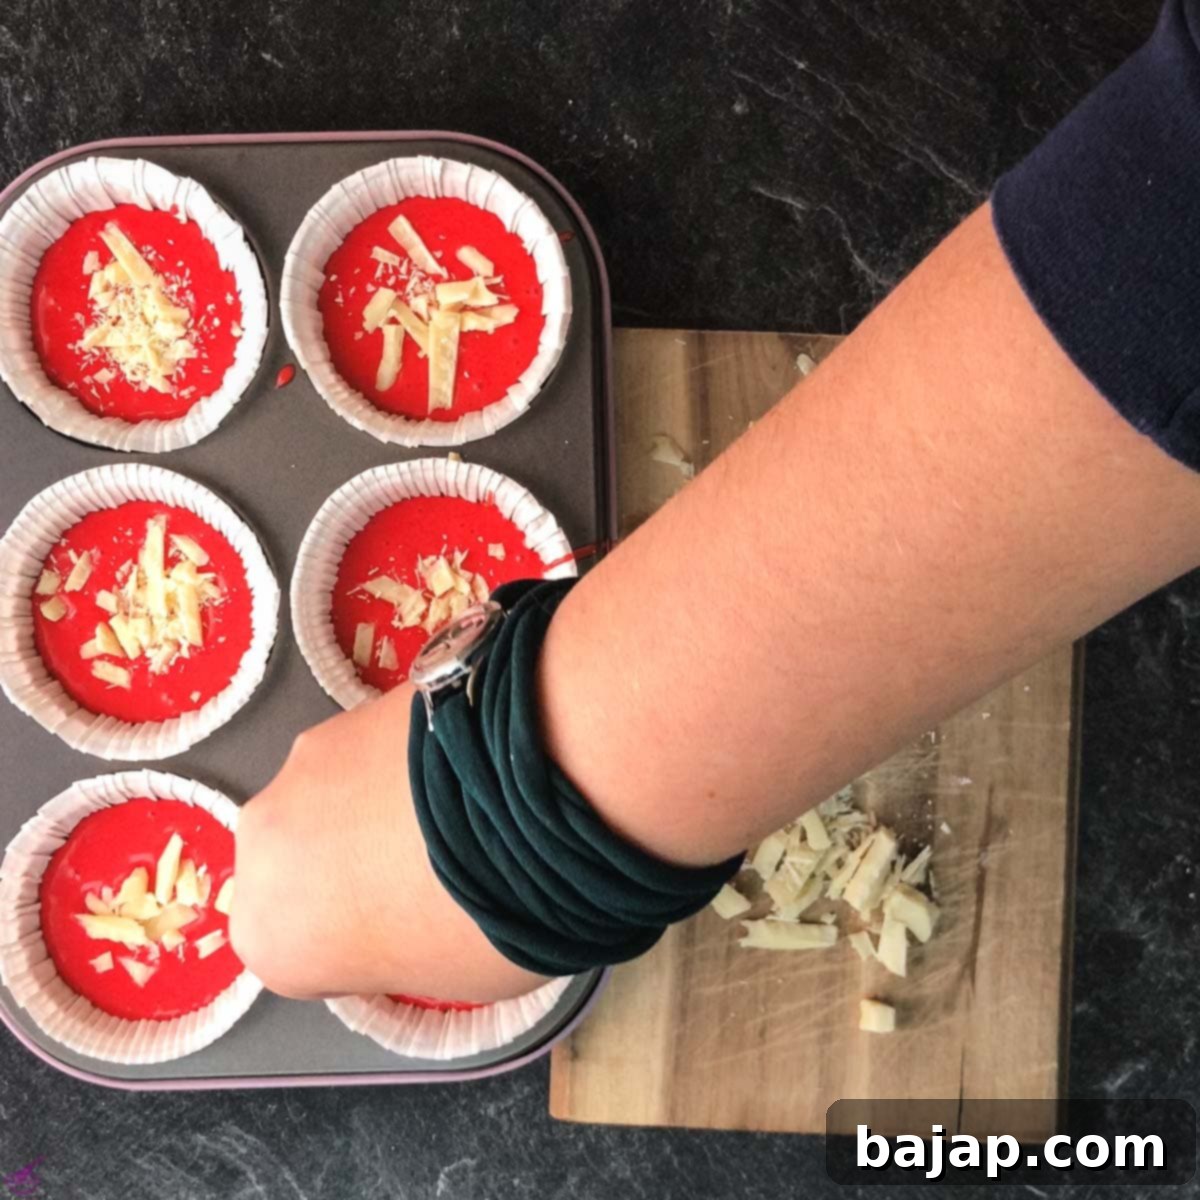
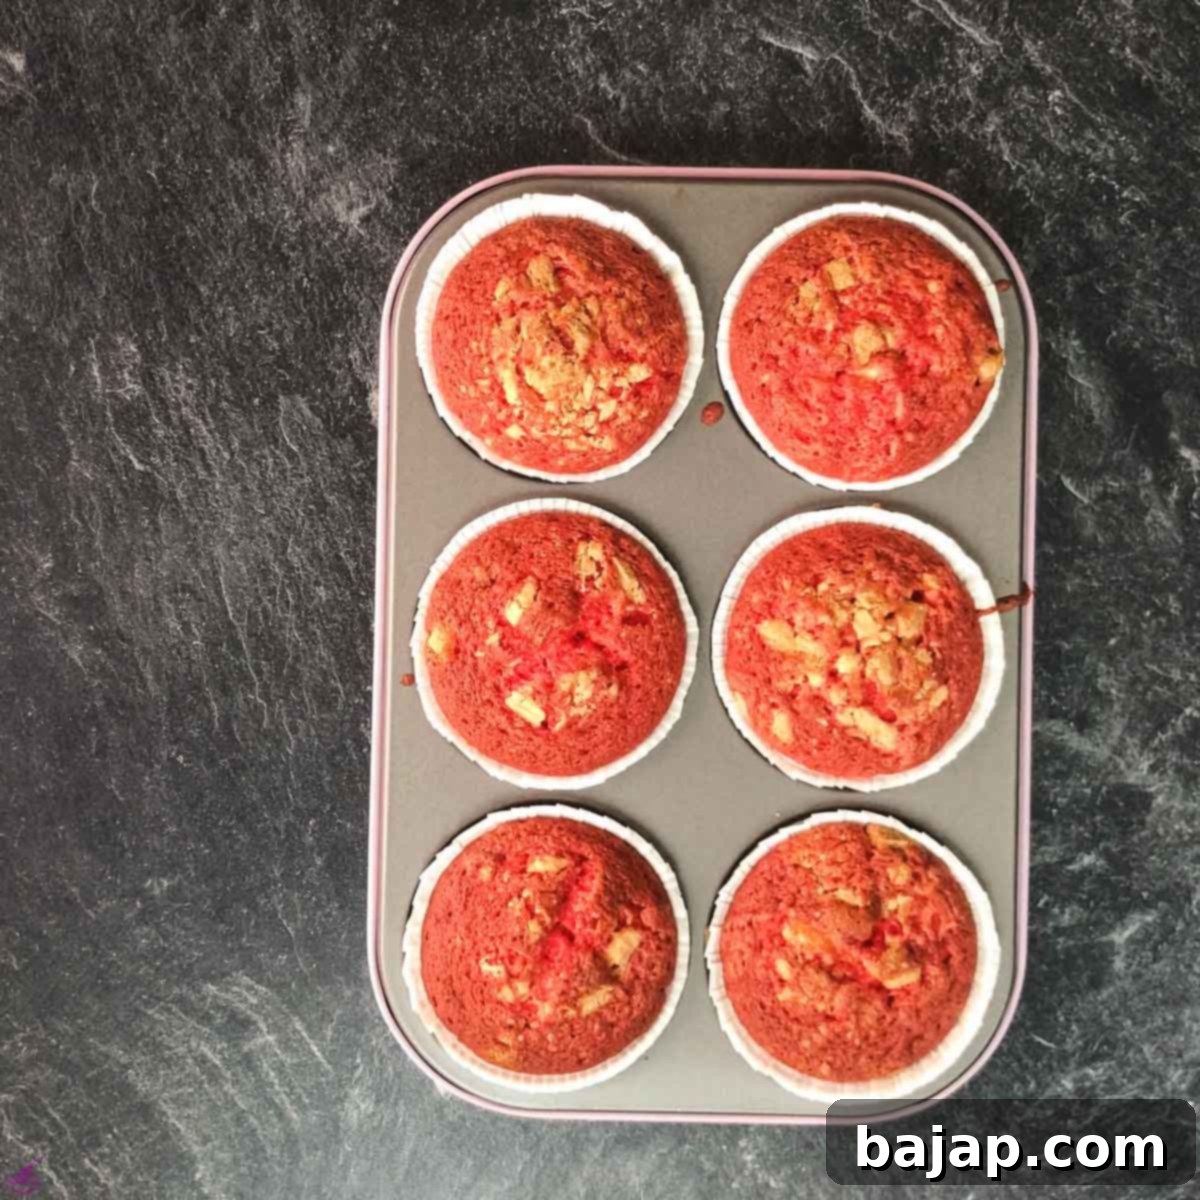
Step Four: Bake to a State of Perfect Moistness
Carefully place the muffin tin into your preheated oven at 190°C (375°F). Bake for approximately 20 minutes. To test for doneness, insert a wooden skewer or toothpick into the center of one of the cupcakes; it should come out clean or with only a few moist crumbs attached. Baking times can vary slightly depending on the calibration of your oven, so always keep a close eye on them to prevent overbaking, which can lead to dry cupcakes.
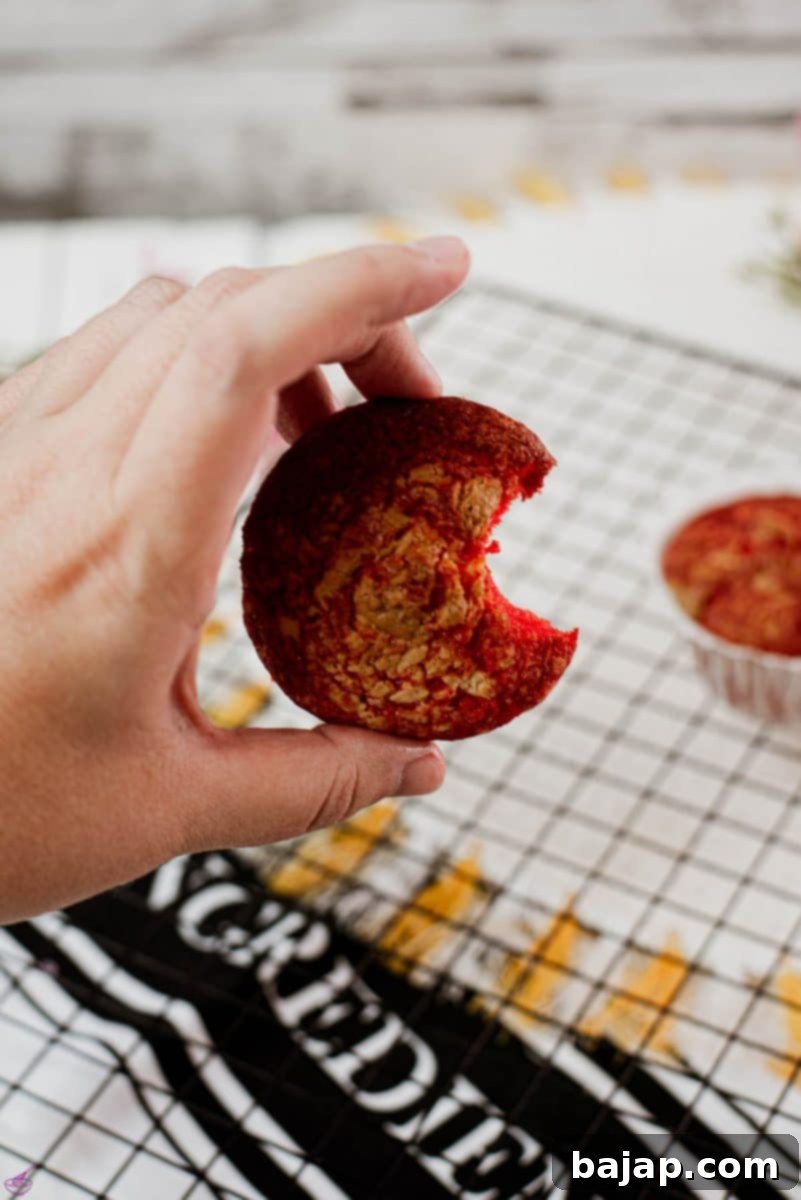
Step Five: Ensure Complete Cooling Before Frosting
Once baked to perfection, remove the cupcakes from the oven and allow them to cool in the muffin tin for about 5-10 minutes. Then, carefully transfer them to a wire rack to cool completely. This step is absolutely crucial. Attempting to apply frosting to warm cupcakes will inevitably result in a melted, runny, and messy frosting, ruining your beautiful presentation!
Step Six: Prepare the White Chocolate for a Stable Frosting
While your cupcakes are diligently cooling, you can begin preparing the components for your luscious cream cheese frosting. Gently melt the white chocolate couverture using a double boiler (bain-marie) or a microwave (using short bursts of 15-20 seconds and stirring frequently to prevent scorching). Once fully melted and smooth, set it aside and allow it to cool to lukewarm. It’s important to stir it occasionally as it cools to prevent it from seizing or solidifying prematurely.
Step Seven: Create the Irresistible Cream Cheese Frosting Base
In a separate, clean mixing bowl, beat the room-temperature unsalted butter with an electric mixer until it becomes light, pale, and wonderfully fluffy. This process typically takes a few minutes. Next, add the softened cream cheese and continue mixing until both ingredients are thoroughly combined and achieve a smooth, uniform consistency. Gradually add the powdered sugar, mixing until fully incorporated. Finally, gently fold in the cooled white chocolate, ensuring it is well blended into a smooth, thick, and perfectly pipeable frosting. Ensure the white chocolate is not hot, as it could curdle the cream cheese mixture.
Step Eight: Frost and Indulge in Your Delicious Handiwork!
Once your cupcakes are completely cool and your frosting is ready, transfer the creamy, dreamy frosting into a piping bag fitted with your favorite star tip (or any decorative tip that inspires you). Pipe generous, elegant swirls onto each completely cooled Red Velvet cupcake. For an extra touch of charm and festivity, garnish with heart-shaped sprinkles, a dusting of cocoa powder, or some fresh berries. Now, take a moment to admire your delicious handiwork before taking that first delightful bite and enjoying your homemade masterpiece!
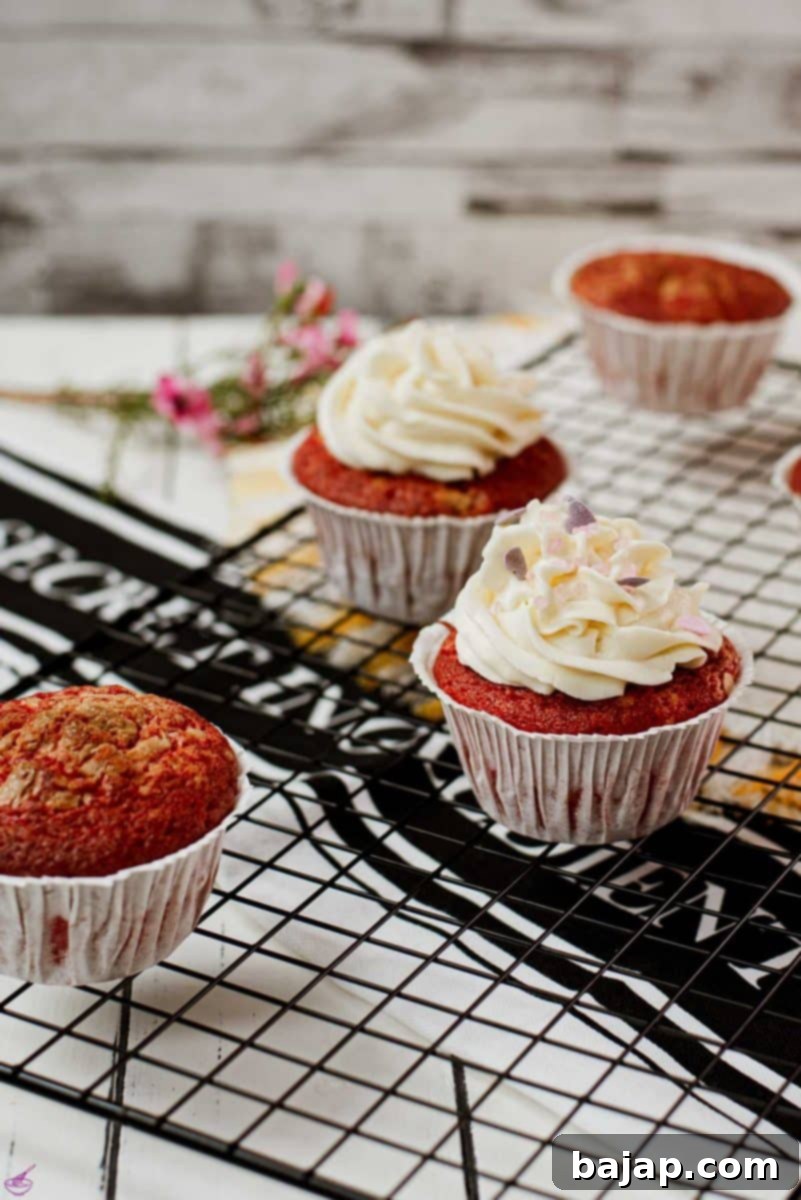
🥛 Smart Substitutions for Your Red Velvet Cupcakes
This recipe is quite adaptable! Here are some clever substitutions you can make to better suit your pantry, dietary preferences, or simply to experiment with different flavor profiles:
- For a More Decadent Cake: To elevate the richness of these Red Velvet cupcakes even further, consider swapping the canola or sunflower oil for an equal amount of melted unsalted butter. This substitution introduces a beautiful, rich buttery flavor that beautifully complements the subtle cocoa notes. Alternatively, for an even creamier and slightly denser batter, replace the regular milk with heavy cream or half-and-half. Both of these dairy swaps will add a lovely depth of flavor and a truly luxurious crumb texture.
- Flour Alternatives: While all-purpose flour yields fantastic results, for an ultra-light and exceptionally tender cupcake, you might prefer to use cake flour. If you don’t have cake flour on hand, you can easily create a substitute: for every cup of all-purpose flour, remove two tablespoons and replace them with two tablespoons of cornstarch. This trick helps to lighten the flour’s protein content.
- Dairy-Free Options: As noted in the ingredients, any plant-based milk (such as almond, oat, or soy milk) can be successfully used in the cake batter. For a completely dairy-free frosting, a wide array of high-quality dairy-free cream cheese and butter alternatives are now readily available in most grocery stores, allowing you to create a delicious, plant-based version.
- Sweetener Alternatives: While granulated sugar is standard and recommended for the cake’s structure, you can experiment with other granulated sweeteners if you wish. For the frosting, however, it is essential to use powdered sugar (confectioners’ sugar) to achieve the correct smooth, pipeable consistency.
🍫 Delightful Variations for Your Red Velvet Treats
Unleash your inner pastry chef and customize your Red Velvet Cupcakes with these exciting variations, perfect for tailoring them to any event or personal craving:
- Chocolate Paradise: If you’re a true chocoholic, you can easily transform these already delicious treats into a cocoa lover’s dream! Instead of just white chocolate in the batter, consider incorporating dark, milk, or even a decadent mixture of different chocolate chips. For an even deeper, more complex chocolate flavor, add a tablespoon of unsweetened natural cocoa powder along with the flour. This will enhance the “velvet” in Red Velvet, giving it a richer, more profound chocolate background.
- Craveable Colors for Every Season: While the iconic red is traditional, you can easily make these cupcakes vibrantly themed for any occasion! Add a few drops of food coloring to the cream cheese frosting for a playful twist. Imagine striking blue frosting for a 4th of July celebration (paired with the red cake for a patriotic punch!), or festive green frosting for delightful Christmas treats alongside your red cupcakes. For a truly patriotic touch, try blue frosting with your red cupcakes and white sprinkles for the Fourth of July!
- Zesty Citrus Burst: For a bright, refreshing twist that cuts through the richness, incorporate a teaspoon of finely grated orange or lemon zest into both the cupcake batter and the cream cheese frosting. The vibrant citrus notes will beautifully complement the subtle cocoa and the tangy sweetness of the cream cheese, adding a delightful aromatic lift.
- Espresso Enhancer: A secret weapon for many bakers, a pinch of instant espresso powder or a teaspoon of strong brewed coffee can significantly deepen and enrich the chocolate flavor in your Red Velvet cupcakes without making them taste overtly like coffee. It subtly intensifies the cocoa, making the chocolate notes more pronounced and complex.
- Nutty Crunch: For added texture and flavor, fold a quarter cup of finely chopped pecans or walnuts into the cupcake batter just before filling the liners. You can also sprinkle some on top of the frosting for a decorative and crunchy finish.
🍽 Essential Equipment for Perfect Cupcakes
Having the right tools at hand can make your baking experience not only smoother but also more enjoyable. Here’s a list of the essential equipment you’ll need for these delectable Red Velvet Cupcakes:
- Paper Cupcake Cups: These disposable liners are indispensable for preventing your cupcakes from sticking to the pan and make for effortless serving. Have fun choosing a color or festive print that perfectly suits your occasion or simply reflects your personal style!
- Cupcake Pan (Muffin Tin): A standard 12-cup muffin tin is absolutely essential for baking perfectly shaped, uniformly sized cupcakes.
- Electric Mixer: Whether it’s a hand mixer or a robust stand mixer, this tool is indispensable for whipping eggs and sugar to fluffy perfection and for creating a smooth, creamy frosting without tiring your arm.
- Large Mixing Bowl: A spacious mixing bowl provides ample room for comfortably combining your ingredients without spills, ensuring a clean and efficient baking process.
- Double Boiler: This traditional method is ideal for gently melting white chocolate without any risk of scorching or seizing. If you don’t have a double boiler, a microwave can be used, but proceed with extreme caution: heat the chocolate in short bursts (15-20 seconds), stirring thoroughly after each interval, to prevent overheating. For more helpful tips on working with chocolate, check out our guide on what to do with leftover melted chocolate.
- Piping Bag With A Star Tip: For those beautifully decorated, professional-looking cupcakes, a piping bag fitted with a star tip (or any decorative tip you prefer) allows you to create elegant swirls and patterns with your cream cheese frosting.
- Wire Rack: An essential piece of equipment for cooling your baked cupcakes completely and evenly. Proper cooling on a wire rack prevents the bottom of the cupcakes from becoming soggy due to trapped heat and moisture.
💭 Top Tips for Red Velvet Success
Achieving bakery-perfect Red Velvet cupcakes is easier than you think with these expert tips:
- Always Use Room Temperature Ingredients: This is a golden rule in baking! Ensure your eggs, butter, and cream cheese are all at room temperature before you start. This allows them to emulsify much better, creating a smoother, more uniform batter and a perfectly creamy frosting.
- Do Not Overmix the Batter: When you add the dry ingredients to the wet, mix only until they are just combined. Overmixing develops the gluten in the flour, which can lead to dense, tough, and less tender cupcakes. A few small lumps in the batter are perfectly fine and often preferred!
- Scrape Down Your Bowl Thoroughly: Even when using a powerful electric mixer, make it a habit to stop periodically and scrape down the sides and bottom of your mixing bowl with a spatula. This simple step ensures that all ingredients are fully incorporated, leading to a consistent and evenly baked product.
- Cool Cupcakes Completely Before Frosting: Patience is truly a virtue here! Attempting to frost warm cupcakes is a recipe for a melted, runny, and utterly messy disaster. Allow your cupcakes to cool entirely on a wire rack before you even consider adding that delicious cream cheese frosting.
- Invest in Quality Food Coloring: For that truly vibrant, deep red hue synonymous with Red Velvet, it’s worth investing in a good quality gel or liquid food coloring. Cheaper liquid colorings might require you to use an excessive amount to achieve the desired intensity, potentially altering the batter’s consistency.
- Always Preheat Your Oven Fully: Ensure your oven is fully preheated to the specified temperature before you place your cupcakes inside. A consistent and stable temperature from the very beginning ensures even baking, proper rising, and prevents uneven cooking.
- Measure Ingredients Accurately: Baking is a science! Use proper measuring cups and spoons, and for best results, measure flour by weight using a kitchen scale. This prevents accidental over-measurement, which can lead to dry cupcakes.
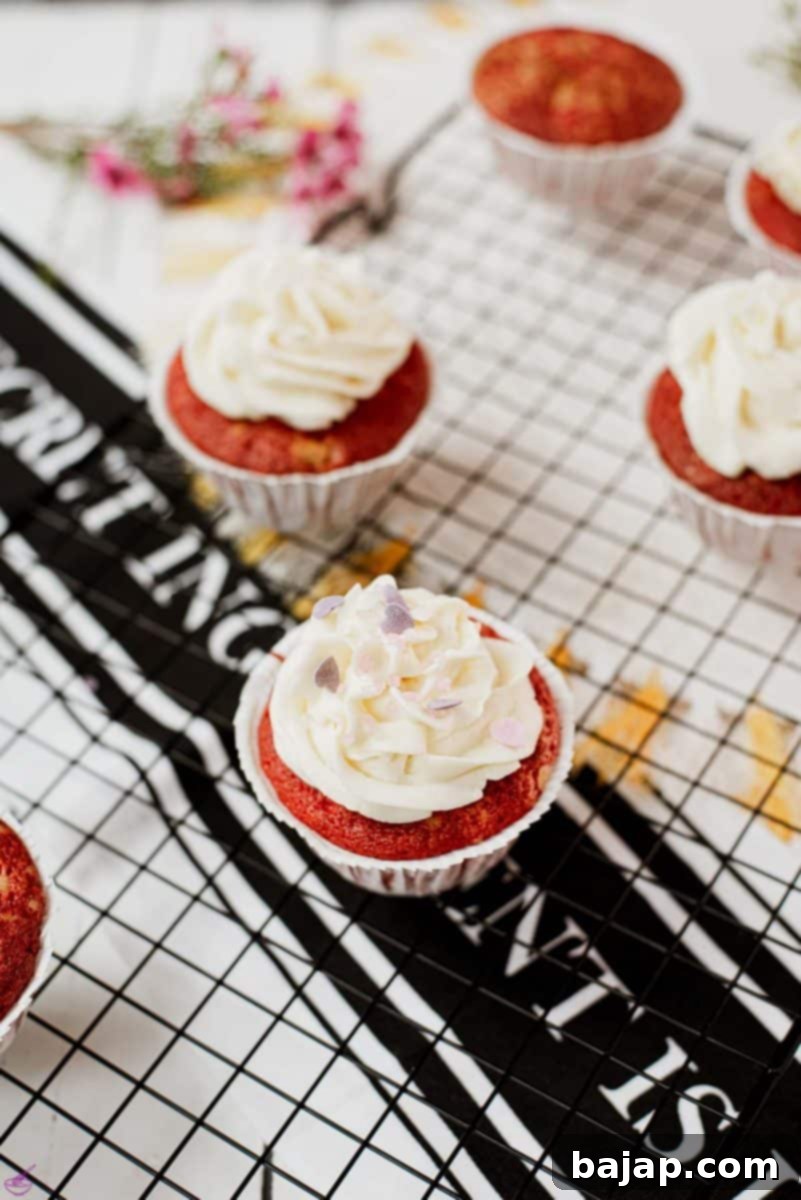
🙋🏻 Frequently Asked Questions About Red Velvet Cupcakes
These sweet and tangy Red Velvet cupcakes are perfectly light, spongy, and wonderfully balanced by the cream cheese frosting, making them an ideal sweet snack or a playful dessert for any time of day. For a delightful classic pairing, try them with a nice, warm hot coffee or a comforting cup of rich hot chocolate. If you’re celebrating a special moment, planning a romantic evening, or simply want to elevate the experience, a chilled glass of sparkling wine creates the ultimate luxurious and romantic dessert pairing, turning a simple treat into an unforgettable occasion!
To ensure your Red Velvet cupcakes retain their optimal freshness and maintain that perfect creamy frosting, any leftovers should be stored in a covered cupcake container or an airtight food storage container. For the freshest flavor and most tender texture, it’s best to keep them in a cool, dry spot on your kitchen counter for up to 2 days. If your kitchen tends to be particularly warm or humid, or if you plan on storing them for a longer duration, refrigerating them is the better option. Just remember to bring them back to room temperature for about 15-20 minutes before serving to enjoy their full flavor and soft texture.
Yes, absolutely! These tiny, tasty cakes freeze exceptionally well, allowing you to enjoy them long after baking. To freeze, first bake and completely cool the cupcakes. It’s crucial not to frost them before freezing. Once the cupcakes are fully cooled to room temperature, wrap each individual cake tightly in plastic wrap, then place them into a freezer-safe bag or an airtight container. Seal, clearly label with the date, and freeze for up to three months. When you’re ready to indulge, simply thaw the frozen cupcakes overnight in the refrigerator, and then frost them as directed in the recipe for a fresh-tasting treat!
Historically, the distinctive red color in traditional Red Velvet cake was a result of a chemical reaction between natural, non-Dutched cocoa powder, acidic ingredients like vinegar or buttermilk, and baking soda. This interaction would create a subtle reddish-brown hue. However, modern cocoa powders are often processed differently, and to achieve the vibrant, deep red that is now iconic to Red Velvet, a significant amount of high-quality red food coloring is typically used in contemporary recipes.
While this particular recipe emphasizes the distinct flavor contributed by white chocolate and achieves its vibrant color primarily through food coloring, you can certainly add unsweetened cocoa powder if you desire a more pronounced chocolate flavor. We recommend adding 1-2 tablespoons of natural, unsweetened cocoa powder along with the flour in Step Two. Be mindful that incorporating cocoa powder may slightly deepen the red hue, giving your cupcakes a richer, darker red velvet appearance. Start with a small amount and adjust to your preference.
Other Delicious Recipes for You to Try
- Banana Oatmeal Muffins {3 ingredients} {no sugar}
- Lavender Lemon Muffins
- Baileys Salted Caramel Cupcakes
- Strawberry Cupcakes with Ricotta
- Chocolate Chip Ricotta Loaf Cake
- Flourless Chocolate Cake
- Sacher Cake
- Double Chocolate Bundt Cake
- Coconut Pound Cake
- Spelt Cake
- Old-fashioned Whipping Cream Bundt Cake
- 3 Ingredient Yogurt Cake
- 6 Egg White Chocolate Cake
If you make this recipe, we would absolutely love to hear from you! Please let us know how you liked it by giving it a ★★★★★ star rating and leaving a comment below. Your feedback is incredibly valuable and truly awesome! You can also sign up for our Newsletter to receive weekly delicious homemade recipes directly in your inbox, or follow me on Pinterest or Instagram and share your beautiful creations with me. Just tag me @combinegoodflavors and use the hashtag #combinegoodflavors, so I won’t miss seeing your culinary masterpieces!
📖 Recipe
Decadent Red Velvet Cupcakes with Cream Cheese Frosting
Nora
Save RecipeSaved!
Pin Recipe
Equipment
-
Paper cupcake cups
-
Cupcake/muffin rack
-
Hand or stand mixer
-
Mixing bowl
-
Double boiler
