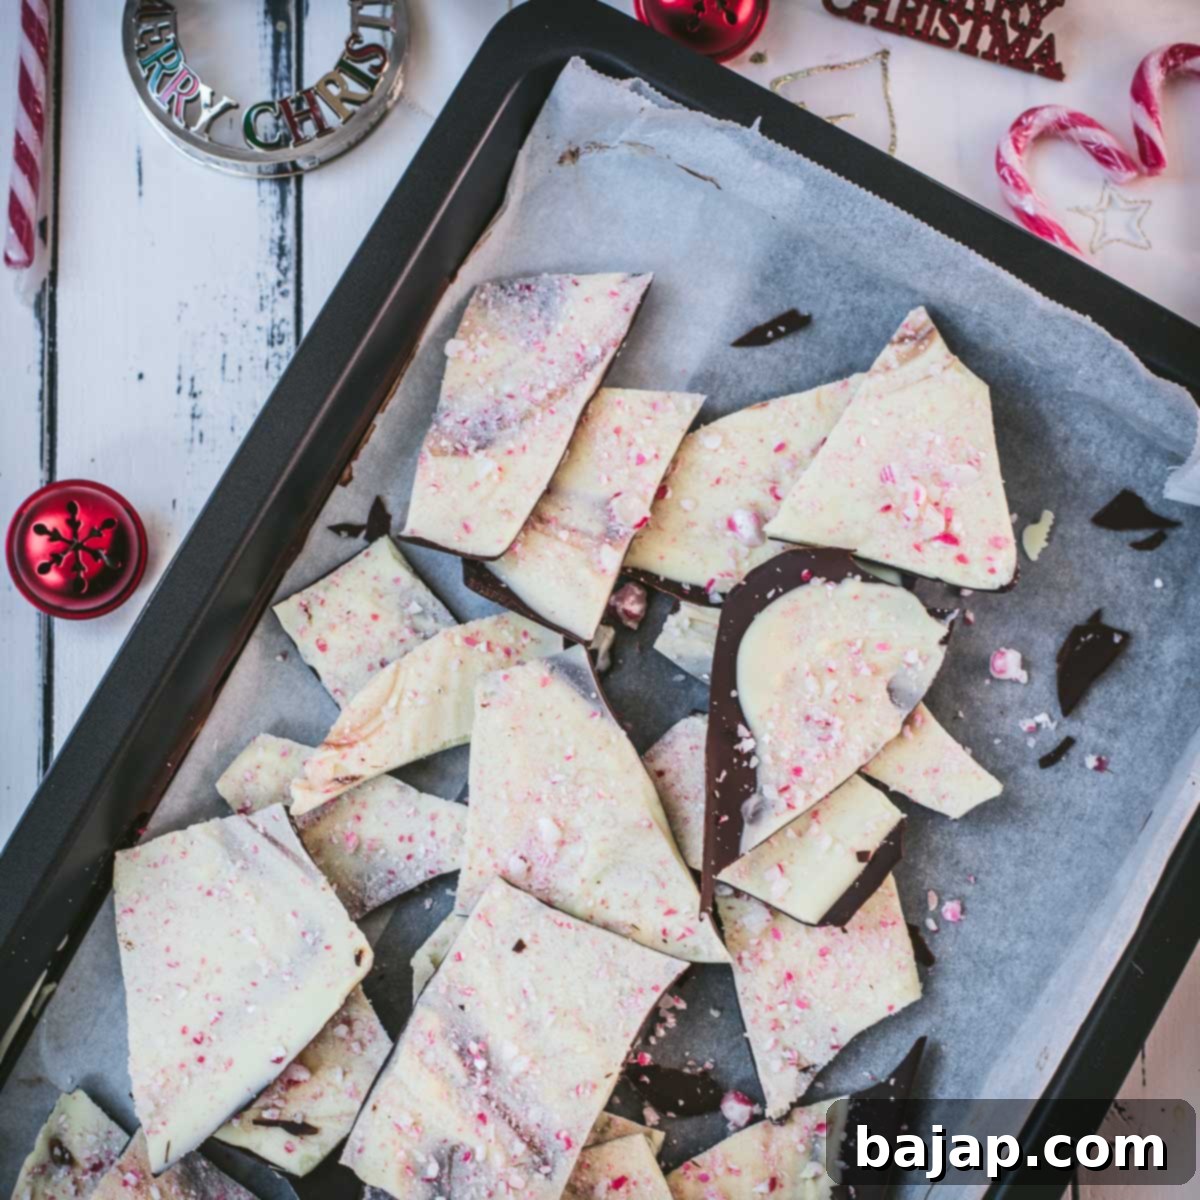
The Ultimate Easy Peppermint Bark Recipe: Your Festive Dark and White Chocolate Holiday Guide
As winter’s crisp air arrives and the skies turn a familiar shade of gray, there’s nothing quite like a little holiday magic to brighten your spirits. And what embodies festive cheer better than a delightful, homemade treat? This effortless Peppermint Bark, crafted with a perfect harmony of rich dark and creamy white chocolate, is my absolute favorite joyous holiday treat. It’s guaranteed to be a pick-me-up on even the chilliest days!
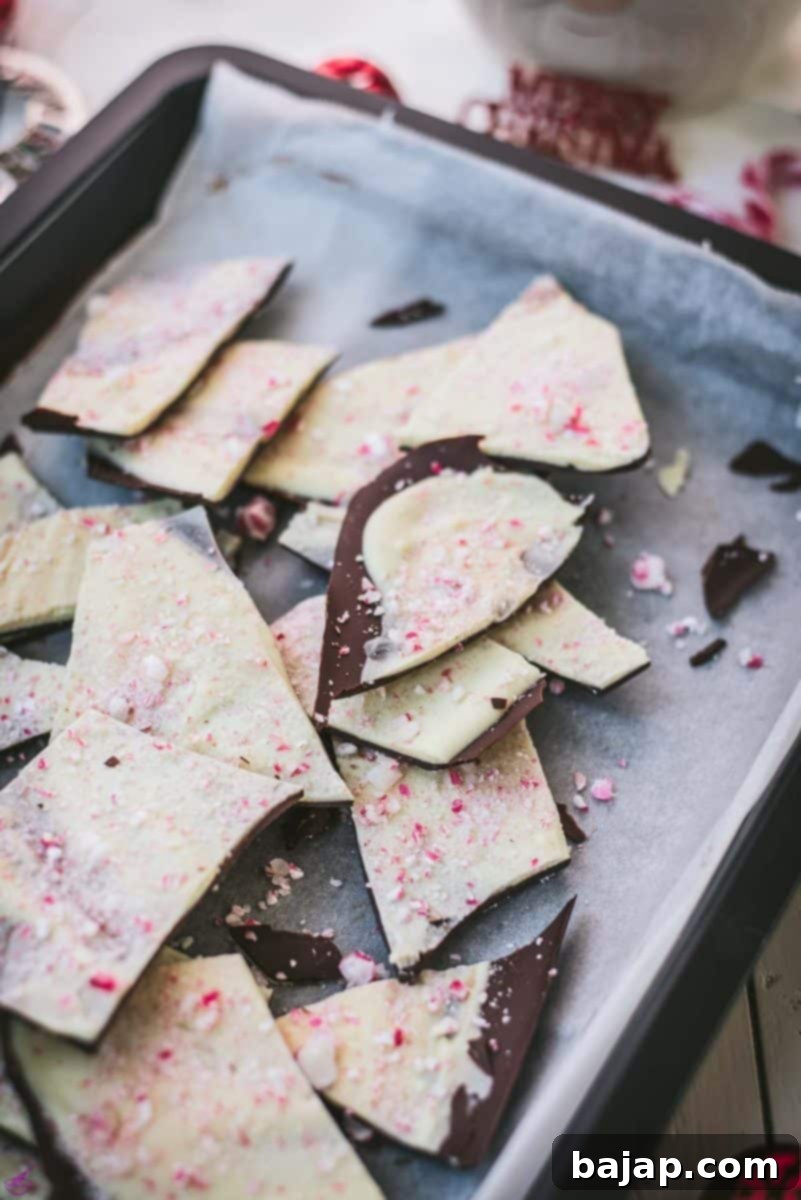
Imagine this: a crackling fireplace, a warm mug of cocoa in your hands, and the enticing aroma of a holiday feast filling the air. These quintessential moments signal one thing – it’s Christmas! And to truly complete this festive picture, nothing shines quite as brightly as homemade peppermint bark. This incredible Christmas confection is bursting with sweet, chocolatey, and refreshingly minty flavor, making it an irresistible addition to any holiday celebration.
This fantastic recipe simplifies the art of crafting perfect Christmas bark, even down to mastering chocolate tempering tricks for that beautiful shine and satisfying snap. Forget store-bought versions; with just a few simple ingredients and clear steps, you’ll create a professional-looking and tasting treat that will impress everyone. So, dust off your holiday apron, gather your ingredients, and let’s dive into making this absolutely delicious easy peppermint bark!
🥘 Essential Ingredients for Perfect Peppermint Bark
Crafting the best homemade peppermint bark requires a careful selection of quality ingredients. Each component plays a vital role in achieving that perfect balance of rich chocolate, cool mint, and delightful crunch. Here’s a closer look at what you’ll need and why it matters:
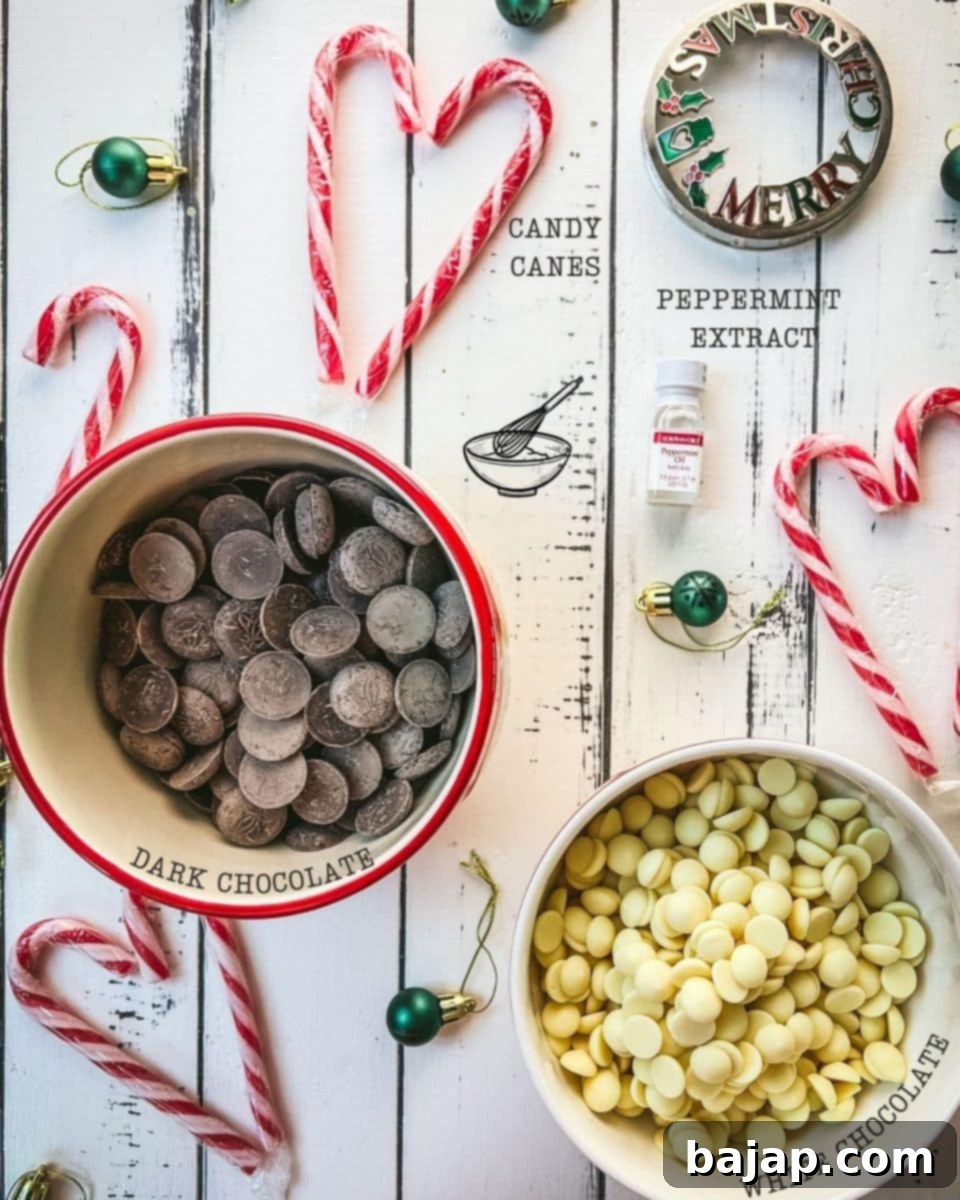
- Dark Chocolate Couverture: This isn’t just any dark chocolate; couverture chocolate is specifically formulated with a higher percentage of cocoa butter, making it ideal for melting, tempering, and achieving a smooth, glossy finish. The robust, slightly bitter flavor of dark chocolate provides a beautiful contrast to the sweetness of the white chocolate and the intensity of the peppermint. Opt for a good quality couverture (around 60-70% cacao) for the best results. It ensures your bark has that desirable “snap” when broken. Sometimes it’s simply labeled as ‘melting chocolate.’
- White Chocolate Couverture: Unlike dark or milk chocolate, white chocolate contains only cocoa butter, sugar, and milk solids, without any cocoa solids. This gives it a distinctly sweet, creamy, and sometimes syrupy flavor profile. When layered with dark chocolate and peppermint, it creates a wonderfully balanced taste and a striking visual appeal. As with dark chocolate, using couverture ensures smooth melting and a beautiful texture in your finished bark.
- Peppermint Extract: This powerful flavoring is what gives peppermint bark its signature cool, refreshing taste. A little goes a long way! Using high-quality peppermint extract ensures a pure, vibrant mint flavor that perfectly complements the chocolate without being overwhelming.
- Candy Canes: These classic holiday candies are not just for decorating; when crushed, they add a delightful crunch and an extra burst of peppermint flavor to the bark. Be sure to use fresh, crispy candy canes for the best texture and taste. They also provide that iconic festive red and white speckle that makes peppermint bark so recognizable.
For exact quantities and detailed measurements, please refer to the comprehensive recipe card provided below.
Optional Add-Ins for Extra Flair
While this classic peppermint bark recipe is perfect as is, feel free to experiment with additional toppings or mix-ins to customize your holiday treat:
- Holiday Sprinkles: A dash of red and green sprinkles can add even more festive charm.
- Crushed Pretzels: For a salty-sweet crunch, sprinkle some finely crushed pretzels on top of the white chocolate layer.
- Mini Marshmallows: A handful of mini marshmallows can add a chewy texture, especially if you’re a fan of hot cocoa flavors.
🔪 Step-by-Step Instructions: Crafting Your Peppermint Bark
Making homemade peppermint bark is a surprisingly simple process, but following these steps carefully will ensure a perfect, professional-looking result every time. Let’s get started on creating this festive holiday treat!
Step 1: Prepare Your Workstation & Candy Canes
- Line the baking pan: Take a standard baking sheet (approximately 9×11 inches) and line it completely with parchment paper or a silicone baking mat. This crucial step prevents the chocolate from sticking and makes for easy removal and clean-up later. Ensure the paper extends slightly beyond the edges for easy handling.
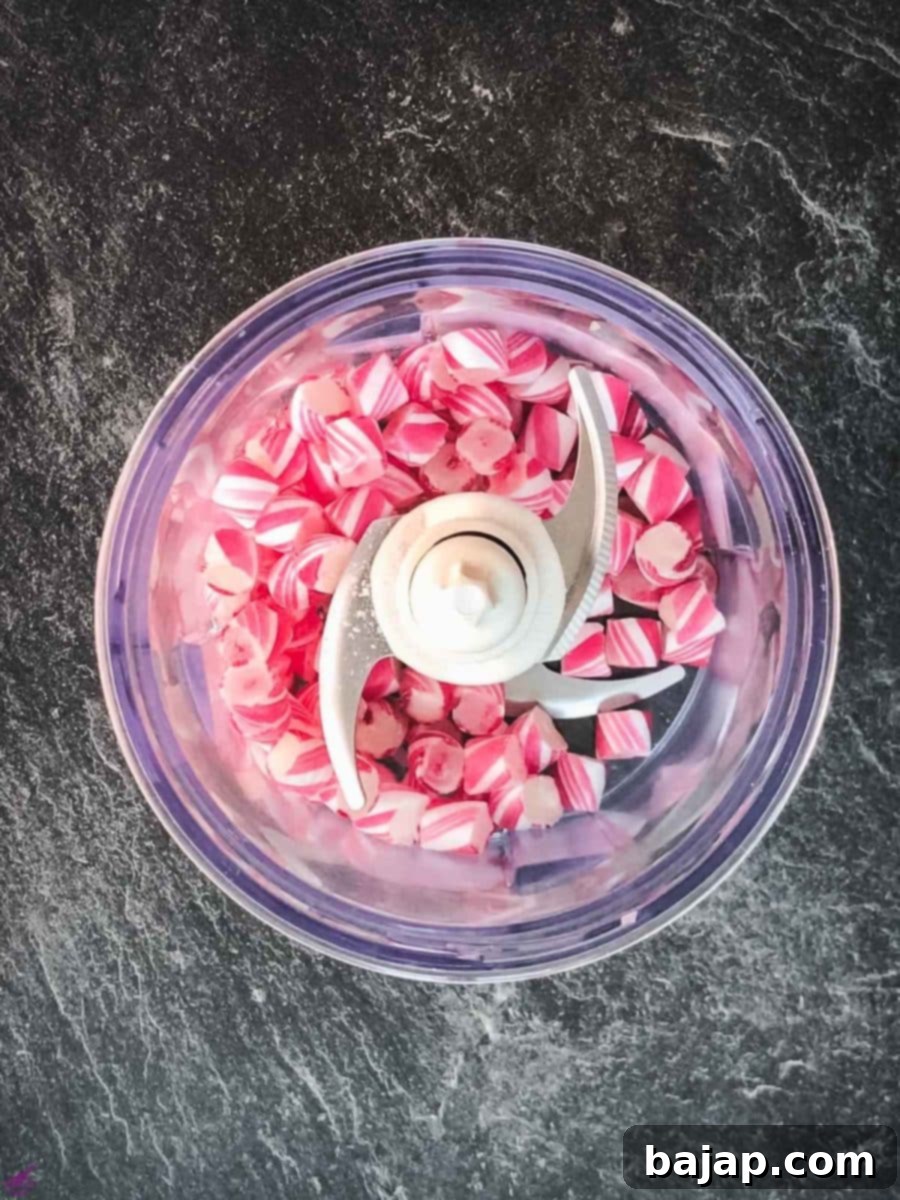
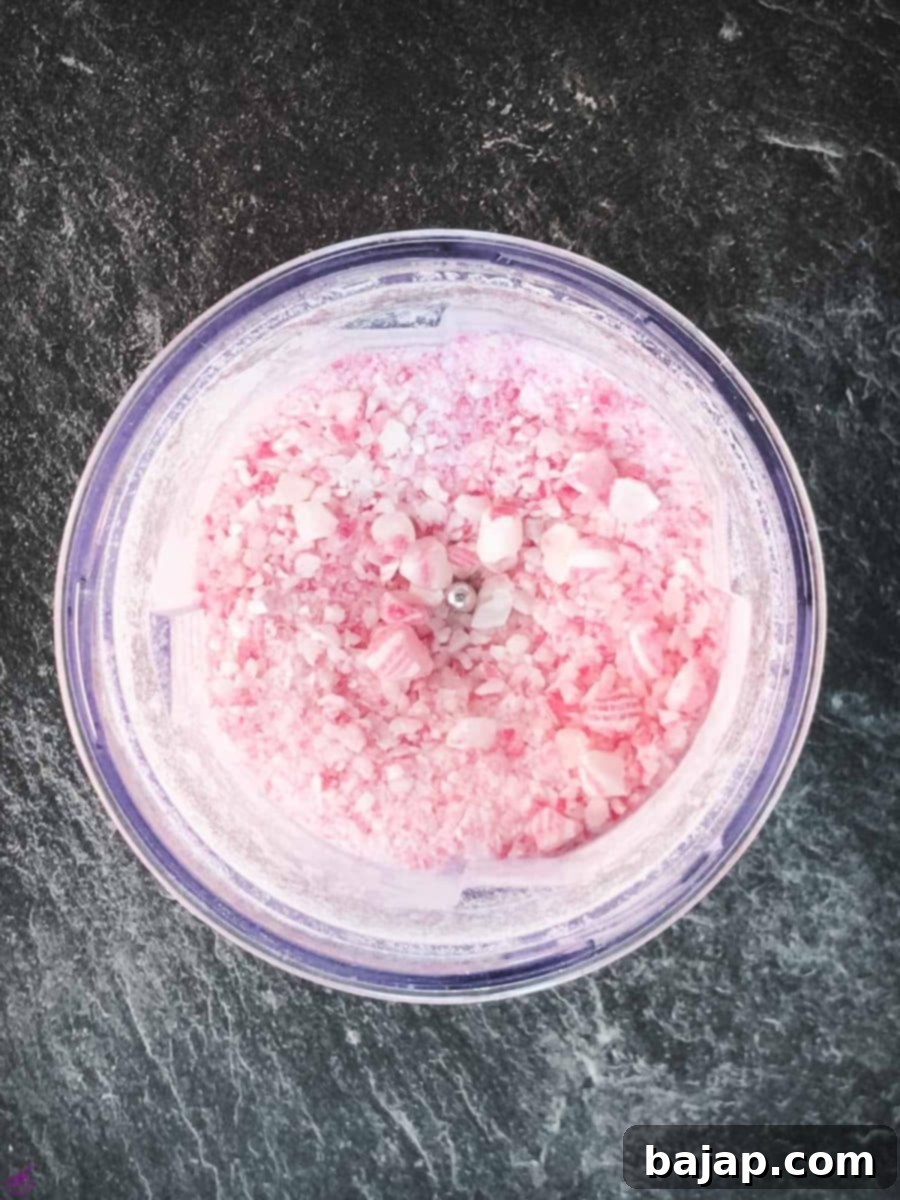
- Crush the candy canes: Place your peppermint candy canes in an electric chopper or food processor. Pulse until they are coarsely crushed into small, irregular pieces. If you don’t have an electric chopper, you can place them in a sturdy freezer bag and crush them with a rolling pin or the bottom of a heavy pan. Be careful not to turn them into fine powder; you want distinct crunchy pieces. Set these crushed candy canes aside, ready for sprinkling.
Step 2: Create the Dark Chocolate Peppermint Layer
- Melt the dark chocolate: Using a double boiler, a tempering device, or carefully in the microwave (see tempering tips below), gently melt the dark chocolate couverture until it’s smooth and fluid.
- Infuse with peppermint: Once melted, add the peppermint extract to the dark chocolate. Stir thoroughly to ensure the minty flavor is evenly distributed. Remember, peppermint extract is potent, so start with the recommended amount and adjust to your taste preference.
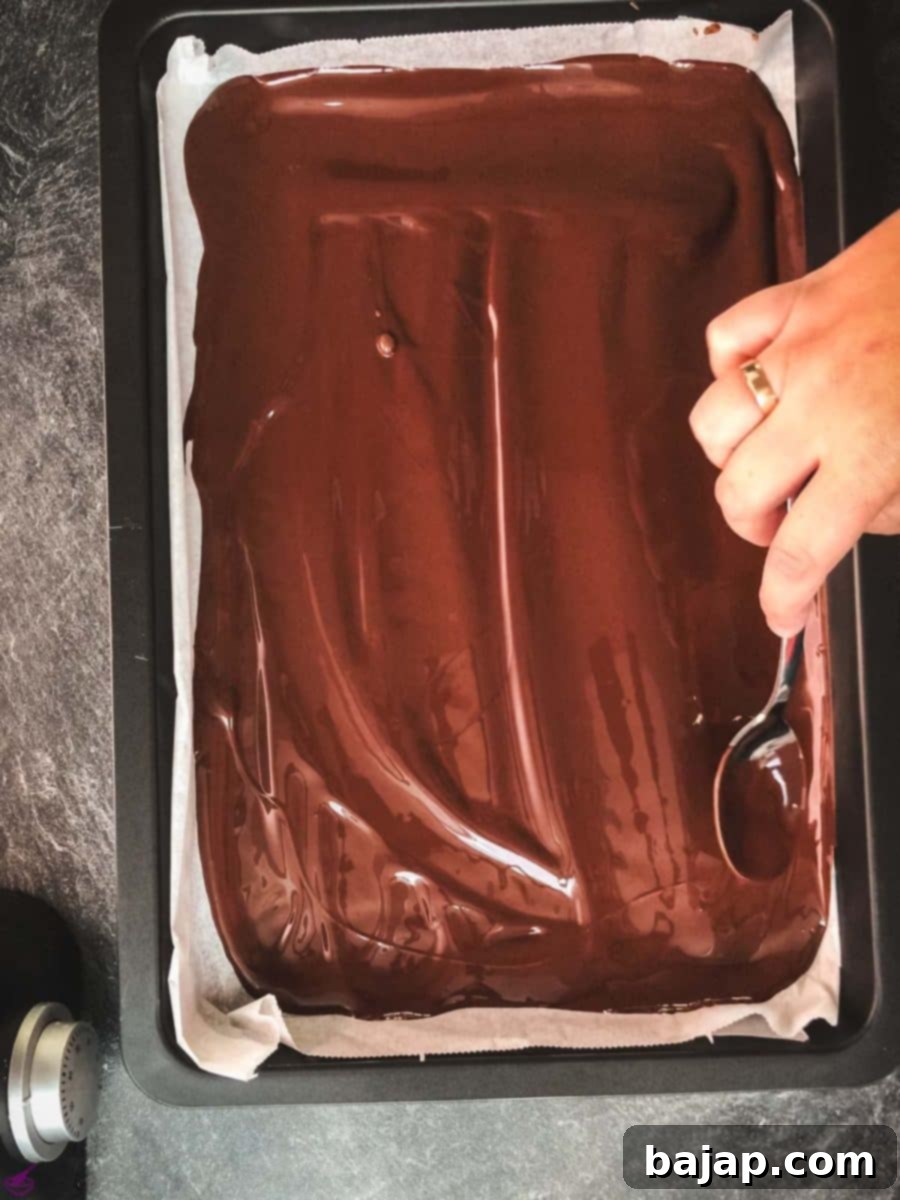
- Form the dark chocolate layer: Pour the melted, peppermint-infused dark chocolate onto the prepared baking pan. Use an offset spatula or the back of a spoon to smoothly and evenly spread the chocolate across the entire surface of the pan. Aim for a thin, consistent layer.
- Chill to set: Place the baking pan in the refrigerator for about 30 minutes, or until the dark chocolate layer is completely firm and set. This is crucial before adding the next layer to prevent the chocolates from mixing.
Step 3: Add the White Chocolate Layer & Candy Canes
- Melt the white chocolate: While the dark chocolate chills, melt the white chocolate couverture using the same method as before (double boiler, tempering device, or microwave). Ensure it’s smooth and free of lumps. Unlike the dark chocolate, we won’t add peppermint extract to this layer, allowing the dark chocolate to carry the primary mint flavor.
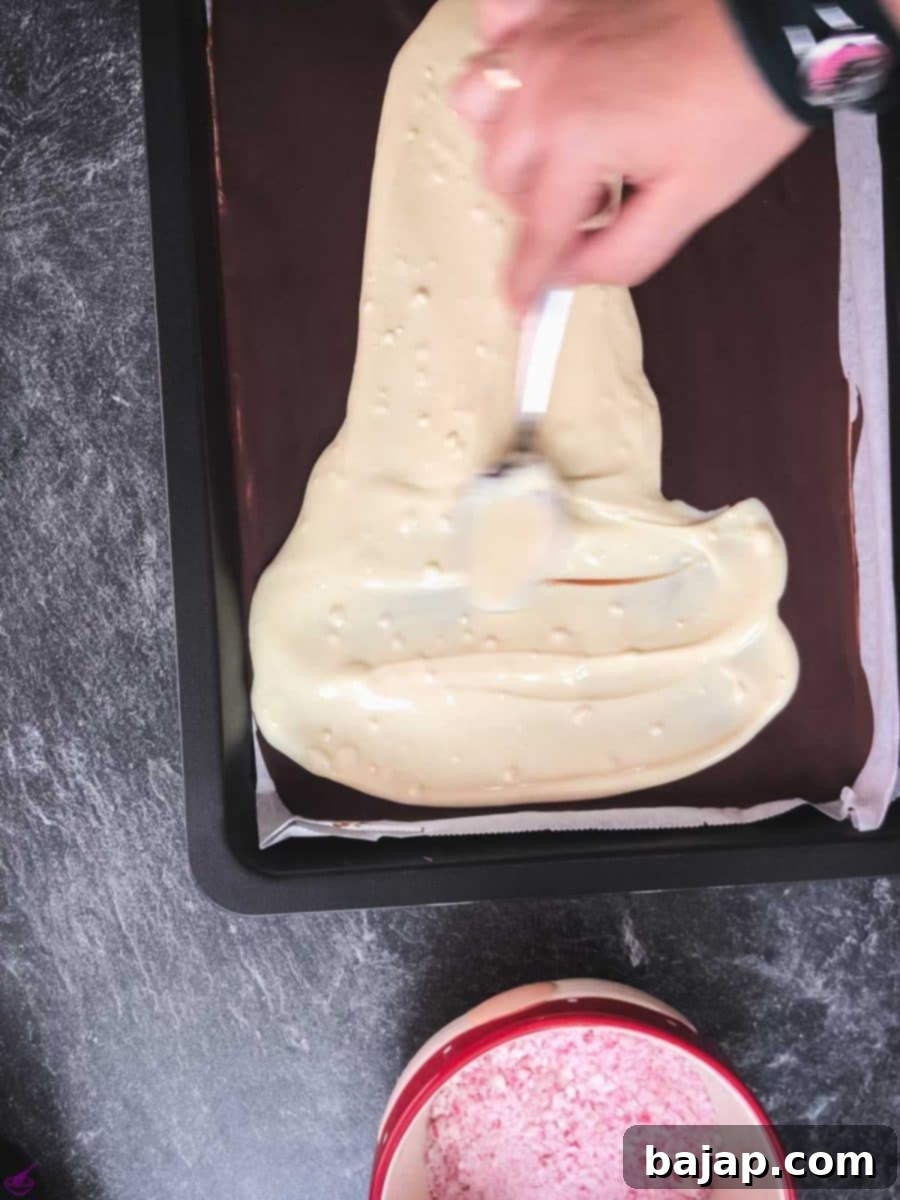
- Pour the white chocolate layer: Once the dark chocolate is fully set, carefully pour the melted white chocolate over it. Again, use your spatula to gently spread it into an even layer, completely covering the dark chocolate.
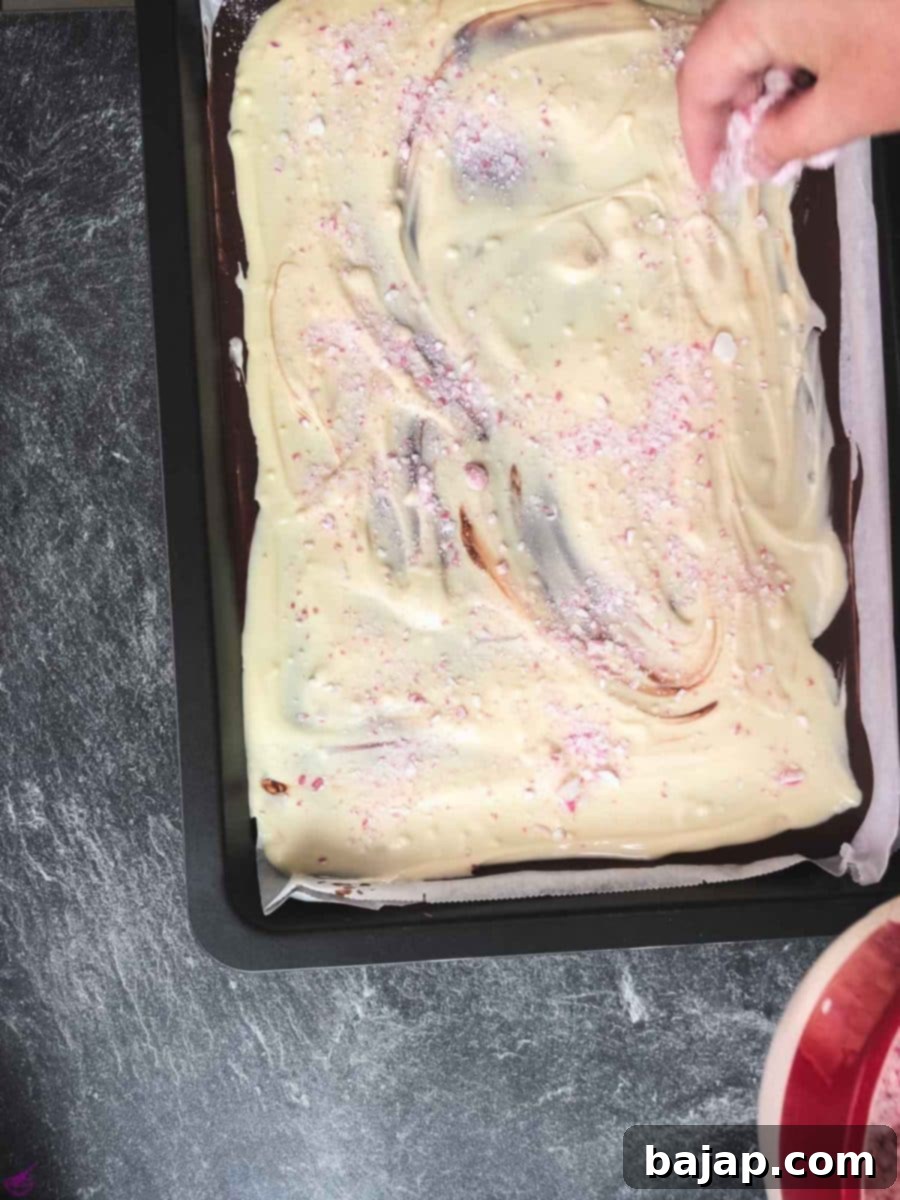
- Immediately sprinkle with candy canes: This step is time-sensitive! As soon as the white chocolate is spread, generously sprinkle the crushed candy cane pieces over the entire surface. Press them lightly into the chocolate to ensure they adhere as it cools. The warmth of the chocolate will help them stick.
- Chill to set: Return the baking pan to the refrigerator for another 30 minutes, or until both chocolate layers are completely firm and the candy canes are securely set.
Step 4: Break & Enjoy Your Homemade Peppermint Bark
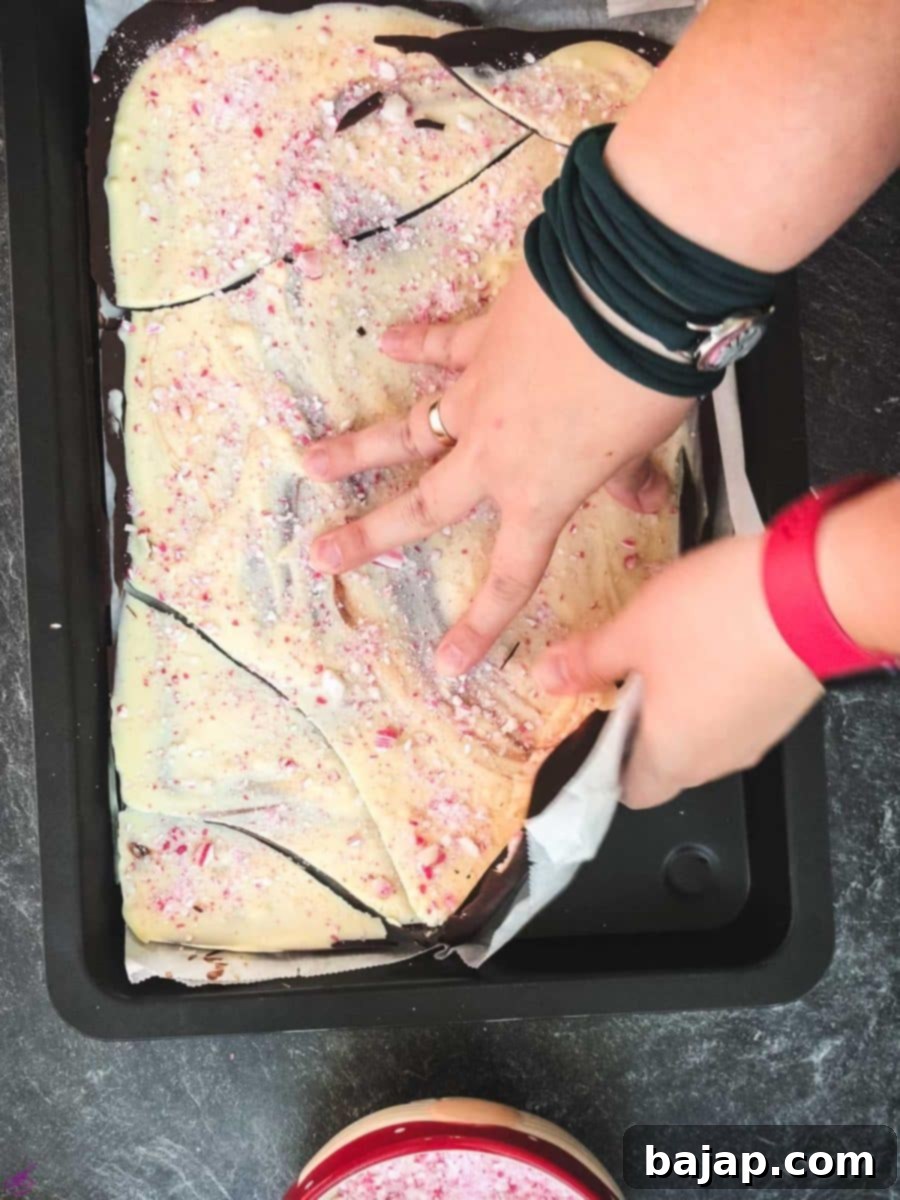
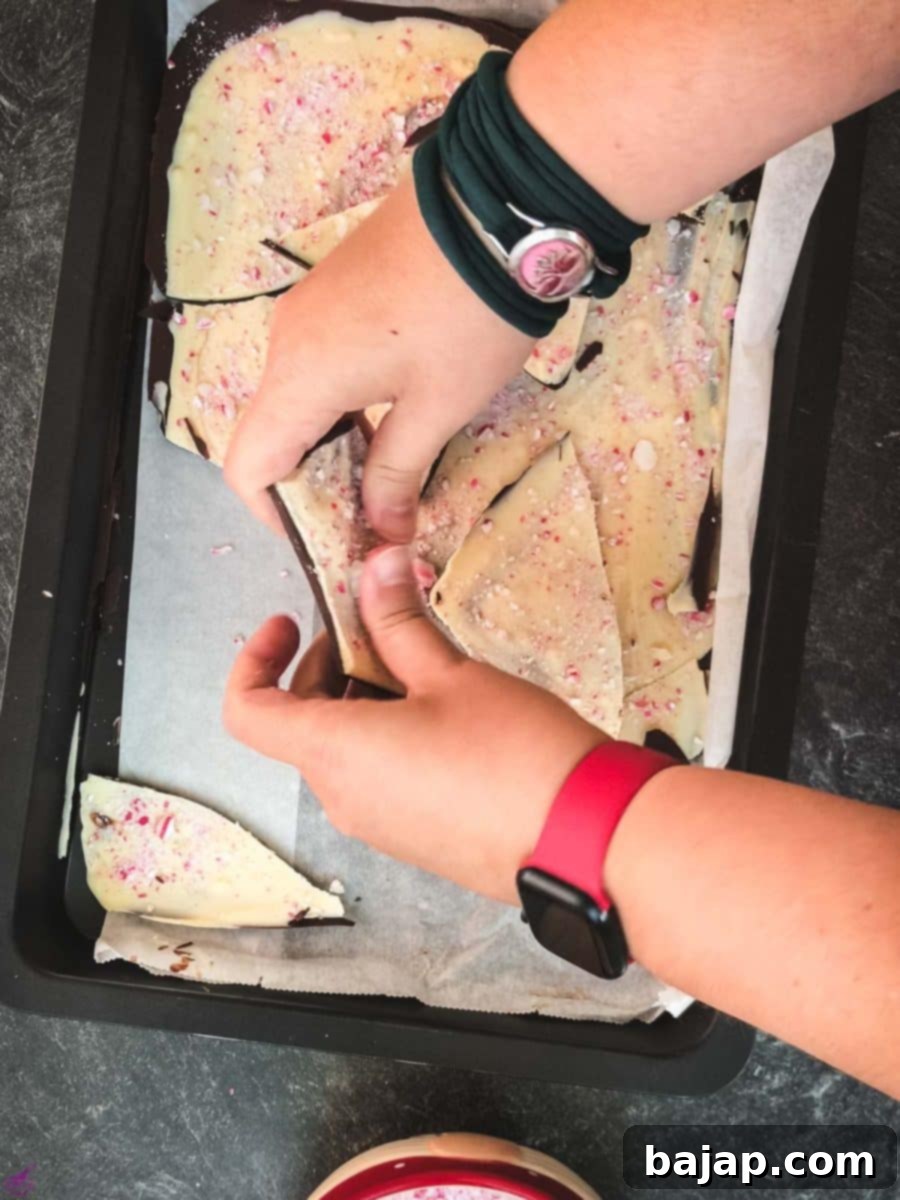
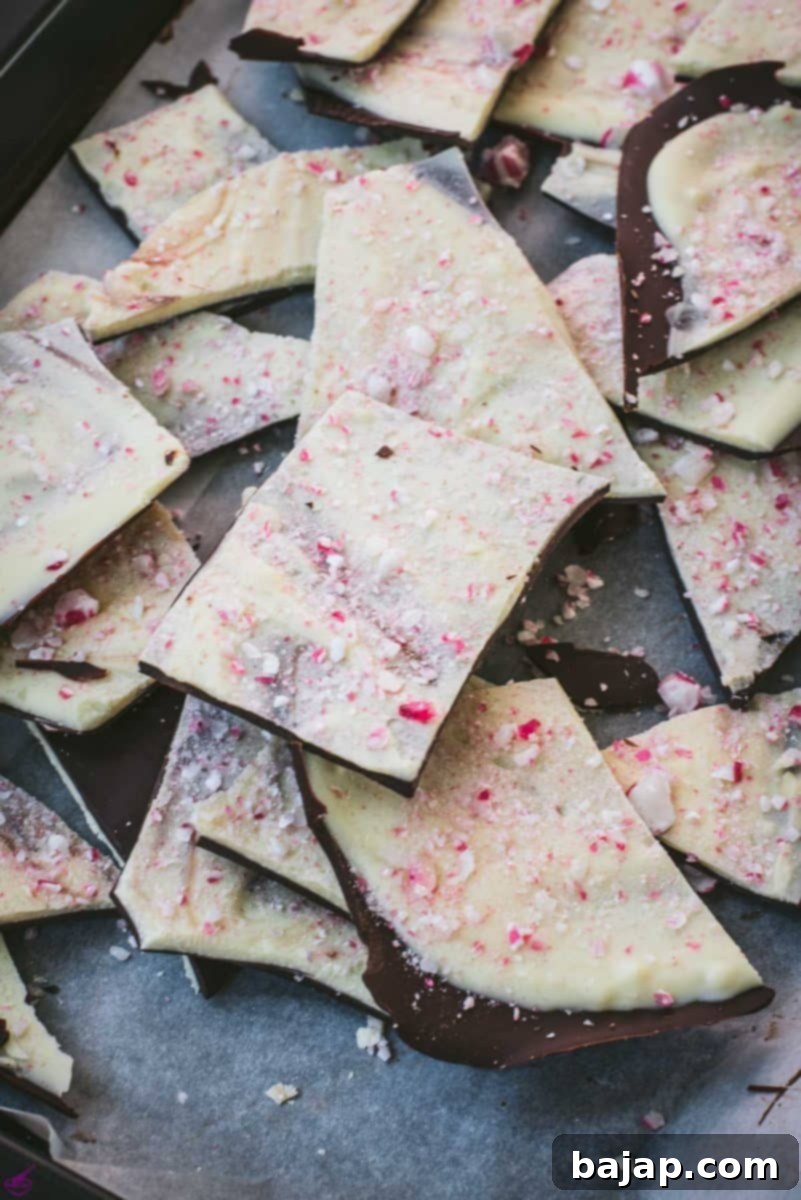
- Break the bark: Once both chocolate layers are fully set and firm, carefully remove the entire sheet of bark from the pan using the parchment paper. Place it on a clean, sturdy surface. Using your hands, gently break the large sheet of bark into smaller, irregular pieces. Don’t worry about perfect shapes; the rustic look is part of its charm!
- Store and enjoy: Your delicious homemade peppermint bark is now ready to be enjoyed! Store any leftovers in an airtight container in a cool, dry place to maintain its freshness and crisp texture.
🍵 Creative Substitutions & Flavor Adjustments
This easy peppermint bark recipe is quite versatile! While we love the classic combination, feel free to make a few tweaks to suit your preferences or what you have on hand.
- Peppermint Extract Intensity: If you adore a stronger mint flavor, feel free to increase the amount of peppermint extract you add to the dark chocolate layer by a drip or two. Conversely, for a milder hint of mint, reduce it slightly. You could also try adding a tiny drop (and I mean tiny!) to the white chocolate layer for an all-over mint experience, but be careful not to overpower it.
- Chocolate Types: While dark and white couverture are recommended for best results, you can experiment with good quality baking chocolate bars or chips. Just be aware that these might not temper as easily or give the same glossy finish and crisp snap as couverture. You could also try a layer of milk chocolate for a sweeter profile.
- Topping Alternatives: Don’t have candy canes? Or want a different look? Try crushed starlight mints, festive sprinkles, or even finely chopped pretzels for a salty contrast.
🍫 Delightful Peppermint Bark Variations
Beyond simple substitutions, you can get creative with your peppermint bark to achieve different looks and flavors:
- Reverse Layering: For a visually striking bark, simply reverse the layering order! Pour the white chocolate first, let it set, then add the peppermint-infused dark chocolate on top. This creates a beautiful contrast, especially if you’re aiming for a “snowy” aesthetic with the candy canes on top of the dark chocolate.
- Marbled Peppermint Bark: To create an elegant swirled pattern, first pour your dark chocolate layer and let it slightly firm up (but not fully set, maybe 10-15 minutes in the fridge). Then, gently pour the melted white chocolate on top in dollops or lines. Using a skewer or a thin knife, gently swirl the two chocolates together to create a marble effect. Be careful not to over-mix, or the colors will blend too much. Immediately sprinkle with your crushed peppermints, and voilà! You’ll have a wonderfully artistic and festive holiday treat.
- Triple Chocolate Bark: Add a third layer of milk chocolate between the dark and white for an even richer experience. Ensure each layer is fully set before adding the next.
- Nutty Peppermint Bark: If dietary restrictions aren’t an issue, sprinkle some finely chopped pecans, almonds, or walnuts along with the candy canes for an extra layer of texture and flavor.
🍽 Essential Equipment for Peppermint Bark Success
Making delicious peppermint bark doesn’t require a lot of specialized tools, but having the right equipment can make the process much smoother and ensure a fantastic result. Here’s what you’ll need:
- Double Boiler or Tempering Device: This is your best friend for melting chocolate gently and evenly, preventing it from seizing or burning. If you don’t have a dedicated double boiler, you can easily create one by placing a heat-proof glass or metal bowl over a saucepan filled with a few inches of simmering water. Ensure the bottom of the bowl does not touch the water. A specialized tempering device offers precise temperature control, which is ideal for advanced chocolate work.
- Tablespoon: While not used for precise ingredient measurement in this recipe, a tablespoon is handy for stirring and spreading your melted chocolate smoothly over the baking pan.
- Electric Chopper or Food Processor: For efficiently crushing candy canes into the perfect size for sprinkling. A food processor makes quick work of this task, ensuring consistent pieces. Alternatively, a sturdy zip-top bag and a rolling pin will also do the trick, albeit with a bit more effort.
- Lined Baking Pan (approx. 9×11 inches): A standard baking sheet is essential. Lining it with parchment paper or a silicone baking mat is crucial. This prevents the melted chocolate from sticking, makes spreading easier, and allows for effortless removal of the set bark, ensuring a clean break every time.
- Rubber Spatula or Offset Spatula: Useful for scraping every last bit of chocolate from your melting bowl and for spreading the chocolate layers thinly and evenly on the baking pan. An offset spatula is particularly good for achieving a smooth finish.
🌡 Storage Tips for Fresh Peppermint Bark
To keep your homemade peppermint bark tasting fresh and maintaining its signature crisp texture, proper storage is key:
- Airtight Container: Always store peppermint bark in an airtight container to protect it from moisture and air, which can degrade its texture and flavor.
- Cool, Dry Place: Peppermint bark will keep well for up to three weeks when stored in a cool, dry place at room temperature (ideally between 60-70°F or 15-21°C). Avoid warm areas like near a stove or sunny window, as this can cause the chocolate to melt or bloom.
- Refrigeration (Optional): While not strictly necessary, storing the bark in the refrigerator can extend its shelf life slightly, up to about a month. If refrigerating, ensure it’s in a tightly sealed container to prevent it from absorbing odors from other foods. Before serving, allow it to come to room temperature for a few minutes to achieve the best texture and flavor.
- Freezing (Not Recommended): Freezing is generally not recommended for peppermint bark, as the extreme temperature changes can cause moisture condensation and affect the chocolate’s texture, potentially leading to sugar or fat bloom.
💭 Pro Tips for Perfect Peppermint Bark
- Controlled Peppermint Flavor: I intentionally add the peppermint extract only to the dark chocolate layer. This strategy ensures the minty flavor is noticeable and refreshing but remains light and not overpowering, allowing both the rich dark and sweet white chocolate flavors to shine through beautifully. If you add it to both, it can become too intense.
- Embrace the Rustic Charm: Do not stress over achieving perfectly uniform pieces when breaking the bark. Peppermint bark is wonderfully rustic and designed to have an organic, broken look and feel. Variations in the size and shape of the final pieces are not just fine, they’re part of its homemade charm! Embrace the imperfect beauty.
- Quality Chocolate Matters: Using high-quality couverture chocolate will make a significant difference in the taste, texture, and ease of working with your bark. It melts more smoothly and sets with a better snap and shine.
- Patience with Chilling: Ensure each chocolate layer is fully set before adding the next. Rushing this step can lead to messy, mixed layers instead of distinct, beautiful stripes.
🌡️ Tempering (Melting) Chocolate for a Professional Finish
Tempering chocolate is a crucial step if you want your peppermint bark to have a beautiful glossy finish, a satisfying snap when broken, and to prevent “bloom” (the dull, grayish streaks that can appear on untempered chocolate). Tempering involves carefully heating and cooling chocolate to stabilize its cocoa butter crystals. Here’s how to achieve it:
Water Bath (Double Boiler Method): This is a common and effective method for tempering chocolate at home. You’ll need two pots of different sizes.
- Fill the larger pot with about 3-4 finger-widths of water and bring it to a gentle simmer.
- Place the smaller, heat-proof pot (or bowl) containing your chocolate into the larger pot. Crucially, the bottom of the smaller pot should NOT touch the simmering water. The chocolate should melt from the rising steam, not direct heat.
- Melt approximately two-thirds of your chocolate over moderate heat, stirring continuously with a rubber spatula. Once melted and smooth, remove the bowl from the heat.
- Add the remaining one-third of the un-melted chocolate (finely chopped or in callets) to the melted chocolate. Stir constantly until all the new chocolate has melted and the mixture is smooth. This helps to “seed” the melted chocolate with stable crystals.
- Target Temperatures:
- Dark Chocolate: Melt to 113-122°F (45-50°C), then cool while stirring to 88-91°F (31-32°C).
- Milk Chocolate: Melt to 104-113°F (40-45°C), then cool while stirring to 86-88°F (30-31°C).
- White Chocolate: Melt to 104-113°F (40-45°C), then cool while stirring to 84-86°F (29-30°C).
Tempering Unit (Melting Device): If you have a specialized chocolate tempering machine, the process is even simpler as it precisely controls the temperature.
- Add the chocolate (couverture is best) to your tempering unit.
- Set the unit to the appropriate melting temperature. For white and milk chocolate, this is typically around 40 °C (104 °F). For dark chocolate, it’s usually 50 °C (122 °F). The machine will then guide it through the cooling and working temperatures.
Achieving perfect temper might take a little practice, but the effort is well worth it for beautiful, stable peppermint bark!
🍫 Download Your Free Chocolate Workbook
🙋🏻 Frequently Asked Questions (FAQ)
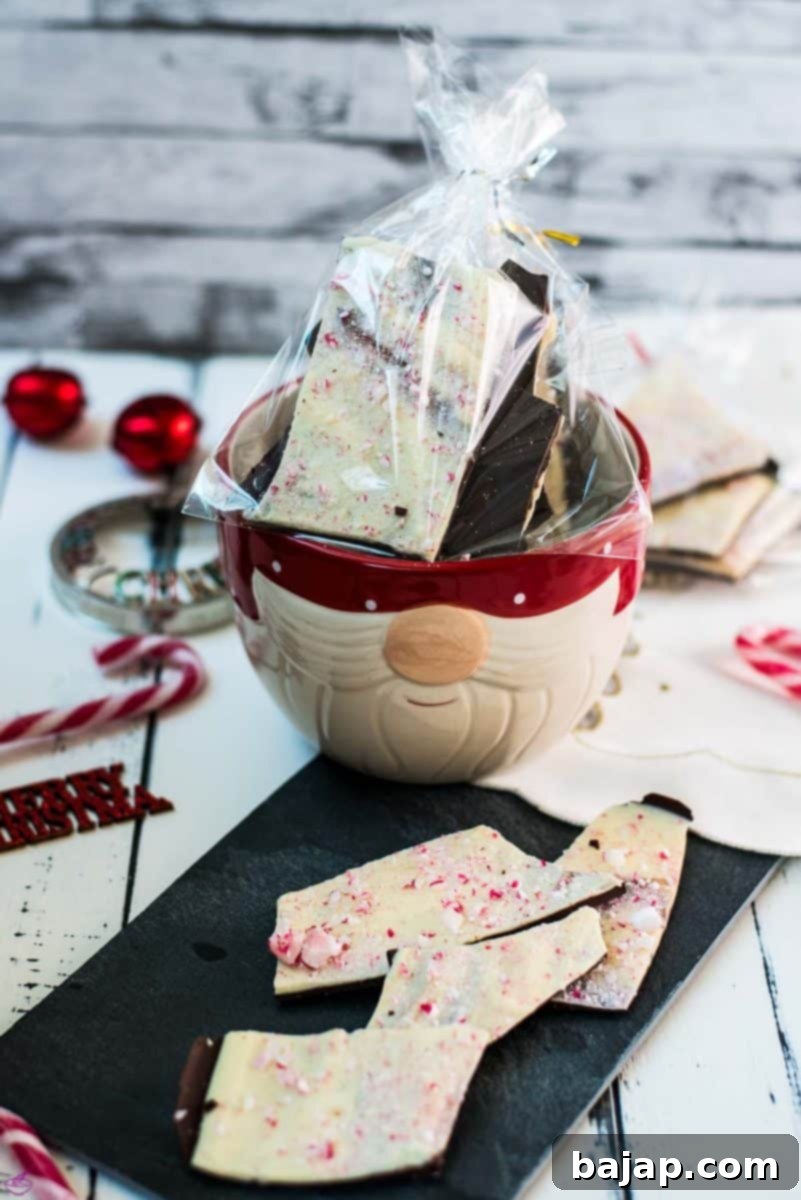
This irresistible double-chocolate peppermint bark is incredibly versatile for any occasion, especially during the festive season. It makes an incredible addition to your holiday cookie assortments, a much-appreciated homemade gift, or a delightful centerpiece for your dessert table. But its uses don’t stop there! Break it into elegant stir sticks for your hot cocoa, use broken chunks as a festive garnish for ice cream sundaes or milkshakes, or even crumble it over holiday cakes and brownies. Whether you use it as decorative edible art, a thoughtful present, or simply a sweet snack, you will absolutely adore this classic chocolate mint flavor!
Yes! This particular peppermint bark recipe is naturally nut-free, making it a fantastic option for those with nut allergies or for serving at gatherings where allergies might be a concern. It is also gluten-free and egg-free, catering to a variety of dietary needs. Always double-check your chocolate and extract labels to ensure they are certified nut-free if severe allergies are a factor.
To keep your peppermint bark fresh and delicious, store it in an airtight container. You can keep it in a cool, dry spot at ambient room temperature (ideally below 70°F or 21°C) for about 2-3 weeks. Alternatively, storing it in the refrigerator will slightly extend its shelf life, keeping it fresh for up to a month. If refrigerating, make sure the container is truly airtight to prevent any moisture from affecting the chocolate’s texture or allowing it to absorb other food odors. Allow it to sit at room temperature for a few minutes before serving for optimal flavor and texture.
This common issue, known as “bloom,” occurs when chocolate is not properly tempered or when it experiences significant temperature fluctuations during storage. Sugar bloom appears as white, grainy streaks due to moisture affecting the sugar crystals. Fat bloom appears as a grayish, hazy film from cocoa butter separating. Ensuring proper tempering during the melting process and storing the bark in a cool, consistent temperature will help prevent bloom.
While you can use high-quality chocolate chips, they often contain stabilizers that prevent them from melting as smoothly or tempering as effectively as couverture chocolate. This might result in a bark that is less glossy and doesn’t have the same crisp “snap” when broken. For the best texture and appearance, couverture chocolate is highly recommended.

Christmas CookieBook!
Snag that Recipe eBook!
Unlock 20 delicious Christmas Cookie recipes that will make your holidays even sweeter!
Yes, please!
If you embark on making this delightful easy peppermint bark recipe, I would absolutely love to hear about your experience! Please let me know how you liked it by giving it a ★★★★★ star rating and leaving a comment below. Your feedback would be truly awesome and helps others discover this festive treat! You can also sign up for our Newsletter to receive weekly delicious homemade recipes, or follow me on Pinterest or Instagram and share your festive creation with me. Just tag me @combinegoodflavors and use the hashtag #combinegoodflavors, so I don’t miss seeing your beautiful bark!
📖 Recipe: Easy White and Dark Chocolate Peppermint Bark
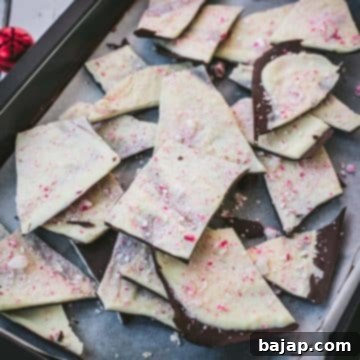
How to make Peppermint Bark?
By Nora
Save RecipeSaved!
Pin Recipe
Equipment
-
Double boiler or tempering device
-
Tablespoon
-
Electric chopper
-
Parchment Paper
-
Baking pan 11×9 inches
Ingredients
- 2 – 3 Candy canes regular-sized, for crushing
- 11 oz Dark chocolate couverture (high quality for best results)
- 2 – 3 drips Peppermint extract (adjust to taste)
- 11 oz White chocolate couverture (high quality for best results)
Instructions
-
Prepare your baking surface by lining a 9×11 inch sheet pan with parchment paper or a silicone mat. Ensure it covers the entire surface and overhangs slightly for easy removal. Set this aside.
-
Using an electric chopper or food processor, crush 2 – 3 regular-sized candy canes into small, irregular pieces. Avoid fine powder. Place the crushed candy canes in a small bowl and set them aside; you’ll need them later.2 – 3 Candy canes
-
Gently melt 11 oz of dark chocolate couverture using a double boiler, a dedicated tempering device, or carefully in the microwave (heating in 30-second intervals and stirring well). Ensure the chocolate is smooth and fully melted.11 oz Dark chocolate couverture
-
Once the dark chocolate is melted, add 2 – 3 drips of peppermint extract. Stir thoroughly until the extract is well combined and the minty aroma is evenly distributed throughout the chocolate.2 – 3 drips Peppermint extract
-
Pour the peppermint-infused dark chocolate onto the lined baking pan. Using an offset spatula or the back of a spoon, spread it out smoothly and evenly to form a thin, consistent layer across the entire pan.
-
Transfer the baking pan to the refrigerator and chill for a minimum of 30 minutes, or until the dark chocolate layer is completely firm and set to the touch. This prevents the layers from mixing.
-
While the dark chocolate is chilling, melt 11 oz of white chocolate couverture using the same gentle melting method you used for the dark chocolate. Ensure it’s perfectly smooth.11 oz White chocolate couverture
-
Once the white chocolate is melted and the dark chocolate is firm, pour the white chocolate evenly over the dark chocolate layer. Spread it smoothly with a spoon or spatula. Immediately and generously sprinkle the reserved crushed candy canes on top of the still-wet white chocolate, pressing them lightly to ensure they adhere.
-
Return the pan to the refrigerator for another 30 minutes (or longer if needed) to allow both chocolate layers to fully set and the candy canes to firmly adhere. The bark should be hard and snap easily.
-
Once the entire chocolate bark is completely set, carefully lift it from the pan using the parchment paper. Place it on a clean surface and gently break it apart into small, rustic pieces. Store your homemade peppermint bark in an airtight container in a cool, dry place. Enjoy!
Nutrition values are estimates only, using online calculators. Please verify using your own data.

🤎 You Might Also Like These Festive Treats!
If you loved making this easy peppermint bark, you’re sure to enjoy these other delightful recipes perfect for the holidays or any time you need a sweet escape. Explore more chocolate and candy creations to expand your homemade treat repertoire!
- No Bake Cornflake Clusters with Dark Chocolate
- The Essential Chocolate Making Tools Every Home Chocolatier Needs
- Easy Peppermint Bark Recipe with White and Dark Chocolate
- White Chocolate Coconut Truffles
⛑️ Important Food Safety Guidelines
Ensuring food safety is paramount when preparing any recipe, especially when working with ingredients like chocolate. Following these general guidelines will help you maintain a safe and healthy kitchen:
- Maintain Proper Temperatures: When melting chocolate, ensure it’s done gently and not scorched. If using a thermometer for tempering, ensure it’s clean and calibrated.
- Avoid Cross-Contamination: While this recipe doesn’t involve raw meat, it’s always good practice to use separate utensils and cutting boards for different types of foods to prevent the spread of bacteria.
- Hand Washing: Always wash your hands thoroughly with soap and warm water before and after handling food, especially when switching between tasks.
- Temperature Danger Zone: Do not leave perishable foods or melted chocolate sitting out at room temperature for extended periods (typically more than 2 hours), as this can encourage bacterial growth.
- Never Leave Cooking Unattended: This applies more to stovetop cooking, but even when melting chocolate, stay attentive to prevent burning or overheating.
- Use High Smoking Point Oils: If any part of a recipe involves cooking with oil, choose oils with a high smoking point to avoid the creation of harmful compounds. (Not directly applicable here, but good general advice).
- Ensure Good Ventilation: Always have good ventilation, especially when using a gas stove or working with strong flavors, to keep your kitchen air fresh.
For further comprehensive information on safe food handling practices, please check the official guidelines from the FDA (Food and Drug Administration).
