Craft Your Own Aromatic Delight: The Ultimate Guide to Easy Homemade Lavender Extract
Imagine your baked goods infused with a delicate, floral whisper that elevates every bite. That’s the magic of homemade lavender extract, a secret ingredient that transforms ordinary recipes into extraordinary culinary experiences. If you’re looking to make your lemon lavender muffins truly sing, or perhaps add an elegant touch to a dessert, this simple two-ingredient extract is your gateway to an enchanting world of flavor. Forget store-bought options that often lack depth; crafting your own ensures a vibrant, authentic lavender essence that’s unparalleled. The process is incredibly straightforward, making it a rewarding DIY project for any home baker or aspiring mixologist.
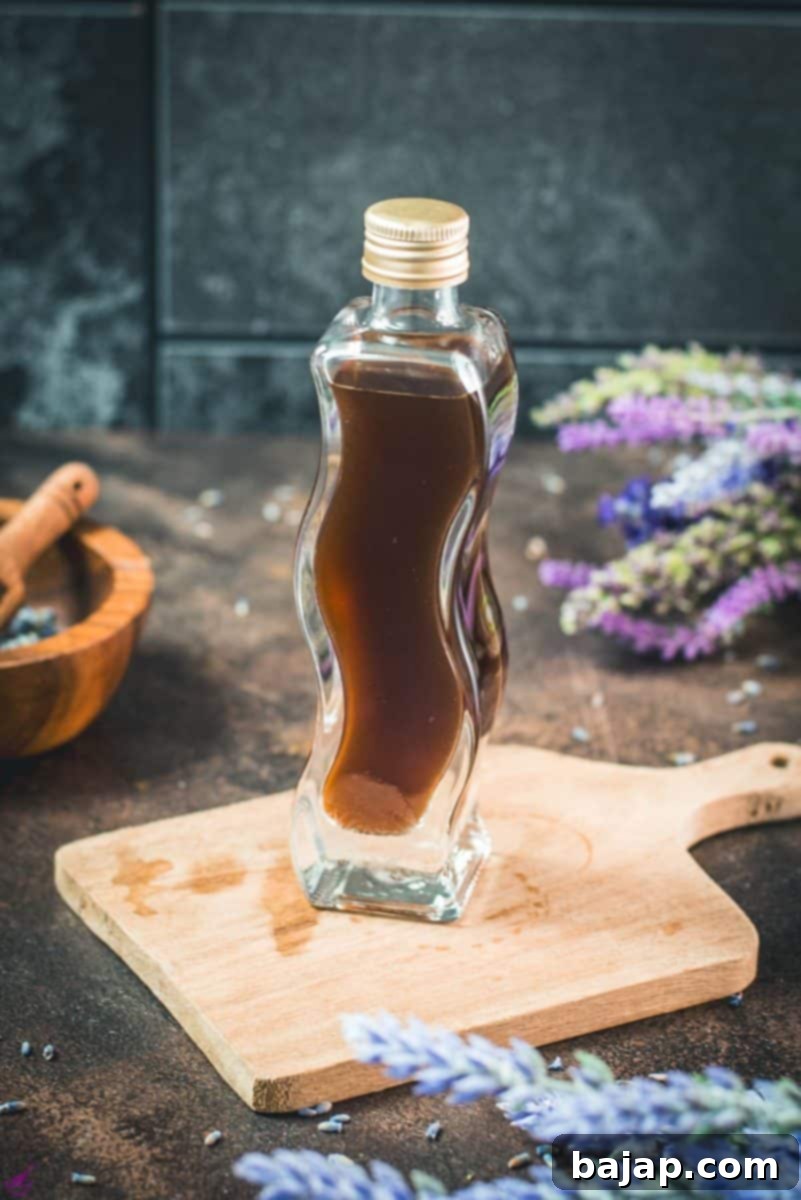
You’ll fall in love with this recipe not just for its incredible, pure lavender flavor, but also for its remarkable ease of preparation. Once you experience the difference homemade extract makes, you’ll find yourself reaching for it again and again, eager to infuse its unique fragrance into a myriad of dishes, from delicate pastries to refreshing beverages. It’s a simple step that yields significant culinary rewards, allowing you to control the quality and intensity of your lavender essence.
Why Bother with Homemade Lavender Extract?
In a world of convenience, you might wonder why take the time to make your own extract when bottles are readily available at stores. The answer lies in unparalleled flavor and quality. Store-bought extracts can sometimes contain artificial flavorings or have a less potent, often alcohol-heavy taste. Homemade extract, on the other hand, allows you to control the type and quality of lavender used, resulting in a much purer, more aromatic, and truly authentic flavor. It’s also incredibly cost-effective in the long run and gives you the satisfaction of creating something beautiful from scratch.
🥘 Simple Ingredients for a Sensational Extract
The beauty of this recipe lies in its simplicity, requiring only two core ingredients. Choosing the right ones is key to achieving that perfect, delicate lavender flavor without any bitterness.
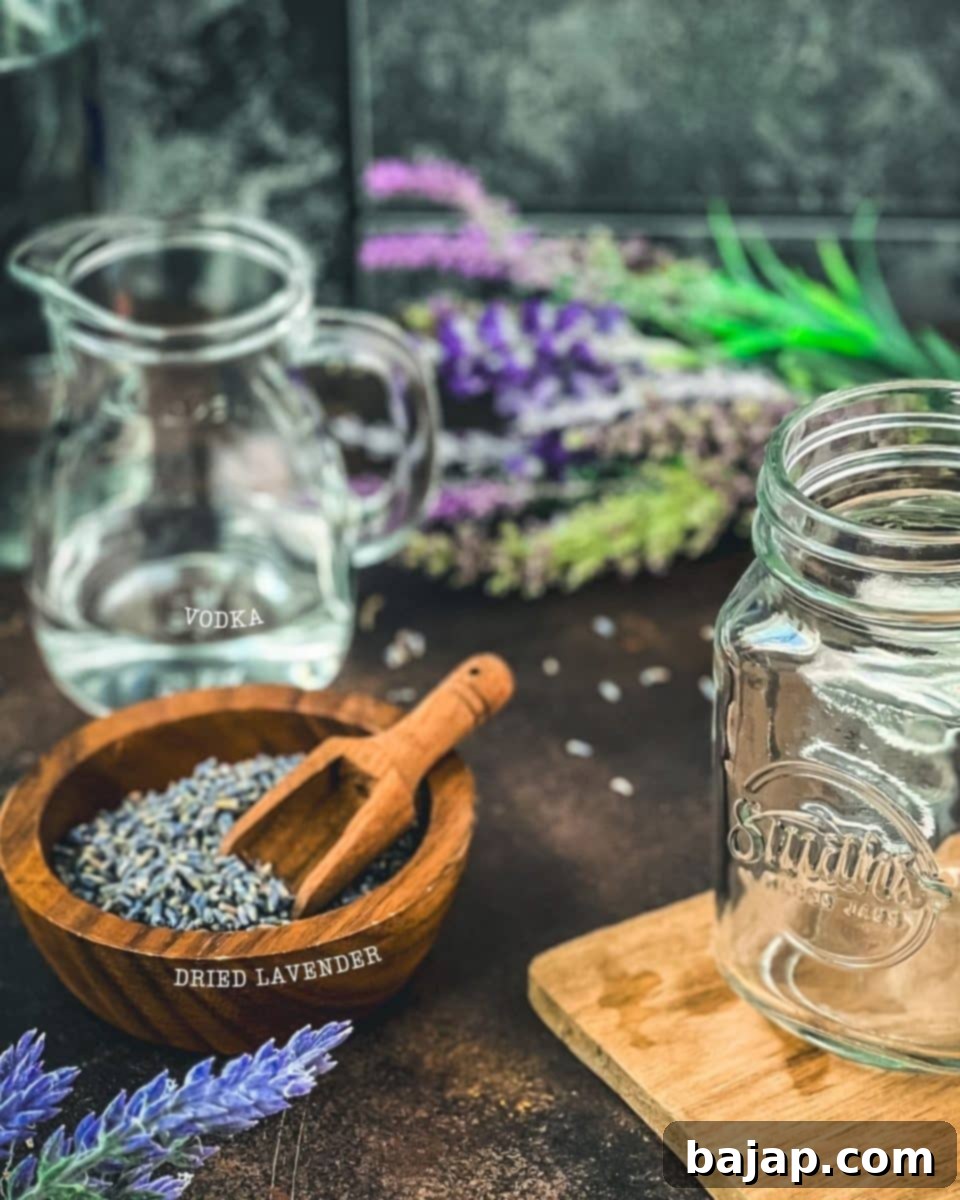
- Dried Culinary Lavender Flowers: This is the star of our show. The quality of your lavender will directly impact the flavor of your extract. Always opt for culinary-grade dried lavender, which means it’s safe for consumption and free from pesticides. While decorative lavender might look pretty, it often contains chemicals and can have an unpleasant, soapy taste when consumed. If using lavender from your garden, ensure it’s a culinary variety (like English lavender, Lavandula angustifolia) and has not been sprayed with any chemicals. Make sure your lavender is thoroughly dried before use to prevent introducing excess moisture into the extract.
- Vodka: A neutral spirit like vodka is ideal for extracts because it effectively pulls the flavor compounds from the lavender without imparting its own strong taste. An 80-proof (40% alcohol by volume) vodka is perfect for this purpose. You don’t need to splurge on top-shelf liquor; a good quality mid-range vodka will work beautifully without breaking the bank. Avoid flavored vodkas, as they will interfere with the pure lavender essence you’re trying to achieve.
For precise quantities and detailed nutritional information, please refer to the comprehensive recipe card located further down this page.
🔪 Easy Step-by-Step Instructions
Making lavender extract is a test of patience, but the active preparation time is minimal. Follow these simple steps for a fragrant and potent extract.
Step 1: Combine Dried Lavender and Vodka
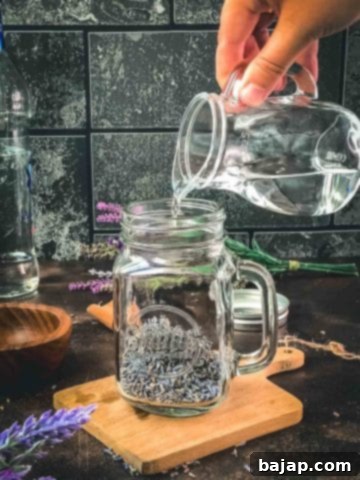
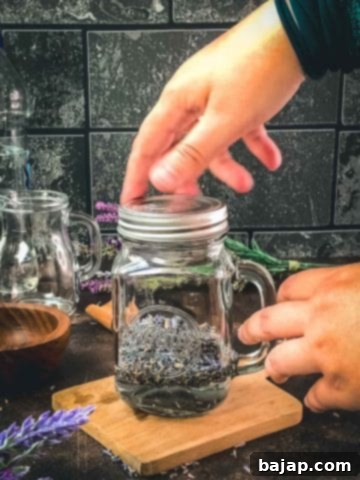
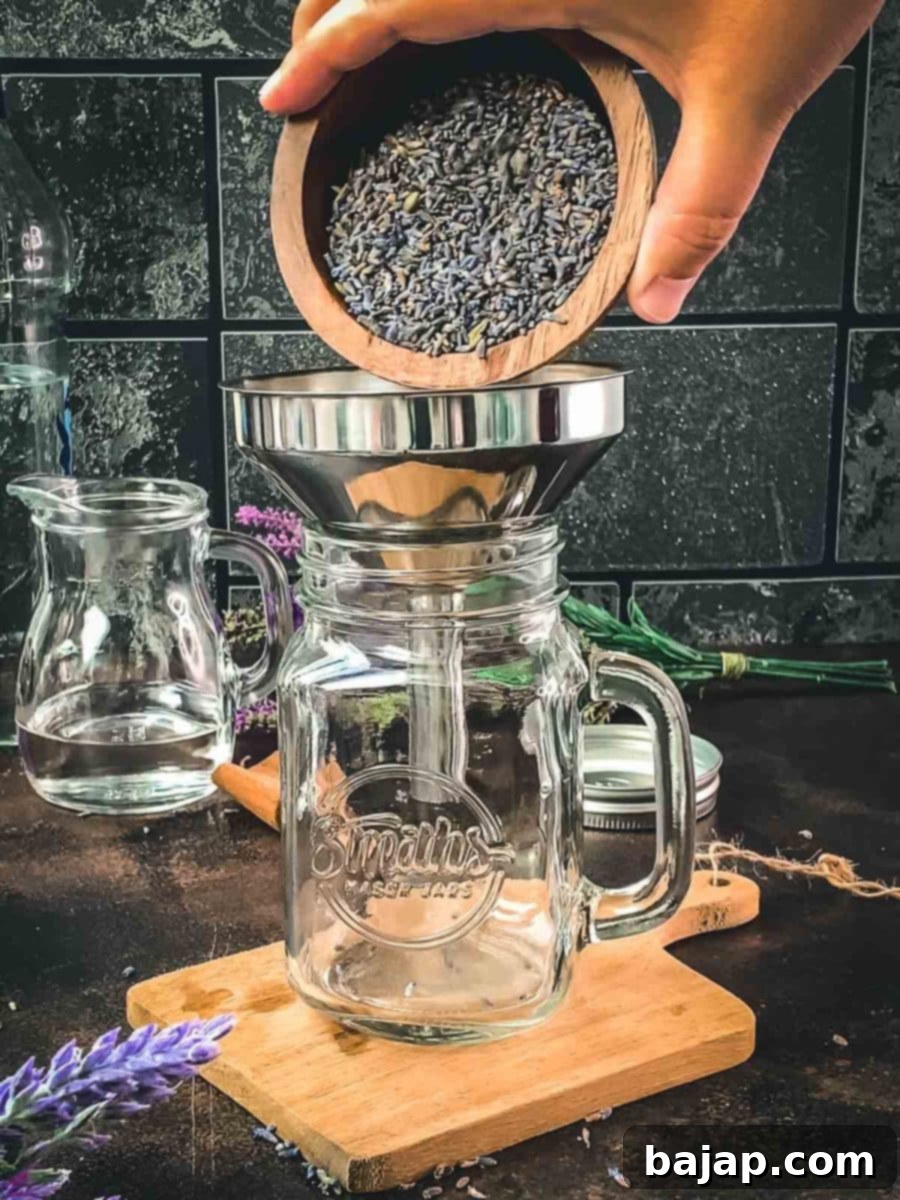
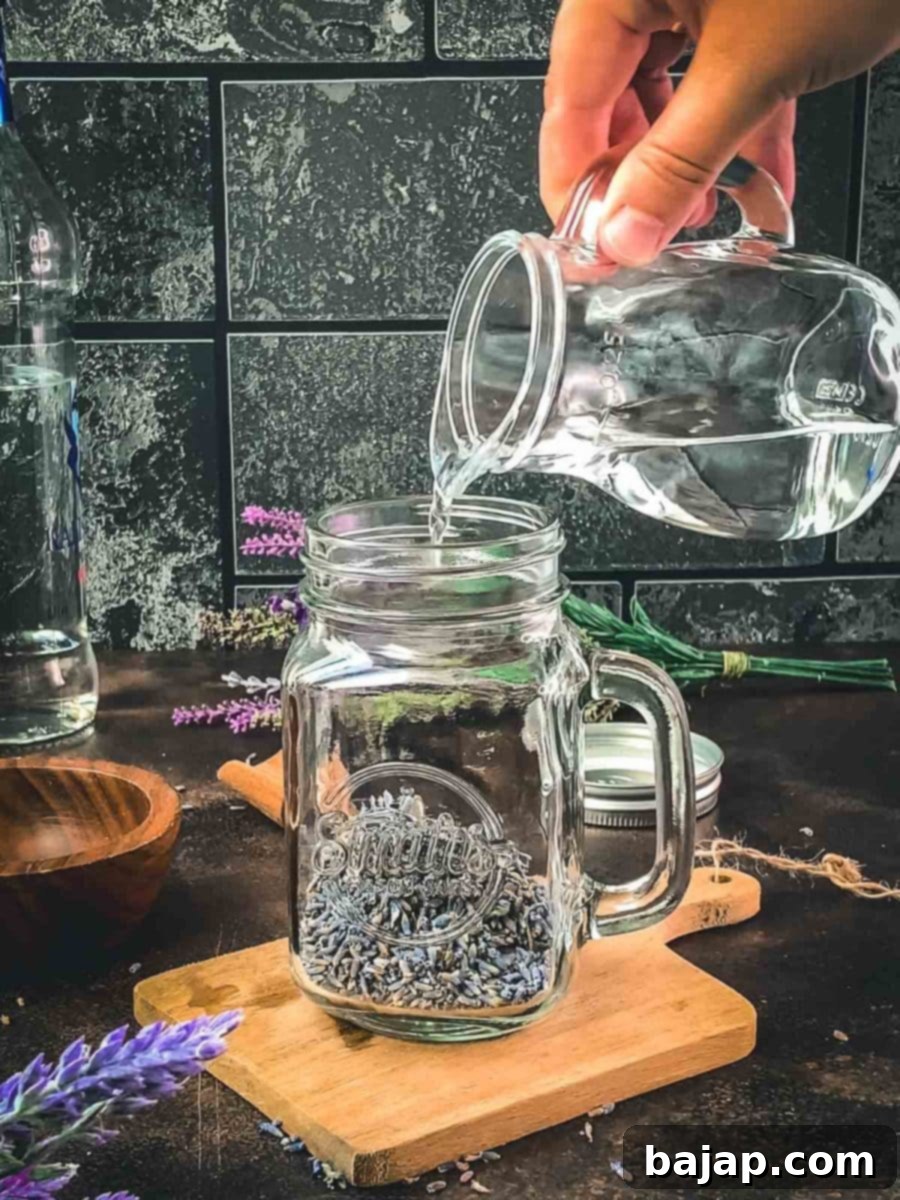
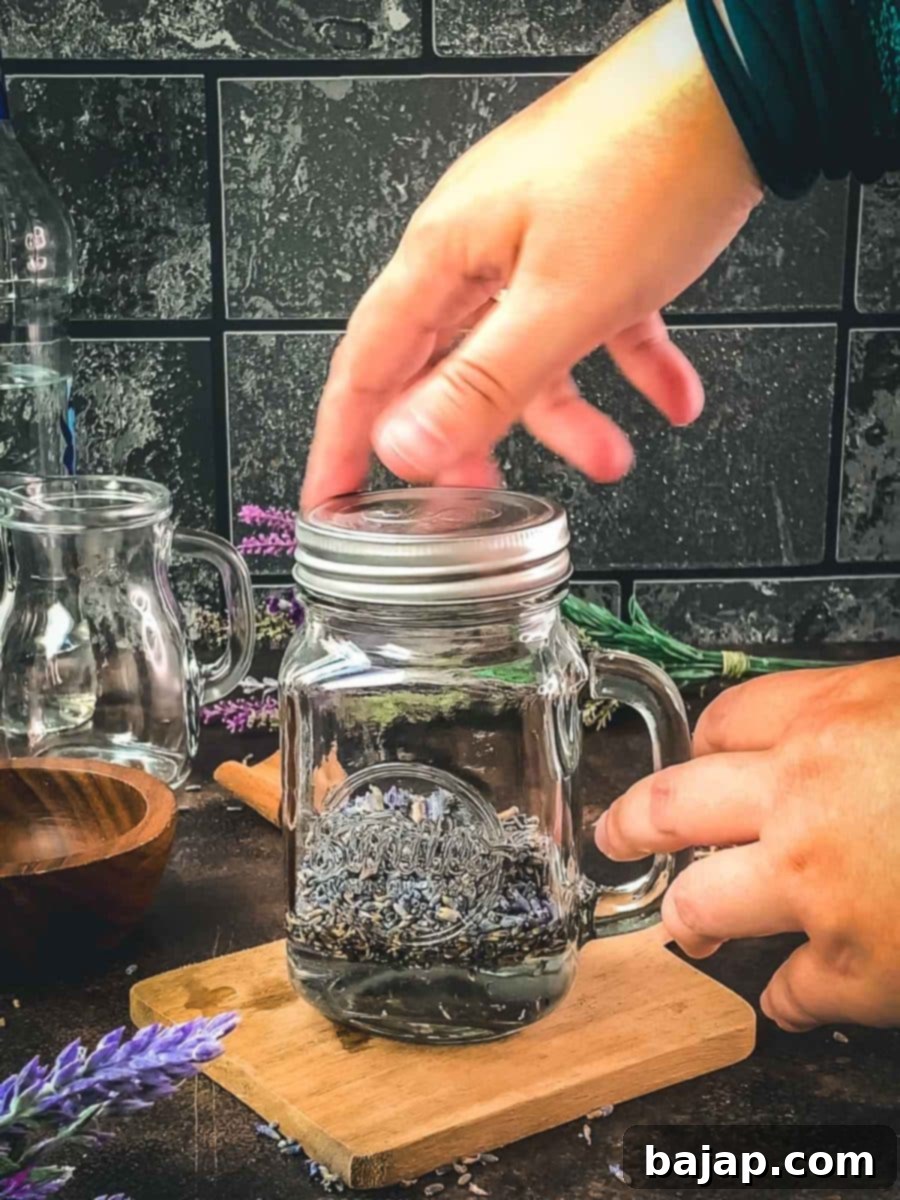
Begin by carefully measuring your dried lavender and placing it into a clean, glass mason jar. The size of the jar should comfortably accommodate your ingredients with enough room for shaking. Pour the vodka over the dried lavender, ensuring that all the floral buds are completely submerged. This is crucial for proper extraction. Once combined, securely close the mason jar with a tight-fitting lid. Give the jar a good, vigorous shake to ensure the lavender is well distributed throughout the alcohol. This initial shake helps kickstart the infusion process.
Step 2: Infuse with Patience (and Daily Shakes)
Once your ingredients are combined, find a cool, dry, and dark spot in your pantry or cupboard to store the jar. This ensures the lavender isn’t exposed to direct sunlight, which can degrade the delicate flavor and color. The real magic happens during the infusion period. For optimal results, aim for at least two weeks of infusion, though a week will yield a usable extract. During this time, make it a habit to give the jar a gentle shake once daily. This agitation helps the vodka continuously circulate around the lavender, encouraging maximum flavor extraction. You’ll notice the liquid slowly taking on a beautiful golden or pale purple hue as the weeks progress, and the aroma will deepen. If you want a stronger extract, you can let it infuse for up to 4-6 weeks, tasting periodically after the two-week mark to gauge intensity.
Step 3: Strain and Purify the Extract
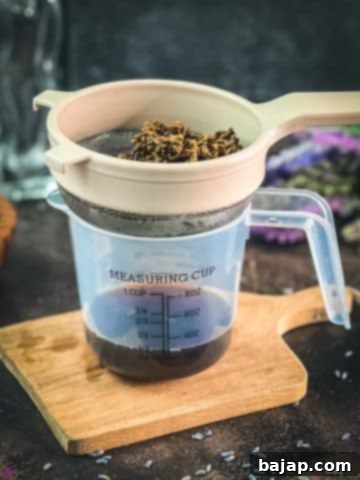
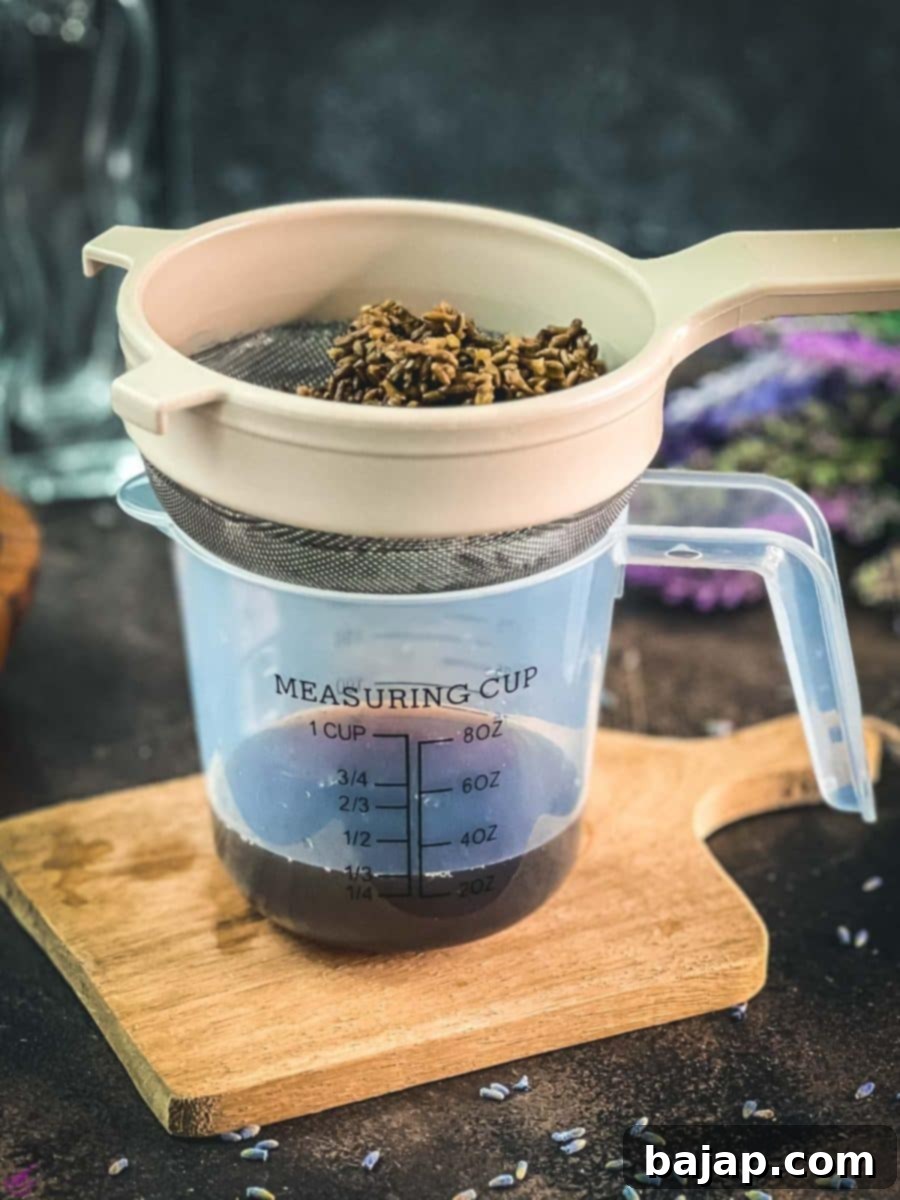
After your chosen infusion period (ideally two weeks), it’s time to separate the fragrant liquid from the spent lavender. Open the jar, and using a fine-mesh sieve, strain the infused vodka into a clean bowl or measuring cup. To ensure you capture every drop of precious extract, use the back of a spoon to gently press out any remaining liquid from the soaked lavender flowers in the sieve. This step is important for maximizing your yield and flavor. Once strained, you can discard the lavender solids (they make a lovely addition to compost!). For an even clearer extract, you can line your sieve with a piece of cheesecloth before straining, which will catch any finer particles.
Step 4: Store for Long-Lasting Fragrance
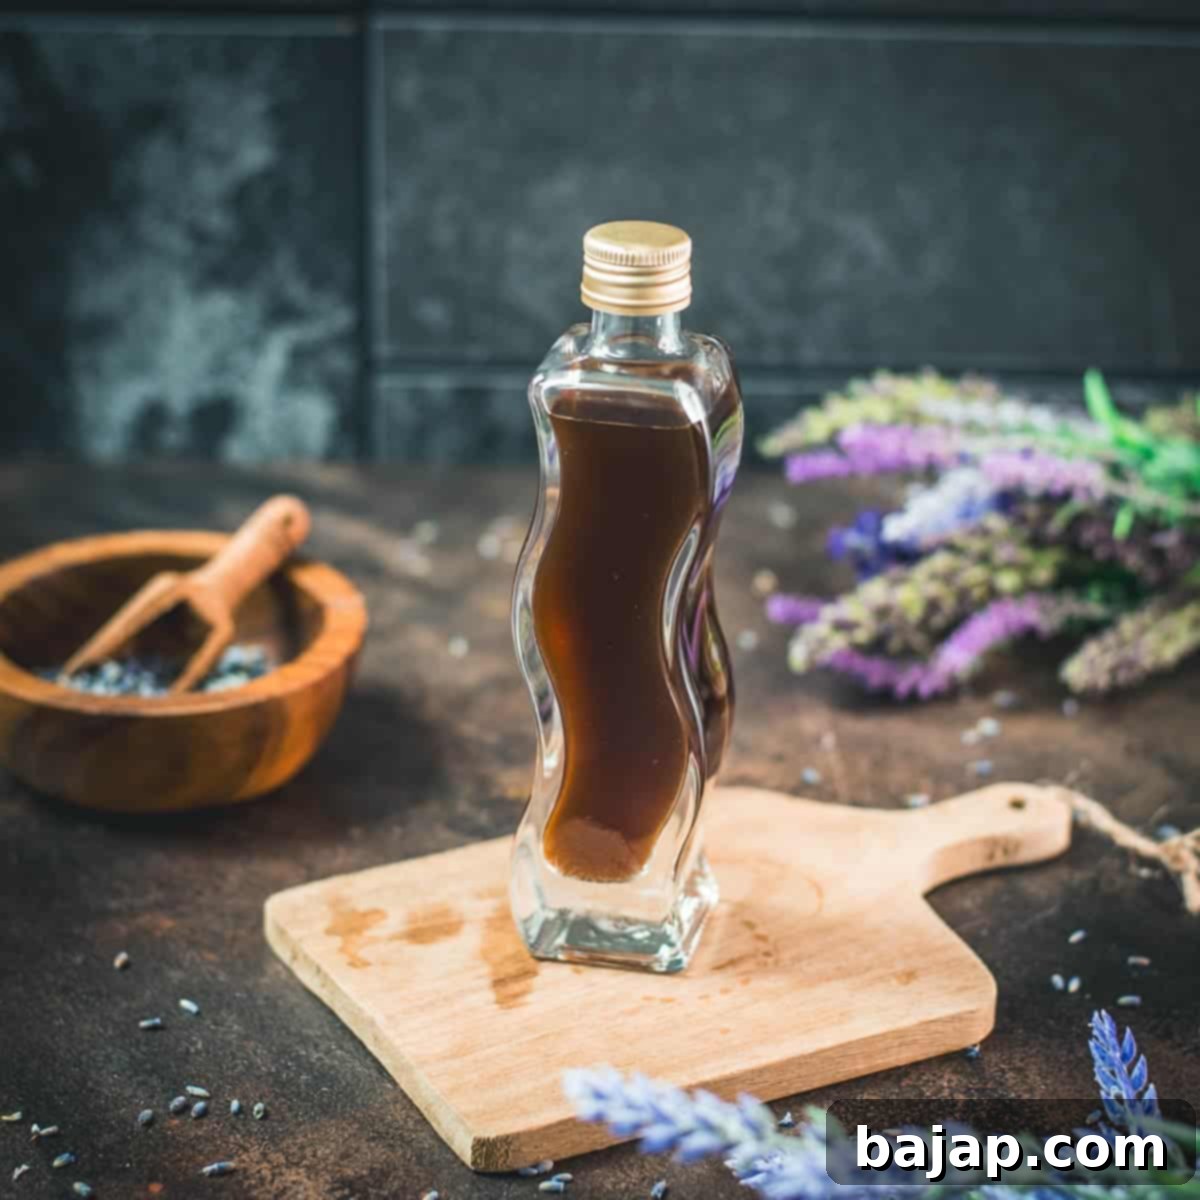
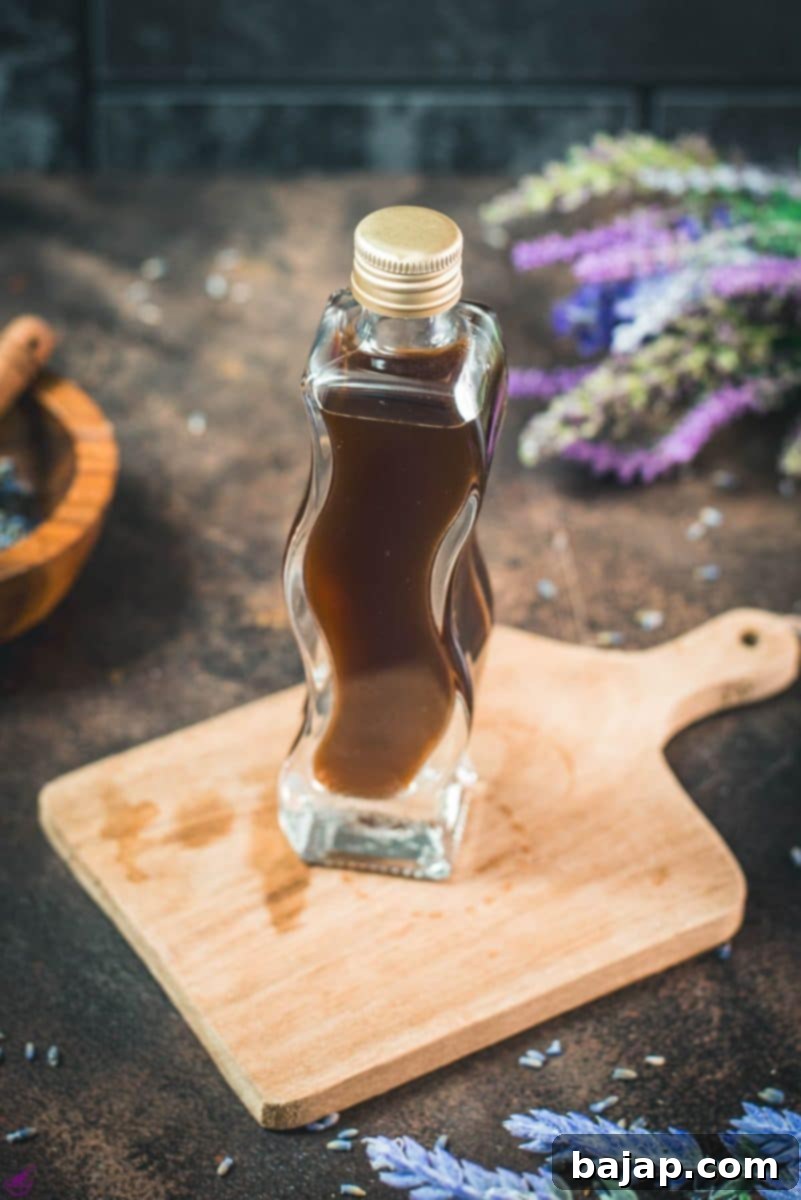
Transfer your newly made lavender extract into small, clean, dark glass bottles. Dark glass helps protect the extract from light, which can degrade its flavor and potency over time. Ensure the bottles are tightly sealed to prevent evaporation. Label each bottle with the date it was made, so you can keep track of its freshness. Store the extract in a cool, dark pantry or cupboard, just like you would with other extracts. Properly stored, this homemade delight can last for up to a year, ready to bring its unique floral note to your culinary creations whenever inspiration strikes.
🍽 Essential Equipment for Lavender Extract
You won’t need any specialized gadgets for this recipe. Just a few basic kitchen tools will suffice:
- Measuring Cup: Essential for accurately measuring the vodka and ensuring the correct proportions for the best extract.
- Mason Jar: A glass mason jar with a tight-fitting lid is crucial for the infusion process. It should be clean and allow for vigorous shaking without leaks. Its transparency also lets you monitor the infusion’s progress.
- Sieve: A fine-mesh sieve is necessary for straining the lavender from the infused vodka, ensuring a clear and pure extract. For extra clarity, consider lining it with cheesecloth.
- Dark Glass Bottles (optional but recommended): While you can use any airtight container for storage, dark glass bottles help protect the extract from light, preserving its potency and vibrant flavor over a longer period.
🌡 Storage & Expert Tips
With proper storage, your exquisite homemade lavender extract can retain its potency and delicate flavor for up to a year, sometimes even longer! The alcohol acts as a natural preservative, making it a stable addition to your pantry.
When embarking on your lavender extract journey, selecting the right lavender is paramount. Always prioritize using **culinary-grade lavender**. This type is specifically grown and processed for consumption, ensuring it’s free from harmful pesticides and has the best flavor profile for cooking and baking. If you’re fortunate enough to have a lavender garden and wish to use your own fresh blooms, ensure they are of a culinary variety, such as English lavender (Lavandula angustifolia), which is known for its sweet, less camphorous notes. It’s also vital to visually inspect your homegrown lavender: choose sprigs with **vibrant blue-purple colors** rather than dull or grayish-purple ones, as the former indicates fresher, more potent essential oil content.
For fresh lavender buds from your garden, a crucial step is to dry them thoroughly before making the extract. To do this, gather your lavender in small bundles, tie them with twine, and hang them upside down in a dark, warm, and well-ventilated spot. This environment helps prevent mold and preserves their aromatic oils. Allow them to dry for approximately 10 days, or until they are completely brittle. Proper drying concentrates the flavor and ensures a clean infusion.
💭 Top Tip: Test for Bitterness
Homemade extracts can be quite potent, and lavender, if over-extracted, can sometimes develop bitter notes. After about 7-10 days of infusion, taste a tiny drop (diluted in a small amount of water or sugar) to check its flavor profile. If it’s already quite strong and flavorful, you can strain it then. Don’t feel pressured to leave it for the full two weeks if it tastes perfect earlier. It’s always better to have a perfectly balanced extract than an overly bitter one.
🙋🏻 Frequently Asked Questions About Lavender Extract
Lavender extract is incredibly versatile! While lavender essential oils are often used for aromatherapy to help ease symptoms of anxiety, stress, insomnia, depression, dementia, and even pain, the culinary extract is a delightful addition to a wide array of food and drink. It brings a unique floral and slightly herbaceous note that pairs wonderfully with sweet and savory dishes. Think lemon lavender scones, delicate vanilla ice cream, refreshing cocktails like a lavender spritz, or even a sophisticated nectarine and peach salad. You can also incorporate it into glazes for cakes, frostings for cupcakes, or even infuse it into simple syrups for beverages. Its unique aroma and taste can truly elevate a dish.
Less is often more when it comes to lavender extract, especially homemade versions, as they tend to be quite potent. A little truly does go a long way! The exact amount can vary slightly depending on the specific recipe and your personal preference for lavender intensity, but a good starting point is usually just a teaspoon for an entire batch of muffins or a cake. For delicate flavors, start with ½ teaspoon and add more slowly if desired. It’s much easier to add more than to try and tone down an overpowering lavender flavor.
There are several delightful ways to incorporate lavender into your baked goods. The most common is through lavender extract, as detailed in this recipe, which adds a clean, concentrated flavor. Another popular method is using fresh or dried lavender buds directly. These can be finely ground and mixed into doughs, batters, or sugars (like making lavender sugar). For example, adding ground lavender to shortbread cookies or even a unique pizza dough can yield surprising and delicious results, as lavender pairs beautifully with both sweet and savory elements. You can also make lavender simple syrup for glazes or beverages, or even candy whole lavender florets for an edible decoration.
For the finest culinary results, English lavender (Lavandula angustifolia) is widely considered the best choice. It has a sweet, floral, and slightly fruity flavor with less of the strong, camphorous notes found in some other lavender varieties (like French or spike lavender), which can be quite overpowering and even bitter in food. Always ensure you are using culinary-grade dried lavender, whether store-bought or from your own garden, to guarantee it’s safe for consumption and offers the best flavor profile. And, of course, I firmly believe that this homemade extract, especially if you source the lavender flowers from your own meticulously cared-for garden, provides the most superior addition to your baking recipes!
Primarily, lavender extract infuses your dishes with its distinctive, delicate floral flavor and aroma, transforming simple recipes into gourmet delights like lavender lemon bars or fragrant puddings. Beyond its culinary appeal, lavender also boasts a long history of traditional use for its potential health benefits. While culinary extract is not the same as concentrated essential oil, the underlying lavender compounds contribute aromatic qualities that many find calming. Some studies on lavender essential oil (used topically or aromatically, *not* for ingestion without expert guidance) suggest it might help you sleep better, reduce feelings of anxiety, and potentially aid in clearing blemished skin when applied externally. However, the primary role of the extract in your kitchen is to provide an exquisite flavor experience.
More Enchanting Lavender Recipes & Beyond!
Once you’ve mastered this fundamental homemade lavender extract, a world of aromatic possibilities opens up. Get inspired to use your creation in a variety of other recipes, or explore more delightful infusions:
- Lavender Extract (This very recipe, for quick reference!)
- Lovely Lavender Spritz Cocktail
- Lavender Daiquiri
- Lavender Spritz with Prosecco (coming soon)
- Lavender Sugar (coming soon)
- Lavender
Gin and Tonic (coming soon) - Lavender Lemon Muffins (coming soon)
- Lavender Cookies (coming soon)
- Lavender Liqueur (coming soon)
If you embark on this delightful journey and make this homemade lavender extract, I would absolutely love to hear about your experience! Please let me know how you liked it by giving it a ★★★★★ star rating and leaving a comment below. Your feedback is truly awesome and helps others discover this wonderful recipe! You can also sign up for our Newsletter to receive weekly delicious homemade recipes directly in your inbox, or follow me on Pinterest or Instagram. Don’t forget to share your beautiful creations with me by tagging @combinegoodflavors and using the hashtag #combinegoodflavors, so I don’t miss any of your inspiring culinary adventures!
📖 Recipe: Homemade Lavender Extract for Baking
Homemade Lavender Extract for Baking
By Nora
Save RecipeSaved!
Pin Recipe
Equipment
-
Measuring cup
-
Mason Jar
-
Sieve
-
Small Dark Glass Bottles (for storage)
Ingredients
- 2 tablespoon Dried culinary lavender flowers
- 2.7 oz Vodka (80-proof)
Instructions
-
In a clean glass mason jar, pour in 2.7 oz Vodka and add 2 tablespoons of Dried culinary lavender flowers. Ensure all lavender is fully submerged in the vodka.2 tablespoon Dried lavender, 2.7 oz Vodka

-
Close the jar tightly with its lid and give it a good shake. Store the jar in a cool, dry, and dark spot for at least one week, with two weeks being ideal for deeper flavor. Shake the jar once daily to aid the infusion process.

-
After the infusion period, the vodka should be fragrant. Open the jar and strain the infused vodka through a fine-mesh sieve into a clean container. Gently press out any remaining liquid from the soaked lavender flowers before discarding the solids.

-
Transfer your finished homemade lavender extract into tightly closed dark glass bottles for optimal preservation. Label with the date and store in a cool, dark pantry.
Nutrition values are estimates only, using online calculators. Please verify using your own data.

🤎 You Might Also Enjoy These Related Recipes
- Sweet & Smooth: The Best Vanilla Vodkas to Try
- How to Make Candied Violets
- Three Ways to Make Vanilla Sugar at Home
- Lovely Lavender Spritz Cocktail
⛑️ Important Food Safety Considerations
While making homemade extracts is a delightful process, it’s essential to keep basic food safety principles in mind to ensure your creations are safe and enjoyable. Here are a few general guidelines:
- Cook to a minimum temperature of 165 °F (74 °C) for dishes that require it.
- Do not use the same utensils on cooked food that previously touched raw ingredients to prevent cross-contamination.
- Always wash your hands thoroughly after handling any raw ingredients.
- Avoid leaving food sitting out at room temperature for extended periods; refrigerate promptly.
- Never leave cooking food unattended on the stovetop or in the oven.
- When cooking, use oils with a high smoking point to avoid generating harmful compounds.
- Ensure you always have good ventilation in your kitchen, especially when using a gas stove.
For further comprehensive information on safe food handling practices, always refer to reliable sources such as the Safe Food Handling guide from the FDA.
