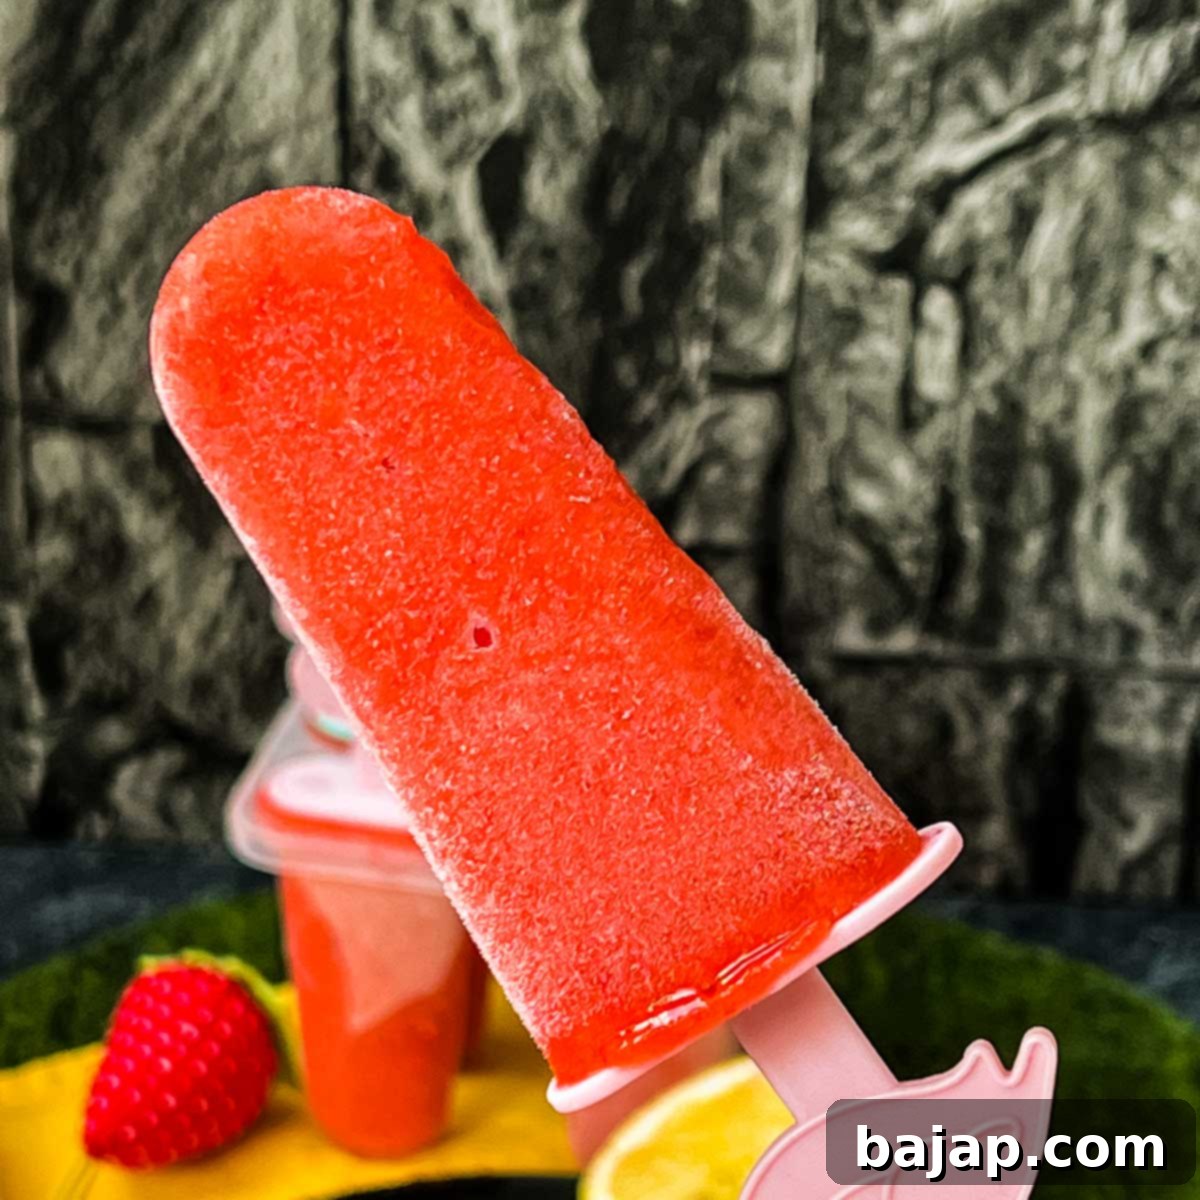
Best Homemade Strawberry Popsicle Recipe: Easy, Refreshing & Kid-Friendly Summer Treat
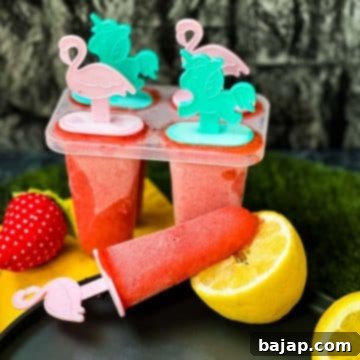
There’s nothing quite like a cold, refreshing treat on a hot summer day. And when that treat is bursting with the natural sweetness and vibrant flavor of fresh strawberries, it’s pure bliss! This simple and incredibly easy-to-make homemade strawberry popsicle recipe is designed to be your go-to for satisfying sweet cravings. It’s not just for kids; adults will equally adore these delightful frozen snacks, making them a perfect addition to any family gathering or a quiet afternoon cool-down.
Personally, I believe the secret to the most delicious strawberry popsicles lies in using the freshest, most flavorful strawberries available. For me, that often means a delightful trip to a local farmer’s market on a sunny Saturday morning, hand-picking ripe berries with my family. There’s a special joy in knowing exactly where your ingredients come from, and the taste truly reflects that care and freshness.
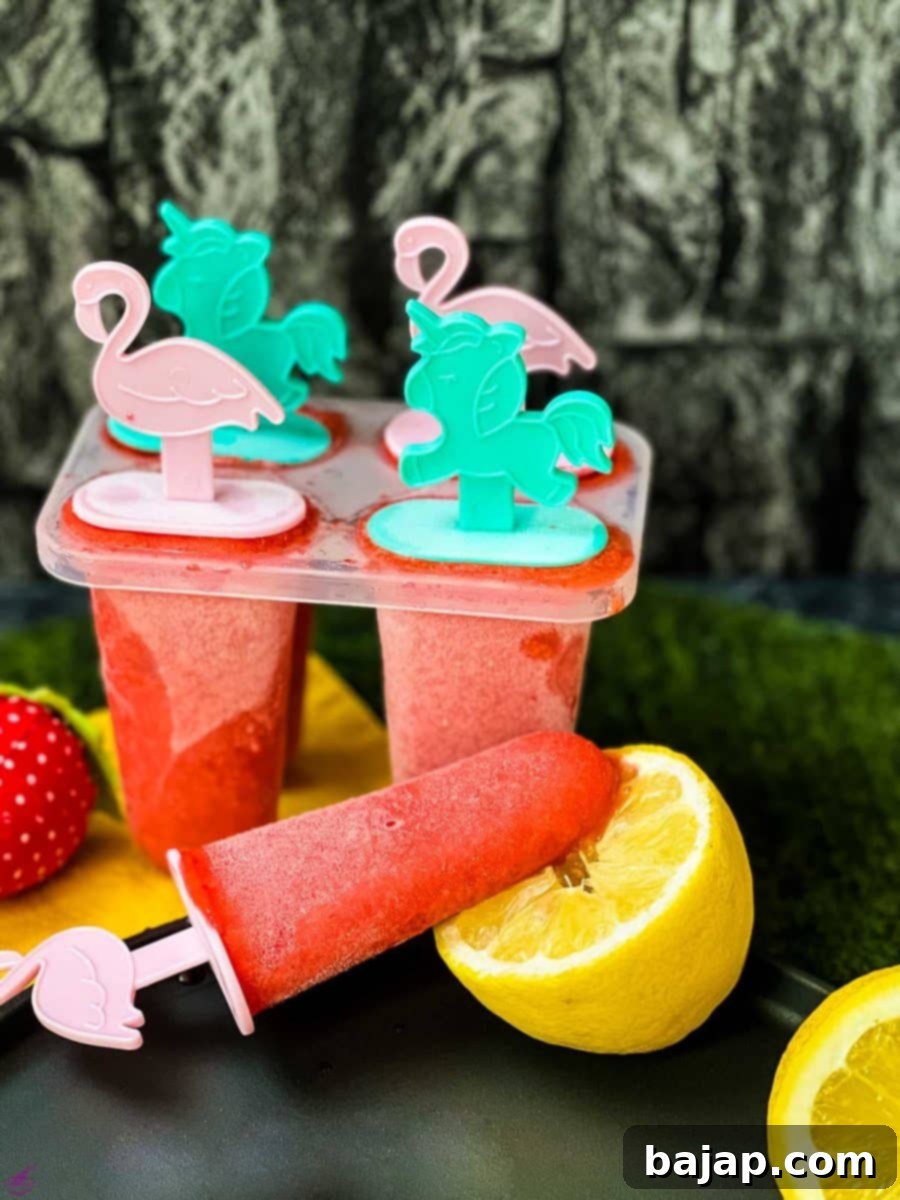
Bringing Summer Joy to Any Season
Even when the summer sun is a distant memory, and winter months bring colder days, you can still enjoy the taste of summer with this recipe! Frozen strawberries work wonderfully as a substitute for fresh ones, ensuring that these perfect, sweet treats are available year-round. While fresh berries offer a unique brightness, quality frozen strawberries will still deliver that intense, satisfying strawberry flavor, making these popsicles a fantastic pick-me-up no matter the weather.
Strawberry season is truly one of my favorite times of the year, and I bet it’s yours too! If you’re a fellow strawberry enthusiast looking for more ways to incorporate these amazing berries into your kitchen, I have a collection of other delightful strawberry recipes you might love:
- Austrian Strawberry Sponge Cake: A light and fluffy cake, perfect for showcasing fresh strawberries.
- Strawberry Cupcakes with Ricotta: Moist cupcakes with a creamy, fruity twist.
- Strawberry Flavored Whipped Cream: Elevate any dessert with this simple, flavorful topping.
- Strawberry Cobbler: A warm, comforting dessert with a juicy strawberry filling.
- Strawberry Simple Syrup: Versatile for drinks, desserts, and more.
- Strawberry Spritz: A refreshing beverage for any occasion.
- No-bake Strawberry Cheesecake: Creamy and effortless, a perfect summer dessert.
- Strawberry Milkshake: A classic, indulgent drink.
- Strawberry Cream: A light and airy dessert that’s quick to prepare.
- Strawberry Milk: A delightful twist on a childhood favorite.
🥘 Simple Ingredients for Irresistible Flavor
One of the best things about these homemade strawberry popsicles is how few ingredients you need to achieve such incredible flavor. With just three core components, you’re on your way to a truly refreshing experience. Each ingredient plays a crucial role in the final taste and texture.
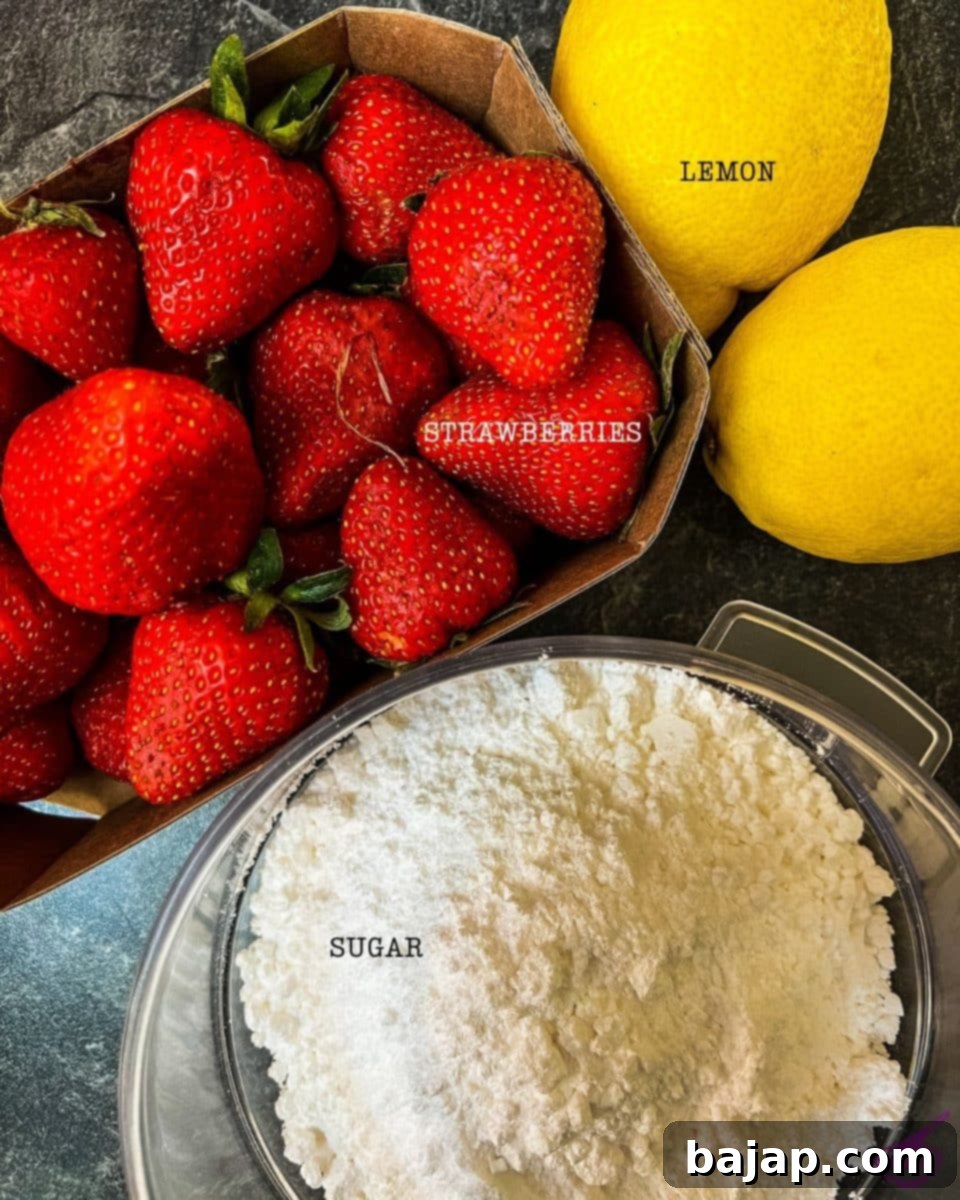
- Fresh Strawberries: These are the star of the show! For the most intense and authentic strawberry flavor, opt for ripe, seasonal berries. If fresh are out of season, high-quality frozen strawberries are an excellent alternative and will still yield fantastic results.
- Powdered Sugar: Also known as confectioners’ sugar, this fine sugar dissolves easily, ensuring a smooth, grit-free popsicle. It provides the perfect balance of sweetness without overpowering the natural fruit flavor. You can adjust the quantity based on the sweetness of your strawberries and your personal preference.
- Lemons: Fresh lemon juice is a game-changer. It not only brightens the strawberry flavor, adding a lovely tang that prevents the popsicles from being overly sweet, but it also helps as a natural preservative, keeping your popsicles fresh for longer in the freezer. Always use fresh lemon juice for the best results!
For exact quantities and detailed nutrition information, please refer to the recipe card further down.
🔪 Step-by-Step Instructions for Perfect Popsicles
Making these homemade strawberry popsicles is incredibly straightforward, but a few key steps will ensure they turn out perfectly smooth, flavorful, and wonderfully refreshing. The unique technique of using an ice cream maker *before* freezing in molds helps create an incredibly smooth, almost sorbet-like texture that sets these popsicles apart from simply freezing pureed fruit.
Pro Tip for Optimal Texture: Before you even begin preparing your strawberries, make sure your ice cream maker bowl is as cold as possible! The colder the bowl, the more efficiently and smoothly it will churn your mixture, preventing large ice crystals from forming. Ideally, you should store the bowl in your freezer for a full 24 hours. If you’re in a hurry and truly craving this sweet treat, letting it sit overnight (at least 12 hours) will still work effectively!
Getting Started: Preparing Your Strawberries
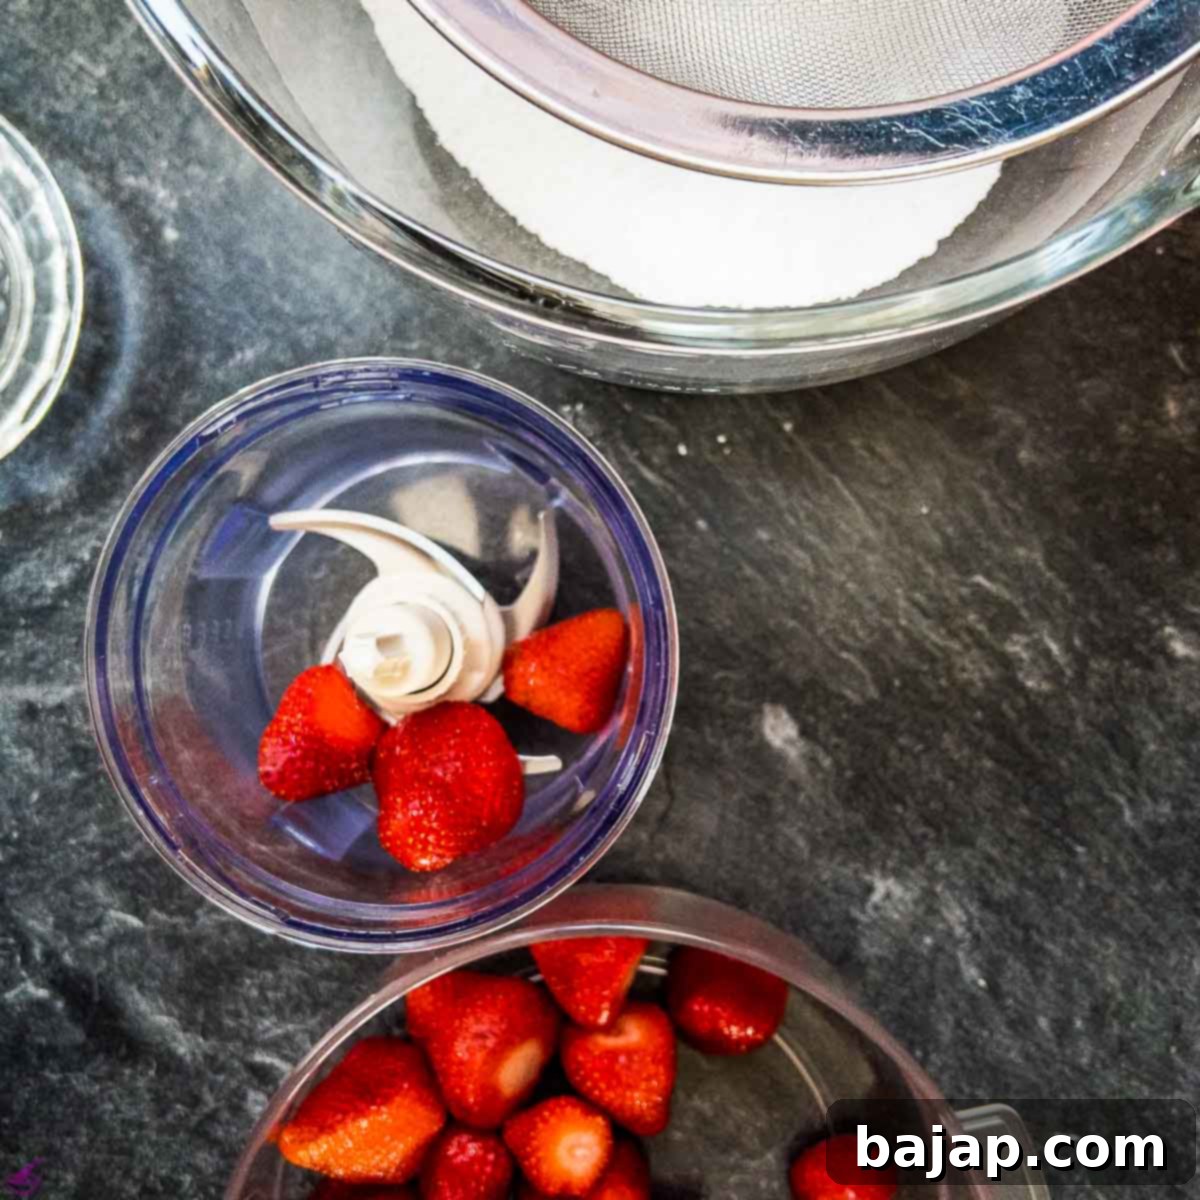
- The very first thing you’ll need to do is meticulously wash and clean your fresh strawberries. Remove any stems and ensure they are free of dirt.
- Once cleaned, place the strawberries in an electric chopper or food processor. Blend them until you achieve a beautifully smooth, pureed consistency. You want it to be as uniform as possible, without any large chunks.
Combining and Churning for Smoothness
- Next, grab a medium mixing bowl. Sift your powdered sugar through a fine-mesh sieve directly into this bowl. This step is important for preventing lumps.
- Then, add your strawberry purée to the powdered sugar. To ensure an even smoother consistency, I highly recommend processing the strawberry purée through a sieve as well, gently pushing it through with a spatula to remove any tiny seeds or remaining fibrous bits.
- Once your sieved strawberry mixture is ready, it’s time for the vibrant tang of lemon. Squeeze the juice from 1 ½ lemons directly into the mixture. This is a truly important step, as the fresh lemon juice not only provides a fantastic, bright flavor that complements the strawberries beautifully but also acts as a natural stabilizer and helps prolong the freshness of your popsicles in the freezer.
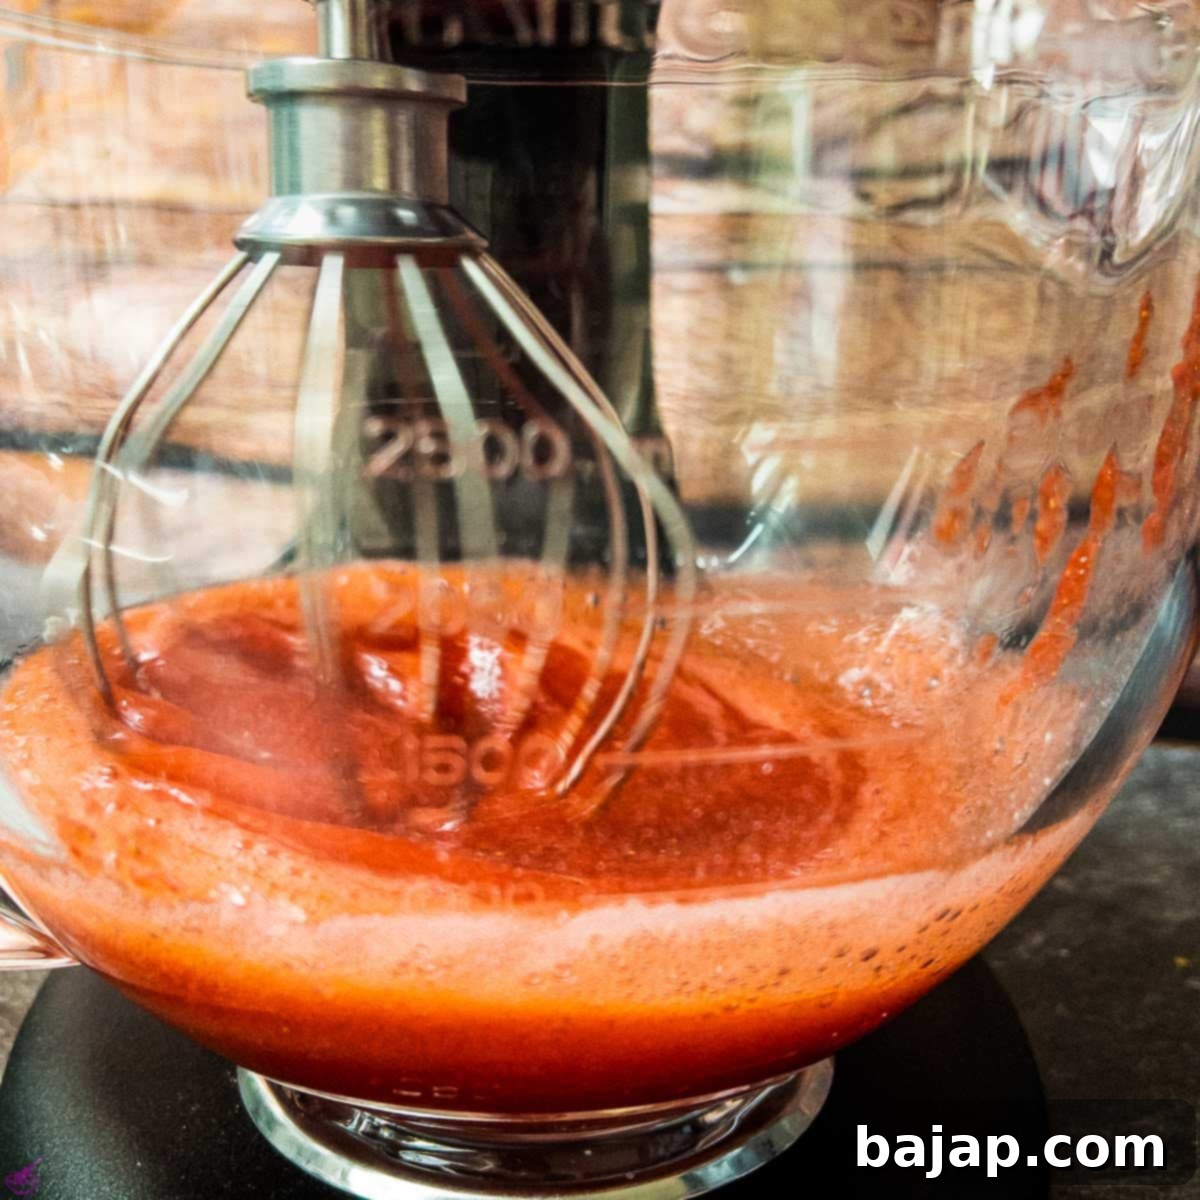
- Now, you’ll need a food processor with a whisk attachment – or an electric hand mixer if you don’t have a food processor in your kitchen. Use it to thoroughly mix all the ingredients together until they are well blended and the powdered sugar is completely dissolved into the strawberry and lemon juice mixture. This typically takes a couple of minutes on medium speed.
The Ice Cream Maker Advantage (for Popsicles!)
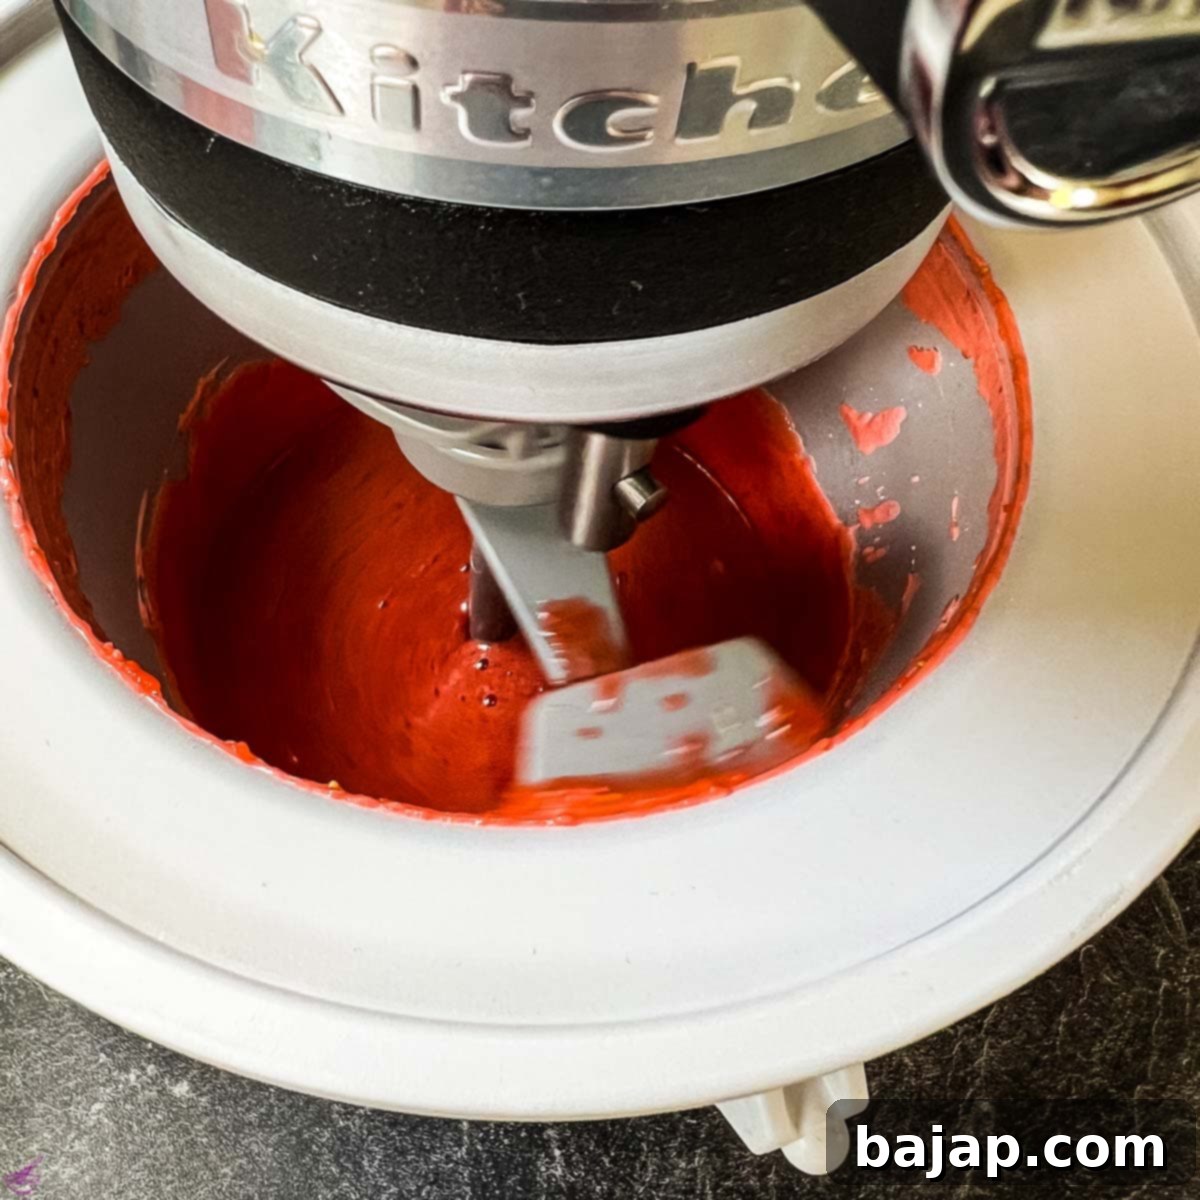
This next step is what gives these popsicles their uniquely smooth texture, akin to a sorbet rather than a simple block of ice. I personally use the Kitchen Aid Ice Cream Maker Attachment, but any ice cream maker will work. The critical factor, as mentioned before, is that the bowl is extremely cold! Remove your chilled ice cream maker bowl from the freezer and securely insert it into your machine.
- Carefully pour your perfectly blended strawberry mixture into the ice cream maker.
- After you’ve filled it, insert the dasher (the mixing paddle) and turn the machine on to a medium setting (usually level two or a similar churn speed). You’ll need to mix everything together for about 5-10 minutes. The mixture will begin to thicken and become slushy, but it won’t be fully frozen like ice cream. This churning process is vital for breaking up ice crystals and creating that desirable smooth consistency for your popsicles.
Final Freeze and Enjoy!
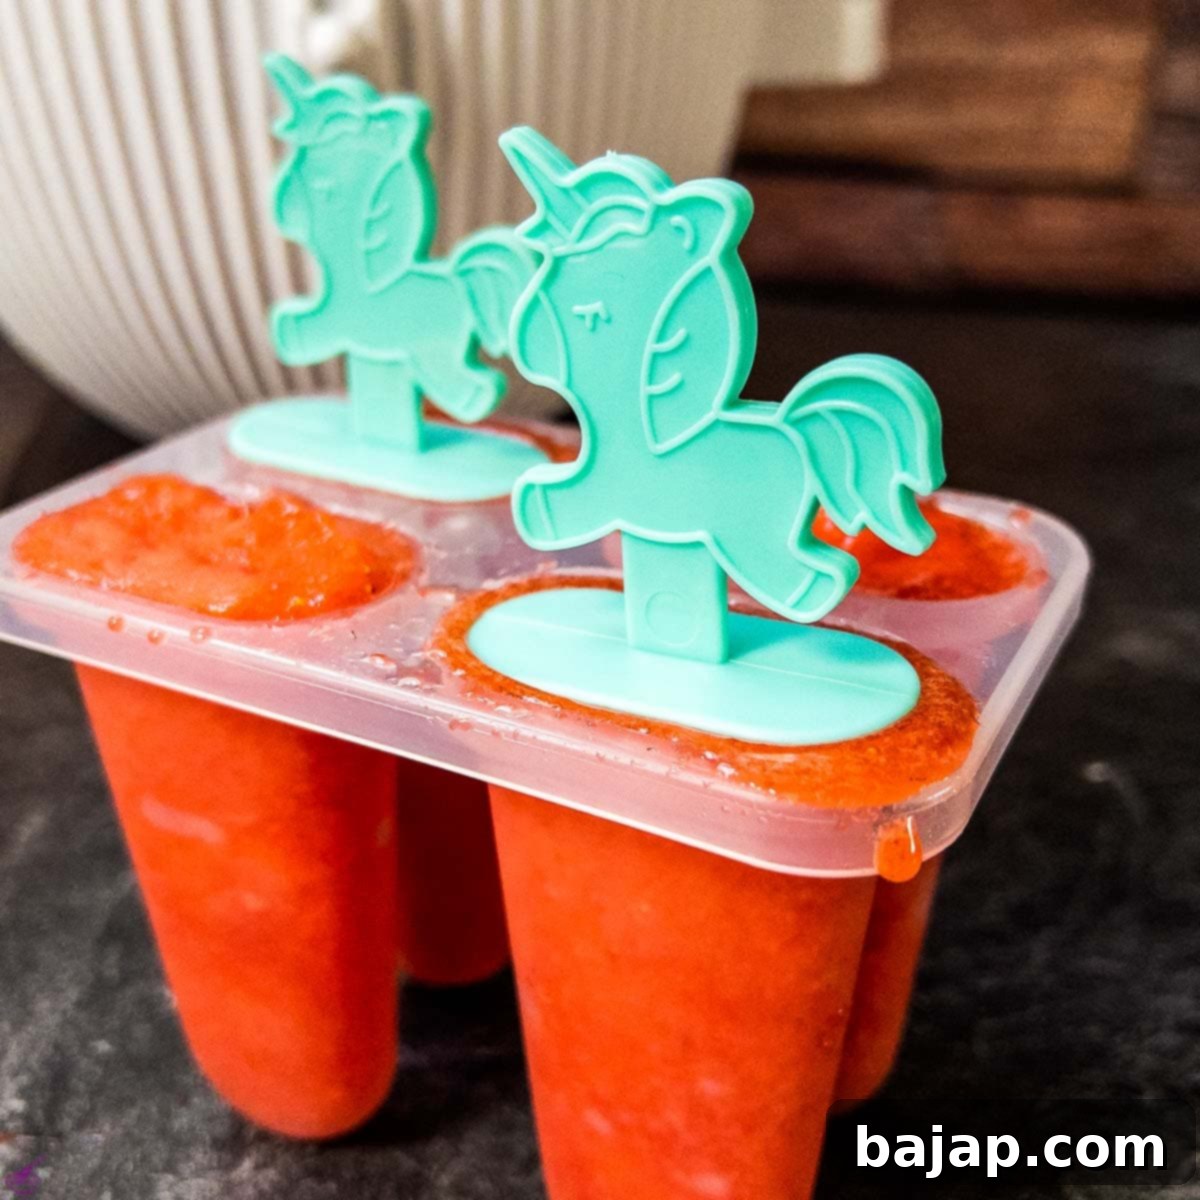
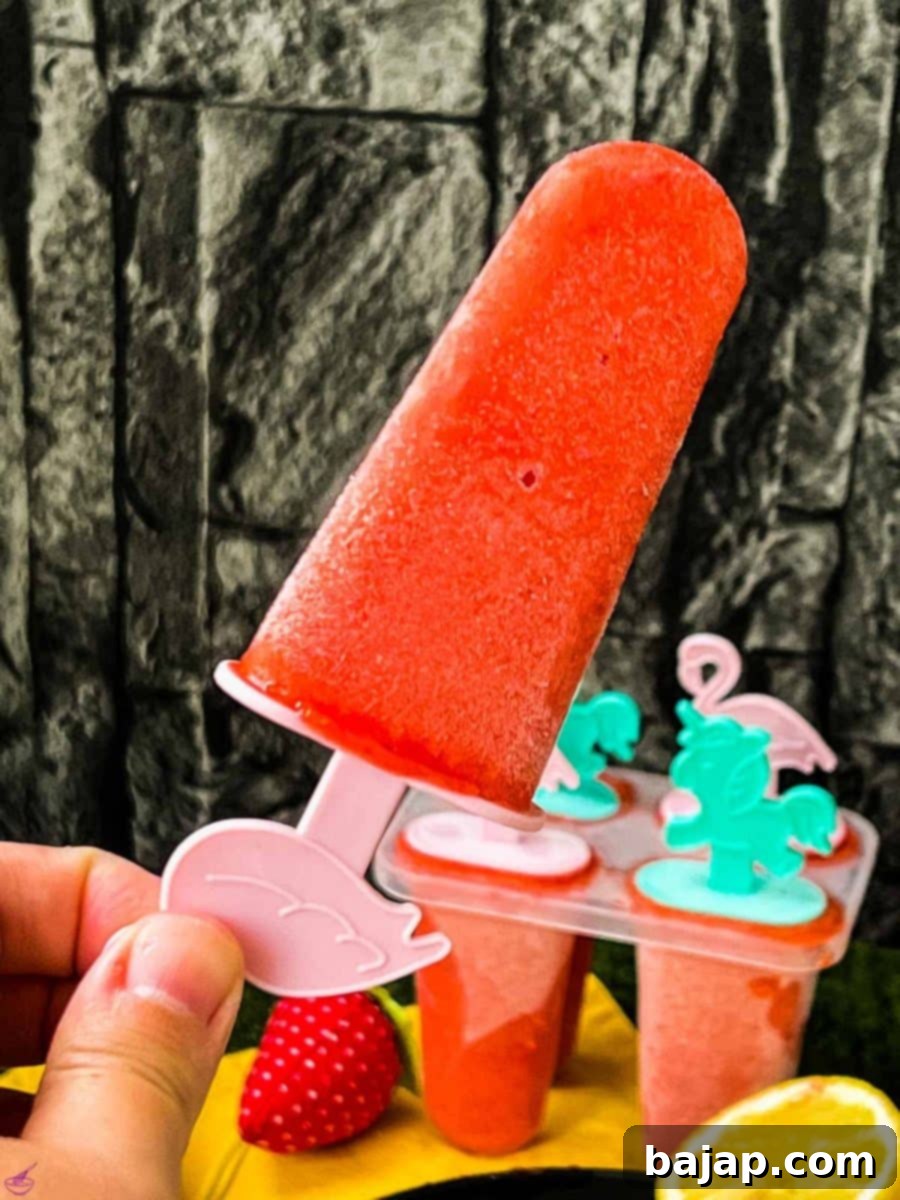
- Once the mixture has reached that ideal slushy consistency from the ice cream maker, you can immediately pour it into your favorite popsicle molds – like these cute silicone popsicle molds which make for easy release. Insert the popsicle sticks, and transfer them to the freezer. They typically need at least 6 hours to fully set, but for the best results, letting them freeze overnight is highly recommended.
- No Popsicle Molds? No Problem! If you don’t have any popsicle molds on hand, don’t let that stop you from enjoying this wonderful treat! You can also freeze your churned strawberry mixture directly into small dessert bowls, ice cube trays, or even a loaf pan. Simply scoop and serve when firm, or cut into cubes if using a tray/pan.
🍍 Delightful Flavor Variations
While strawberry is a timeless classic, this base recipe is incredibly versatile and can be adapted to many other fruits, allowing you to create a personalized array of frozen delights!
- Tropical Pineapple Popsicles: If you’re yearning for a different taste of summer, try this recipe with fresh or even canned pineapple. Unless you’re lucky enough to live in a tropical paradise like Hawaii, picking your own pineapples might not be an option, but supermarket pineapples or well-drained canned varieties will still yield fantastic, tangy-sweet popsicles. Adjust sugar to taste, as pineapples can vary in sweetness.
- Berry Bonanza: Don’t limit yourself to just strawberries! This recipe is perfect for most other berries. Think blueberries, raspberries, or a mixed berry blend. The process remains the same, though you might want to adjust the powdered sugar slightly depending on the natural tartness of your chosen berries.
- Mango Tango: For an exotic twist, use ripe mangoes. Their creamy texture makes for an exceptionally smooth popsicle.
- Stone Fruit Sensations: Peaches, nectarines, or even apricots, when perfectly ripe and pureed, can create wonderfully fragrant and sweet popsicles.
- Herb Infusion: For an adult-friendly touch, consider adding a few fresh mint leaves, a sprig of basil, or even a hint of ginger to your fruit purée before blending. These subtle additions can elevate the flavor profile significantly.
🍽 Essential Equipment You’ll Need
Having the right tools makes the process even smoother and more enjoyable. Here’s a list of the equipment that will assist you in crafting these perfect homemade popsicles:
- Closed Meshed Sieve: Essential for sifting powdered sugar and for achieving an ultra-smooth strawberry purée.
- Electric Chopper/Food Processor: For quickly and efficiently pureeing your fresh or frozen fruit.
- Lemon Squeezer: To extract every last drop of fresh lemon juice with ease.
- Kitchen Aid with Ice Cream Maker Attachment (or standalone Ice Cream Maker): The key to that wonderfully smooth, sorbet-like popsicle texture. If you don’t have this, you can still make popsicles, but the texture might be icier.
- Spatula: Useful for scraping bowls, transferring mixtures, and gently pushing fruit through the sieve.
- Your favorite Popsicle Molds or Loaf Pan: For freezing your mixture into individual popsicles or a block that can be scooped.
🌡 Storing Your Homemade Popsicles
These delightful sweet treats have a remarkably long shelf life when stored correctly in the freezer, allowing you to enjoy them for weeks! The key to maintaining their fresh flavor and smooth texture is proper sealing.
- In Popsicle Molds: Once completely frozen, you can often remove the popsicles from their molds and store them individually wrapped in plastic wrap or parchment paper inside an airtight freezer bag or container. This prevents freezer burn and keeps them from sticking together.
- In a Loaf Pan or Other Container: If you’ve frozen the mixture in a pan, once solid, you can slice it into portions or scoop it out. Store any remaining portions in an airtight container, again, covering them well to prevent ice crystals from forming on the surface and to protect against freezer odors.
Properly stored, your homemade strawberry popsicles should remain delicious for up to 2-3 months. Just make sure they are well covered before storing them away to enjoy another day!
💭 Top Tip for the Best Popsicles
The single most important tip for making truly exceptional homemade strawberry popsicles is to **taste your strawberry mixture before freezing.** Strawberries can vary significantly in sweetness depending on their ripeness and variety. A quick taste test of your pureed and mixed ingredients will allow you to adjust the powdered sugar or even add a tiny splash more lemon juice to perfectly balance the flavors to your liking. This ensures every batch of popsicles is exactly how you want it!
If you fancy a non-fruity popsicle for a change, you absolutely must try these delicious homemade fudgesicles! They are amazing!
🙋🏻 Frequently Asked Questions (FAQ)
If you don’t have any dedicated popsicle molds, there are plenty of creative ways to freeze, store, and enjoy your sweet treat! You can use an ice cube tray for mini popsicles, a loaf pan (then slice or scoop out portions), small paper cups with sticks inserted, or even the dessert bowls you plan to serve them in directly. Just remember to cover them with plastic wrap to prevent freezer burn.
After preparing the mixture and pouring it into molds, it is recommended to freeze strawberry popsicles for a minimum of six hours. However, for the best and most solid consistency, especially if they are larger, freezing them overnight is preferable.
Yes, absolutely! This recipe is incredibly adaptable. Besides strawberries or pineapples, many other types of fresh or frozen berries (like blueberries, raspberries, or mixed berries) are perfect for this type of homemade popsicle. You can also experiment with peaches, mangoes, or even kiwi, adjusting the sugar content based on the fruit’s natural sweetness.
Yes, definitely! This sweet treat can be enjoyed even on cold days, making frozen strawberries a perfect substitute for fresh fruit during the winter months or whenever fresh berries aren’t readily available. Ensure they are thawed slightly before pureeing for the best results.
Other Delicious Recipes for You to Try
- Fresh Strawberry Sponge Cake: A delightful classic that celebrates the taste of strawberries.
- Mini Blueberry Pavlova: Elegant and light, perfect for a special occasion.
- Easy Pineapple Dessert: Another quick and refreshing fruit-based treat.
- Fig Cheesecake in a Jar {No-Bake}: Convenient, delicious, and no oven required!
- Lovely Lavender Spritz Cocktail: A floral and aromatic drink for adults.
If you try this delightful strawberry popsicle recipe, I would absolutely love to hear how you liked it! Please consider giving it a ★★★★★ star rating and leaving a comment below. Your feedback would be awesome and truly appreciated! You can also sign up for our Newsletter to receive weekly delicious homemade recipes, or follow me on Pinterest or Instagram and share your creation with me. Just tag me @combinegoodflavors and use the hashtag #combinegoodflavors, so I don’t miss your wonderful culinary endeavors!
📖 Recipe Card
Best Strawberry Popsicles Recipe
Nora
Save RecipeSaved!
Pin Recipe
Equipment
-
Closed Meshed Sieve
-
Electric chopper Food Processor
-
Lemon squeezer
-
Kitchen Aid with Ice Cream Maker Attachment
-
Spatula
-
Silicone popsicle mold
Ingredients
- 14.1 oz Fresh strawberries
- 1 ¾ cups Powdered Sugar
- 1 ½ Lemons squeezed
Instructions
-
Thoroughly wash and clean the fresh strawberries, removing their stems.14.1 oz Fresh strawberries
-
Place the cleaned strawberries into an electric chopper or food processor and blend until you achieve a smooth purée.
-
Into a mixing bowl, sift the powdered sugar through a fine-mesh sieve to prevent lumps. Add the strawberry purée, preferably passing it through a sieve as well for an even smoother consistency.1 ¾ cups Powdered Sugar
-
Squeeze the juice from 1 ½ lemons and add it to the strawberry-sugar mixture. Stir well.1 ½ Lemons
-
Using a food processor with a whisk attachment or an electric hand mixer, mix all ingredients until they are thoroughly blended and smooth.
-
Prepare your ice cream maker. If using a Kitchen Aid attachment, remove the pre-frozen ice cream maker bowl from the freezer and securely insert it. Ensure the bowl is as cold as possible.
-
Pour the strawberry mixture into the prepared ice cream maker bowl.
-
Insert the dasher (mixing paddle) and turn the ice cream maker on to a medium setting (e.g., level two). Churn the mixture for approximately 5-10 minutes, until it reaches a thick, slushy consistency. This step helps create a smoother, less icy popsicle.
-
Once the churned strawberry mixture is ready, immediately pour it into your ice cream popsicle molds. Insert a popsicle stick into each mold and transfer them to the freezer to set completely. This will typically take 6 hours, but for best results, freeze overnight.
Nutrition values are estimates only, using online calculators. Please verify using your own data.

🤎 You Might Also Like These Recipes
- Chocolate Chip Vanilla Ice Cream
- Homemade Vanilla Ice Cream Recipe
- Quick Strawberry Cream
- Fresh Strawberry Sponge Cake
⛑️ Important Food Safety Information
Ensuring food safety is paramount when preparing any homemade recipe. While making popsicles might seem straightforward, adhering to general food safety guidelines will help keep you and your loved ones healthy. Here are some essential reminders:
- Maintain Cleanliness: Always wash your hands thoroughly with soap and warm water before and after handling food, especially raw ingredients. Ensure all utensils, cutting boards, and work surfaces are clean before use.
- Produce Handling: Wash all fresh fruits and vegetables under running water before use. This helps remove dirt, pesticides, and other contaminants.
- Temperature Control: Avoid leaving prepared food sitting out at room temperature for extended periods, especially mixtures containing fresh fruit, as this can encourage bacterial growth. Keep ingredients chilled until ready to use, and transfer mixtures to the freezer promptly after preparation.
- Freezer Storage: Ensure your freezer maintains a temperature of 0°F (-18°C) or lower for optimal food preservation.
- Cross-Contamination: Though this recipe doesn’t involve raw meat, it’s a good habit to prevent cross-contamination by using separate utensils and cutting boards for different food types, and always washing them in between.
- Power Outages: In case of a power outage, keep the freezer door closed as much as possible to maintain temperature and minimize thawing.
For more comprehensive information on safe food handling practices, please refer to trusted resources such as the Safe Food Handling guidelines provided by the FDA.
