Decadent Moist Chocolate Cake: The Best Recipe for Your 6 Leftover Egg Whites
Do you often find yourself with a handful of leftover egg whites after preparing various culinary delights like custards, hollandaise sauce, or a batch of lemon curd? Instead of letting them go to waste, turn those precious six leftover egg whites into an incredibly delicious, rich, and wonderfully moist chocolate cake! This recipe is not just about reducing food waste; it’s about creating a truly decadent dessert that’s surprisingly easy to master. Prepare to impress your family and friends with a chocolate marvel that boasts a tender crumb and deep, satisfying chocolate flavor.

This delightful cake shares many characteristics with a classic pound cake, particularly in its rich, dense, and moist texture. Its lusciousness comes from a perfectly balanced blend of dark chocolate, airy egg whites, creamy butter, fine cake flour, and sugar. The secret to its exquisite structure and depth of flavor lies in using roughly equal parts of these core ingredients. While traditional pound cakes often rely on whole eggs, this recipe cleverly adapts to solely use egg whites, resulting in a slightly lighter yet still incredibly flavorful and satisfying outcome.
Utilizing egg whites in baking is a cherished tradition, especially during the festive holiday season. Many beloved treats are specifically designed for this purpose. For instance, the traditional Austrian Christmas “Coconut Busserl” (coconut cookies) and my personal favorite, Walnut Meringue Cookies, are classic examples of recipes that ingeniously put leftover egg whites to good use. If you’re planning your Christmas baking, these two cookie recipes are wonderful additions to your repertoire. However, for a truly versatile and year-round indulgence, this chocolate cake stands out as an easy yet sophisticated choice that’s sure to become a regular in your baking rotation.
Before we embark on this exciting baking journey, let’s ensure we have all our ingredients and equipment ready. You’ll be amazed at how simple it is to create such a magnificent dessert with just a few steps and common kitchen tools!
🥘 Essential Ingredients for a Perfect Chocolate Cake
Crafting this magnificent chocolate cake requires only a handful of fundamental ingredients, most of which are probably already staples in your kitchen. The quality of these components, particularly the chocolate, will significantly influence the final taste, texture, and overall richness of your cake. Here’s a detailed breakdown of what you’ll need to gather:
- Cake Flour: This is key to achieving a supremely tender and delicate crumb. Cake flour has a lower protein content compared to all-purpose flour, which helps prevent the cake from becoming tough. If you don’t have cake flour on hand, you can create a decent substitute by replacing 2 tablespoons of all-purpose flour with 2 tablespoons of cornstarch per cup of flour, then sifting them together several times.
- Unsalted Butter: Essential for adding richness, flavor, and moisture to the cake. Using unsalted butter allows you to control the exact amount of salt in your recipe. Make sure your butter is at room temperature; this ensures it creams properly with other ingredients, creating a smooth, emulsified batter.
- Granulated Sugar: Beyond just sweetening the cake, sugar plays a crucial role in stabilizing the whipped egg whites, contributing to the cake’s light yet stable structure, and helping to achieve a beautiful golden-brown crust during baking.
- Dark Chocolate Couverture: This is truly the star ingredient! Couverture chocolate is characterized by its higher cocoa butter content, which allows it to melt incredibly smoothly and gives a superior flavor and texture compared to standard baking chocolate. For the best results, opt for a good quality dark chocolate with a cocoa percentage of 70% or higher.
- Egg Whites: The inspiration behind this entire recipe! These are typically leftovers from other baking projects. When whipped to stiff peaks, egg whites are brilliant at incorporating air into the batter, which is crucial for creating a cake with a delicate, airy yet structured texture. For optimal volume and stability, ensure your egg whites are at room temperature before whipping.
- Butter or Baking Spray: Used to generously coat your baking pan, forming a non-stick barrier. This is critical for ensuring the cake releases cleanly and easily after baking.
- Flour or Breadcrumbs: After greasing, dusting the pan with a light layer of flour or fine breadcrumbs provides an additional non-stick coating, further safeguarding against sticking and helping to achieve a beautifully shaped cake.
- Powdered Sugar: For dusting the cooled cake. This is an optional but highly recommended finishing touch, adding an elegant aesthetic and a subtle hint of sweetness to the presentation.
Please consult the detailed recipe card below for the precise quantities and measurements needed for each of these ingredients.
🍽 Essential Baking Equipment
Having the correct tools can significantly enhance your baking process and the final outcome of your chocolate cake. For this recipe, you’ll need standard kitchen equipment that helps ensure precision, ease, and a perfect bake:
- Mixing Bowls: You’ll need at least two – one small, heatproof bowl for melting the chocolate and butter, and a larger, absolutely clean and grease-free bowl for whipping the egg whites. A clean bowl is paramount for egg whites to whip properly.
- Bundt Cake Pan Springform: A springform bundt pan is highly recommended for this recipe. Its non-stick properties and quick-release latch make it ideal for achieving beautifully shaped cakes that are easy to remove without damage. An 8-inch (20 cm) pan is generally preferred for a taller cake.
- Rubber Spatula: This versatile tool is indispensable for gently folding ingredients, particularly when incorporating the light egg whites and the heavier chocolate mixture, ensuring that the delicate air is retained in the batter.
- Cooling Rack: Essential for cooling your baked cake. A wire rack allows air to circulate around all sides of the cake, preventing the bottom from becoming soggy due to trapped heat and moisture.
- Close-Meshed Sieve: Used for sifting the cake flour. Sifting not only removes any lumps but also aerates the flour, contributing to a lighter and smoother cake batter. It’s also perfect for dusting powdered sugar evenly.
- Electric Mixer (Stand or Handheld): While you can whip egg whites by hand, an electric mixer is highly recommended for efficiency and to ensure the egg whites are whipped to stiff, voluminous peaks consistently.
🔪 Step-by-Step Baking Instructions for Your Chocolate Cake
Follow these detailed, easy-to-understand steps to create a show-stopping chocolate cake using your leftover egg whites. Paying close attention to detail and handling delicate ingredients like egg whites and chocolate with care will ensure the best possible results.

- Preheat Oven and Prepare Chocolate: Start by preheating your oven to 180 °C (356 °F). This ensures the oven is at the correct temperature when the batter is ready, allowing for consistent baking. While the oven warms, begin preparing your chocolate. For this recipe, since we are baking a cake, the precise and delicate tempering of chocolate (often required for confections like pralines) is not necessary. A simple melting process in a water bath will suffice.
- Melt Chocolate and Butter using a Double Boiler: Combine the dark chocolate couverture and the unsalted butter in a small, heatproof pot or bowl. Place this pot over a larger pot of simmering water, ensuring that the bottom of the smaller pot does not touch the water. The gentle, indirect heat from the steam will slowly and evenly melt the chocolate and butter into a smooth, glossy mixture. Stir occasionally as it melts. It is very important not to allow the temperature of this chocolate mixture to exceed 80 °C (176 °F); overheating can cause the chocolate to seize or “burn,” which will negatively affect its texture and flavor in the cake. Once fully melted and smooth, remove the pot from the heat and set it aside to cool slightly.
- Whip Egg Whites and Sugar to Stiff Peaks: In a separate, impeccably clean, medium-sized mixing bowl (it must be completely free of any grease residue, as grease can prevent egg whites from whipping properly), add the six room-temperature egg whites and the granulated sugar. Using an electric mixer (either a stand mixer with a whisk attachment or a handheld mixer), beat the mixture on medium-high speed until it becomes stiff and glossy. You’ll know it’s ready when you lift the beaters and the egg white mixture holds firm, distinct peaks that do not collapse. Be cautious not to over-beat, which can lead to a dry, crumbly texture.
- Gently Fold in the Flour: Once your egg whites are perfectly whipped, take your cake flour and gently sift it directly over the stiffly beaten egg whites using a close-meshed sieve. This step is crucial for aerating the flour and preventing any lumps from forming in your delicate batter. With a rubber spatula, carefully fold in the sifted flour using light, sweeping motions from the bottom to the top. The goal is to incorporate the flour without deflating the precious air you’ve whipped into the egg whites, as this air contributes significantly to the cake’s light texture.
- Incorporate the Chocolate Mixture: Now, slowly and gently fold in the slightly cooled (but still liquid) melted butter-chocolate mixture into your egg white and flour batter. Continue to use your rubber spatula and a very light hand, ensuring the rich chocolate is evenly distributed throughout the batter. Again, avoid vigorous mixing to maintain the airy structure.
- Prepare and Fill the Baking Pan: Before transferring the batter, meticulously grease your chosen springform pan (or bundt cake pan) with either butter or baking spray. Once greased, generously dust the entire interior surface with a light coating of flour or fine breadcrumbs, tapping out any excess. This dual-layer preparation is absolutely vital for ensuring your cake does not stick to the pan and releases cleanly. Then, carefully pour the cake batter into the prepared pan.
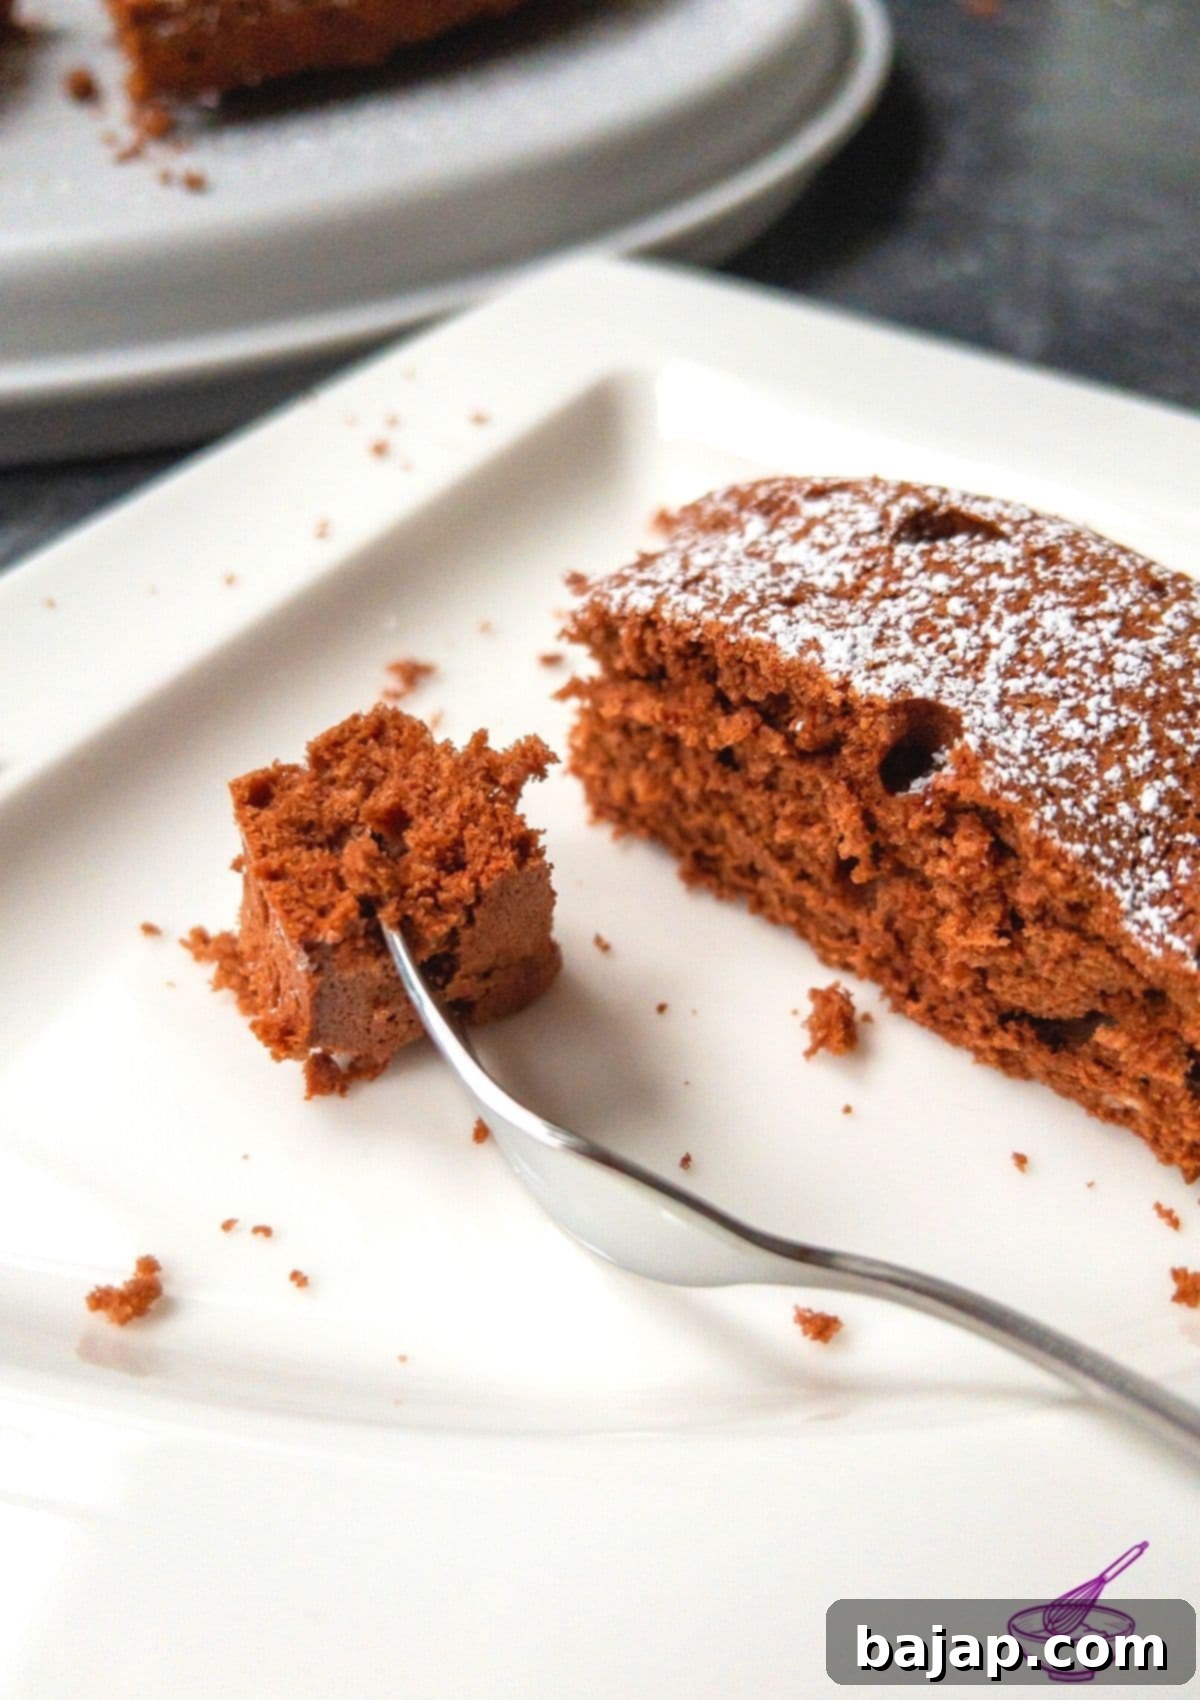
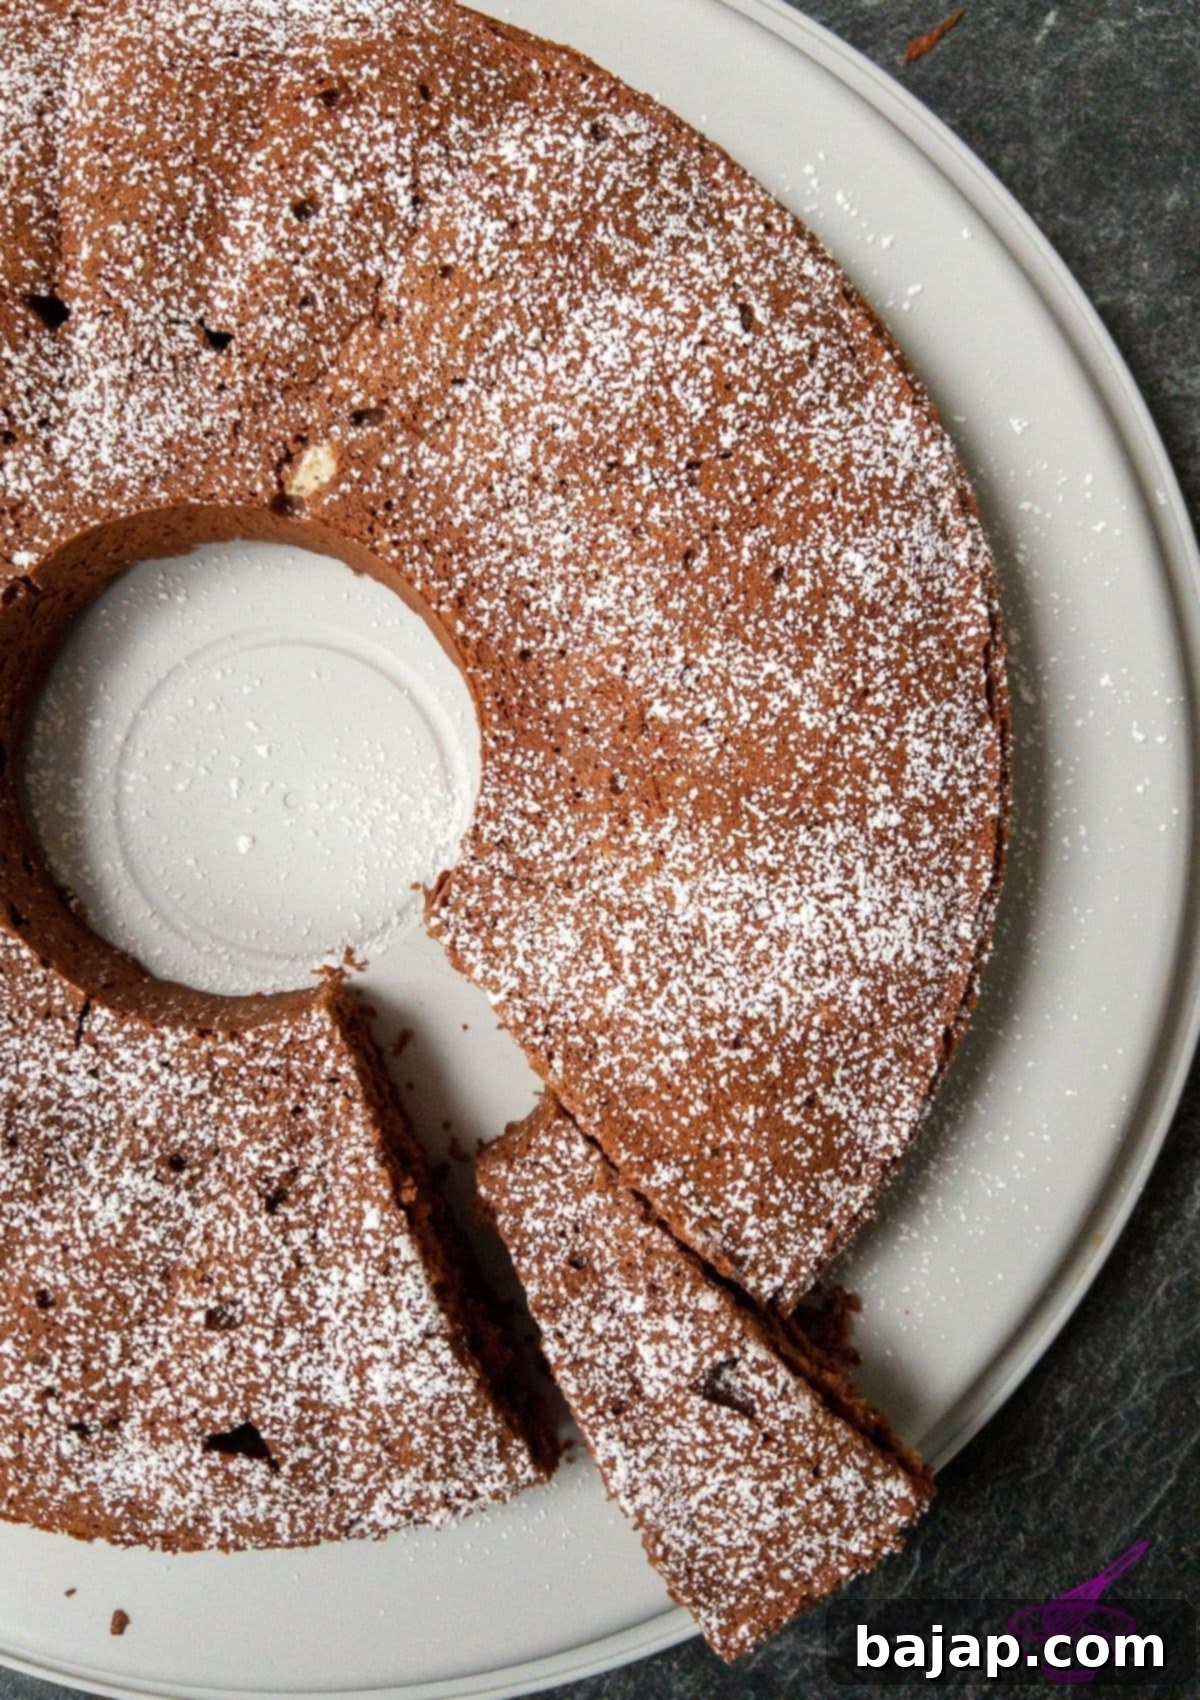
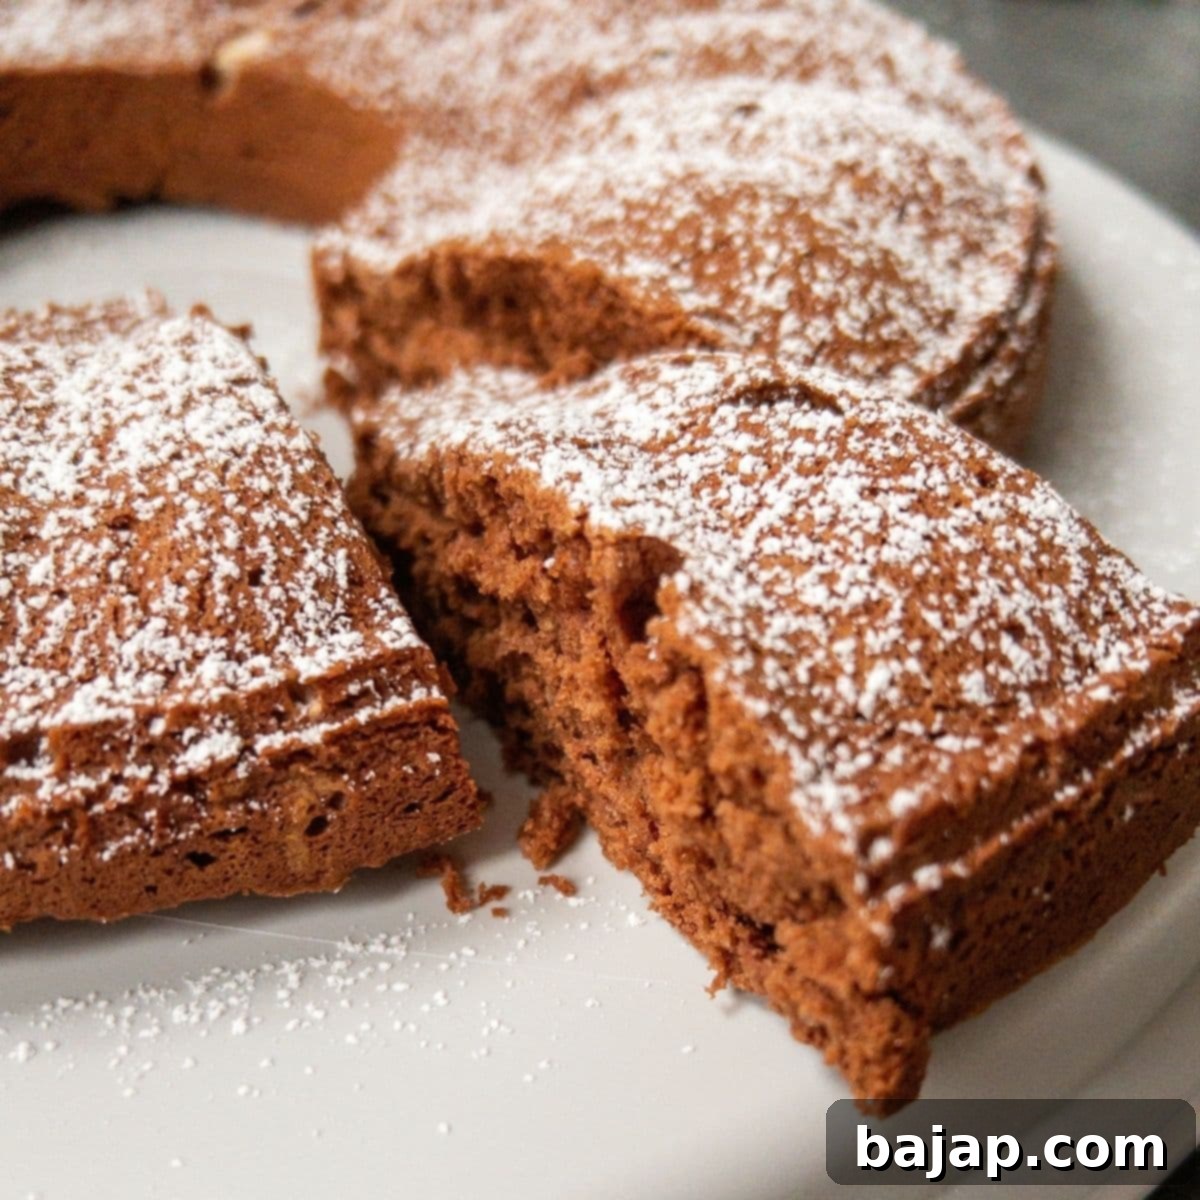
As illustrated in the accompanying image, the springform pan I used was somewhat larger than ideal for the volume of batter, resulting in a cake that was a little flatter than some might prefer. However, I can assure you that this circumstance did not, in any way, compromise the cake’s quality. It remained wonderfully moist, tender, and far from crumbly or dry. That said, if your preference is for a taller, more visually striking cake, I strongly recommend opting for a smaller pan, perhaps an 8-inch (20 cm) diameter, to achieve that desired height and presence on your dessert table.
- Bake the Cake to Perfection: Gently place the filled cake pan onto the middle shelf of your preheated oven. Bake for approximately 25-30 minutes. Keep in mind that baking times can vary slightly depending on the nuances of your specific oven, so it’s always wise to monitor the cake as it bakes.
- Test for Doneness: To confirm that your cake is perfectly baked through, perform the traditional wooden pick test at the end of the recommended baking time:
- Carefully insert a clean wooden pick (such as a toothpick or a thin skewer) into the very center of the cake.
- Gently withdraw the pick.
- If the pick comes out completely clean, without any wet batter clinging to it, your cake is ready! If you see any moist crumbs or wet batter, return the cake to the oven and continue baking for a few more minutes, then test again.
Once baked, remove the cake from the oven.
- Cool and Serve: Allow the cake to cool in its pan on a cooling rack for about 10-15 minutes. This crucial resting period allows the cake to set properly and makes it much easier to handle. After this initial cooling, carefully open the springform pan and transfer the cake to a beautiful cake plate. For a touch of elegant simplicity and a hint of extra sweetness, lightly dust the entire cake with powdered sugar using your sieve before slicing. This delightful chocolate cake pairs exceptionally well with a warm Eggnog Coffee, or it can be savored on its own, perhaps with a generous dollop of freshly whipped cream. Enjoy your homemade masterpiece!
🍫 Choosing the Right Chocolate for Your Cake
The type and quality of chocolate you select are pivotal to the final taste and luxurious texture of your egg white chocolate cake. While any chocolate you genuinely love will yield a tasty result, opting for a high-quality dark chocolate couverture will truly transform this cake from merely good to absolutely extraordinary.
For this specific recipe, my personal preference leans towards Felchlin Centenario Concha 70% chocolate. This particular blend, crafted from exquisite cocoa beans sourced from Bolivia, Ecuador, and Venezuela, delivers an impressive depth of flavor and a silky-smooth melt that is simply unparalleled. I share this not to impose a strict requirement, but to underscore the significant impact that premium chocolate can have and to highlight a brand that I personally cherish and rely on in my own baking. High-quality chocolate melts more consistently and integrates seamlessly into the batter, leading to a richer, more nuanced, and sophisticated flavor profile in your finished cake.
If you’re interested in experiencing Felchlin chocolate for yourself, I highly recommend visiting primechocolate.com. As a special token of appreciation for my readers, you can enjoy a generous 10% discount on your purchase by using the coupon code ThankYouNora at checkout. However, please always feel empowered to use your absolute favorite dark chocolate, whether it’s a gourmet bar or a high-quality baking chocolate readily available at your local grocery store. The most important factor is to choose a chocolate whose flavor you genuinely adore, as its essence will be prominently featured in every delicious bite of this cake.
When making your selection, take a moment to consider the cocoa percentage. A dark chocolate ranging from approximately 60% to 75% cocoa will provide a robust, intense chocolate flavor without introducing excessive bitterness. It’s generally advisable to avoid milk chocolate for this specific recipe, as its higher sugar and milk solid content can result in a cake that is overly sweet and potentially alters the desired texture of this classic dark chocolate experience.
🥜 Making Your Delicious Chocolate Cake Gluten-Free
Adapting this delightful chocolate cake to suit a gluten-free diet is surprisingly straightforward, ensuring that everyone can enjoy this wonderfully moist and rich treat. The primary modification involves substituting traditional wheat flour with a carefully selected blend of gluten-free flours and an appropriate binder, which are essential for maintaining the cake’s desirable structure and tender, moist texture.
For optimal results when converting this recipe, we recommend replacing the wheat flour with a composite blend. A good starting point is to use a ratio of two parts gluten-free flour, combined with one part gluten-free starch flour, and the addition of one binder. This specific combination is designed to effectively mimic the functional properties of wheat flour, providing the necessary structure to the cake while preventing it from becoming either too gummy or excessively crumbly, common issues in gluten-free baking.
Recommended Gluten-Free Flours for Your Blend:
- Buckwheat Flour: Imparts a distinct earthy and nutty flavor, adding complexity.
- Amaranth Flour: Known for its nutty profile and being naturally high in protein.
- Millet Flour: Offers a mild, slightly sweet taste and a fine texture.
- Quinoa Flour: Features a unique, slightly pronounced flavor and is also rich in protein.
- Almond Flour: Contributes significant moisture and a wonderfully tender crumb; may require slight adjustments to liquid content.
- Soy Flour: High in protein with a subtle, beany flavor.
- Chickpea Flour: Delivers a nutty taste and can result in a denser cake.
Recommended Starch Flours (for enhancing lightness and improving texture):
- Potato Starch: Excellent for creating a light and airy texture.
- White or Brown Rice Flour: A versatile and widely used gluten-free flour, contributing to structure.
- Corn Starch: A powerful thickening agent that also aids in achieving a tender crumb.
- Tapioca Flour/Starch: Also functions as a binder, providing elasticity and chewiness.
Essential Binders (for crucial structure and cohesion in gluten-free baked goods):
- Ground Chia Seeds: When mixed with water, they form a gel that acts as an excellent egg substitute and binder.
- Ground Flax Seeds: Similar to chia seeds, when combined with water, they create a “flax egg” for binding.
- Locust Bean Gum: A natural thickener and stabilizer, often used in conjunction with other gums.
- Guar Gum: A potent binder; use sparingly, as too much can impart a gummy texture to baked goods.
- Agar-Agar: A plant-based gelatin alternative, effective for setting and binding.
- Additional Eggs: While this recipe primarily uses egg whites, for certain gluten-free flour blends, an extra egg yolk or a whole egg can be considered to further enhance binding and moisture, but always test the specific blend first.
- Gelatin: An effective binder if you are not adhering to a vegetarian or vegan diet.
When formulating your gluten-free flour blend, the aim is always to achieve a harmonious balance. For example, if your recipe calls for 1 cup of flour, you might use approximately 2/3 cup of a gluten-free flour (like white rice flour), combined with 1/3 cup of a starch (such as potato starch), and then add about 1 teaspoon of guar gum as your binder. Remember, gluten-free baking often involves some experimentation to discover the ideal blend that suits your personal texture and flavor preferences. The ultimate goal is to prevent the cake from becoming either too dense and heavy or too brittle and prone to crumbling. Always ensure that the specific gluten-free flour blend and binder you choose are well-suited for the delicate nature of cake recipes.
🌡️ Storage Tips for Your Delicious Chocolate Cake
Proper storage is essential to preserving the freshness, moisture, and delightful flavor of your homemade chocolate cake for as long as possible. Whether you plan to savor it over a few days or save a portion for future indulgence, here are the best practices for storing your cake:
- At Room Temperature: This chocolate cake is designed to remain wonderfully moist and flavorful for approximately five days. To achieve this, it should be stored either under a cake dome or in a completely airtight container. Ensure the stored cake is kept away from direct sunlight and any sources of excessive heat, which can accelerate staling.
- Freezing for Longer Preservation: For extended storage, this cake freezes exceptionally well. Once your cake has cooled down completely to room temperature (this is crucial!), wrap it tightly in several layers of plastic cling film. Following this, add an additional layer of heavy-duty aluminum foil. This double-layer protection is vital to prevent freezer burn and to maintain the cake’s texture and flavor. Label the wrapped cake with the current date, and it can be safely frozen for up to 2-3 months. When you’re ready to enjoy it, simply unwrap the frozen cake and allow it to thaw gradually at room temperature on your kitchen counter for several hours or conveniently overnight.
Always remember to ensure the cake is entirely cool before beginning any storage method, especially before freezing. Storing a warm cake can lead to condensation, which results in a soggy texture or the formation of undesirable ice crystals.
💭 Top Tip: Easily Adjusting the Recipe for Any Number of Egg Whites
One of the most fantastic features of this chocolate cake recipe is its incredible adaptability and flexibility, particularly when it comes to accommodating the exact quantity of leftover egg whites you happen to have on hand. It’s an exceptionally forgiving recipe that makes scaling a breeze, ensuring no egg whites ever go to waste again!
Here’s the simple yet golden rule that underpins this recipe’s adaptability: for every 0.7 oz (20 grams) of egg white you have, you should maintain a balanced ratio by using an equal amount (by weight) of the other primary ingredients – specifically butter, flour, sugar, and chocolate. This creates a beautifully consistent “pound cake” like ratio, guaranteeing that your cake’s texture and flavor remain perfectly balanced regardless of the adjustments you make.
Let’s illustrate with a couple of practical examples:
- If you have four egg whites instead of six:
Assuming each egg white weighs approximately 0.7 oz (20 g) as per the recipe’s ratio guide:
4 egg whites x 20 g/egg white = 80 g total egg white weight.
Therefore, you would use 2.8 oz (80 g) each of unsalted butter, cake flour, granulated sugar, and dark chocolate couverture. - If you have five egg whites:
Following the same principle:
5 egg whites x 20 g/egg white = 100 g total egg white weight.
Consequently, you would use 3.5 oz (100 g) each of unsalted butter, cake flour, granulated sugar, and dark chocolate couverture.
This straightforward scaling method ensures that your cake will consistently maintain its ideal texture, moistness, and rich flavor, irrespective of the precise amount of egg whites you’re working with. It truly is a ingenious way to utilize every last drop of those valuable egg whites!
🍰 More Delicious Cake Recipes for You to Explore
If you thoroughly enjoyed baking this innovative egg white chocolate cake, or if you’re simply in search of more delightful cake recipes to broaden your culinary horizons, here are some other fantastic options from our collection that we think you’ll love:
- Flourless Chocolate Cake: An intensely rich and fudgy chocolate experience, this cake is naturally gluten-free and perfect for those craving a dense, deeply flavored dessert.
- Chestnut Cake: A unique and sophisticated cake featuring chestnut flour, offering a delicate texture and a subtle, earthy sweetness that’s truly distinct.
- Austrian Strawberry Sponge Cake: Experience a taste of summer with this light and airy sponge cake, traditionally layered with fresh, vibrant strawberries and cream.
- Potato Flour Cake with Eggnog: An unusually moist and incredibly tender cake, infused with the festive flavor of eggnog – a delightful surprise for your palate.
- Whipping Cream Bundt Cake: Achieve an unbelievably moist and tender crumb with this bundt cake, made luxurious by the addition of whipping cream to the batter.
- Chocolate Chip Ricotta Loaf Cake: A comforting and flavorful loaf cake that beautifully combines the creamy texture of ricotta cheese with sweet, melty chocolate chips.
- Double Chocolate Bundt Cake: For the ultimate chocolate enthusiast, this bundt cake is packed with an abundance of chocolate, ensuring a rich and satisfying experience in every bite.
We genuinely hope you enjoy exploring and trying these other wonderful recipes from our collection!
If you do decide to bake this incredible leftover egg white chocolate cake, we would be absolutely thrilled to hear about your experience! Please share your thoughts by giving the recipe a ★★★★★ star rating and leaving a comment below. Your valuable feedback is incredibly helpful to us and to other enthusiastic bakers in our community! Additionally, you can subscribe to our Newsletter to receive weekly doses of delicious homemade recipes directly to your inbox. You can also follow me on Pinterest or Instagram and share your culinary creation with our community. Just remember to tag me @combinegoodflavors and use the hashtag #combinegoodflavors so I don’t miss your masterpiece!
📖 Full Recipe Card: Six Egg White Chocolate Cake

Six Egg White Chocolate Cake
By Nora
Save RecipeSaved!
Pin Recipe
Equipment
-
Mixing bowls
-
Spring bundt pan
-
Rubber spatula
-
Cake rack
-
Close meshed sieve
