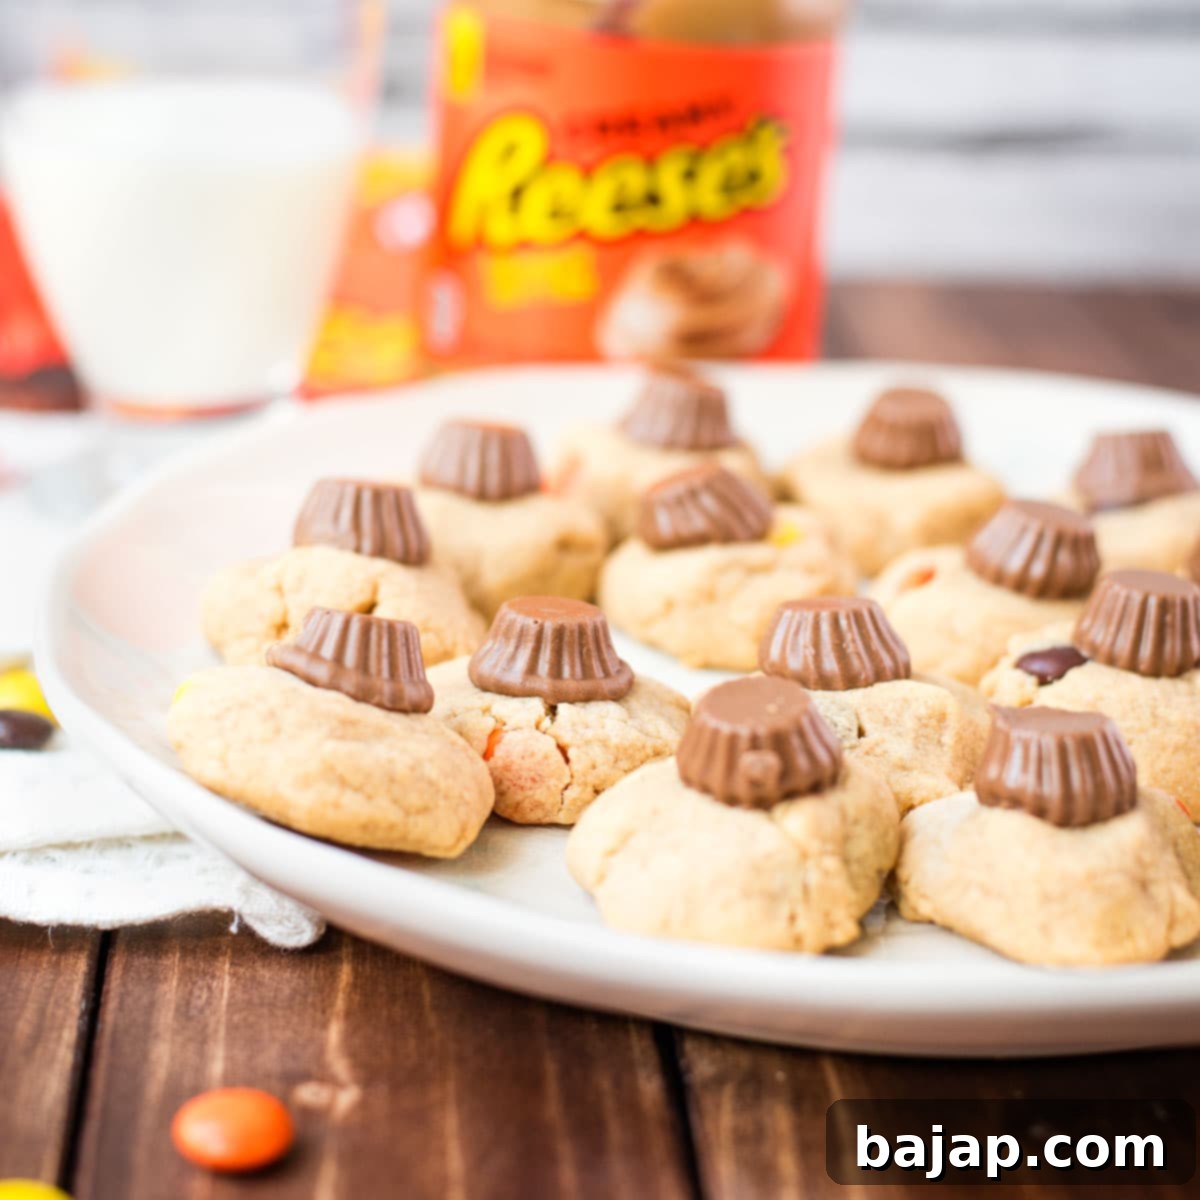
Ultimate Reese’s Peanut Butter Cookies: The Best Homemade Recipe for Peanut Butter Lovers
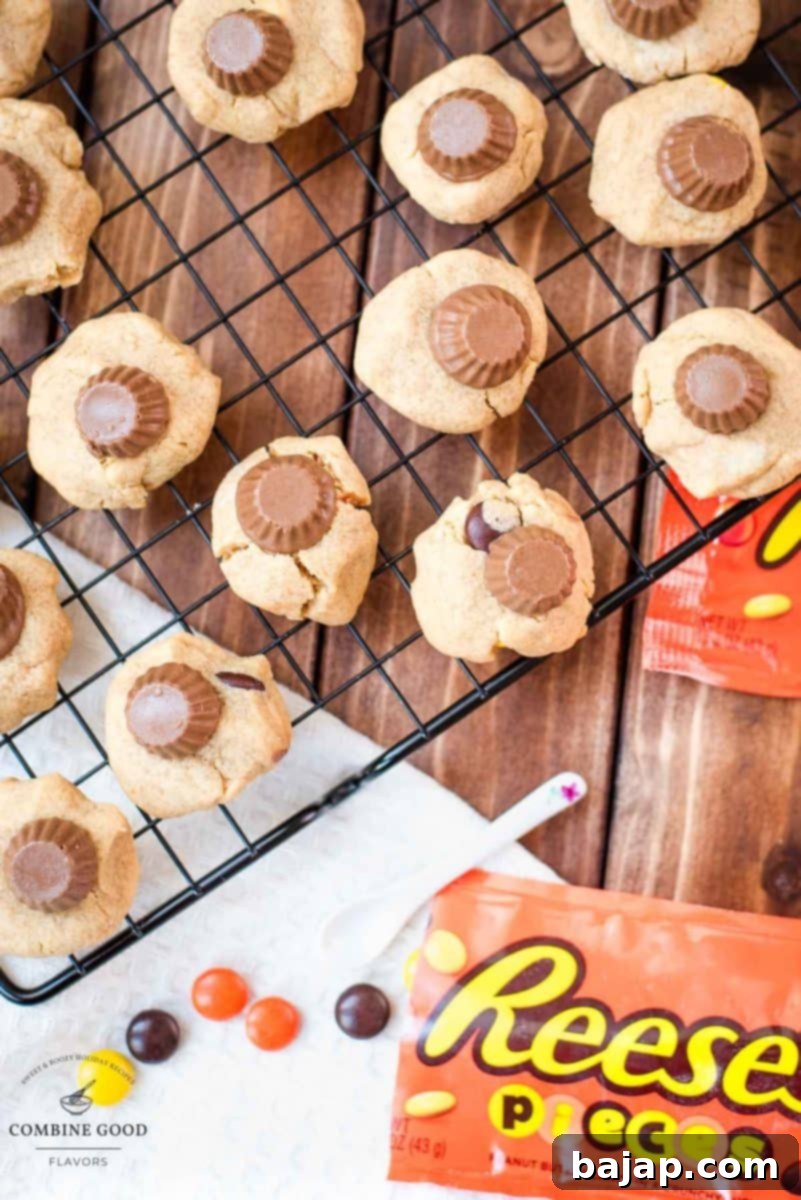
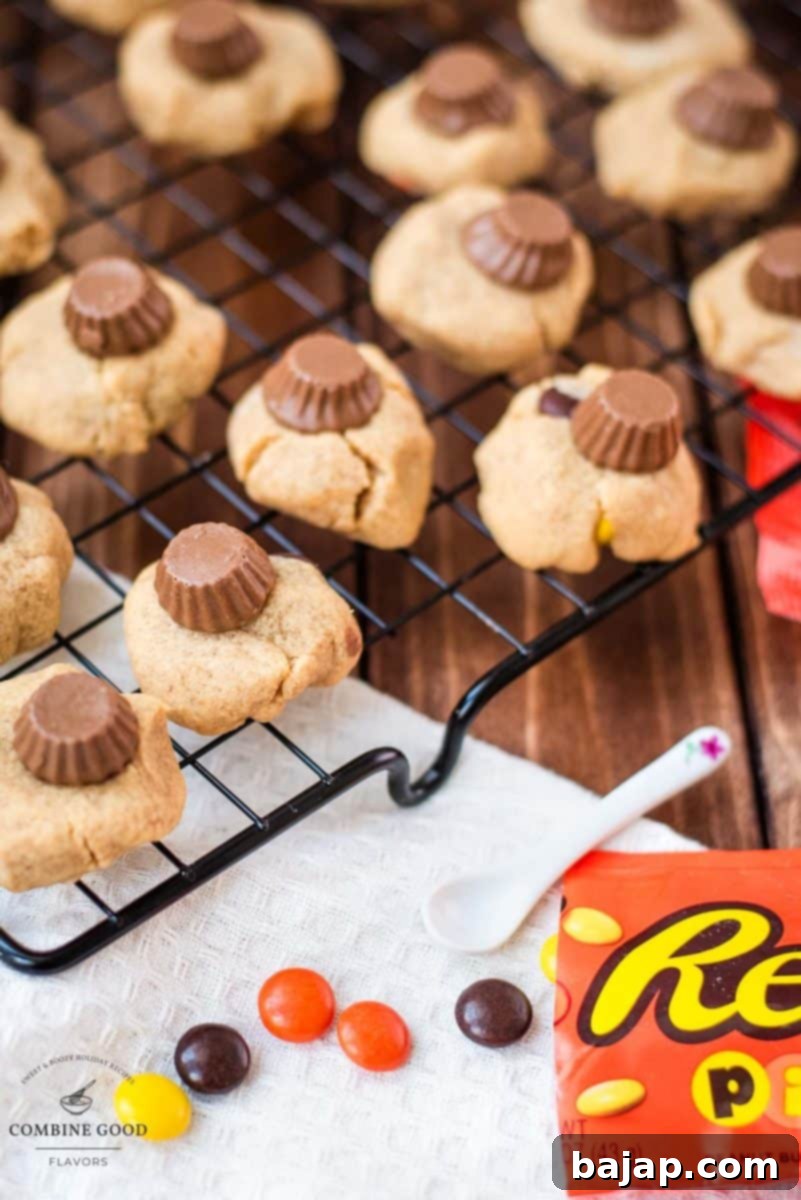
If you’re a true Reese’s enthusiast, someone who simply can’t get enough of that iconic peanut butter and chocolate combination, then prepare yourself for the ultimate treat! Today, we’re diving into a recipe that takes peanut butter cookies to an entirely new level: **Peanut Butter Cookies with Reese’s**, supercharged with creamy Reese’s Peanut Butter in the dough, studded with crunchy Reese’s Pieces throughout, and crowned with a delightful Reese’s Mini Cup on top of each cookie. Get ready for a dessert experience that will tantalize your taste buds and leave you craving more!
These aren’t just any peanut butter cookies; they are an explosion of intense peanut butter flavor, perfectly balanced with sweet chocolate notes. The cookie dough itself is a dream – incredibly fluffy, moist, and never dry or crumbly. Each bite offers a delightful texture contrast, from the soft cookie base to the satisfying crunch of the Reese’s Pieces and the melt-in-your-mouth goodness of the mini cups. This is a truly intense taste experience that I wholeheartedly promise you will adore!
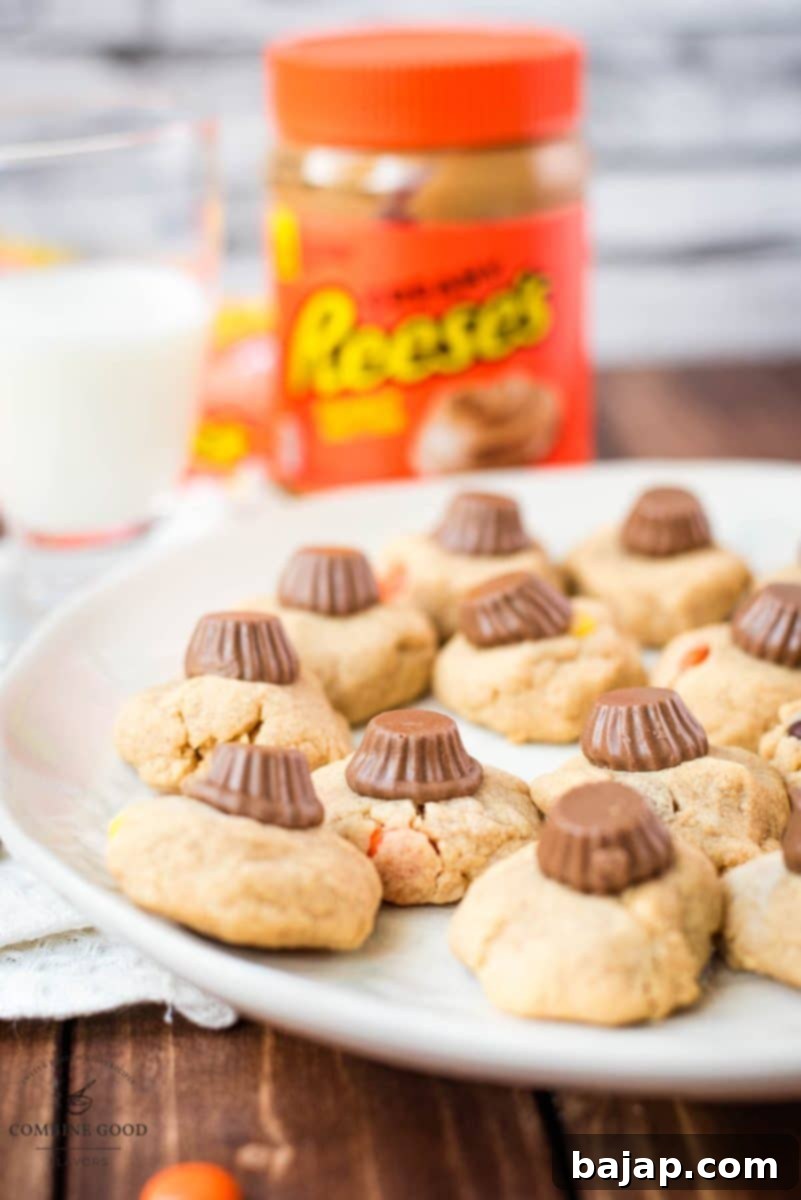
I know these **Reese’s cookies** are a hit because when I shared them with my friends and work colleagues, they vanished in under three hours! The feedback was overwhelmingly positive, with everyone raving about the rich flavor and perfect texture. It’s safe to say these **homemade Reese’s cookies** are a crowd-pleaser and the best way to satisfy any peanut butter and chocolate craving.
So, if you’re looking to treat yourself and your loved ones to something truly extraordinary, grab your apron, gather your ingredients, and let’s embark on this delightful journey into peanut butter madness! Making these **peanut butter cookies with Reese’s** is a fun and rewarding experience, and the results are utterly irresistible.
Why You’ll Love These Reese’s Peanut Butter Cookies
- **Triple Peanut Butter & Chocolate Sensation:** We don’t just use peanut butter in the dough; we load it with Reese’s Pieces and top it with mini cups for an unparalleled flavor experience.
- **Perfect Texture Every Time:** Say goodbye to dry, crumbly cookies! This recipe yields soft, fluffy, and perfectly chewy cookies that melt in your mouth.
- **Easy to Follow:** With clear, step-by-step instructions, even novice bakers can achieve perfect results.
- **Crowd-Pleaser:** These cookies are guaranteed to be a hit at parties, potlucks, or simply as a special treat for your family. They disappear fast!
- **Customizable:** Easily adapt the recipe with various substitutions and additions to suit your preferences or dietary needs.
🥘 Essential Ingredients for the Best Reese’s Peanut Butter Cookies
Crafting the perfect batch of **Reese’s Peanut Butter Cookies** starts with selecting quality ingredients. Here’s a closer look at what you’ll need and why each component is crucial for achieving that irresistible flavor and texture.
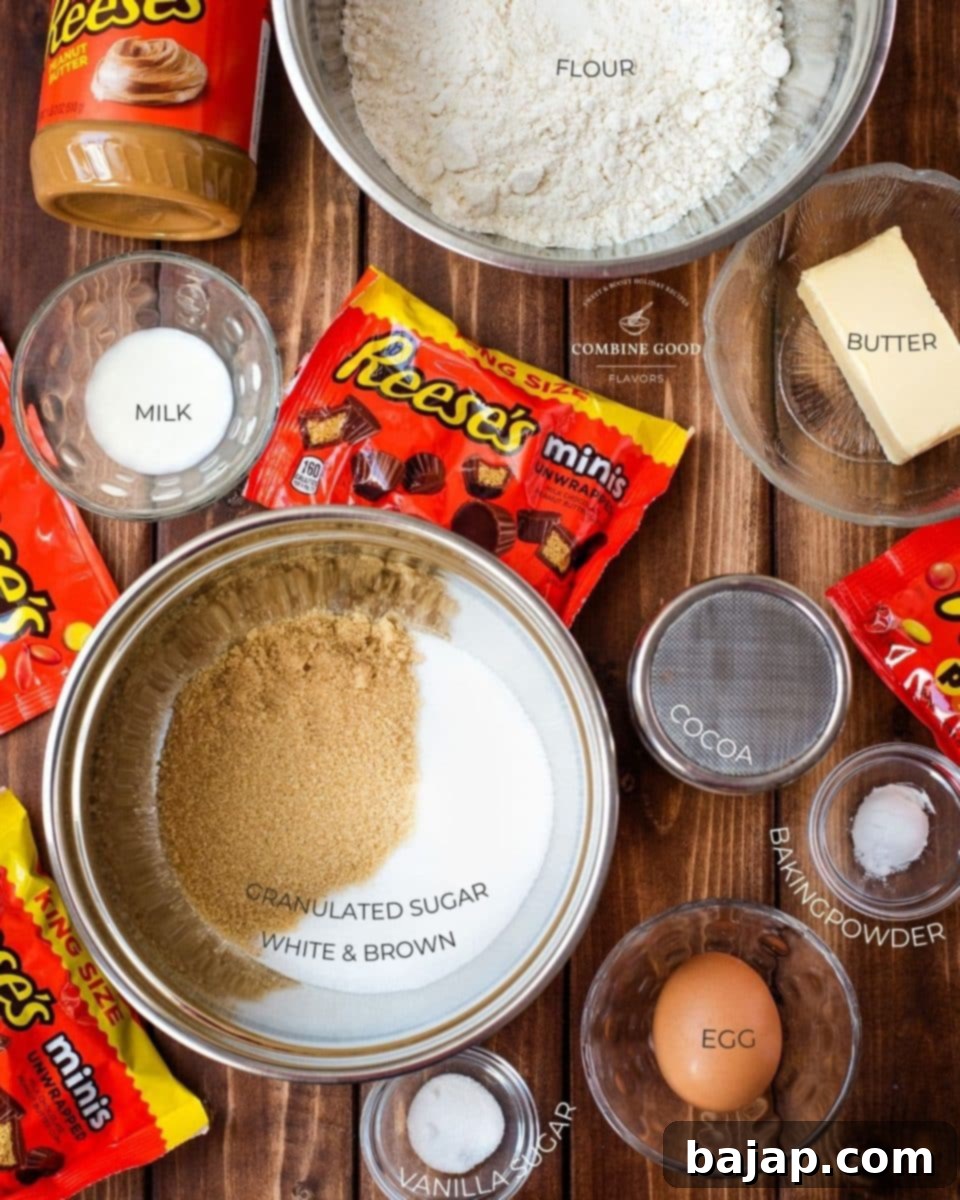
- Cake Flour: This type of flour is key to achieving a tender, fluffy texture in your cookies. Its lower protein content results in less gluten development, preventing a tough cookie. You can substitute with spelt flour for a richer, nutty flavor or all-purpose flour if cake flour isn’t available.
- Brown and White Sugar: The combination of both sugars is vital. Brown sugar adds moisture, chewiness, and a slight caramel note, while white granulated sugar contributes to crispiness and overall sweetness, creating a perfectly balanced cookie.
- Baking Powder: This leavening agent is essential for giving your **Reese’s cookies** the perfect rise, ensuring they are light and airy rather than dense.
- Vanilla Sugar: Homemade vanilla sugar adds a wonderfully fragrant and authentic touch to the cookies. The subtle vanilla notes enhance the overall sweetness and peanut butter flavor. Make your own with this recipe!
- Cocoa Powder: Just a pinch of cocoa powder deepens the flavor profile, adding a subtle chocolatey backdrop that perfectly complements the peanut butter. While any cocoa powder will work, Criollo cocoa powder offers a superior, more intense chocolate flavor.
- Peanut Butter: For the authentic and unparalleled flavor that makes these the **best Reese’s cookies**, we highly recommend using Reese’s Creamy Peanut Butter. Its unique, sweet, and slightly salty profile is unmatched.
- Butter: Make sure your butter is softened to room temperature. This allows it to cream properly with the sugars, creating air pockets that lead to a light and tender cookie texture.
- Egg (Size M): The egg acts as a binder, holding the ingredients together and adding moisture. A medium-sized egg ensures the right consistency in your dough.
- Milk: A small amount of milk adds extra moisture and helps to bring all the ingredients together into a cohesive dough.
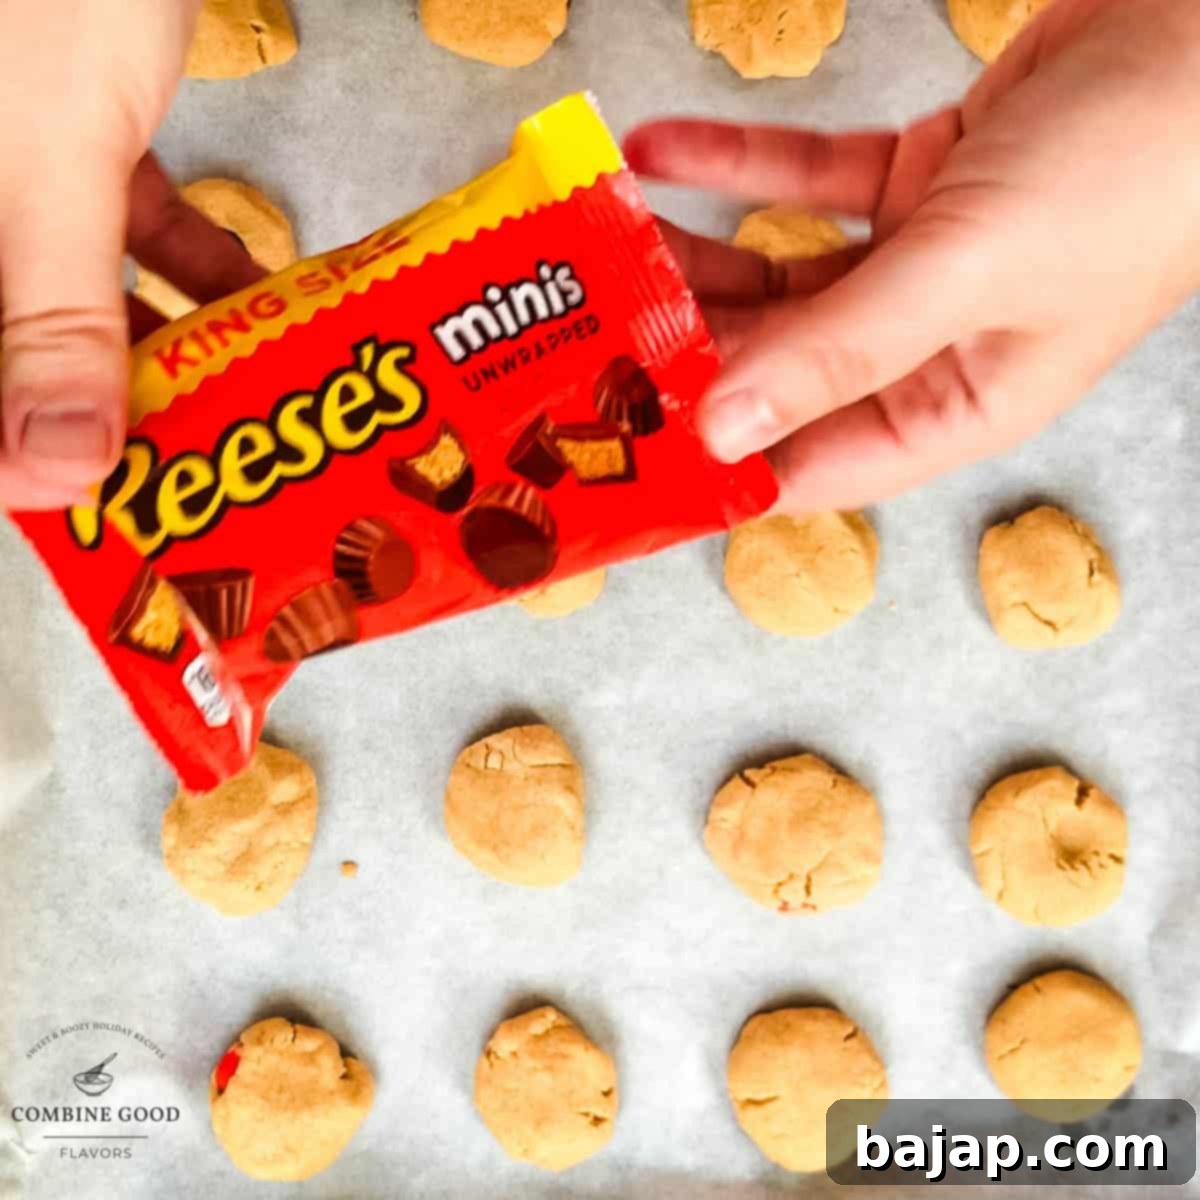
- Reese’s Mini Cups and Reese’s Pieces: These are the stars of the show! Use the mini cups for topping each cookie immediately after baking, allowing their chocolate and peanut butter to melt slightly into a gooey delight. The Reese’s Pieces are mixed directly into the dough, providing a delightful burst of peanut butter candy flavor and a satisfying crunch in every single bite.
See the recipe card below for exact quantities.
🔪 Step-by-Step Guide to Making the Best Reese’s Cookies
Follow these detailed instructions to create your own batch of incredible **Reese’s Peanut Butter Cookies**. Precision and a little bit of love are all you need!
Step 1: Prepare the Dry Ingredients
In a medium mixing bowl, combine your cake flour and baking powder. Sieve this mixture into a larger mixing bowl. Sifting helps to aerate the flour and ensures there are no lumps, contributing to a smoother, more even cookie dough.
Step 2: Combine Wet and Dry Ingredients
Gradually add the remaining ingredients one by one into the mixing bowl containing the sieved flour mixture. This includes brown and white sugar, vanilla sugar, a pinch of cocoa powder, Reese’s peanut butter, softened butter, the egg, milk, and most importantly, the Reese’s Pieces. Make sure to reserve the Reese’s Mini Cups, as these will be used for topping the cookies after they’ve baked.
Step 3: Knead the Dough
Use a food processor equipped with a dough hook attachment to knead the mixture until it forms a cohesive dough. Kneading ensures all ingredients are well incorporated and helps develop the gluten slightly for a chewier texture. If you find the dough appears too dry or crumbly at this stage, add a little more peanut butter, a tablespoon at a time, until it reaches a workable consistency. The goal is a dough that holds together but isn’t overly sticky.
Step 4: Chill the Dough
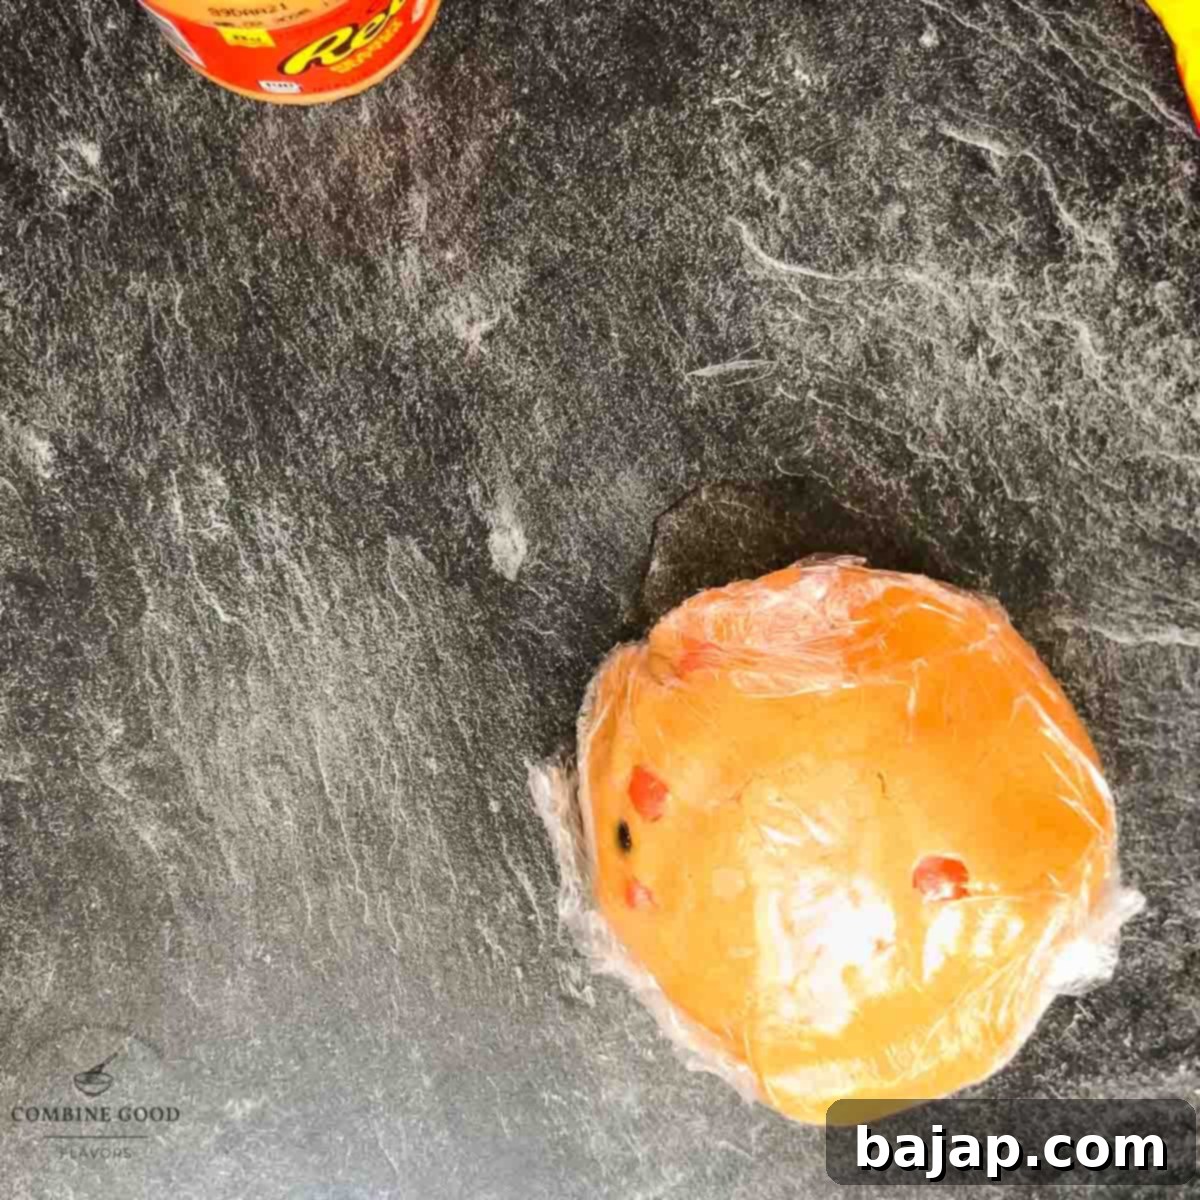
Once your dough is kneaded to perfection, wrap it tightly in cling film. Place the wrapped dough in the fridge and chill for at least 1 hour. This chilling period is crucial: it helps the flavors meld, prevents the cookies from spreading too much during baking, and makes the dough easier to handle.
Step 5: Understanding Dough Consistency After Chilling
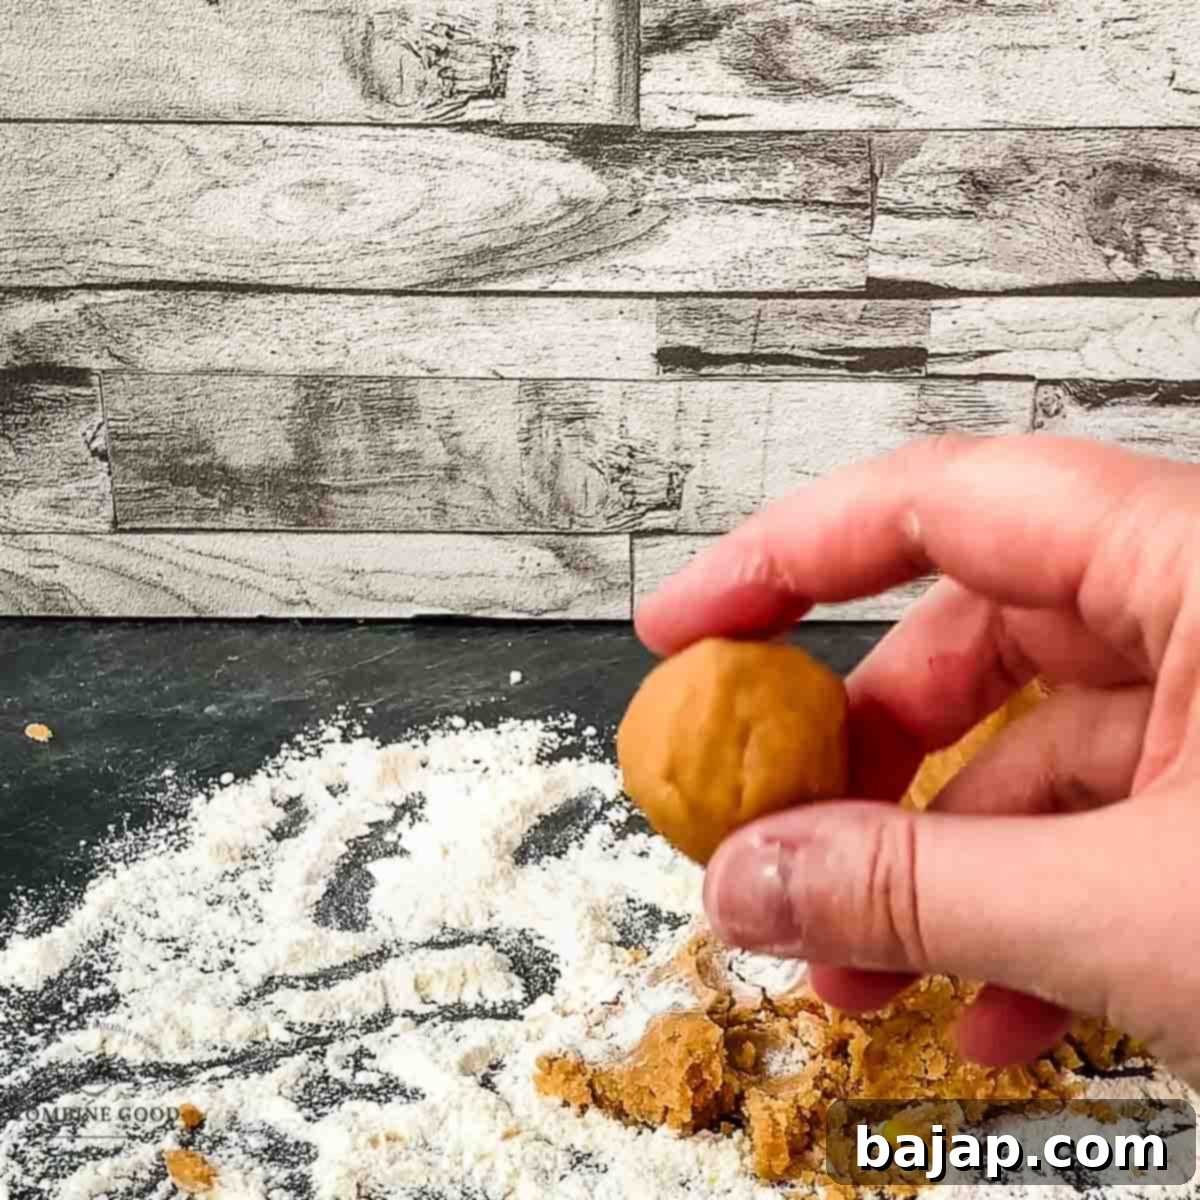
After chilling, don’t be alarmed if the dough appears to have a crumbly consistency. This is perfectly normal for peanut butter cookie dough and a sign that the chilling process was successful. It will come together beautifully in the next step.
Step 6: Shape the Cookies
Using a small teaspoon or a cookie scoop, cut off uniform pieces of dough. Roll these pieces between your palms to shape them into small, smooth balls. Aim for consistent size to ensure even baking. These will become your delightful **Reese’s Pieces cookies**.
Step 7: Prepare for Baking
Place the shaped dough balls onto a baking tray that has been lined with baking paper. Give them a little space, as they will spread slightly. Gently flatten each dough ball with the back of a spoon or your fingertips. This slight flattening helps achieve a classic cookie shape and encourages even baking.

Step 8: Bake to Perfection
Preheat your oven to 180°C (356°F) and set it to top or bottom heat (or convection if you prefer, adjusting time as needed). Bake the cookies for 8-10 minutes. Keep a close eye on them; cookies are done when the edges are lightly golden and the centers are still slightly soft. They will firm up as they cool.
Step 9: Add the Reese’s Mini Cups
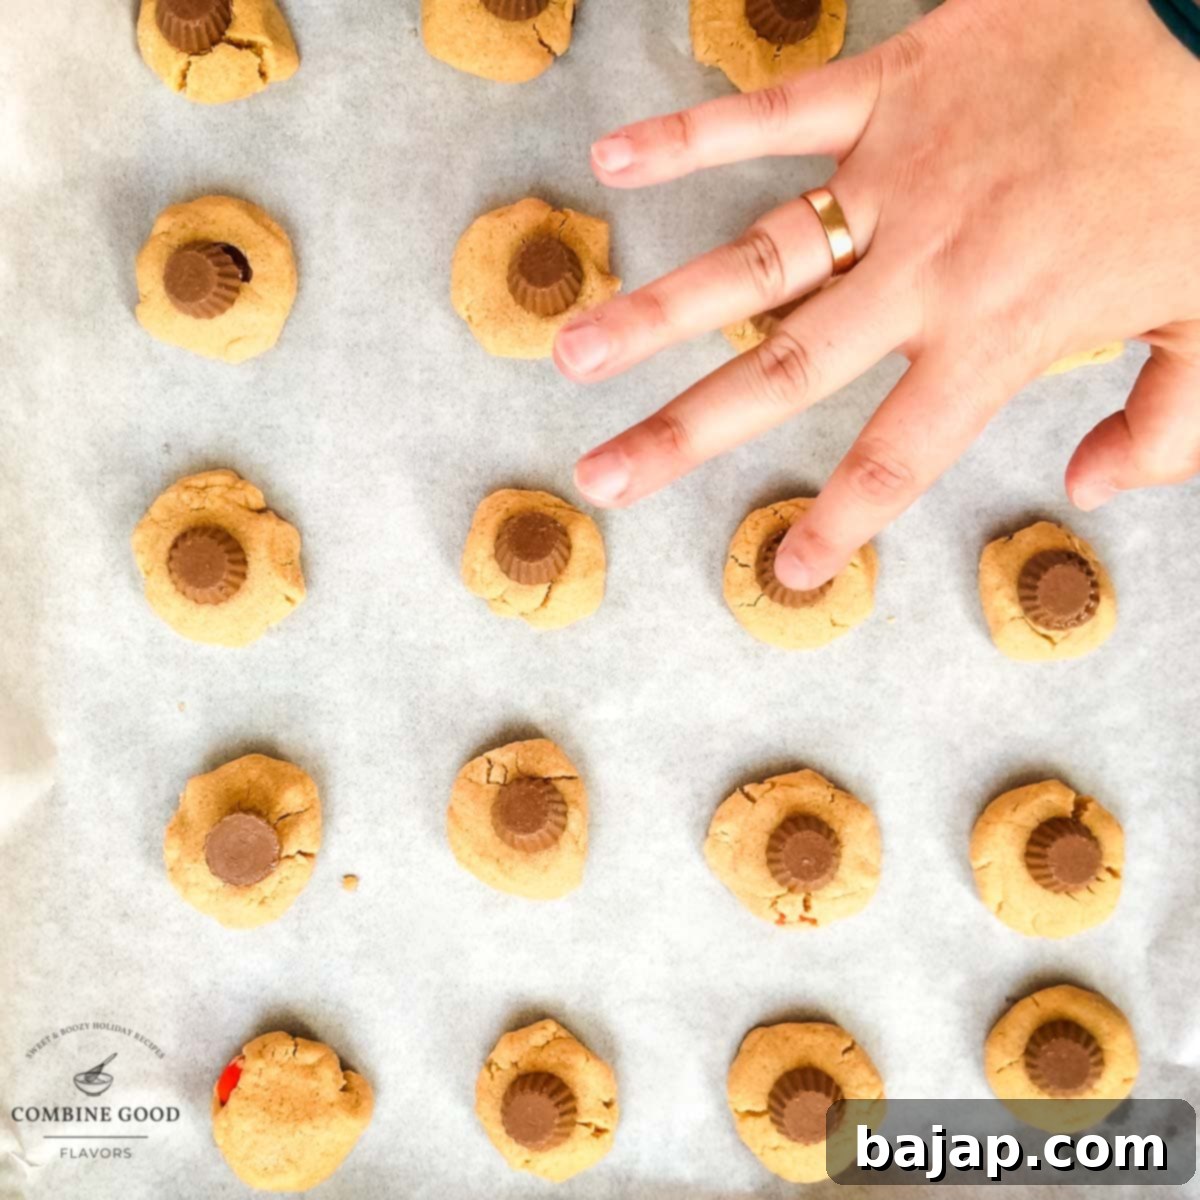
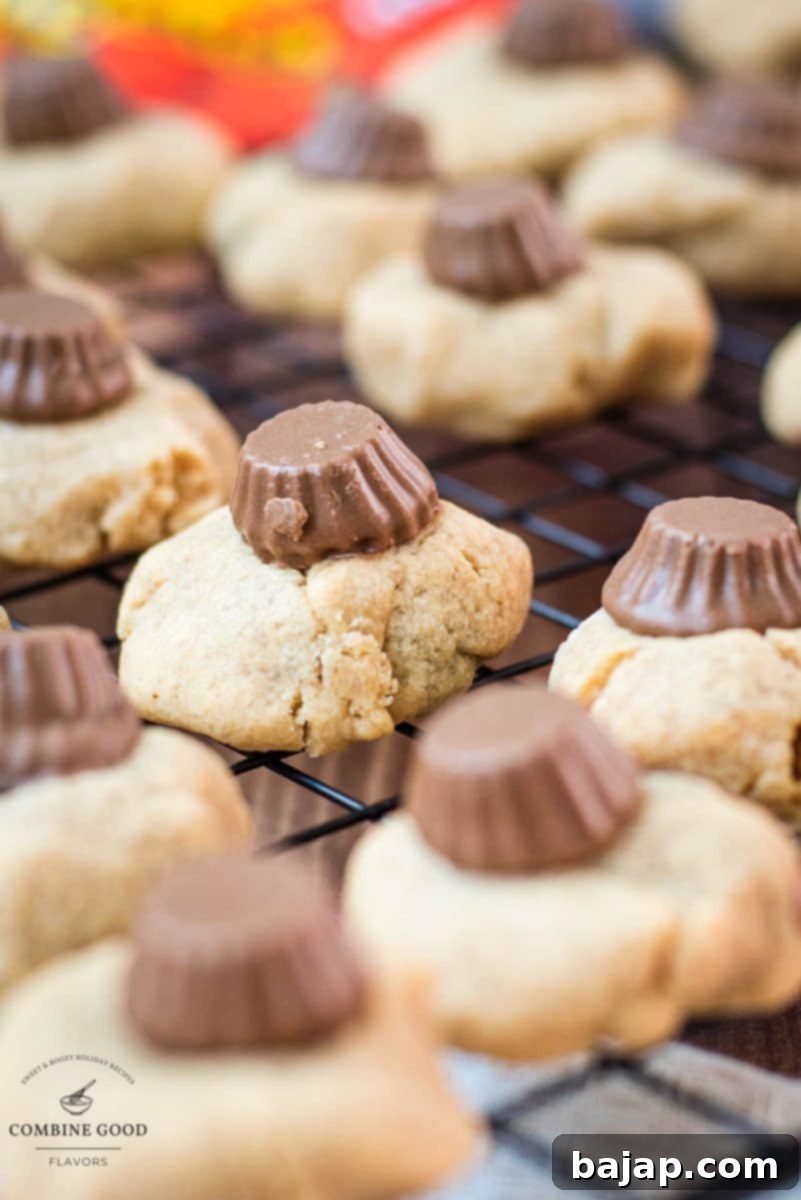
This is where the magic happens! Immediately after removing the baking tray from the oven, while the cookies are still warm and soft, carefully place one Reese’s mini cup on top of each cookie. The residual heat from the freshly baked cookies will gently melt the mini cups, creating a gooey, irresistible topping. These are truly **Reese’s mini cup cookies** at their finest.
Step 10: Cool and Serve
Allow the **Reese’s cookies** to cool completely on a wire cooling rack before serving. This step is essential as it allows the cookies to firm up and the mini cups to set slightly, making them easier to handle and ensuring the perfect texture. Once cool, they are ready to be devoured!
🍪 Creative Variations & Substitutions for Your Reese’s Peanut Butter Cookies
While the classic **peanut butter cookies with Reese’s** are a masterpiece, don’t hesitate to get creative! Here are some ideas to customize your cookies or adapt them to different dietary needs:
- Flour Alternatives: If you don’t have cake flour, all-purpose flour works well, though the texture might be slightly denser. For a nuttier and slightly healthier profile, spelt flour is an excellent substitute. Gluten-free flour blends can also be used, typically requiring an equal 1:1 replacement.
- Sweetener Swaps: For a different sweetness profile or to reduce refined sugar, consider using natural alternatives. Coconut sugar offers a slight caramel note, while maple syrup or honey can provide a richer flavor, though they might alter the dough’s consistency slightly, so minor adjustments to dry ingredients may be needed.
- Leavening Agents: If you’re out of baking powder, baking soda can be used, but you’ll need to adjust the quantity (usually less baking soda) and potentially add an acidic ingredient like a splash of vinegar or lemon juice to activate it.
- Vanilla Enhancements: Instead of vanilla sugar, a good quality vanilla extract or vanilla bean paste can provide a strong, aromatic vanilla flavor. If using extract, you might need a tiny bit more granulated sugar to maintain sweetness levels.
- Cocoa Variations: Dutch-processed cocoa powder offers a darker color and milder chocolate flavor, while natural cocoa powder is fruitier and more acidic. For a caffeine-free alternative, carob powder can be a great choice.
- Nut Butter Alternatives: If peanut allergies are a concern or you simply want to experiment, almond butter, cashew butter, or sunflower seed butter can be used. Be aware that the flavor profile will change, but they still make delicious nut-butter cookies.
- Dairy-Free Options: For a vegan or dairy-free version, substitute softened butter with high-quality margarine, vegan butter sticks, or coconut oil (ensure it’s solid but soft).
- Egg Substitutions: A “flax egg” (1 tablespoon ground flaxseed mixed with 3 tablespoons water, allowed to sit for 5 minutes) or a chia egg works well as a vegan egg replacer. Alternatively, ¼ cup of unsweetened applesauce or mashed banana can be used, though they might impart a slight flavor.
- Milk Replacements: Any plant-based milk like almond milk, soy milk, or oat milk can be used in place of dairy milk.
- Reese’s Candy Alternatives: If you want to switch things up, other chocolate candies like M&M’s, chocolate chips (milk, dark, or white), or even homemade peanut butter cups can be used for a similar effect.
💕 Perfect Pairings for Your Reese’s Peanut Butter Cookies
These rich and decadent **Reese’s peanut butter cookies** are fantastic on their own, but they truly shine when paired with the right beverage. Here are some sophisticated and cozy drinks that complement their sweet and nutty profile:
- Old Fashioned: The classic whiskey cocktail with its balanced blend of bitters, sugar, and a citrus twist cuts through the richness of the cookies beautifully, offering a mature contrast.
- Maple Old Fashioned: A cozier version of the classic, where the warm, sweet notes of maple syrup echo the cookie’s sweetness while the whiskey provides a delightful kick.
- Eggnog Coffee: A festive and creamy combination of rich
eggnog and bold coffee. The creaminess and spice of the eggnog are a perfect match for the peanut butter. - Eggnog Hot Chocolate: A decadent holiday treat that combines the creamy richness of
eggnog with the velvety smoothness of hot chocolate – a luxurious pairing for a luxurious cookie. - Cointreau Coffee: A sophisticated blend of bold coffee and the citrusy sweetness of Cointreau liqueur. The orange notes offer a refreshing counterpoint to the rich cookies.
- Lumumba – Hot Chocolate with Rum: A luscious and warming drink that marries rich hot chocolate with the smooth kick of rum. The rum’s warmth and chocolate’s depth make this a comforting pairing.
- Scotch Coffee: A robust and smoky cocktail combining the strong flavors of Scotch whiskey with rich coffee, providing a bold and complex contrast to the sweet cookies.
🍽 Essential Baking Equipment for Reese’s Peanut Butter Cookies
Having the right tools can make all the difference in your baking experience. Here’s a list of the equipment you’ll need to whip up these delicious **Reese’s cookies** with ease:
- **KitchenAid Stand Mixer with Dough Hook**: While you can mix by hand, a stand mixer significantly simplifies the kneading process, ensuring a perfectly uniform dough. The dough hook is ideal for dense cookie doughs.
- **Sieve**: For sifting the flour and baking powder, which helps remove lumps and aerate the dry ingredients, leading to a lighter cookie.
- **Cling Film**: Essential for wrapping the dough during its chilling period in the fridge, preventing it from drying out.
- **Small Teaspoon or Cookie Scoop**: For portioning the dough into consistent sizes, ensuring all your cookies bake evenly.
- **Baking Sheet with Parchment Paper**: Parchment paper prevents sticking and makes for easy cleanup. You might need two baking sheets if baking multiple batches.
- **Cooling Rack**: Allows air circulation around the cookies as they cool, preventing them from becoming soggy and helping them firm up properly.
- **Airtight Cookie Jar**: For storing your freshly baked **Reese’s Peanut Butter Cookies** to keep them fresh and delicious for longer.
💭 Pro Tips for Perfect Peanut Butter Cookies with Reese’s
Achieving bakery-quality **Reese’s Peanut Butter Cookies** is all about a few key details. Here are some top tips to ensure your batch turns out perfectly every time:
- **Don’t Skip the Chill Time:** Chilling the dough is critical. It solidifies the butter, preventing the cookies from spreading too much in the oven, and allows the flavors to deepen. It also makes the dough much easier to handle, especially if it seems crumbly initially.
- **Embrace the Crumbly Dough:** As mentioned in the instructions, a crumbly consistency after chilling is expected. Don’t worry if it looks like it won’t hold together. Just press it firmly between your fingers when forming balls, and it will come together.
- **Uniform Cookie Size:** Use a small cookie scoop or a measuring spoon to ensure all your dough balls are roughly the same size. This promotes even baking, so you don’t end up with some underbaked and some overbaked cookies.
- **Flattening is Key:** Gently flattening the dough balls before baking helps create that classic peanut butter cookie texture – slightly crispy edges with a soft, chewy center.
- **Timing is Everything for Topping:** Placing the Reese’s Mini Cups immediately after baking is crucial. The residual heat will soften them, allowing them to melt beautifully into the warm cookie, creating a luscious, gooey topping.
- **Cool Completely:** Resist the urge to dive in immediately (it’s hard, we know!). Let the cookies cool completely on a wire rack. This allows them to set, firm up, and ensures the Reese’s Mini Cups solidify just enough to be handled without making a mess.
- **Quality Ingredients:** Using high-quality ingredients, especially the Reese’s Peanut Butter, makes a noticeable difference in the final taste of these **Reese’s cookies**.
Storage and Make-Ahead Tips
To enjoy your **homemade Reese’s cookies** for longer, proper storage is key:
- **Storing Baked Cookies:** Once completely cooled, store the cookies in an airtight container at room temperature for up to 3-5 days. For best results, place a slice of bread in the container; it helps keep the cookies soft and moist.
- **Freezing Baked Cookies:** These cookies freeze wonderfully! Arrange cooled cookies in a single layer on a baking sheet and freeze until solid. Then transfer them to a freezer-safe bag or container, separating layers with parchment paper. They’ll stay fresh for up to 3 months. Thaw at room temperature or gently warm in the microwave.
- **Freezing Dough:** You can also prepare the dough ahead of time and freeze it. Shape the dough into balls, flatten slightly, and freeze them on a baking sheet until solid. Transfer the frozen dough balls to a freezer bag. When ready to bake, place them on a parchment-lined baking sheet and bake from frozen, adding a couple of minutes to the baking time.
❓ Frequently Asked Questions (FAQs) About Reese’s Cookies
Here are some common questions you might have about making these delicious **peanut butter cookies with Reese’s**:
- Q: Can I use natural peanut butter?
- A: While you can, natural peanut butter tends to be oilier and can change the texture of the cookies, making them more prone to spreading. For best results and the most authentic Reese’s flavor, we recommend using a creamy, processed peanut butter like the actual Reese’s brand.
- Q: Why do my cookies spread too much?
- A: This is usually due to butter being too warm or the dough not being chilled enough. Ensure your butter is softened but not melted, and always chill your dough for the recommended time (or even longer if your kitchen is warm).
- Q: Can I make these cookies without the Reese’s Pieces or Mini Cups?
- A: Yes, you can. They will still be delicious peanut butter cookies. However, the Reese’s Pieces add a wonderful crunch and extra burst of flavor, and the mini cups create that iconic, gooey topping that makes these cookies truly special. We highly recommend including them!
- Q: How do I know when the cookies are done baking?
- A: The edges should be lightly golden, and the centers should still look slightly soft. They will continue to set as they cool on the baking sheet and then on the cooling rack.
- Q: Can I use all brown sugar or all white sugar?
- A: The combination of both sugars is designed to achieve the perfect balance of chewiness and crispiness. Using all brown sugar might make them too soft, and all white sugar might make them too crispy. Stick to the recipe for the best texture.
Other Delicious Cookie Recipes for You to Try
- Cookies ‘n’ Cream Blossom Cookies
- Soft Pumpkin Cookies
- Coffee Chocolate Chip Cookies
- Matcha White Chocolate Chip Cookies
- M&M Cookies
–> more Cookie Recipes
If you make these incredible **Reese’s Peanut Butter Cookies**, I would absolutely love to hear from you! Let me know how you liked them by ★★★★★ star rating the recipe and leaving a comment below. Your feedback is truly awesome and helps others discover these delicious treats! You can also sign up for our Newsletter to get weekly recipe inspiration, or follow me on Pinterest or Instagram and share your delicious creations with me. Just tag me @combinegoodflavors and hashtag #combinegoodflavors, so I don’t miss it!
📖 Recipe: Ultimate Reese’s Peanut Butter Cookies

Ultimate Reese’s Peanut Butter Cookies
Nora
Save RecipeSaved!
Pin Recipe
Equipment
-
KitchenAid stand mixer with dough hook
-
Sieve
-
Cling film
-
Teaspoon
-
Baking sheet with parchment paper
-
Cooling Rack
-
Cookie jar
Equipment
-
KitchenAid stand mixer with dough hook
-
Sieve
-
Cling film
-
Teaspoon
-
Baking sheet with parchment paper
-
Cooling Rack
-
Cookie jar
Ingredients
- 2 cups Cake flour 8.82 oz
- ½ cup Brown and white sugar
- ½ teaspoon Baking powder
- ½ teaspoon Vanilla sugar
- 1 pinch Cocoa powder
- 7.3 oz Peanut butter Reese’s
- 5 ¾ tablespoon Butter soft
- 1 Egg size M
- 1 tablespoon Milk
- Reese’s pieces about 2 small packs (3.06 oz)
- Reese’s mini cup(s) about 2 packs (5 oz)
Instructions
-
Mix 2 cups Cake flour and ½ teaspoon Baking powder, then sieve into a mixing bowl.
-
Add ½ cup Brown and white sugar, ½ teaspoon Vanilla sugar, 1 pinch Cocoa powder , 7.3 oz Peanut butter, 5 ¾ tablespoon Butter, 1 Egg, Reese’s pieces, and 1 tablespoon Milkone by one, except for the Reese’s cups, which are reserved for topping after baking.
-
Knead the mixture into a dough using a food processor with a dough hook. If the dough is too dry, add a bit more peanut butter.
-
Wrap the dough in cling film and chill in the fridge for 1 hour.
-
Cut off pieces of dough with a small teaspoon and shape into small balls.
-
Place the dough balls on a baking tray lined with baking paper and flatten slightly.
-
Bake at 180°C (356°F) with top/bottom heat for 8-10 minutes.
-
Immediately after baking, place a Reese’s mini cup(s) on each cookie and let them cool on a cooling rack.
Nutrition values are estimates only, using online calculators. Please verify using your own data.

⛑️ Food Safety Guidelines for Baking Cookies
Ensuring food safety is paramount when baking any recipe. Follow these general guidelines to keep your kitchen and food safe:
- **Minimum Cooking Temperature**: Always bake cookies to a minimum internal temperature of 165 °F (74 °C) to ensure any raw egg is fully cooked, although visual cues (golden edges, set centers) are usually sufficient for cookies.
- **Prevent Cross-Contamination**: Do not use the same utensils on cooked food that previously touched raw ingredients (especially eggs) without thoroughly washing them in between.
- **Hand Washing**: Always wash your hands thoroughly with soap and warm water for at least 20 seconds after handling raw ingredients, especially eggs or flour.
- **Temperature Control**: Don’t leave perishable food ingredients (like butter or milk) sitting out at room temperature for extended periods. Return them to the fridge promptly after use.
- **Never Leave Cooking Unattended**: Always keep an eye on food cooking in the oven or on the stovetop to prevent burning or other accidents.
- **Safe Oils**: If substituting butter, use oils with a high smoking point to avoid producing harmful compounds when baking at high temperatures.
- **Ventilation**: Always ensure good ventilation when using a gas stove or oven to prevent the buildup of fumes.
For further comprehensive information on safe food handling practices, please refer to the official guidelines from the FDA’s Safe Food Handling.
