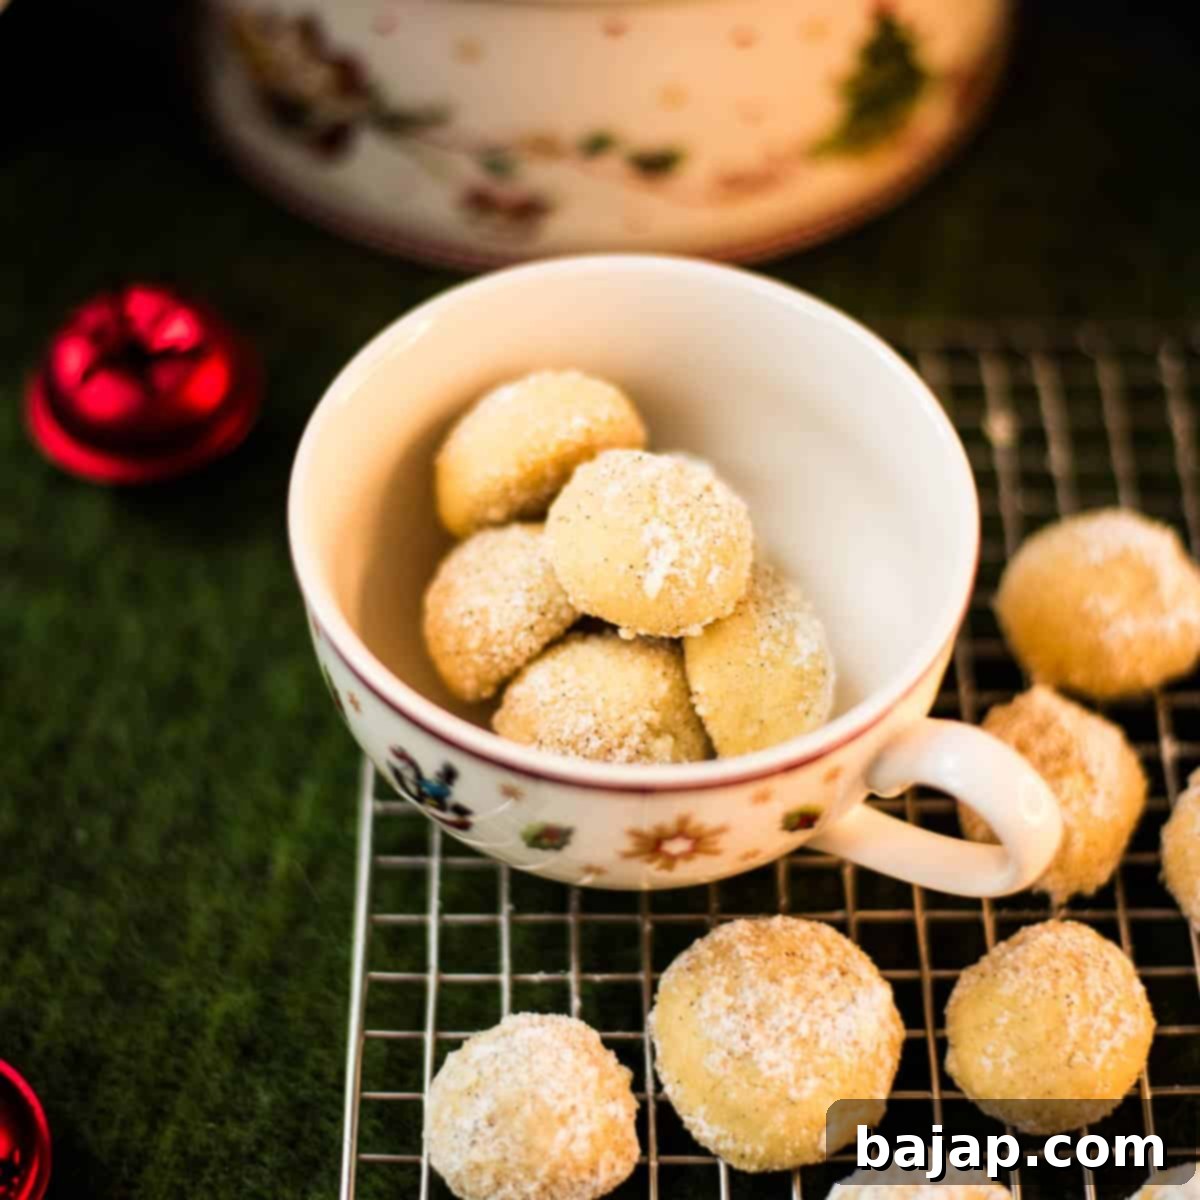
Melt-in-Your-Mouth Butterball Cookies: The Ultimate Nut-Free Holiday Recipe
Get ready to add a new favorite to your holiday baking traditions! These incredible butterball cookies are not just visually stunning, gracing your dessert platters with their delicate charm, but they also offer an exquisite melt-in-your-mouth texture that will leave everyone craving more. As one of my all-time favorite Christmas cookies, I’m thrilled to share how surprisingly easy they are to create. Once you experience the joy of baking and tasting these buttery delights, they’re sure to become a beloved staple in your home, too!
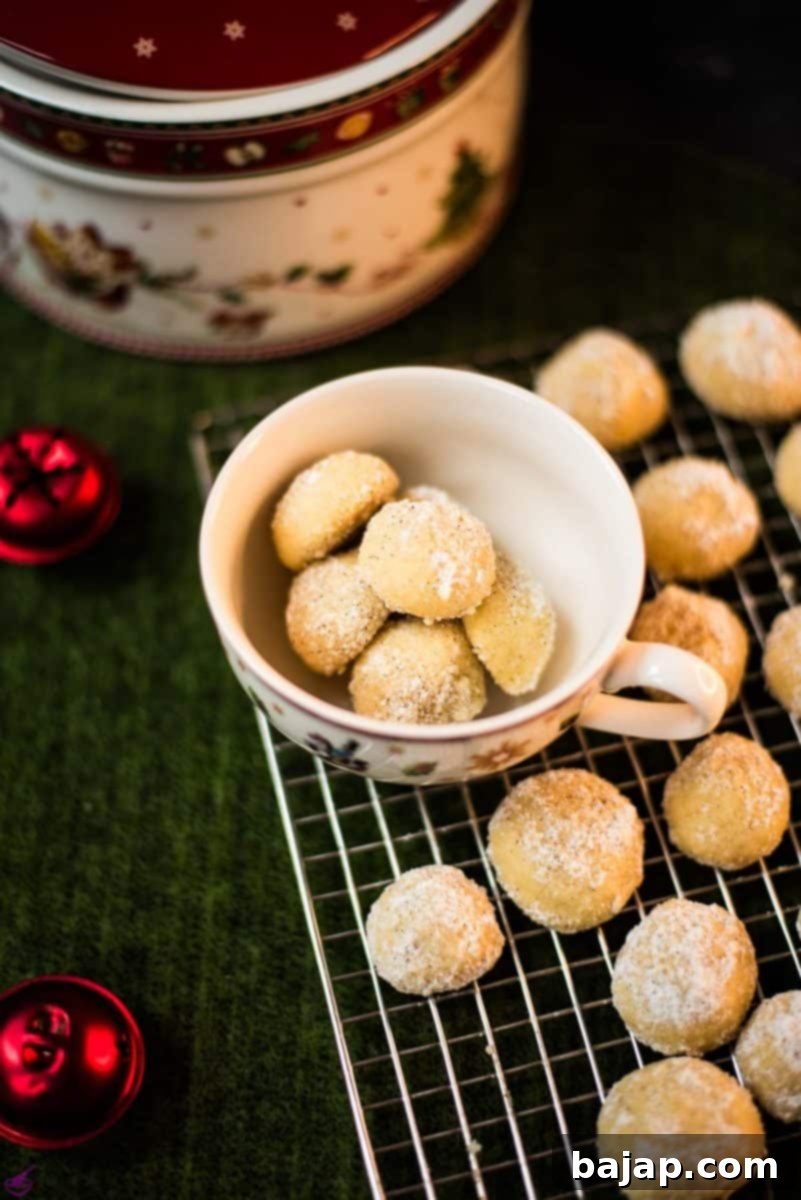
You might notice these delightful butterball cookies bear a striking resemblance to classic Russian Tea Cakes or Mexican Wedding Cookies. The wonderful twist with this particular recipe is that it doesn’t call for any nuts, making it a fantastic option for those who are baking with nut allergies in mind or simply prefer a nut-free treat. But even if allergies aren’t a concern, I promise you, these cookies are still incredibly delicious and will quickly disappear from any plate. An added bonus? Their straightforward nature means even your youngest kitchen helpers can easily lend a hand, making this recipe a perfect activity for family bonding during the festive season!
Whether you’re looking for a simple yet elegant addition to your holiday cookie spread, a thoughtful gift for friends and neighbors, or just a comforting treat to enjoy with a warm cup of tea, these butterball cookies fit the bill perfectly. Their buttery richness, combined with the sweet powdered sugar coating, creates an irresistible flavor and texture that truly melts in your mouth with every bite. Let’s get baking!
[feast_advanced_jump_to]
🥘 Ingredients for Irresistible Butterball Cookies
Crafting these heavenly butterball cookies requires just a few basic ingredients, but the quality of each plays a crucial role in achieving that perfect melt-in-your-mouth texture and rich flavor. Here’s a detailed look at what you’ll need:
For the Delicate Cookie Dough:
- Butter (softened): I highly recommend using unsalted butter at room temperature. Softened butter creams beautifully with sugar, incorporating air for a light, tender crumb. Avoid using melted butter for the dough, as it can lead to a flatter, chewier cookie (unless that’s what you prefer!).
- Powdered Sugar: Also known as confectioners’ sugar, this fine sugar blends seamlessly into the butter, creating a smooth, creamy base for the dough. Its delicate texture contributes to the overall tenderness of the cookies.
- Pulp from one Vanilla Pod: For an unparalleled depth of flavor, fresh vanilla bean pulp is a game-changer. It infuses the cookies with a rich, aromatic vanilla essence. If a vanilla pod isn’t readily available, you can substitute with 1-2 teaspoons of high-quality pure vanilla extract.
- Cake Flour: This type of flour is key to achieving the signature delicate, tender crumb of butterball cookies. Cake flour has a lower protein content than all-purpose flour, which results in less gluten development and a softer cookie.
- Cornstarch: While cake flour already contributes to tenderness, adding cornstarch further enhances the melt-in-your-mouth quality of these cookies. It inhibits gluten formation even more, ensuring an incredibly soft and delicate bite.
For the Sweet, Snowy Rolling Coat:
- Powdered Sugar: The classic coating for butterball cookies, creating their iconic snowy appearance and adding a final touch of sweetness.
- Vanilla Sugar (homemade or store-bought): Elevate your coating with vanilla sugar! Its subtle vanilla notes beautifully complement the cookie’s flavor. You can easily make your own by storing a vanilla bean in a jar of granulated sugar for a few weeks, or purchase it ready-made. If you don’t have vanilla sugar, an extra teaspoon of powdered sugar mixed with a tiny pinch of vanilla extract (ensure it dries completely before coating) can work in a pinch. Check out my homemade vanilla sugar recipe.
For precise measurements and nutritional information, please refer to the comprehensive recipe card at the bottom of this article.
🔪 Step-by-Step Instructions for Perfect Butterball Cookies
Making these butterball cookies is a straightforward process, perfect for bakers of all skill levels. Follow these steps for delightfully tender, melt-in-your-mouth results:
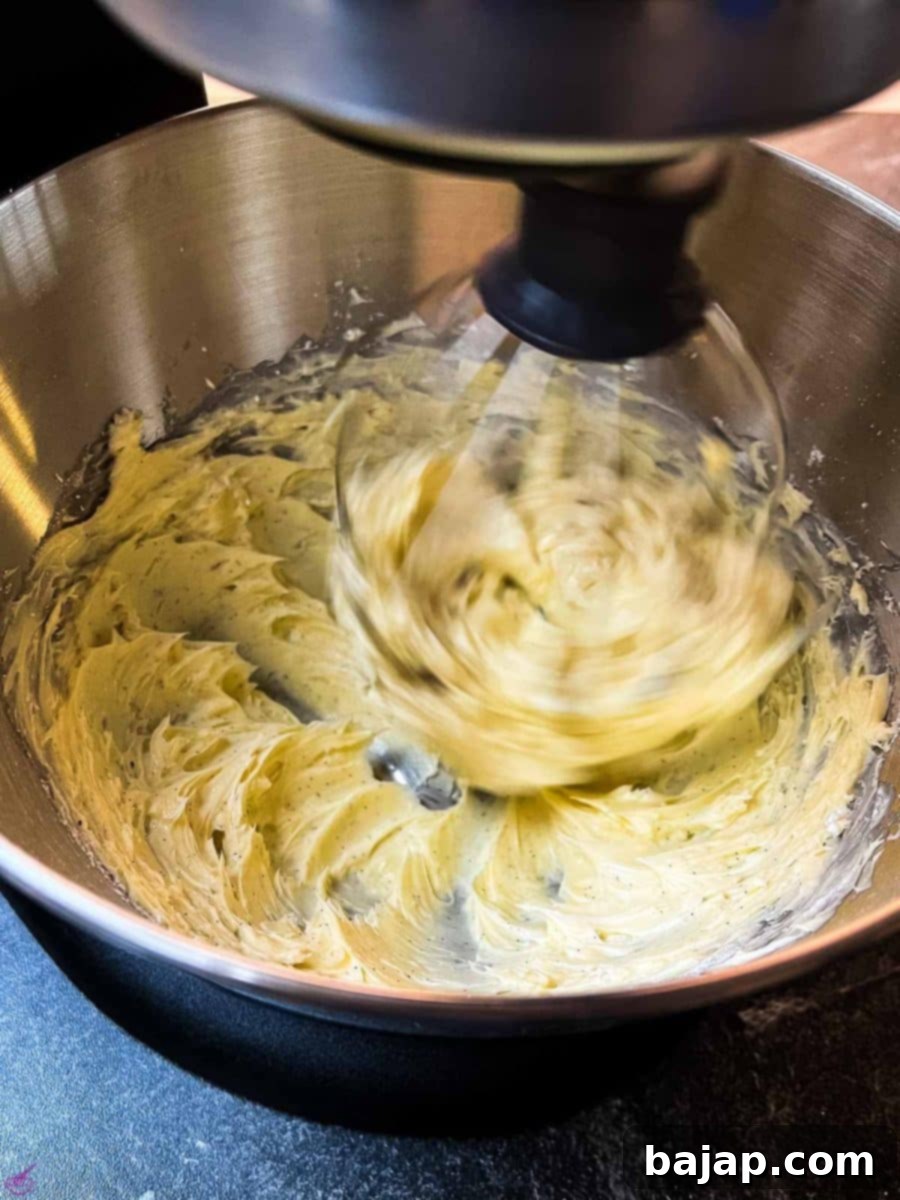
- Cream the Wet Ingredients: The very first step is to combine your softened butter, powdered sugar, and the fragrant pulp from your vanilla pod. Mix these together in a large bowl using an electric mixer (with a whisk attachment if you have one) for approximately 5 minutes. This creaming process is crucial – it incorporates air into the mixture, making it light and fluffy, which directly translates to a tender cookie. Your arms will definitely thank you for using a mixer here!
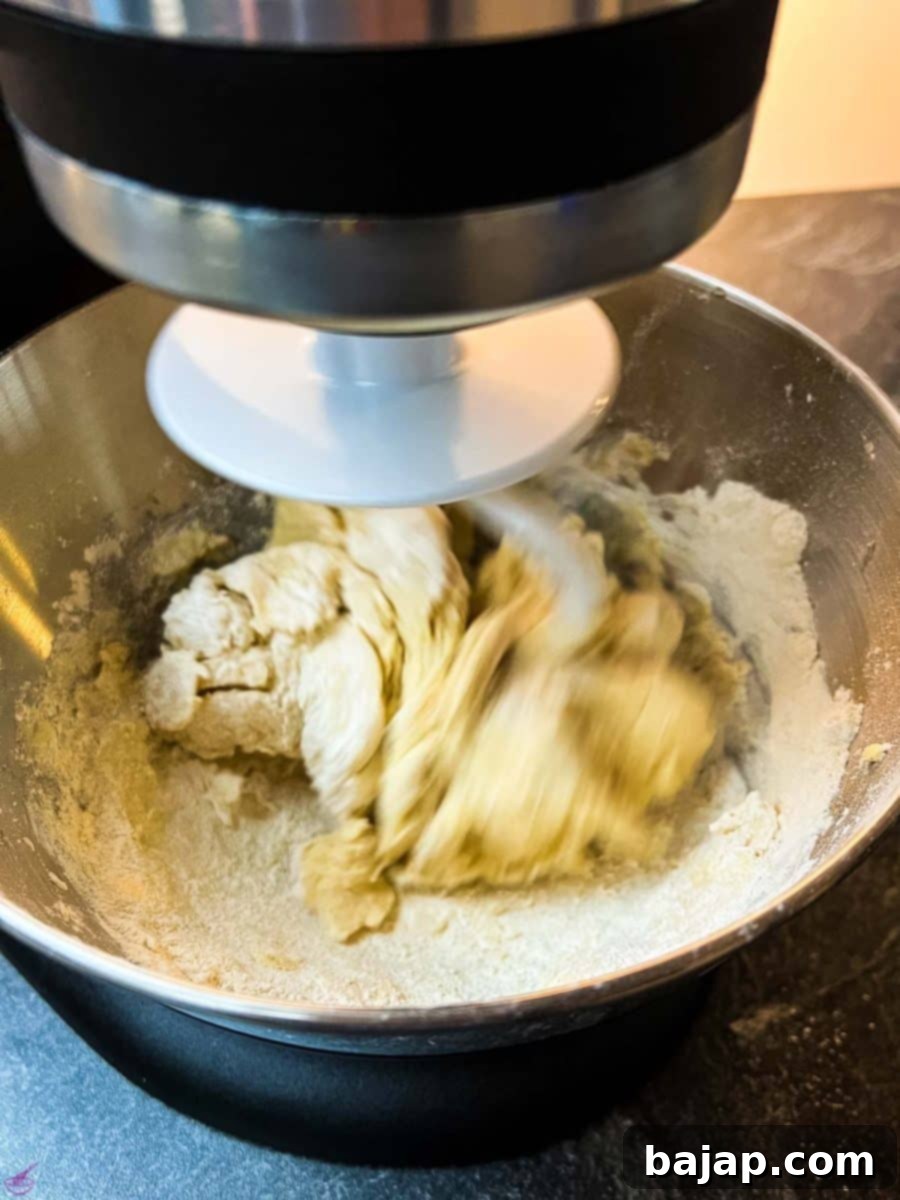
- Incorporate Dry Ingredients: Next, gradually add your cake flour and cornstarch to the creamy butter mixture. Switch to a dough hook attachment on your electric mixer (or knead by hand) and mix until the ingredients come together to form a soft, cohesive dough. Be careful not to overmix, as this can develop too much gluten and result in a tougher cookie. Stop mixing as soon as the dough forms.
- Chill the Dough: Once your cookie dough has reached the perfect consistency, gently wrap it in plastic wrap. Place it in the refrigerator to chill for at least 2 hours. This step is non-negotiable! Chilling the dough firms up the butter, prevents the cookies from spreading too much in the oven, and allows the flavors to meld beautifully, ensuring that delicate, melt-in-your-mouth texture.
- Prepare for Baking: After the dough has sufficiently chilled, preheat your oven to 355 °F (180 °C). While the oven heats, line your cookie sheets with parchment paper. This prevents sticking and makes for easy cleanup.
- Shape the Cookies: Using a teaspoon, scoop out small portions of the chilled cookie dough. Roll each portion between your palms to form uniform 1-inch balls. Consistency in size is key for even baking. Arrange the cookie balls on your prepared baking sheets, leaving a little space between each.
- Bake to Perfection: Transfer the baking sheets to the middle rack of your preheated oven. Bake for approximately 10-12 minutes, or until the edges are just barely light brown. The cookies should still look pale in the center. Avoid overbaking, as this can make them dry and crumbly instead of tender.
- Roll in Sugar (While Warm!): While the cookies are still hot from the oven (this is important!), gently mix the powdered sugar and vanilla sugar in a shallow bowl. Carefully roll each warm cookie in the sugar mixture, ensuring it’s completely coated. The warmth helps the sugar adhere beautifully. For an extra snowy look and intense sweetness, you can let the cookies cool slightly and then give them a second roll in the sugar.
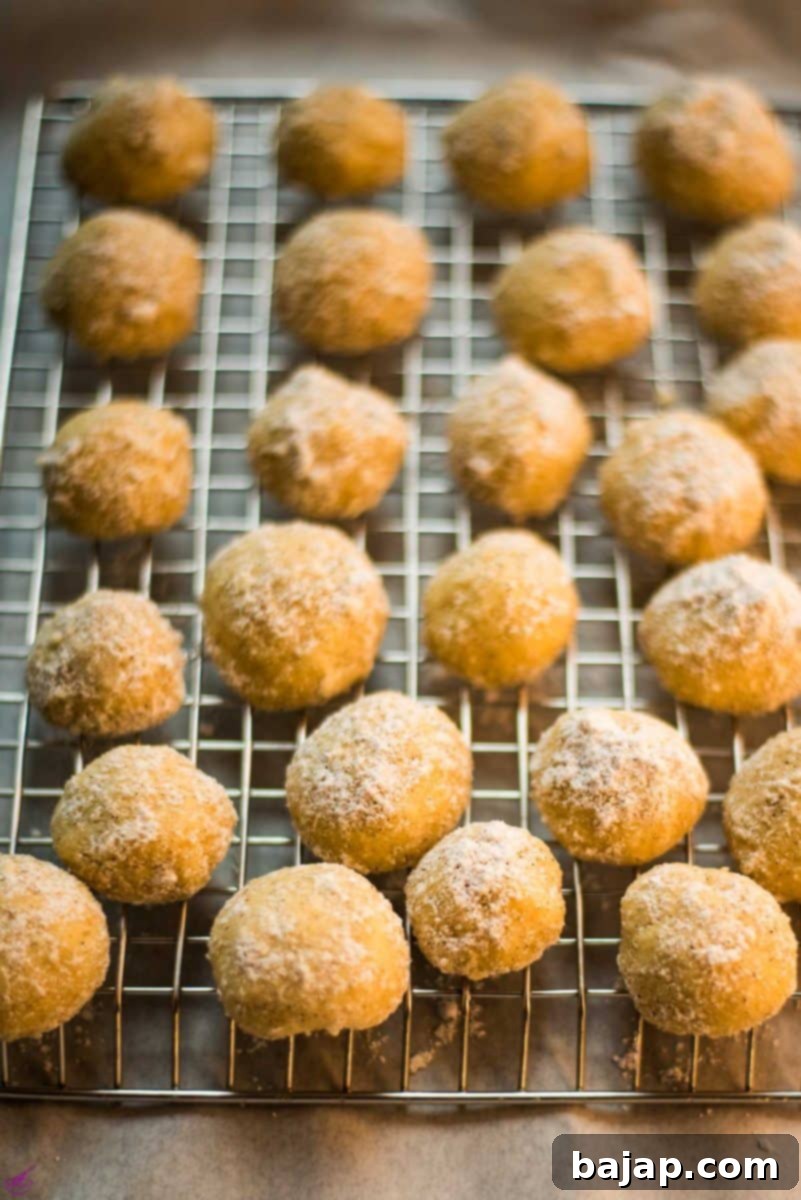
- Cool and Store: Allow the cookies to cool completely on a wire rack. Once cooled, store them in an airtight cookie tin or container. This will keep them fresh and preserve their delicate texture for up to two weeks.
🌟 Why You’ll Love These Butterball Cookies
There are countless reasons why these butterball cookies are a holiday must-have and a year-round delight:
- Effortlessly Easy: With simple ingredients and straightforward steps, even novice bakers can achieve perfect results.
- Melt-in-Your-Mouth Texture: The combination of softened butter, powdered sugar, cake flour, and cornstarch creates an incredibly tender cookie that literally dissolves on your tongue.
- Nut-Free Goodness: A fantastic option for those with nut allergies, ensuring everyone can enjoy a delicious holiday treat without worry.
- Versatile & Customizable: While perfect as is, they’re also a blank canvas for your creative variations (see below!).
- Kid-Friendly Baking: The simple rolling and mixing steps make this a wonderful recipe to involve children in the kitchen.
- Festive & Beautiful: Their snowy powdered sugar coating and delicate shape make them a stunning addition to any holiday cookie platter or dessert table.
- Make-Ahead Friendly: The dough can be prepared in advance and chilled, or even frozen, making holiday baking less stressful.
✨ Expert Tips for Butterball Cookie Perfection
Achieve bakery-quality butterball cookies with these insider tips:
- Room Temperature Butter is Key: Ensure your butter is properly softened, not melted. It should be pliable enough to press a finger into, but still hold its shape. This allows for optimal creaming with the sugar, incorporating air for a light texture.
- Measure Flour Accurately: Use the “spoon and level” method for flour. Spoon the flour into your measuring cup until it’s overflowing, then level it off with a straight edge. Don’t scoop directly from the bag, as this can pack too much flour and lead to dry, dense cookies.
- Don’t Skip the Chill Time: The 2-hour chilling period is vital. It solidifies the butter, preventing the cookies from spreading excessively in the oven and helping them maintain their perfect round shape and delicate texture.
- Roll While Warm, Then Again (Optional): Rolling the cookies in powdered sugar immediately after they come out of the oven ensures the sugar sticks. For an extra-thick, snowy coating, let them cool for 10-15 minutes, then give them a second roll in the sugar.
- Don’t Overbake: Butterball cookies should be removed from the oven when they are just barely golden at the edges and still look pale in the center. They will continue to firm up as they cool. Overbaking leads to a dry, crumbly texture.
🥜 Creative Variations for Your Butterball Cookies
While these butterball cookies are perfect in their classic form, they’re also wonderfully versatile! Here are a few ideas to customize them:
- Nutty Indulgence: If you and your guests don’t have a nut allergy, finely ground nuts (such as walnuts, pecans, or almonds) can be incorporated into the dough. Simply add about ½ cup of finely ground nuts along with the flour. The nuts will introduce a delightful new dimension of flavor and add a subtle crunch, reminiscent of traditional Russian Tea Cakes.
- Citrus Zest: Add 1-2 teaspoons of finely grated lemon, orange, or lime zest to the dough along with the vanilla. The citrus brightens the flavor beautifully.
- Spice It Up: Incorporate a pinch of ground cinnamon, cardamom, or nutmeg into the dough for a warm, spiced variation perfect for cooler months.
- Chocolate Lovers: Mix in mini chocolate chips or finely chopped chocolate into the dough, or drizzle cooled cookies with melted chocolate. You could also roll them in cocoa powder mixed with powdered sugar.
- Coffee Infusion: Add 1-2 teaspoons of instant espresso powder (dissolved in a tiny bit of vanilla extract) to the butter mixture for a subtle coffee flavor.
- Different Coatings: Beyond powdered sugar, consider rolling the cookies in a mixture of cinnamon sugar, cocoa powder, or even colorful sprinkles for different holidays or themes.
🎄 Get in the Christmas Mood with More Festive Recipes!
Embrace the holiday spirit with these wonderful Christmas-themed recipes and tips:
- How to Decorate a Real Christmas Tree in 11 Easy StepsFrom choosing the perfect tree to adding the final touches, this guide will make your tree decorating stress-free and beautiful.
- Baking Basics for Christmas CookiesMaster the fundamentals of holiday cookie baking, from ingredient prep to storage, ensuring perfect results every time.
- Delicious No-Churn Egg Liqueur ParfaitA decadent and easy-to-make dessert, perfect for a festive gathering, combining rich egg liqueur with a creamy parfait.
- Cranberry Aperol SpritzA refreshing and festive cocktail with a beautiful color, ideal for holiday parties or a cozy winter evening.
🍽 Essential Equipment for Baking Butterball Cookies
Having the right tools makes the baking process smoother and more enjoyable. Here’s a list of equipment you’ll need for these butterball cookies:
- Hand or Stand Mixer: Absolutely invaluable for creaming the butter and sugar efficiently, saving your arms a lot of work. Ensure you have both a whisk attachment for creaming and a dough hook for kneading the flour.
- Mixing Bowl: A large, sturdy mixing bowl is essential for combining your ingredients without spills.
- Cling Film / Plastic Wrap: Used to wrap the dough tightly before chilling, preventing it from drying out.
- Teaspoon: Perfect for portioning out uniform cookie dough balls, ensuring even baking. A small cookie scoop (about 1-inch diameter) also works wonderfully.
- Baking Tray (Cookie Sheet): You’ll need one or two to bake your batches of cookies.
- Parchment Paper: Lines the baking sheets, preventing sticking and making cleanup a breeze. It also helps with even heat distribution.
- Wire Cooling Rack: Essential for allowing your cookies to cool properly after baking and initial rolling.
🌡 Storage Tips for Your Butterball Cookies
This recipe yields a generous batch of about 40-60 cookies, so unless you’re hosting a grand, extravagant Christmas party, you’ll likely have some delicious leftovers! The good news is these butterball cookies store beautifully.
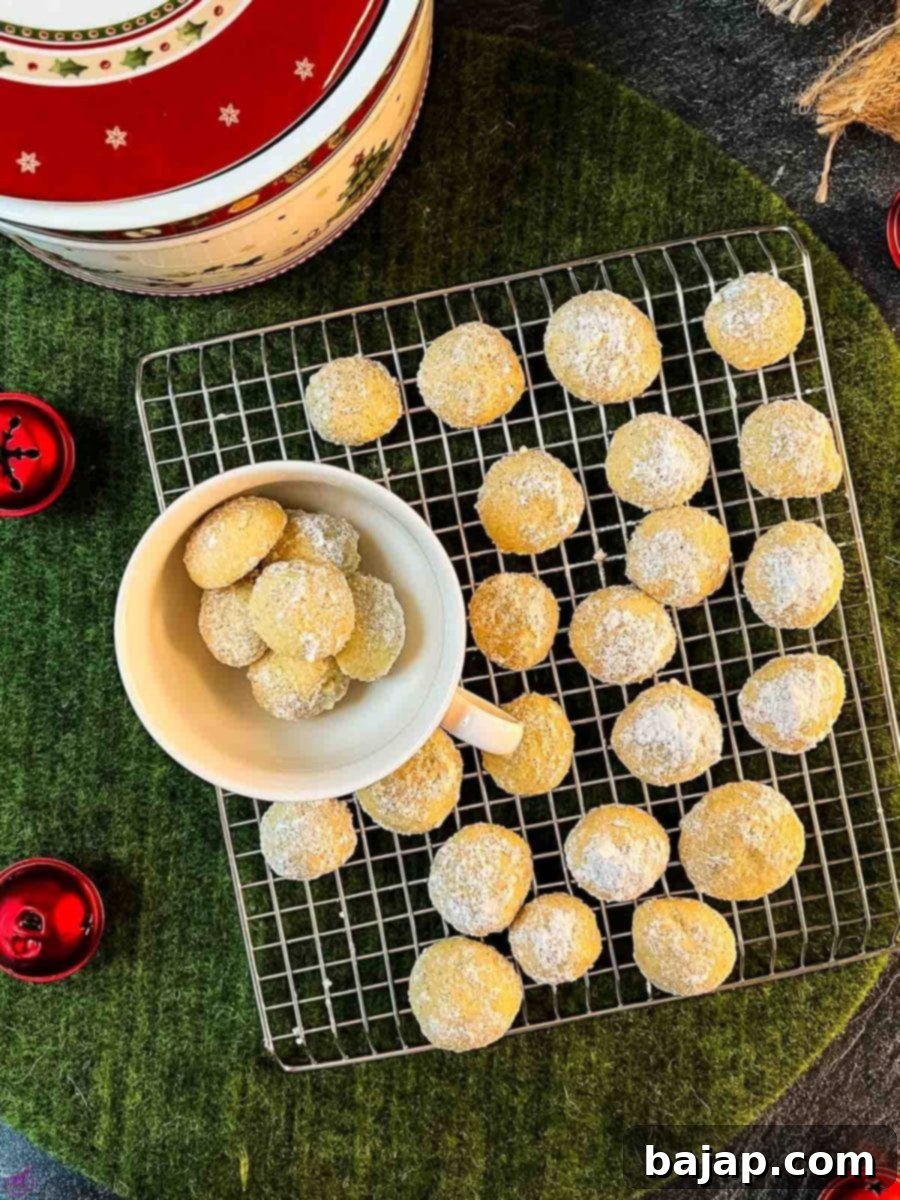
- Baked Cookies: Once completely cooled, store your butterball cookies in an airtight container, such as a traditional cookie tin, at room temperature. They will retain their delicate texture and wonderful flavor for up to two weeks.
- Freezing Baked Cookies: For longer storage, you can freeze baked cookies. After they’ve cooled completely and been rolled in powdered sugar, arrange them in a single layer on a baking sheet and freeze until solid. Then transfer them to an airtight freezer-safe container or bag, separating layers with parchment paper. They will keep well for up to 3 months. Thaw at room temperature before serving.
- Freezing Cookie Dough: You can also prepare the dough ahead of time and freeze it. After chilling, form the dough into balls as instructed, then place them on a parchment-lined baking sheet and freeze until solid. Transfer the frozen dough balls to a freezer-safe bag. They can be stored for up to 3 months. When ready to bake, you can bake them from frozen (they might need a few extra minutes in the oven) or let them thaw slightly in the refrigerator first.
🙋🏻 Frequently Asked Questions (FAQ)
If your cookie dough balls are spreading and falling flat in the oven, there are a few common culprits. The most likely reasons include: your butter was too soft or melted (it needs to be softened, but still firm), you didn’t chill the dough for long enough (or at all), or your flour-to-fat ratio might be off due to inaccurate measuring. Ensuring your butter is at the correct temperature and strictly adhering to the chilling time will usually solve this issue.
In baking, the state of your butter significantly impacts the final texture of your cookies. Using melted butter, as opposed to softened or cold butter, adds moisture to your dough and results in cookies with a denser, chewier, and often flatter consistency because the air pockets created during creaming are lost. For butterball cookies, we aim for a light, melt-in-your-mouth texture, which is why softened butter is preferred.
The ideal butter temperature truly depends on the desired outcome for your cookies. If you’re aiming for a chewier cookie with a denser crumb, melted butter works well. However, for a lighter, more airy cookie with a delicate, cake-like consistency—like our butterball cookies—softened butter is the superior choice. Softened butter creams beautifully with sugar, incorporating air that yields a tender, melt-in-your-mouth texture.
One of the really nice things about this recipe is its flexibility! The dough comes together in 10 minutes or less of active prep time. You can certainly prepare the dough in advance and let it chill in the refrigerator for up to 2-3 days before baking. If you’re hosting a big party, you can even roll out the balls once the cookie dough has had enough time to chill and pop them in the freezer until your guests arrive, baking them fresh on the day of your event. Rolling the warm cookies in powdered sugar fresh out of the oven makes them taste absolutely divine. This recipe is guaranteed to be a huge hit and will likely become everyone’s favorite cookies!
Absolutely! This recipe is excellent for make-ahead preparation, which is a huge bonus during busy holiday seasons. You can prepare the dough and chill it for up to 3 days in the refrigerator, or freeze the shaped cookie dough balls for up to 3 months. Baked cookies can also be frozen for longer storage. This flexibility allows you to spread out your baking tasks and enjoy freshly baked cookies with minimal last-minute effort.
Other Delicious Cookie Recipes for You to Try
If you’ve enjoyed making these butterball cookies, you’re sure to love these other delightful cookie recipes from my kitchen:
- Baking Basics for Christmas Cookies: Master the fundamentals for flawless holiday baking.
- Walnut Meringue Cookies: Light, airy, and nutty – a sophisticated treat.
- Divine Leftover Egg Yolk Cookies: Don’t let those extra egg yolks go to waste with these rich cookies.
- How to make delicious Linzer Cookies with Egg Liqueur: A festive twist on a classic Austrian cookie.
- Austrian Coconut “Busserl” Cookies – Like Granny’s: A tender, chewy coconut delight, just like grandma used to make.
If you make this recipe, let me know how you liked it by giving it a ★★★★★ star rating and leaving a comment below. Your feedback is awesome and helps other bakers! You can also sign up for our Newsletter to receive delicious homemade recipes weekly, or follow me on Pinterest or Instagram and share your creation with me. Just tag me @combinegoodflavors and hashtag #combinegoodflavors, so I don’t miss it!
📖 Recipe: Yummy Butterball Cookies
Yummy Butterball Cookies
By Nora
❤️Save Recipe
Saved!
📌Pin Recipe
Equipment
-
Hand or stand mixer with whisk attachment and dough hook
-
Mixing bowl
-
Cling film
-
Teaspoon for cutting out little cookie dough balls
-
Baking tray
-
Baking Paper
Ingredients
- 1 cup Butter softened
- ¼ cup Powdered sugar
- 1 Pulp from one Vanilla pod
- 1 ½ cups Cake flour
- ½ cup Cornstarch
For rolling
- 1 cup Powdered sugar
- 1 ¼ tablespoon Vanilla sugar homemade or store-bought
Instructions
-
Mix 1 cup Butter, ¼ cup Powdered sugar, and 1 Pulp from one Vanilla pod for about 5 minutes until creamy and fluffy using a whisk attachment.1 cup Butter, ¼ cup Powdered sugar, 1 Pulp from one Vanilla pod
-
Mix in 1 ½ cups Cake flour and ½ cup Cornstarch and then knead into a cohesive dough using the dough hook. Avoid overmixing.1 ½ cups Cake flour, ½ cup Cornstarch
-
Wrap the dough tightly in plastic wrap and chill in the refrigerator for a minimum of 2 hours. This step is crucial for texture.
-
Once the dough has chilled, preheat your oven to 355 °F (180 °C) and line your baking sheets with parchment paper.
-
Using a teaspoon or small cookie scoop, portion out the dough. Shape each portion into small, uniform 1-inch balls and arrange them on the prepared baking sheet.
-
Bake on the middle shelf for about 10-12 minutes, or until the edges are just lightly golden. The cookies should remain pale in the center.
-
While the cookies are still warm from the oven, mix 1 cup Powdered sugar and 1 ¼ tablespoon Vanilla sugar in a shallow bowl. Carefully roll each hot cookie in this sugar mixture until fully coated.1 cup Powdered sugar, 1 ¼ tablespoon Vanilla sugar
-
Allow the cookies to cool completely on a wire rack. Once cooled, store in an airtight cookie tin to maintain freshness.
Nutrition values are estimates only, using online calculators. Please verify using your own data.

🤎 You Might Also Like These Recipes
If you’re looking for more delicious treats to bake, here are some other recipes you might enjoy:
- Eggnog Mascarpone Cookies That Taste Like ChristmasRich, creamy, and infused with the festive flavor of eggnog, these cookies are a holiday dream.
- 5 Ingredients Raspberry Cheesecake Thumbprint CookiesSimple to make with minimal ingredients, these cookies deliver a burst of fruity cheesecake flavor.
- Sour Cream Cookies with Pearl SugarA unique and tender cookie with a delightful tangy note, finished with crunchy pearl sugar.
- Cinnamon Cookies {Zimtsterne}A classic German Christmas cookie, these star-shaped treats are bursting with warm cinnamon flavor.
⛑️ Food Safety Guidelines for Home Baking
Ensuring food safety is paramount when baking, especially when preparing treats for loved ones. Please keep these important guidelines in mind:
- Minimum Cooking Temperature: Always ensure that any ingredients requiring cooking reach a minimum internal temperature of 165 °F (74 °C) to eliminate harmful bacteria. While cookies are generally baked until done, avoid tasting raw dough containing eggs.
- Prevent Cross-Contamination: Never use the same utensils or cutting boards on cooked food that previously touched raw ingredients, especially raw meat or eggs, without thorough washing.
- Hand Hygiene: Always wash your hands thoroughly with soap and warm water for at least 20 seconds before, during, and after handling food.
- Temperature Control: Do not leave perishable ingredients or cooked food sitting out at room temperature for extended periods (generally no more than two hours). Promptly refrigerate or freeze leftovers.
- Supervise Cooking: Never leave cooking food unattended on the stovetop or in the oven. Always be present to monitor the baking process.
- Smart Oil Choices: If any part of your recipe involves frying or sautéing, use oils with a high smoking point to avoid the formation of harmful compounds.
- Ensure Ventilation: Always ensure good ventilation in your kitchen, especially when using a gas stove, to prevent the buildup of fumes.
For further comprehensive information and best practices on food handling and safety, always refer to reputable sources such as the Safe Food Handling – FDA guidelines.
