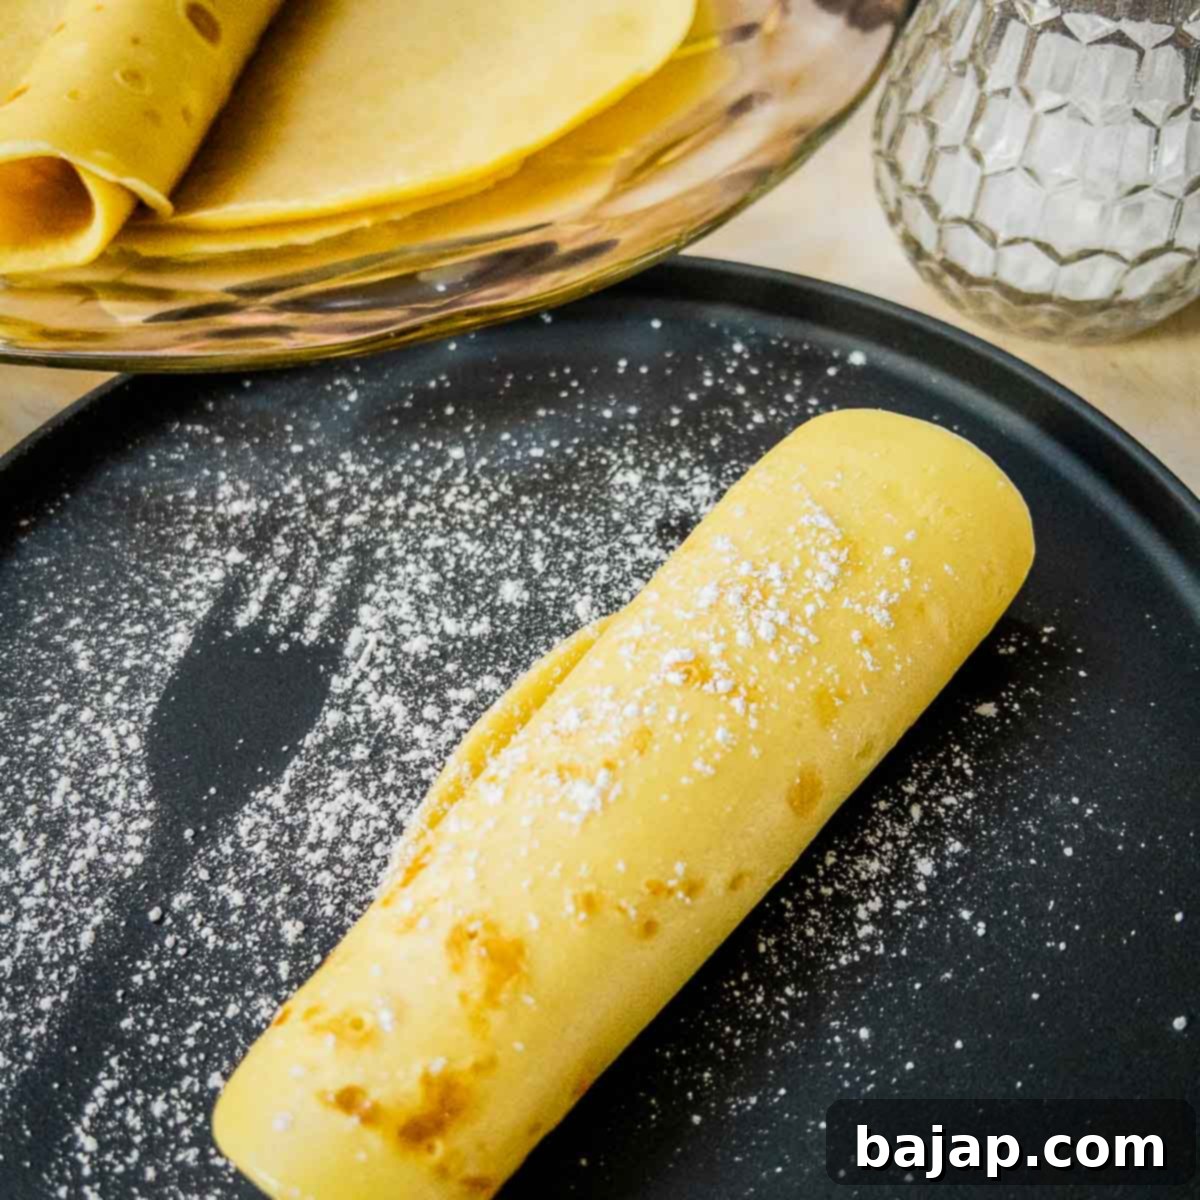
Authentic Austrian Palatschinken: The Ultimate Thin Apricot Jam Pancakes Recipe
Prepare for a delightful culinary journey to Austria with our simple yet exquisite recipe for Thin Pancakes with Apricot Jam, known locally as “Palatschinken.” These delicate, paper-thin pancakes, generously filled with a luscious apricot jam and often dusted with a whisper of powdered sugar, are a quintessential Austrian dessert. Despite their elegant appearance and truly irresistible taste, their preparation is surprisingly straightforward, allowing you to bring this beloved treat to your table in no time.
For those who appreciate an extra layer of flavor and sophistication, consider elevating your apricot jam by adding a delicate dash of rum. This subtle addition introduces a warm, aromatic note that beautifully complements the sweet and slightly tart profile of the apricot, transforming a classic into an even more memorable indulgence.
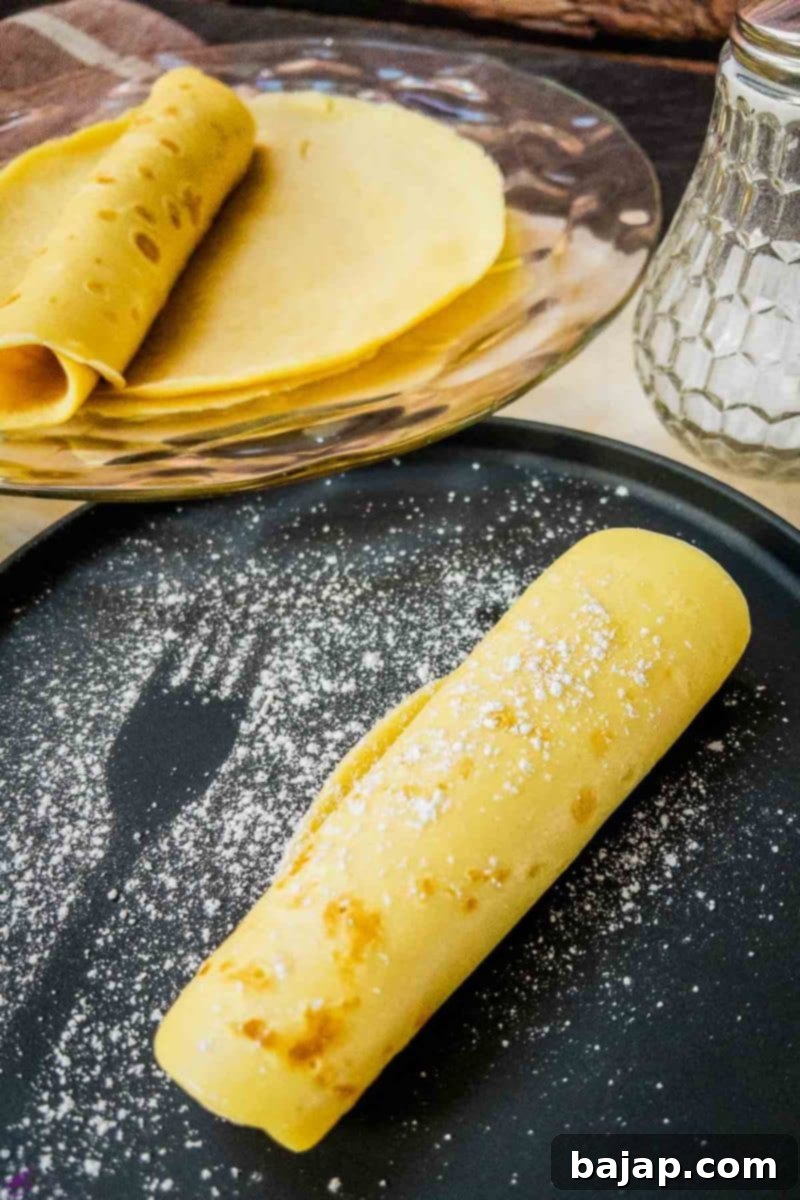
If you’re looking to explore more delicious pancake variations, be sure to check out our ice cream pancakes, featuring creamy homemade vanilla ice cream. It’s a fantastic twist that’s definitely worth a peek!
Mark Your Calendars! September 26th is National Pancake Day!
Understanding Austrian Palatschinken: More Than Just a Pancake
When you find yourself wandering the charming streets of Vienna or any other part of Austria, you might hear the delightful word “Palatschinken.” If you’re wondering what this intriguing term refers to, it’s simply the Austrian name for these thin, delicate pancakes. This is an essential piece of culinary knowledge, especially if you’re planning a vacation to Austria and wish to immerse yourself in the local gastronomic culture.
While the concept of a thin pancake exists in many cultures, the “Palatschinke” holds a special place in Austrian hearts. In Germany, a similar dish might be called “Pfannkuchen,” a term that, to the chagrin of many a good Viennese, often elicits a gentle correction. The distinction isn’t just linguistic; it’s a matter of cultural identity and culinary pride. To an Austrian, calling their beloved Palatschinken “Pfannkuchen” is akin to misnaming a cherished family member – a well-intentioned but noticeable oversight! These pancakes are not just food; they are a part of the rich culinary tapestry of Austria, often enjoyed as a dessert, a sweet main course, or even a delightful snack.
The history of Palatschinken is as rich and layered as the dish itself. Believed to have originated from the Roman “placenta” cake, which evolved into various thin pancake forms across Central and Eastern Europe, the Palatschinken found its true home and refinement in the Austro-Hungarian Empire. The Hungarian “palacsinta” is a close cousin, and the term itself likely derived from the Latin “placenta” or the Romanian “plăcintă.” This historical lineage underscores the depth of tradition embedded in every bite of these thin pancakes.
🥘 Gather Your Ingredients for Authentic Palatschinken
Crafting perfect Austrian Palatschinken begins with selecting quality ingredients. Each component plays a vital role in achieving that signature delicate texture and rich flavor. Here’s what you’ll need:
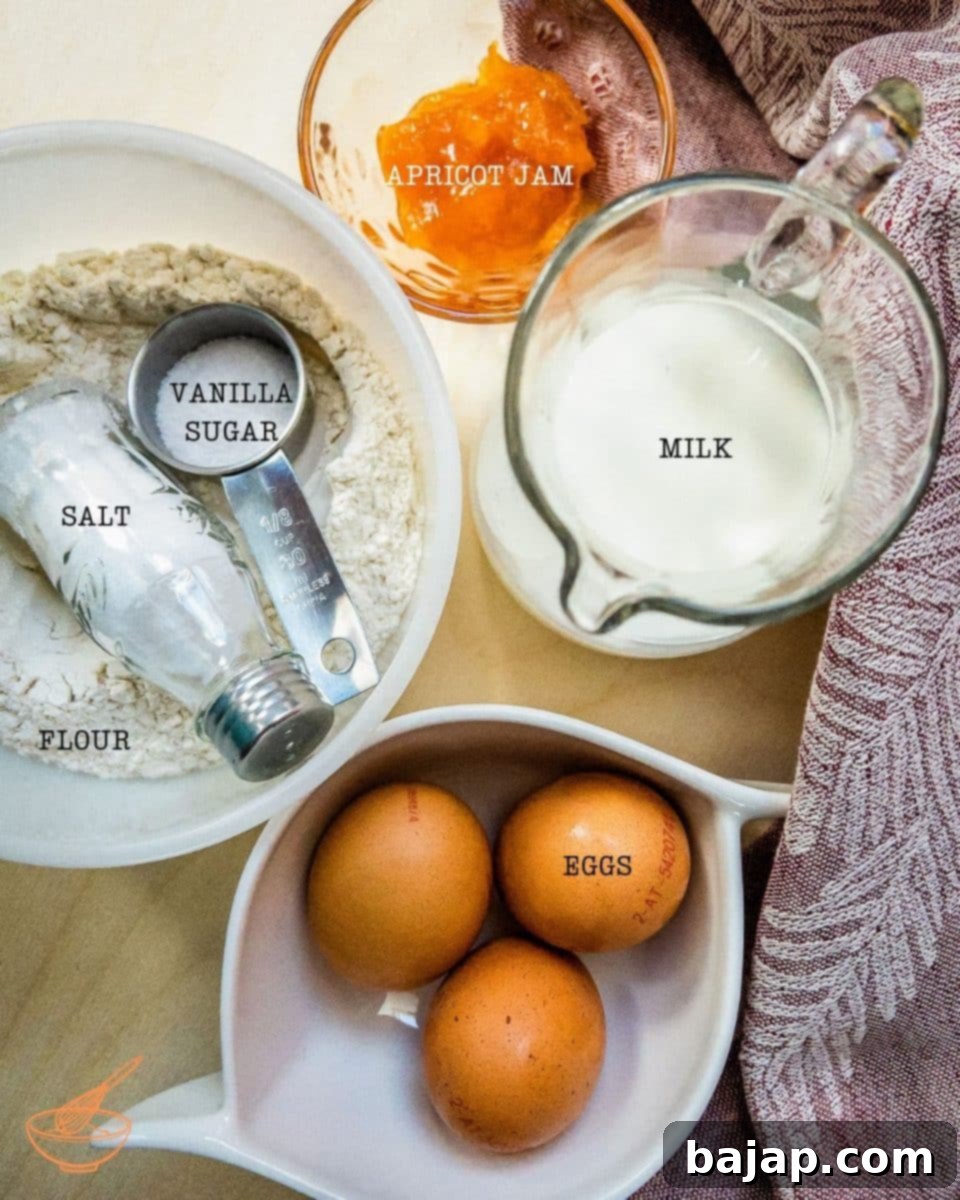
- Flour: Use all-purpose flour or a fine pastry flour for the lightest, most delicate batter. The type of flour is crucial for achieving the desired thinness and elasticity.
- Eggs: Fresh, large eggs are key for binding the batter and contributing to the rich flavor.
- Yolks: An extra yolk adds richness and helps create a more tender pancake with a beautiful golden hue.
- Vanilla Sugar: This provides a lovely subtle vanilla aroma. You can use store-bought or easily make it homemade by infusing granulated sugar with vanilla bean.
- Kosher Salt: A pinch of salt balances the sweetness and enhances all the other flavors in the batter.
- Milk: Whole milk is recommended for richness, but any milk will work. Ensure it’s at room temperature for a smoother batter.
- Oil or Melted Butter: For cooking the pancakes and adding a hint of flavor to the batter. Butter offers a richer taste, while oil keeps the pancakes lighter.
- Apricot Jam: The star of the filling! Opt for a high-quality apricot jam with a good balance of sweetness and tartness. A smoother jam is preferred for spreading.
- Water or Rum: A dash of water helps thin the jam for easier spreading. Rum is an optional addition for an adult twist, enhancing the apricot’s natural notes.
- Powdered Sugar: For dusting the finished Palatschinken, adding a final touch of sweetness and elegant presentation.
For precise measurements and nutritional information, refer to the detailed recipe card below.
🔪 Step-by-Step Guide to Making Perfect Palatschinken
Creating these delicate Austrian pancakes is a rewarding process. Follow these instructions carefully to ensure light, fluffy, and flavorful Palatschinken every time.
Step 1: Preparing the Thin Pancake Dough
The foundation of a great Palatschinke is its batter. Begin by combining the dry ingredients with the initial wet components. In a spacious mixing bowl, place your all-purpose flour, whole eggs, the extra egg yolk, vanilla sugar, and kosher salt. Add a splash of milk to this mixture. Whisk everything thoroughly until you achieve a perfectly smooth consistency. While doing this by hand is certainly possible, using a food processor or an electric whisk will make the process much quicker and guarantee a lump-free batter, which is crucial for thin pancakes.
Once the initial mixture is smooth, gradually incorporate the remaining milk. It’s important to add the milk slowly, stirring continuously, to ensure the batter remains smooth and doesn’t become lumpy. The goal here is to achieve a very thin, pourable batter—thinner than regular American pancake batter, more akin to crêpe consistency. If your dough feels too thick or dense, don’t hesitate to thin it further with a little extra milk, a tablespoon at a time, until it reaches the desired runny texture. This thinness is what gives Palatschinken their characteristic delicate structure.
Finally, for an exceptionally smooth batter, pass the entire pancake mixture through a fine-mesh sieve into another clean mixing bowl. This step removes any tiny lumps that might have escaped your whisk, ensuring your pancakes are perfectly uniform. After straining, allow the batter to rest for at least 20 minutes at room temperature. This resting period is vital: it allows the flour to fully hydrate and the gluten to relax, which results in more tender and pliable pancakes that are less prone to tearing during frying.
Step 2: Expertly Frying Your Thin Pancakes
Frying Palatschinken requires a suitable pan and a bit of practice to master the technique. You’ll need a good quality non-stick coated pan. While any reliable non-stick skillet will do, specialized non-stick crêpe pans, with their much lower edges, are ideal as they make flipping easier. Choose whatever you have on hand and feel most comfortable using.
To begin, add just a small drop of oil or a tiny pat of butter to the pan. You truly don’t need much; too much oil will make the pancakes greasy. Heat the pan over medium heat. It’s crucial that the pan is hot but not smoking. A good test is to flick a drop of water onto the surface; if it sizzles and evaporates quickly, your pan is ready.
Once the skillet is hot, pour a small amount of batter into the center of the pan. This is where the practice comes in. You need just enough batter to thinly coat the bottom. Immediately lift the pan off the heat and quickly swirl it in a circular motion, allowing the batter to spread evenly across the entire surface in a very thin layer. The aim is for a translucent, not thick, pancake. Pour any excess batter back into your bowl if you find you’ve added too much.
Return the pan to medium heat and cook the pancake for about 1-2 minutes, or until the edges start to crisp and lift, and the surface appears set. Gently loosen the edges with a thin spatula, then carefully flip the pancake. Cook the second side until it’s also golden brown. This usually takes less time than the first side. Repeat this process for the remaining batter, stacking the finished pancakes on a plate. To keep them warm and pliable, you can place them in a preheated oven at its lowest temperature (around 150°F / 65°C) while you finish frying the rest.
Step 3: Preparing the Apricot Jam Filling and Serving
With your perfect Palatschinken ready, it’s time to prepare the signature apricot jam filling. For a wonderfully smooth and easily spreadable filling, take your apricot jam and combine it with a dash of water in a small saucepan. Gently warm it over low heat, stirring until it loosens slightly. Then, press the warmed jam through a fine-mesh sieve into a clean bowl. This step removes any large fruit pieces or lumps, ensuring your filling is incredibly fine and uniform, which is traditional for Palatschinken.
As mentioned before, for an extra layer of flavor, you can replace the water with a dash of rum. This adds a sophisticated, boozy note that perfectly complements the apricot and is a popular Austrian variation. Stir the rum directly into the jam as you warm it.
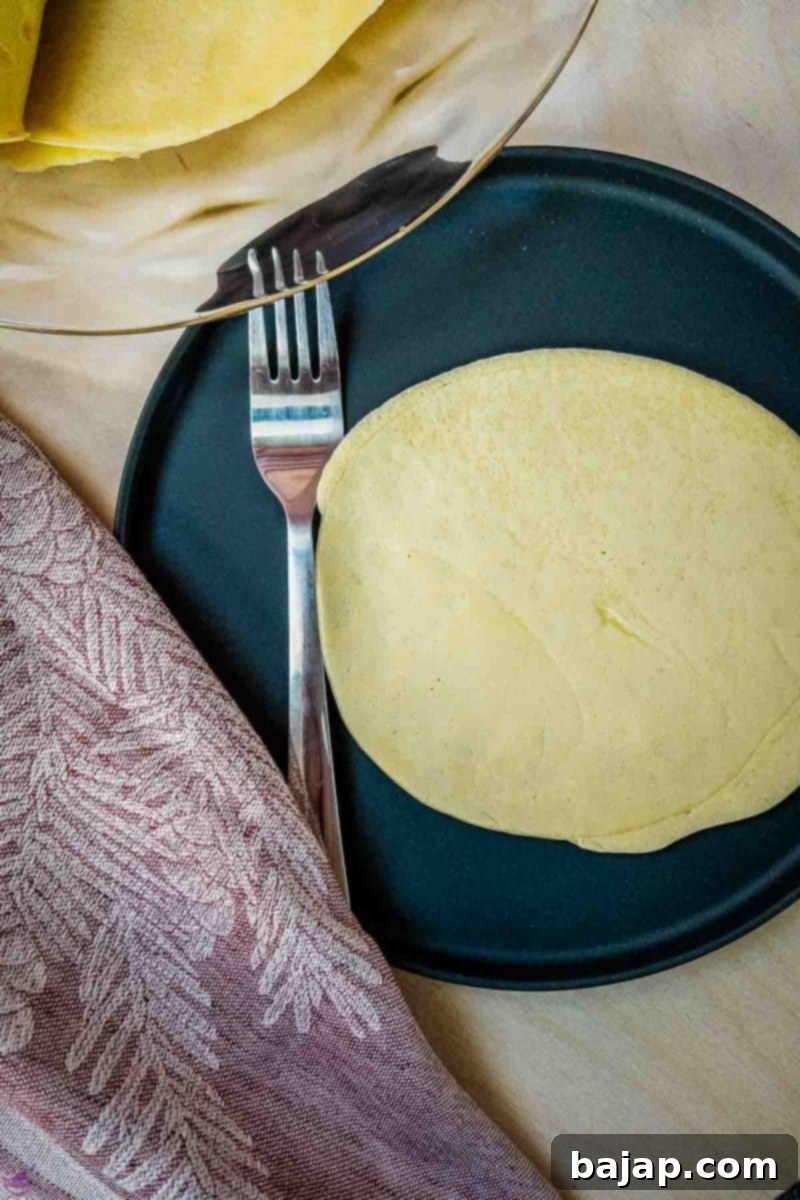
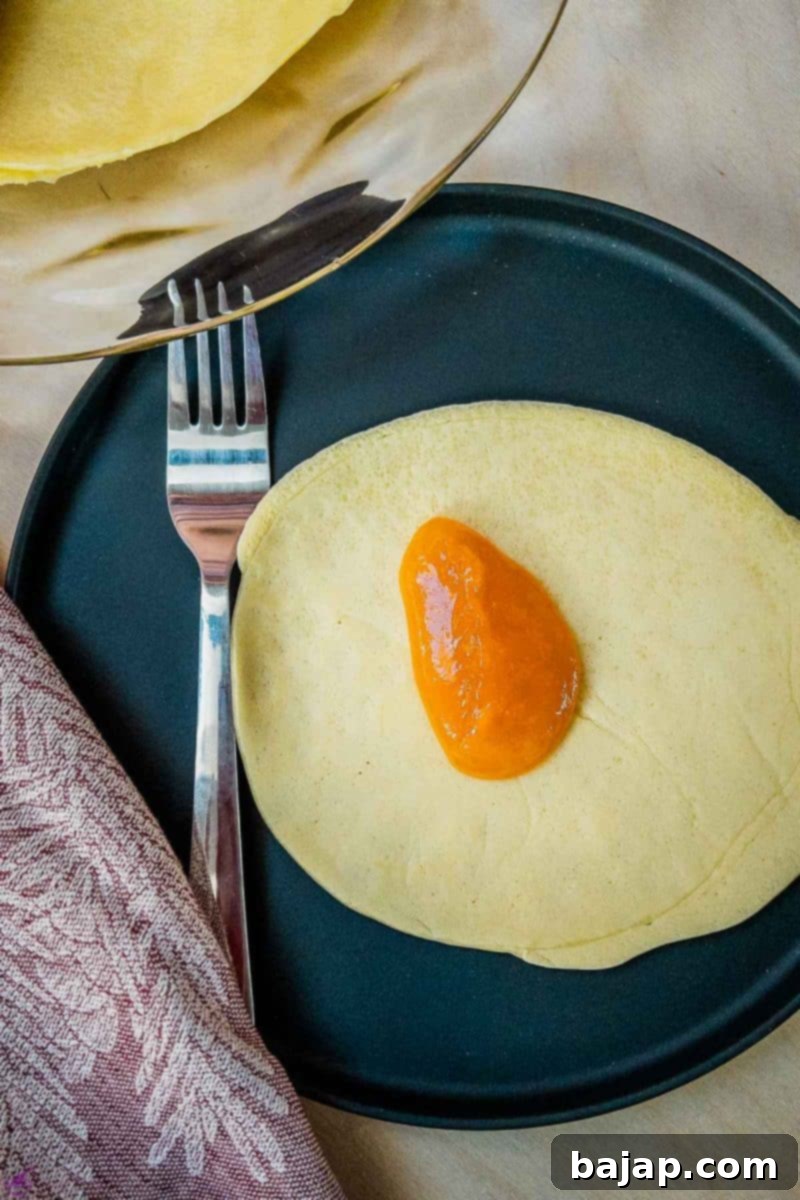
Once your jam is ready, take each finished, warm pancake individually. Spoon a generous tablespoon (or more, to your liking!) of the fine apricot jam onto one side of the pancake. Gently spread the jam evenly across the surface, leaving a small border to prevent overflow when rolling. Then, carefully roll up the pancake from one end to the other, creating a neat cylinder. The warmth of the pancake will slightly soften the jam, making it even more delectable.
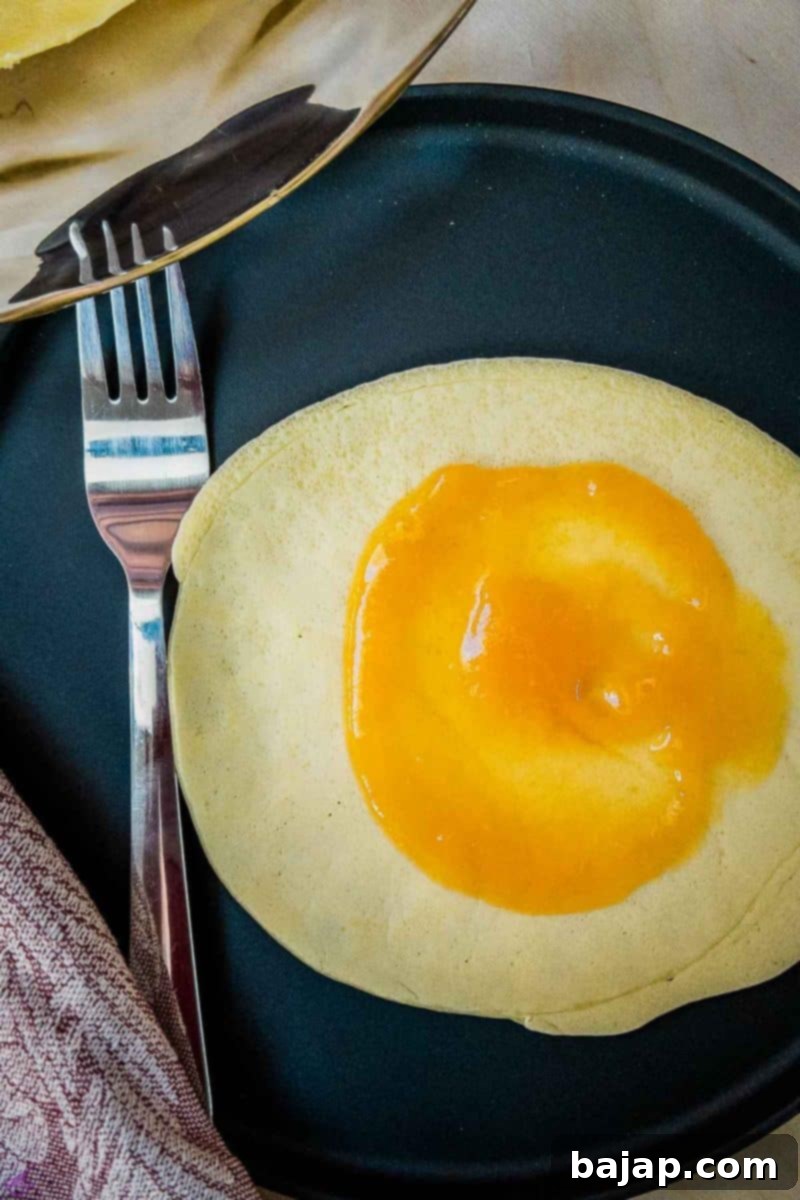
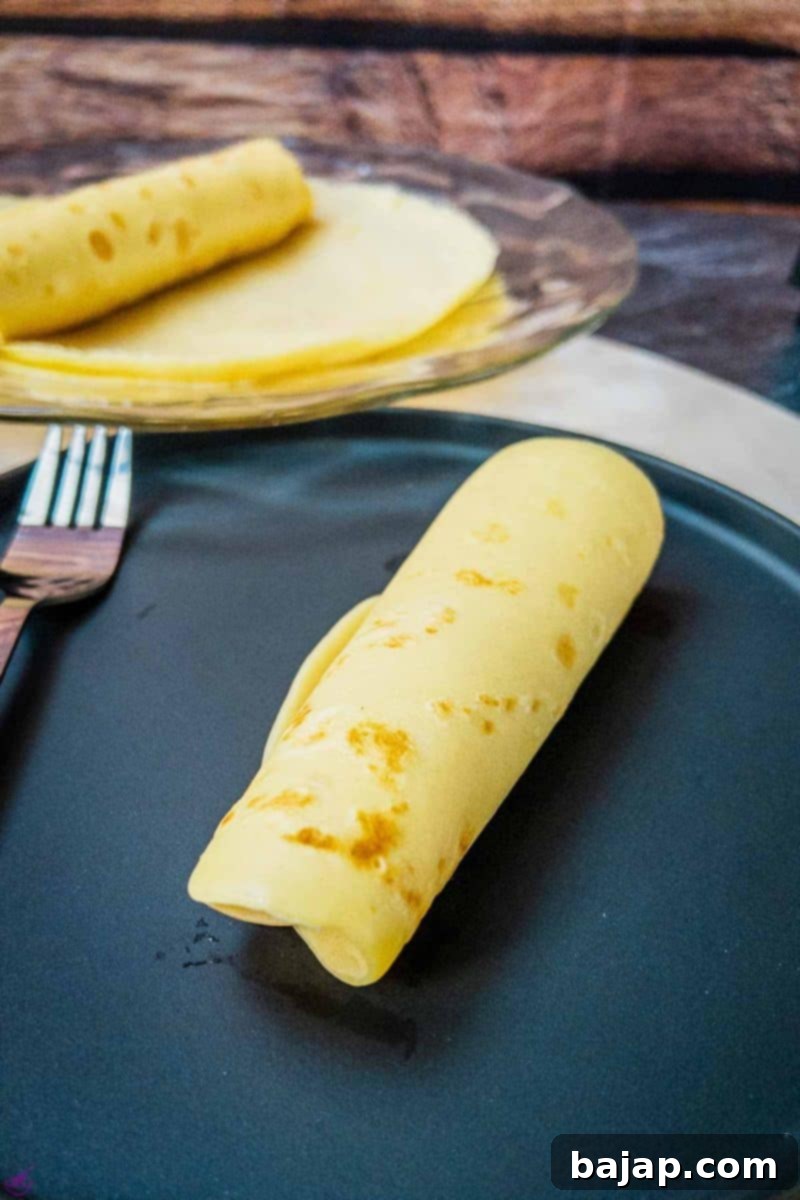
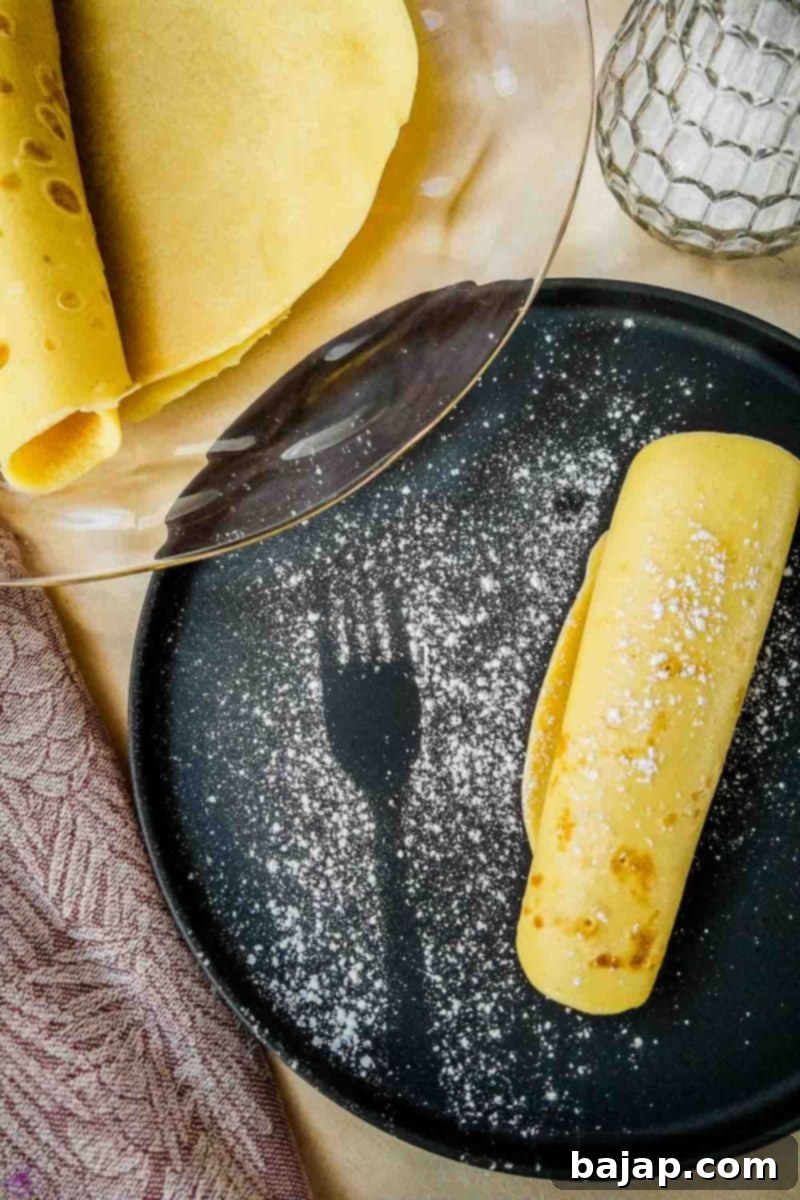
Arrange the rolled Palatschinken neatly on a serving platter. Just before serving, generously dust them with a fine layer of powdered sugar. The sugar will gently melt onto the warm pancakes, creating a beautiful glaze. Serve these delectable treats warm, either individually or stacked, and watch them disappear!
🍑 Delicious Palatschinken Variations: Unleash Your Creativity
While apricot jam Palatschinken are a beloved classic, the beauty of these thin pancakes lies in their incredible versatility. They serve as a perfect canvas for a myriad of fillings, allowing you to tailor them to any taste preference or occasion. Don’t limit yourself to just one type of jam; explore a world of flavors!
Consider using other delightful fruit preserves such as rich strawberry, tangy currant, sweet plum, or a vibrant mixed berry jam. For a truly decadent experience, a smear of hazelnut chocolate spread (like Nutella) or a rich chocolate ganache can transform your Palatschinken into a luxurious dessert. Fresh fruits are another fantastic option; slices of banana, fresh berries, sautéed apples with cinnamon, or even a compote of pears can add freshness and texture.
Beyond fruits and jams, you can venture into creamy fillings. A sweet quark (a type of fresh dairy product, similar to cream cheese but lighter) mixed with a little sugar and lemon zest makes for a light and refreshing filling. Ricotta cheese blended with honey and a hint of orange blossom water also creates an exquisite flavor profile. Don’t forget about nuts – ground walnuts or hazelnuts mixed with honey and cinnamon can add a delightful crunch and warmth.
For an indulgent treat, especially during warmer months, pair your warm Palatschinken with a scoop of homemade vanilla ice cream or another favorite flavor. The contrast between the warm pancake and cold, melting ice cream is simply divine. You can also drizzle them with caramel sauce, a fruit coulis, or a simple lemon glaze for an extra touch.
And who says pancakes have to be sweet? While not traditional for Palatschinken, their thin form can also lend itself to savory fillings if you adjust the batter slightly by omitting vanilla sugar. Imagine them filled with cream cheese and chives, or a delicate spinach and feta mixture. The possibilities are truly endless!
This is where you can truly unleash your culinary creativity! Experiment with different combinations, textures, and flavors. Don’t forget to share your fabulous creations and tag @combinegoodflavors when you post them online! I eagerly look forward to seeing what delicious discoveries you make!
🍽 Essential Equipment for Palatschinken Success
To make the process of creating these delicate thin pancakes as smooth and enjoyable as possible, having the right tools on hand is essential. Most of these items are standard kitchen equipment, making Palatschinken an accessible treat for many home cooks.
- Food processor or whisk: A food processor or stand mixer with a whisk attachment will make light work of combining ingredients into a smooth, lump-free batter. A good old-fashioned hand whisk works perfectly too, just ensure you whisk thoroughly!
- Coated pan (or non-stick crêpe pan): A high-quality non-stick pan is perhaps the most crucial piece of equipment. It ensures your thin pancakes don’t stick and are easy to flip. A dedicated crêpe pan with its low sides is ideal for ease of flipping.
- Spatula: A thin, flexible spatula is indispensable for gently loosening the edges of the pancake and flipping it without tearing.
- Medium bowl (with beak for pouring): A mixing bowl with a spout, or a large measuring cup, will make pouring the thin batter into the pan much tidier and more controlled.
- Close-meshed sieve: This is used to strain the batter for ultimate smoothness and to sieve the apricot jam for a perfectly fine consistency.
🌡 Storage Solutions for Your Palatschinken
One of the many great things about Palatschinken is how well they store, making them an excellent candidate for meal prep or batch cooking. Whether you’ve made a large batch or simply have leftovers, you can easily preserve these delicacies for future enjoyment.
Finished, cooled pancakes freeze beautifully and can maintain their delicious quality for up to six months. This means you can indulge in the rich flavors of Austrian pancakes whenever a craving strikes, with minimal effort. If you find yourself frequently wanting this delightful dessert, I highly recommend doubling, tripling, or even quadrupling the recipe amount. It’s a wonderful way to ensure you always have a sweet treat on hand.
A practical tip for freezing: Once your pancakes have fully cooled to room temperature, stack them carefully in a freezer bag or an airtight container. To prevent them from sticking together and to make it easier to separate individual pancakes later, place a sheet of parchment paper or baking paper between each pancake. This creates a small “tower” of pancakes that can be easily stored. When you’re ready to enjoy them, simply take out the desired number of pancakes, thaw them in the refrigerator overnight, or gently warm them directly from frozen in a microwave or a lightly oiled pan over low heat until soft and warm.
For shorter-term storage, cooked Palatschinken can be kept in an airtight container in the refrigerator for 2-3 days. Reheat them gently in a pan or microwave.
💭 Top Tips for Perfect Pancakes Every Time
To help you avoid common frustrations and achieve consistently delicious thin pancakes, pay close attention to these expert tips for frying and flipping:
- Always Use a Non-Stick Pan: This cannot be stressed enough. A good quality non-stick surface is paramount for Palatschinken to prevent sticking and ensure easy release. Without it, your delicate pancakes are much more likely to tear.
- Mind the Oil: When frying, less is often more. Use only a very small amount of oil or butter – just a drop or a light wipe with an oiled paper towel. Too much oil will cause your pancakes to become greasy, heavy, and soggy, diminishing their light, delicate texture and flavor.
- Mastering the Edges: As the first side of the pancake cooks over medium heat, keep an eye on the edges. They will start to firm up and slightly pull away from the pan. Use a thin, flexible spatula to gently loosen the edges of the pancake, working your way around the entire circumference. This preparatory step makes it significantly easier to slide the spatula completely under the pancake for a clean flip.
- The Art of the Flip: The pancake should be turned in one swift, confident motion. While the impressive “pancake toss” is fun to watch, it’s a skill best left to professionals or those with considerable practice. For most home cooks, carefully guiding a wide, thin spatula completely under the pancake is the safest bet. Ensure the spatula supports the pancake’s full weight to prevent tearing. Carefully lift the pancake, flip it over, and gently lay it back into the pan. Then, continue to bake the second side until it achieves that beautiful golden-brown color before removing it from the pan. Consistency in flipping leads to evenly cooked pancakes.
- Patience is a Virtue: Don’t rush the cooking process. Medium heat is crucial – too high and the outside will burn before the inside cooks; too low and they won’t brown nicely and can become tough.
🎉 Remember, September 26th is National Pancake Day! 🥳 What better way to celebrate than with a batch of homemade Austrian Palatschinken?
If you try this recipe, please let me know how you liked it by giving it a ★★★★★ star rating and leaving a comment below. Your feedback means the world to me! You can also sign up for our Newsletter to receive delicious recipes weekly, or follow me on Pinterest or Instagram. Share your culinary creations with me by tagging @combinegoodflavors and using the hashtag #combinegoodflavors, so I don’t miss your masterpieces!
📖 Recipe
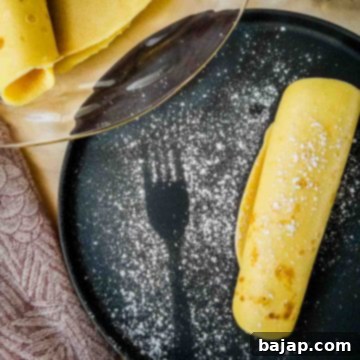
Thin Pancakes with Apricot Jam
Nora
Save RecipeSaved!
Pin Recipe
Equipment
-
Kitchen machine
-
Frying Pan
-
Spatula
-
Mixing cup or mixing bowl (with beak for pouring)
-
Close meshed sieve
Ingredients
- 1 ¼ Cups All Purpose Flour
- 2 Eggs
- 1 Yolk
- 2 tablespoon Vanilla Sugar
- 1 Pinch Kosher Salt
- 1 Cup Milk
- 1 teaspoon Oil or Butter
- 10.6 oz Apricot Jam
- 1 dash Water or Rum
- Powdered Sugar for dusting
Instructions
-
Add 1 ¼ Cups All Purpose Flour, 2 Eggs, 1 Yolk, 2 tablespoon Vanilla Sugar, 1 Pinch Kosher Salt, and some milk in a mixing bowl and whisk until smooth.1 ¼ Cups All Purpose Flour, 2 Eggs, 1 Yolk, 2 tablespoon Vanilla Sugar, 1 Pinch Kosher Salt
-
Gradually stir in the remaining 1 Cup Milk. Make sure you get a thin batter. If the dough is thick and dense, thin it with more milk.1 Cup Milk
-
Now pass the pancake mix through a close-meshed sieve into a mixing bowl and let it sit for 20 minutes.
-
Add 1 teaspoon Oil or Butter (you don’t need much here) to the pan and heat it up. Once the skillet is hot, pour some batter into the hot skillet.1 teaspoon Oil or Butter
-
To make thin pancakes, you need just enough batter so that when you swirl the pan, and the batter spreads in the pan, you create a thin layer.
-
Bake the pancake over medium heat until golden brown on both sides.
-
Keep the finished pancakes warm in the oven at the lowest temperature.
-
For the sweet filling, combine 10.6 oz Apricot Jam with a dash of water, and pass it through a sieve to make it very fine. Replace the water with 1 dash Water if you fancy.10.6 oz Apricot Jam, 1 dash Water
-
Spread the finished pancakes individually with jam and roll them up.
-
Dust with Powdered Sugar for dusting and serve warm.Powdered Sugar for dusting
Nutrition values are estimates only, using online calculators. Please verify using your own data.

🤎 You Might Also Enjoy These Recipes
- The Best 94 Pancake Recipes
- Vanilla Bean Ice Cream Pancakes {Palatschinken}
- Austrian Kaiserschmarrn {torn pancakes}
- Delicious Elderflower Fritters {Air Fryer}
⛑️ Important Food Safety Guidelines
Ensuring food safety is paramount when preparing any meal, including these delightful Palatschinken. Following these guidelines will help prevent foodborne illnesses and ensure a safe culinary experience:
- Minimum Cooking Temperature: Although pancakes are generally cooked thoroughly, ensure any egg-containing batter reaches a minimum internal temperature of 165°F (74°C) if you are in doubt, especially for thicker pancakes. For thin pancakes, a golden-brown color on both sides indicates sufficient cooking.
- Prevent Cross-Contamination: Always use separate utensils, cutting boards, and plates for raw ingredients (like eggs) and cooked food to avoid cross-contamination.
- Handwashing: Wash your hands thoroughly with soap and warm water before and after handling raw ingredients, and at any point you switch tasks in the kitchen.
- Temperature Control: Do not leave cooked food, especially those containing dairy or eggs, sitting out at room temperature for extended periods (generally no more than two hours). Promptly refrigerate or freeze leftovers.
- Never Leave Cooking Unattended: Always keep an eye on food cooking on the stovetop or in the oven to prevent burning or accidents.
- Cooking Oils: Use oils with a high smoke point (like canola, grapeseed, or sunflower oil) when frying to avoid harmful compounds and off-flavors.
- Ventilation: Always ensure good ventilation in your kitchen, especially when using a gas stove, to disperse cooking fumes.
For further comprehensive information on safe food handling practices, please refer to the Safe Food Handling guidelines from the FDA.
