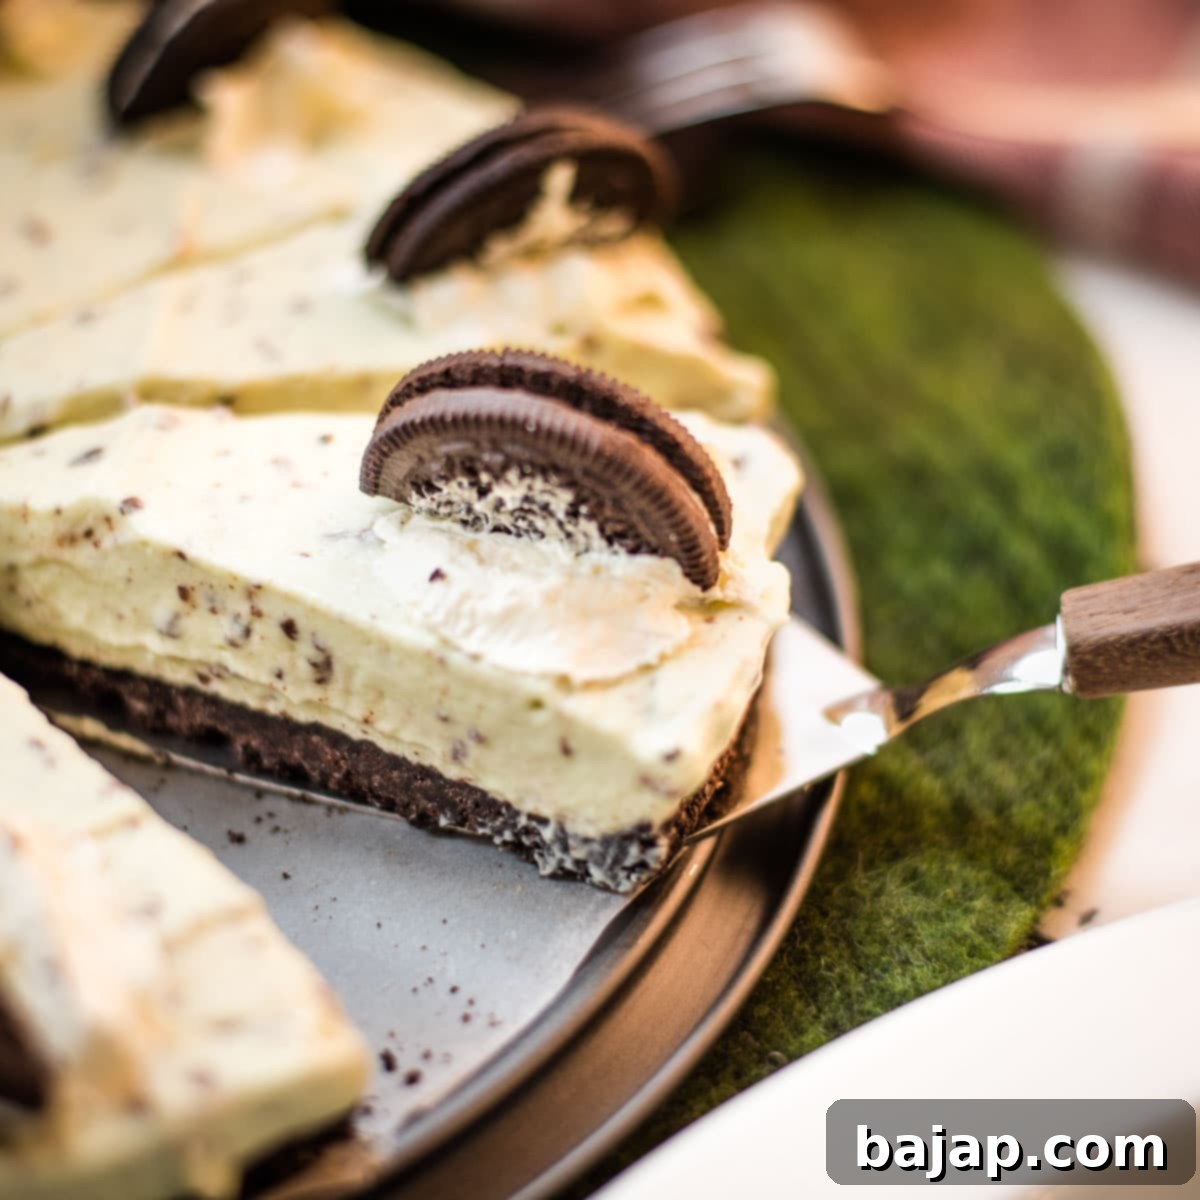
Easy No-Bake Mint Chocolate Cheesecake: Your Perfect Refreshing Dessert!
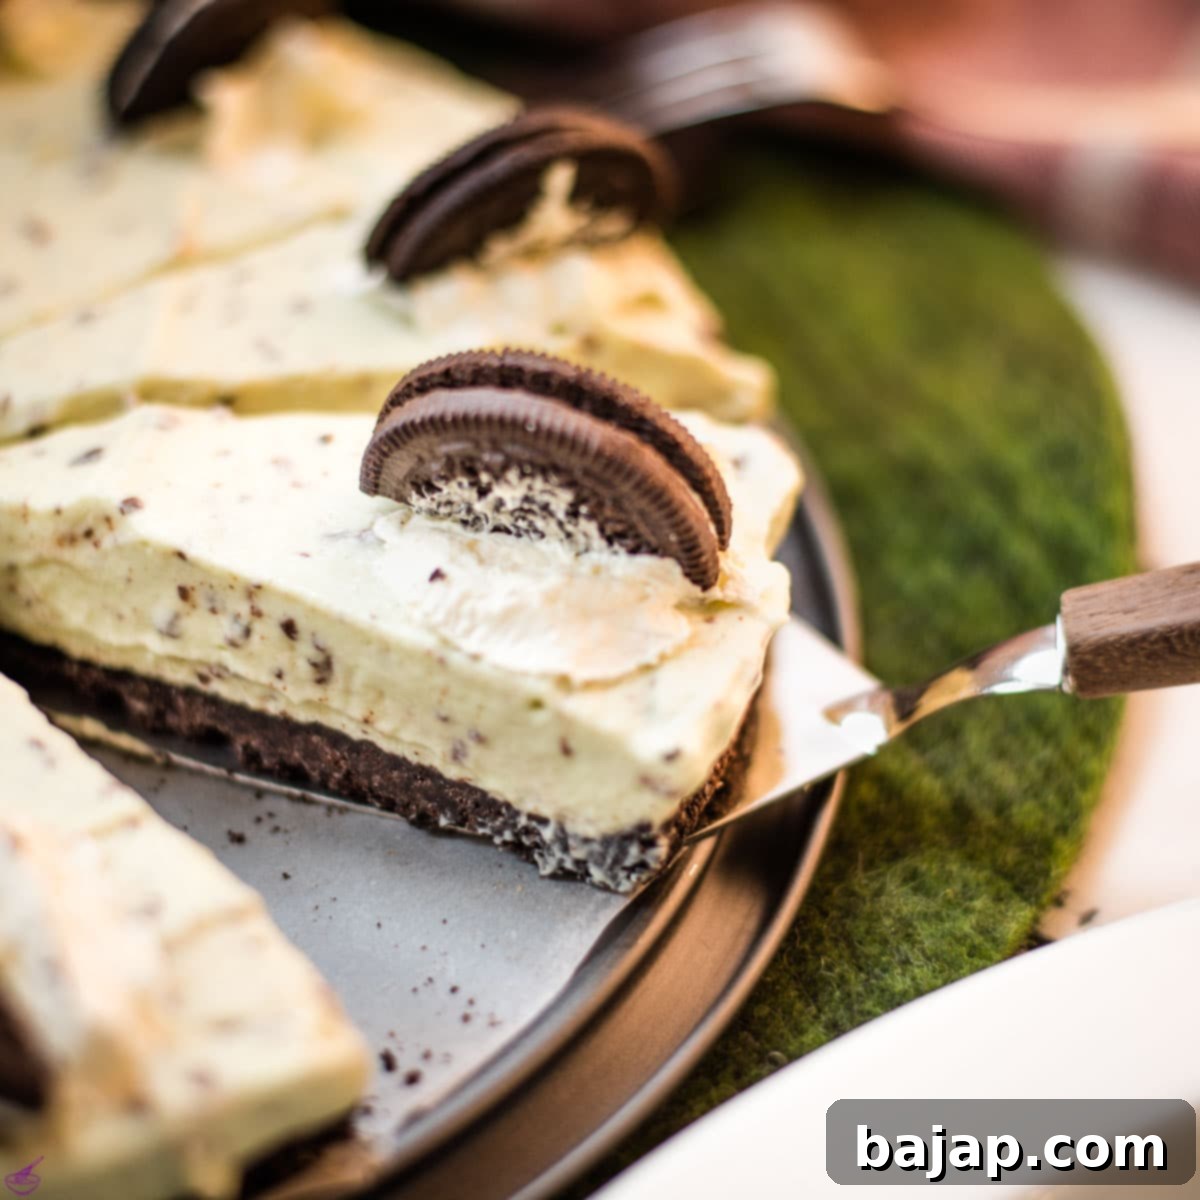
Prepare to be delighted by this incredibly easy no-bake mint chocolate cheesecake! Crafted with just a few simple ingredients, it’s the quintessential spring dessert, offering a burst of refreshing mint paired with rich chocolate. This delightful cheesecake comes together in a mere 15 minutes of active prep time, making it an absolute lifesaavor for any gathering or a sweet weeknight treat. Its vibrant green hue and irresistible flavor profile are guaranteed to impress everyone who takes a bite.
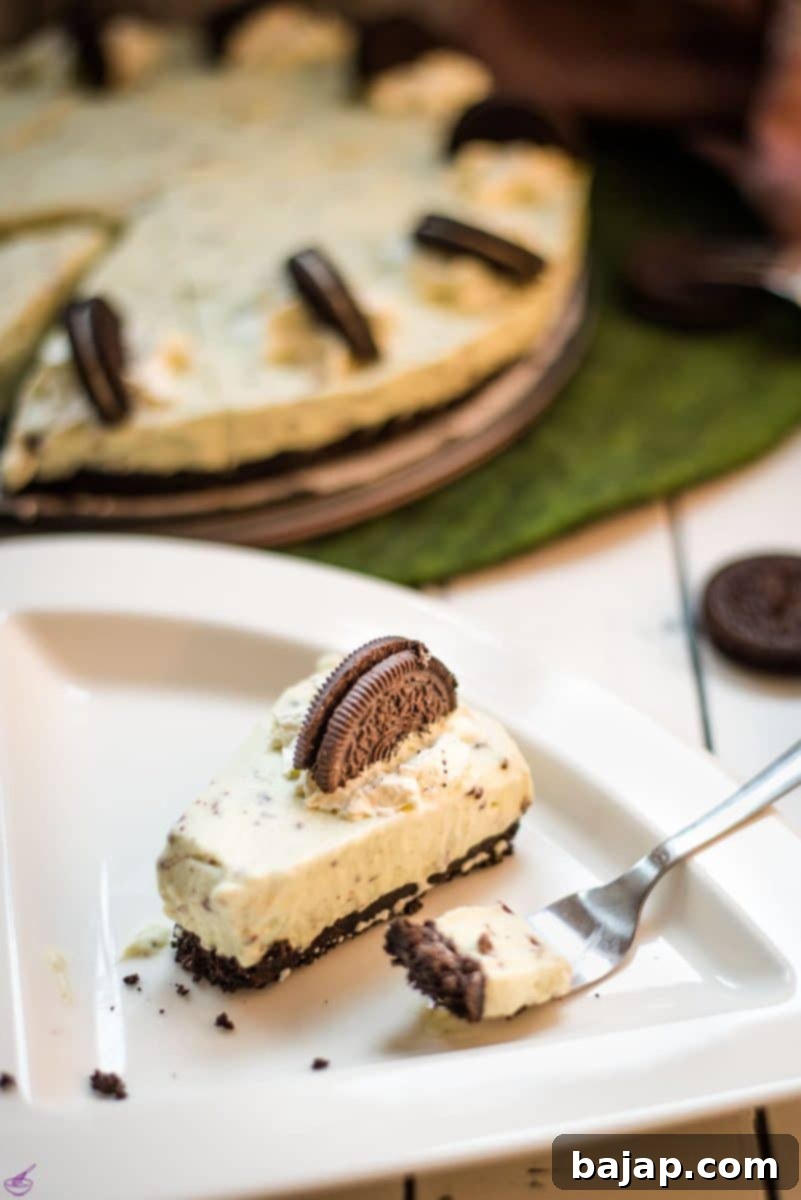
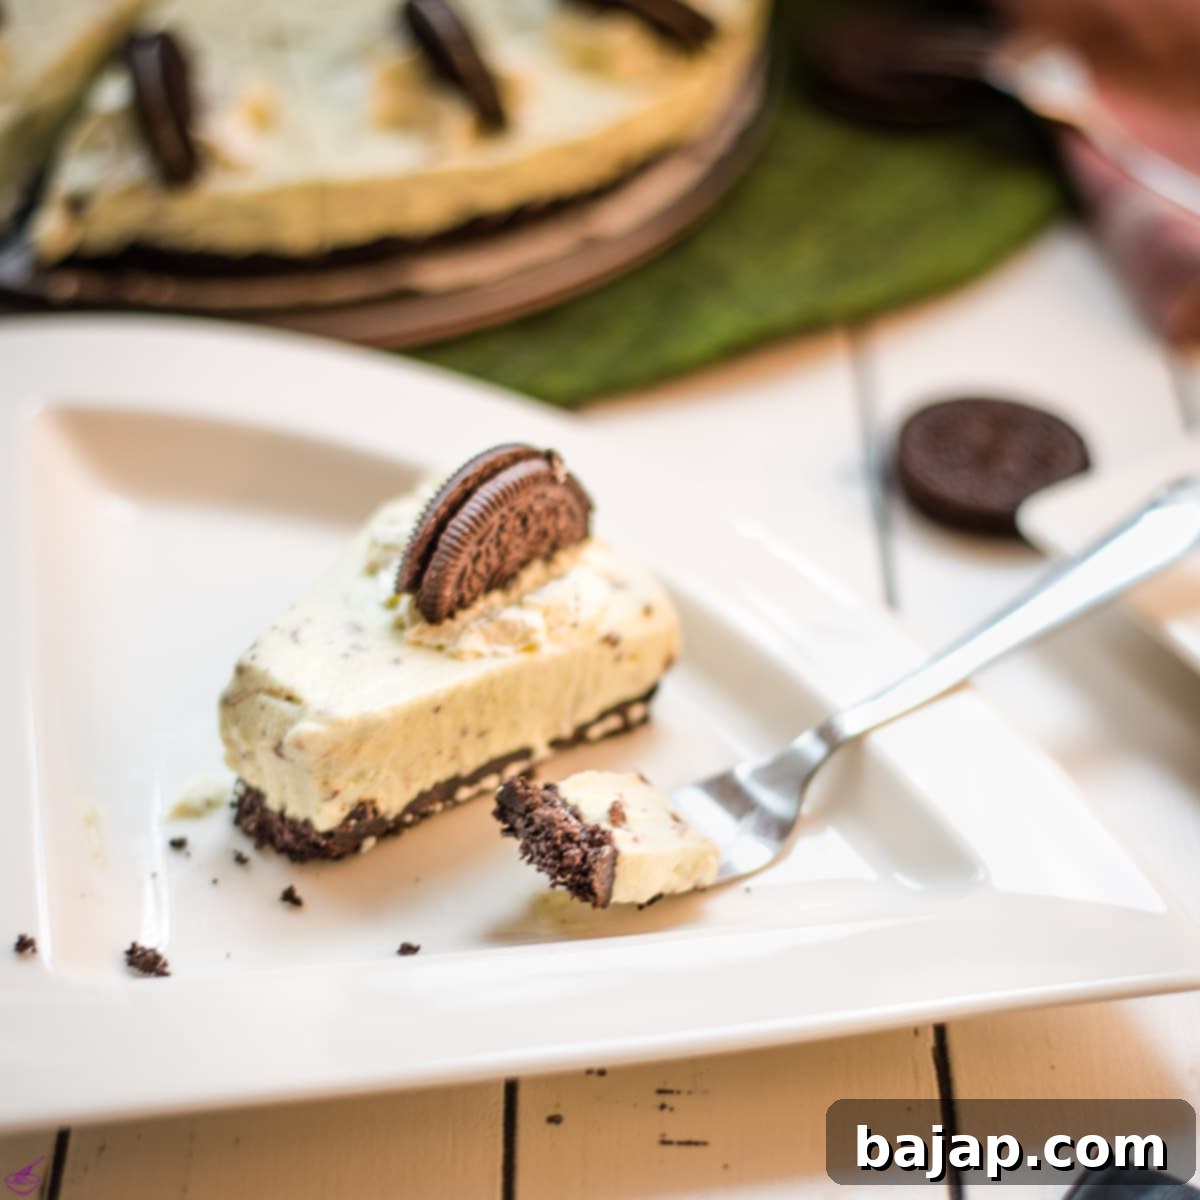
This isn’t just any cheesecake; it’s a supremely refreshing and effortlessly simple dessert that’s versatile enough for any occasion. The filling is a dream – light, airy, and wonderfully creamy, perfectly balanced by the delightful crunch of the cookie crust. We’ve added chunks of After Eight mints directly into the filling for an extra layer of minty chocolate goodness and a pleasing textural contrast that elevates every mouthful. This combination is truly a match made in dessert heaven!
For those who crave an even more intense minty sensation, consider replacing the traditional Oreo cookie halves in your garnish with extra pieces of After Eight chocolate mints. Alternatively, a sprinkle of delicate chocolate-mint shavings on top will add both visual appeal and a delightful burst of flavor. Thanks to its festive green color, this no-bake mint Oreo cheesecake is also an ideal treat for celebrating St. Patrick’s Day, bringing a touch of Irish cheer to your dessert table. And if you’re exploring other green-themed or festive treats, don’t miss our Matcha Green Tea Truffles, Homemade Baileys Chocolates, and Mint Oreo Pudding Cake.
Jump to: Ingredients | Instructions | Substitutions | Equipment | Storage | Top Tip | FAQ | Recipe Card
Back in the days when I was a kid and my great-aunts came to visit, my grandmother always had a box of After Eight at home. My great-aunts loved them, and there was always a big hello and fun when they visited. When I was shopping for the ingredients for the cake and held that After Eight box in my hand, it brought me back with joy to those wonderful times with my great aunts and grandma. It’s amazing how certain flavors can transport us back to cherished memories.
🥘 Ingredients
Creating this irresistible mint chocolate cheesecake requires a handful of common ingredients, each playing a crucial role in achieving its perfect texture and flavor. Here’s what you’ll need, along with a few notes for best results:
For the Oreo Crust:
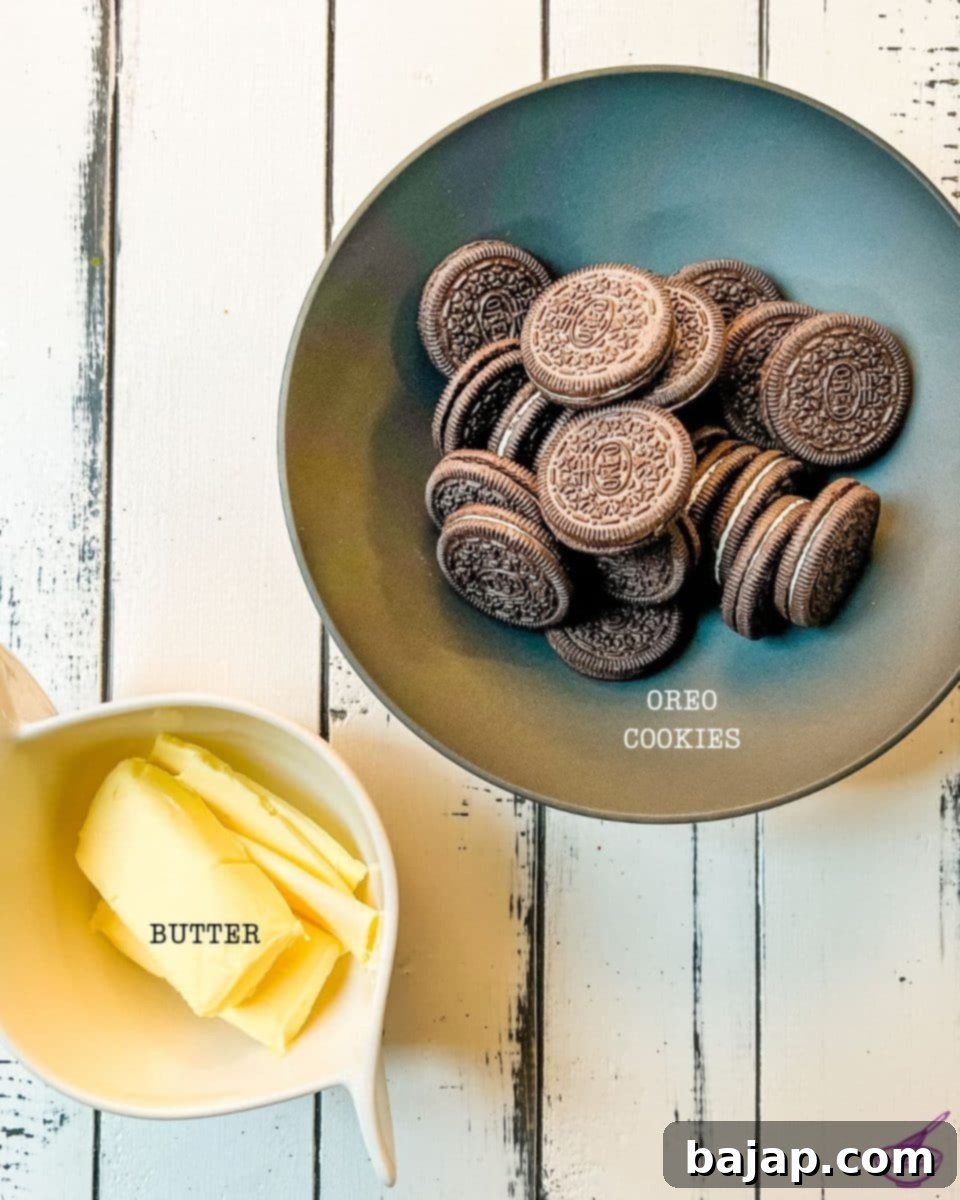
- Oreo or Chocolate Sandwich Cookies: The classic choice for a rich, dark chocolate base. You’ll need about 20 cookies to create a substantial crust. Any similar chocolate sandwich cookie will work if Oreos aren’t available.
- Unsalted Butter, Melted: Binds the cookie crumbs together to form a firm crust. Using unsalted butter allows you to control the overall saltiness of the dessert.
For the Mint Cheesecake Filling:
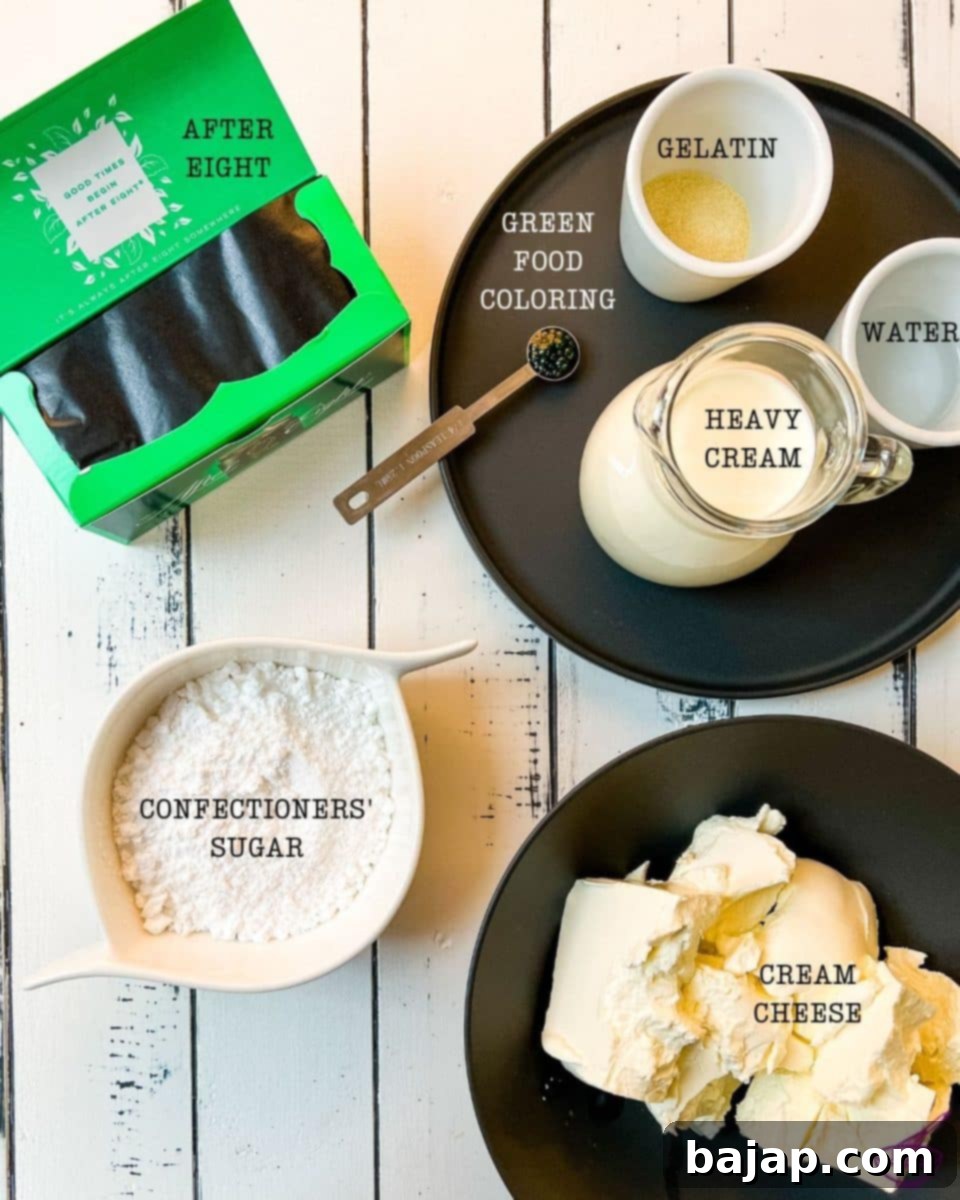
- Cream Cheese, Softened: Full-fat cream cheese is highly recommended for the creamiest, richest texture. Ensure it’s fully softened to room temperature to prevent lumps when beating.
- Confectioners’ Sugar: Also known as powdered sugar or icing sugar. Its fine texture dissolves easily, creating a smooth, silky filling without any graininess.
- Water: Used to hydrate or “bloom” the gelatin.
- Gelatin: The magical ingredient that helps this cheesecake set without baking, giving it a stable yet creamy consistency.
- Heavy Cream: Whipped to soft peaks, it provides lightness and airiness to the cheesecake filling, contrasting beautifully with the dense cream cheese. Make sure it’s very cold for optimal whipping.
- After Eight Mints: These thin chocolate-covered mints are the star for both their flavor and visual appeal. Crushed into the filling, they add delightful specks of dark chocolate and a burst of refreshing peppermint. Alternatively, if you prefer a smoother filling without the chocolate bits, you can use ½ teaspoon of peppermint extract to achieve the mint flavor.
- Vanilla Extract: A splash of vanilla extract enhances the overall sweetness and provides a warm, complementary flavor note to the cool mint.
- Green Food Coloring: Essential for that signature mint green color! Gel food coloring is recommended as it provides a more intense color with fewer drops, preventing excess liquid from affecting the filling’s consistency.
For Garnish (Optional but Recommended):
- Whipping Cream: For a fluffy dollop on top of each slice.
- Oreo Halves or After Eight Pieces: Perfect for a decorative and delicious finish. You could also add fresh mint leaves or chocolate shavings.
For precise quantities and measurements, please refer to the comprehensive recipe card below.
🔪 Instructions: Crafting Your Mint Chocolate Cheesecake
Follow these simple steps to create a show-stopping no-bake mint chocolate cheesecake. Each stage is designed for ease and efficiency, ensuring a delicious result every time.
Step 1: Prepare the Oreo Crust
The foundation of our cheesecake is a rich, buttery Oreo crust. It’s quick to make and provides the perfect contrast to the creamy filling.
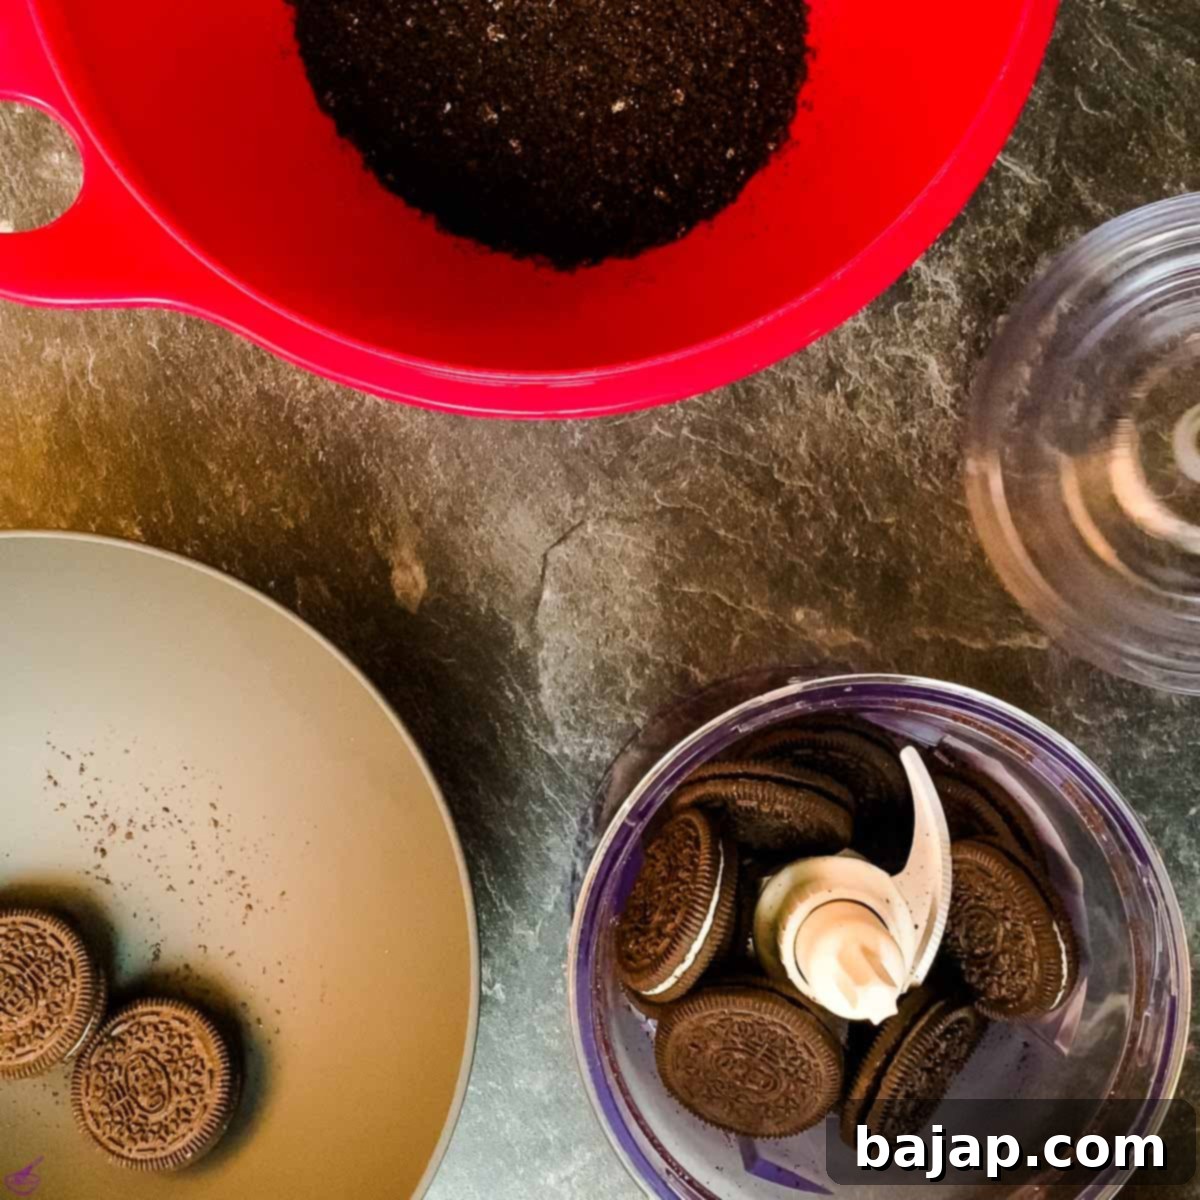
- Break the Oreo cookies into smaller pieces and place them into the bowl of a food processor. Process them for about 20 seconds, or until the cookies are finely crushed into uniform crumbs. This fine texture ensures a cohesive crust.
- Transfer the finely chopped cookie crumbs from the food processor into a medium-sized mixing bowl.
- In a small saucepan, gently melt the unsalted butter over low heat, or microwave it in a heatproof bowl until fully liquid.
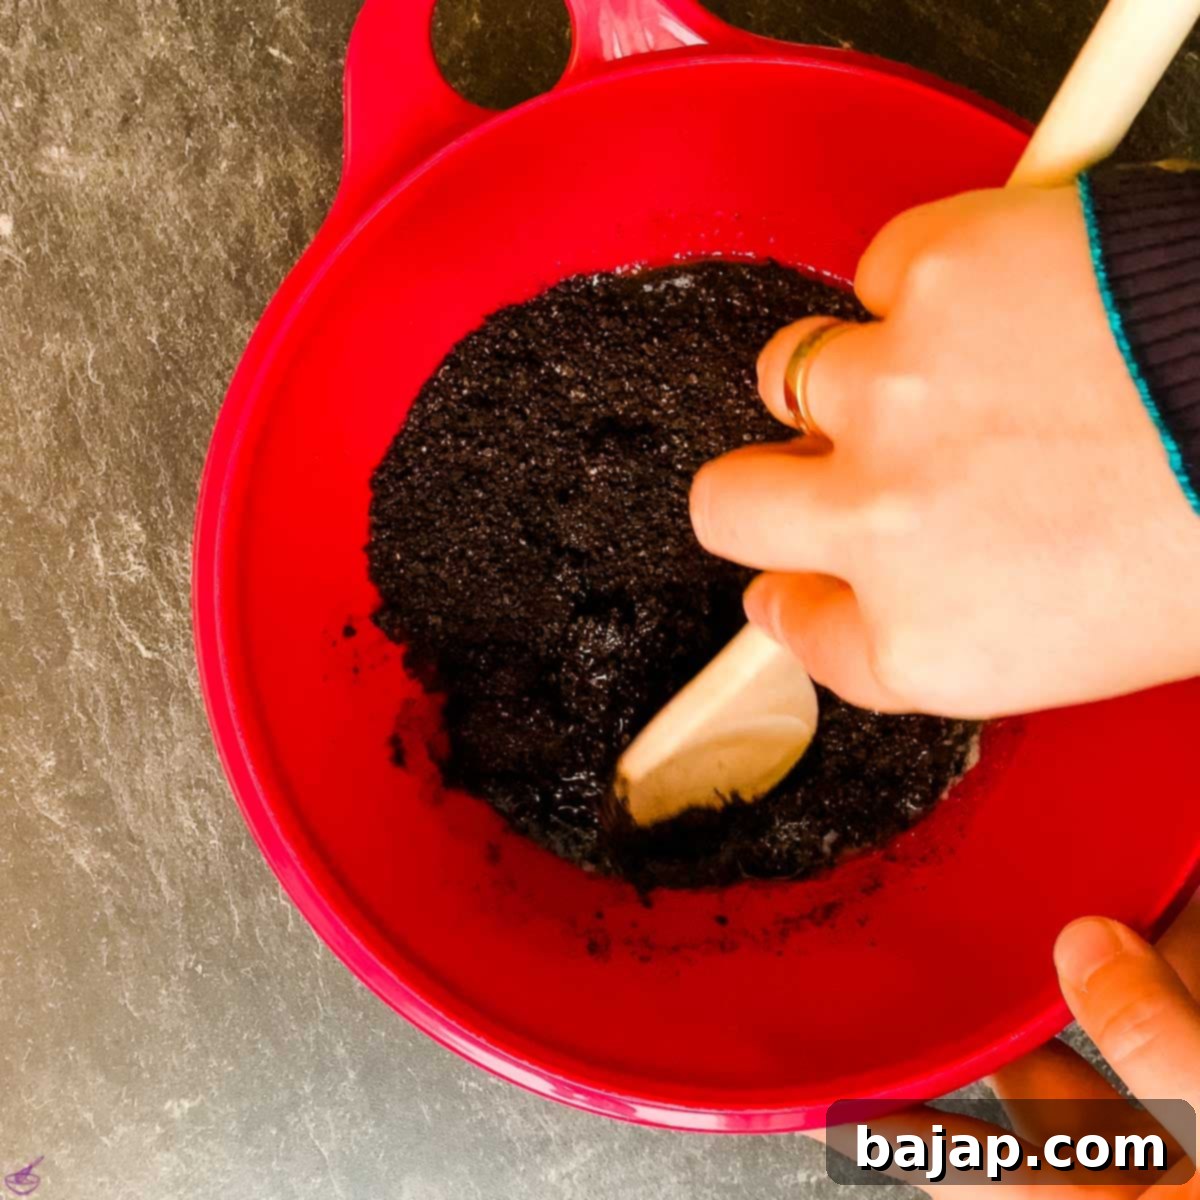
- Pour the melted butter evenly over the Oreo cookie crumbs in the mixing bowl. Using a sturdy wooden spoon, mix the butter and crumbs thoroughly until they are well combined. The mixture should resemble wet sand and hold together when pressed.
- Line the bottom of a 9-inch (23 cm) springform pan with a circle of parchment paper. Lightly spray the sides of the pan with cooking spray to ensure easy release later.
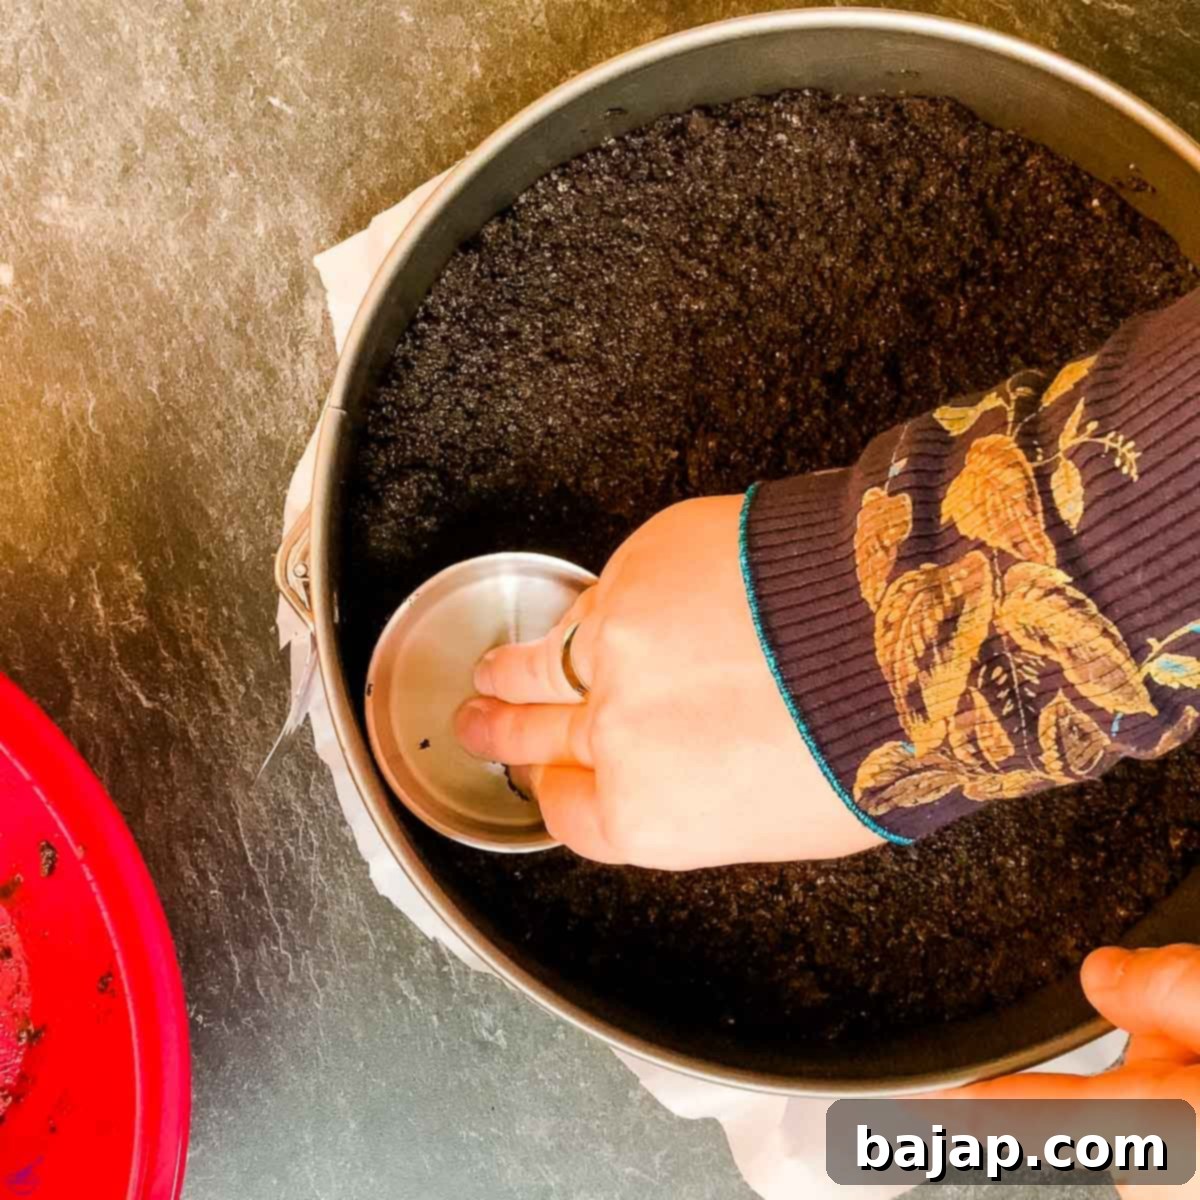
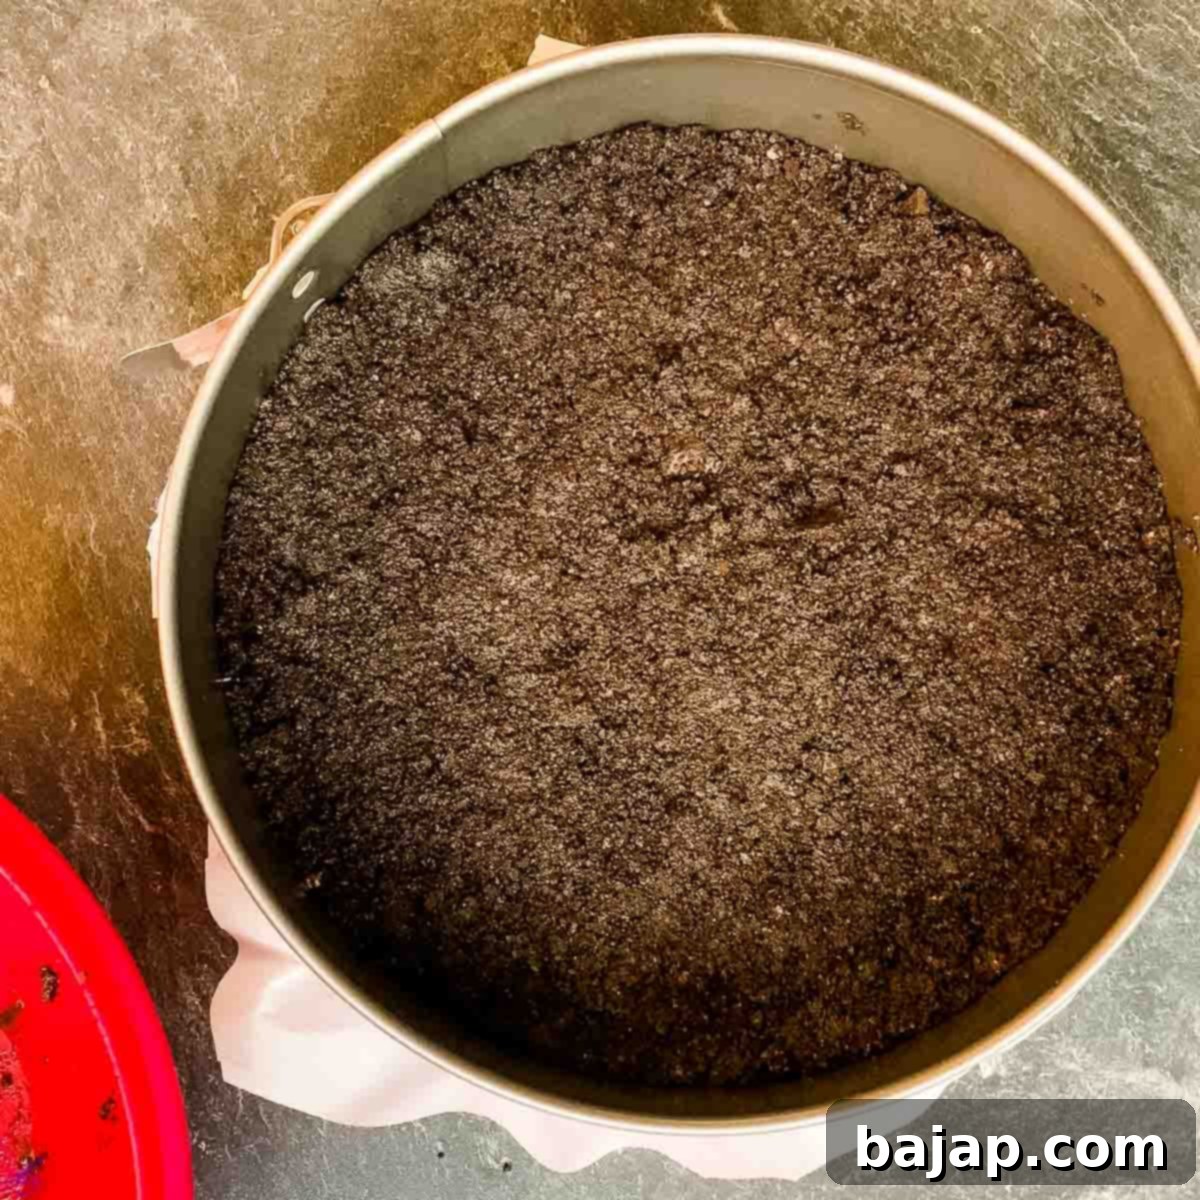
- Transfer the buttered cookie crumbs into the prepared springform pan. Use the bottom of a flat glass or your fingers to firmly press the crust evenly into the bottom of the pan. A well-pressed crust will hold its shape beautifully.
- Place the springform pan with the pressed crust into the refrigerator while you prepare the filling. This crucial step allows the butter to solidify, setting the crust and preventing it from crumbling when sliced.
Step 2: Prepare the Mint Cheesecake Filling
This is where the magic happens – a smooth, creamy, and minty filling that defines this no-bake wonder.
- In a large mixing bowl, using an electric mixer or a stand mixer with a paddle attachment, beat the softened cream cheese on medium speed for about 3 minutes until it’s incredibly smooth and free of any lumps. This is crucial for a silky filling.
- Gradually add the confectioners’ sugar to the cream cheese, beating for another 2-3 minutes until the mixture is light, fluffy, and perfectly smooth.
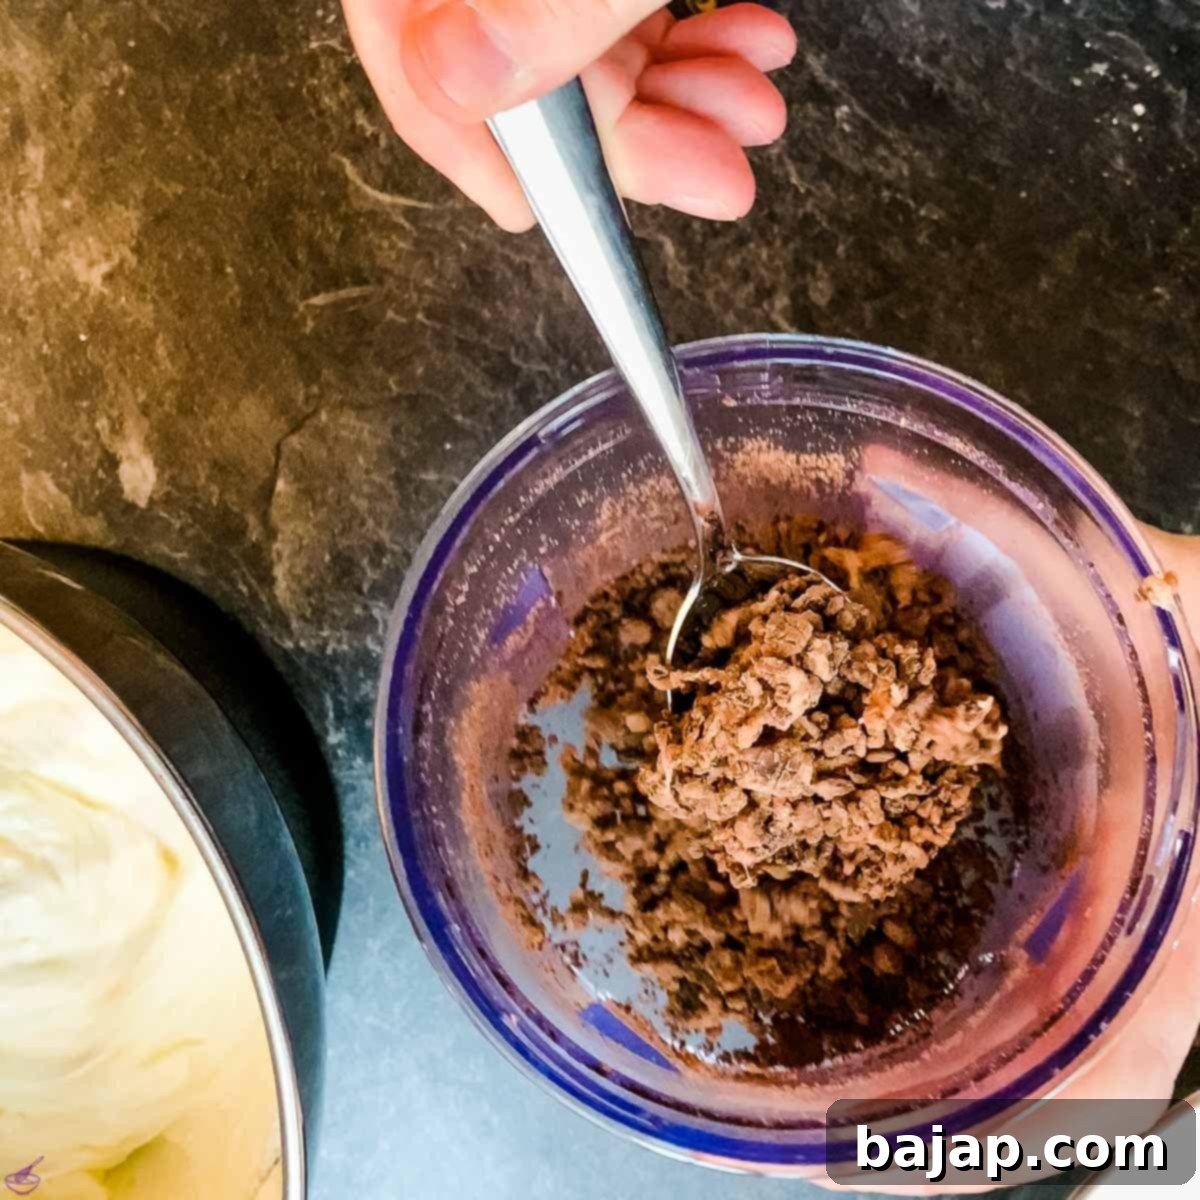
- While the cream cheese mixture is coming together, crush the After Eight mints in your food processor. They should resemble small mint chocolate chips. Gently fold these delightful mint chocolate pieces into the cream cheese filling with a spatula, ensuring they are evenly distributed.
- Pour the cold water into a small, microwave-safe bowl. Evenly sprinkle the gelatin powder over the water. Allow it to sit undisturbed for 5 minutes; this is called “blooming” the gelatin, and it’s essential for it to dissolve properly.
- After blooming, microwave the gelatin mixture for about 30 seconds on high power, or until the gelatin has completely melted and is clear, with no granules remaining. Set aside to cool slightly.
- In a separate large, very clean mixing bowl, pour the very cold heavy whipping cream and vanilla extract. Whisk the cream on high speed for 4-5 minutes until soft peaks begin to form. As you continue whisking, slowly drizzle in the slightly cooled, melted gelatin mixture. Continue to whisk until the cream holds firm peaks.
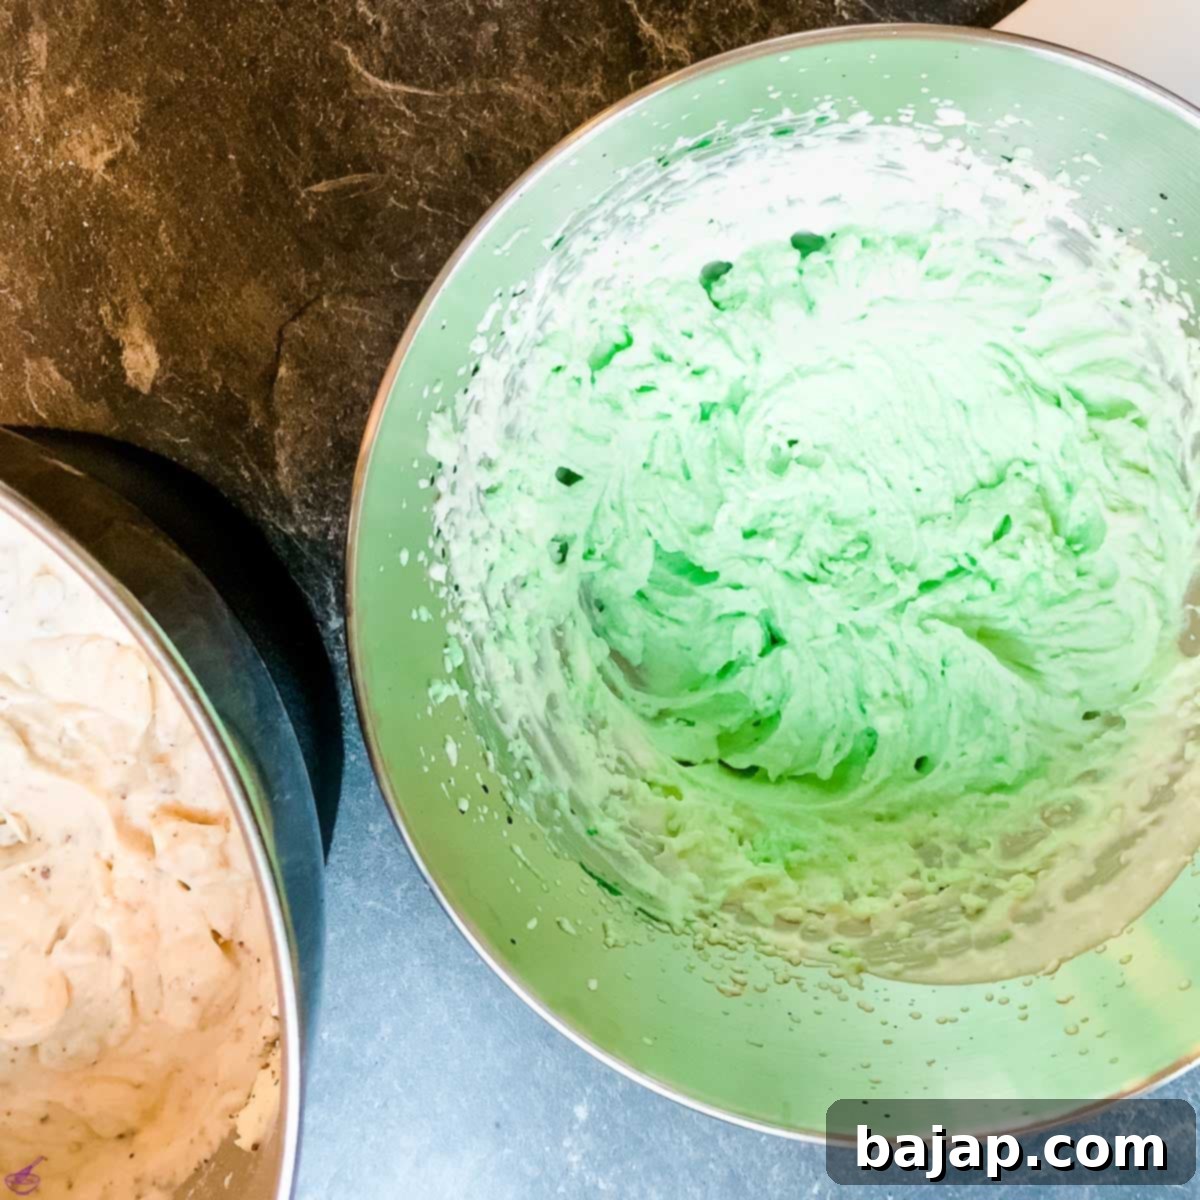
- Now, add the green food coloring to the whipped cream mixture. Start with a few drops and gradually add more, mixing gently, until you achieve your desired shade of mint green. Remember that gel food coloring works best for vibrant results!
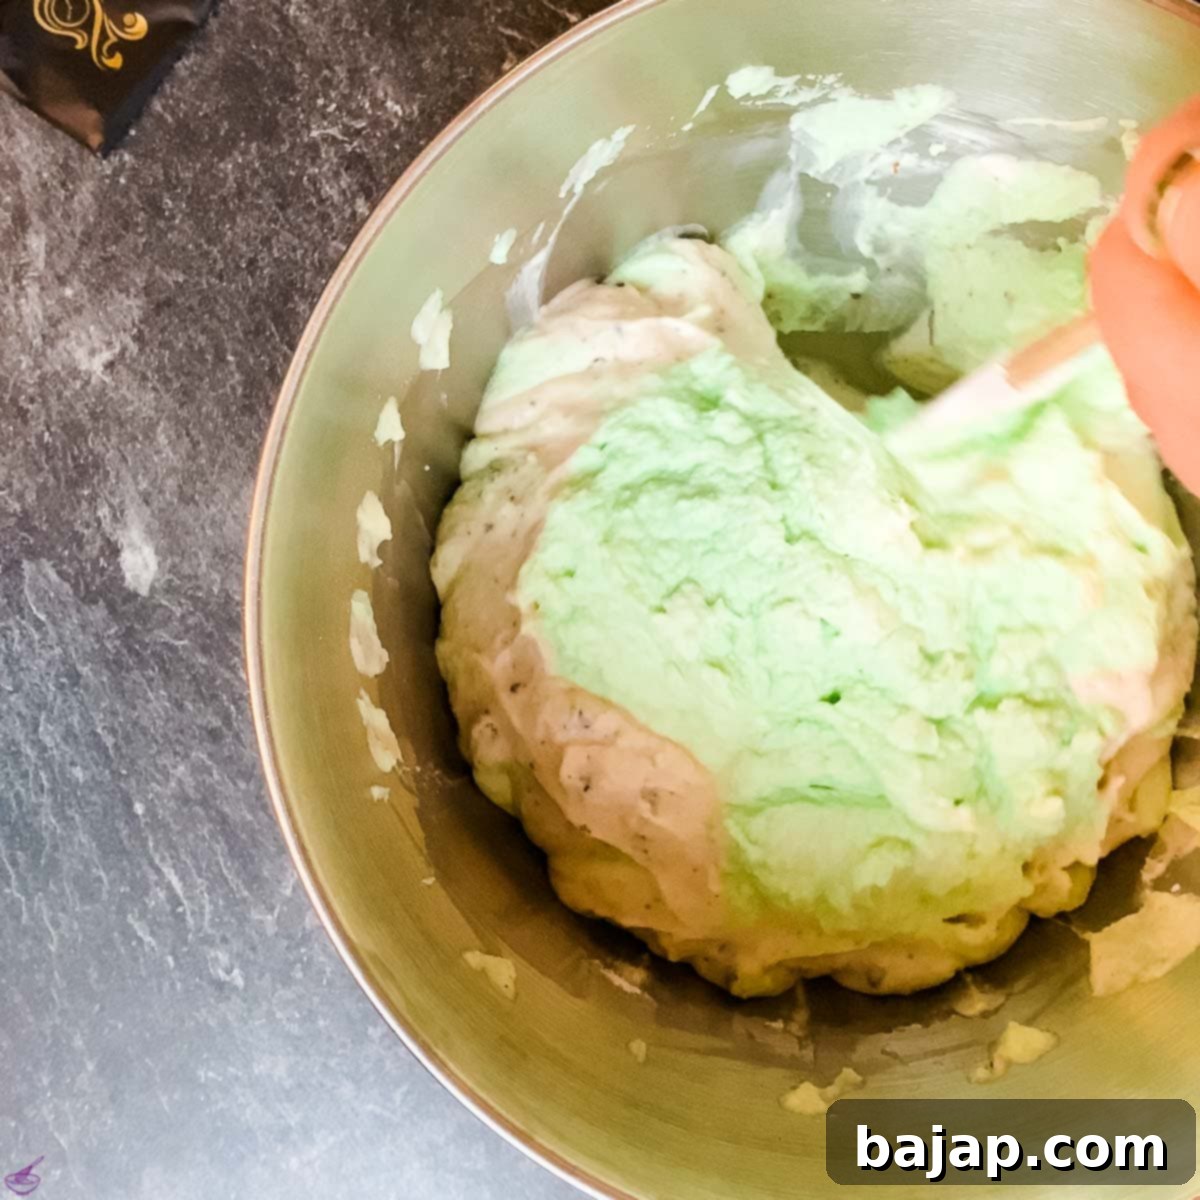
- Gently fold the green whipped cream mixture into the cream cheese mixture using a spatula. Be careful not to deflate the air from the whipped cream; fold until just combined and no streaks remain. This creates a light and airy filling.
Step 3: Assemble and Chill
The final steps are quick and easy, leading to a perfectly set and delicious cheesecake.
- Retrieve the chilled Oreo crust from the refrigerator.
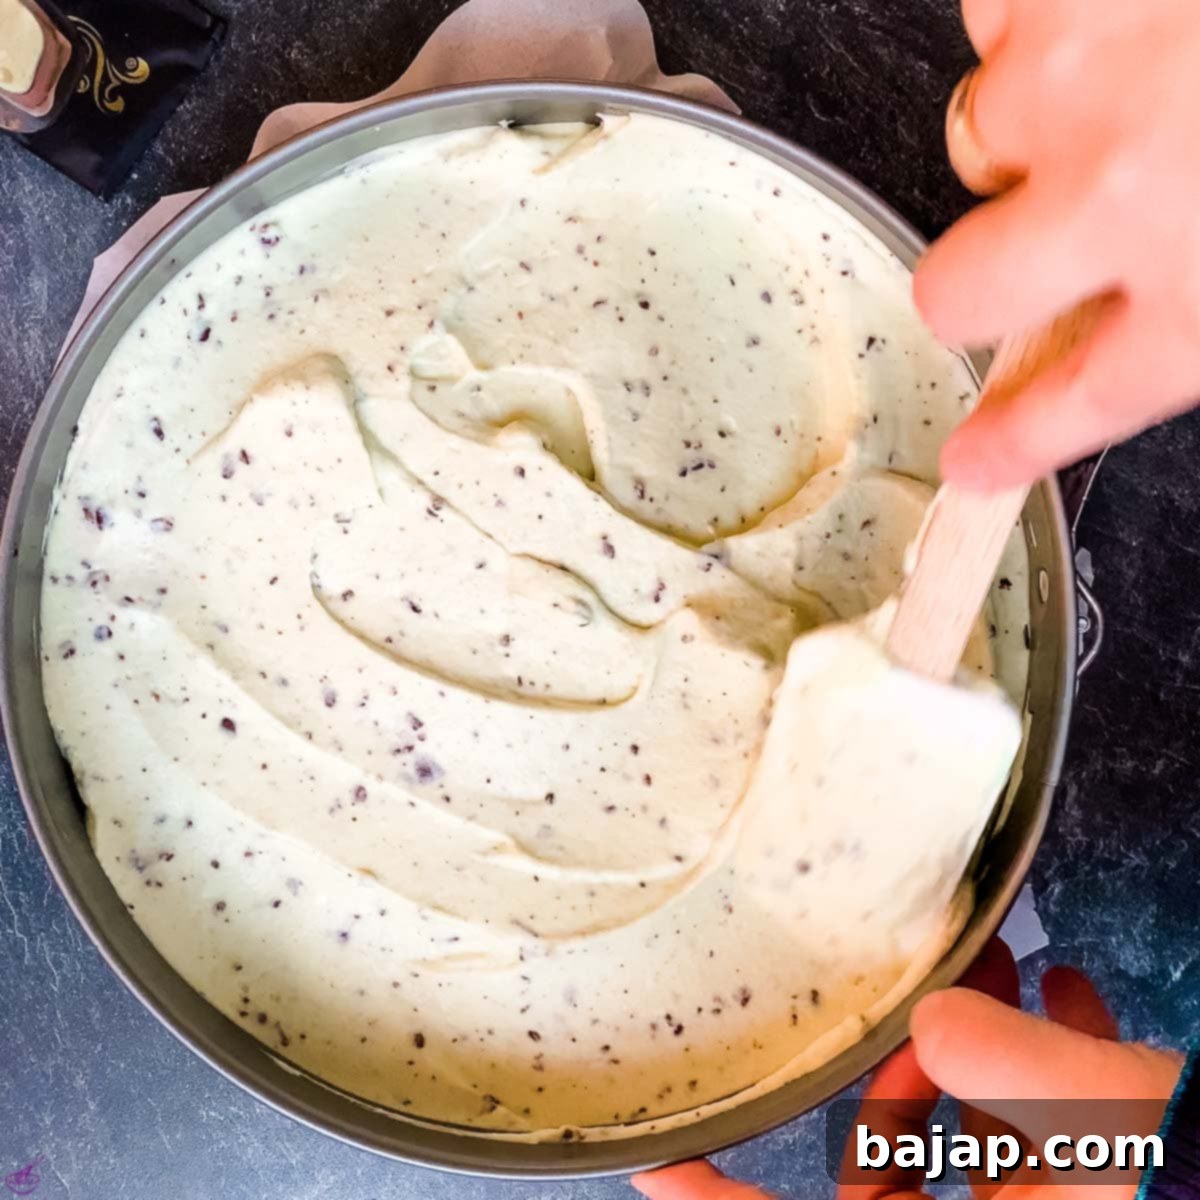
- Carefully scrape the creamy mint cheesecake mixture into the prepared crust. Use a spatula to spread the filling evenly and smooth the top for a polished finish.
- Place the entire springform pan into the refrigerator. Chill for a minimum of four hours, but preferably overnight. This extended chilling time is essential for the gelatin to fully set, ensuring a firm, sliceable cheesecake with well-developed flavors.
- Once thoroughly chilled and set, carefully remove the cheesecake from the springform pan. Garnish with a swirl of whipped cream, halved Oreo cookies, or additional After Eight pieces if desired. A few fresh mint leaves also add a lovely touch.
- Serve chilled and enjoy every refreshing bite!
Fancy more delicious no-bake cheesecakes? Explore these fantastic recipes to satisfy your sweet tooth year-round:
- No-bake Ricotta Cheesecake: A lighter take on classic cheesecake with a delightful Italian twist.
- No-bake Pumpkin Cheesecake: Perfect for fall, offering all the cozy flavors without turning on the oven.
- No-bake White Chocolate Raspberry Cheesecake {Halloween}: A festive and fruity treat that’s ideal for any celebration.
- No-bake Eggnog Cheesecake with Ginger Spiced Crust: A holiday favorite with a spicy kick.
- Fig Cheesecake in a Jar {no-bake}: Individual, portable, and utterly charming.
- 5-Ingredient Mini Oreo Cheesecakes: Simple, quick, and perfect for portion control or small gatherings.
- Strawberry Cheesecake: A classic fruity cheesecake that’s bright, fresh, and always a crowd-pleaser.
Don’t forget to mark your calendars for National Cheesecake Day on July 30th!
🥜 Substitutions & Variations
This no-bake mint chocolate cheesecake recipe is wonderfully adaptable! Feel free to customize it to your taste or what you have on hand. Here are some popular substitutions and variations:
- After Eight Mints Replacement: If the unique taste of After Eight isn’t for you, or if you prefer a smoother filling without the small chocolate bites, simply replace them with about ½ to 1 teaspoon of good quality peppermint extract. Start with ½ teaspoon and add more to taste, as extracts can vary in strength. This will still give you that fantastic mint flavor.
- Oreo Cookie Alternatives: While Oreos provide a classic chocolatey crunch, any brand of chocolate sandwich cookies will work equally well. You could also experiment with other cookie types for the crust, such as graham cracker crumbs or digestive biscuits, for a slightly different flavor profile.
- Boost the Mint Flavor: For the ultimate mint explosion, consider using mint-flavored Oreos for your crust. This adds an extra layer of refreshing peppermint right from the base of the cheesecake.
- Chocolate Drizzle: A drizzle of melted dark or milk chocolate over the top before serving adds an extra layer of indulgence and visual appeal.
- Fresh Mint Leaves: For a vibrant and aromatic garnish, finely chop a few fresh mint leaves and sprinkle them over the top, or place a single mint sprig on each slice.
- Gluten-Free Option: To make this cheesecake gluten-free, substitute the regular Oreo cookies with gluten-free chocolate sandwich cookies. The rest of the ingredients are typically gluten-free, but always check labels to be sure.
🍽 Essential Equipment for Your Cheesecake
Having the right tools makes preparing this no-bake cheesecake a breeze. Here’s a list of the equipment you’ll need, along with why each item is important:
- Springform Pan (ø 9-inch / 23 cm): This is indispensable for cheesecakes! The removable sides allow you to easily release the chilled cheesecake without damaging its delicate structure.
- Parchment Paper: Used to line the bottom of the springform pan, ensuring the crust doesn’t stick and the cheesecake can be smoothly transferred.
- Baking Spray: A light coating on the sides of the springform pan helps prevent the filling from sticking and makes for a clean release.
- Mixing Bowls: You’ll need at least two – one for mixing the crust ingredients and another (preferably large and chilled) for the cream cheese and whipped cream mixtures.
- Food Processor: Essential for quickly and efficiently crushing the Oreo cookies into fine crumbs for the crust and the After Eight mints for the filling. This saves a lot of time and effort compared to manual crushing.
- Kitchen Machine with a Whisk Attachment or Electric Mixer: Crucial for beating the cream cheese until smooth and whipping the heavy cream to soft peaks. A powerful mixer ensures a light, airy, and lump-free filling.
- Wooden Spoon: Perfect for mixing the melted butter into the cookie crumbs and for gentle folding.
- Small Pan (or Microwave-Safe Bowl): For melting the butter for the crust and for blooming and melting the gelatin.
- Spatula: Ideal for scraping down the sides of bowls, smoothing the cheesecake filling into the pan, and gently folding ingredients together.
- Cutting Board and a Sharp Kitchen Knife: Useful for prepping garnishes like cutting Oreo cookies in half or finely chopping additional After Eight pieces.
🌡 Storage & Make-Ahead Tips
Proper storage is key to enjoying your no-bake mint chocolate cheesecake for days. Here’s how to keep it fresh and delicious:
- Refrigerator: The cheesecake will last beautifully in an airtight container or tightly covered with plastic wrap in the fridge for up to four days. This is great for making it ahead of time for parties or enjoying it throughout the week.
- Freezing: If you want to keep your cheesecake longer, it freezes very well!
- Portioning: For best results, cut the cheesecake into individual slices or smaller portions before freezing. This makes it easier to thaw only what you need.
- Wrapping: Wrap each slice tightly in plastic wrap, then an additional layer of aluminum foil. This double layer helps prevent freezer burn.
- Container: Place the wrapped slices in an airtight freezer-safe container.
- Freezer Duration: Frozen cheesecake can last for up to 1-2 months.
- Thawing: To enjoy, transfer individual slices from the freezer to the refrigerator and let them thaw for several hours or overnight. You can also thaw them at room temperature for about 30-60 minutes, but refrigerate any leftovers immediately.
💭 Top Tips for Cheesecake Success!
- Food Coloring Choice: For the most vibrant and appealing mint green color, opt for gel food coloring over liquid. Gel colors are highly concentrated, meaning you’ll need fewer drops to achieve your desired shade, which prevents adding excess liquid to your filling and compromising its texture.
- Perfect Whipped Cream: To achieve the best possible whipped cream (which contributes significantly to the lightness of your cheesecake filling), ensure your heavy cream, mixing bowl, and whisk beaters are all thoroughly chilled and completely dry. Placing the bowl and beaters in the freezer for 10-15 minutes before whipping can significantly speed up the process and result in firmer, more stable peaks.
- Softened Cream Cheese is Key: Always make sure your cream cheese is at room temperature and fully softened. This allows it to beat smoothly without lumps, creating a creamy and uniform cheesecake base. If it’s too cold, you’ll end up with a lumpy filling.
- Don’t Overmix the Filling: Once you’ve folded in the whipped cream, mix just until combined. Overmixing can deflate the air from the whipped cream, resulting in a denser cheesecake.
- Generous Chilling Time: While 4 hours is the minimum, chilling your cheesecake overnight is truly ideal. This allows the gelatin to fully set and the flavors to meld beautifully, ensuring a perfectly firm and flavorful slice every time.
🙋🏻 Frequently Asked Questions (FAQ)
A no-bake cheesecake, when properly covered and refrigerated, typically lasts for up to four days. For optimal freshness, store it in an airtight container.
Absolutely! This is an excellent make-ahead dessert. You can prepare the entire cheesecake a day or even two days in advance. Just ensure it has ample time to chill and set thoroughly in the refrigerator, preferably overnight, before serving.
If your cheesecake isn’t setting, it could be due to a few factors. Ensure your gelatin was properly bloomed and fully dissolved before adding it to the mixture. Also, sufficient chilling time is crucial; sometimes it just needs a little longer in the fridge. Using full-fat cream cheese and cold heavy cream helps with setting too.
Yes, you can! If you prefer a smoother filling without the chocolate bits from After Eight, use about ½ to 1 teaspoon of good quality peppermint extract. Adjust to your desired level of mintiness. You can also add some chocolate chips or shavings if you still want a chocolate element.
If you make this delicious no-bake mint chocolate cheesecake recipe, I would love to hear how you liked it! Please consider giving it a ★★★★★ star rating and leaving a comment below. Your feedback is truly awesome! You can also sign up for our Newsletter to receive weekly delicious homemade recipes directly in your inbox. And don’t forget to follow me on Pinterest or Instagram and share your creation with me. Just tag me @combinegoodflavors and use the hashtag #combinegoodflavors, so I don’t miss seeing your delightful dessert!
📖 Recipe Card: No-Bake Mint Chocolate Cheesecake
Mint Chocolate Cheesecake Recipe
Nora
Save RecipeSaved!
Pin Recipe
Equipment
-
9-Inch Springform Pan ø 9-inch // 23 cm
-
Parchment Paper
-
Baking spray
-
Mixing bowls
-
Food processor
-
Kitchen machine with a whisk attachment or electric mixer
-
Wooden spoon
-
Small pan
-
Spatula
-
Cutting Board
-
Sharp kitchen knife
Ingredients
Oreo Crust
- 20 Oreos or chocolate sandwich cookies
- 7 tablespoon Unsalted butter melted.
Mint Cheesecake Filling
- 16 oz Cream cheese softened
- 1 cup Confectioners’ sugar
- 3 tablespoon Water
- 1 teaspoon Gelatin
- 1 cup Heavy cream
- 10 After Eight Mints or ½ teaspoon peppermint extract
- ½ teaspoon Vanilla extract
- ¼ teaspoon Green food coloring
Decor
- Whipping cream
- Oreo halves or After Eight
Instructions
Oreo Crust
-
Break the Oreos into pieces and place them into a food processor. Process them for 20 seconds until the cookies turn into little crumbs.20 Oreos
-
Empty the chopped cookies into a mixing bowl
-
In the meantime, melt the butter in a small pan. Pour the melted butter on top of the Oreo cookie crumbs.7 tablespoon Unsalted butter
-
Mix the melted butter with the Oreo crumbs using a wooden spoon until you get a sand-like texture and the crumbs stick to the sides.
-
Cover the bottom of a 9-inch (23 cm) springform pan with parchment paper and spray it lightly with cooking spray.
-
Firmly press the crust into the pan. Place the filled springform pan in the fridge while making the filling. This way, it has some time to set.
Mint Cheesecake Filling
-
In a large bowl, beat the cream cheese until completely smooth, about 3 minutes.16 oz Cream cheese
-
Add the confectioners’ sugar and beat for 2-3 minutes until fluffy and smooth.1 cup Confectioners’ sugar
-
In the meantime, crush the After Eight candies with your food processor. Add those little mint chocolate chips by a spoonful to the cream cheese filling and combine well.10 After Eight Mints
-
Pour the water into a small bowl and sprinkle the gelatin on top of the water. Allow it to sit for 5 minutes to bloom.3 tablespoon Water, 1 teaspoon Gelatin
-
Microwave it for 30 seconds until the gelatin has melted.
-
Pour the heavy cream and vanilla extract into a large mixing bowl.1 cup Heavy cream, ½ teaspoon Vanilla extract
-
Whisk the cream for 4-5 minutes until soft peaks form. While whisking, slowly mix in the gelatin mixture.
-
Mix in the green food coloring, adding more drops to get your desired color.¼ teaspoon Green food coloring
-
Fold the whipped cream mixture into the cream cheese mixture until well incorporated.
Assemble
-
Take the chilled Oreo crust out of the fridge.
-
Scrape the mixture into the prepared crust and smooth the top with a spatula.
-
Place the cake into the refrigerator and chill for at least four hours (preferably overnight) before serving.
-
Garnish with whipped cream and halved cookie pieces if desired. Serve chilled.Whipping cream, Oreo halves
Nutrition values are estimates only, using online calculators. Please verify using your own data.

🤎 You Might Also Like These Delicious Treats!
- No-bake Lotus Biscoff Cake Pops
- No-bake Candy Cane Oreo Cake Pops
- Homemade Baileys Chocolates
- Matcha Truffles – a Delicious St. Patrick’s Day Treat
⛑️ Food Safety First!
Ensuring food safety is paramount when preparing any recipe. Please keep these general guidelines in mind:
- Cooking Temperature: While this is a no-bake recipe, if any component (like a different type of filling or an ingredient with raw eggs) requires cooking, always cook to a minimum internal temperature of 165 °F (74 °C) to eliminate harmful bacteria.
- Cross-Contamination: Avoid using the same utensils or cutting boards on cooked food that have previously touched raw meat or other raw ingredients to prevent cross-contamination.
- Hand Washing: Always wash your hands thoroughly with soap and warm water for at least 20 seconds after handling raw ingredients, especially if you’re transitioning to preparing other parts of the recipe.
- Temperature Danger Zone: Do not leave perishable food (like dairy-based cheesecake filling) sitting out at room temperature for extended periods (generally no more than 2 hours) to prevent bacterial growth. Promptly refrigerate or freeze your cheesecake.
- Unattended Cooking: Never leave cooking food unattended on the stovetop or in the oven. Even when melting butter, stay nearby.
- High Smoke Point Oils: If any part of your recipe involves high-heat cooking (not applicable here, but good general knowledge), use oils with a high smoking point to avoid producing harmful compounds.
- Ventilation: Always ensure good ventilation in your kitchen, especially when using a gas stove, to maintain air quality.
For further comprehensive food safety information and guidelines, please check the official resources from the Safe Food Handling – FDA. Your health and safety are our top priority!
