Don’t Waste a Drop: Creative & Delicious Ways to Repurpose Leftover Melted Chocolate
It’s a common scenario in any kitchen: after a session of baking delightful treats or crafting homemade chocolates, you often find yourself with a small (or not so small!) amount of melted chocolate leftover. The thought of letting this precious commodity go to waste can be quite disheartening, especially if you’ve invested in high-quality chocolate. Beyond the monetary value, it’s a shame to discard something so versatile and enjoyable.
High-quality chocolate isn’t just an ingredient; it’s an experience. Its rich flavor and smooth texture elevate any dessert. Fortunately, you don’t have to toss away those last remnants. This post is dedicated to giving you a treasure trove of innovative and simple ideas to repurpose that leftover melted chocolate, transforming it into new, delightful delicacies. Get ready to embrace a zero-waste approach to your chocolate endeavors!
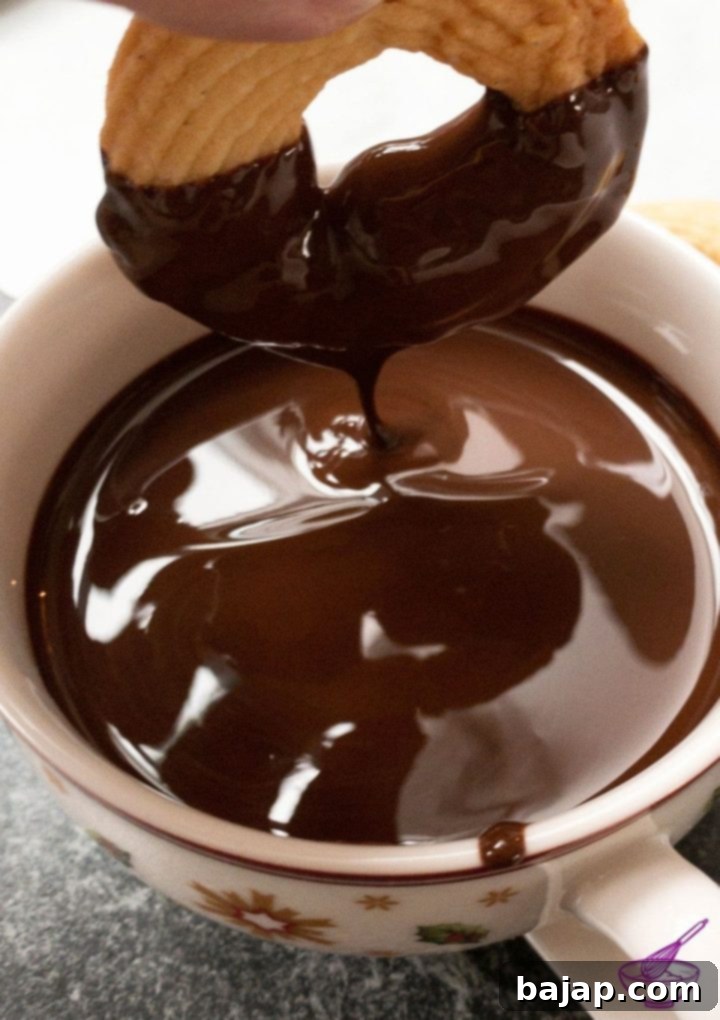
One of the biggest advantages of having already melted chocolate on hand is the sheer convenience. You bypass the tempering and melting process, saving you valuable time and effort. This means you can swiftly conjure up something new without any waiting. All you truly need to do is glance around your kitchen and ponder, “What ingredient could be elevated with a touch of chocolate magic?” The possibilities are endless, and we’re here to spark your imagination.
[feast_advanced_jump_to]
Chocolate-Covered Fresh Fruits: A Quick & Healthy Treat
Perhaps the quickest and most beloved way to utilize any remaining melted chocolate is by making exquisite chocolate-covered fruits. This classic pairing is not only incredibly simple but also surprisingly elegant. Think of the vibrant colors and fresh flavors that beautifully complement the richness of chocolate.
Classic choices like fresh strawberries, ripe bananas, juicy pineapple chunks, tart golden berries, and sweet blueberries instantly come to mind. These fruits, when enrobed in a layer of chocolate, offer a delightful textural contrast and an explosion of flavor. But don’t limit yourself! Consider other seasonal favorites such as apple slices, orange segments, or even grapes.
Depending on the amount of melted chocolate you have, you have several creative presentation options:
- Dipping Method: For larger pieces like strawberries or banana slices, simply dip them into the melted chocolate, allowing any excess to drip off. Then, place them on baking paper to set.
- Skewers: For a fun and easy-to-eat option, skewer smaller fruit pieces (like grapes or blueberries) and drizzle the melted chocolate over them for a beautiful striped effect.
- Drizzling: If you have just a small amount of chocolate left, simply drizzle it over individual fruit pieces or a fruit salad for a decorative and tasty finish.
Once dipped or drizzled, you can immediately add sprinkles, chopped nuts, or coconut flakes before the chocolate sets for an extra layer of flavor and visual appeal. Allow them to fully set in the refrigerator for about 15-20 minutes, then enjoy these refreshing and indulgent treats. They make perfect snacks, elegant dessert garnishes, or a thoughtful homemade gift.
Delightful Chocolate-Coated Dried Fruits: A Chewy Indulgence
Dried fruits are a pantry staple in many households, often used to sweeten breakfast porridges, granolas, or as a healthy snack. They also offer a fantastic opportunity to use up residual melted chocolate. The chewy texture of dried fruit perfectly contrasts with the snap of hardened chocolate, creating an incredibly satisfying bite.
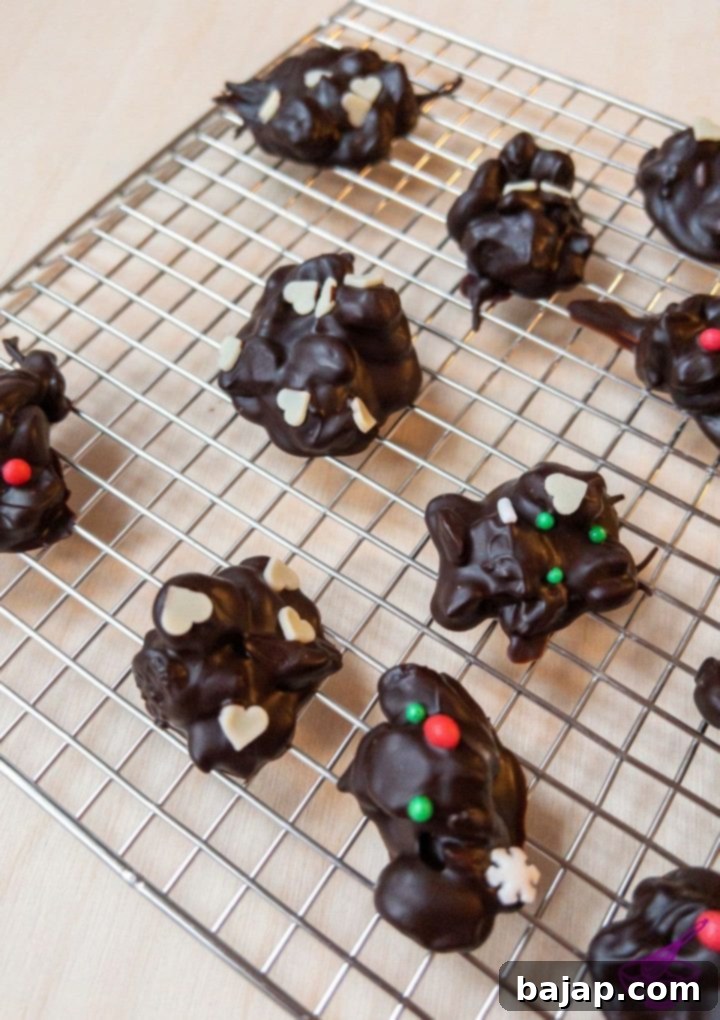
For instance, after preparing a batch of Biscoff Granola, you might have an assortment of dried cranberries, raisins, or goji berries. Instead of letting them sit, combine them with your leftover melted chocolate. Gradually add the dried fruit to the chocolate, stirring until a spoonable, rustic mass forms. The key is to add the dried fruit in stages to ensure even coating and prevent the chocolate from seizing.
Once combined, simply spoon small heaps of the chocolate-covered dried fruit onto a sheet of baking paper. Get creative with decoration by sprinkling on mini chocolate chips, colorful sprinkles, or a pinch of sea salt for a gourmet touch. Allow these delightful clusters to dry and set, either at room temperature or in the refrigerator. In minutes, you’ll have a wholesome and delicious snack that’s perfect for lunchboxes, an afternoon pick-me-up, or even a healthier dessert option for the entire family. These handmade chocolate-dried fruit clusters boast an irresistible texture and a truly incredible flavor.
Craft Your Own Custom Chocolate Bars: A Personalized Treat
For those who love personalized gifts or simply enjoy having unique snacks on hand, creating your own chocolate bars is an excellent use for leftover melted chocolate. Many home bakers already own silicone or plastic molds designed for mini or standard-sized chocolate bars. If you don’t, they are an inexpensive and highly versatile kitchen tool worth considering!
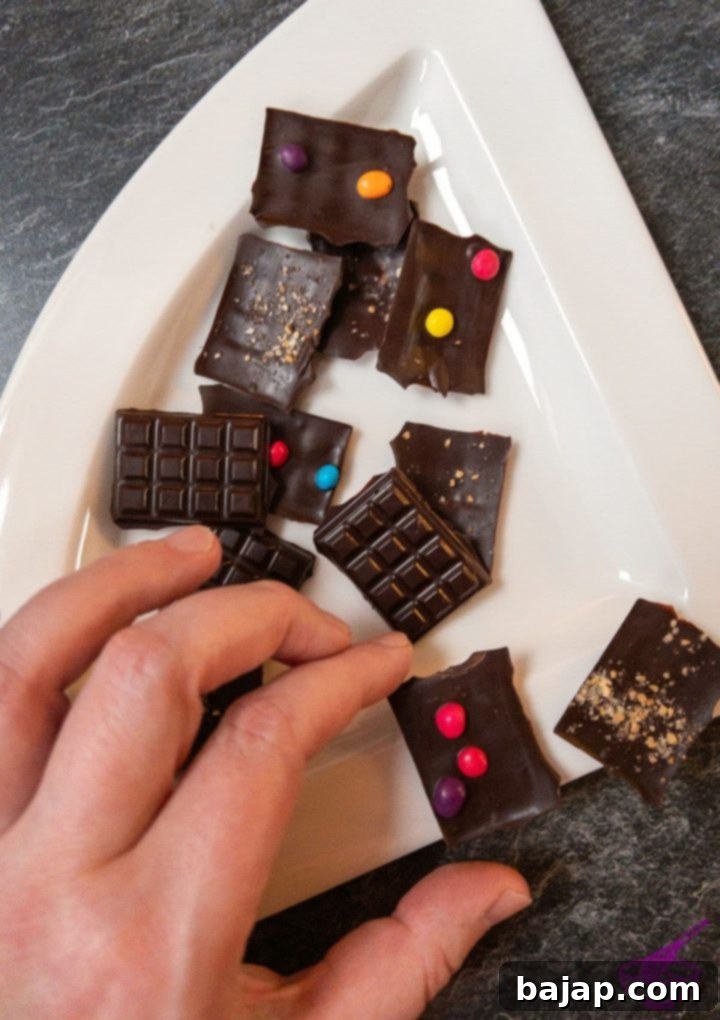
These molds make it incredibly simple to whip up attractive, bite-sized chocolate nibbles, allowing your imagination to run wild with flavor combinations. The process is straightforward: pour the melted chocolate into the silicone molds, spreading it evenly. Then, comes the fun part – the toppings!
You can top your chocolate bars with virtually anything you desire. For example, a combination of crunchy caramel bits and colorful chocolate lentils creates a festive and tasty bar. Other fantastic additions include:
- Nuts & Seeds: Chopped almonds, pecans, walnuts, pistachios, pumpkin seeds, or sunflower seeds.
- Dried Fruits: Cranberries, raisins, chopped apricots, or even freeze-dried berries for a tangy kick.
- Salty Snacks: Crushed pretzels, potato chips, or a sprinkle of sea salt to balance the sweetness.
- Spices: A dash of chili powder, cinnamon, or cardamom for an exotic twist.
- Candies & Sprinkles: Mini marshmallows, crushed candy canes, or a variety of decorative sprinkles.
After you’ve decorated your mini chocolate bars, simply let them solidify in the refrigerator until firm. Once set, gently break them apart from the mold and store them in an airtight container at room temperature. These homemade chocolate bars are not only a delightful treat for yourself but also make charming, personalized gifts for friends and family.
Roasted Almond Slivers Coated with Chocolate, aka Haystack Cookies!
For a particularly exquisite and easy-to-make treat, consider preparing roasted almond slivers with chocolate, often lovingly referred to as “Haystack Cookies.” These crunchy, nutty delights are incredibly versatile and taste fantastic with any type of chocolate – whether it’s rich dark, creamy milk, or sweet white chocolate.
The beauty of this recipe lies in its simplicity and the fact that it requires no oven. Begin by roasting your almond slivers in a dry pan over medium heat until they are fragrant and lightly golden. This step significantly enhances their nutty flavor. Once roasted, allow them to cool slightly before adding them to your bowl of melted chocolate. Stir gently until all the almond slivers are thoroughly coated.
Similar to the dried fruit clusters, use a teaspoon to form small, irregular heaps of the chocolate-coated almonds onto a sheet of baking paper. You can sprinkle them with a touch of sea salt or a dash of cinnamon for an added layer of flavor. Let them dry until firm. These Haystack Cookies are super simple to make, offer a satisfying crunch, and are a wonderfully delicious way to use up that extra chocolate.
Line Wafer Cups with Chocolate for Enhanced Desserts
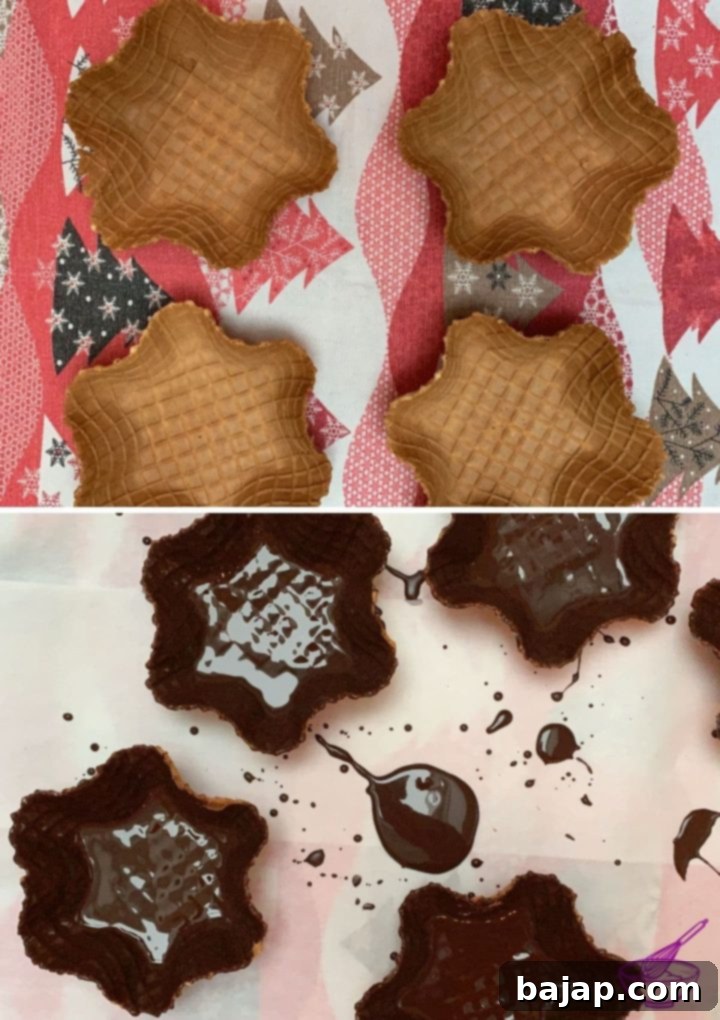
If you’ve ever made desserts like waffle blossoms with chestnut purée, you might find yourself with leftover wafer cups and, coincidentally, some melted chocolate. This presents a fantastic opportunity to create custom, chocolate-lined serving vessels that not only taste great but also offer practical benefits.
To line the wafer cups, simply spoon or brush the melted chocolate onto the inside surface of each cup, ensuring an even coating. Once coated, place them on baking paper and allow the chocolate to solidify. This can be done at room temperature or expedited in the refrigerator.
The beauty of chocolate-lined wafer cups is twofold. Firstly, they prevent the wafer from becoming soggy too quickly when filled with moist ingredients like ice cream, fruit salad, or mousse. The chocolate acts as a delicious barrier, preserving the crispness of the wafer. Secondly, these chocolate-lined cups are a delicious treat on their own! They can be filled with small candies, nuts, or simply enjoyed as a standalone crispy, chocolatey snack. It’s a smart way to add an extra layer of flavor and protection to your dessert presentations.
Puffed Rice with Chocolate: Crispy, Chewy, and Fun!
Puffed rice with chocolate is another incredibly easy and satisfying way to use up any leftover melted chocolate. This method transforms simple puffed grains into delightful, crispy treats that are loved by all ages. You can use various puffed grains such as puffed rice, spelt, amaranth, or even Rice Krispies for a familiar favorite.
The process is straightforward: gently fold the puffed grains into the melted chocolate, ensuring every piece is well-coated. Once mixed, you have a few options for shaping:
- Silicone Molds: For individual, neatly shaped treats, press the mixture into silicone molds of any shape (mini muffin tins, candy molds, etc.).
- Loaf Pan/Baking Dish: For chocolate bars, press the mixture firmly into a parchment-lined loaf pan or baking dish.
Allow the chocolate-puffed rice mixture to set completely, either at room temperature or in the refrigerator. If you used silicone molds, simply pop out the solidified treats. If you opted for a loaf pan, lift the entire block out using the parchment paper and cut it into desired slices or squares. You’ll instantly have delicious puffed-rice chocolate bars, ready to be enjoyed!
For an extra layer of flavor, consider adding a tablespoon of peanut butter, almond butter, or a handful of mini marshmallows to the mixture before setting. This creates a chewy, nutty, or gooey dimension that takes these simple treats to the next level. They are perfect for kids’ parties, snack time, or a guilt-free sweet craving.
Drizzle or Dip Cookies for an Instant Upgrade!
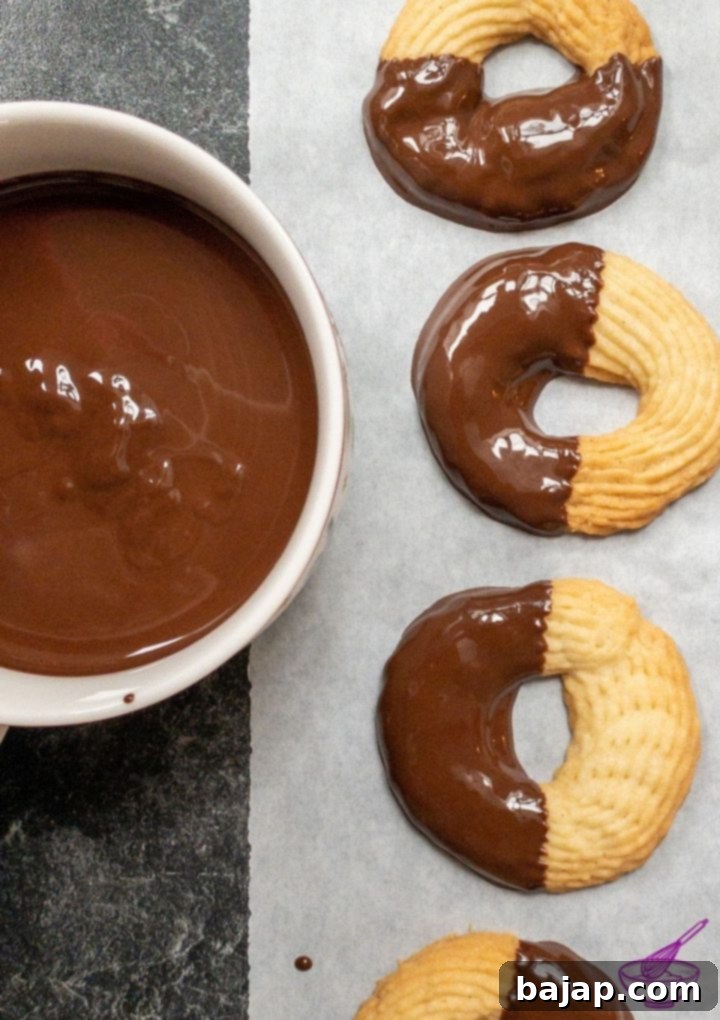
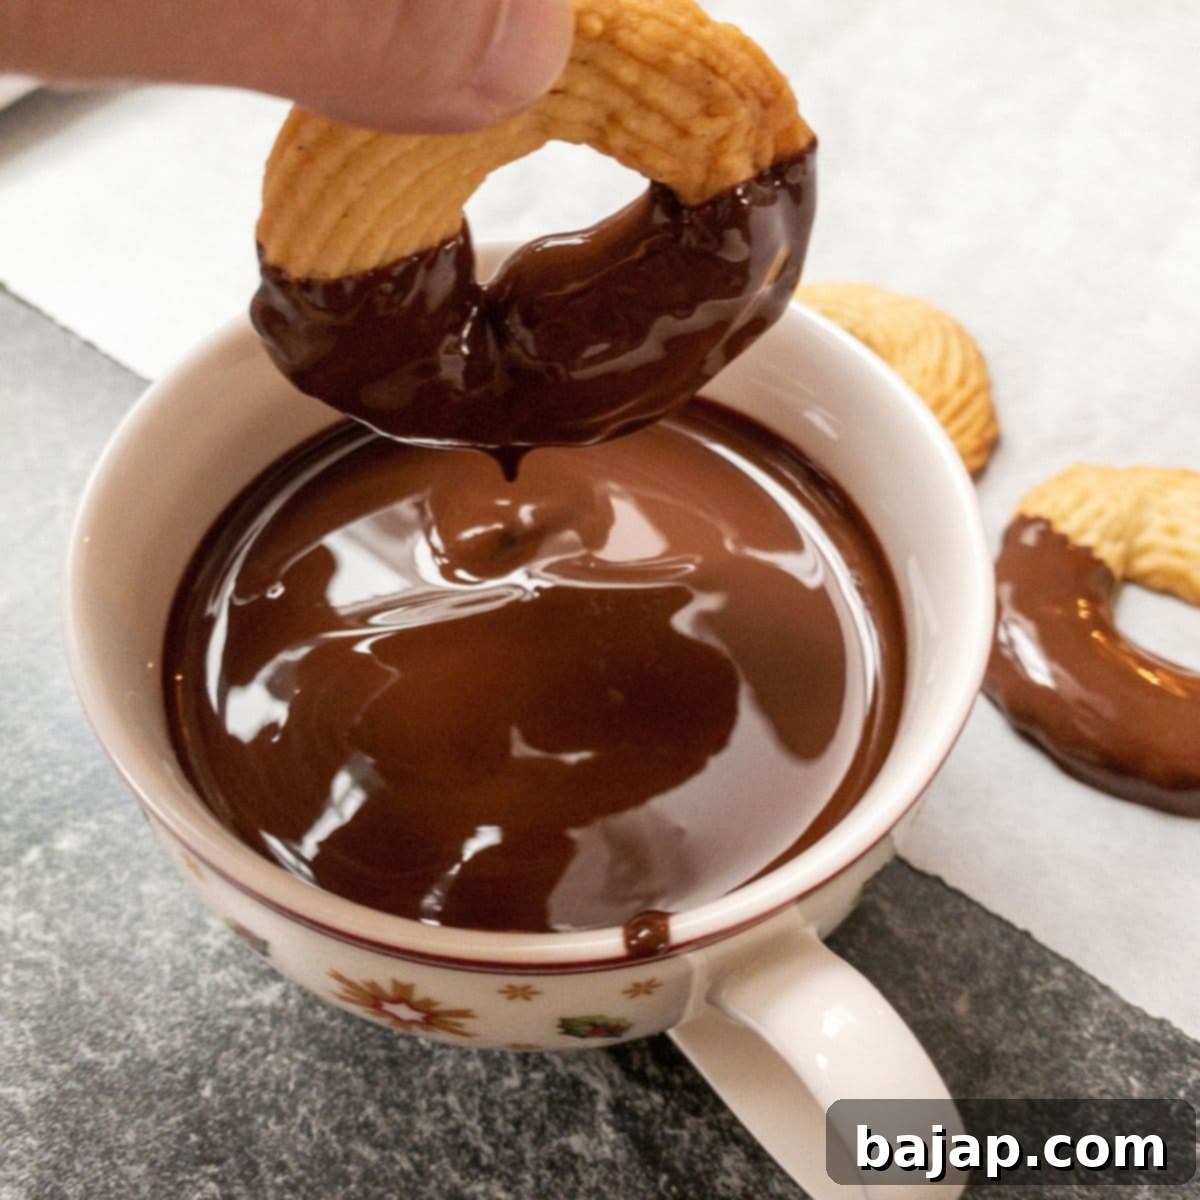
One of the most satisfying and visually appealing ways to utilize any leftover melted chocolate is to enhance your existing cookies. Whether you’ve just baked a fresh batch or have some store-bought favorites on hand, a touch of chocolate can elevate them from simple to spectacular. This is especially fantastic when you’re looking to add a professional finish or a personalized touch to your baked goods.
You have two primary methods for this transformation:
- Dipping: For a more substantial coating, dip half or a quarter of your cookie into the melted chocolate. This works wonderfully with shortbread, oatmeal cookies, or even plain butter cookies.
- Drizzling: For a more delicate touch, use a spoon or a piping bag with a fine tip to drizzle melted chocolate back and forth over the cookies in an elegant pattern. This is perfect for spritz cookies, sugar cookies, or biscotti.
Once dipped or drizzled, don’t hesitate to add extra flair! A sprinkle of crushed nuts, decorative sprinkles, a pinch of flaky sea salt, or even a contrasting chocolate (white chocolate drizzle on dark chocolate-dipped cookies) can make your cookies truly stand out. Allow the chocolate to set completely before stacking or serving. It’s a simple yet incredibly effective way to refine and beautify your finished baked goods, turning everyday cookies into wonderfully indulgent treats.
Other Quick Ideas for Leftover Melted Chocolate
Beyond the detailed suggestions above, here are a few more rapid-fire ways to ensure not a single drop of that precious melted chocolate goes to waste:
- Hot Chocolate: Whisk any remaining melted chocolate into warm milk (dairy or non-dairy) for an instant, rich, and luxurious hot chocolate. Add a pinch of cinnamon or a dash of vanilla for extra flavor.
- Chocolate Bark: Spread the melted chocolate thinly onto a parchment-lined baking sheet. Sprinkle with any combination of nuts, dried fruits, candy pieces, or sea salt. Once set, break into irregular pieces for homemade chocolate bark. This is similar to making chocolate bars but requires no molds and has a rustic appeal.
- Chocolate Sauce: If your melted chocolate is still fluid, simply store it in an airtight container in the fridge. When ready to use, gently reheat it (microwave in short bursts or over a double boiler) and use as a decadent topping for ice cream, pancakes, waffles, or any dessert that craves a chocolatey embrace.
- Stir into Yogurt or Oatmeal: Swirl a spoonful of melted chocolate into your morning yogurt or oatmeal for an unexpected, yet delightful, breakfast upgrade.
As you can see, you can create countless delightful things with leftover melted chocolate. Embracing these ideas not only prevents waste but also encourages creativity in the kitchen. It’s a delicious and sustainable way to make the most of every last drop of this beloved ingredient!
🤎 You might also like
- Waffle Blossoms with Chestnut Purée
- Austrian spritz cookies with chocolate filling
- Homemade Baileys Chocolates
- No-bake Lotus Biscoff Cake Pops
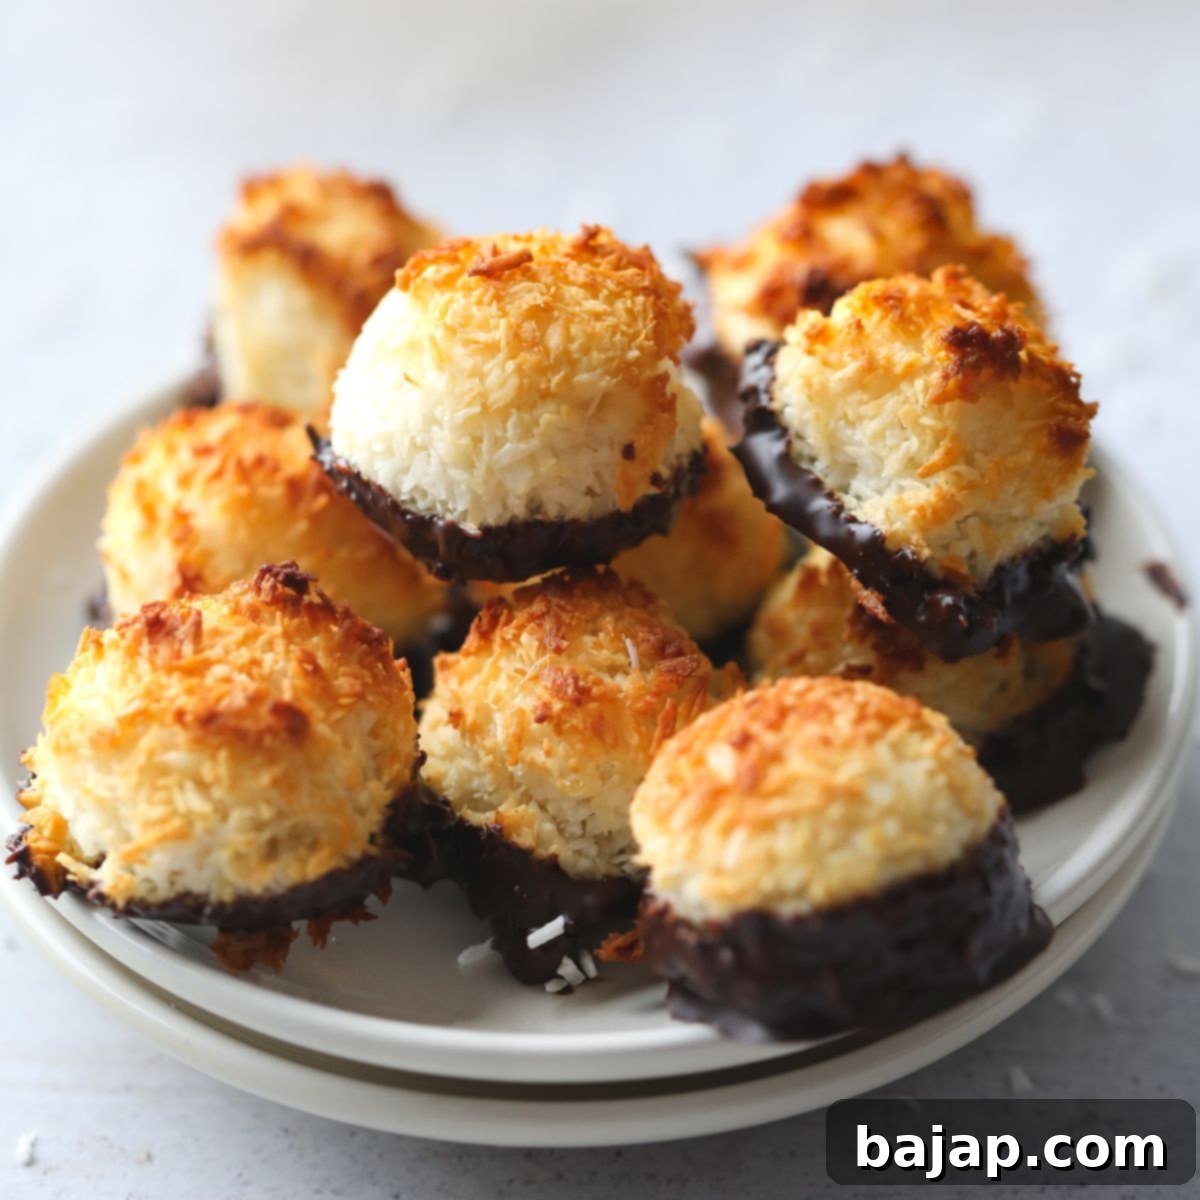
Get The Recipe
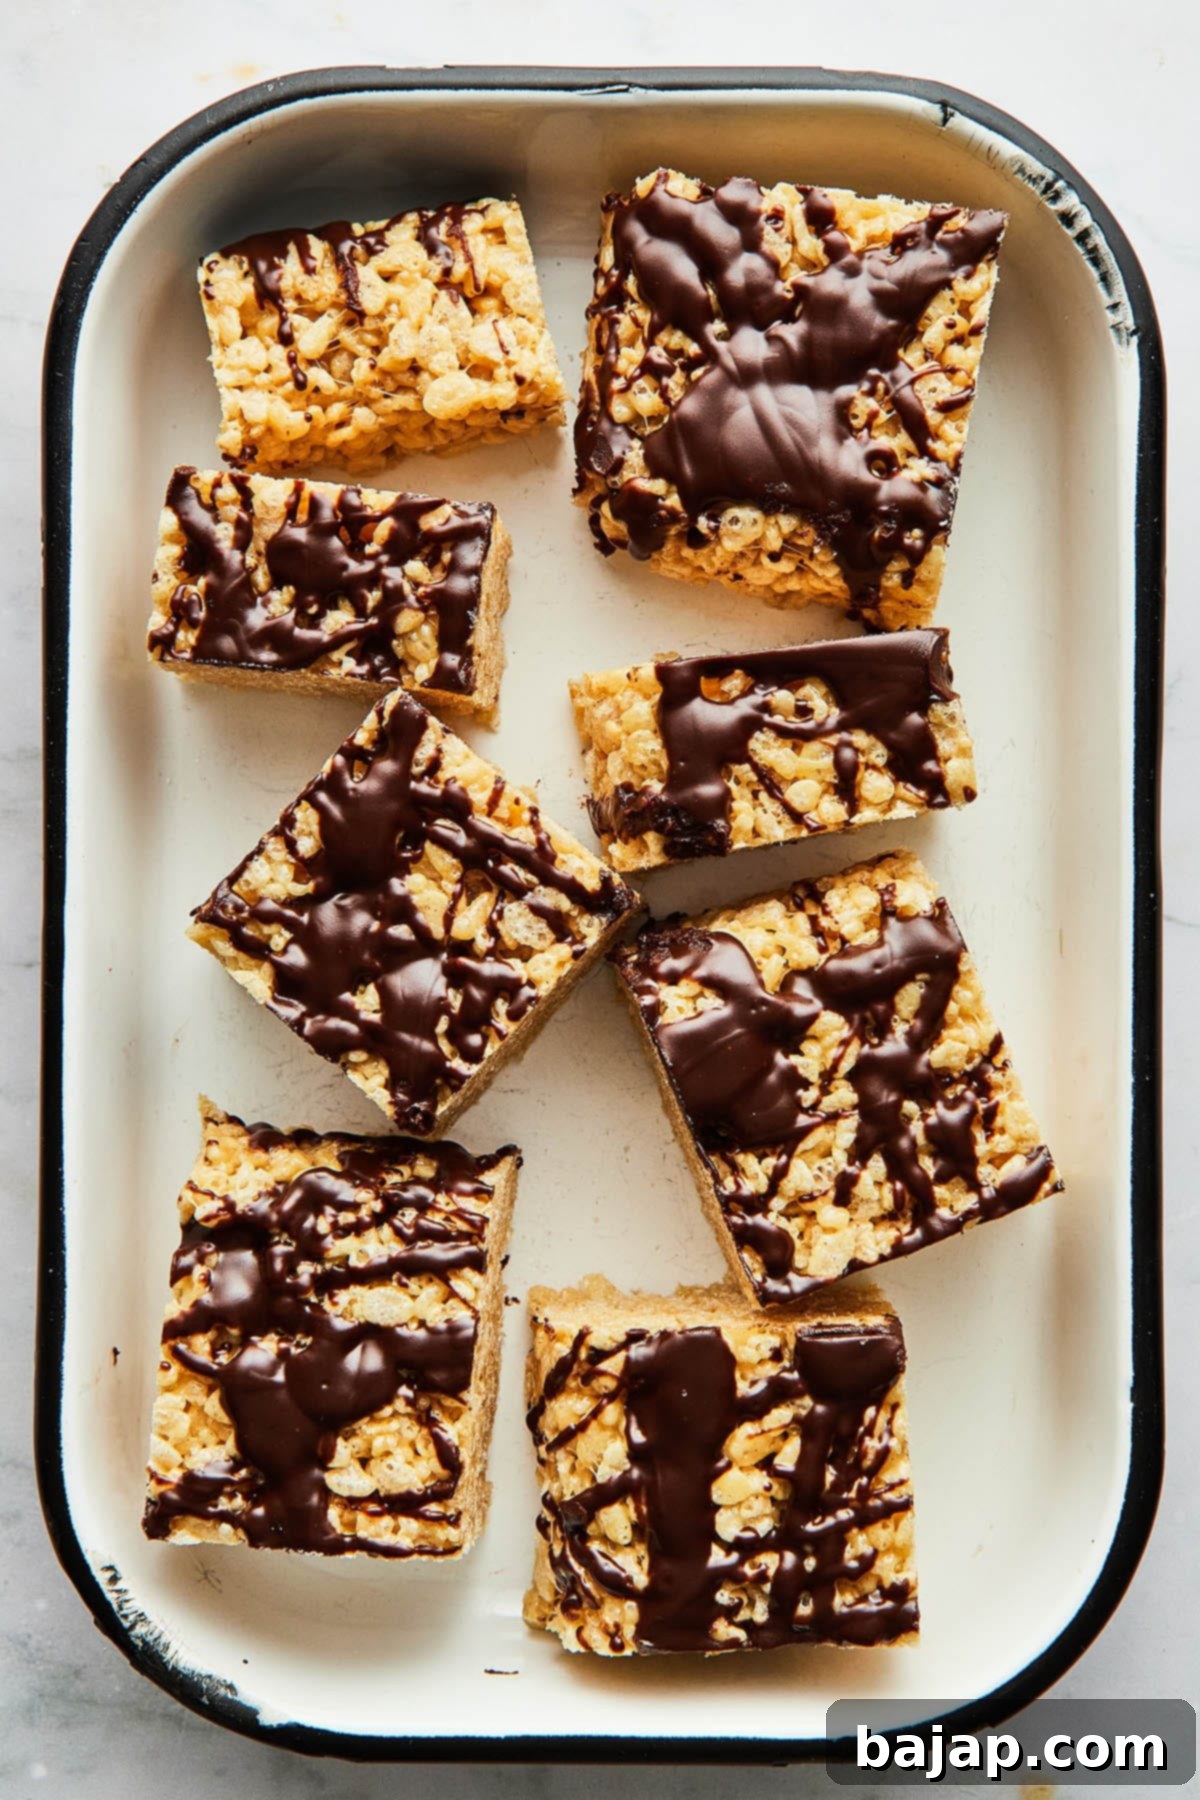
Get The Recipe
⛑️ Food Safety
Ensuring food safety is paramount when working with any ingredients, especially when repurposing. Here are essential guidelines to keep in mind:
- Cook to a minimum temperature of 165 °F (74 °C) (if applicable for any added ingredients).
- Do not use the same utensils on cooked food that previously touched raw meat.
- Wash hands thoroughly after touching raw meat or any potentially contaminated surfaces.
- Don’t leave food sitting out at room temperature for extended periods, especially items that contain perishable ingredients.
- Never leave cooking food unattended.
- Use oils with a high smoking point to avoid harmful compounds if any frying or roasting is involved.
- Always ensure good ventilation when using a gas stove.
For further information and comprehensive guidelines, check Safe Food Handling – FDA.
