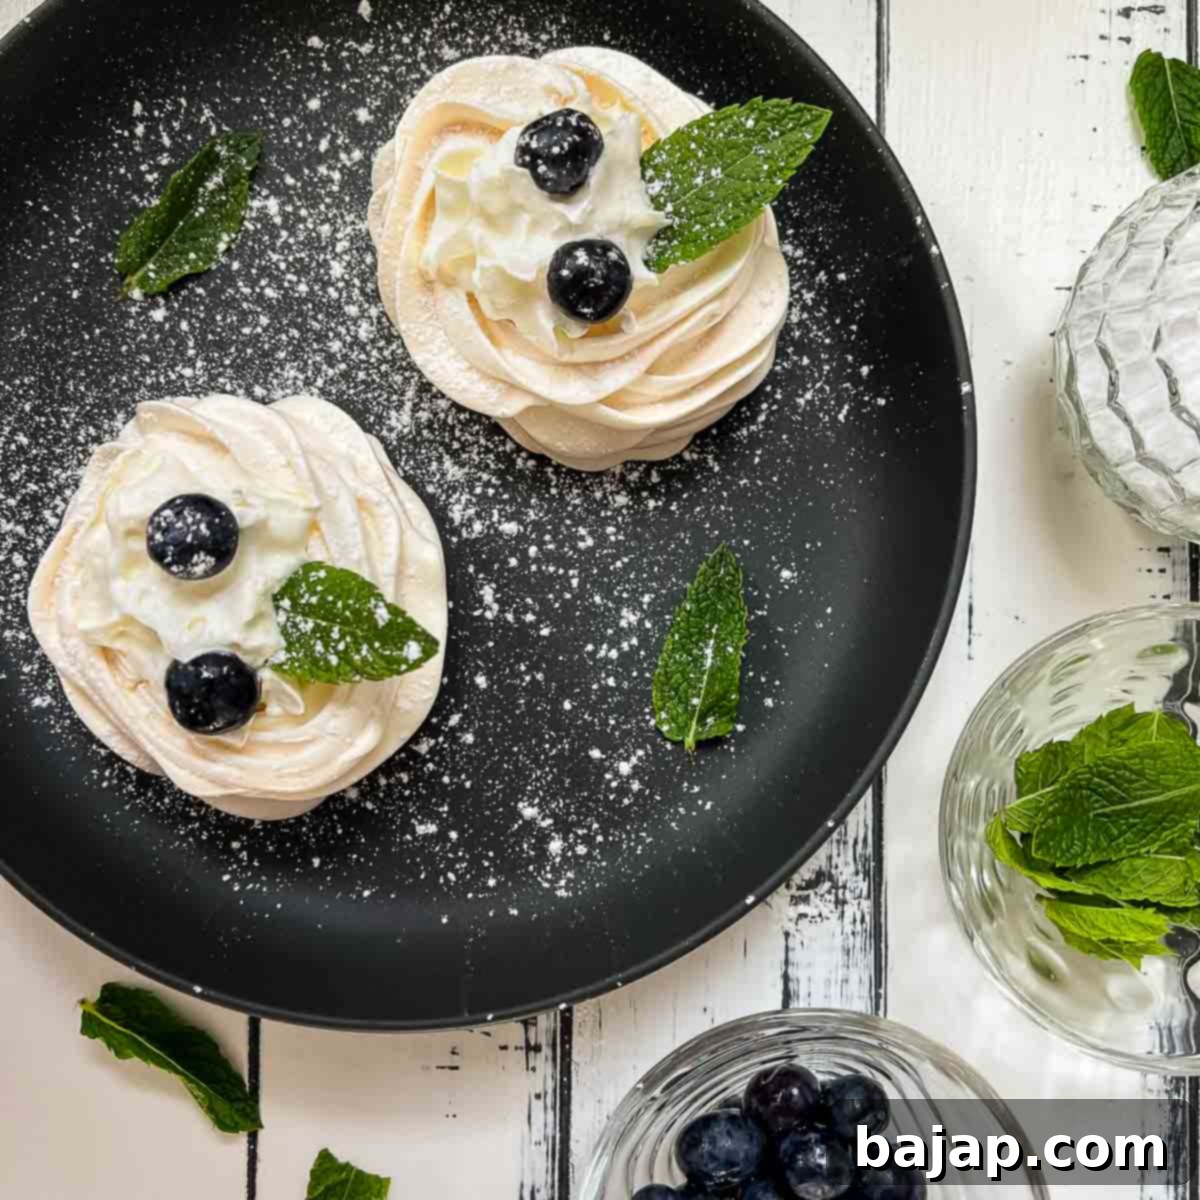
Easy Mini Pavlova with Blueberries: The Perfect Gluten-Free Dessert Recipe
Discover the delightful simplicity of crafting your very own Mini Pavlova with Blueberries! This exquisite dessert is not only incredibly easy to prepare but also offers a fantastic, delicious solution for using up those leftover egg whites you might have on hand. It’s a sweet, refreshing, and visually stunning treat that promises to impress your family and guests alike, making it ideal for any occasion from casual gatherings to festive celebrations.
Each individual mini pavlova is a masterpiece of contrasting textures and complementary flavors. It features a wonderfully crisp meringue shell that gives way to a soft, marshmallowy interior, a velvety whipped cream filling that adds a touch of luxurious indulgence, and a vibrant topping of fresh blueberries and aromatic mint. This combination creates a symphony on the palate – a sweet indulgence balanced by the refreshing tartness of the fruit, all beautifully rounded out by the creamy richness of the whipped cream.
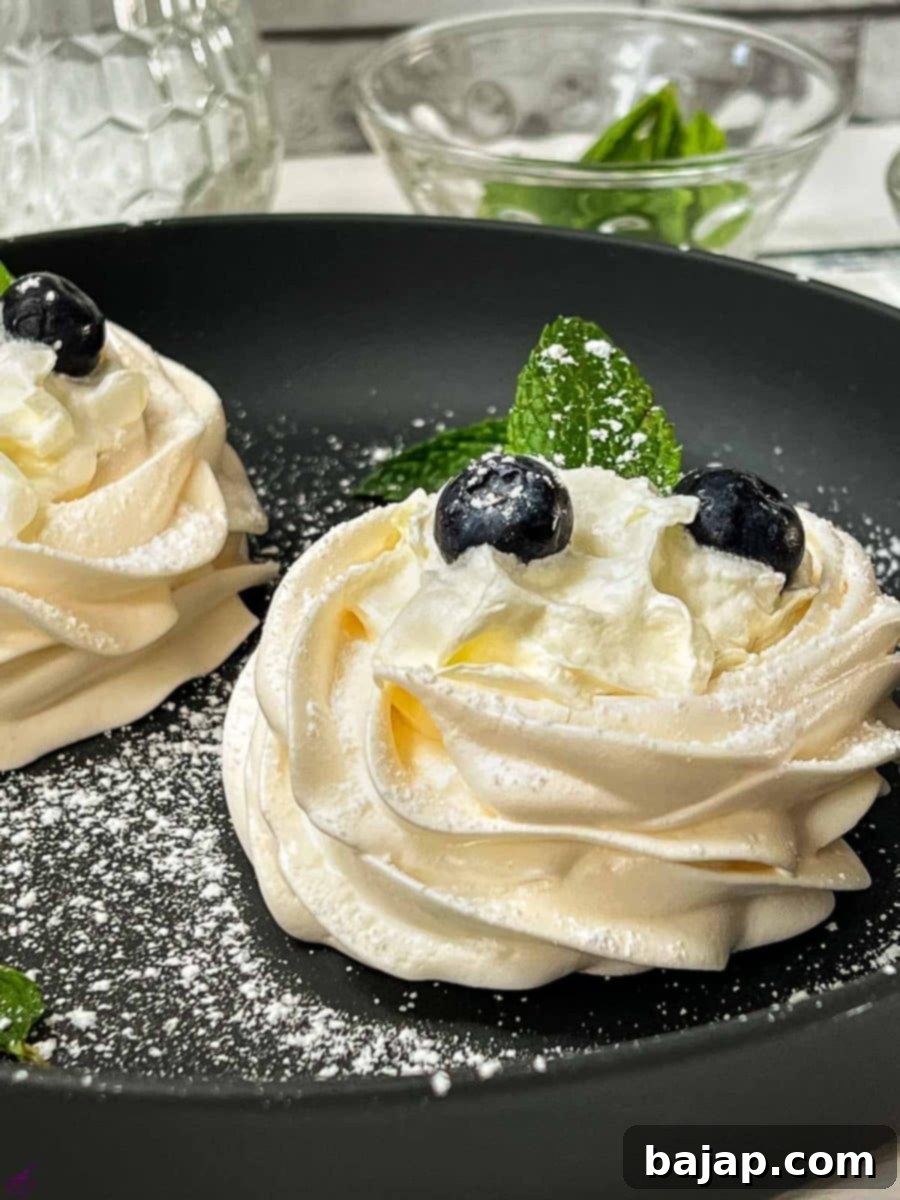
Whether you affectionately call it “Windbäckerei” (wind bakery) as we do in Austria, a delicate meringue, or the classic Pavlova, this recipe provides a gloriously sweet and naturally gluten-free dessert. The name truly doesn’t matter when you’re creating such a fantastic way to transform simple leftover egg whites into something truly extraordinary! The Mini Pavlova captivates with its crispy consistency and delights with its rich, creamy filling, making it a beloved choice for dessert enthusiasts everywhere.
In essence, this is a dessert you absolutely must try! For many, it quickly becomes a permanent fixture in their culinary repertoire, thanks to its numerous excellent properties:
- Effortless Preparation: Despite its elegant appearance, this mini pavlova recipe is surprisingly straightforward, making it accessible for bakers of all skill levels.
- Impressive Shelf Life (Meringue Nests): The individual meringue nests can be prepared several weeks or even months in advance, significantly reducing prep time on the day of your event.
- Sustainable Use for Leftover Egg Whites: It’s a perfect and delicious solution to avoid food waste, transforming those extra egg whites into a star dessert.
- Guaranteed Eye-Catcher: With their delicate structure, vibrant fresh fruit, and airy cream, these mini pavlovas are a stunning visual treat that will undoubtedly impress your guests.
If you’re frequently looking for more creative and delicious ways to make the most of leftover egg whites, we have some excellent recommendations for you! Consider whipping up a batch of our chewy coconut cookies (Kokosbusserl), delightful walnut meringue cookies, or a rich and satisfying chocolate egg white cake.
🥘 Essential Ingredients for Perfect Mini Pavlovas
Crafting these delectable mini pavlovas requires only a handful of simple, high-quality ingredients. Each plays a crucial role in achieving the signature taste and texture of this elegant dessert. Here’s a closer look at what you’ll need to gather:
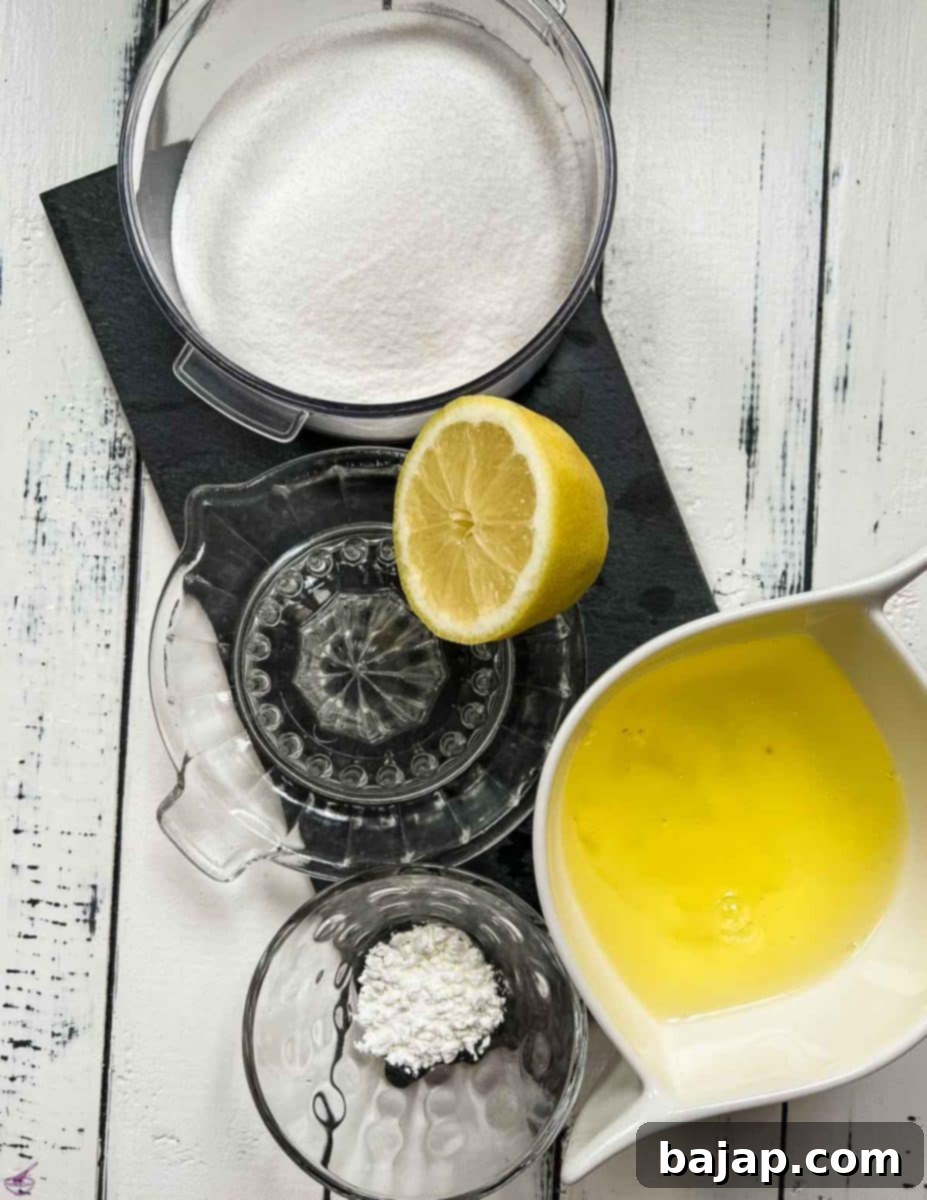
- Egg Whites: The foundation of your meringue. It is absolutely crucial that they are well chilled. Cold egg whites are known to whip up to a much more stable and voluminous foam, which is essential for a light and airy meringue that holds its shape.
- Superfine Sugar: Also commonly known as caster sugar, its exceptionally fine granules dissolve quickly and completely into the egg whites. This ensures a smooth, glossy meringue without any undesirable grainy texture, creating that perfect delicate crunch.
- Lemon: Fresh lemon juice is not just for flavor; it adds vital acidity to the egg whites. This acidity helps to stabilize the foam and contributes to a brighter, more balanced flavor profile in the final meringue. You’ll only need half a lemon for this recipe.
- Potato Starch or Corn Starch: A small, secret ingredient that makes a big difference! Adding a pinch of starch is the key to achieving the distinctive chewy, marshmallowy interior that truly elevates a pavlova beyond a simple crisp meringue.
- Heavy Whipping Cream: This is the cornerstone of our rich, creamy filling. For the best flavor and texture, always opt for a high-quality heavy cream. If you’re feeling adventurous, you could even experiment with a flavored option like Irish Cream whipped cream for an adult-friendly twist!
- Powdered Sugar: Essential for sweetening your freshly whipped cream to perfection and, of course, for providing that beautiful, delicate dusting finish that makes the pavlovas look so inviting.
- Blueberries: These little gems provide a burst of refreshing sweetness, a slight tang, and a gorgeous pop of vibrant color. While blueberries are our top recommendation, feel completely free to use any fresh fruit you fancy – be sure to check our variations section for more inspiring ideas!
- Fresh Mint: A few sprigs of fresh mint are used as a garnish. They not only add a lovely, invigorating aroma but also contribute a brilliant touch of green, significantly enhancing the overall elegant presentation of your dessert.
For the precise quantities of each ingredient and a detailed breakdown of measurements, please refer to the comprehensive recipe card provided at the bottom of this article.
🔪 Step-by-Step Instructions: How to Make Mini Pavlovas from Scratch
Creating these delicate meringue nests might appear to be a daunting task, but with these clear, easy-to-follow, step-by-step instructions, you’ll be a pavlova pro in no time! Remember, precision and a little patience are your best friends for achieving that perfect crispy-on-the-outside, soft-and-marshmallowy-on-the-inside texture that makes pavlova so irresistible.
Step 1: Whip the Egg Whites to Stiff Peaks
Begin by taking a large, impeccably clean mixing bowl – glass or metal bowls are preferable as plastic can sometimes retain grease, which prevents egg whites from whipping properly. Carefully separate your well-chilled egg whites, ensuring absolutely no yolk contaminates them. Beat the egg whites vigorously with an electric mixer or a stand mixer on high speed until they form very stiff peaks. You’ll know they’re ready when you lift the beaters, and the peaks hold their shape firmly, standing tall without drooping. The cold temperature of the egg whites is crucial here for achieving this desired stability and volume.
Step 2: Gradually Incorporate Sugar and Stabilizers
Once your egg whites have reached those impressive stiff peaks, it’s time to introduce the superfine sugar. Slowly and gradually, add the sugar, a tablespoon at a time, while continuously beating the mixture. This slow addition allows the sugar to dissolve completely, resulting in a meringue that is glossy, smooth, and incredibly stable. Next, squeeze half a lemon (you can use our helpful fresh lemon juice guide for tips) and add a small squeeze of the fresh lemon juice to the beaten egg whites. The acidity from the lemon acts as an additional stabilizer, helping to maintain the meringue’s structure. Finally, gently fold in the potato starch (or corn starch); this is the key to creating that delightful chewy, marshmallowy interior texture characteristic of a true pavlova.
Step 3: Prepare for Piping and Baking
After your meringue mixture has been perfectly whipped to a shiny, firm consistency, preheat your oven to a very low 100 °C // 212 °F. Line a large baking sheet with a sheet of parchment paper; this non-stick surface is essential to prevent your delicate meringues from sticking. Now, prepare your piping bag. Fit it with a star tip – a Wilton 1M is highly recommended for creating beautifully shaped nests with elegant ridges. To make filling the piping bag a breeze and mess-free, place it (with the tip inserted) into a tall glass or container, folding the edges of the bag over the rim. This technique frees up your hands for easy scooping. Scoop the egg white mixture into the bag, then twist the upper end tightly and secure it with a clip. This clip will prevent the mixture from accidentally spilling out during piping.
Step 4: Pipe and Bake the Meringue Nests
With your piping bag ready and filled, carefully pipe nine individual tiny heaps or nests onto the parchment-lined baking tray. The crucial trick here is to ensure that the bottom of each pile is thin, and then you build up a nice, high border all around, creating a perfect well or “nest” for the filling. This method ensures a crisp base and a sturdy, yet delicate, structure. Once all your lovely mini pavlova nests are meticulously piped, gently place the baking tray into your preheated oven. Bake the meringue nests for approximately 100 minutes on the middle shelf. The low and slow baking temperature allows the meringues to dry out gradually without browning too quickly, which is vital for achieving that perfectly crisp exterior and soft interior.
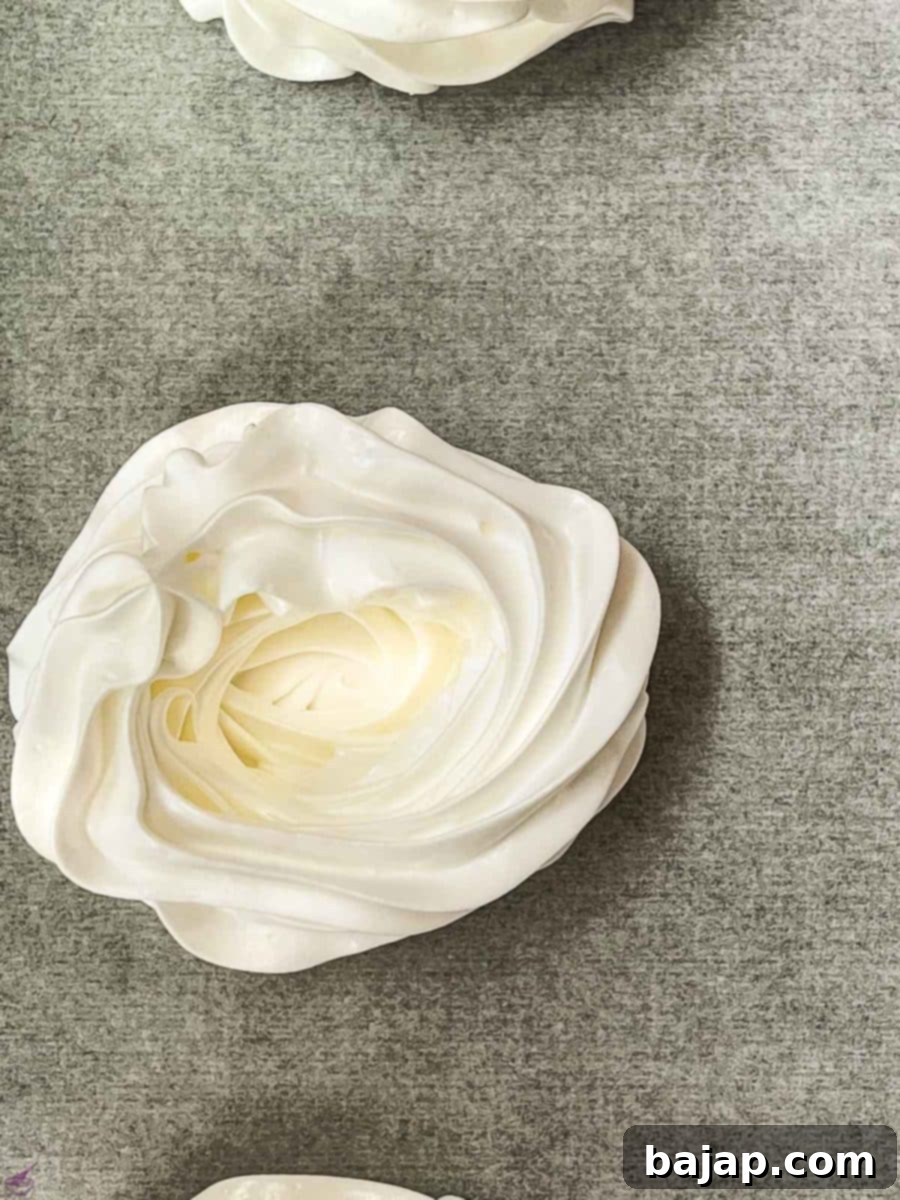
Pipe nine tiny nests onto the baking tray lined with parchment paper, ensuring a thin base and high walls for optimal texture.
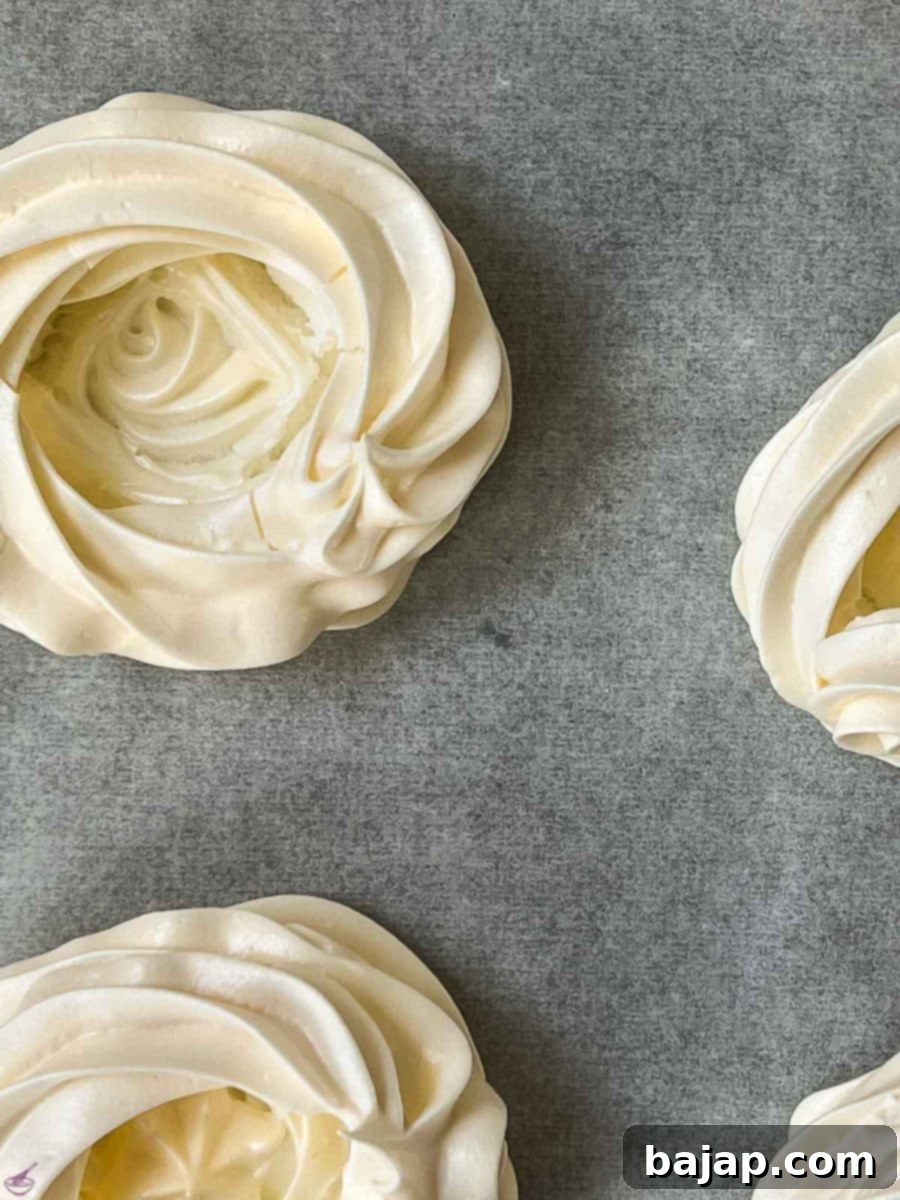
Allow the baked meringue nests to cool completely inside the oven with the door ajar, which helps prevent cracks and ensures crispness.
Step 5: Cool and Store the Meringue Nests
Once the 100 minutes of baking time have passed, turn off your oven, but resist the urge to immediately remove the pavlovas. Instead, open the oven door a crack – you can use a wooden spoon to keep it slightly ajar – and allow the meringue nests to cool down slowly inside the oven. This gradual cooling process is absolutely crucial for preventing any cracks from forming and for maintaining their pristine crispness. Once the meringues have completely cooled to room temperature, gently remove the nine nests from the baking sheet. These delicate meringues are quite sturdy when dry and can be stored in an airtight container at room temperature for several weeks, making them perfect for advanced preparation and stress-free entertaining.
Step 6: Assemble and Serve Your Mini Pavlovas
Serving these delightful treats is where the true artistry and enjoyment come in. To assemble, carefully transfer the desired number of meringue nests onto individual dessert plates. Wash your fresh blueberries and mint leaves thoroughly under cool running water and then gently set them aside to drain any excess moisture. For the filling, while a ready-prepared whipped cream from a can offers a convenient and quick option, for the freshest and most luxurious taste, we highly recommend whipping your own cream.
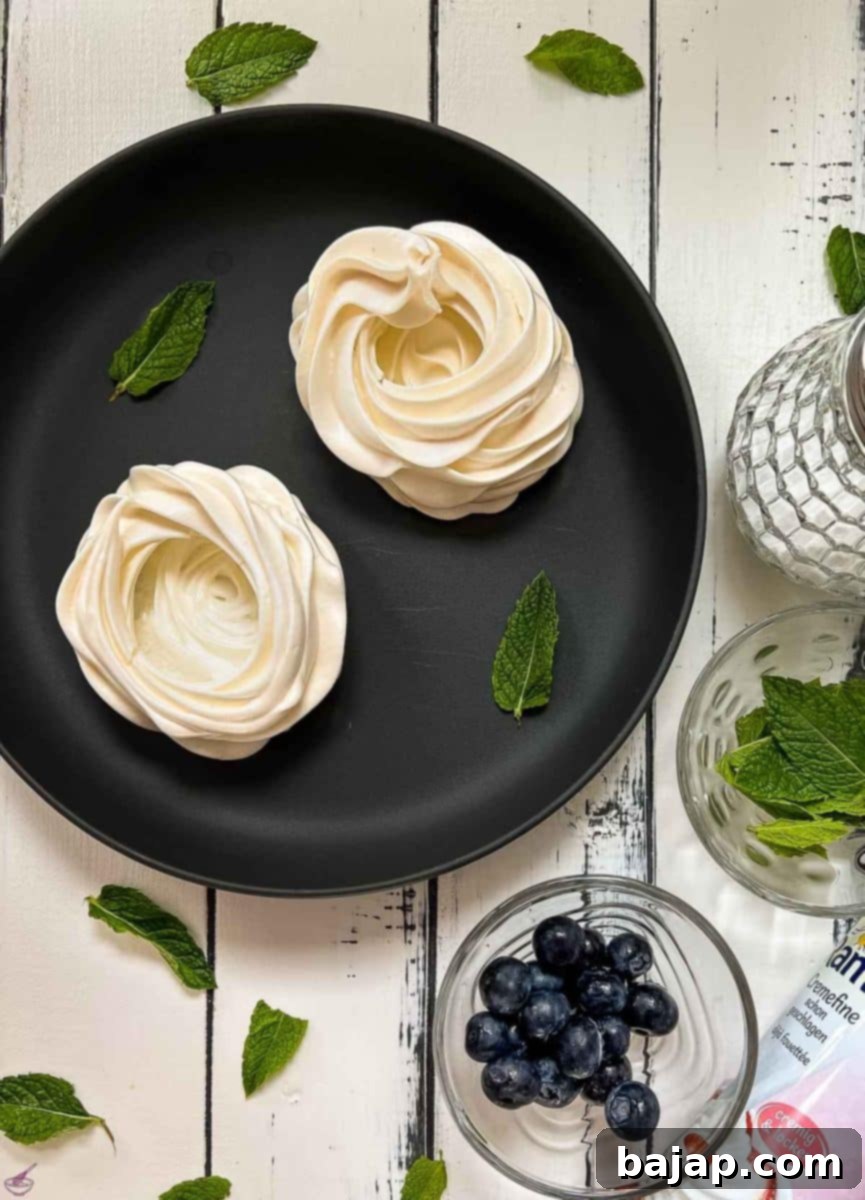
Carefully place each baked meringue nest on a dessert plate, poised for its creamy filling.
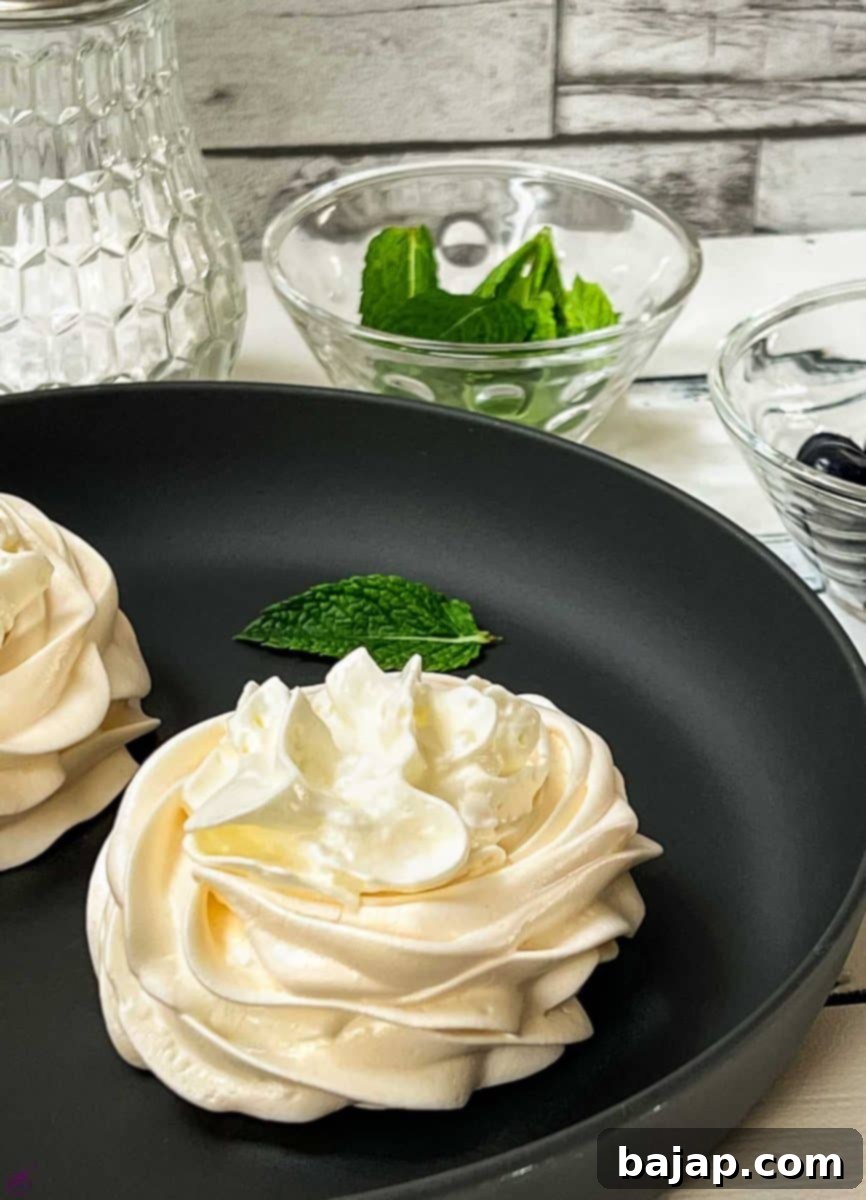
Fill the crisp meringue nest generously with fluffy, sweetened whipped cream, creating a delightful contrast.
If you opt to whip your own cream, do so in a tall mixing bowl using an electric mixer until it reaches firm, yet airy, peaks. Then, carefully transfer the freshly whipped cream into a piping bag that has been fitted with a star-shaped nozzle – this will give your pavlovas a professional, elegant finish. Gently pipe or spoon the whipped cream into the center of each mini pavlova nest, filling it beautifully.
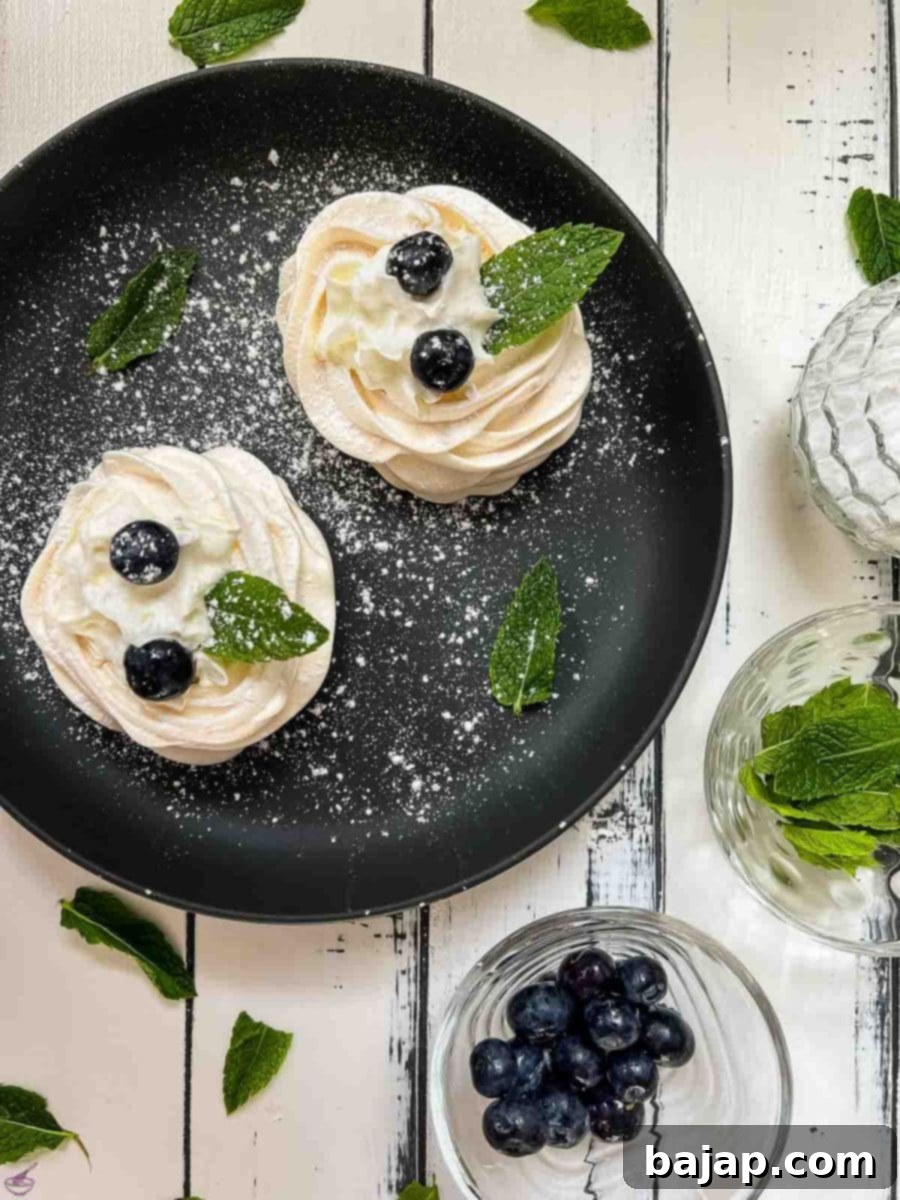
To complete your delightful masterpieces, artistically arrange the washed blueberries on top of the cream filling. For an added pop of color and a refreshing aromatic touch, tuck a few fresh mint leaves around the berries. Finally, for that perfect, photo-ready finish, lightly dust each assembled pavlova with powdered sugar using a small sieve. Serve immediately to ensure the meringue remains wonderfully crisp and enjoy your homemade, utterly delicious mini pavlovas!
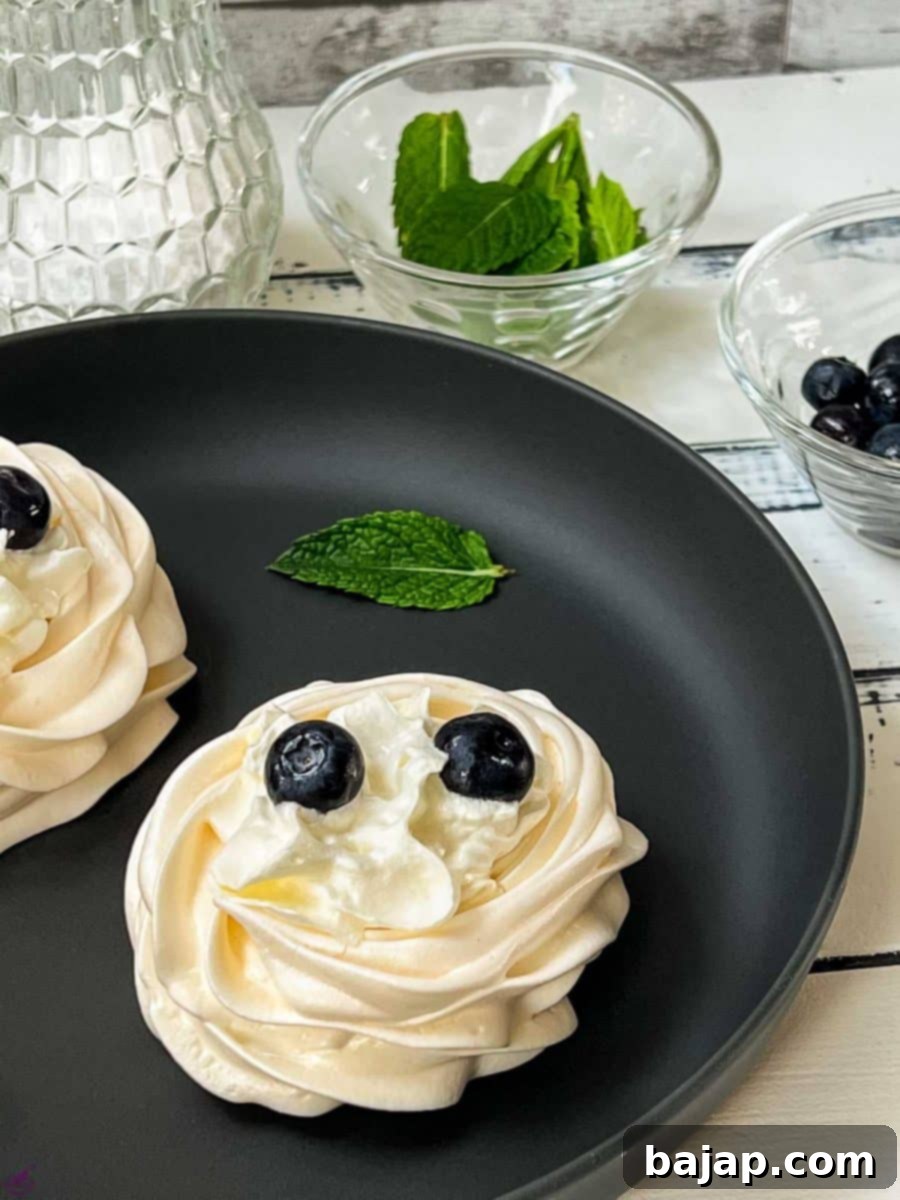
Generously garnish the fluffy whipped cream with an abundance of fresh, juicy blueberries.
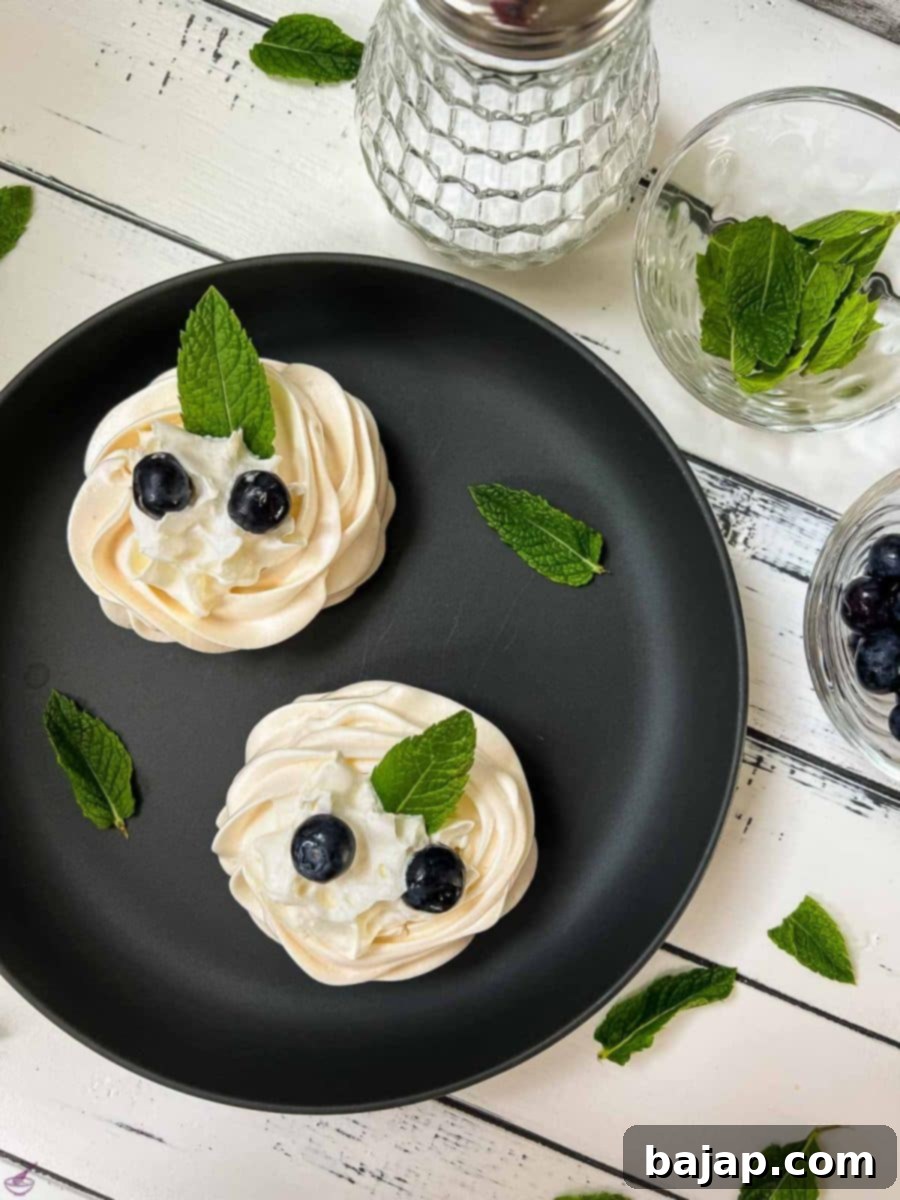
Complete the elegant presentation with a delicate mint leaf and a final, light dusting of powdered sugar.
We truly hope you enjoy creating and savoring this delightful mini pavlova recipe as much as we do! If you’re a devoted fan of blueberries, you might also love exploring this amazing blueberry topping for cheesecakes or this classic and utterly delicious blueberry pie!
More Delicious Recipes to Explore
- Six Egg White Chocolate Cake: A rich and moist cake that offers another fantastic way to utilize leftover egg whites!
- Old-Fashioned Whipping Cream Bundt Cake: A classic, comforting, and incredibly moist cake perfect for any occasion, from afternoon tea to family dinners.
- Austrian Strawberry Sponge Cake: A light, airy, and fruity summer delight, bursting with fresh strawberry flavor and a delicate sponge texture.
- Ultimate Double Chocolate Bundt Cake: For the serious chocolate lovers, this recipe delivers an intensely rich and deeply satisfying chocolate experience.
- Chocolate Chip Ricotta Loaf Cake: A unique and satisfying treat featuring a lovely moist texture and delightful pockets of chocolate chips.
- Baked Alaska (created by splashoftaste.com): An impressive and show-stopping dessert that ingeniously features a beautiful meringue topping.
🫐 Delicious Variations: Customize Your Pavlova
One of the most wonderful and appealing aspects of pavlova is its incredible versatility! While the combination of blueberries and fresh mint creates a timeless and refreshing classic, you have the creative freedom to easily adapt this recipe to perfectly suit your personal taste preferences, seasonal availability, or even a specific theme, simply by changing the fruit topping. The possibilities for customization are truly endless, allowing you to create a unique and exciting dessert every single time you bake.
Consider these delightful fruit toppings to experiment with, each bringing its own unique flavor and visual appeal:
- Raspberries: Their vibrant color and distinct tartness beautifully complement the sweetness of the meringue and the richness of the cream, creating a harmonious balance.
- Blackberries: Offer a deeper, slightly more earthy and complex fruit flavor compared to raspberries, adding a sophisticated touch to your pavlova.
- Strawberries: A universally loved and timeless choice, especially when fresh and perfectly in season. They add a burst of juicy sweetness, a classic aroma, and a gorgeous ruby-red pop of color.
- Kiwi: For a bright and exotic touch, kiwi adds a wonderful tropical tang and a vibrant green hue that makes for a stunning visual contrast.
- Mango: If you’re looking for a truly tropical twist, the luscious sweetness and soft, buttery texture of ripe mango are simply divine atop a pavlova.
- Plums: When in season, their rich, juicy, and subtly tart flavor provides a fantastic contrast to the sweet meringue, especially varieties like black or red plums.
- Apricots: Sweet and slightly tangy with a velvety texture, apricots are perfect for a summery pavlova, adding a warm, golden color.
- Peaches: Soft, incredibly sweet, and wonderfully fragrant, especially when perfectly ripe, fresh peach slices are a delightful addition.
- Nectarines: Similar to peaches but with a smoother skin, nectarines offer a delicate sweetness and a firm, juicy flesh that holds up well.
- Drizzle with Homemade Lemon Curd: For an extra layer of zesty, bright flavor, a generous spoonful of tangy homemade lemon curd, either beneath the fruit or elegantly drizzled on top, is an absolutely exquisite addition that elevates the dessert.
🍽 Essential Equipment for Meringue Making
Having the right tools and equipment at hand can make all the difference when you’re whipping up perfect meringue nests. This list includes the essential items to ensure your mini pavlovas come out flawlessly, from mixing the ingredients to creating those beautiful piped shapes:
- Food Processor or Electric Mixer: Absolutely crucial for efficiently and effectively beating egg whites to stiff peaks. A stand mixer is particularly ideal as it allows for hands-free operation, letting you gradually add sugar.
- Mixing Bowl: A large, impeccably clean mixing bowl (preferably made of glass or metal) is essential for whipping egg whites. Ensure it’s free of any grease residue.
- Lemon Squeezer: A simple tool to easily extract fresh lemon juice from your half lemon, ensuring no seeds make their way into your meringue mixture.
- Piping Bag with a Star Tip (Wilton 1M recommended): This is key for creating beautifully shaped meringue nests with elegant ridges, giving your pavlovas a professional and attractive finish.
- Baking Tray: A standard, sturdy baking sheet is needed to hold your parchment paper and carefully piped meringue nests as they bake.
- Baking Paper (Parchment Paper): An indispensable non-stick liner for your baking tray, essential for preventing the delicate meringues from sticking and allowing for easy removal without breakage.
🌡 Storage Tips for Meringue Nests and Assembled Pavlovas
Proper storage is absolutely crucial for enjoying your mini pavlovas at their peak freshness and texture. Here’s everything you need to know to store them correctly:
You can store the crispy, yummy, plain egg white nests without any trouble for several months. The most important factor for long-term storage is to keep them in a completely airtight container in a cool, very dry place, away from any humidity. Humidity is the ultimate enemy of meringue, as it can quickly cause them to absorb moisture, turning them soft, sticky, and losing their delightful crispness. Ensure the container is sealed tightly to protect them from the elements.
However, once you’ve assembled your pavlova with the luscious whipped cream filling and fresh fruit, it should always be served fresh and eaten immediately after preparation. The moisture from the whipped cream will gradually begin to soften the delicate meringue, causing the crispy “wind ring” (as we affectionately call it in Austria) to become soggy over time. To maintain that perfect, desirable contrast of textures – the crisp shell and the creamy filling – always assemble only the amount you plan to serve and consume right away.
Can I freeze the pavlova?
No, unfortunately, freezing fully assembled pavlovas is not recommended. If you freeze them and then attempt to thaw them before serving, the meringue will inevitably absorb moisture, become soggy, and completely lose its signature crispy texture. While you can freeze plain, unfrozen meringue nests (though they are generally best stored at room temperature in an airtight container), the assembled dessert simply doesn’t stand up well to freezing and thawing. Enjoy them fresh!
💭 Pro Tip for Perfect Meringue Nests
Achieving the perfect texture for your meringue nests hinges on one absolutely crucial detail: making sure the base of the meringue is piped thinly. If the base is too thick, it will not dry out properly in the low heat of the oven. Instead, it will unfortunately remain stubbornly chewy or even soggy in the center, failing to achieve that desired light and airy crispness. I’ve learned this the hard way through a few experimental nests that didn’t quite make the cut!
The key technique to get this right is to start piping in the very middle of where you want your nest to be, then create two neat, even circles around the center to form a relatively thin base. After you’ve established this foundation, carefully build up the “sidewall” of the nest, ensuring it’s high enough to gracefully hold your future filling but without being excessively thick. This method allows for optimal and even drying of the meringue, ensuring that every bite offers a delightful crispy texture and creates a sturdy, yet exquisitely delicate, foundation for your delicious mini pavlovas.
🧐 The Surprising Truth About Pavlova’s Origin
For many Australians, the act of baking a “pav” and proudly bringing this iconic dessert to a bustling backyard barbecue is as quintessentially Australian as any national tradition. On Christmas Day, soon after the last prawn has been peeled and the summer festivities are in full swing, the pristine white meringue cake, lavishly topped with cream and an array of fresh fruit, proudly takes its place as a centerpiece on tables across the country. It is a dish intrinsically synonymous with joyful summer celebrations, offering a refreshingly sweet and light respite on what is often a hot and humid day. Given how deeply ingrained it is in their national culinary culture, it’s no surprise that Australians feel a profound sense of ownership and strong affinity with the pavlova.
However, here’s the fascinating and long-standing twist: New Zealanders feel exactly the same way! The friendly yet fierce rivalry over the pavlova’s true birthplace is one of the most enduring culinary debates between the two nations, with each country passionately claiming the invention of this beloved dessert as their own unique heritage.
Source: bbc.com
🙋🏻 Frequently Asked Questions About Pavlova
Pavlova (sometimes spelled pavlova in German) is a truly iconic meringue-based dessert, often referred to as a meringue cake, that is traditionally characterized by a crisp crust and a soft, light, marshmallow-like interior. It is typically filled with generous amounts of freshly whipped cream and lavishly adorned with an assortment of fresh fruits, such as berries, kiwi, or mango. It holds a cherished place as one of the national dishes in both Australia and New Zealand, with a friendly, long-standing debate between the two countries about its exact invention. What is definitively known is that the cake was named in honor of the renowned Russian ballerina Anna Pavlova, who captivated audiences during her guest appearances in both countries in the late 1920s. The Oxford English Dictionary credits New Zealand as its place of origin, citing the earliest known recipe bearing that name, which appeared there in 1927. Its delicate yet impressive appearance makes it an incredibly popular choice for celebrations, holidays, and special occasions, bringing an air of elegance to any dessert table.
Absolutely, and this is one of the most convenient and advantageous features of preparing pavlova! The meringue nests, which form the beautifully crisp base of every pavlova, can be easily prepared well in advance – you can even bake them weeks or even several months ahead of time. Once they are thoroughly baked and completely cooled, simply store them in an airtight container in a cool, dry place to maintain their crispness. This allows for excellent meal prep and stress-free entertaining, as the most time-consuming part can be done well ahead. However, for the best possible texture and to prevent the delicate meringue from becoming soggy, the delicious filling of whipped cream and the vibrant fresh fruit garnishes should always be added immediately before serving. This ensures that wonderful contrast between the shatteringly crisp meringue and the smooth, creamy, fresh toppings, providing the ultimate pavlova experience.
Prepare to be truly amazed by the sheer scale of the largest Pavlova ever created! This monumental record was famously achieved by talented students from the Eastern Institute of Technology in Hawke’s Bay, New Zealand. This colossal culinary creation, affectionately dubbed “Pavkong,” required an astonishing quantity of ingredients: 5000 egg whites, 150 kilograms of superfine sugar, and 150 liters of fresh cream. When completed, “Pavkong” stretched an incredible 64 meters (approximately 210 feet) in length, comfortably surpassing the previous record of 45 meters (148 feet), which was held by the Te Papa Museum in Wellington. This remarkable feat truly demonstrates the passion, scale, and cultural significance of this beloved dessert in New Zealand, making it a proud symbol of their culinary prowess.
If you make this delightful Mini Pavlova with Blueberries recipe, please do let me know how much you enjoyed it! I would be absolutely thrilled if you could leave a ★★★★★ star rating and a comment below – your feedback is incredibly valuable and truly awesome! You can also sign up for our Newsletter to receive weekly delicious homemade recipes directly to your inbox, ensuring you never miss a culinary inspiration. Don’t forget to follow me on Pinterest or Instagram and share your beautiful culinary creations with me. Just tag me @combinegoodflavors and use the hashtag #combinegoodflavors, so I don’t miss seeing your delicious masterpieces!
📖 Recipe: Mini Pavlova with Blueberries
Mini Pavlova with Blueberries
Nora
Save RecipeSaved!
Equipment
-
Food processor or electric mixer
-
Mixing bowl
-
Lemon squeezer
-
piping bag with a star tip (Wilton 1M)
-
Baking tray
-
Baking Paper
