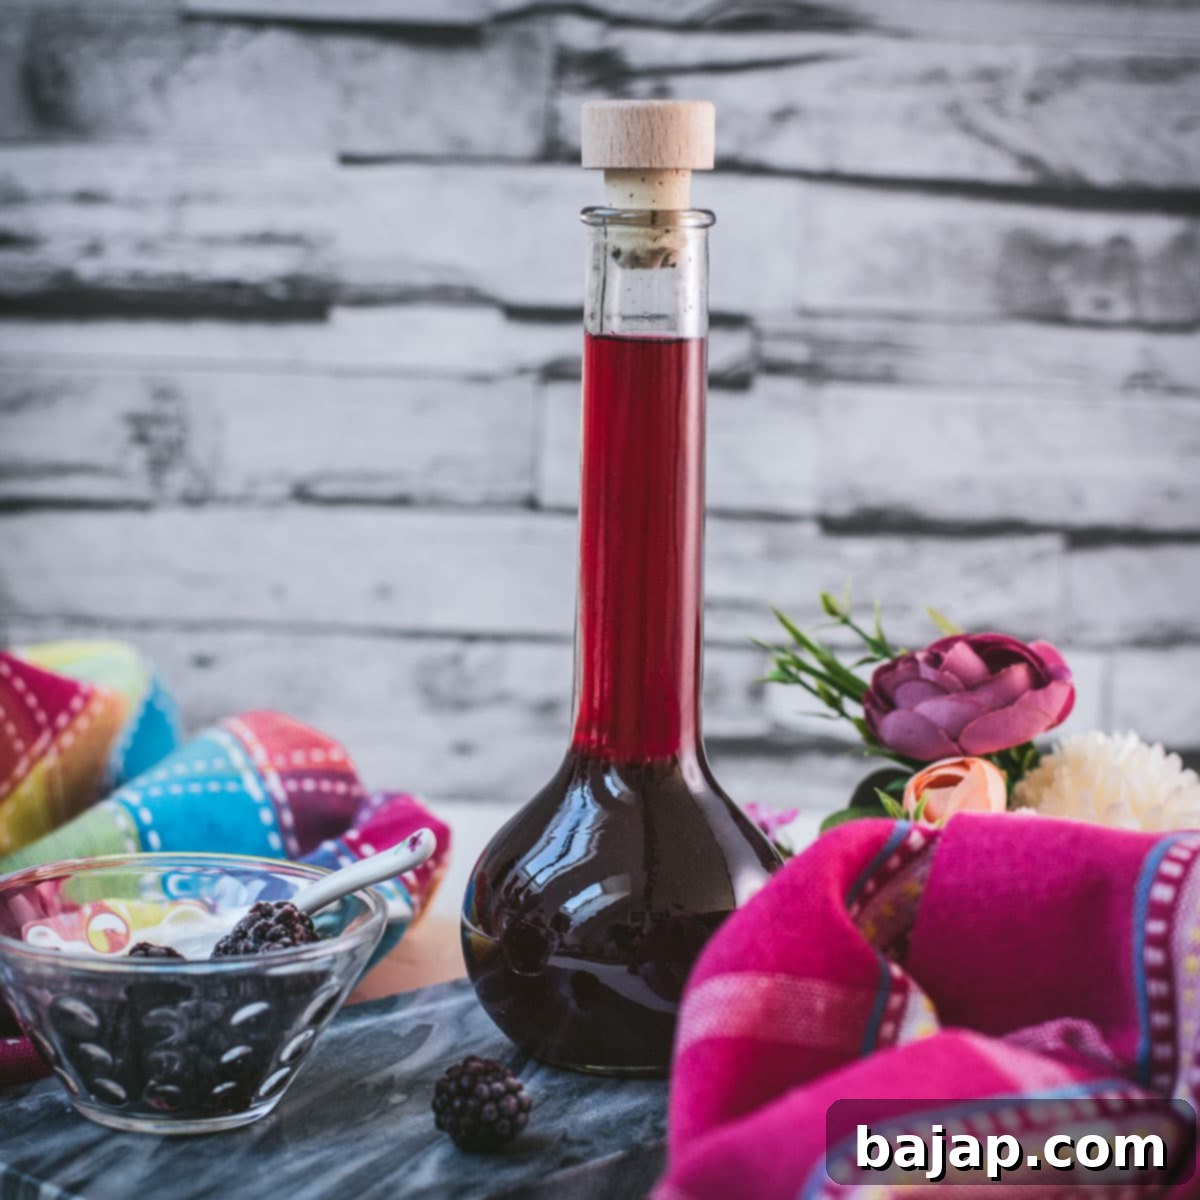
Homemade Chambord-Style Liqueur: Your Guide to a DIY Blackberry & Raspberry Infusion
There’s an undeniable allure to Chambord, isn’t there? It’s more than just a liqueur; it’s an experience. The exquisite flavor, a harmonious blend of luscious blackberries, tart raspberries, and warm, comforting vanilla, dances on your palate. Its breathtaking deep purple hue transforms any drink into a sophisticated masterpiece, making every sip feel like a special occasion. It’s the quintessential bottle you want gracing your bar cart, ready for spontaneous cocktail gatherings, elegant celebratory toasts, or simply when you desire a touch of luxury in your evening.
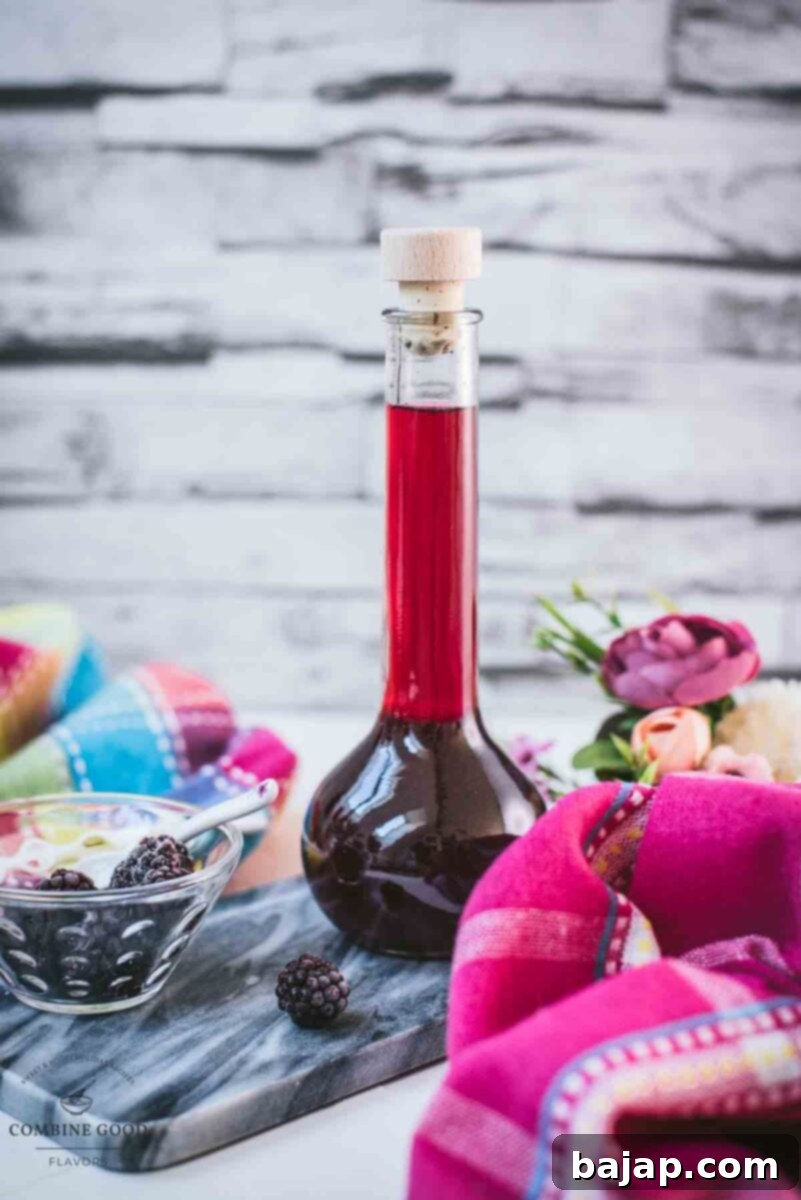
But what happens when your local liquor store is fresh out of stock, leaving your cocktail plans in limbo? Or perhaps the premium price tag makes your wallet wince, suggesting “maybe not today”? Don’t let these minor hurdles dampen your spirits!
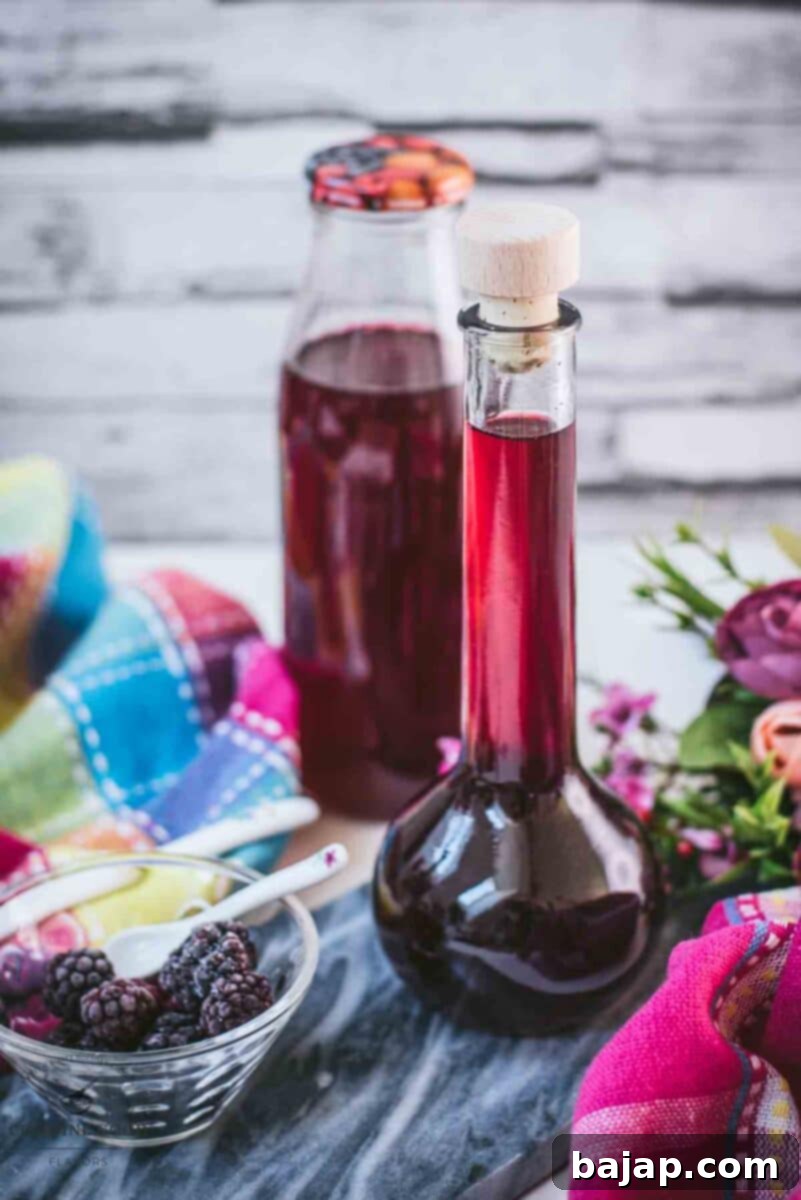
This is precisely where the magic of homemade concoctions steps in. Today, I’m thrilled to share a straightforward and utterly delightful recipe for a homemade blackberry and raspberry liqueur. Think of it as your very own DIY Chambord-style creation – a vibrant, fruity elixir brimming with the natural goodness of fresh berries and infused with a hint of vanilla for that signature warmth and complexity. It’s a fantastic way to enjoy those beloved flavors without the hassle or the expense of the store-bought version.
And the absolute best part? Crafting this luxurious liqueur requires only a handful of readily available ingredients and a sprinkle of patience. As with all truly exquisite things, a little time and care yield the most rewarding results. The infusion process allows the flavors to deepen and meld beautifully, creating a liqueur that’s not just an ingredient, but a labor of love.
While this homemade version may not be an exact replica of the original Chambord (which boasts a secret blend of ingredients), I can promise you it is incredibly delicious, wonderfully versatile, and guaranteed to elevate your cocktails to new heights! Whether you’re stirring up a classic French Martini, adding a sophisticated splash to your sparkling wine or champagne, or even simply drizzling a generous amount over a scoop of creamy vanilla ice cream (a highly recommended treat, by the way), this homemade liqueur is destined to become your new favorite secret weapon in the kitchen and at the bar.
So, why wait? Let’s embark on this flavorful journey together and create some truly enchanting liqueur magic! ✨
🥘 Essential Ingredients for Your Homemade Liqueur
Creating your own Chambord-style liqueur starts with a selection of fresh, high-quality ingredients. Each component plays a crucial role in developing the rich, complex flavor profile that makes this liqueur so special. Here’s what you’ll need to gather:
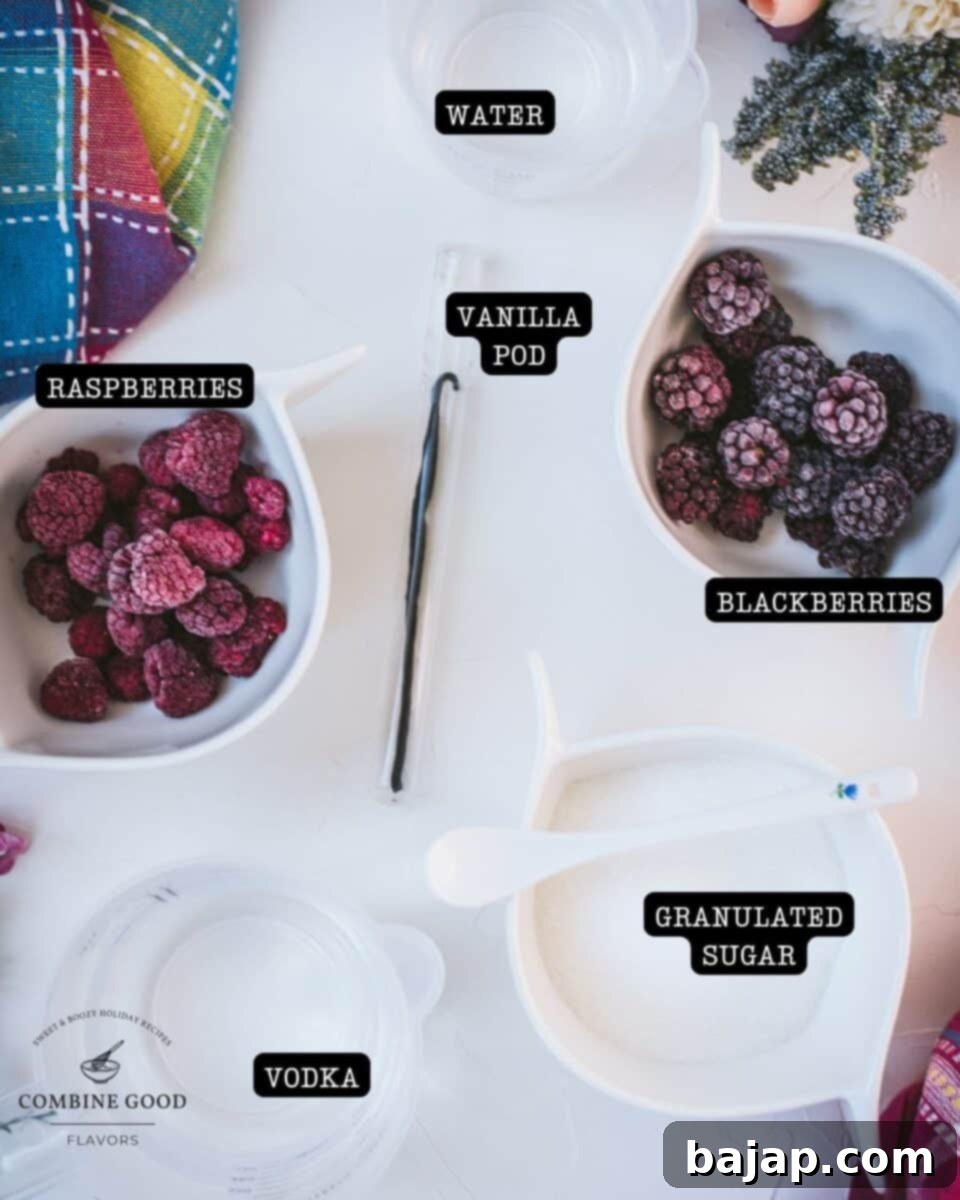
- Blackberries (fresh or frozen): These provide a deep, earthy sweetness and a beautiful dark color. Frozen berries work just as well as fresh, making this recipe accessible year-round.
- Raspberries (fresh or frozen): Raspberries add a brighter, slightly tart note that complements the blackberries perfectly, contributing to the signature berry blend. Again, fresh or frozen are both excellent choices.
- Vodka, unflavored (or white rum for a smoother taste): A good quality unflavored vodka provides a neutral base, allowing the fruit and vanilla flavors to shine. If you prefer a slightly softer, sweeter profile, white rum can be a delightful alternative.
- Granulated sugar: This is crucial for both sweetness and body, transforming the infused alcohol into a true liqueur.
- Water: Used in conjunction with sugar to create the simple syrup, which balances the alcohol and fruit flavors.
- Vanilla pod: The star ingredient for that unmistakable warm, aromatic depth. A whole vanilla pod, split and scraped, delivers a much richer flavor than extract.
For precise measurements and detailed quantities, remember to check the recipe card provided below. Opting for organic berries and a high-quality spirit can further enhance the overall flavor and purity of your homemade blackberry and raspberry liqueur.
🔪 Step-by-Step Instructions for Crafting Your Berry Liqueur
Making this homemade Chambord-style liqueur is a simple process, primarily requiring patience as the flavors develop. Follow these steps carefully to create a vibrant and delicious spirit:
Step 1: Prep the vanilla pod
Begin by preparing your vanilla pod. Take one whole vanilla pod and carefully slice it lengthwise down the middle. Once split, use the tip of your knife to gently scrape out those tiny, fragrant seeds. These seeds, along with the pod itself, are packed with intense vanilla flavor and will infuse beautifully into your liqueur.
Step 2: Initiate the flavor infusion
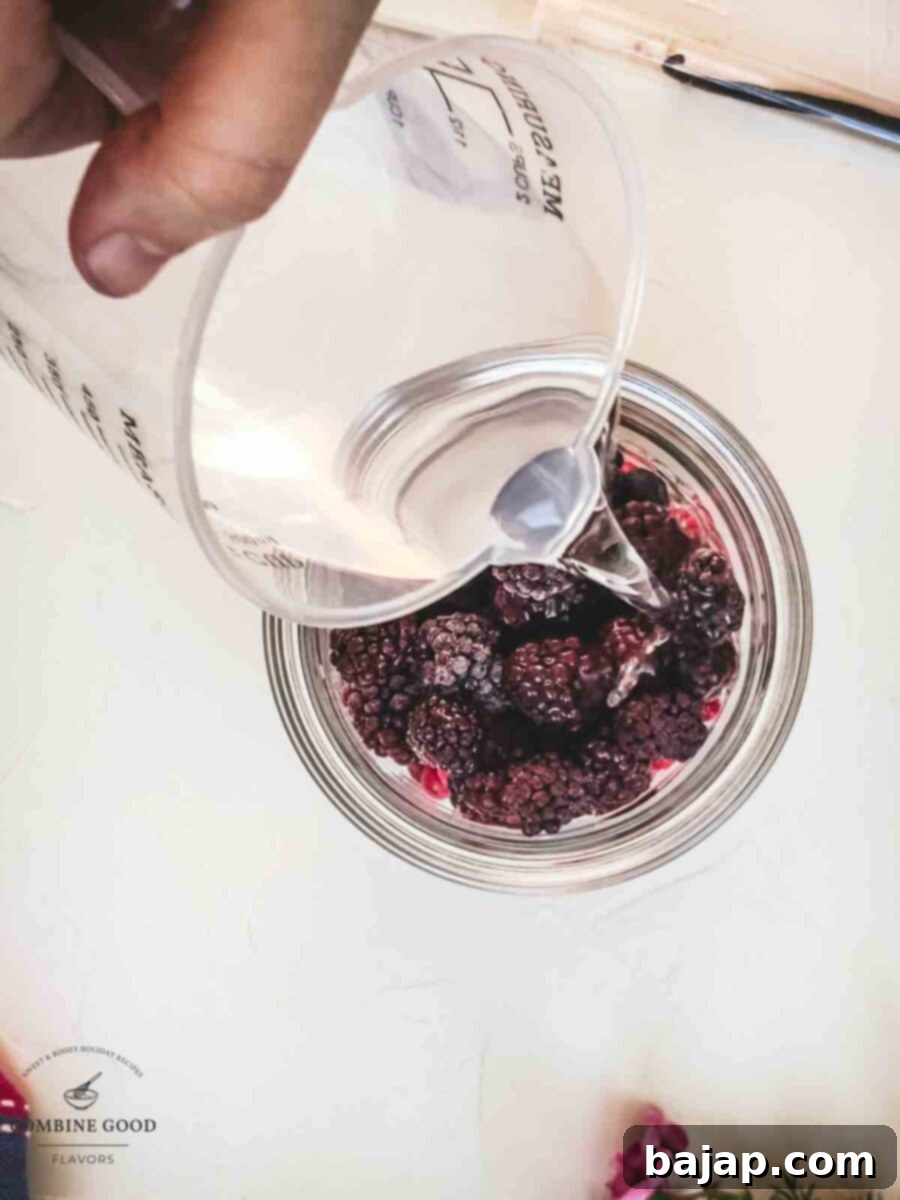
Into a clean, airtight preserving jar (ensure it’s thoroughly sterilized), place both the scraped vanilla seeds and the empty vanilla pod. Add your chosen spirit – either unflavored vodka or white rum – along with the fresh or frozen blackberries and raspberries. Seal the jar tightly and store it in a cool, dark place. Let this mixture steep for at least 1 to 2 weeks. During this infusion period, make sure to give the jar a gentle shake every few days. This helps to agitate the ingredients, encouraging the berries and vanilla to release their wonderful flavors into the alcohol, creating a rich and aromatic base for your liqueur.
Step 3: Prepare the simple syrup
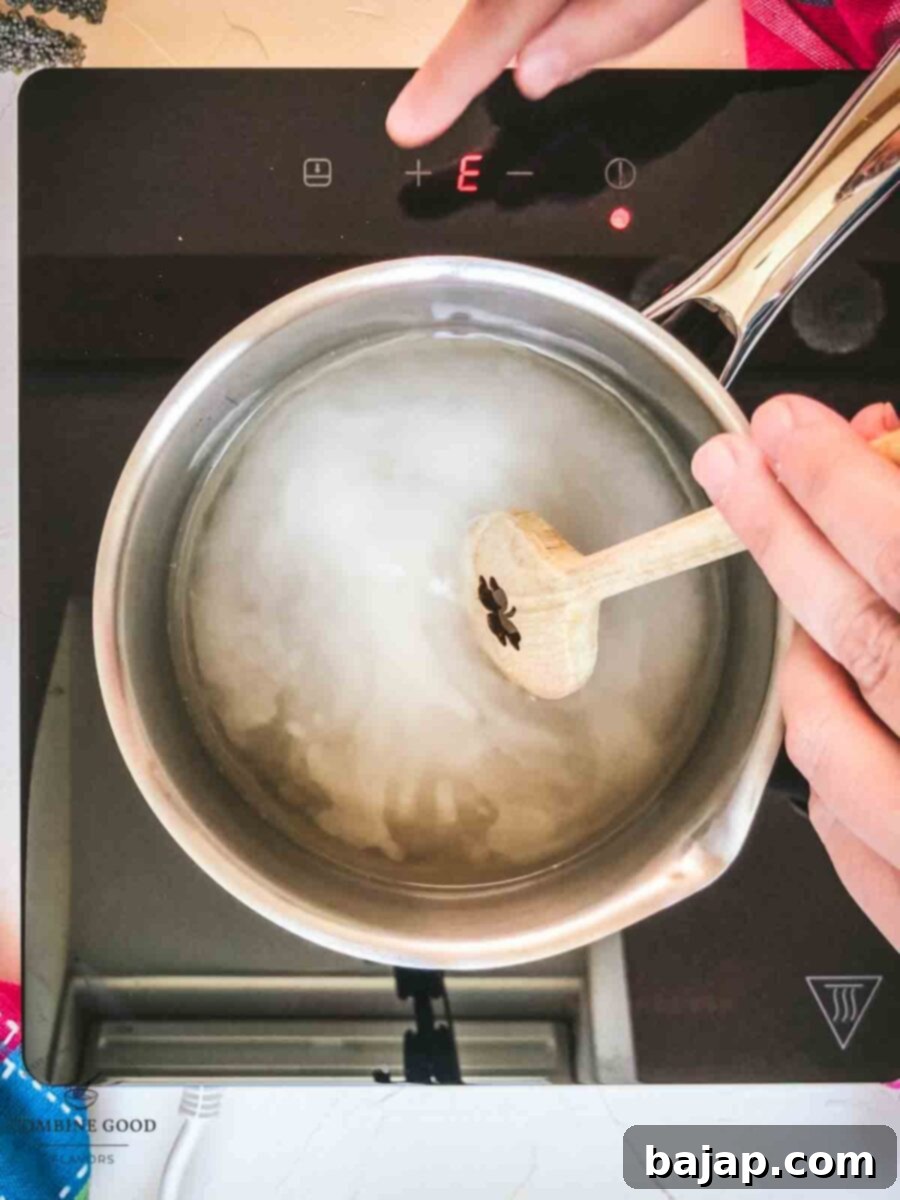
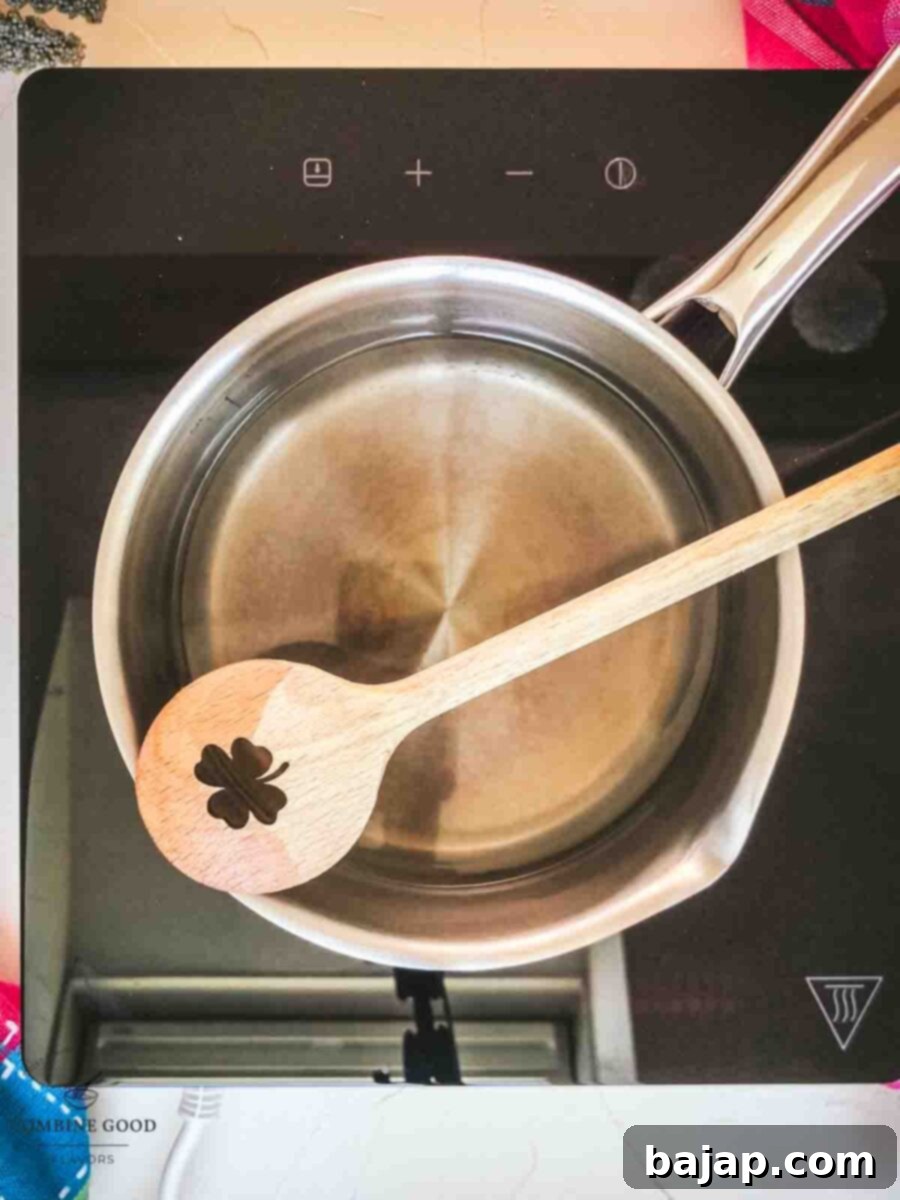
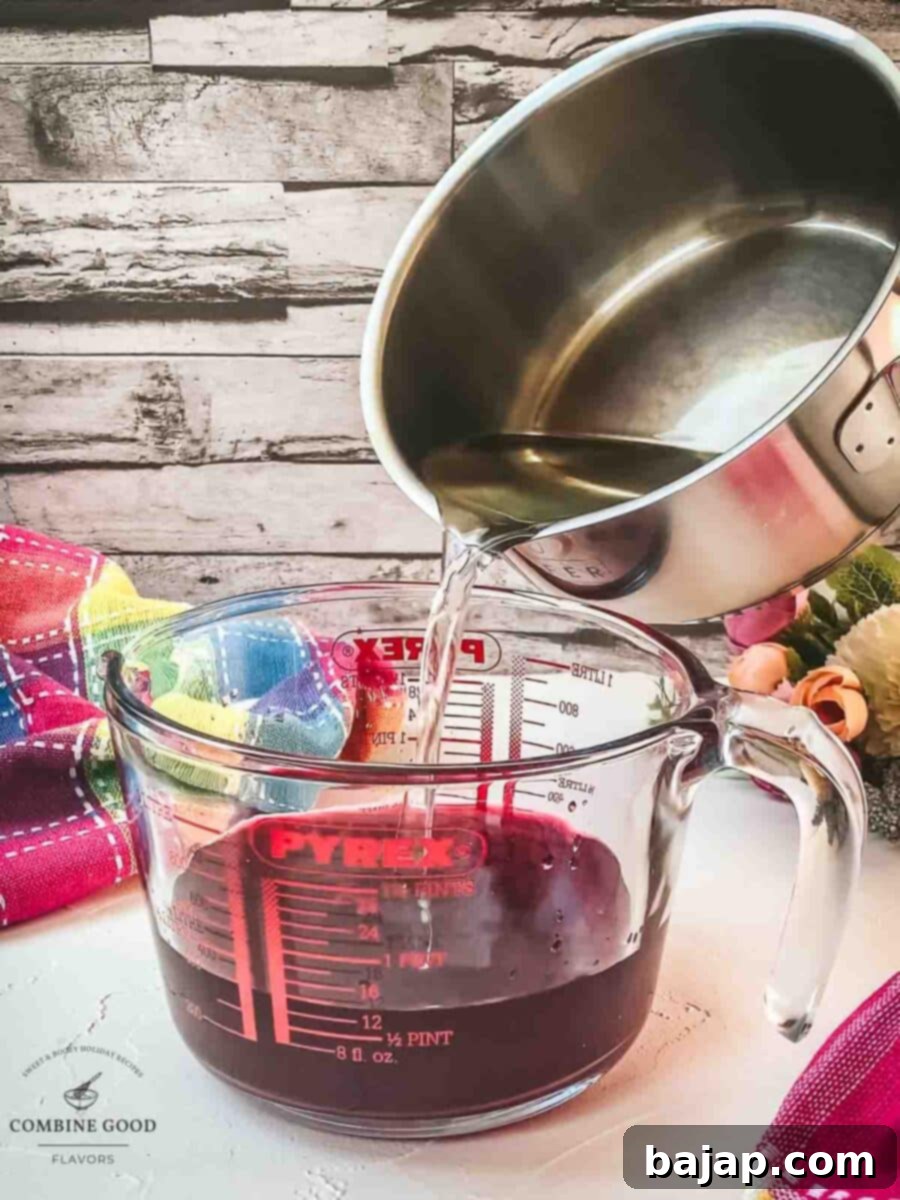
Once your chosen infusion time has passed, it’s time to prepare the simple syrup. In a medium saucepan, combine the granulated sugar and water. Place the saucepan over medium heat and stir continuously until all the sugar crystals have completely dissolved into the water, creating a clear syrup. Do not let it boil vigorously. Once dissolved, remove the saucepan from the heat and allow the simple syrup to cool down completely to room temperature. This cooling step is essential before mixing it with your infused alcohol to prevent unwanted dilution or changes in flavor.
Step 4: Strain the fruit solids
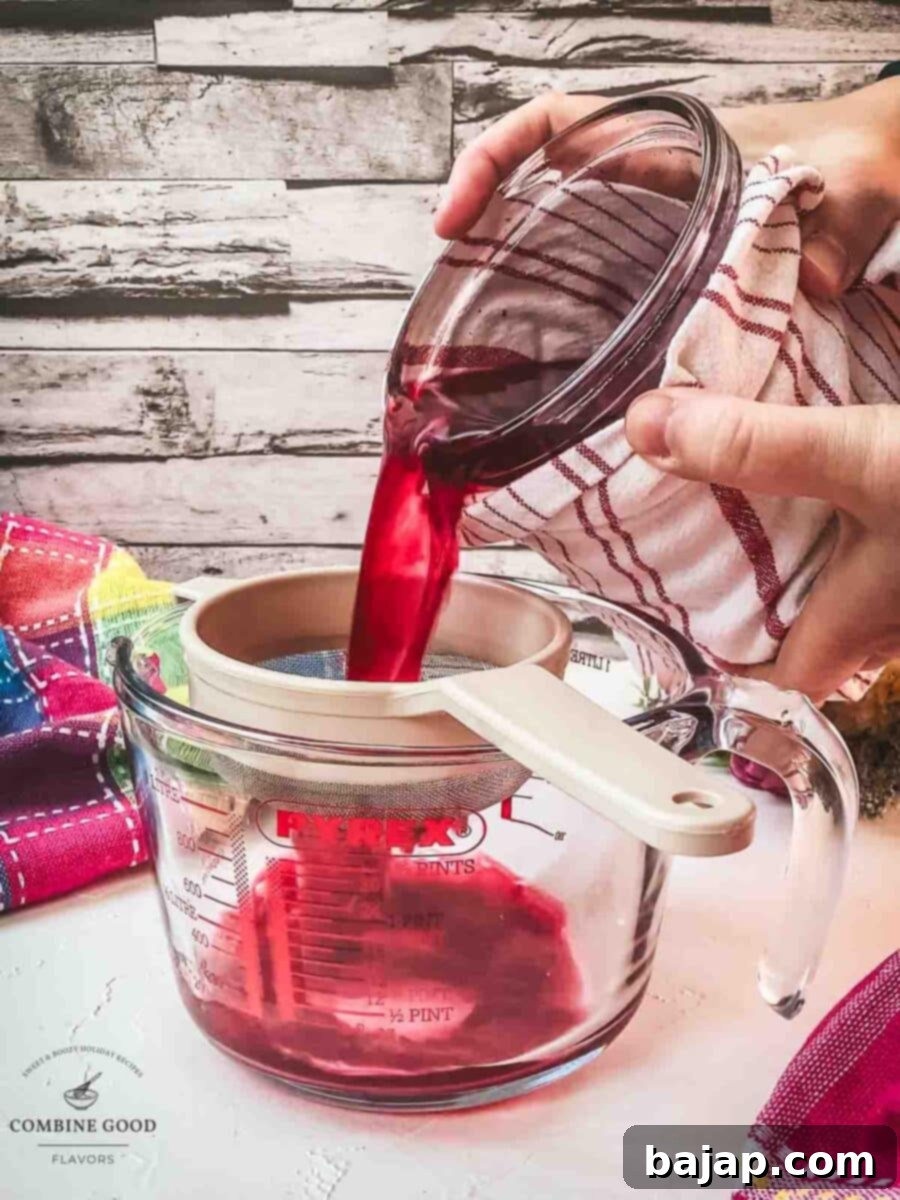
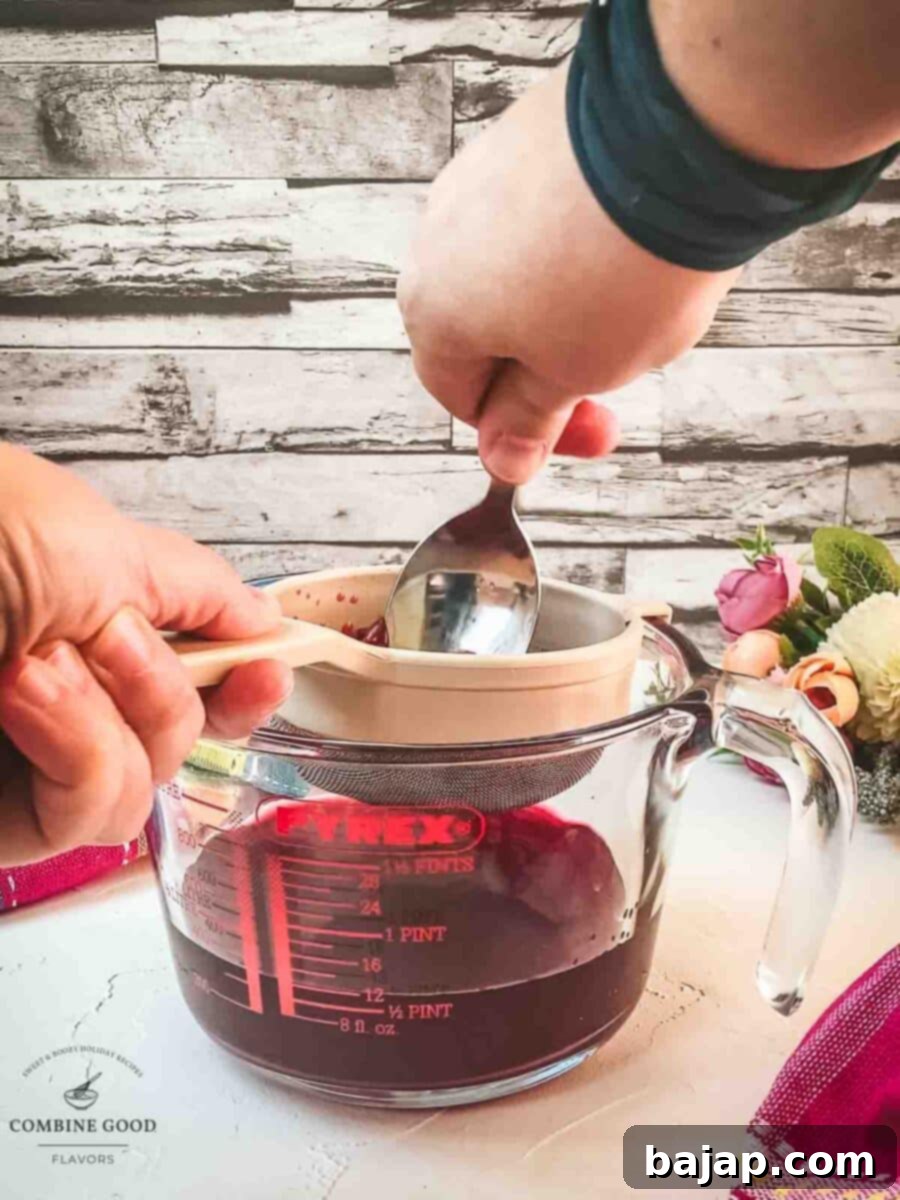
Carefully open your infusion jar. Using a fine-mesh sieve lined with cheesecloth (or a coffee filter for extra clarity), slowly strain the infused vodka into a clean bowl or jug. This step is crucial for removing all the fruit solids and vanilla pod, leaving you with a beautifully colored, clear liquid. Once the initial liquid has passed through, gently press down on the berries with a spoon or your hands (wearing gloves) to extract every last drop of flavorful liquid. Don’t be too aggressive, as this can force pulp through, but ensure you get as much of the precious berry essence as possible.
Step 5: Combine and bottle your liqueur
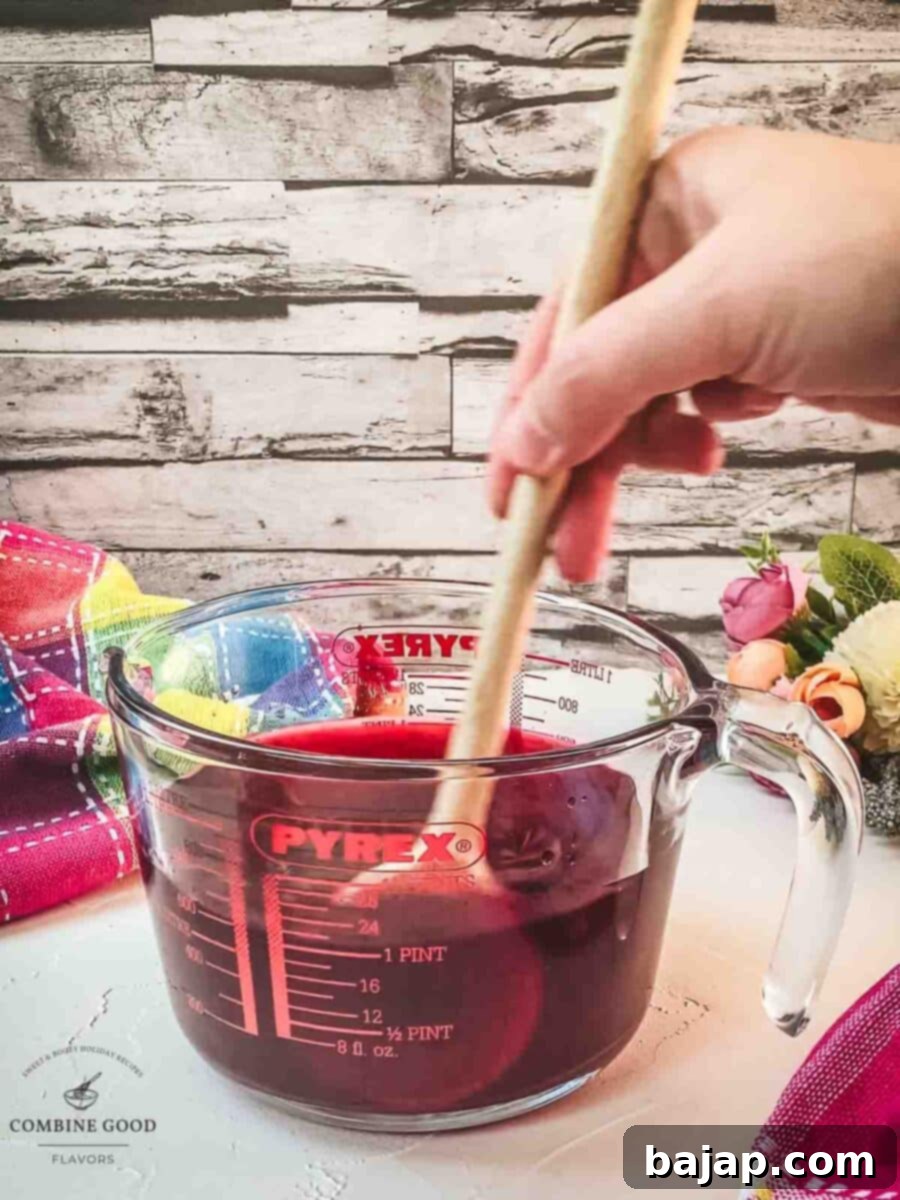
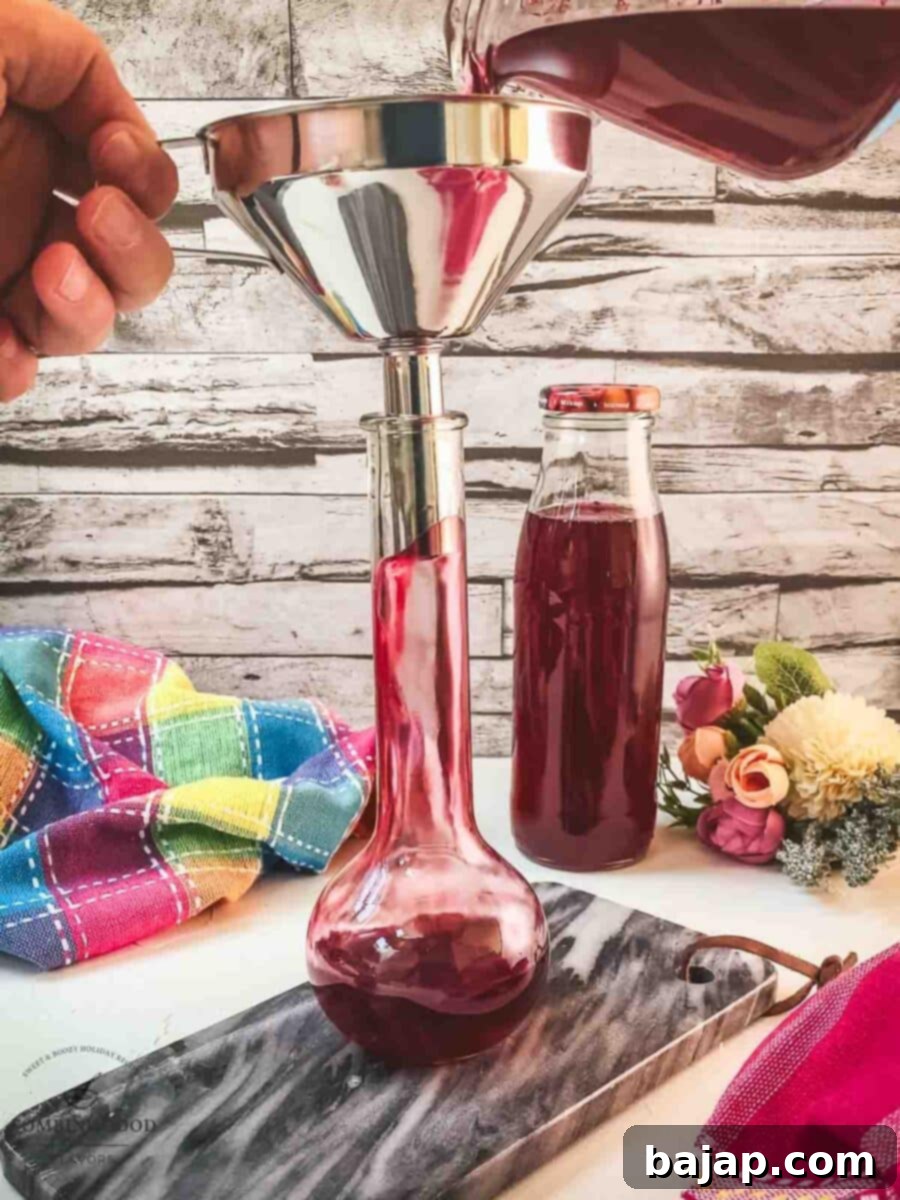
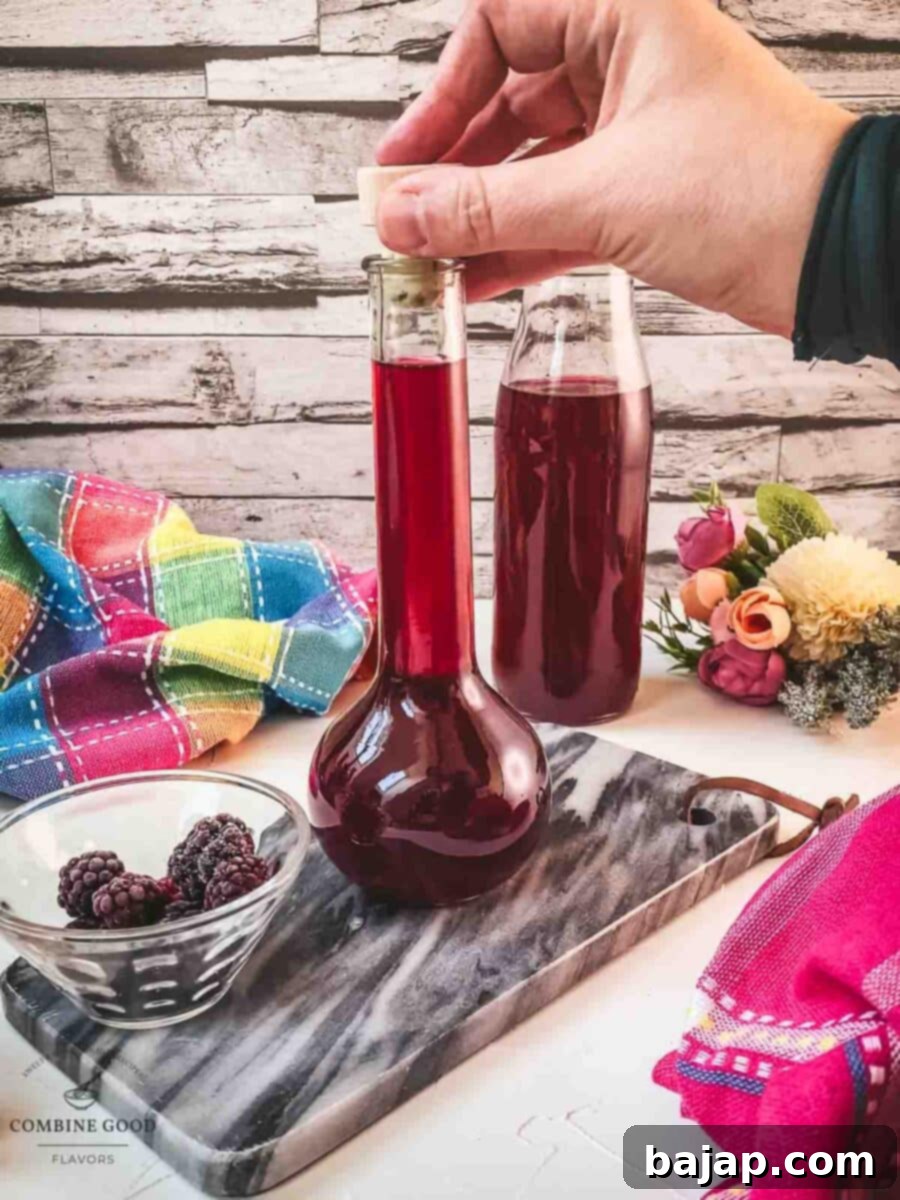
Now for the exciting part – bringing it all together! Once the simple syrup has fully cooled, slowly stir it into your strained, fruit-infused vodka. Taste the mixture and adjust the sweetness to your preference; you can add a little more simple syrup if you like it sweeter. Once you’re satisfied with the balance, use a funnel to carefully pour your freshly made liqueur into a clean, decorative bottle or jar. This bottle should be airtight to ensure proper storage and preservation of flavor.
Step 6: Allow it to rest (optional, but highly recommended!)
While technically ready to enjoy, for an even smoother, more nuanced, and deeply developed flavor, I highly recommend letting your finished liqueur rest for another week or two after bottling. This additional resting period allows the flavors to truly marry and mellow out, resulting in a much more refined and complex taste. Store it in a cool, dark place during this time. Once it has rested, it’s ready to be uncorked! Mix up your favorite cocktail, or simply savor it on its own, and revel in your exquisite homemade creation!
🍽 Essential Equipment
Having the right tools makes the process of crafting your homemade liqueur even smoother. Here’s a list of the basic equipment you’ll need to successfully create this delightful berry infusion:
- Preserving jar (750 ml to 1 liter (25-34 oz)) or for a larger batch (1.5-liter (50 oz)) – for the infusion process.
- Cutting board & sharp knife – for preparing the vanilla pod.
- Saucepan – for making the simple syrup.
- Wooden spoon – for stirring the syrup.
- Close meshed sieve or cheesecloth – for straining the fruit.
- Preserving bottle – for storing your finished liqueur.
- Funnel – to help pour the liqueur into bottles without spills.
💡 Tips, Variations, and Serving Suggestions
Making your own Chambord-style liqueur opens up a world of customization and enjoyment. Here are some extra tips to perfect your batch, along with ideas for how to savor your creation:
Customization & Variations:
- Adjust Sweetness: The amount of simple syrup can be adjusted to your preference. Start with the recommended amount and add more gradually if you desire a sweeter liqueur. Taste as you go!
- Other Berries: While blackberries and raspberries are classic, feel free to experiment with other berries. Cherries, blueberries, or even a mix of forest berries can create unique and delicious liqueurs.
- Spices: For an added layer of complexity, consider adding a cinnamon stick, a few cloves, or a star anise pod during the infusion stage. These spices complement the berry and vanilla notes beautifully.
- Different Spirits: Besides vodka or white rum, you could try a brandy for a richer, more robust base, or even gin for an interesting botanical twist, though it would diverge more from the “Chambord-style.”
- Vanilla Alternatives: If a vanilla pod is hard to find, a good quality vanilla extract can be used, but add it *after* straining the infused alcohol and simple syrup, adjusting to taste.
Storage and Shelf Life:
- Store your homemade liqueur in a cool, dark place, away from direct sunlight. A pantry or liquor cabinet is ideal.
- Once bottled, it should keep well for at least 6 months to a year, possibly longer. The high alcohol and sugar content act as natural preservatives.
- Over time, the color might slightly deepen or change, but the flavor should remain excellent.
Serving Suggestions:
- Classic Cocktails: Use it in a French Martini (vodka, pineapple juice, homemade Chambord), a Kir Royale (champagne/sparkling wine with a splash of liqueur), or a Bramble (gin, lemon juice, simple syrup, topped with liqueur).
- Dessert Topping: Drizzle over vanilla ice cream, panna cotta, cheesecake, or fresh fruit salads.
- Baking: Incorporate into glazes for cakes, soak sponge cakes, or add a hint of berry flavor to chocolate desserts.
- Sparkling Drinks: A simple yet elegant addition to any sparkling wine, prosecco, or champagne for a celebratory touch.
- Gift Giving: Bottle it in attractive glass bottles, add a homemade label, and present it as a thoughtful and personal gift for friends and family.
Embrace the creative freedom that comes with making your own liqueurs. Each batch can be a unique reflection of your taste!
Other Recipes for You to Try
If you’ve enjoyed crafting this delicious berry liqueur, you might be interested in exploring more homemade syrups and beverages. Here are a few other recipes from my collection that I think you’ll love:
- Bramble Cocktail
- Refreshing Watermelon Syrup
- How to make Simple Syrup
- Homemade Raspberry Syrup {no cooking}
- The Joy of Homemade Raspberry Syrup
- No Fuss Homemade Strawberry Simple Syrup
- How to make a delicious homemade Advocaat egg liqueur
- Homemade Lavender Extract {2 Ingredients}
- Homemade Vanilla Vodka
- How to Make Sour Milk at Home
- How to make Candied Violets
If you try this delightful recipe, please share your experience! Let me know how you liked it by giving it a ★★★★★ star rating and leaving a comment below. Your feedback means a lot! You can also sign up for our Newsletter to receive weekly delicious homemade recipes directly in your inbox, or follow me on Pinterest or Instagram and share your beautiful creations with me. Just tag me @combinegoodflavors and use the hashtag #combinegoodflavors, so I don’t miss any of your culinary masterpieces!
📖 Recipe
Homemade Blackberry Raspberry Liqueur
Nora
Save RecipeSaved!
Pin Recipe
Equipment
-
Preserving Jar (750 ml to 1 liter (25-34 oz)) or for a larger batch (1.5-liter (50 oz))
-
Cutting board & Sharp knife
-
Saucepan
-
Wooden spoon
-
Close meshed sieve or cheesecloth
-
Preserving bottle
-
Funnel
Ingredients
- 1 Vanilla pod
- 1 cup Blackberries fresh or frozen
- 1 cup Raspberries fresh or frozen
- 1 ½ cup Vodka unflavored (or white rum for a smoother taste)
- ¾ cup Granulated sugar
- ¾ cup Water
Instructions
-
Slice 1 Vanilla pod lengthwise and scrape out the seeds.1 Vanilla pod
-
Add the vanilla seeds, empty pod, 1 ½ cup Vodka, 1 cup Raspberries, and 1 cup Blackberries to the preserving jar. Seal and let it steep for 1-2 weeks, shaking every few days.1 cup Blackberries, 1 cup Raspberries, 1 ½ cup Vodka
-
Make the simple syrup: Heat ¾ cup Granulated sugar and ¾ cup Water over medium heat, stirring until the sugar dissolves. Let it cool.¾ cup Granulated sugar, ¾ cup Water
-
Strain the fruit: Use a fine mesh sieve or cheesecloth to strain out the fruit solids, pressing gently to extract all the liquid.
-
Mix & bottle: Stir the cooled simple syrup into the infused vodka, then pour into a clean bottle or jar.
-
Let it rest (optional): For an even smoother taste, let the liqueur sit for another week before enjoying.
Nutrition values are estimates only, using online calculators. Please verify using your own data.

⛑️ Important Food Safety Considerations
When preparing any homemade food or drink, especially those involving alcohol and fresh ingredients, adhering to proper food safety guidelines is paramount to ensure both the quality and safety of your final product. Please keep the following in mind:
- Always start with thoroughly cleaned and sanitized equipment (jars, bottles, strainers, etc.) to prevent bacterial contamination.
- Ensure your berries are fresh and free from mold or spoilage before beginning the infusion process. If using frozen berries, ensure they were stored correctly.
- While not directly applicable to this cold infusion recipe, generally when cooking, always cook to a minimum temperature of 165 °F (74 °C) for other recipes.
- Do not use the same utensils on cooked food that previously touched raw ingredients (e.g., raw meat, which is not in this recipe, but a general rule to remember).
- Wash hands thoroughly after handling raw ingredients.
- Don’t leave food or ingredients sitting out at room temperature for extended periods, especially during warmer weather.
- Never leave cooking food unattended (again, a general kitchen safety rule).
- Use oils with high smoking point to avoid harmful compounds (general cooking advice, not directly for this liqueur).
- Always have good ventilation when using a gas stove (general kitchen safety).
For more comprehensive information on safe food handling practices, please refer to trusted resources such as the Safe Food Handling – FDA guidelines.
