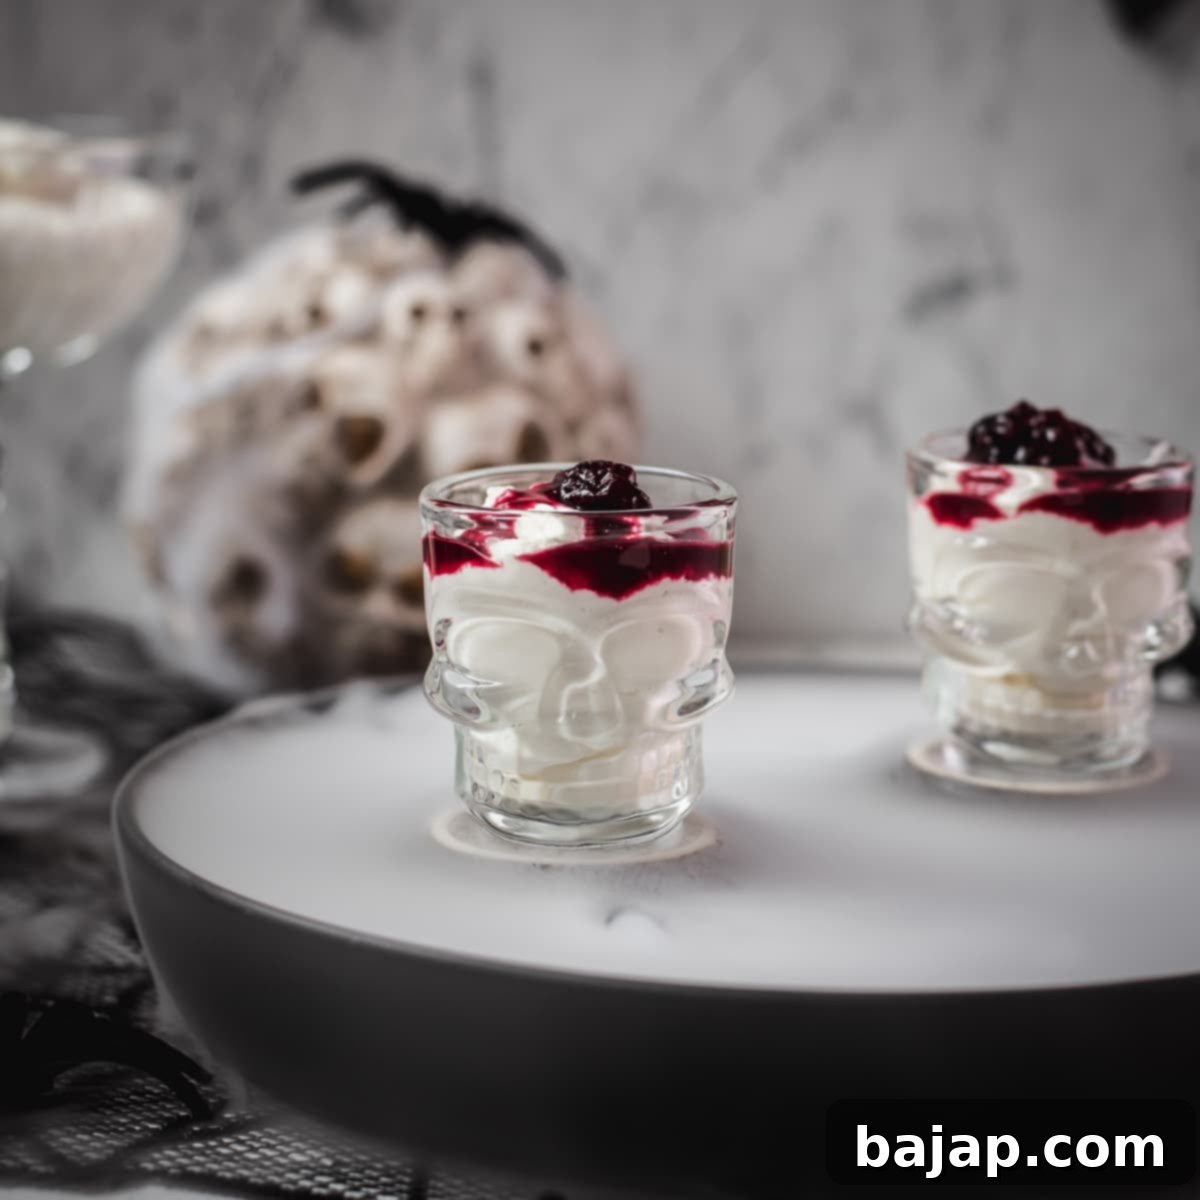
Ghoulishly Good No-Bake Berry Brains Mousse: The Ultimate Creepy Halloween Dessert Recipe
Prepare to mesmerize and slightly gross out your guests with the ultimate spooky treat for your Halloween celebration! This “Blood Clot” Berry Brains Mousse isn’t just a dessert; it’s a gloriously gory, lusciously creamy nightmare come true, designed to send shivers down spines while delighting taste buds. Crafted with an astonishingly simple list of ingredients, this mousse is artfully swirled with a spooky-sweet berry blood syrup – the kind that drips with unnerving authenticity, perfect for creating that unsettling “clotted” effect. It’s also a brilliantly resourceful way to utilize the fruit pulp left over from brewing your own homemade syrupy potion, minimizing waste while maximizing frightful flavor.
Imagine sinking your teeth into layers of rich, velvety vanilla cream, subtly tangy cream cheese, and eerie streaks of oozy berry syrup, all perfectly chilled to a creepy perfection within your chosen Halloween molds. This no-bake masterpiece sets in just a couple of hours, freeing up your time to conjure up a haunting cocktail (or three!) while your ghastly dessert chills to perfection. It’s the ideal balance of deliciousness and delightful dread, making it an absolute must-have for any Halloween enthusiast.
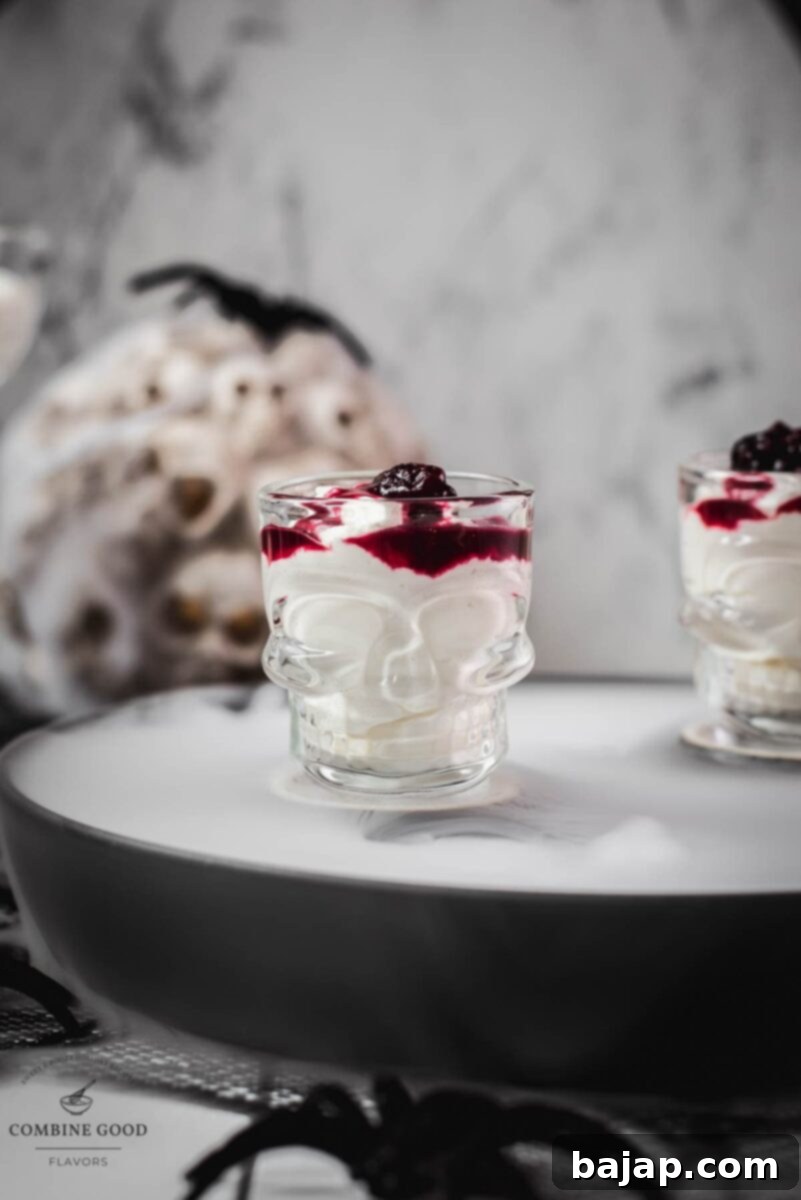
Crafting the Creepy: How to Achieve the Brain-Like Effect
Ever wondered how to make your Halloween desserts truly unforgettable and terrifyingly realistic? The secret lies in the swirling technique and the right presentation. Our “Blood Clot” Berry Brains Mousse excels at mimicking a gruesome cerebral delight, all thanks to the controlled integration of our vibrant berry blood syrup. The contrast between the pale, creamy mousse base and the dark, glistening berry streaks creates an unsettling visual that’s both captivating and deliciously disturbing. Served in skull-shaped glasses, mini Bundt pans, or even dedicated brain molds, this dessert transforms into an edible work of spooky art.
Spirited Pairings for Your Sinister Spread
To truly set the scene for your haunted gathering (and your elaborate dessert table), I love pairing this chilling mousse with equally dramatic beverages. Imagine a bubbling Kraken Ginger Beer, a fiendish concoction of dark spiced rum and fiery ginger fizz, tasting as if it was brewed deep within a witch’s cauldron. You can find the full recipe for this reader-favorite potion in my ginger beer and spiced rum guide. Or, for an even more potent adult treat, go full haunted house and shake up a Kraken Cocktail – a libation as visually striking and dramatically flavored as these creepy dessert brains.
Both of these sinister sips, along with an abundance of other eerie eats, await you in my extensive Halloween Recipes collection. This curated spooky roundup is brimming with my favorite treats and boo-zy drinks, all designed to enchant and thrill your guests. 🎃 Whether you’re planning a full-blown costume party or a cozy, creepy movie night, these recipes are guaranteed to elevate your Halloween experience.
Why This Halloween Berry Mousse is a Must-Make
Beyond its terrifyingly good looks, this Halloween berry mousse recipe offers several fantastic advantages. Firstly, it’s a remarkably clever and sustainable way to use up the fruit left behind after making your homemade berry blood syrup. This ensures no delicious berry goodness goes to waste! Secondly, its no-bake nature means less time fussing in the kitchen and more time enjoying the festivities. And finally, whether you’re serving it in individual jars, quaint mini Bundt cakes, or truly disturbing brain molds, this no-bake Halloween dessert consistently delivers a creepy mousse masterpiece – perfect for entertaining both brave kids and adventurous grown-ups alike. It’s an easy, impressive, and utterly delicious way to add a touch of macabre elegance to your Halloween feast.
🥘 Essential Ingredients for Your Ghastly Mousse
- Heavy cream
- This is the backbone of our fluffy mousse. Ensure it’s very well-chilled before whipping to stiff peaks. Cold cream whips faster and holds its volume much better, giving your mousse that desirable light and airy texture.
- Cream cheese
- Full-fat cream cheese is key for a rich, creamy base that provides a delightful tang to balance the sweetness. Remember to let it soften at room temperature before beating; this prevents lumps and ensures a smooth, luscious blend with other ingredients.
- Powdered sugar
- Vanilla extract
- Berry blood syrup
- The star of the show for that gruesome aesthetic! My homemade Halloween berry blood syrup isn’t just for spooky color; it infuses the mousse with a burst of sweet, fruity flavor and creates those crucial “clotted blood” streaks that make this dessert so iconic.
- Optional gelatin
- If you plan on unmolding your mousse from intricate brain molds or Bundt pans, a small amount of powdered gelatin is your best friend. It provides extra stability, ensuring your gruesome creation holds its shape perfectly for dramatic presentation.
For precise measurements and full ingredient details, refer to the comprehensive recipe card below.
🔪 Step-by-Step Instructions to Create Your Creepy Concoction
Crafting this spooky mousse is surprisingly straightforward, allowing you to focus on the fun of Halloween. Follow these simple steps for a dessert that’s as easy to make as it is to devour:
Step 1: Whip the Cream to Ethereal Peaks
In a large mixing bowl, whip the well-chilled heavy cream until it forms stiff, cloud-like peaks. This creates the essential airy texture of your mousse. Once whipped, gently set it aside in the refrigerator to keep it cold.
Step 2: Create the Creamy Base
In a separate bowl, combine the softened cream cheese, powdered sugar, and vanilla extract. Beat these ingredients together using a hand mixer or stand mixer until the mixture is completely smooth and wonderfully fluffy. Ensure there are no lumps for the best texture.
Step 3: (Optional) Gelatin for Structure
If you’re aiming for a firmer mousse that can be easily unmolded, now is the time to add your gelatin. Dissolve the powdered gelatin in about a tablespoon of warm water, stirring until it’s completely clear. Gradually stir this dissolved gelatin into your cream cheese mixture until thoroughly combined.
Step 4: Gently Fold for Fluffy Perfection
Using a rubber spatula, carefully fold the whipped cream into the cream cheese base. The key here is gentle movements to maintain as much air as possible. Aim for a light, airy, and uniform mixture without deflating the cream.
Step 5: Drizzle and Swirl the Berry “Blood”
Now for the fun part! Drizzle in 3-4 tablespoons of your eerie berry blood syrup. Using a skewer or toothpick, gently swirl the syrup through the mousse. Do NOT mix it fully; those distinct, spooky streaks are what give this dessert its signature “blood clot” appearance. A light swirl is all you need for maximum effect.
Step 6: Fill Your Spooky Vessels
Spoon or pipe the mousse into your chosen serving containers – be it individual jars, intricate brain molds, or charming mini Bundt pans. Make sure to fill them evenly, ready for their chilling transformation.
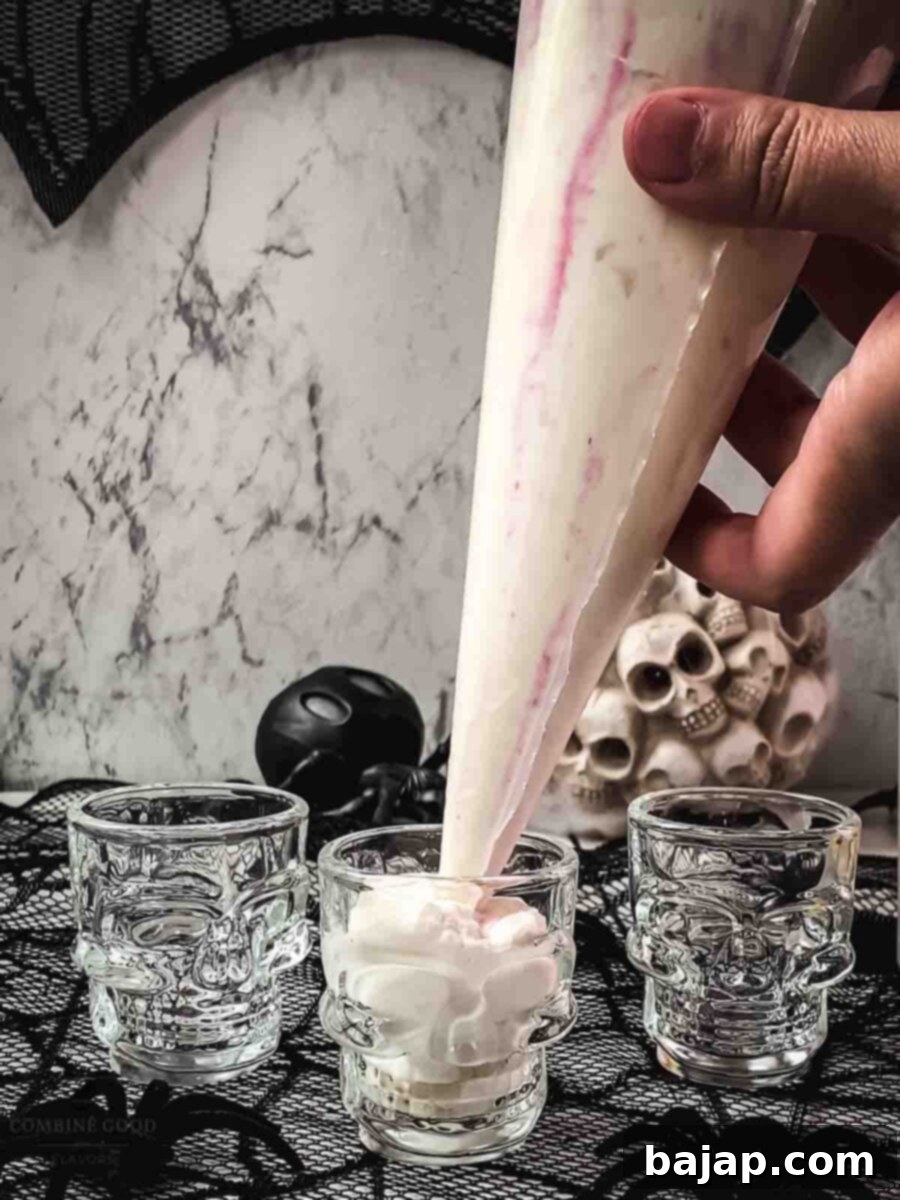
Step 7: Chill Until Gruesomely Set
Place your filled containers in the refrigerator and chill for 2-3 hours, or until the mousse is perfectly set and firm.
Step 8: The Final Bloody Drizzle
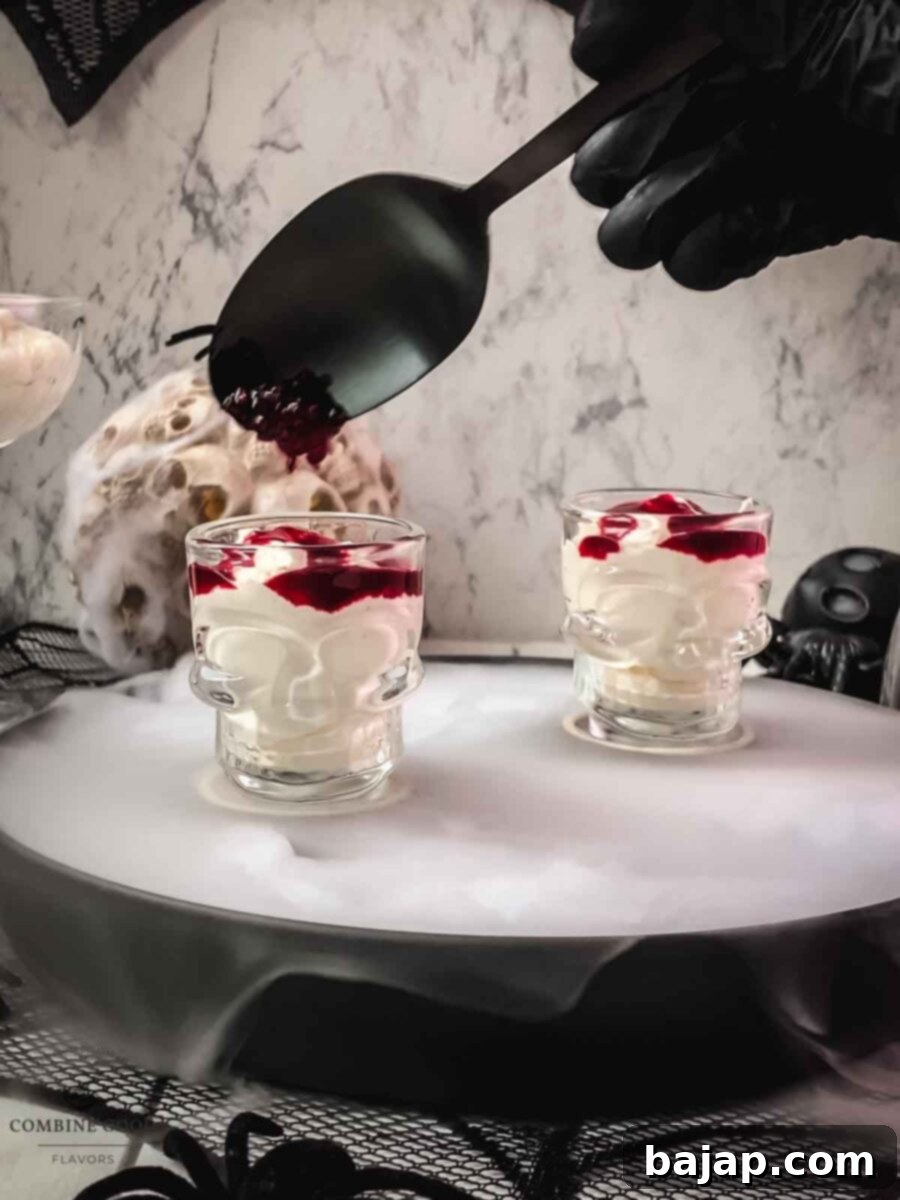
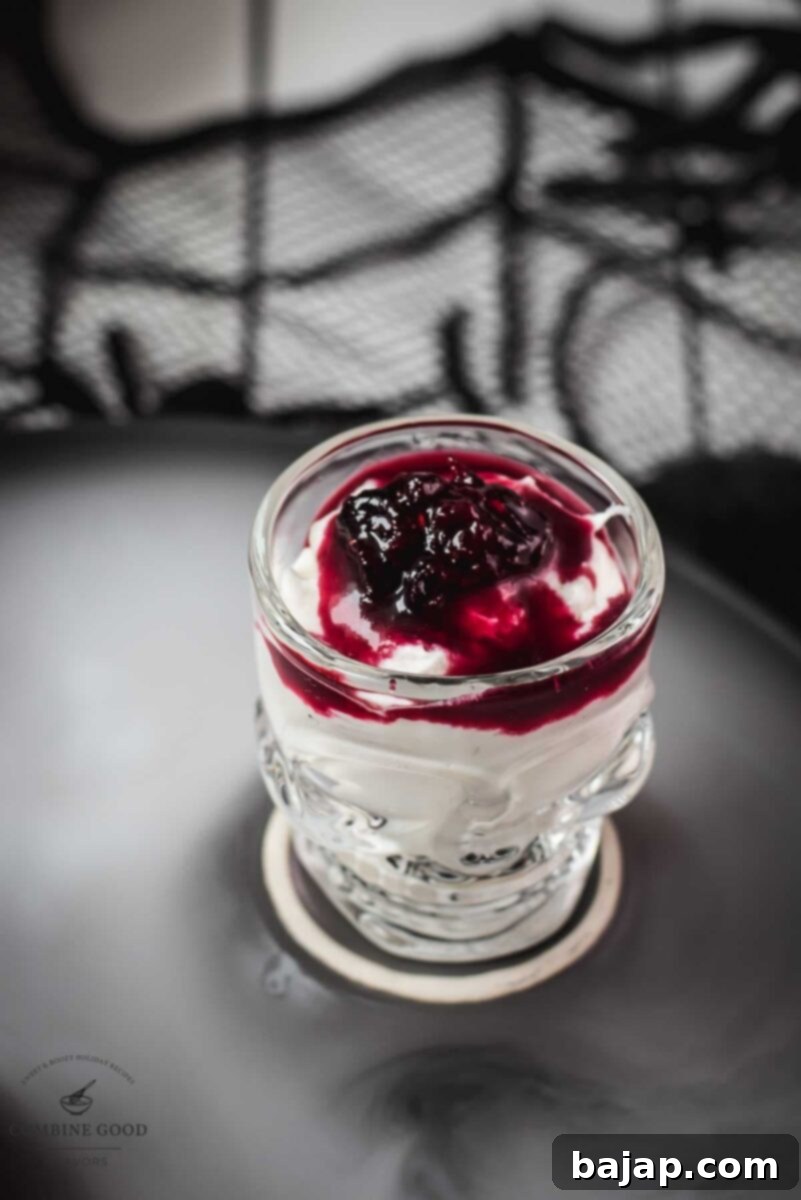
Just before you’re ready to serve your terrifying treats, spoon an extra drizzle of berry blood syrup over the top of each mousse. This provides that irresistible oozy, fresh “blood” finish, completing the creepy illusion and making your dessert truly unforgettable.
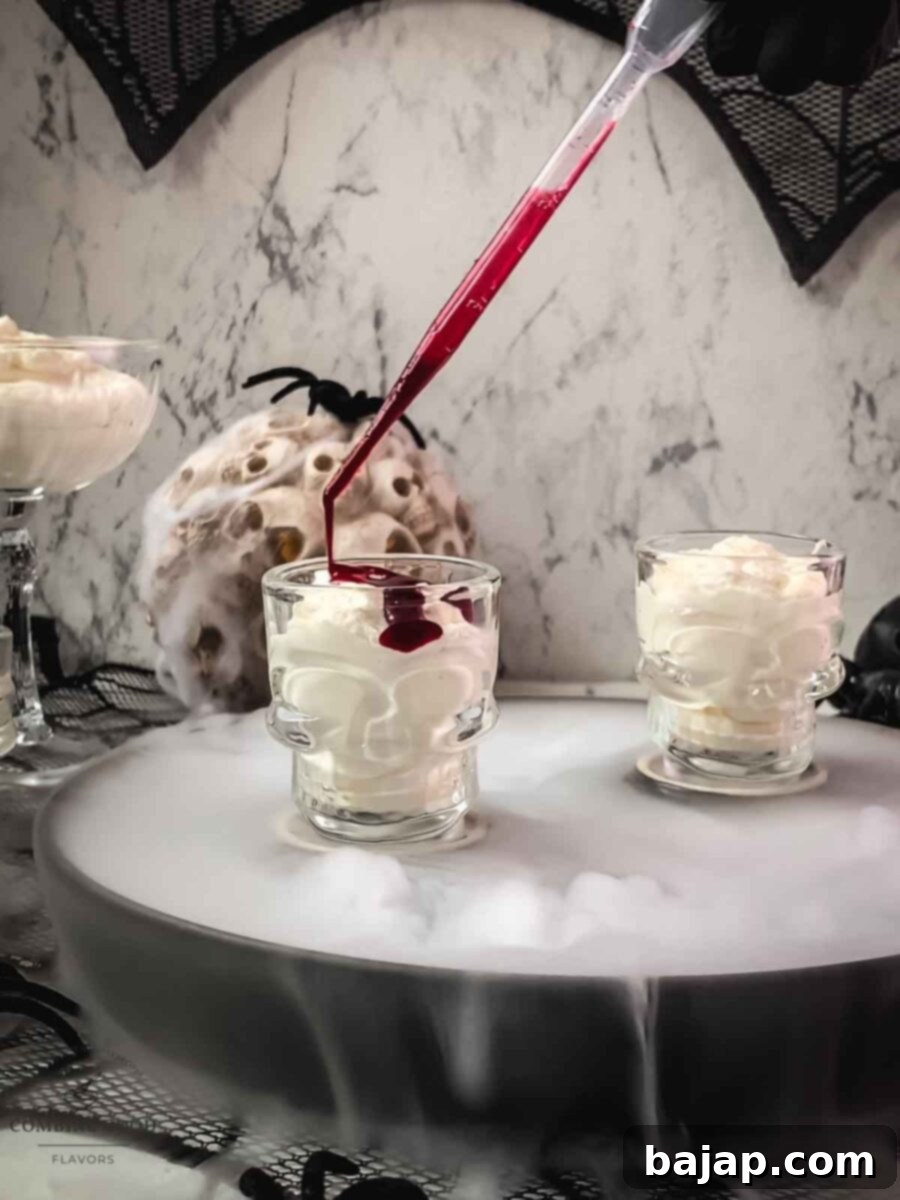
🕸️ Ghoulish Serving Suggestions
- For maximum impact, serve this spooky mousse dessert in intricately detailed brain molds or charming mini Bundt pans, which naturally create a brain-like texture. Alternatively, clear glass jars work wonderfully, showcasing the unsettling berry blood swirls.
- Elevate the interactive creepiness by adding a small pipette of extra berry blood syrup to each serving. Guests can then drizzle more “blood” over their “brains” for a truly hands-on, gruesome experience.
- Don’t forget the drink pairings! This mousse perfectly complements a creepy cocktail like the Kraken Cocktail or the invigorating Ginger Beer and Spiced Rum for a full-on haunted feast.
- Consider adding eerie garnishes such as edible gummy worms crawling out of the mousse, or a sprinkle of dark chocolate “dirt” for a freshly unearthed look.
❄️ Storage and Make-Ahead Tips
Planning your Halloween party can be hectic, but this mousse can be prepared in advance to ease your stress.
- Store your finished mousse securely covered in the refrigerator until you’re ready to unleash it upon your guests.
- For the absolute fluffiest and most delightful texture, this mousse is best enjoyed within 24 hours of preparation.
- However, it can certainly be made the night before your Halloween bash, especially if you opted to include the gelatin for added structural integrity. This allows you to tackle other party preparations on the big day.
🍽 Essential Equipment for Your Culinary Conjuration
You won’t need any arcane tools to whip up this terrifying treat, just a few standard kitchen items:
- **Mixing bowls:** For whipping cream and combining the mousse base. Having at least two helps keep things organized.
- **Hand or stand mixer:** Essential for achieving perfectly whipped cream and a smooth cream cheese mixture.
- **Spatula:** For gently folding ingredients together, preserving the airy texture of the mousse.
- Jars or silicone molds: Your chosen vessels for setting the mousse. Skull-shaped shot glasses are particularly effective for a creepy presentation.
- **Skewer or toothpick:** For creating those distinct, blood-like swirls in the mousse.
- **Optional: Halloween decorations, pipettes, or themed sprinkles:** To add that extra touch of spooky flair and interactive fun to your finished dessert.
💭 Pro Tips for a Ghoulishly Good Mousse
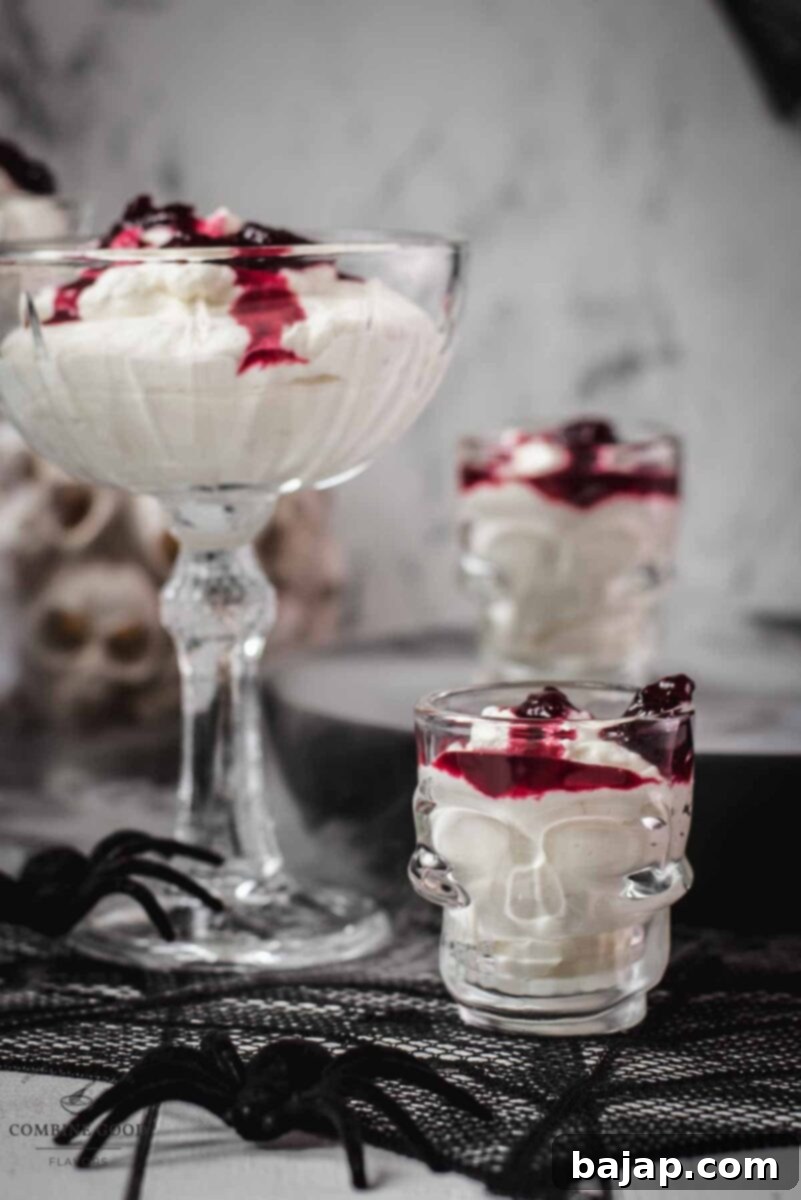
- 🫙 **Presentation Power:** If you’re looking for an effortless, no-mold option that’s also easy to transport, small clear glass jars are fantastic. I personally love using skull-shaped ones to enhance the creepy theme without needing to unmold anything!
- 🧟 **Creepy-Cute Garnishes:** Don’t hesitate to get creative with your toppings! Add a few gummy worms peeking out from the mousse, scatter some Halloween-themed sprinkles, or a dusting of edible glitter for a truly whimsical yet still eerie touch.
- 🧊 **Master the Make-Ahead:** This mousse is a perfect candidate for making ahead, especially invaluable when you’re hosting a bustling Halloween party. If you’ve incorporated gelatin, it will hold its shape beautifully even when prepared a day in advance.
- 🍓 **No-Waste Wonder:** Don’t let those leftover strained berries from your syrup go to waste! They’re still packed with flavor and make an excellent addition to your morning oatmeal, a refreshing smoothie, or even folded into another batch of Halloween mousse for added texture.
our favorite
More Haunting Halloween Recipes
Because spooky season deserves to taste absolutely amazing, from creepy cocktails to monstrous main courses.
- Bloody Sea Breeze Cocktail
- Crimson Kraken Cocktail
- Halloween Mousse
- Black Velvet Cocktail
If you conjure up this recipe for your Halloween celebrations, I’d be absolutely thrilled to hear how you liked it! Please show your appreciation by ★★★★★ star rating it and leaving a comment below. Your feedback would be awesome! You can also sign up for our Newsletter to receive weekly delicious homemade recipes directly in your inbox, or follow me on Pinterest or Instagram and share your eerie creation with me. Just tag me @combinegoodflavors and hashtag #combinegoodflavors, so I don’t miss seeing your ghastly masterpieces!
📖 Recipe
No-Bake Halloween Berry Mousse with Cream Cheese
Nora
Save RecipeSaved!
Pin Recipe
Equipment
-
Mixing bowls
-
Hand or stand mixer
-
Spatula
-
Piping bag
-
Jars or silicone molds
-
Skewer or toothpick for swirling
-
Optional: Halloween decorations, pipettes, or themed sprinkles
Ingredients
- ¾ cup Heavy cream
- ½ cup Cream cheese softened to room temperature
- 3 tablespoon Powdered sugar or to taste, adjust for desired sweetness
- 1 teaspoon Vanilla extract
- 3-4 tablespoon Berry blood syrup for swirling and achieving the “blood clot” effect
- Berry blood syrup and leftover fruit pulp for topping and garnishing
Optional for firmer set
- 1 teaspoon Powdered gelatin dissolved in 1 tbsp warm water for a firmer set if unmolding
Instructions
-
Whip ¾ cup Heavy cream to stiff peaks and chill immediately.¾ cup Heavy cream
-
In a separate bowl, beat ½ cup softened Cream cheese, 3 tablespoon Powdered sugar, and 1 teaspoon Vanilla extract until the mixture is completely smooth and fluffy.½ cup Cream cheese, 3 tablespoon Powdered sugar, 1 teaspoon Vanilla extract
-
(Optional) To give the mousse a firmer set (ideal for unmolding from molds), dissolve 1 teaspoon Powdered gelatin in a tablespoon of warm water until clear, then stir it thoroughly into the cream cheese mixture.1 teaspoon Powdered gelatin
-
Gently fold the chilled whipped cream into the prepared cream cheese base using a spatula. Be careful to keep the mixture as light and airy as possible.
-
Drizzle in 3-4 tablespoons of Berry blood syrup. Using a skewer or toothpick, gently swirl the syrup into the mousse. The goal is to create distinct, spooky streaks, so avoid overmixing.3-4 tablespoon Berry blood syrup
-
Spoon or pipe the mousse mixture into your chosen jars, brain molds, or mini Bundt pans. Place them in the refrigerator to chill for 2-3 hours, or until the mousse is completely set.
-
Just before serving, drizzle additional Berry blood syrup and, if desired, top with leftover berry fruit pulp to achieve that oozy, authentically spooky “clotted blood” effect.Berry blood syrup and leftover fruit
Nutrition values are estimates only, using online calculators. Please verify using your own data.

⛑️ Important Food Safety Considerations
While this recipe is straightforward, always prioritize food safety in your kitchen:
- If you’re using any ingredients that require cooking (e.g., if you were to make a cooked custard base instead of no-bake, or if using any raw eggs in other recipes), ensure they reach a minimum internal temperature of 165 °F (74 °C) to eliminate harmful bacteria.
- Avoid cross-contamination by never using the same utensils on cooked food that previously touched raw meat or unwashed produce.
- Always wash your hands thoroughly with soap and water after handling raw ingredients.
- Do not leave perishable foods, especially dairy-based desserts like mousse, sitting out at room temperature for extended periods. Promptly refrigerate any leftovers.
- Never leave cooking food unattended, particularly when using heat, to prevent accidents.
- If your recipe involves cooking, use oils with a high smoking point to avoid the formation of harmful compounds during heating.
- Always ensure good ventilation when using a gas stove or oven to prevent the buildup of fumes.
For further comprehensive food safety information and best practices, please consult the Safe Food Handling – FDA guidelines.
