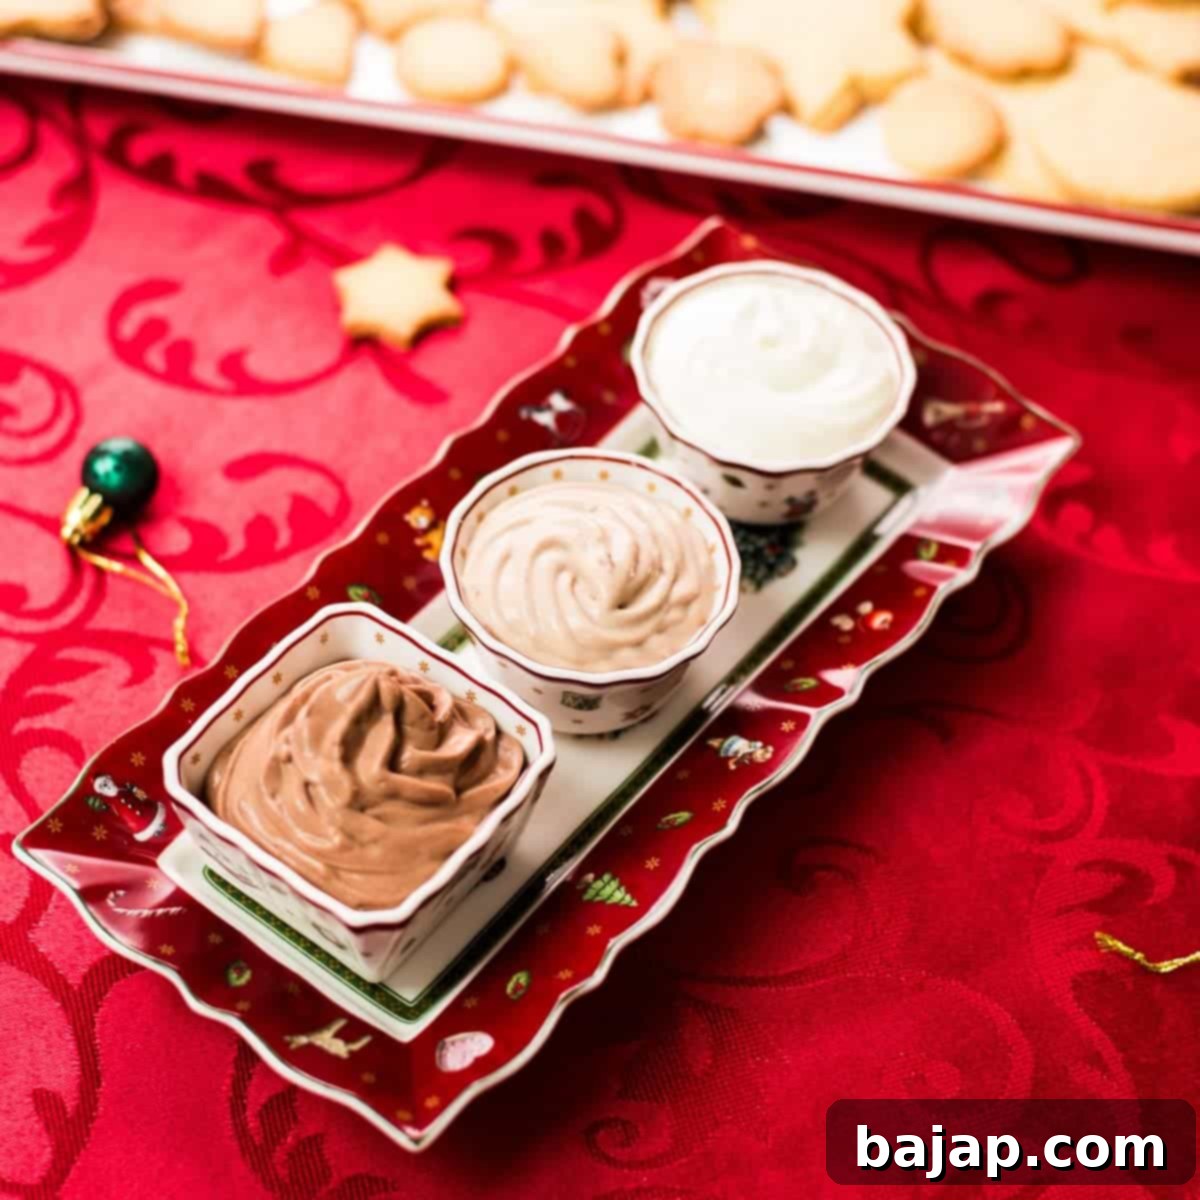
Irresistible White, Milk, & Dark Chocolate Dips for Cookies & Desserts
Prepare to delight your taste buds with these three incredibly rich and creamy sweet dips for cookies – a cherished staple of Austrian Christmas celebrations in my family! For generations, these decadent dips have been served alongside our homemade crispy sugar cookies, instantly transforming any gathering into a festive occasion. There’s something truly magical about the aroma of freshly baked cookies paired with these luxurious white chocolate, milk chocolate, and dark chocolate dips. One taste, and you’ll find yourself humming holiday tunes, no matter the season!
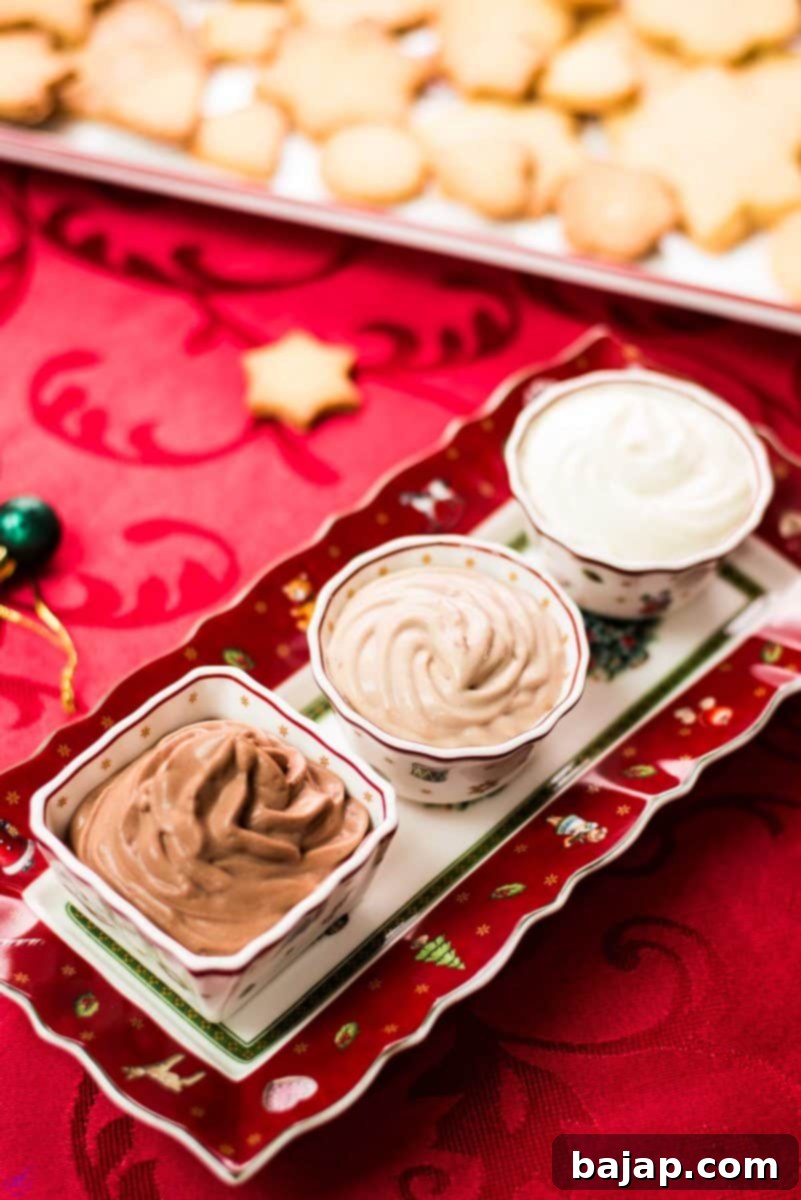
What makes these sweet chocolate dips truly special is not just their divine flavor, but also their remarkable simplicity. Crafted with just five basic ingredients, they are surprisingly easy to whip up, making them the perfect stress-free addition to any holiday party or a delightful finale after a grand Christmas feast. You don’t need to be an experienced baker to create these show-stopping dessert dips!
While these chocolate dips are a cherished holiday tradition, their creamy texture and rich flavor make them an ideal year-round treat for anyone with a sweet tooth. My family and I often enjoy them during the summer months, dipping everything from mini marshmallows and classic graham crackers to fun teddy grahams and even crispy waffle cone bits. Their versatility knows no bounds, transforming everyday snacks into an indulgent dessert experience.
Whether you’re hosting a festive gathering or simply craving a moment of sweet bliss, these easy homemade chocolate dips are guaranteed to impress. Follow along to discover how to create your own trio of decadent white, milk, and dark chocolate dips that will elevate any dessert spread.
🥘 Simple Ingredients for Decadent Dips
Each of these three luscious chocolate dips requires the same core five ingredients, ensuring a straightforward and consistent preparation process. The magic lies in the quality of your chocolate couverture and the perfect balance of dairy and thickener to achieve that irresistibly smooth, creamy consistency.
Milk Chocolate Dip Essentials
- Milk Chocolate Couverture: Opt for high-quality couverture for a superior melt and a richer, more authentic milk chocolate flavor. This forms the heart of your dip.
- Whole Milk: Provides the liquid base and contributes to the creamy texture.
- Granulated Sugar: Adds sweetness, balancing the richness of the chocolate.
- Cornstarch: The key thickening agent that gives the dip its delightful pudding-like consistency.
- Heavy Cream: Whipped and folded in at the end, it adds airiness and luxurious silkiness to the finished dip.
Dark Chocolate Dip Essentials
- Dark Chocolate Couverture: Again, high-quality is paramount. Choose a dark chocolate with a cacao percentage you enjoy, as this will define the dip’s intensity.
- Whole Milk: The essential liquid base for our rich dark chocolate.
- Granulated Sugar: Sweetens and rounds out the deep, sometimes bitter notes of dark chocolate.
- Cornstarch: Crucial for achieving the thick, spoonable texture.
- Heavy Cream: Whipped and mixed in, it lightens the dip, making it wonderfully smooth and decadent.
White Chocolate Dip Essentials
- White Chocolate Couverture: Select a high-quality white chocolate for a true, creamy vanilla-like flavor profile. Inferior white chocolate can taste overly sweet or waxy.
- Whole Milk: Ensures a smooth, liquid foundation for your white chocolate base.
- Granulated Sugar: Enhances the sweetness, creating a perfectly balanced white chocolate flavor.
- Cornstarch: The binding agent that transforms the liquid into a thick, delightful dip.
- Heavy Cream: Incorporated after chilling, it provides an airy, whipped texture that elevates the dip’s mouthfeel.
For precise quantities and a step-by-step printable version of this recipe, please refer to the recipe card below.
🔪 Step-by-Step Instructions for Your Chocolate Dips
Creating these three delectable chocolate dips is a streamlined process. While you’ll prepare each flavor individually, the core method remains the same, allowing you to easily produce a trio of sweet indulgence. We’ll start by outlining the universal first step before diving into each specific chocolate variation.
The Foundation: Preparing Your Cornstarch Slurry
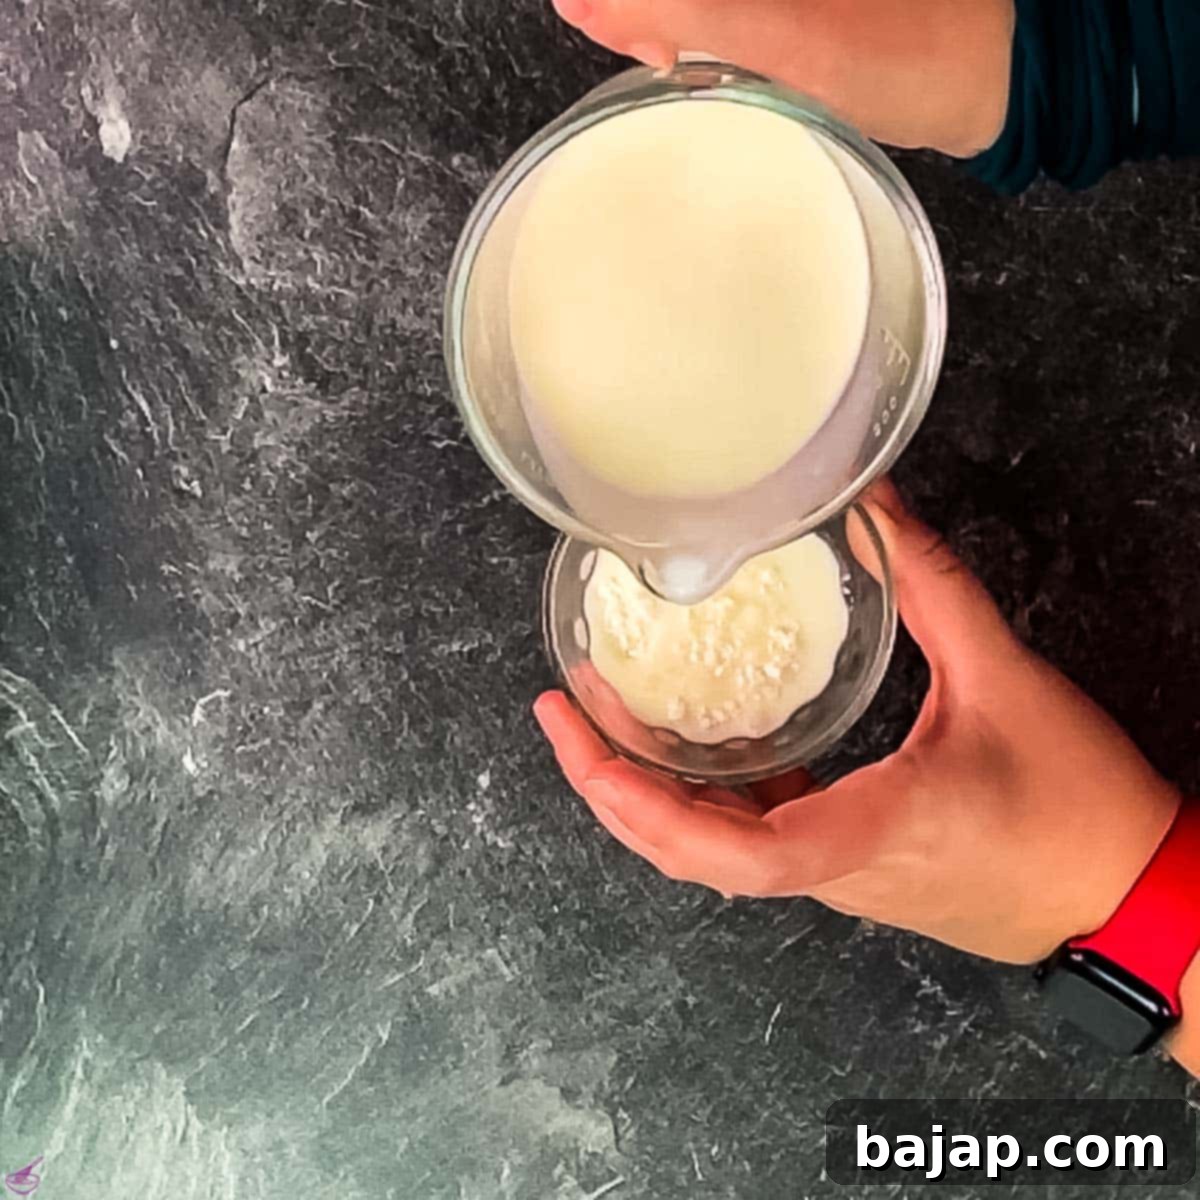
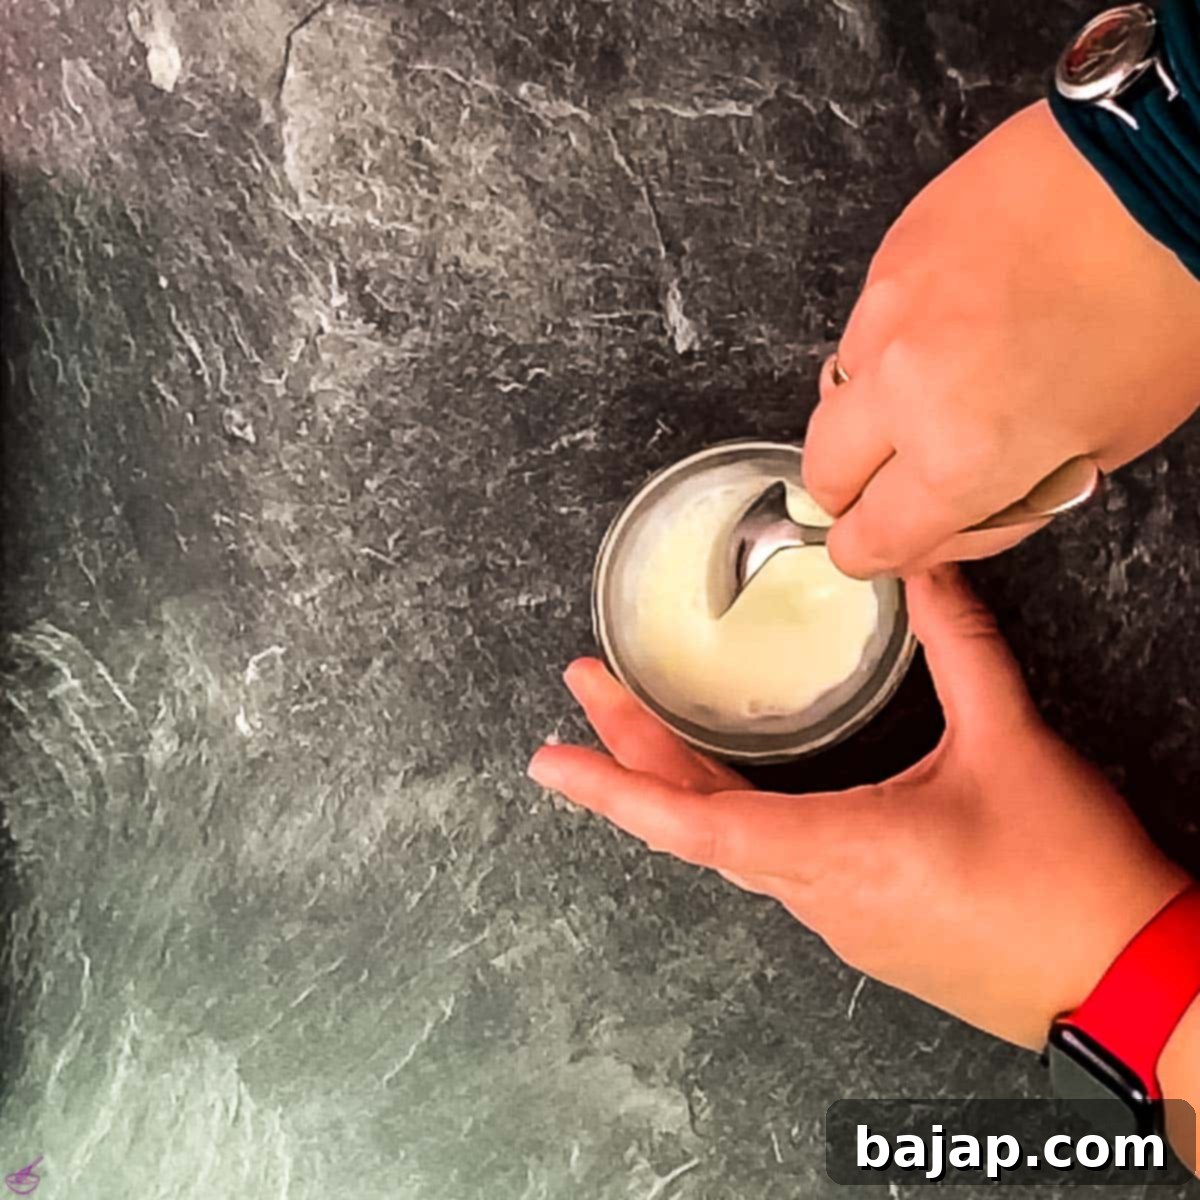
No matter which of these creamy dessert dips you begin with, your very first step is to create a smooth cornstarch slurry. In a small bowl, thoroughly mix your measured cornstarch with just one tablespoon of whole milk until all lumps have disappeared. This critical step ensures that the cornstarch disperses evenly into your hot chocolate mixture, preventing clumping and guaranteeing a silky-smooth dip every time. Don’t skip this!
Crafting the White Chocolate Dip
With your cornstarch slurry ready, we’ll dive into the white chocolate base first. In a small saucepan, combine your high-quality white chocolate couverture, the specified amount of whole milk, and granulated sugar. Heat this mixture over medium-low heat, stirring frequently with a whisk, until it reaches a gentle boil. Keep an eye on it to prevent scorching, as white chocolate can be delicate. Once boiling, immediately pour in your prepared cornstarch slurry, continuing to whisk vigorously for about 1-2 minutes until the mixture thickens beautifully and returns to a boil. This second boil ensures the cornstarch is fully cooked and the dip will achieve its desired thick consistency when chilled.
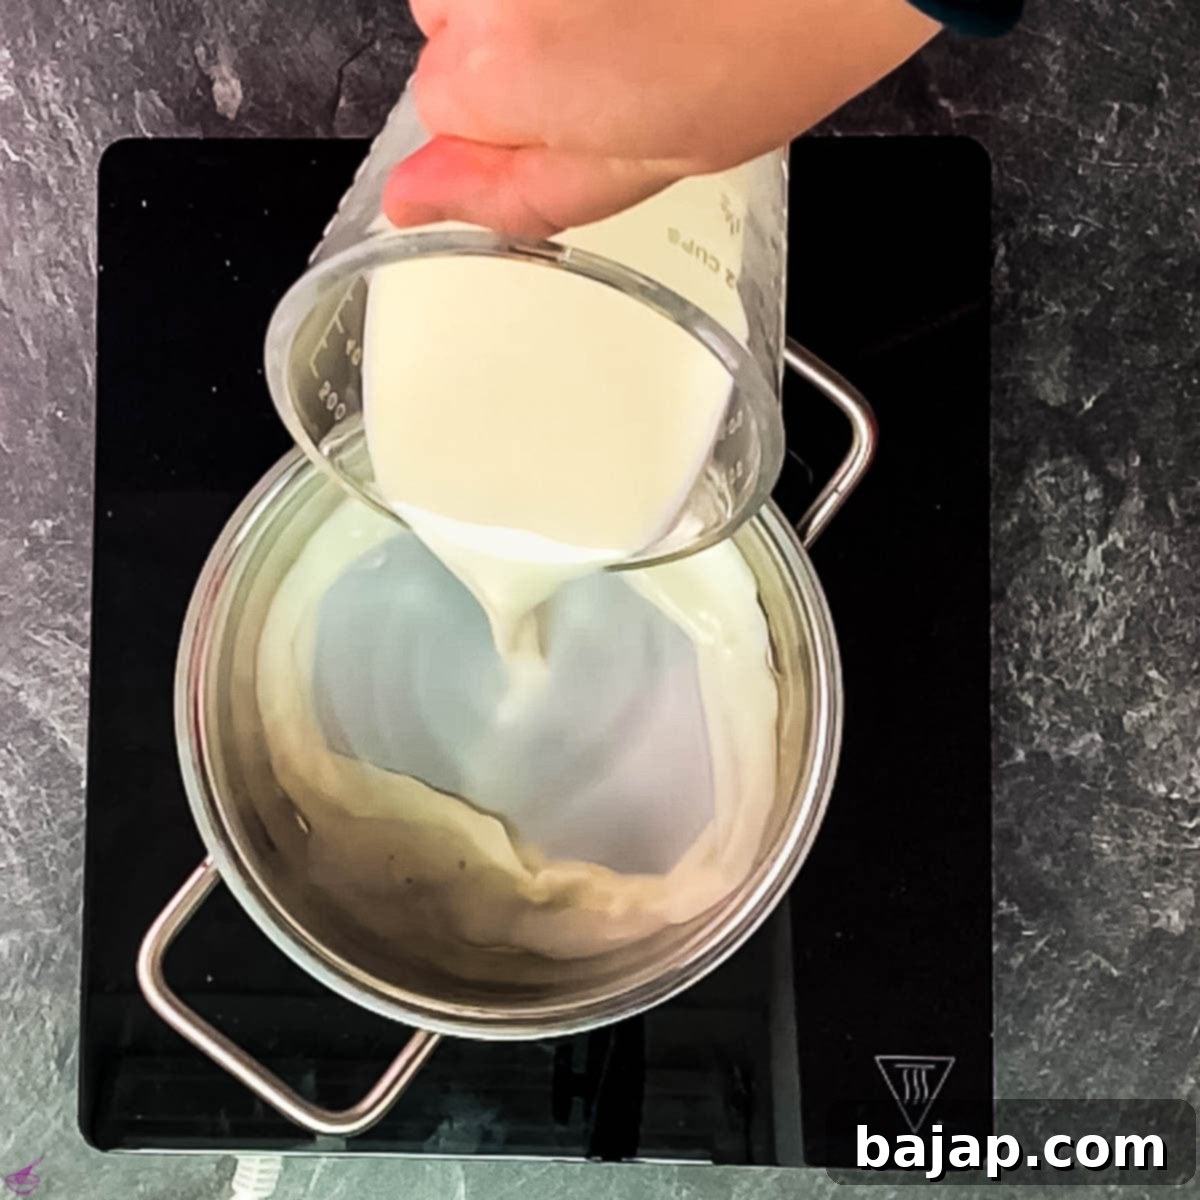
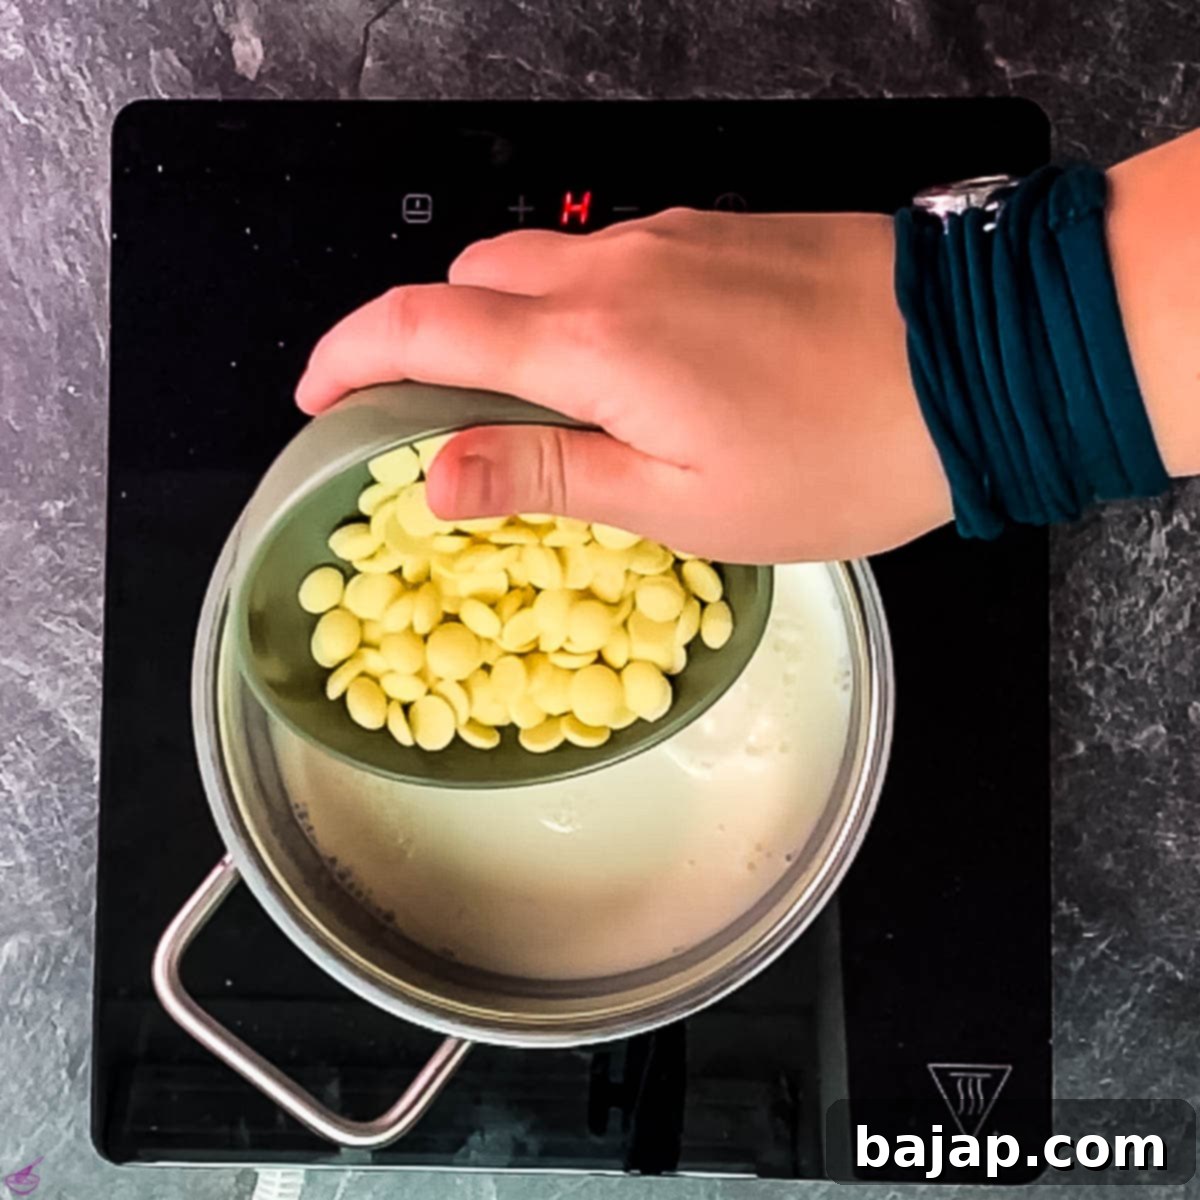
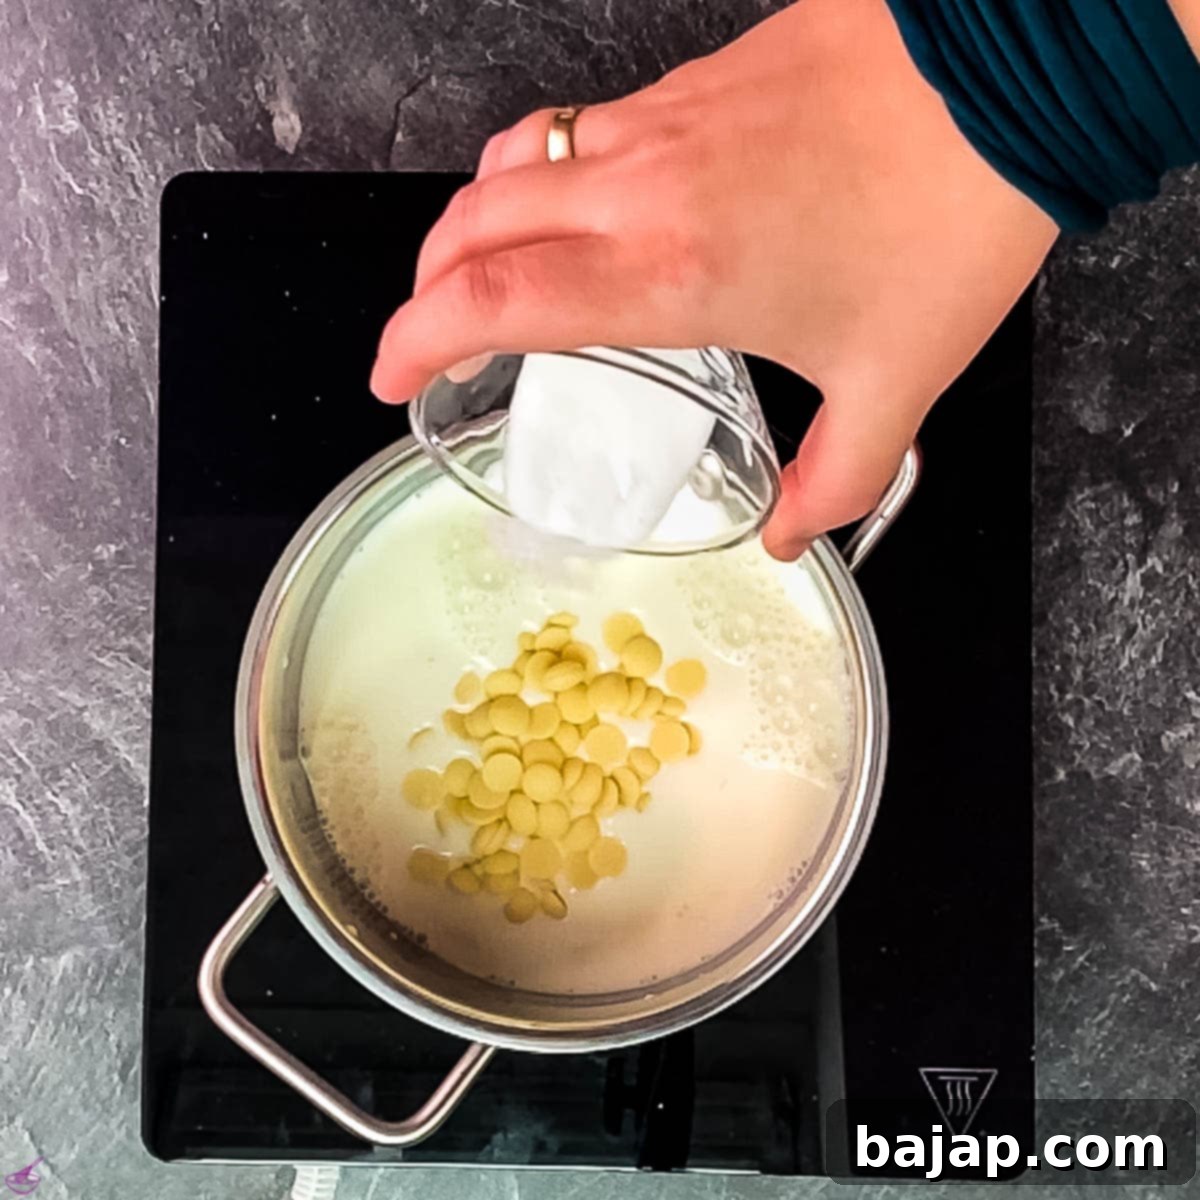
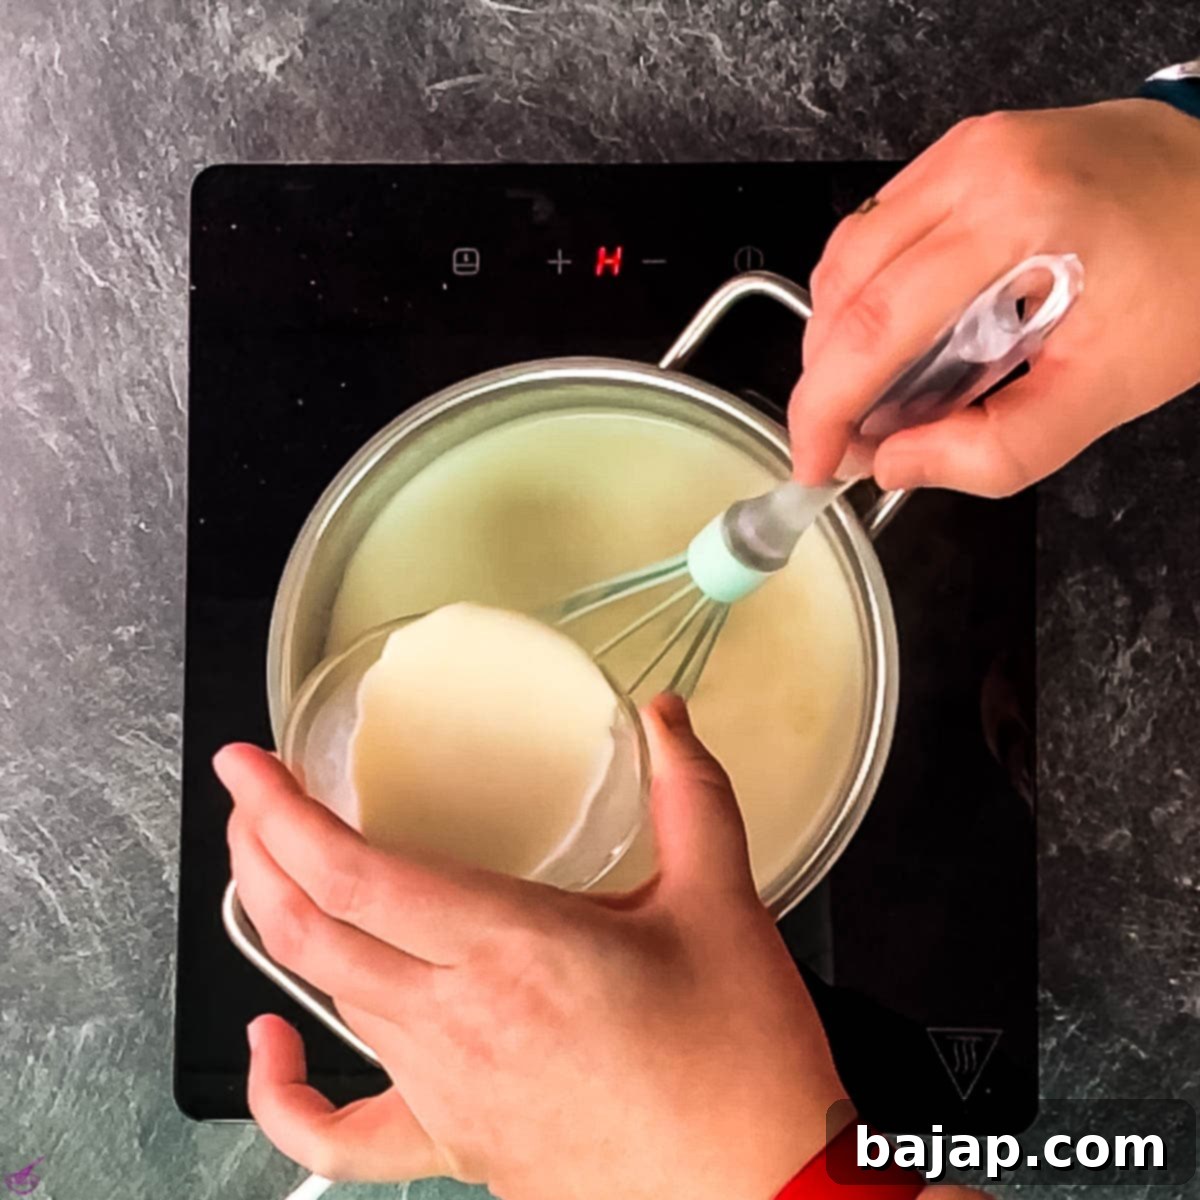
Once thickened, remove the white chocolate mixture from the heat and pour it into a clean bowl. Cover the bowl tightly with a lid or plastic wrap, ensuring it touches the surface of the dip to prevent a skin from forming. This dip will need to cool completely and firm up in the refrigerator for at least three hours. For the best, creamiest texture and deepest flavor, I often recommend chilling overnight, especially if preparing for a special event.
Preparing the Dark Chocolate Dip
While your white chocolate dip is chilling, you can move on to the intense richness of the dark chocolate variation. Begin by preparing a fresh cornstarch slurry, just as you did before, mixing one tablespoon of milk with your measured cornstarch until perfectly smooth. Then, in a small saucepan, combine your high-quality dark chocolate couverture, whole milk, and granulated sugar. Bring this mixture to a gentle boil over medium-low heat, stirring consistently to ensure the chocolate melts smoothly and doesn’t stick or burn to the bottom of the pan. Once boiling, stir in the cornstarch slurry and whisk vigorously until it thickens and boils again.
Remove the dark chocolate dip from the heat, pour it into a lidded bowl, and place it in the refrigerator to chill for at least three hours, or preferably overnight. Its robust flavor will deepen and its texture will become wonderfully firm as it cools.
Creating the Milk Chocolate Dip
Finally, we’ll create the comforting classic: the milk chocolate dip. As with the other two, start by mixing your cornstarch with a tablespoon of milk to form a lump-free slurry. In a clean small saucepan, combine your milk chocolate couverture, whole milk, and sugar. Gently heat the ingredients, stirring continuously, until the chocolate is fully melted and the mixture reaches a soft boil. Once boiling, add the prepared cornstarch slurry, whisking without interruption until the dip visibly thickens and boils again for about a minute or two.
After the second boil, remove the milk chocolate mixture from the heat. Transfer it to a bowl with a tight-fitting lid, or cover it closely with plastic wrap, and place it in the refrigerator. Like its counterparts, this dip requires a minimum of three hours to chill thoroughly and develop its rich, scoopable consistency. As a personal preference for optimal flavor and texture, I like to let all my dips chill overnight, especially when preparing for a big holiday party. However, three hours will still yield a beautifully consistent and delicious result!
The Grand Finale: Whipping and Serving Your Dips
After all three chocolate dips have had ample time to chill and firm up in the refrigerator, it’s time for the final, transformative step: incorporating the heavy cream. In a separate, clean bowl, whip the entire 1 ½ cups of heavy cream with an electric hand mixer until stiff peaks form. The cream should be light, airy, and hold its shape perfectly.
Carefully divide the whipped heavy cream among the three bowls of cold chocolate creams. Using your electric mixer on a low setting, gently mix each chocolate dip with its portion of whipped cream until it’s fully combined and gloriously smooth. This step lightens the dips significantly, creating an incredibly airy and luxurious texture that’s perfect for dipping.
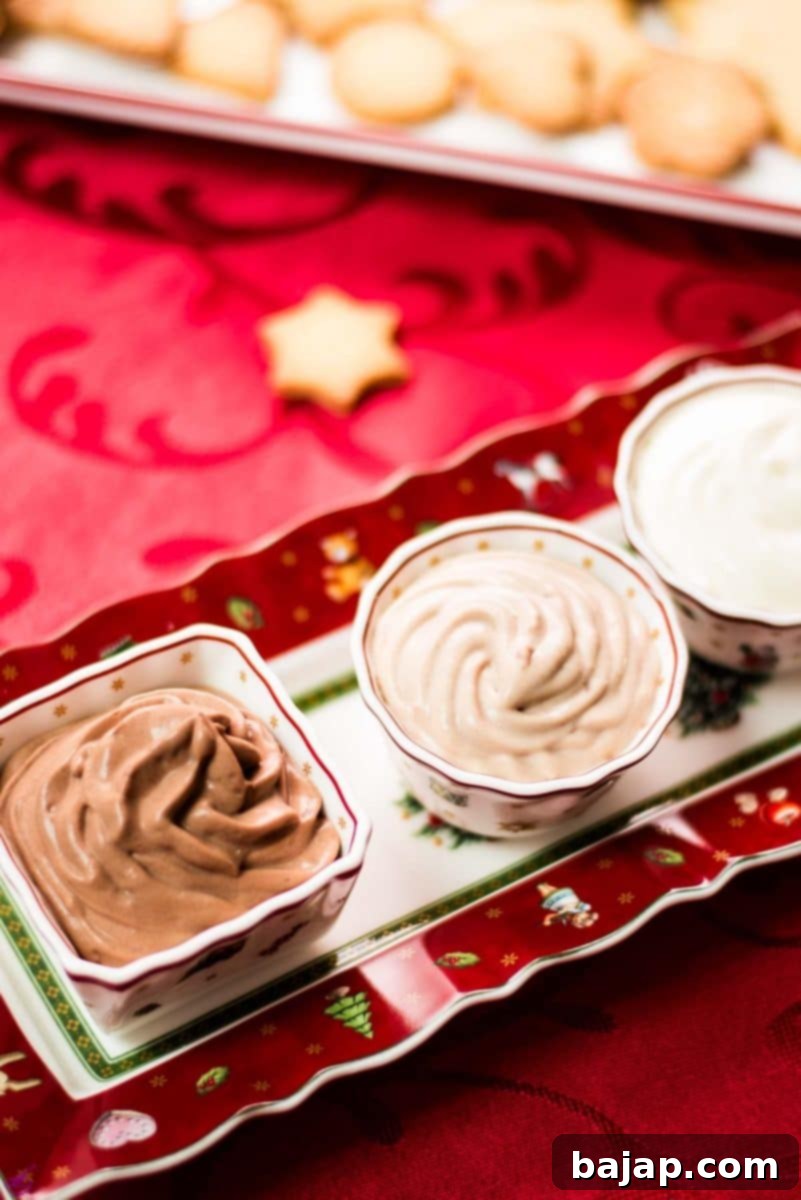
To truly “wow” your guests with an elegant presentation, transfer each distinct chocolate dip into three separate pastry bags fitted with a star tip. Pipe the velvety dips into small, individual dipping bowls. This not only looks stunning but also offers a more hygienic and personalized serving experience for your guests.
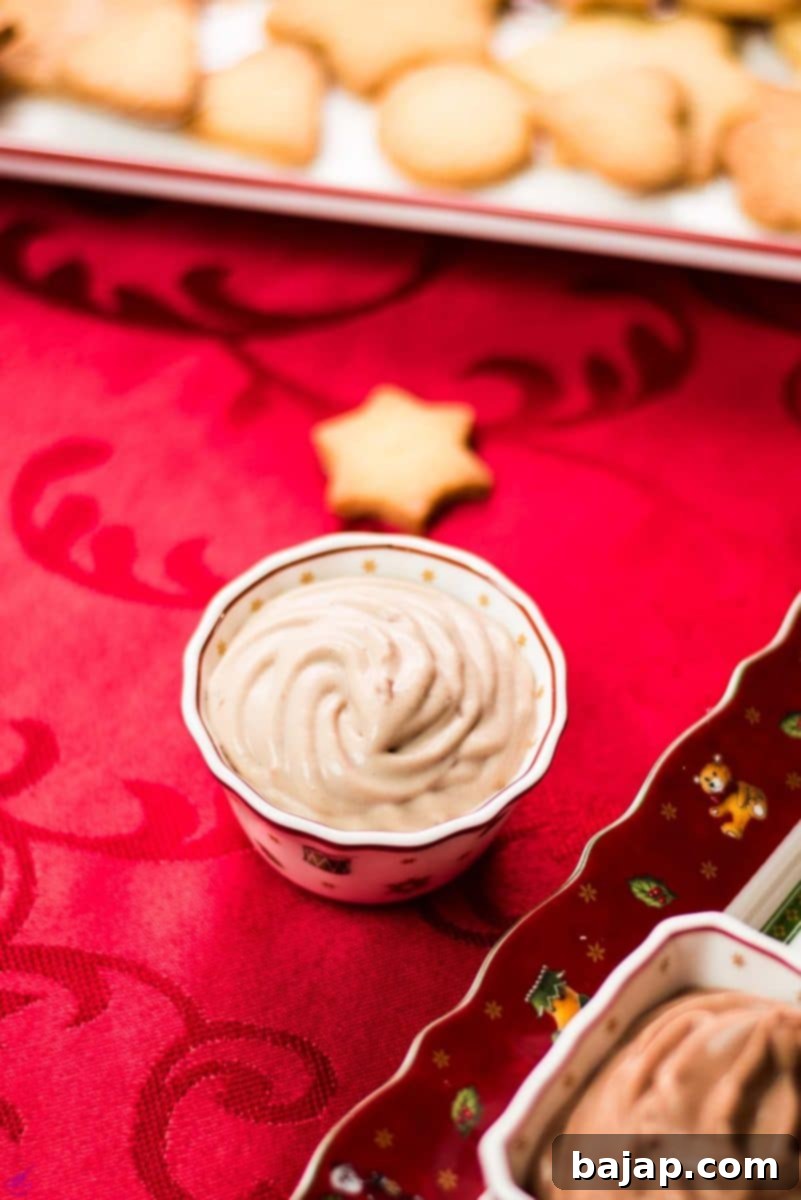
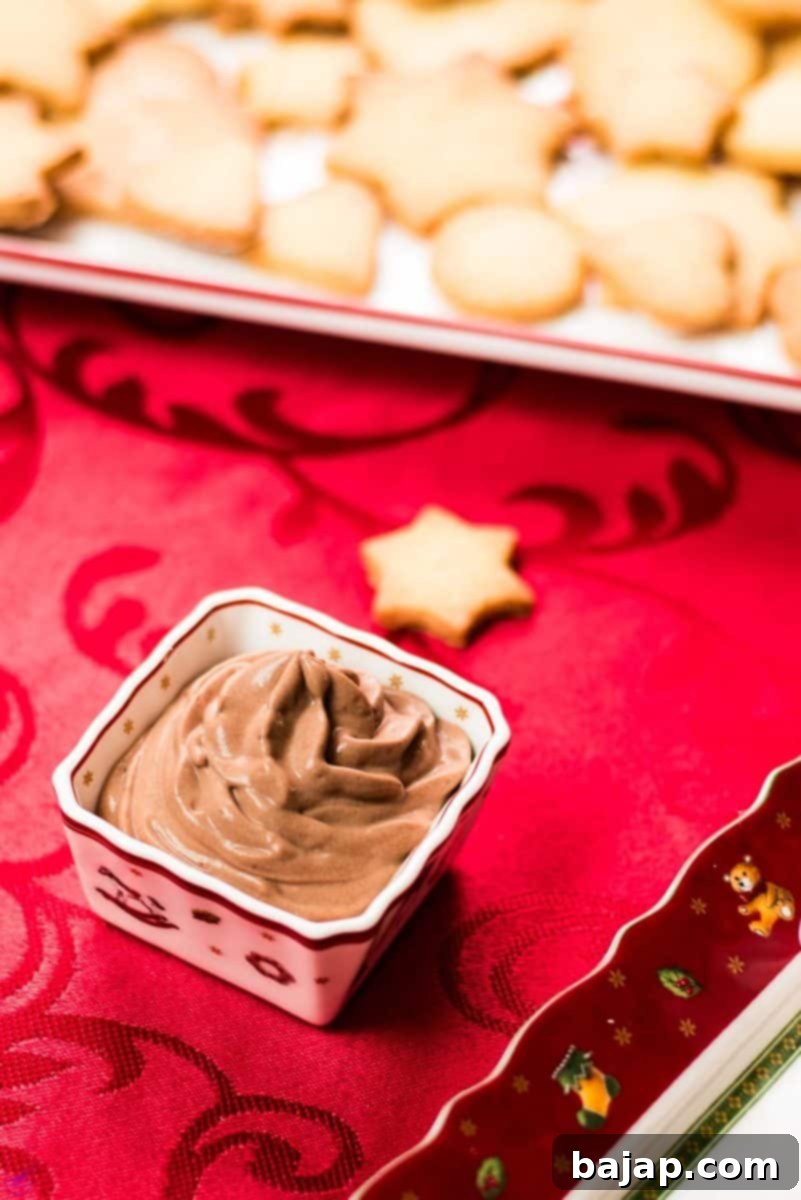
Serve your beautiful array of chocolate dips with an assortment of dippers. While our homemade crispy sugar cookies are a family favorite, feel free to get creative! Fresh fruits like strawberries, banana slices, and apple wedges are fantastic. You could also offer pretzels for a salty-sweet contrast, vanilla wafers, animal crackers, or even brownie bites. A smorgasbord of options ensures every guest finds their perfect pairing, making these sweet chocolate dips the party snack everyone raves about long after the night ends!
🍫 Creative Variations for Your Sweet Chocolate Dips
While these three chocolate dips are perfect as is, they also serve as an excellent canvas for creative culinary experimentation. For those who truly adore chocolate, a simple yet effective addition is a few teaspoons of mini chocolate chips, stirred in just before chilling. I find this particularly delightful in the white chocolate dip, as the mini chips add a wonderful textural contrast and an extra burst of rich chocolate flavor that complements the creamy base beautifully.
Beyond chocolate chips, consider these ideas to customize your dessert dips:
- Minty Fresh: For a festive twist, add a few drops of peppermint extract to the dark or milk chocolate dip, especially around the holidays.
- Citrus Zest: A touch of orange or tangerine zest can brighten up the dark chocolate dip, adding an elegant, fragrant note.
- Coffee Kick: A teaspoon of instant espresso powder or coffee extract can deepen the flavor of the dark chocolate dip without making it taste overtly like coffee.
- Nutty Indulgence: Swirl in a tablespoon of your favorite nut butter (like peanut butter or almond butter) into the milk chocolate dip for a rich, savory complement.
- Spiced Warmth: A pinch of cinnamon, nutmeg, or even a tiny dash of cayenne pepper can add intriguing warmth and complexity to the dark chocolate variation.
- Fruity Fusion: Stir in a tablespoon of fruit preserves (raspberry or cherry works well) into the dark or milk chocolate dip for a subtle fruity undertone.
🍽 Essential Equipment for Perfect Dips
Crafting these delicious chocolate dips requires only a few standard kitchen tools, making the process accessible for even novice cooks. Here’s what you’ll need:
- Small Saucepan: Essential for heating the chocolate, milk, and sugar mixture evenly and preventing scorching. Its size ensures better control over the heat.
- Whisk: Crucial for thoroughly mixing the cornstarch slurry and stirring the chocolate mixture constantly to prevent lumps and ensure a smooth, uniform consistency.
- Small Bowl: Perfect for preparing the cornstarch slurry separately before adding it to the main mixture.
- Tablespoon: For precise measurement of milk for the slurry and sugar.
- Bowl with a Lid (or plastic wrap): Necessary for chilling the dips in the refrigerator, preventing a skin from forming on the surface and keeping them fresh.
- Electric Hand Mixer: The most efficient tool for whipping the heavy cream to stiff peaks, ensuring an airy and light final texture for your dips.
- Piping Bag with a Star Tip: While optional, this is highly recommended for creating a visually appealing and elegant presentation when serving the dips.
- Small Dipping Bowls for Serving: Ideal for individual servings, enhancing the guest experience and maintaining hygiene.
🌡 Storage Tips for Freshness
Proper storage is key to extending the life and maintaining the delicious quality of your sweet chocolate dips. When kept in an airtight container, these creamy dessert dips will stay wonderfully fresh in the refrigerator for up to three days. Ensure the container is sealed tightly to prevent any absorption of refrigerator odors and to maintain their smooth texture. While they are best enjoyed fresh, having them ready to go for a few days means you can prepare them ahead of time for parties or simply enjoy them over multiple indulgent snacking sessions.
💭 Top Tip for Silky Smooth Dips
The secret to achieving a perfectly silky-smooth and lump-free chocolate dip lies in two critical steps: first, always prepare a meticulous cornstarch slurry by mixing cornstarch with a small amount of cold milk until absolutely smooth before adding it to your hot mixture. Second, whisk your chocolate and milk mixture constantly while heating, and then vigorously after adding the slurry, especially as it thickens to a boil. This prevents burning and ensures the cornstarch cooks evenly, guaranteeing that luxurious, velvety texture you desire.
🙋🏻 Frequently Asked Questions About Dessert Dips
The possibilities are endless when it comes to sweet dippers! For savory dips, you’ve got veggies, chips, and crackers, but for dessert dips, you want something that complements the sweetness. Our homemade sugar cookies are fantastic, but don’t stop there! Think animal crackers, vanilla wafers, graham crackers, pretzels (for that delightful salty-sweet combo), fresh fruit slices (strawberries, bananas, apples), and even mini brownies or marshmallow squares. A variety ensures there’s something for everyone to enjoy!
While this specific recipe uses whole milk and heavy cream, you can absolutely experiment with dairy-free alternatives. Substitute whole milk with full-fat coconut milk or a rich oat milk, and use a high-quality vegan chocolate couverture. For the heavy cream, a chilled full-fat coconut cream (the thick part from a can of coconut milk) whipped until stiff can work wonders. Be sure to check that your cornstarch and sugar are also vegan-friendly.
To prevent a thick skin from forming on the surface of your dips as they chill, press a piece of plastic wrap directly onto the surface of the warm dip before placing it in the refrigerator. This creates an airtight seal that locks in moisture and keeps the top perfectly smooth. Once chilled, simply peel off the plastic wrap before mixing in the whipped heavy cream.
If you try this delightful recipe, please let me know how much you loved it by giving it a ★★★★★ star rating and leaving a comment below. Your feedback means the world to me! You can also sign up for our Newsletter to receive delicious homemade recipes directly to your inbox, or follow me on Pinterest or Instagram. Don’t forget to share your creations with me by tagging @combinegoodflavors and using the hashtag #combinegoodflavors – I can’t wait to see what you make!
Other Delicious Dessert Recipes to Explore
If you enjoyed these sweet chocolate dips, you might also love some of these other delightful recipes from our kitchen:
- Easy Cut-Out Sugar Cookies {No Chill}
- 5 Ingredient Chocolate Cornstarch Pudding
- White Chocolate Pudding That’ll Wow Your Guests
- Chocolate Dipped Butter Cookies
- Oatmeal Cookies Without Brown Sugar
- Soft Pumpkin Cookies
📖 Full Recipe: Three Sweet Dessert Dips for Cookies
Three Sweet Dessert Dips for Cookies
Nora
Save RecipeSaved!
Pin Recipe
Equipment
-
Saucepan small
-
Whisk
-
Small bowl
-
Tablespoon
-
Mixing bowl with a lid
-
Electric hand mixer
-
Piping bag with a star tip
-
Small dipping bowls
Ingredients
Milk Chocolate Dip
- ½ Cup Milk chocolate couverture high quality
- 1 ¼ Cups Whole milk
- 1 ¼ tablespoon Granulated Sugar
- 1 ¾ tablespoon Cornstarch
White Chocolate Dip
- ½ Cup White chocolate couverture high quality
- 1 ¼ Cups Whole milk
- 1 ¼ tablespoon Granulated Sugar
- 1 ¾ tablespoon Cornstarch
Dark Chocolate Dip
- ½ Cup Dark chocolate couverture high quality
- 1 ¼ Cups Whole milk
- 1 ¼ tablespoon Granulated Sugar
- 1 ¾ tablespoon Cornstarch
Dip Assembling
- 1 ½ Cup Heavy cream
Instructions
Milk Chocolate Dip
-
Mix 1 ¾ tablespoon Cornstarch with a tablespoon of milk to create a smooth slurry.1 ¾ tablespoon Cornstarch
-
In a small saucepan, combine ½ Cup Milk chocolate couverture, 1 ¼ Cups Whole milk, and 1 ¼ tablespoon Granulated Sugar. Heat over medium-low heat, stirring continuously, until it reaches a gentle boil.½ Cup Milk chocolate couverture, 1 ¼ Cups Whole milk, 1 ¼ tablespoon Granulated Sugar
-
Add the prepared cornstarch slurry, stirring constantly with a whisk, and bring the mixture back to a full boil for 1-2 minutes until thickened.
-
Remove from heat and pour into a clean bowl with a lid. Cover tightly to prevent a skin from forming.
-
Allow cooling completely in the refrigerator for a minimum of three hours, or preferably overnight.
White Chocolate Dip
-
Mix 1 ¾ tablespoon Cornstarch with a tablespoon of milk until smooth.1 ¾ tablespoon Cornstarch
-
Combine ½ Cup White chocolate couverture, 1 ¼ Cups Whole milk, and 1 ¼ tablespoon Granulated Sugar in a small saucepan. Heat gently, stirring, until it reaches a boil.½ Cup White chocolate couverture, 1 ¼ Cups Whole milk, 1 ¼ tablespoon Granulated Sugar
-
Whisk in the prepared cornstarch slurry, continuing to stir constantly until the mixture thickens and returns to a boil.
-
Remove from heat and transfer into a lidded bowl.
-
Chill in the refrigerator for at least three hours to allow it to set.
Dark Chocolate Dip
-
Prepare a cornstarch slurry by mixing 1 ¾ tablespoon Cornstarch with a tablespoon of milk until no lumps remain.1 ¾ tablespoon Cornstarch
-
In a small saucepan, bring ½ Cup Dark chocolate couverture, 1 ¼ Cups Whole milk, and 1 ¼ tablespoon Granulated Sugar to a gentle boil, stirring frequently.½ Cup Dark chocolate couverture, 1 ¼ Cups Whole milk, 1 ¼ tablespoon Granulated Sugar
-
Stir in the mixed cornstarch slurry continuously with a whisk, and bring the mixture to a boil again to thicken.
-
Remove from heat, pour into a lidded bowl, and ensure it’s tightly covered.
-
Place in the refrigerator to cool for at least three hours.
Dip Refinement & Serving
-
After all three dips have chilled for at least three hours (or overnight), whip all of the 1 ½ Cup Heavy cream with an electric hand mixer until stiff peaks form.1 ½ Cup Heavy cream
-
Divide the whipped cream evenly among the three different cold chocolate creams, then mix each well with the mixer until fully combined and airy.
-
For an elegant presentation, fill the refined dips into three separate pastry bags with a star tip and pipe them into small dipping bowls. Serve immediately with your favorite cookies and dippers.
Nutrition values are estimates only, using online calculators. Please verify using your own data.

🍦 Discover More Tasty Dessert Dip Recipes
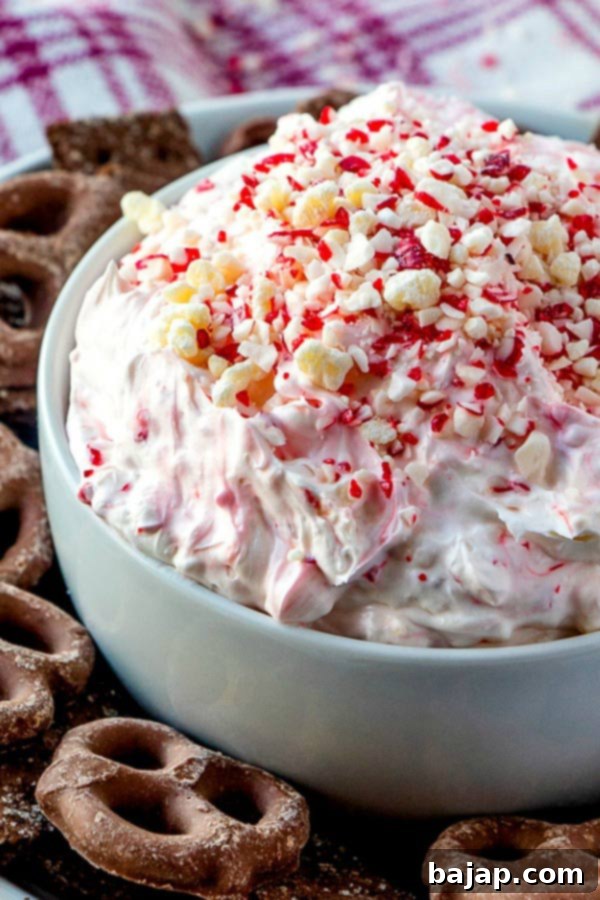
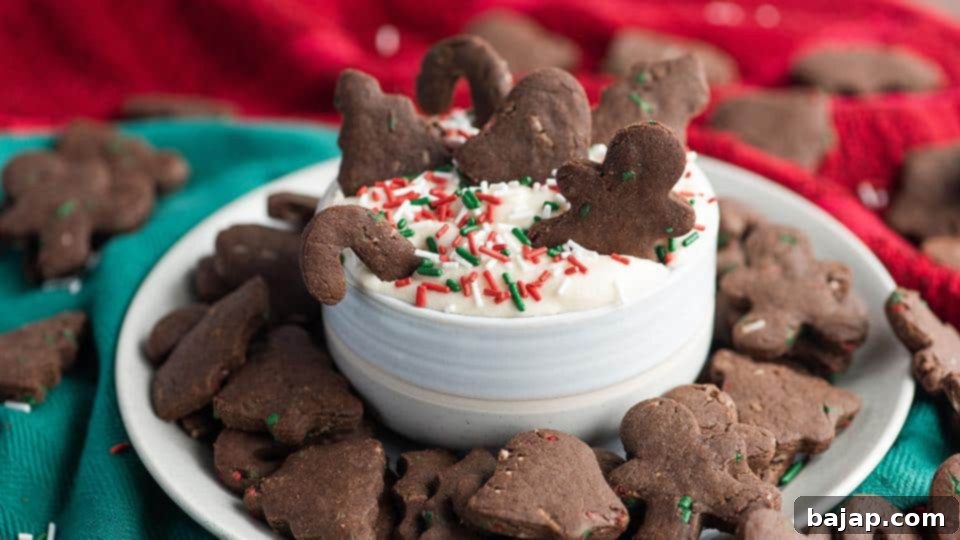
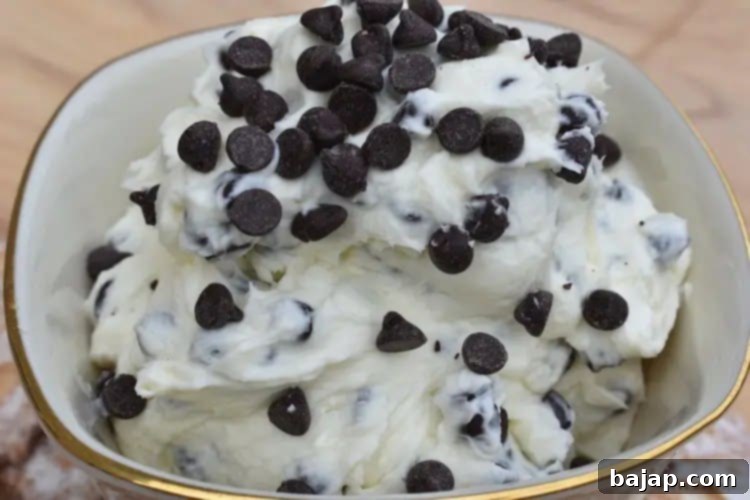
If you’ve fallen in love with these chocolate cookie dips, you’re in for a treat! There’s a whole world of sweet dessert dips to explore, perfect for any occasion. Here are some more fantastic recipes to inspire your next gathering or sweet craving:
Get The Recipe
Get The Recipe
Get The Recipe
Get The Recipe
Get The Recipe
Get The Recipe
Get The Recipe
Get The Recipe
Get The Recipe
Get The Recipe
Get The Recipe
🤎 You might also like
- Peach Melba with Raspberry Liqueur Berry Sauce
- National Food Holidays – September
- Peach Moscow Mule with Homemade Peach Purée
- Austrian Zirben Spritzer – White Wine Spritzer with Pine Liqueur
⛑️ Food Safety Guidelines for Dessert Dips
Ensuring food safety is paramount, especially when serving creamy dips to guests. Follow these guidelines to keep your chocolate dips delicious and safe:
- Temperature Control: Always refrigerate your dips promptly after preparation. Do not leave them out at room temperature for more than two hours (or one hour if the ambient temperature is above 90°F / 32°C).
- Cleanliness is Key: Wash your hands thoroughly before and after handling food, especially when switching between different ingredients. Ensure all utensils, bowls, and surfaces are clean.
- Serving Best Practices: If serving at a party, consider placing the dipping bowls on ice to keep them properly chilled, especially if the event will last for an extended period.
- Discard When in Doubt: If the dips have been left out too long or show any signs of spoilage (off-smell, unusual texture), it’s always best to discard them.
- No Cross-Contamination: While not relevant to raw meat in this sweet recipe, remember the general principle: use clean serving utensils for each dip and encourage guests to use their own small plates to avoid double-dipping.
- Ingredient Quality: Always use fresh, high-quality ingredients, especially dairy products, to ensure both taste and safety.
For further comprehensive information on safe food handling practices, please consult the FDA’s Safe Food Handling guidelines.
