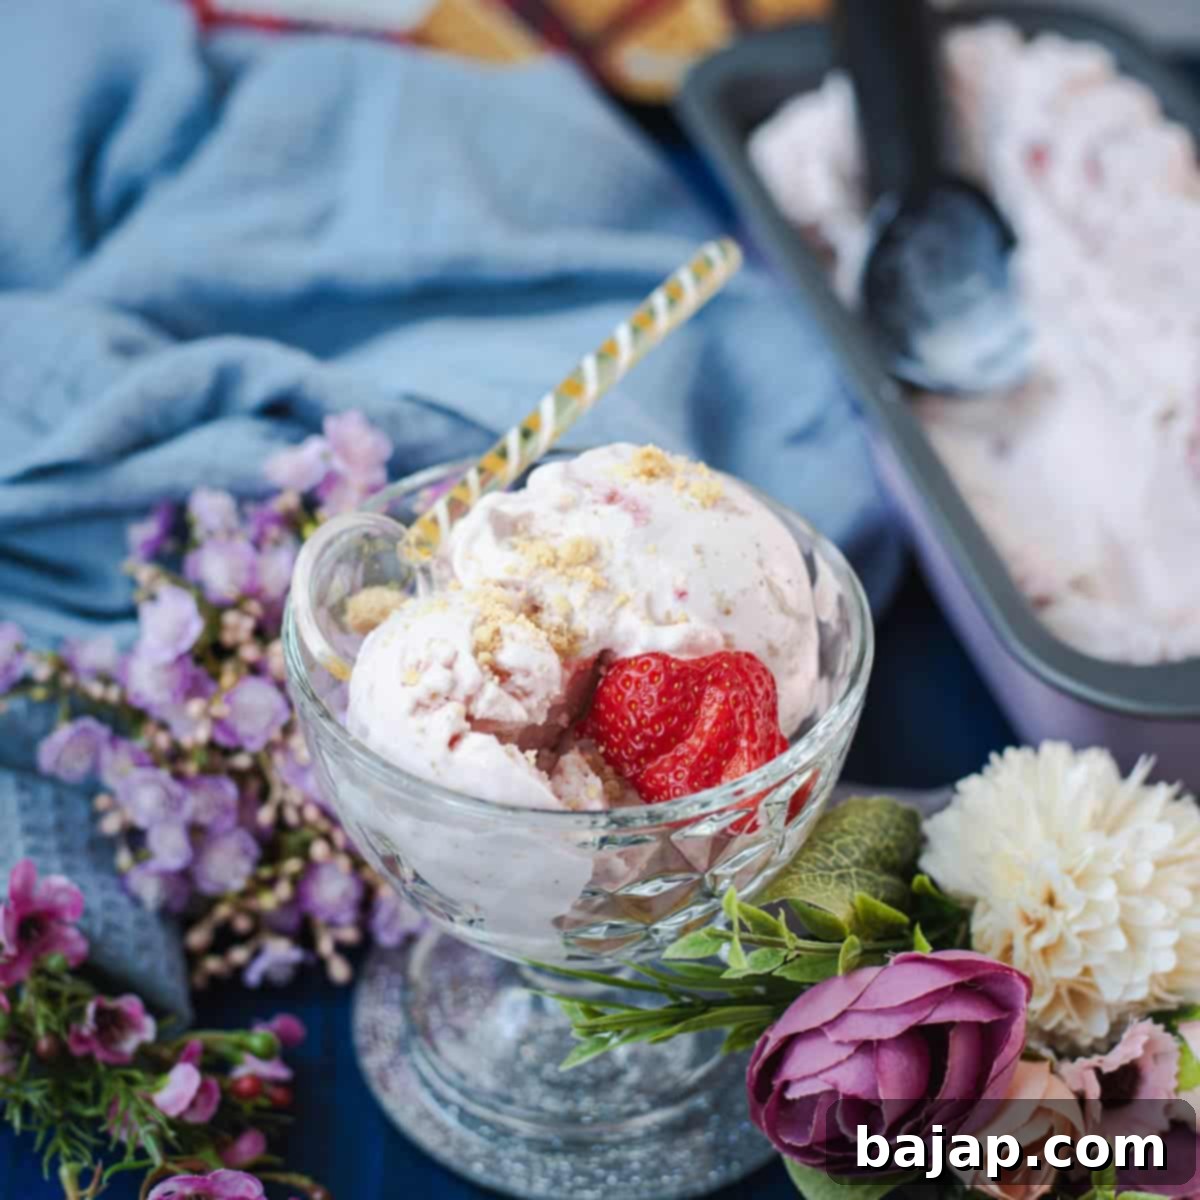
The Ultimate Homemade Strawberry Shortcake Ice Cream: Churn or No-Churn!
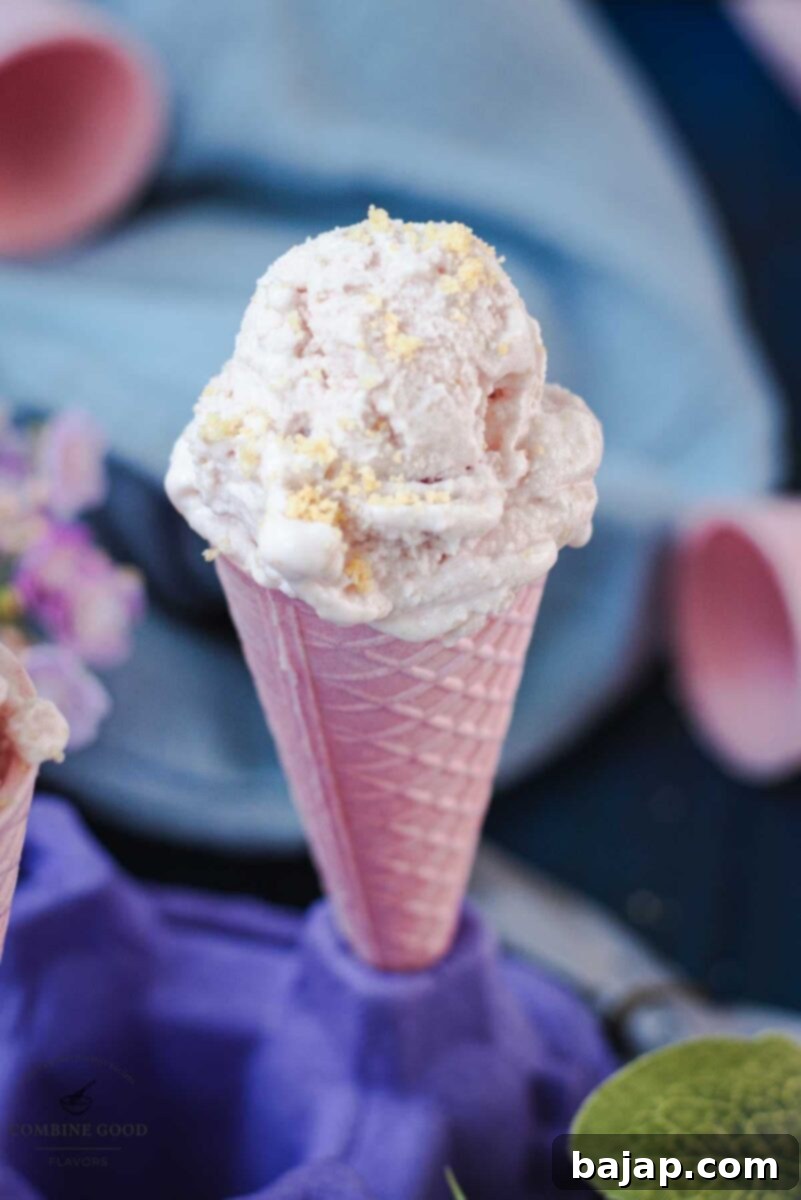
Strawberry lovers, get ready for your new favorite summer dessert! 🍓 This truly dreamy homemade strawberry shortcake ice cream combines everything you crave: the refreshing taste of creamy Greek yogurt, the vibrant sweetness of juicy fresh strawberries, and the delightful, buttery crunch of Walkers shortbread cookies in every single scoop. Crafted to perfection using the KitchenAid Ice Cream Maker attachment, this recipe delivers an irresistibly smooth texture and a burst of flavor. The best part? You can often dig in right away – no long, tedious freezing time required to satisfy your sweet cravings!
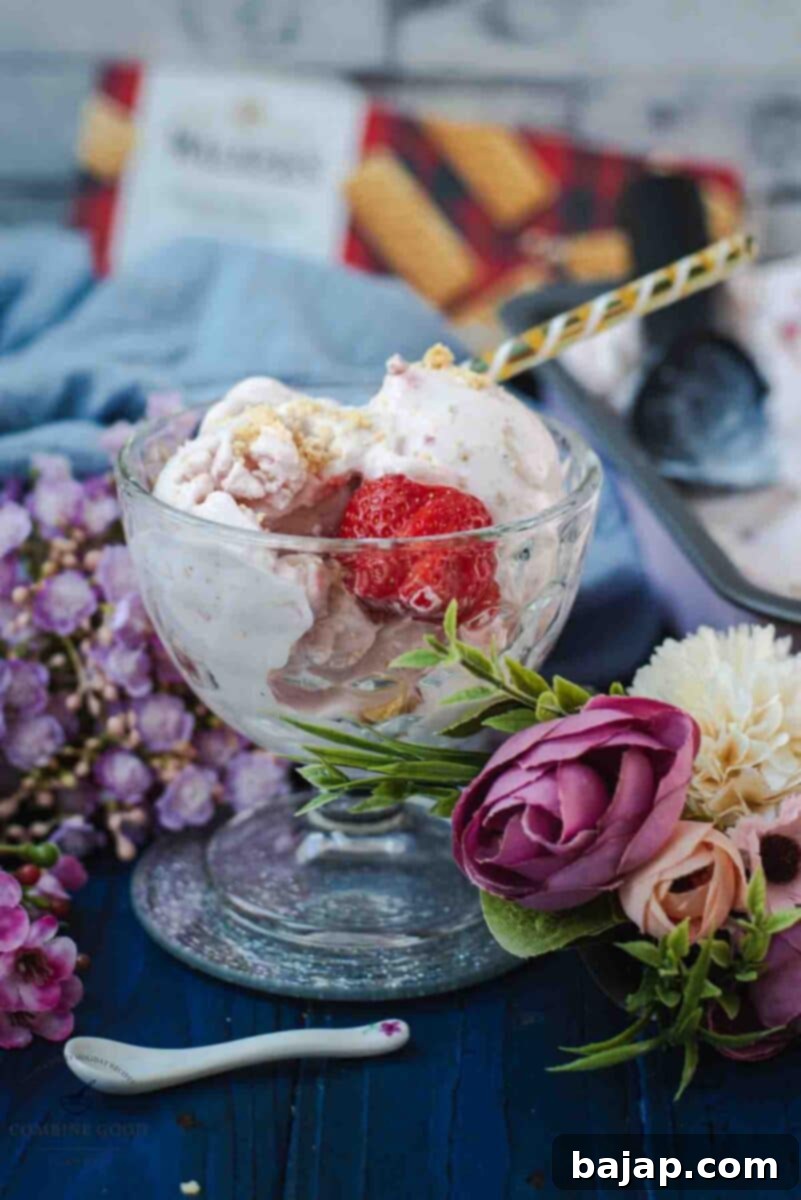
Ready to fall head over heels for another strawberry treat? We certainly are!
If you’re anything like me, you’re constantly seeking exciting new ways to enjoy the unparalleled deliciousness of fresh strawberries, and this recipe is an absolute treasure. My adoration for these red berries is well-known – this marks strawberry recipe number 16 (and still counting!). Each recipe aims to capture the essence of this beloved fruit, and this homemade ice cream truly shines.
Whether you’re planning a lavish strawberry-themed celebration, a casual summer gathering, or simply want to infuse more berry-filled joy into your everyday life, this ice cream is a perfect choice. For even more inspiration, be sure to explore my comprehensive roundup of strawberry recipes (perfect for celebrating National Strawberry Day on February 27th, or any day!) and delve into other refreshing ice cream creations. Think along the lines of a zesty lemon sorbet or a classic vanilla ice cream – all perfectly suited to complement those warm, sunny days. This strawberry shortcake ice cream, however, brings a unique combination of textures and flavors that will undoubtedly become a seasonal favorite.
🍦 Why You’ll Love This Strawberry Shortcake Ice Cream
- Vibrant Freshness: Packed with real, juicy strawberries, this ice cream offers an authentic fruit flavor that simply can’t be replicated by artificial ingredients.
- Unbelievably Creamy Texture: Thanks to the rich combination of whole milk, sweetened condensed milk, and full-fat Greek yogurt, every spoonful is luxuriously smooth and melt-in-your-mouth delicious.
- Signature Shortbread Crunch: The buttery bits of shortbread cookies are the star, adding a delightful textural contrast and that iconic “shortcake” element that makes this ice cream truly special.
- Easy to Make: With the help of your KitchenAid ice cream maker attachment, the process is surprisingly straightforward. Even beginners can achieve perfect results!
- Versatile & Customizable: Easily adaptable to your preference, whether you like a chunkier strawberry swirl or a smoother infusion. Plus, there’s a no-churn option for those without an ice cream maker!
- Perfect Summer Treat: Light, refreshing, and utterly satisfying, it’s the ideal dessert for hot days, BBQs, or any occasion that calls for a delightful scoop of happiness.
🥘 Ingredients for this Dreamy Ice Cream
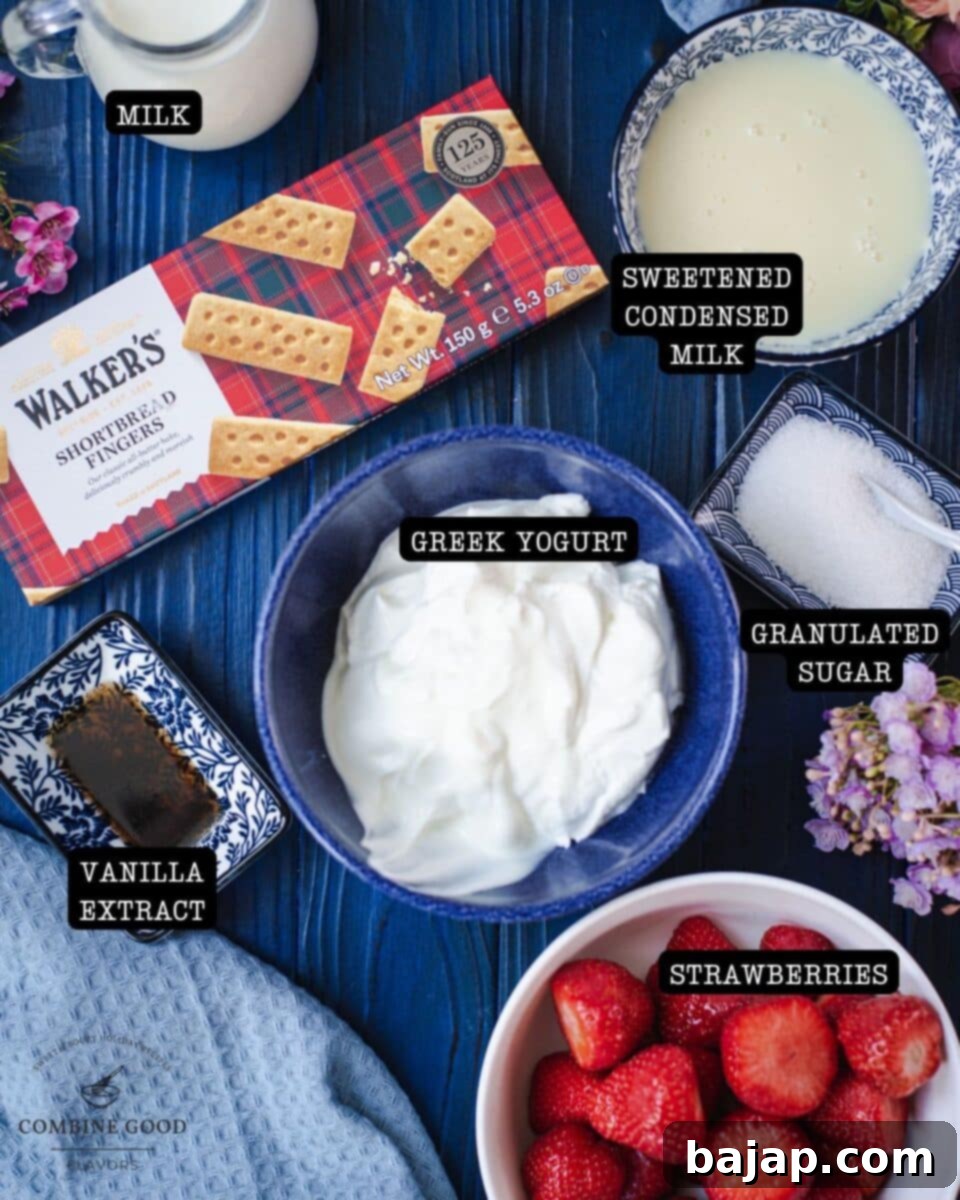
Achieving this incredible strawberry shortcake ice cream begins with a selection of high-quality ingredients, each playing a crucial role in its delicious outcome. Here’s a closer look at what you’ll need:
- Fresh strawberries – Always opt for the ripest, juiciest strawberries you can find. Their natural sweetness and vibrant color are essential. Chop them into bite-sized pieces so they’re well distributed throughout the ice cream, providing a burst of fruity flavor with every bite.
- A bit of granulated sugar – This isn’t just for sweetness! When tossed with the strawberries, it helps macerate them, drawing out their natural juices and creating a rich, flavorful syrup that infuses into the ice cream base.
- Whole milk – This forms the creamy, classic base of our ice cream. Whole milk provides the necessary fat content for a smooth and luxurious texture without being overly heavy.
- Sweetened condensed milk – A secret weapon for incredibly creamy ice cream, especially useful in no-churn recipes, but equally fantastic here. It adds concentrated sweetness and a silky, melt-in-your-mouth texture that makes the ice cream truly decadent.
- Full-fat Greek yogurt – Trust me on this one! The Greek yogurt is what gives this ice cream its unique, slightly tangy profile, balancing the sweetness perfectly. It also contributes significantly to the incredibly thick, luscious texture without the need for heavy cream, making it feel a little lighter.
- Pure vanilla extract – Just a splash of high-quality vanilla extract is all it takes to round out and enhance all the other flavors, adding a subtle warmth and depth to the overall profile.
- Crushed shortbread cookies – This is the “shortcake” element! I highly recommend Walkers shortbread for their exceptional buttery flavor and perfect crumbly texture. Crush them into small, irregular pieces to get that satisfying buttery crunch in every spoonful.
For precise measurements and nutritional information, refer to the recipe cardbelow.
🔪 Step-by-Step Instructions
Making homemade strawberry shortcake ice cream is a rewarding and surprisingly simple process. Follow these steps for perfect results:
Step 1: Prep the Strawberries (Macerate for Flavor)
Begin by tossing your freshly chopped strawberries with a little granulated sugar in a medium-sized bowl. Let this mixture sit for 15-20 minutes at room temperature. This crucial step, known as maceration, allows the sugar to draw out the natural juices from the berries, creating a rich, sweet syrup that will infuse your ice cream with an intense strawberry flavor. You’ll notice the berries becoming softer and glistening as they release their delicious liquid.
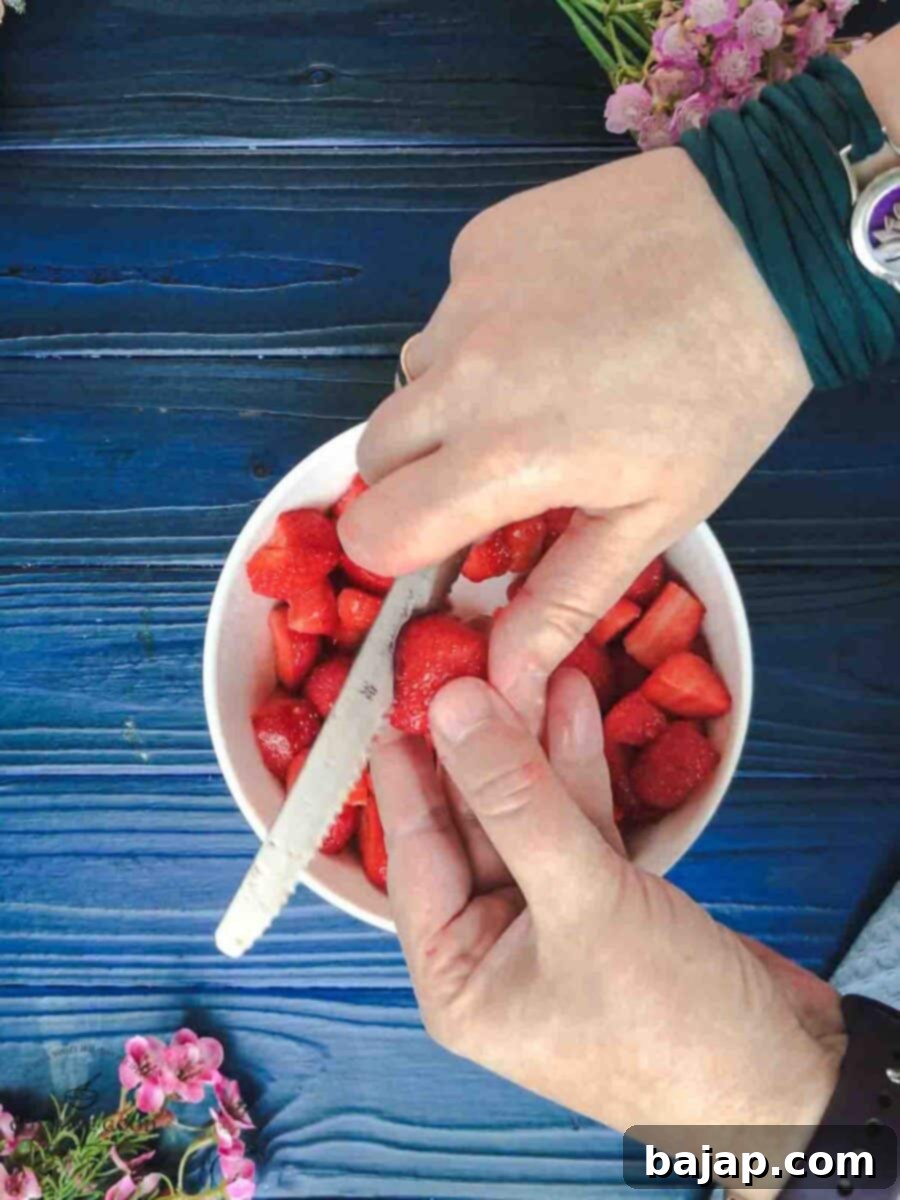
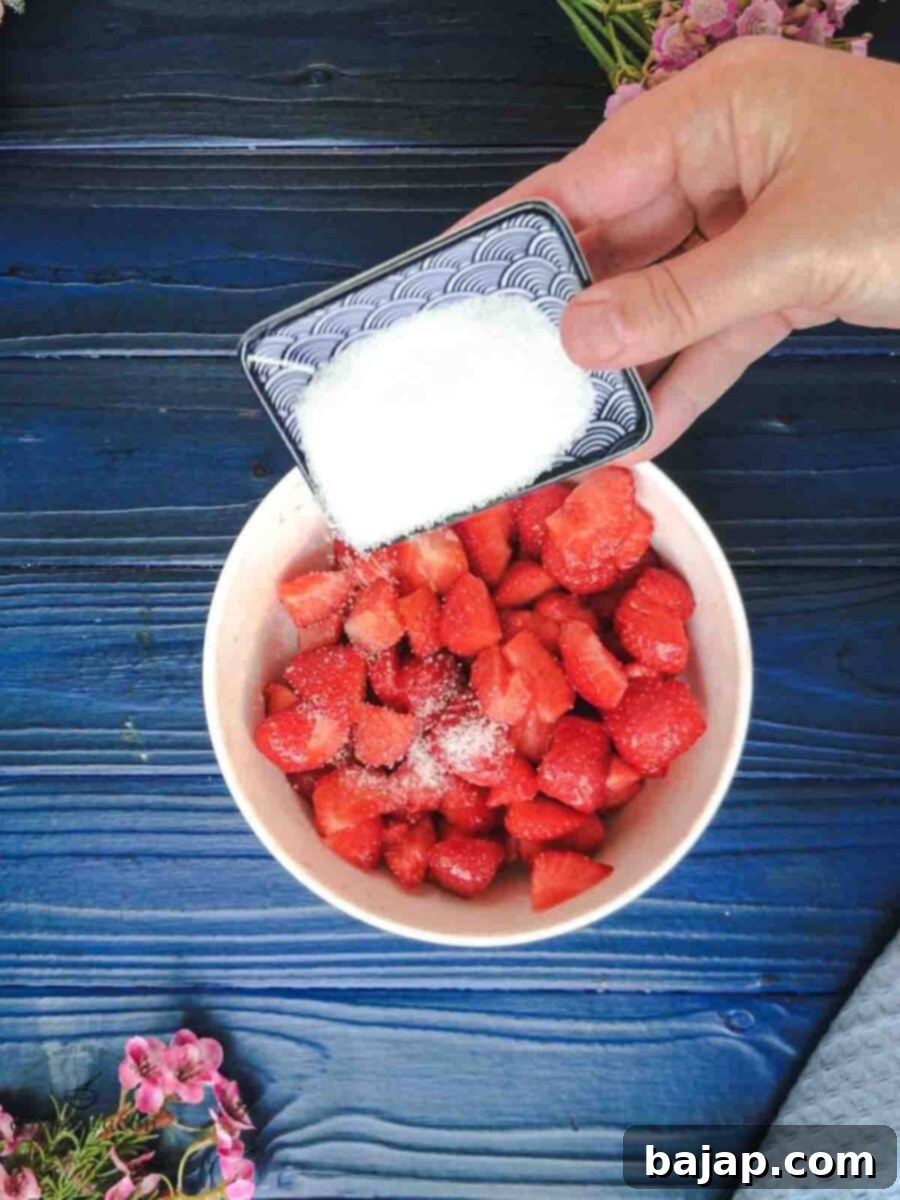
Feeling fancy or prefer a smoother texture? You can lightly mash the macerated strawberries with a fork for a slightly chunky swirl, or give them a quick blitz in a blender (being careful not to over-process) if you prefer a perfectly smooth strawberry ribbon throughout your ice cream. The choice is yours!
Step 2: Create the Creamy Base (and Chill!)
In a large mixing bowl, thoroughly whisk together the whole milk, sweetened condensed milk, full-fat Greek yogurt, and pure vanilla extract until the mixture is smooth and well combined. This combination creates a rich, tangy, and sweet foundation for our ice cream. Next, gently fold in your juicy, macerated strawberries, including all the delicious syrup they’ve released. This ensures every part of the ice cream base is infused with natural strawberry flavor. Once combined, cover the bowl and pop the mixture into the fridge. Let it chill for at least 2 hours, or even longer if you have the time. (This is a perfect moment to enjoy a cup of coffee or prepare your shortbread cookies!)
Step 3: Churn That Magic into Ice Cream
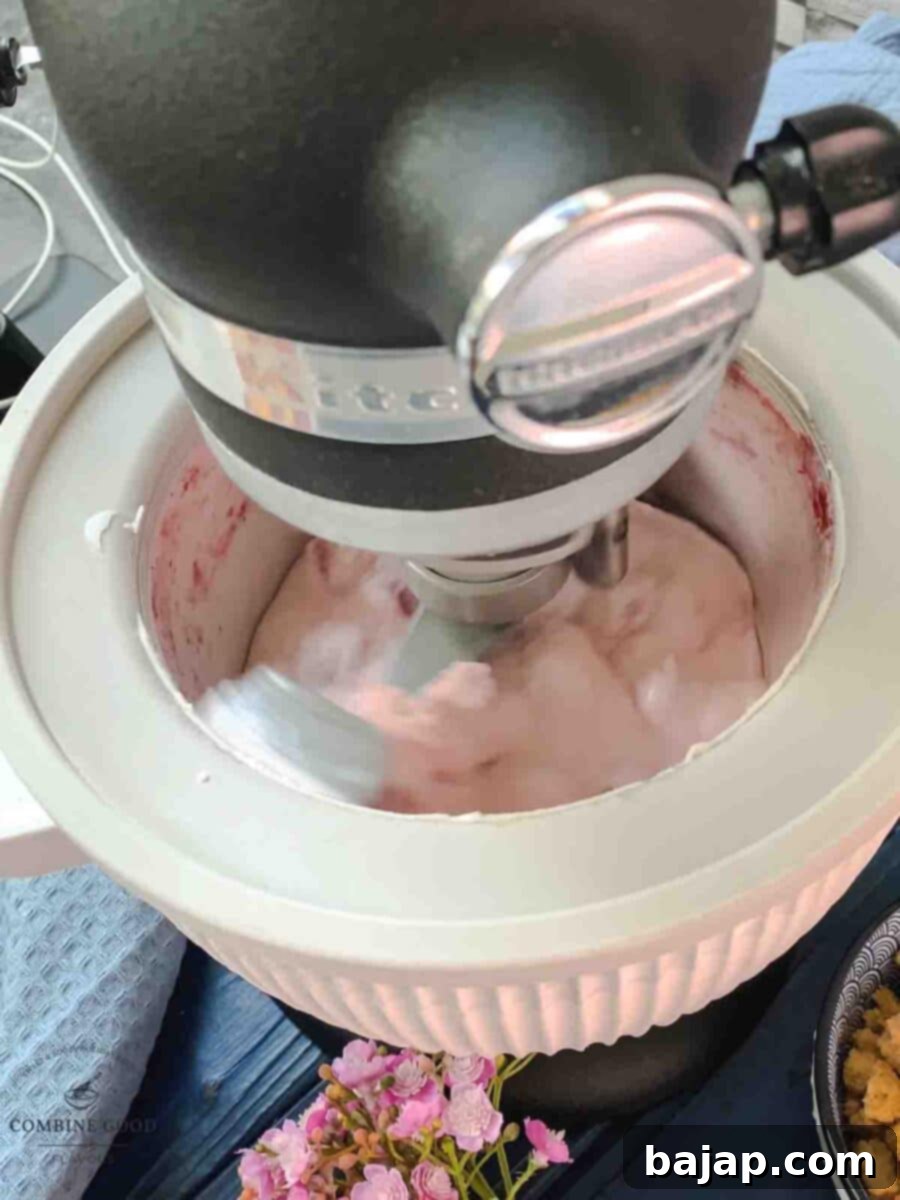
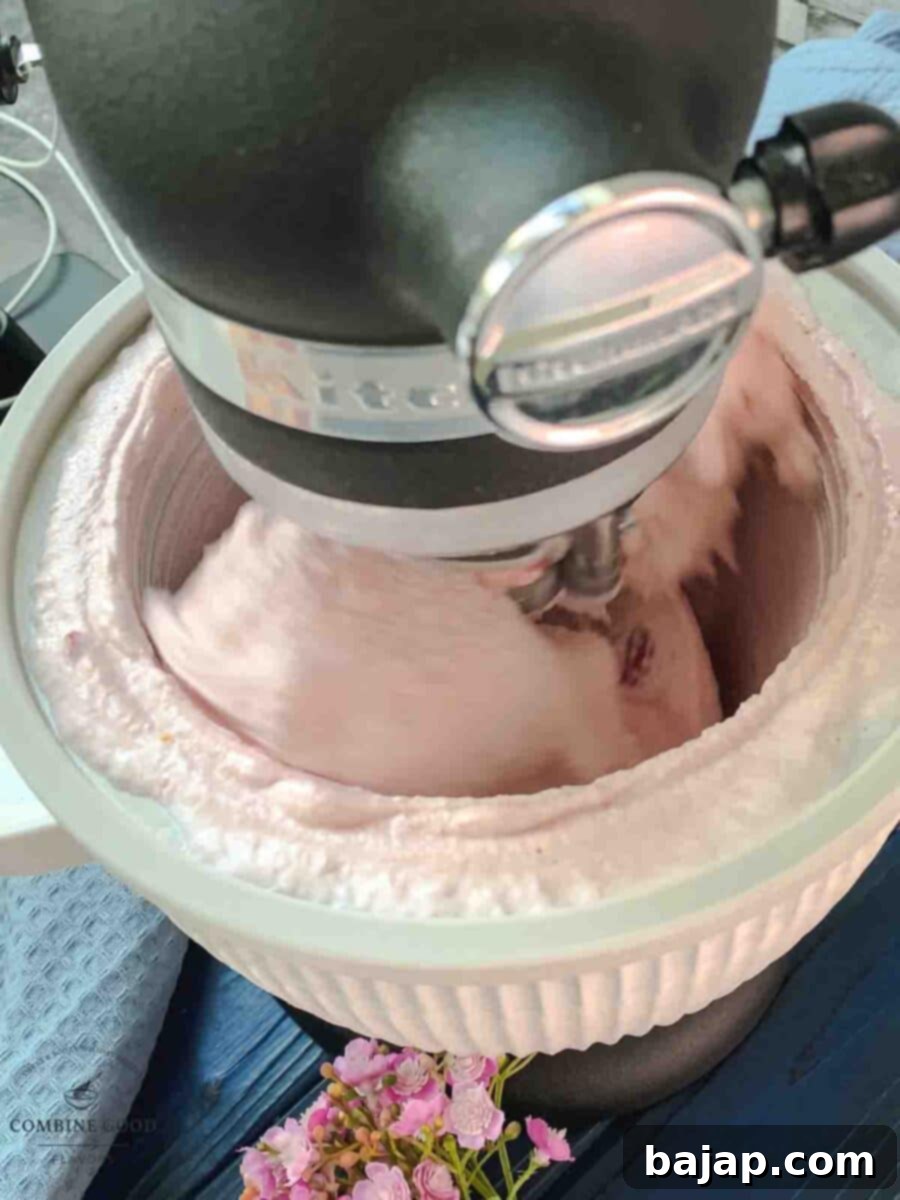
Before you begin, ensure your KitchenAid ice cream maker attachment bowl has been frozen solid for at least 15-24 hours – this is crucial for proper churning. Once ready, attach it to your KitchenAid stand mixer. With the mixer running on the lowest or ‘stir’ speed, slowly and steadily pour the well-chilled ice cream base into the frozen bowl. Allow it to churn for approximately 20-25 minutes. During this time, the mixture will gradually thicken and expand, transforming into that dreamy, soft-serve consistency that’s so tempting to eat directly from the bowl!
Step 4: Add the Buttery Cookie Crunch
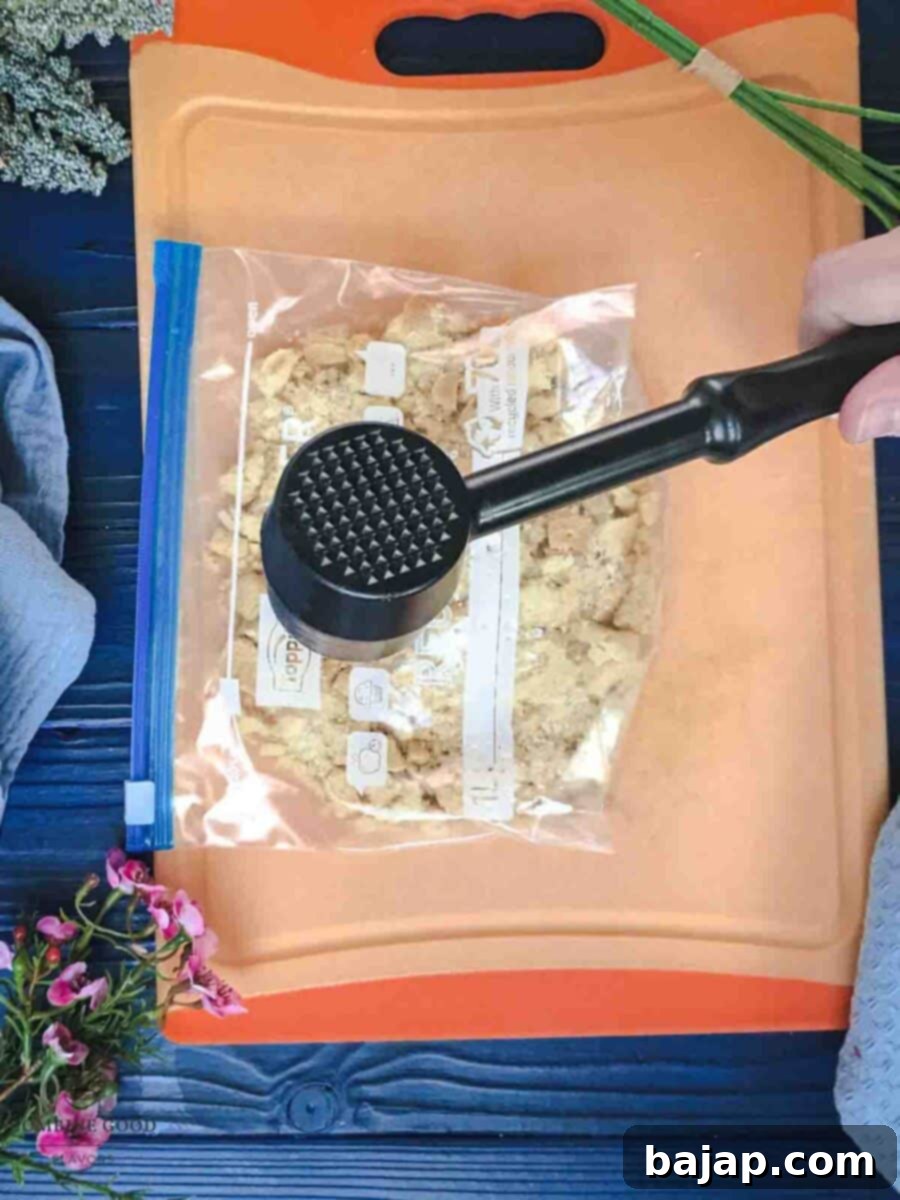
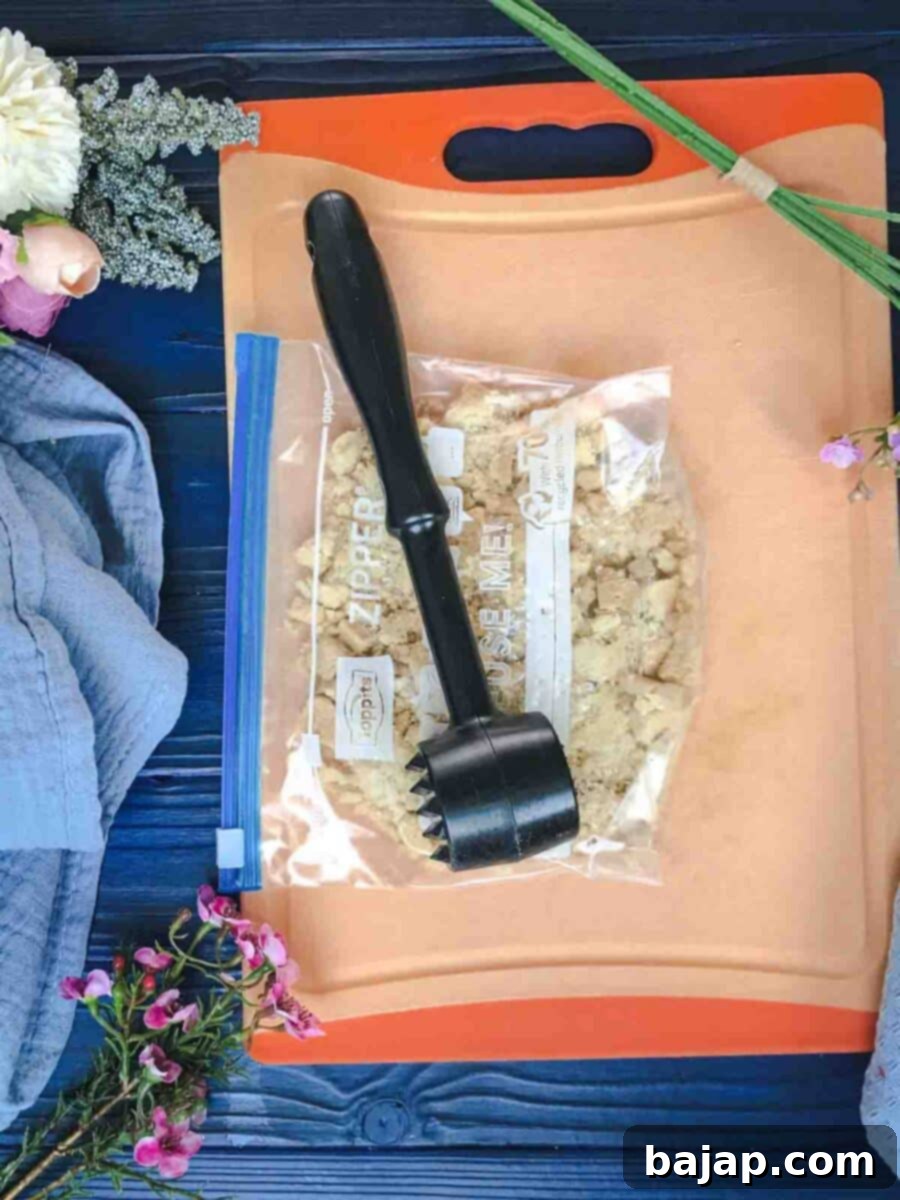
In the last couple of minutes of churning, it’s time to incorporate the star of the “shortcake”! Take your Walkers shortbread cookies and crush them into small, irregular pieces. You can do this by placing them in a ziplock bag and using a meat tenderizer, rolling pin, or even the bottom of a heavy glass. Add these crushed cookies directly into the ice cream maker while it’s still churning. Allow them to mix in for just a minute or two until they are evenly distributed. Once fully incorporated, switch off your mixer. Transfer the freshly churned ice cream to an airtight, freezer-safe container. At this point, it’s soft and ready for immediate enjoyment, or you can freeze it for a firmer scoop later.
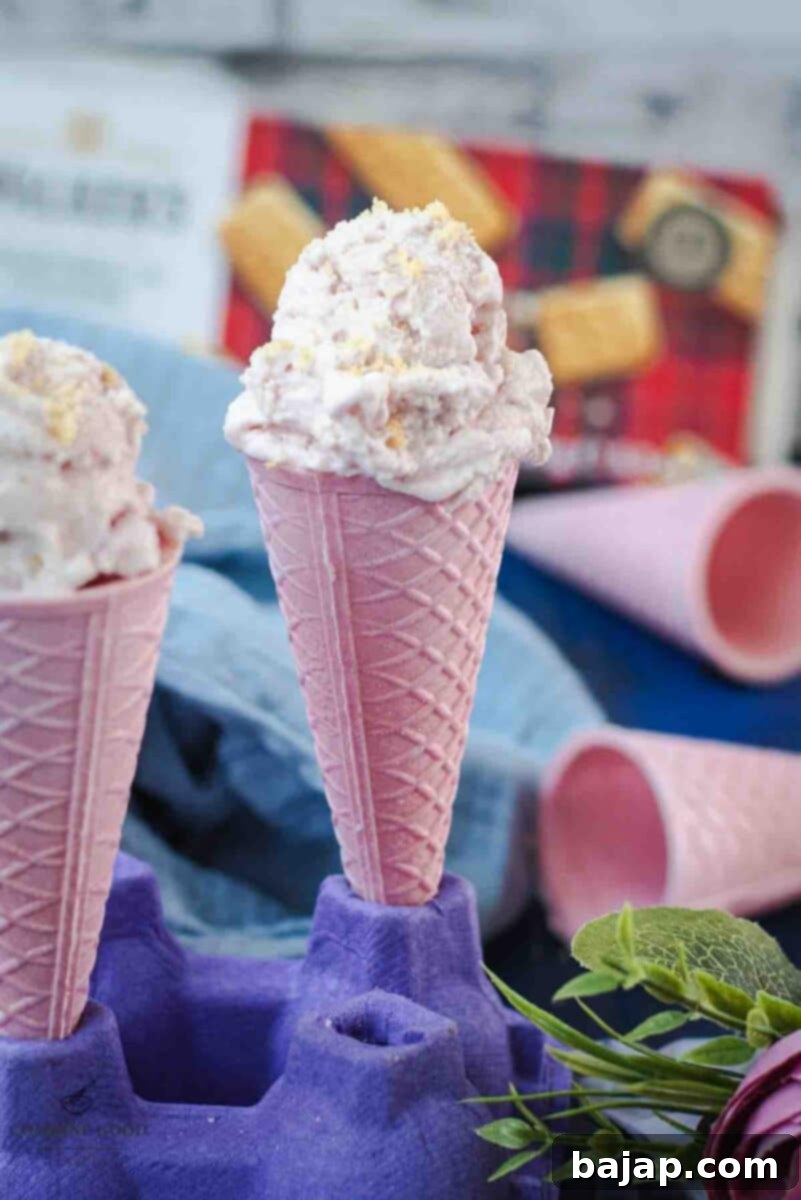
💡 Pro Tip: If you choose to freeze your ice cream for a harder consistency, be sure to let it sit at room temperature for a few minutes (5-10 minutes usually does the trick) before attempting to scoop it – it gets quite firm! And for the ultimate presentation and flavor boost, don’t forget to sprinkle extra cookie crumbles on top of each serving. A fresh strawberry garnish also adds a beautiful touch.
🌡️ Storage for Homemade Ice Cream
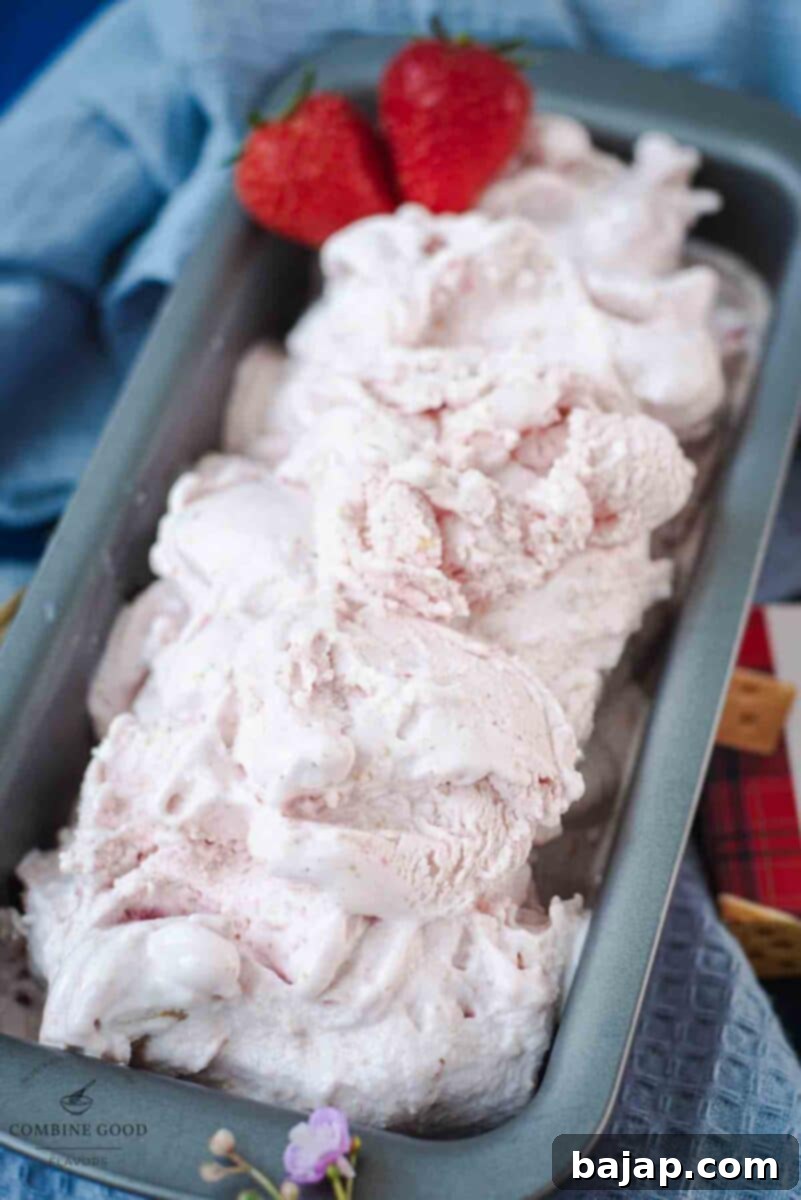
To keep your delicious strawberry shortcake ice cream fresh and free from ice crystals, proper storage is key. Once churned and the cookies are mixed in, transfer the ice cream immediately into an airtight, freezer-safe container. Smooth the top surface with a spatula, then place a piece of parchment paper or plastic wrap directly onto the surface of the ice cream before sealing it with a lid. This crucial step minimizes air exposure, which is the primary cause of ice crystal formation, helping to maintain that creamy texture.
Store your homemade ice cream in the coldest part of your freezer for up to 2 weeks. In my experience, it rarely lasts that long once everyone discovers how irresistible it is!
💡 Before serving, especially after it’s been frozen for a while, always let the ice cream sit at room temperature for 5-10 minutes. It firms up quite a bit in the deep freeze, but a little rest allows it to soften beautifully, making it easier to scoop and ensuring that dreamy, smooth texture is perfectly enjoyed.
🍓 Serving Suggestions for a Picture-Perfect Dessert
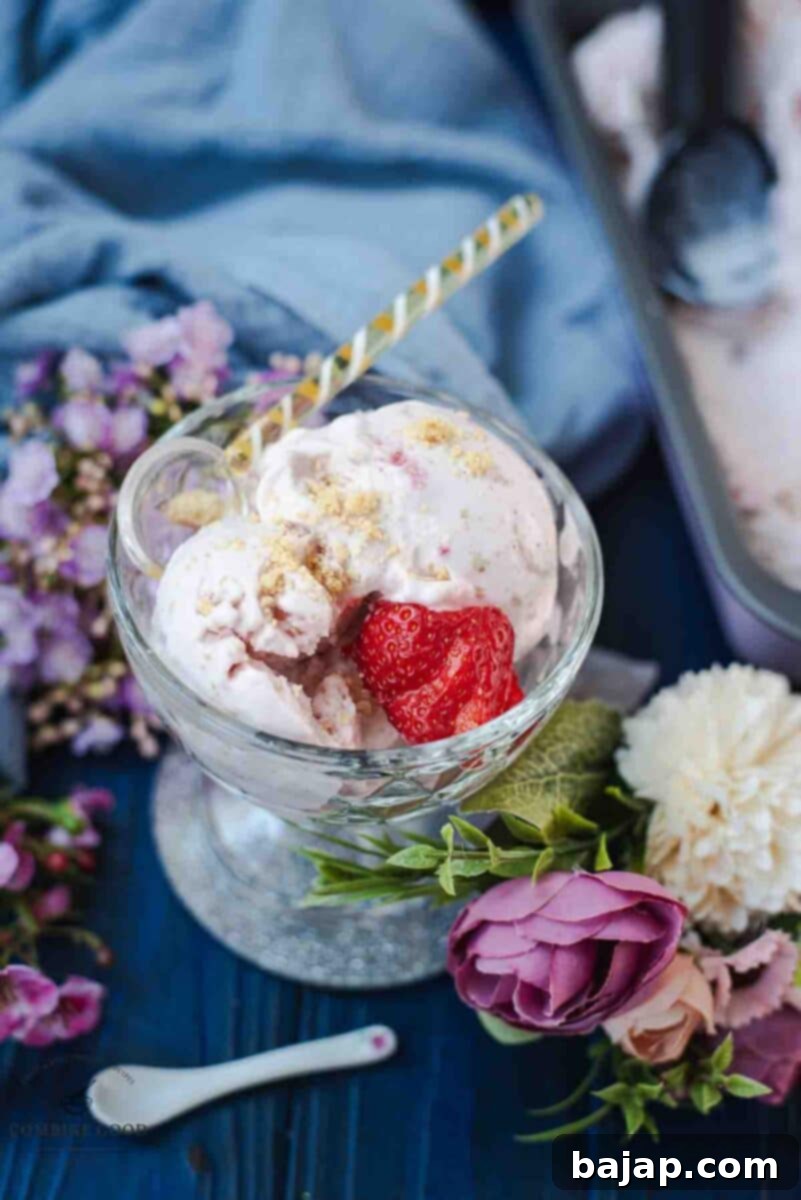
Elevate your homemade strawberry shortcake ice cream into a truly show-stopping dessert with these elegant serving ideas. For a refined presentation, serve generous scoops in stylish cocktail glasses – martini glasses or champagne coupes work exceptionally well, adding a touch of sophistication to this comforting treat. Garnish each serving with a few extra crushed shortbread cookie crumbles for added texture and a fresh strawberry on the rim of the glass for that perfect pop of color and natural sweetness. You can even add a small dollop of whipped cream underneath the strawberry for an extra layer of indulgence.
Hosting a delightful garden brunch or a festive birthday party? Enhance the presentation further by adding a sprig of fresh mint or a tiny edible flower. And voilà—you’ve effortlessly transformed your homemade ice cream into a five-star dessert with zero fuss, impressing all your guests with minimal effort and maximum flavor.
🍽 Essential Equipment for Ice Cream Making
Having the right tools makes all the difference when crafting homemade ice cream. Here’s a list of the equipment you’ll need to make this strawberry shortcake ice cream a success:
- Mixing bowls: You’ll need at least one large mixing bowl for whisking the ice cream base and a smaller one for macerating the strawberries.
- Cutting board & sharp knife: Essential for hulling and chopping your fresh strawberries into even, bite-sized pieces.
- KitchenAid Ice Cream Maker Attachment: This attachment makes churning ice cream incredibly easy and efficient. Remember to freeze the bowl overnight for optimal results! Its paddle continuously mixes the base, incorporating air for that light, fluffy texture.
- Ice cream storage container: An airtight, freezer-safe container is crucial for storing your finished ice cream and preventing ice crystal formation. Specialized ice cream containers often have a narrower shape, which helps maintain consistency.
- Ziplock bag & rolling pin (or meat tenderizer): Perfect for crushing your shortbread cookies into just the right size for mixing into the ice cream. This method ensures uniform crumbs without over-processing.
💭 Top Tips for Perfect Strawberry Shortcake Ice Cream
Why do we macerate the berries?
Macerating is a simple yet incredibly effective technique that elevates the flavor of your strawberries. It’s just a fancy culinary term for “letting the strawberries hang out with sugar” for a little while. This process draws out the natural juices from the fruit, softening the berries and creating a vibrant, naturally sweet strawberry syrup. This syrup then beautifully infuses into your ice cream base, ensuring that every spoonful bursts with intense, fresh strawberry flavor. Essentially, it makes the berries extra fabulous and intensifies their sweet essence.
What’s so great about Greek yogurt?
Full-fat Greek yogurt is a fantastic ingredient in this ice cream recipe for several reasons. Firstly, it lends the ice cream an incredibly thick, luscious texture reminiscent of traditional ice cream made with heavy cream, but without the added richness. Secondly, it contributes a wonderful, subtle tanginess that perfectly balances the sweetness of the strawberries and condensed milk. This creates a more complex and refreshing flavor profile. Lastly, using Greek yogurt makes the whole dessert feel a little lighter, so you can indulge in extra scoops (or thirds!) with zero regrets. It’s a clever way to add body and character while keeping things balanced.
Choose Your Strawberries Wisely
The quality of your strawberries directly impacts the flavor of your ice cream. Always select ripe, fragrant, and firm berries. Avoid any that are bruised, mushy, or lacking a bright red color. When in season, local strawberries will offer the best taste!
🍦 No-Churn Strawberry Shortcake Ice Cream Version
No ice cream maker? No problem at all!
You can absolutely still enjoy this incredibly creamy and flavorful strawberry shortcake ice cream with absolutely zero churning required. The process is remarkably simple and yields a wonderfully rich dessert. Here’s how to do it:
- After you’ve macerated your fresh strawberries with sugar and lightly mashed them to your preferred consistency, set them aside.
- In a large mixing bowl, whisk together the sweetened condensed milk, full-fat Greek yogurt, whole milk, and vanilla extract until the mixture is smooth and evenly combined.
- Gently fold in your macerated berries, including all their flavorful syrup, and then stir in the crushed shortbread cookies. Ensure everything is well distributed throughout the creamy base.
- Pour the entire mixture into a loaf pan or any other freezer-safe container. Smooth the top with a spatula.
- Cover the pan tightly with parchment paper (pressing it directly onto the surface to prevent ice crystals) or plastic wrap.
- Transfer the covered pan to the freezer and let it freeze for a minimum of 6-8 hours, or ideally, overnight, until it’s firm.
This no-churn method creates a dense, rich, and incredibly satisfying ice cream that captures all the fruity, creamy, and cookie-loaded magic of the churned version, proving that no special equipment is needed to create a truly delicious homemade treat. Just like the churned version, let it soften for a few minutes at room temperature before scooping for the best texture!
Other Strawberry & Ice Cream Recipes for You to Try
If you loved this strawberry shortcake ice cream, here are more delicious recipes featuring strawberries or perfect for your ice cream maker:
- Tangy Sour Cream Ice Cream
- Homemade Vanilla Ice Cream Recipe
- Chocolate Chip Vanilla Ice Cream
- KitchenAid Lemon Sorbet Recipe
- Easy Homemade Strawberry Milkshake with Ice Cream
- No Fuss Homemade Strawberry Simple Syrup
- Homemade Strawberry Popsicles
- How to make a Refreshing Strawberry Spritz Cocktail
- “Easy As Pie” Strawberry Cobbler Recipe
- Strawberry Moscow Mule
- Quick Strawberry Cream
- Strawberry White Chocolate Cocoa
- Strawberry Flavored Whipped Cream
- Creamy No bake Strawberry Cheesecake
- Fresh Strawberry Sponge Cake
- Strawberry White Chocolate Chip Cookies
- National Strawberry Day (February 27th)
- Delicious Strawberry Milk with Only Four Ingredients
- How do you make a Frozen Strawberry Daiquiri
- How to make fresh Strawberry Cupcakes with Ricotta
If you make this recipe, I would absolutely love to hear from you! Please let me know how you liked it by giving it a ★★★★★ star rating and leaving a comment below. Your feedback is truly awesome and helps others discover delicious recipes! You can also sign up for our Newsletter to get weekly delicious recipes directly in your inbox, or follow me on Pinterest or Instagram and share your amazing creation with me. Just tag me @combinegoodflavors and use the hashtag #combinegoodflavors, so I don’t miss it!
📖 Recipe

Easy Strawberry Shortcake Ice Cream with KitchenAid
Nora
Save RecipeSaved!
Pin Recipe
Equipment
-
Mixing bowls
-
Cutting board & Sharp knife
-
KitchenAid Ice Cream Maker Attachment
-
Ice cream storage container
-
Ziplock bag & rolling pin to smash the cookies
Ingredients
- 2 cups Fresh strawberries hulled and chopped
- 2 tablespoon Sugar for macerating
- 1 cup Whole milk
- ¾ cup Sweetened condensed milk
- 1 ¾ cup Greek yogurt full fat
- 1 teaspoon Vanilla extract
- 1 cup Shortbread cookies crushed into small chunks
Instructions
-
Combine 2 cups Fresh strawberries (hulled and chopped) with 2 tablespoon Sugar in a bowl and let them macerate for 15-20 minutes.2 cups Fresh strawberries, 2 tablespoon Sugar
-
Lightly mash the macerated berries with a fork or briefly blend them, depending on your preferred texture (chunky or smoother swirl).
-
In a large bowl, whisk together 1 cup Whole milk, ¾ cup Sweetened condensed milk, 1 ¾ cup Full-fat Greek yogurt, and 1 teaspoon Pure vanilla extract.1 cup Whole milk, ¾ cup Sweetened condensed milk, 1 ¾ cup Greek yogurt, 1 teaspoon Vanilla extract
-
Gently fold in the macerated strawberries, including all their delicious syrup.
-
Cover the mixture and chill in the fridge for at least 2 hours (the longer, the better for churning).
-
Set up your KitchenAid ice cream maker attachment. Ensure its bowl has been pre-frozen for at least 15-24 hours.
-
With the mixer running on low or ‘stir’ speed, slowly pour in the chilled ice cream base. Churn for approximately 20-25 minutes, or until it reaches a soft-serve consistency.
-
In the last 2 minutes of churning, add 1 cup crushed Shortbread cookies. Continue churning briefly until they are evenly incorporated.1 cup Shortbread cookies
-
Transfer the freshly churned ice cream to an airtight, freezer-safe container. You can serve it immediately for a soft-serve texture or freeze it for a firmer scoop later.
-
If frozen, let the ice cream sit at room temperature for 5-10 minutes to soften slightly before serving.
-
Garnish each serving with extra shortbread cookie crumbles and a fresh strawberry for the perfect finish!
Notes
🎉 No ice cream maker? No worries, there’s a delicious no-churn version!
After macerating the strawberries with sugar and lightly mashing them, simply whisk together all the remaining ingredients (sweetened condensed milk, Greek yogurt, whole milk, and vanilla) in a large bowl. Gently fold in the prepared berries along with the crushed shortbread cookie chunks. Pour this mixture into a loaf pan or any freezer-safe container, smooth the top, and cover tightly with parchment paper (pressed directly onto the surface) or plastic wrap. Freeze for 6-8 hours or overnight until firm. Before serving, allow it to soften at room temperature for a few minutes for the perfect scoopable texture, then enjoy all that homemade goodness!
Nutrition values are estimates only, using online calculators. Please verify using your own data.

⛑️ Food Safety Guidelines
Ensuring food safety is paramount when preparing any homemade treat. Please keep these important guidelines in mind:
- Cook to a minimum temperature of 165 °F (74 °C) where applicable, although this recipe does not involve cooking ingredients to that temperature, it’s good general food safety practice.
- Do not use the same utensils on cooked food that previously touched raw ingredients (though less applicable for this dessert, always be mindful of cross-contamination).
- Always wash hands thoroughly with soap and warm water after handling any food, especially if moving between different ingredients.
- Do not leave perishable food sitting out at room temperature for extended periods. The ice cream base should be chilled promptly and continuously.
- Never leave cooking food unattended (again, general cooking safety, less relevant for this no-cook base).
- Use oils with high smoking points if any cooking is involved to avoid harmful compounds (not applicable to this recipe).
- Always ensure good ventilation when using a gas stove (not applicable to this recipe).
For further comprehensive information and best practices, please check the official guidelines on Safe Food Handling – FDA.
