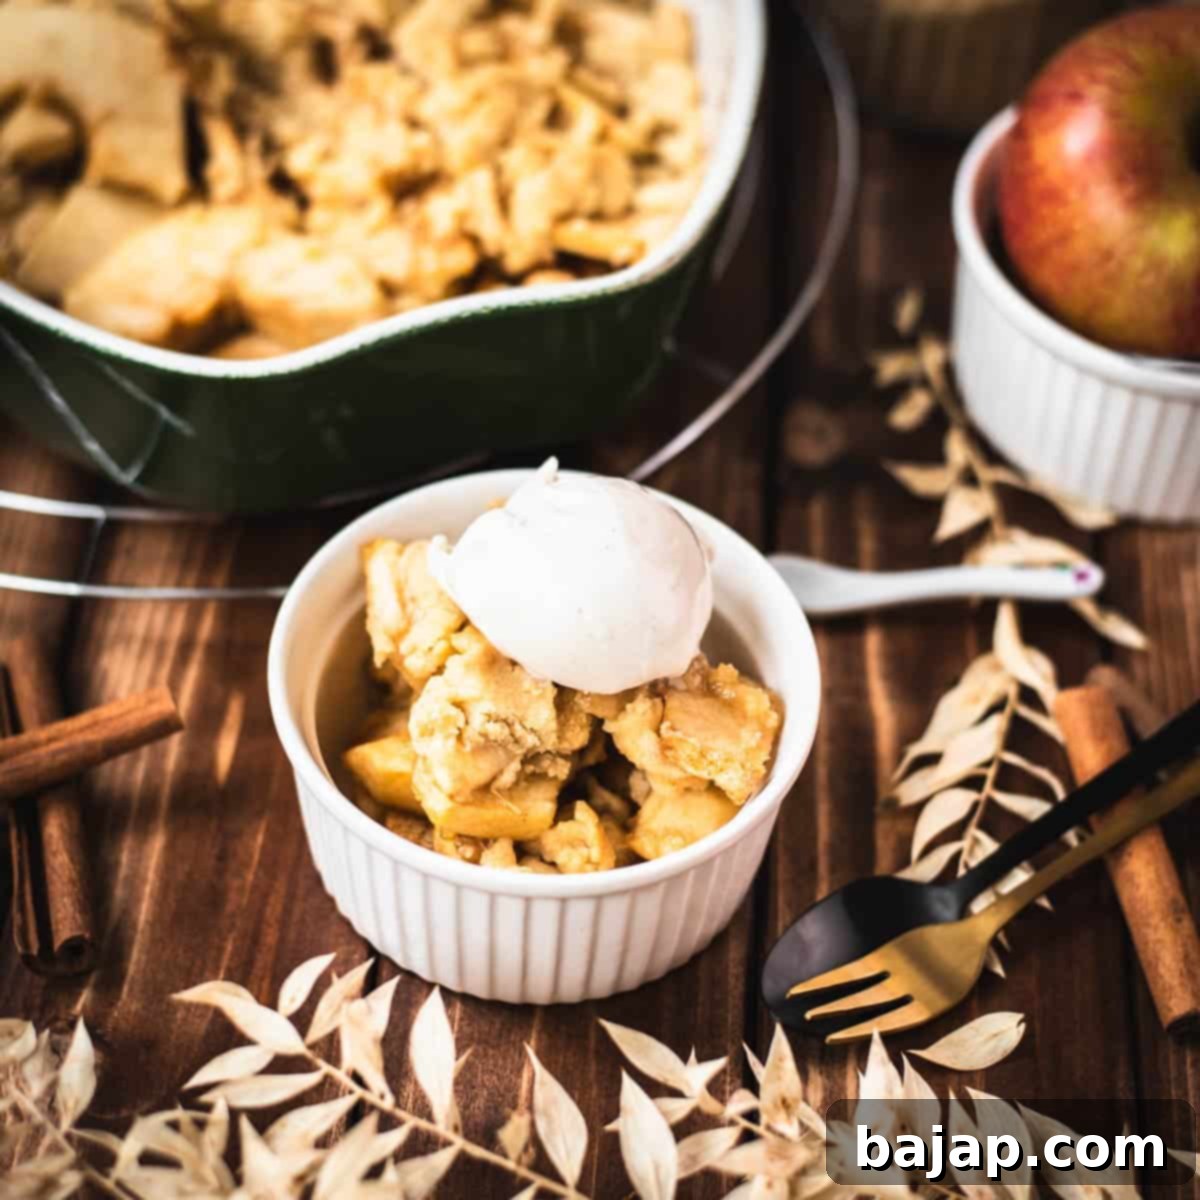
The Best No-Oatmeal Apple Crisp Recipe: Your Ultimate Guide to Cozy Fall Desserts
As the days shorten and the crisp, cool air ushers in the beauty of autumn, there’s nothing quite like the comforting aroma of freshly baked apples and warm spices filling your home. Apple season is truly upon us, guiding us into the coziest months of the year. To celebrate this delightful time, I’m thrilled to share my absolute favorite apple crisp recipe without oatmeal – a simple yet incredibly satisfying dessert that captures the essence of fall and winter.
This recipe is not only quick and easy to prepare, making it perfect for busy evenings, but it also delivers an irresistible combination of tender, spiced apples beneath a gloriously buttery and crunchy topping. Forget the oats; this version focuses on a pure, decadent crumble that perfectly complements the fruit. Serve it warm with a generous scoop of tangy sour cream ice cream, and you’ll understand why this dish is a true crowd-pleaser.
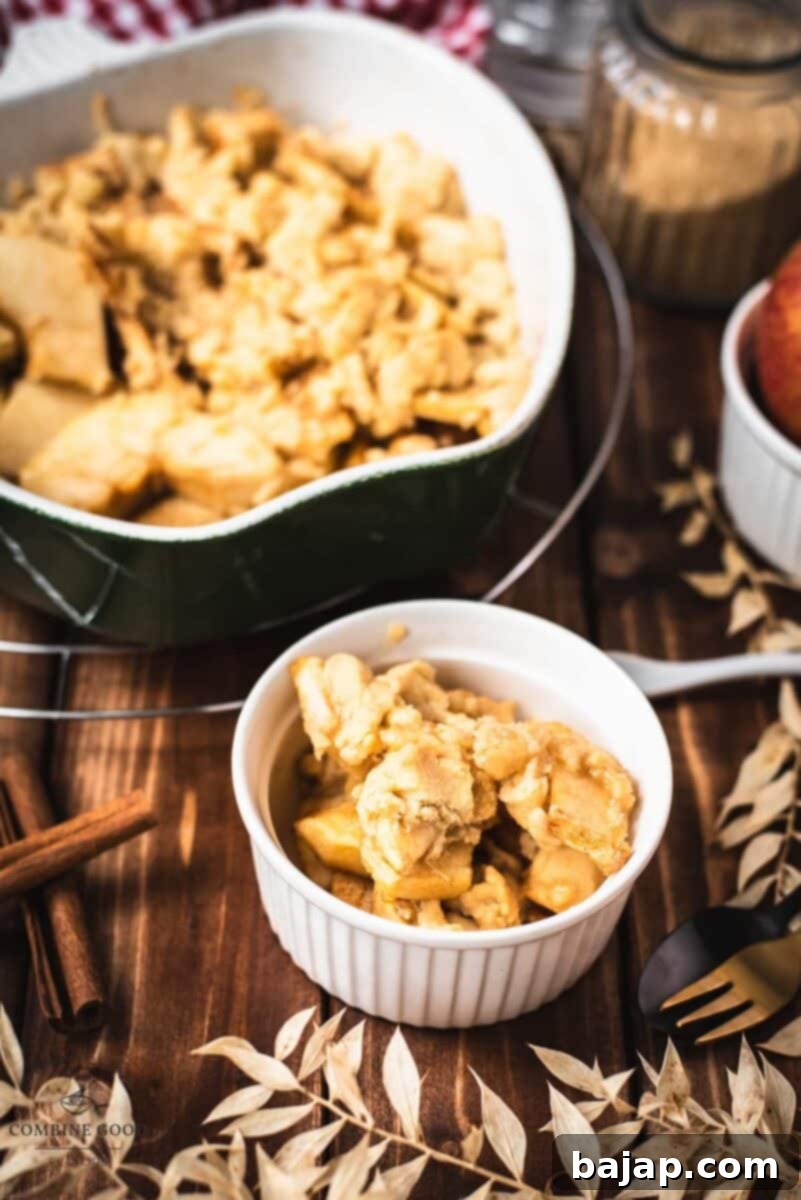
This dessert is a staple for holiday feasts, shining brightly on your Thanksgiving table or as a sumptuous addition to any Christmas menu. Beyond festive occasions, it’s also an ideal treat for a hearty meal during the fall and winter months, offering warmth and satisfaction with every bite. The tender, spiced apple filling, encased in a rich, buttery, and utterly crunchy topping, makes this a comforting favorite that everyone will adore.
So, let’s fully embrace the magical flavors of autumn and winter with this incredibly comforting and easy-to-make dessert. Are you ready to create some delicious memories? Let’s get started!
🍏 Don’t forget! September 21st is International Eat an Apple Day! 🍎
🌟 Why You’ll Love This No-Oatmeal Apple Crisp
- Effortlessly Easy: With minimal ingredients and straightforward steps, this recipe is perfect for beginners and seasoned bakers alike.
- Quick to Prepare: From start to finish, you can have this delightful dessert on your table in under an hour.
- Perfectly Crunchy Topping: Unlike traditional crisps with oats, this version boasts a pure, buttery, and incredibly crunchy crumble that melts in your mouth.
- Versatile & Crowd-Pleasing: A guaranteed hit for family dinners, holiday gatherings, or simply a cozy treat for yourself.
- Customizable: Easily adapt the spices or add optional ingredients like nuts for a personalized touch.
- Gluten-Friendly (with modifications): With a simple swap to gluten-free all-purpose flour, this recipe can easily accommodate dietary needs.
🥘 Essential Ingredients for the Perfect Apple Crisp
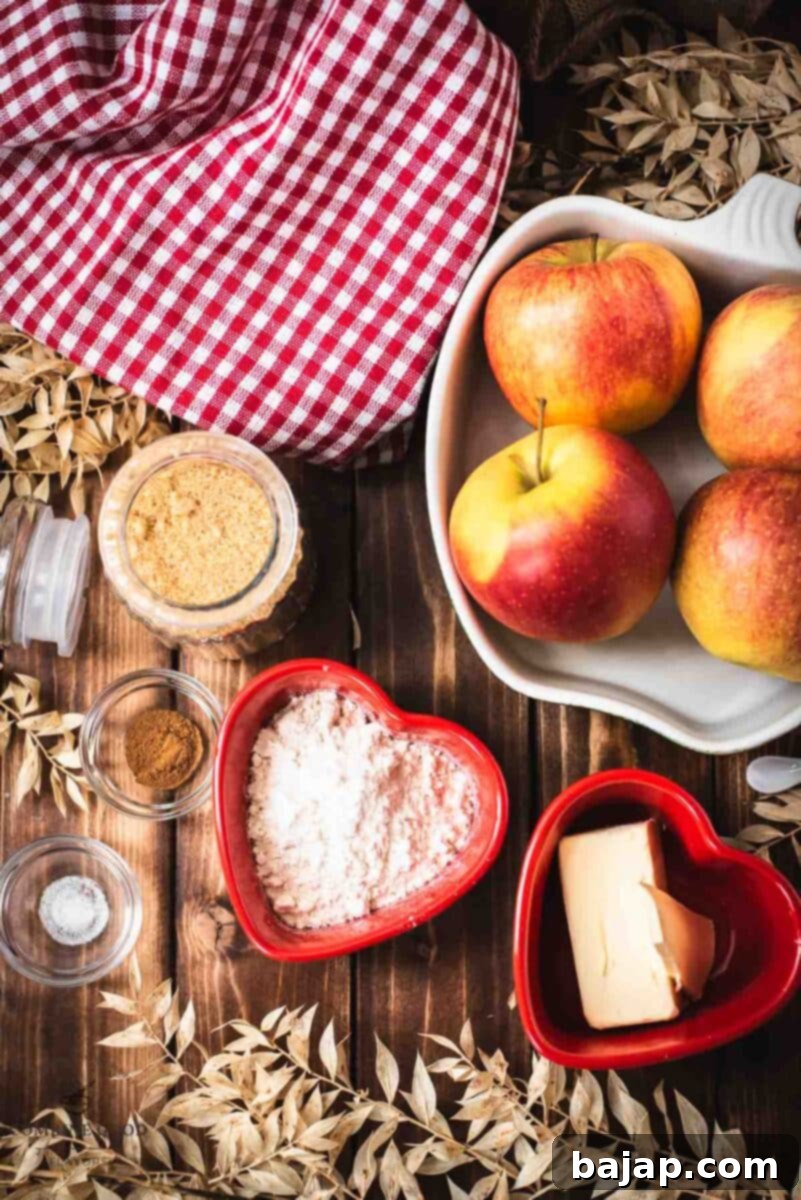
Creating an exceptional apple crisp starts with selecting the right ingredients. Each component plays a vital role in achieving that perfect balance of sweet, tart, and buttery goodness. Here’s a closer look at what you’ll need and why it matters:
For the Flavorful Apple Filling
- Apples: The star of the show! For the best apple crisp, choose large, slightly tart apples that hold their shape well when baked. Varieties like Granny Smith offer a fantastic tartness that cuts through the sweetness of the crumble. Honeycrisp and Braeburn are excellent choices for their crisp texture and balanced flavor. You can also experiment with mixing apple varieties, such as combining a tart Granny Smith with a sweeter Fuji or Gala, to create a more complex flavor profile. Ensure they are peeled, cored, and thinly sliced for even cooking.
- Brown Sugar: This adds a deep, caramel-like sweetness to the apple filling, enhancing the natural fruit flavors. Using brown sugar also contributes to a slightly richer and more moist filling compared to white sugar. You can use either light or dark brown sugar, with dark brown sugar providing a more pronounced molasses flavor.
- Cinnamon: A classic pairing with apples, cinnamon elevates the natural sweetness and warmth of the fruit. For the most vibrant and robust flavor, opt for freshly ground Ceylon cinnamon. Ceylon cinnamon is often preferred for its delicate, sweet aroma and lower coumarin content compared to common Cassia cinnamon. You can also add a pinch of nutmeg or allspice for extra depth.
For the Irresistible Crumble Topping
- All-Purpose Flour: This forms the essential structure of your buttery crumble topping, giving it that desired crisp texture. For a gluten-free alternative, a good quality gluten-free all-purpose flour blend can be substituted cup for cup.
- Butter, Softened: Softened butter is crucial for achieving the perfect crumbly texture. It easily incorporates with the dry ingredients, creating those delightful buttery clumps that crisp up beautifully in the oven. If your butter isn’t soft enough, you can microwave it for a few seconds (5-10 seconds per stick), but be careful not to melt it completely, as this will change the texture of your topping. Quality butter makes a difference in flavor here!
- Brown Sugar: Just like in the filling, brown sugar in the topping contributes sweetness and helps create a wonderfully crisp and slightly chewy texture. Dark brown sugar will impart a richer, more profound flavor and a slightly darker, more caramelized appearance to your crumble.
- Salt: A small pinch of fine sea salt is essential for balancing the sweetness and enhancing all the flavors in the crumble topping. It truly makes the other ingredients pop, preventing the crisp from tasting one-dimensionally sweet.
For precise quantities and measurements, please refer to the comprehensive recipe card below.
🔪 Step-by-Step Instructions: Crafting Your Apple Crisp
Follow these simple steps to create a show-stopping apple crisp that will impress everyone:
- Step 1: Prepare Your Oven. Preheat your oven to 175°C (347°F). This ensures the oven is at the correct temperature for even baking and a perfectly golden crust.
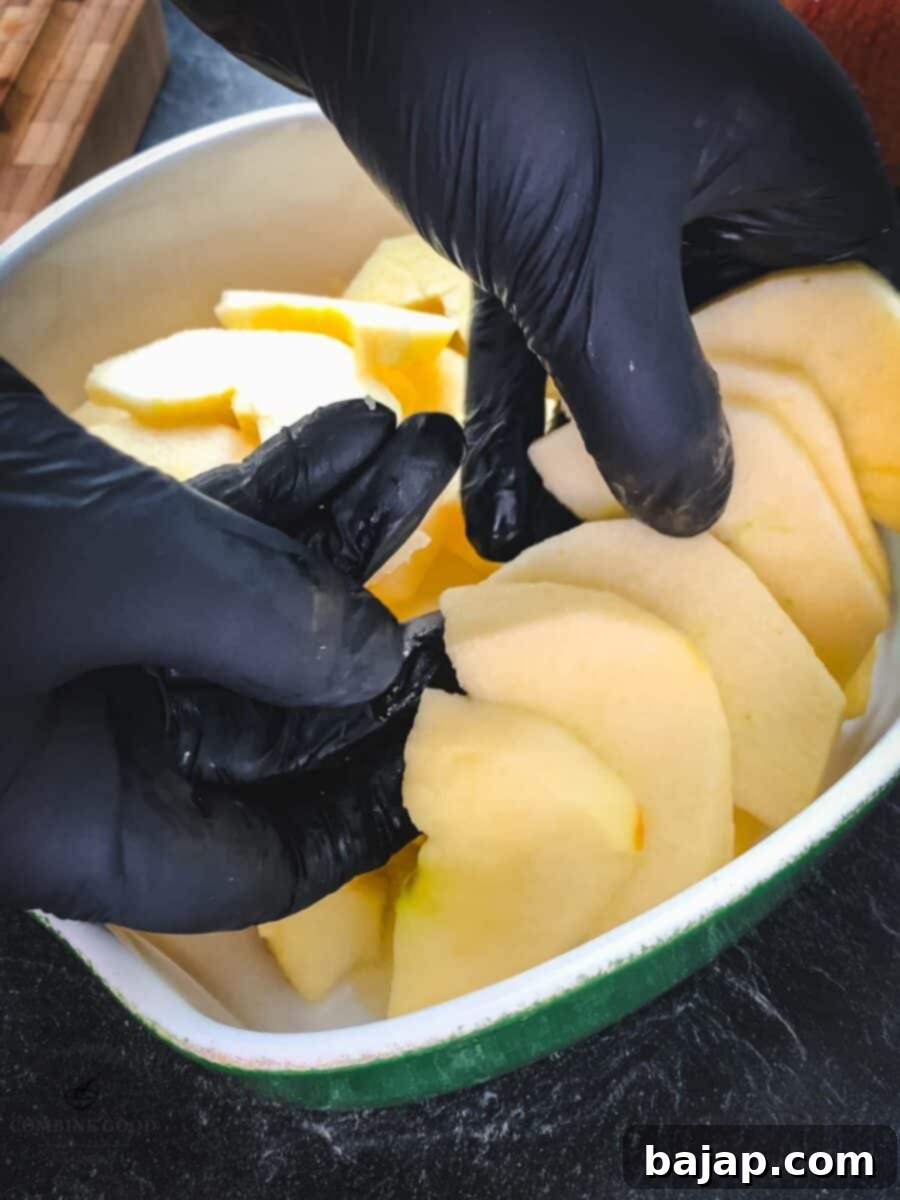
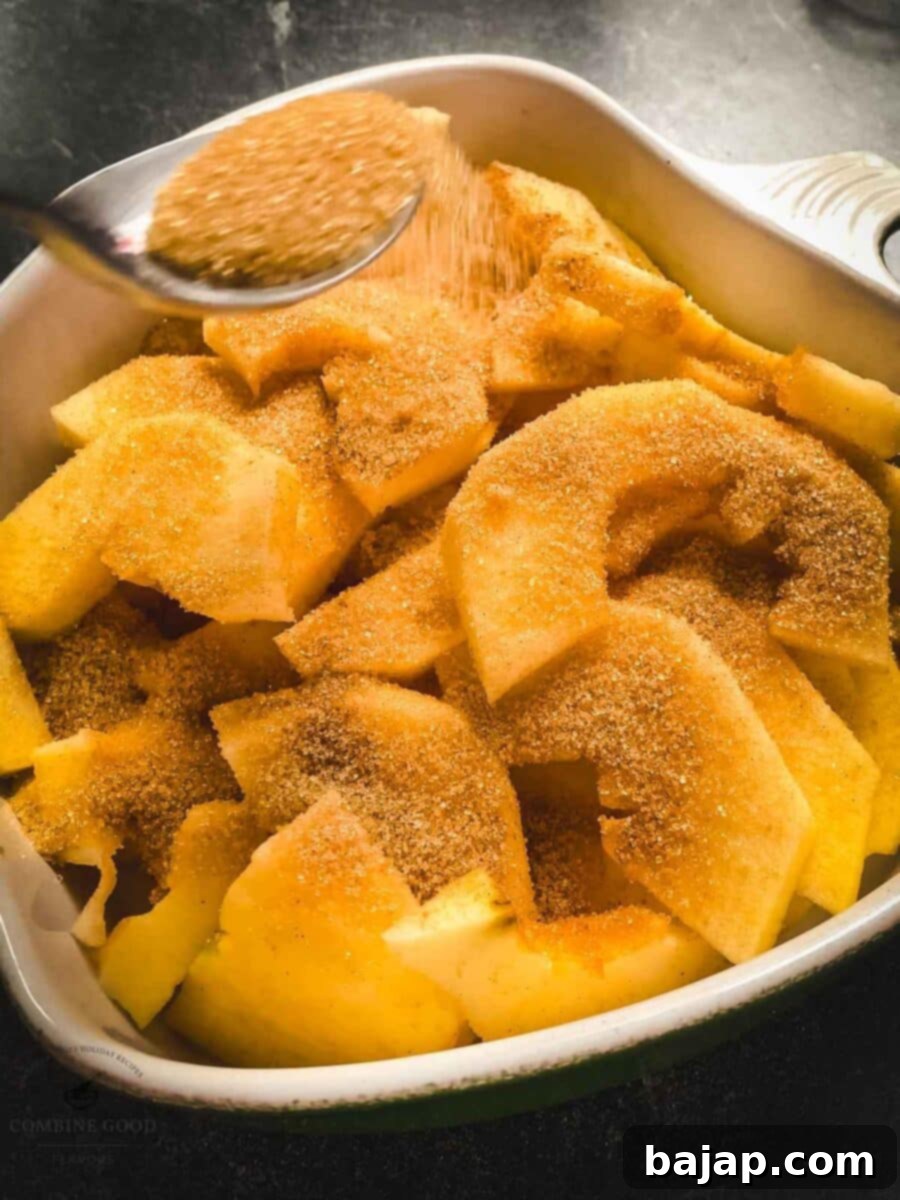
- Step 2: Apple Preparation and Layering. Begin by washing, peeling, and thinly slicing your chosen apples. Aim for uniform slices, about ¼-inch thick, to ensure they cook evenly. Arrange these apple slices in an even layer in your chosen casserole or baking dish. Don’t overcrowd the dish; a single, even layer promotes tender, not mushy, apples.
- Step 3: Season the Apples. In a small bowl, thoroughly mix the brown sugar and cinnamon. This aromatic blend will infuse your apples with warmth and sweetness. Sprinkle about half of this mixture evenly over the arranged apples. This ensures every apple slice gets a burst of flavor.
- Step 4: Craft the Crumble Topping. In a separate mixing bowl, combine the all-purpose flour, softened butter, the remaining brown sugar, and a pinch of salt. Use your hands to knead the ingredients together until they form a coarse, crumbly dough. Alternatively, you can use a stand mixer with a paddle attachment for convenience. The goal is to have distinct clumps of buttery crumble.
- Step 5: Assemble the Crisp. Evenly distribute the prepared crumble topping over the seasoned apples in the casserole dish. Then, sprinkle the remaining cinnamon and sugar mixture over the top of the crumble. This final dusting adds extra spice and helps create a beautiful caramelized crust.
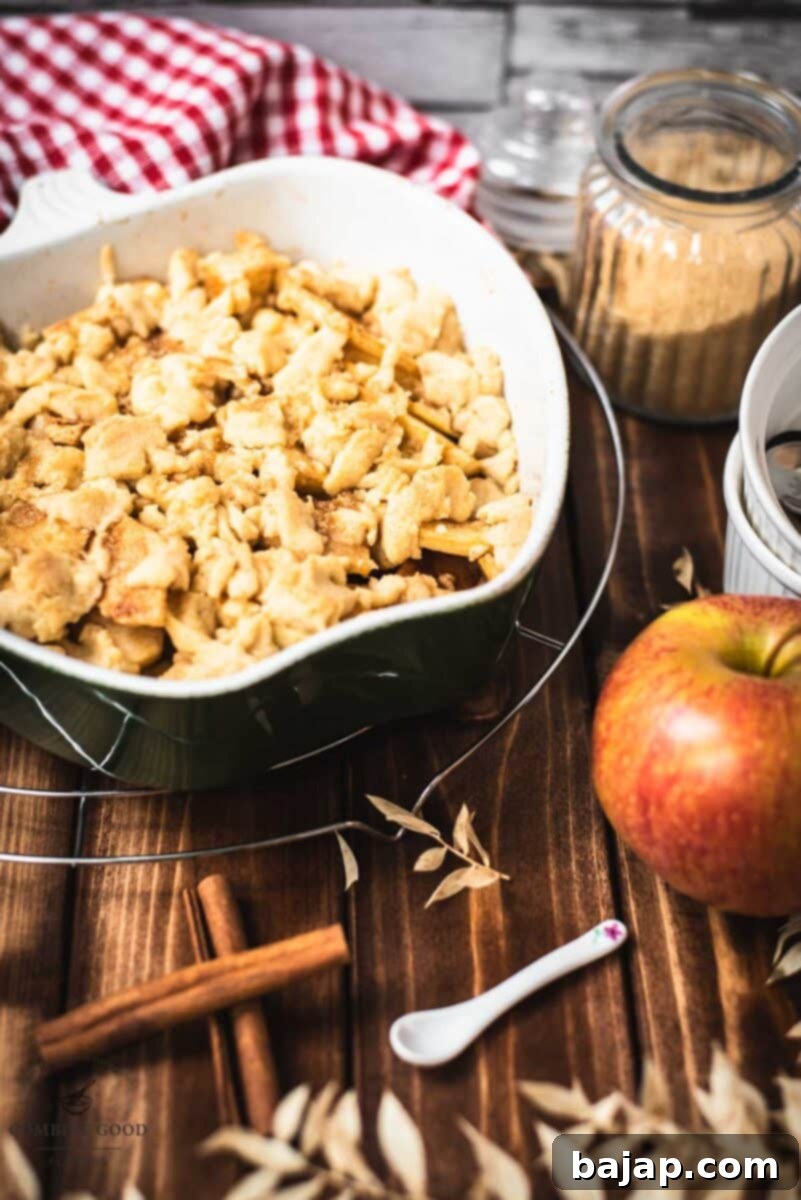
- Step 6: Bake to Golden Perfection. Place the casserole in your preheated oven and bake for approximately 30 minutes. Keep an eye on it! The apple crisp is ready when the apples are tender (test with a fork) and the topping is golden brown and delightfully crunchy.
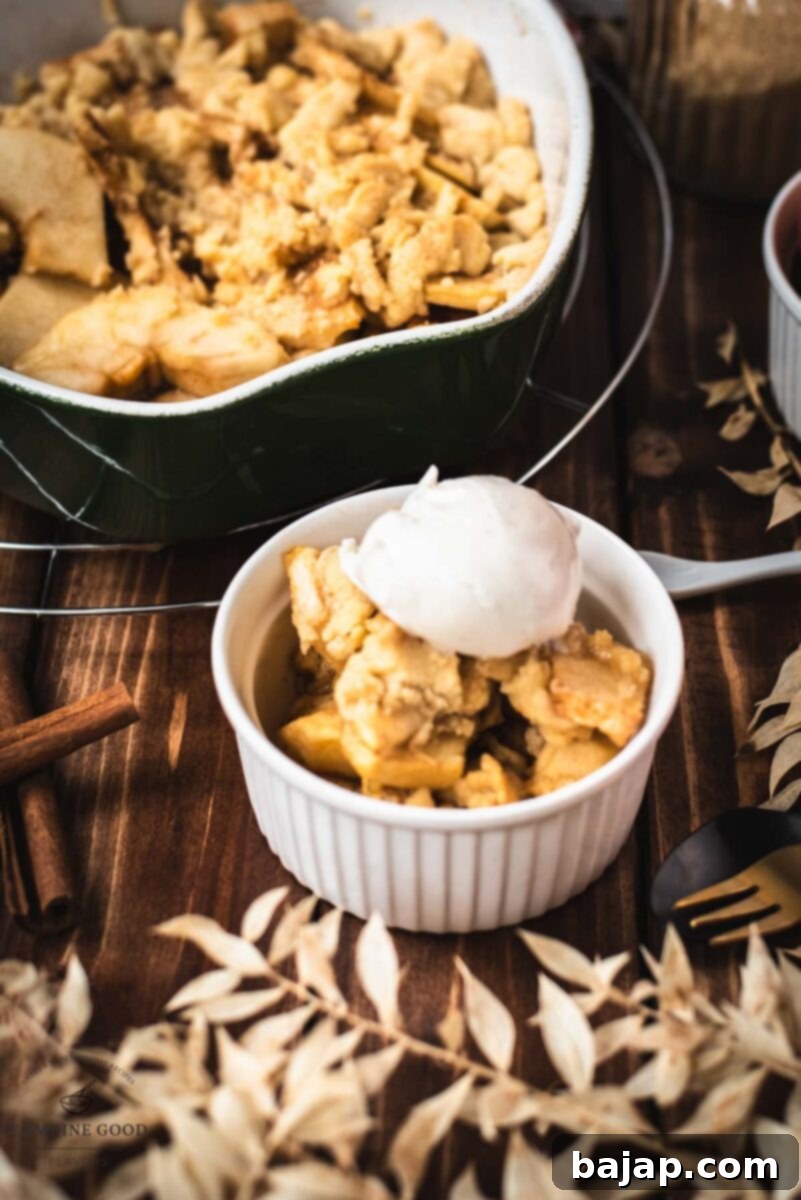
- Step 7: Serve Warm. The ultimate indulgence! Serve your freshly baked apple crisp warm. It pairs perfectly with a scoop of our recommended sour cream ice cream. If that’s not on hand, a dollop of whipped cream, a scoop of classic vanilla bean ice cream, or even a drizzle of warm caramel sauce are equally delicious alternatives.
🍽 Essential Equipment for Baking Success
Gathering your tools before you start makes the baking process smooth and enjoyable. Here’s what you’ll need for this apple crisp:
- Cutting Board & Sharp Knife: For safely and efficiently peeling, coring, and slicing your apples.
- Mixing Bowls: You’ll need at least two – one for your apple filling mixture and another for your crumble topping.
- Optional: Kitchen Machine (Stand Mixer): While not strictly necessary, a stand mixer with a paddle attachment can make quick work of combining the crumble ingredients.
- Casserole or Baking Dish: A medium-sized baking dish (approx. 8×8 inch or similar) is perfect for this recipe, allowing the apples to cook evenly and the topping to crisp.
🍎 Storage & Make-Ahead Tips
This apple crisp is best enjoyed warm, fresh from the oven, but leftovers are still incredibly delicious. Here’s how to store and enjoy your crisp later:
- Storing Leftovers: Once cooled, cover the baking dish tightly with plastic wrap or aluminum foil and store in the refrigerator for up to 3-4 days.
- Reheating: To reheat, simply place individual servings in the microwave for 30-60 seconds, or warm the entire dish in an oven preheated to 150°C (300°F) for 15-20 minutes, or until heated through and the topping is crisp again.
- Make-Ahead (Unbaked): You can prepare the apple filling and crumble topping separately, then store them in airtight containers in the refrigerator for up to 1-2 days. Assemble and bake just before serving for the freshest taste.
- Freezing: While possible, freezing apple crisp can sometimes alter the texture of the apples. If you do freeze, wrap the cooled crisp tightly in plastic wrap and then foil. It can be frozen for up to 3 months. Thaw in the refrigerator overnight and reheat in the oven until warm.
🍂 Variations & Customizations
Feel free to get creative with your apple crisp! Here are a few ideas to customize this recipe:
- Add Nuts: For extra crunch and flavor, mix ½ cup of chopped pecans, walnuts, or almonds into your crumble topping.
- Spice It Up: Enhance the apple filling with additional warm spices like a pinch of ground nutmeg, allspice, or a touch of cardamom for a more complex flavor.
- Lemon Zest & Juice: A tablespoon of fresh lemon juice tossed with the apples can brighten their flavor, while lemon zest added to the crumble can add a fragrant, zesty note.
- Vanilla Extract: A teaspoon of vanilla extract added to the apple filling can deepen its aroma and flavor.
- Mixed Fruit Crisp: Don’t limit yourself to just apples! Try adding a cup of sliced pears, cranberries, or even a handful of frozen berries to the apple filling for a delightful mixed fruit crisp.
💭 Top Tips for the Ultimate Apple Crisp
When making apple crisp, choosing the right type of apple is paramount to achieving the perfect balance of flavors and textures. The apples are the foundation of this dessert, so selecting wisely will ensure a fantastic result every time.
The ideal apples for apple crisp are those that are firm and possess a slight tartness. Excellent varieties include Granny Smith, Honeycrisp, Braeburn, Fuji, or even a firm Gala. These apples are fantastic because they:
- Hold their Shape: Unlike softer varieties that can turn to mush, these apples maintain some of their structure, providing a pleasant bite.
- Offer Balanced Flavor: Their inherent tartness provides a wonderful contrast to the sweetness of the brown sugar and buttery crumble, preventing the dessert from being overly sweet.
- Develop Complex Flavors: When baked, these apples release their juices and meld beautifully with the spices, creating a rich and aromatic filling.
For an even more dynamic experience, consider combining two different apple varieties. For example, pair a tart Granny Smith with a sweeter Honeycrisp or Fuji. This combination will give you a delightful mix of textures and a more nuanced, balanced taste that makes every bite of the crisp irresistibly delicious and memorable.
❓ Frequently Asked Questions (FAQs)
- What makes this apple crisp “no oatmeal”?
- This recipe focuses on a purely flour-based crumble topping, giving it a distinct buttery and crunchy texture without the chewiness that oats typically add. It’s a preference for those who love a simpler, more traditional crumb.
- Can I use any type of apple?
- While you can use various apples, we highly recommend firm, slightly tart varieties like Granny Smith, Honeycrisp, or Braeburn. These apples hold their shape well during baking and provide a great flavor balance to the sweet topping. Softer apples can become mushy.
- Is this recipe gluten-free friendly?
- Yes, it can easily be made gluten-free! Simply substitute the all-purpose flour in the crumble topping with a good quality 1:1 gluten-free all-purpose flour blend.
- How do I prevent a soggy apple crisp bottom?
- Using firm apples that don’t release too much liquid helps. You can also toss the apples with a teaspoon of flour before adding the sugar and cinnamon, which helps absorb some moisture. Ensuring your oven is preheated to the correct temperature is also key.
- Can I use white sugar instead of brown sugar?
- You can, but brown sugar provides a richer, caramel-like flavor and contributes to a chewier, more moist apple filling and a more golden, crisp topping. White sugar will result in a slightly different texture and flavor profile.
- How long does homemade apple crisp last?
- When stored properly in an airtight container in the refrigerator, apple crisp will last for 3-4 days. Reheat for best enjoyment!
🍂 More Fall & Winter Recipes for You to Try
If you love the warm, comforting flavors of fall and winter, be sure to explore these other delicious recipes:
- Apple Cider Moscow Mule
- Apple Compote
- Apple Yogurt Breakfast
- Custard Apple Tart
- No-bake Pumpkin Cheesecake
- Soft Pumpkin Cookies
- Fruit Cake Muffins
- Cranberry White Chocolate Chip Cookies
- Cranberry Gin Spritz
- Cranberry Aperol Spritz
- Waffle Blossoms with Chestnut Purrée
- Banana Oatmeal Muffins
- Semolina Cheesecake
- Reeses Pieces Peanutbutter Cookies
More Fall Recipes –>
If you try this delightful apple crisp recipe, I would absolutely love to hear from you! Please let me know how you liked it by giving it a ★★★★★ star rating and leaving a comment below. Your feedback is truly awesome and helps others discover great recipes! You can also sign up for our Newsletter to receive weekly delicious homemade recipes directly in your inbox, or follow me on Pinterest or Instagram. Don’t forget to share your creation with me by tagging @combinegoodflavors and using the hashtag #combinegoodflavors, so I don’t miss it!
📖 Recipe: Easy No-Oatmeal Apple Crisp

Easy Apple Crisp
By Nora
Save RecipeSaved!
Pin Recipe
Equipment
-
Cutting board & Sharp knife
-
Mixing bowls
-
Kitchen machine optional
-
Casserole
Ingredients
For the apple filling
- 3 Apples large, tart ones will do the trick
- 2-3 tablespoon Brown sugar
- ½ teaspoon Cinnamon
For the crumble topping
- ½ cup AP Flour 1.76 oz
- 2 ½ tablespoon Butter soft
- 2 ½ tablespoon Brown Sugar
- 1 pinch Salt
Instructions
-
Preheat oven to 175°C (347°F).
-
Wash, peel, and slice the 3 Apples. Layer them evenly in a baking dish.3 Apples
-
Mix 2-3 tablespoon Brown sugar and ½ teaspoon Cinnamon together. Sprinkle half over the apples.2-3 tablespoon Brown sugar, ½ teaspoon Cinnamon
-
In a bowl, combine ½ cup AP Flour, 2 ½ tablespoon Butter, 2 ½ tablespoon Brown Sugar, and 1 pinch Salt. Knead into a crumbly dough with your hands or a mixer.½ cup AP Flour, 2 ½ tablespoon Butter, 2 ½ tablespoon Brown Sugar, 1 pinch Salt
-
Sprinkle the crumble mixture over the apples. Top with remaining cinnamon and sugar mixture.
-
Bake for 30 minutes or until apples are soft and topping is golden.
-
Serve warm with sour cream ice cream. Alternatively, use whipped cream or vanilla ice cream.
Nutrition values are estimates only, using online calculators. Please verify using your own data.

⛑️ Food Safety Guidelines
Ensuring food safety is crucial when preparing any meal. Please keep these important guidelines in mind:
- Minimum Cooking Temperature: Always cook your food to a minimum internal temperature of 165 °F (74 °C) to eliminate harmful bacteria. While apples don’t require this, ensure any other ingredients added (like eggs in a custard) are fully cooked.
- Cross-Contamination: Avoid using the same utensils or cutting boards on cooked food that previously touched raw meat or unwashed produce without proper cleaning.
- Hand Hygiene: Always wash your hands thoroughly with soap and warm water before and after handling food, especially raw ingredients.
- Temperature Control: Do not leave cooked food sitting out at room temperature for extended periods. Refrigerate promptly within two hours to prevent bacterial growth.
- Unattended Cooking: Never leave cooking food unattended on the stovetop or in the oven. Always be present to monitor the cooking process.
- Oil Selection: When using oils for cooking, opt for those with high smoking points to avoid the formation of harmful compounds, if applicable to your recipe.
- Ventilation: Ensure good ventilation when using a gas stove or oven to prevent the buildup of fumes.
For further comprehensive information on safe food handling practices, please refer to the official guidelines from the FDA (Food and Drug Administration).
