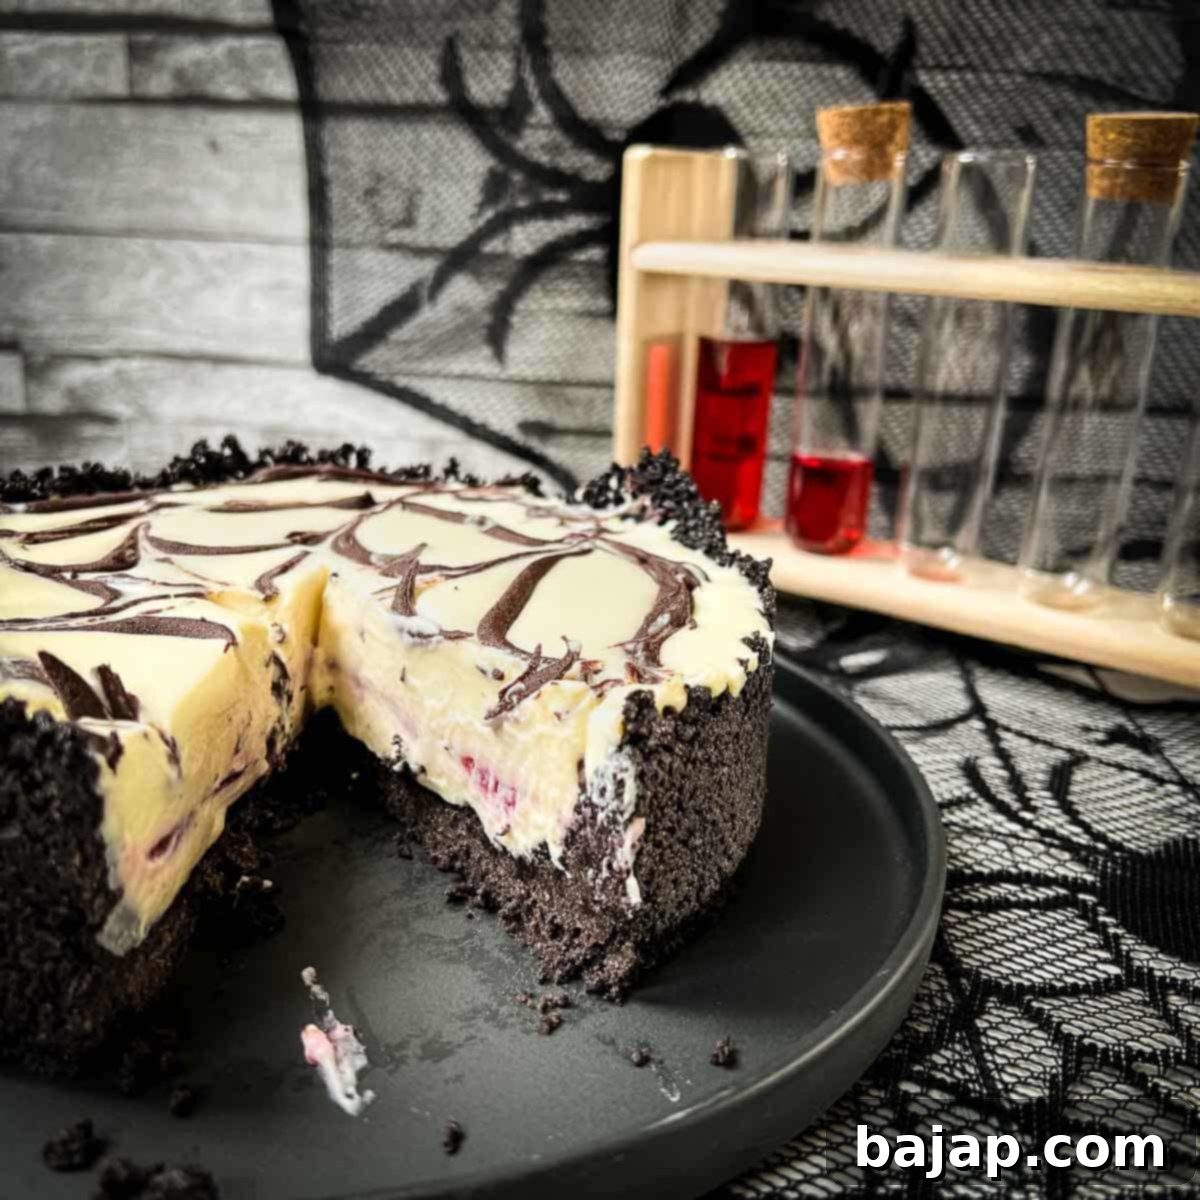
Spooktacular No-Bake White Chocolate Raspberry Oreo Cheesecake: The Ultimate Halloween Dessert Recipe
Prepare to cast a delicious spell this Halloween with our show-stopping No-Bake White Chocolate Raspberry Oreo Cheesecake! This eerie-sistible dessert, featuring a dramatic “bloody” raspberry filling swirled into a luscious white chocolate cream cheese base atop a dark Oreo crust, is guaranteed to be the star of your All Hallows’ Eve celebration. Whether you’re hosting an epic Halloween bash or simply craving a sweet, spooky treat after a night of trick-or-treating with the little goblins, this recipe promises unforgettable flavors and a hauntingly beautiful presentation that will bewitch everyone.
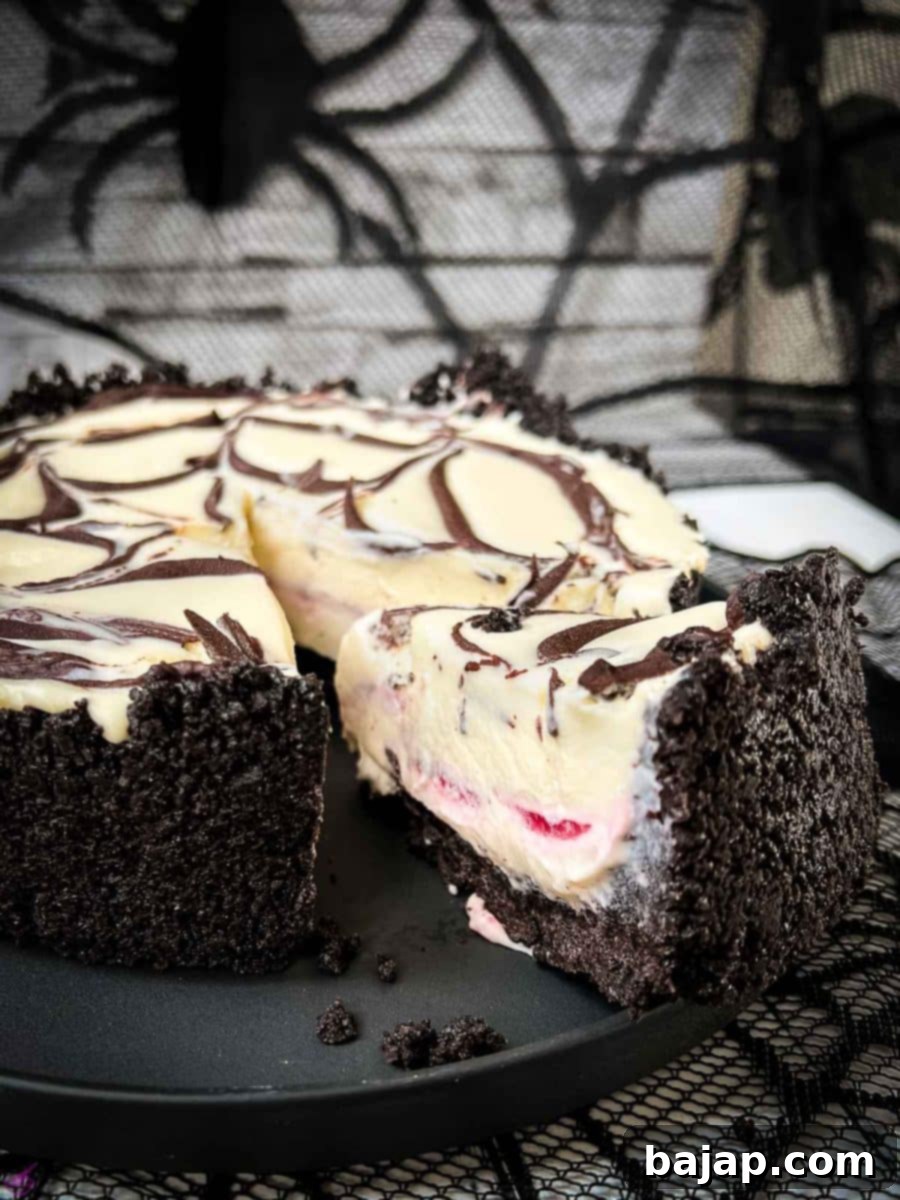
The truly delightful surprise of this no-bake Halloween cheesecake lies within its crimson-hued raspberry swirl, which might look strikingly spooky but is incredibly simple to create. Forget pouring your blood, sweat, and tears into a complicated dessert! This recipe is surprisingly straightforward, making it perfect for busy Halloween preparations. The “hardest” part, if you can even call it that, is whipping up the fresh homemade raspberry sauce. But fear not, even a novice baker can master this step, and that little extra effort ensures a burst of fresh, tangy flavor in every creamy bite of this white chocolate cheesecake.
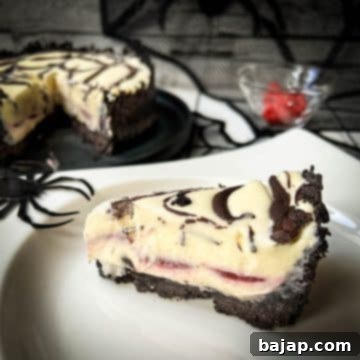
You’ll be absolutely enchanted by the visual contrast of the deep black Oreo cookie crust against the pristine, light cheesecake cream. And the crowning glory? A hauntingly intricate spider web design crafted from chocolate ganache, draped across the top, transforming your dessert into a true Halloween masterpiece. This magical cake can be prepared in a flash, allowing you ample time to orchestrate all your ghoulish games, assemble other spooky snacks, and perfect your Halloween costume!
This spooky cheesecake is simply to die for! (All puns intended, of course!)
I had an absolute blast conjuring up this beautiful Halloween cheesecake, and I’m confident you and your guests will adore it just as much as my own family did last year. It’s a guaranteed crowd-pleaser that balances a festive, eerie aesthetic with truly sublime flavors.
To keep your Halloween party perfectly on theme, I highly recommend serving this captivating cheesecake alongside some other spirited concoctions. For the adults, consider a chilling Red Halloween Cocktail or a festive Halloween punch (after the little monsters are safely tucked into bed, naturally!). These drink pairings will complement the rich flavors of the cheesecake and complete your spooky feast.
👻 Why You’ll Love This No-Bake Halloween Cheesecake
- Effortlessly Spooky: No oven required! This cheesecake comes together quickly, leaving more time for Halloween fun.
- Dramatic Visual Appeal: The black Oreo crust, white filling, “bloody” raspberry swirl, and chocolate spiderweb create a stunning, eye-catching dessert.
- Irresistible Flavor Combination: The richness of white chocolate, the tang of fresh raspberries, and the classic crunch of Oreo cookies make for a perfectly balanced taste experience.
- Perfect for Parties: This cheesecake is designed to impress and serve a crowd, making it ideal for any Halloween gathering.
- Make-Ahead Friendly: Prepare it in advance and chill overnight for a stress-free dessert on the big day.
- Family Favorite: A hit with both kids and adults, offering a unique and delicious twist on a classic treat.
[feast_advanced_jump_to]
🥘 Ingredients
Crafting this no-bake marvel requires a few simple yet high-quality ingredients. Each component plays a vital role in building the layers of flavor and texture that make this Halloween cheesecake truly exceptional.
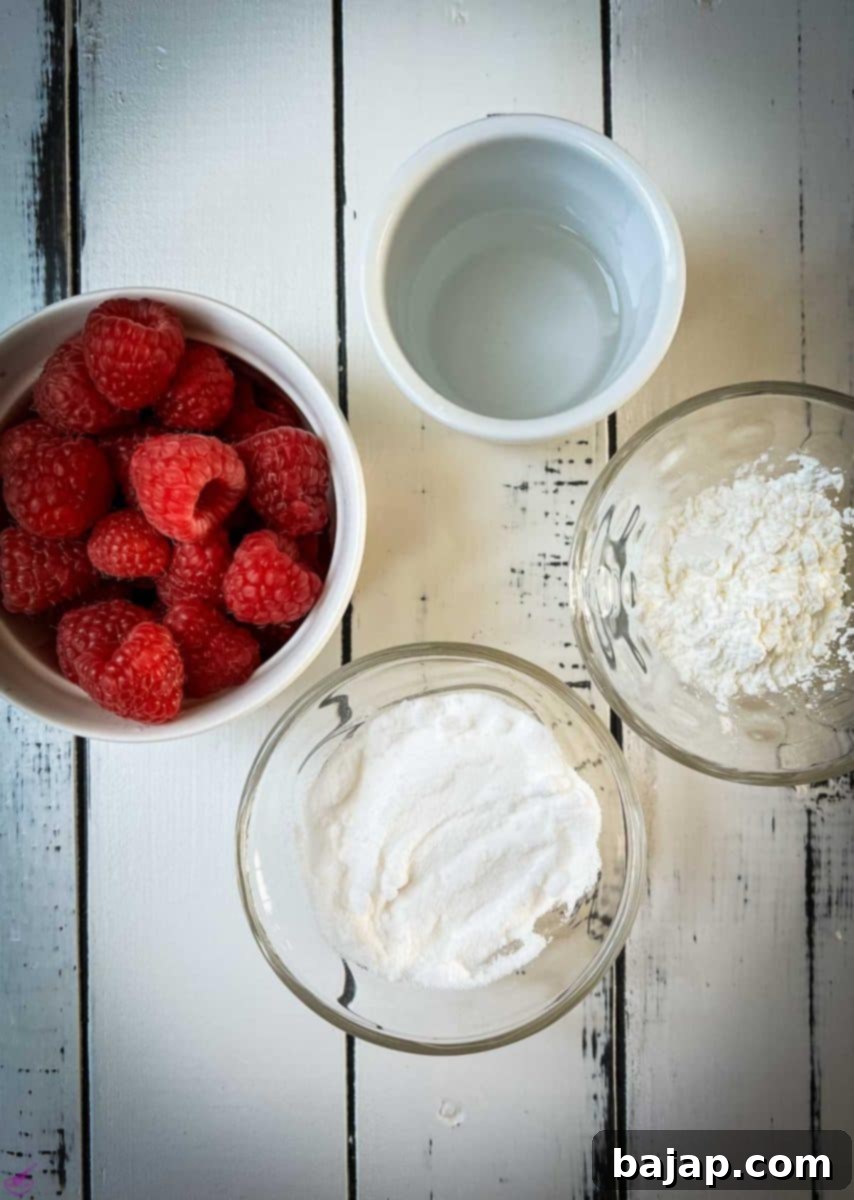
Raspberry sauce: This homemade sauce provides the “bloody” surprise and tangy counterpoint to the sweet cheesecake. Fresh raspberries are key for the best flavor.
- Fresh raspberries
- Sugar
- Water
- Cornstarch
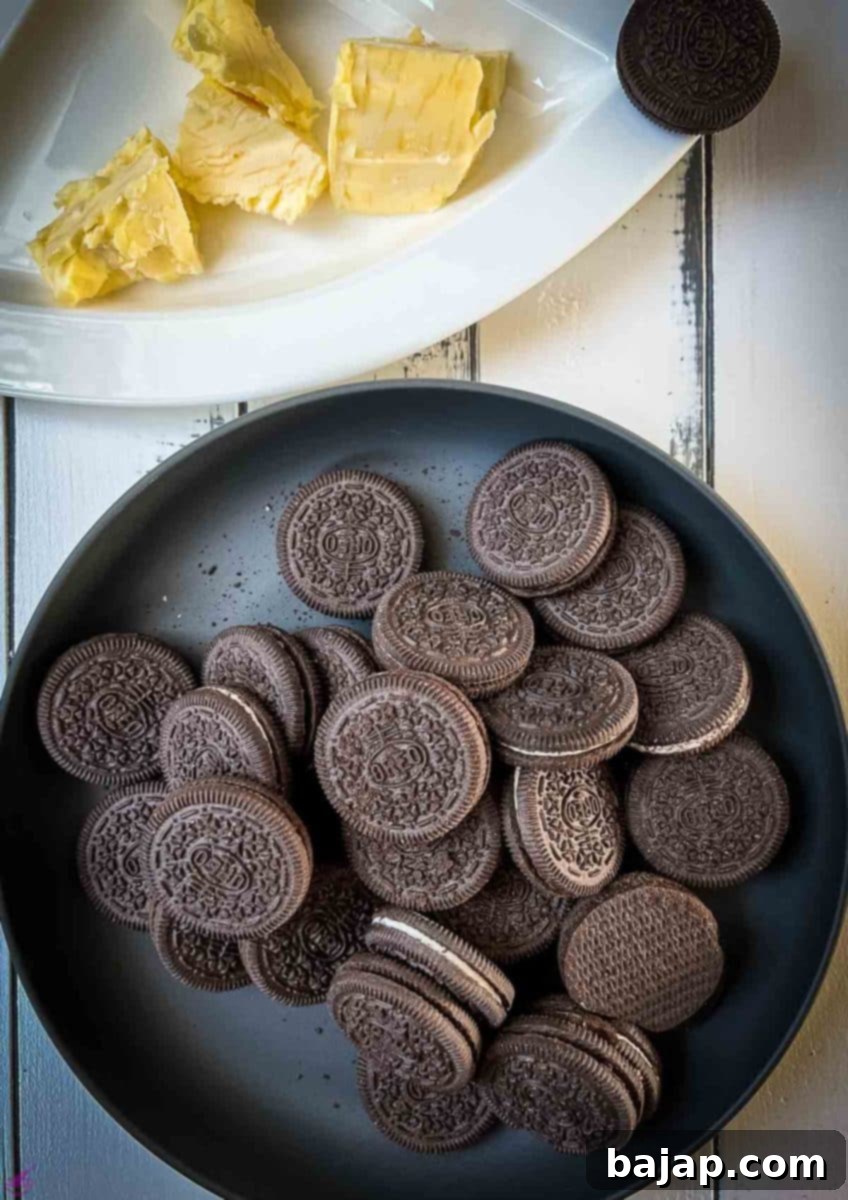
Oreo cookie crust: The deep, dark color and classic chocolatey flavor of Oreos create the perfect spooky base for this cheesecake. Salted butter adds a nice balance to the sweetness.
- Oreo Cookies – or black sandwich cookies for that dramatic contrast
- Butter – salted
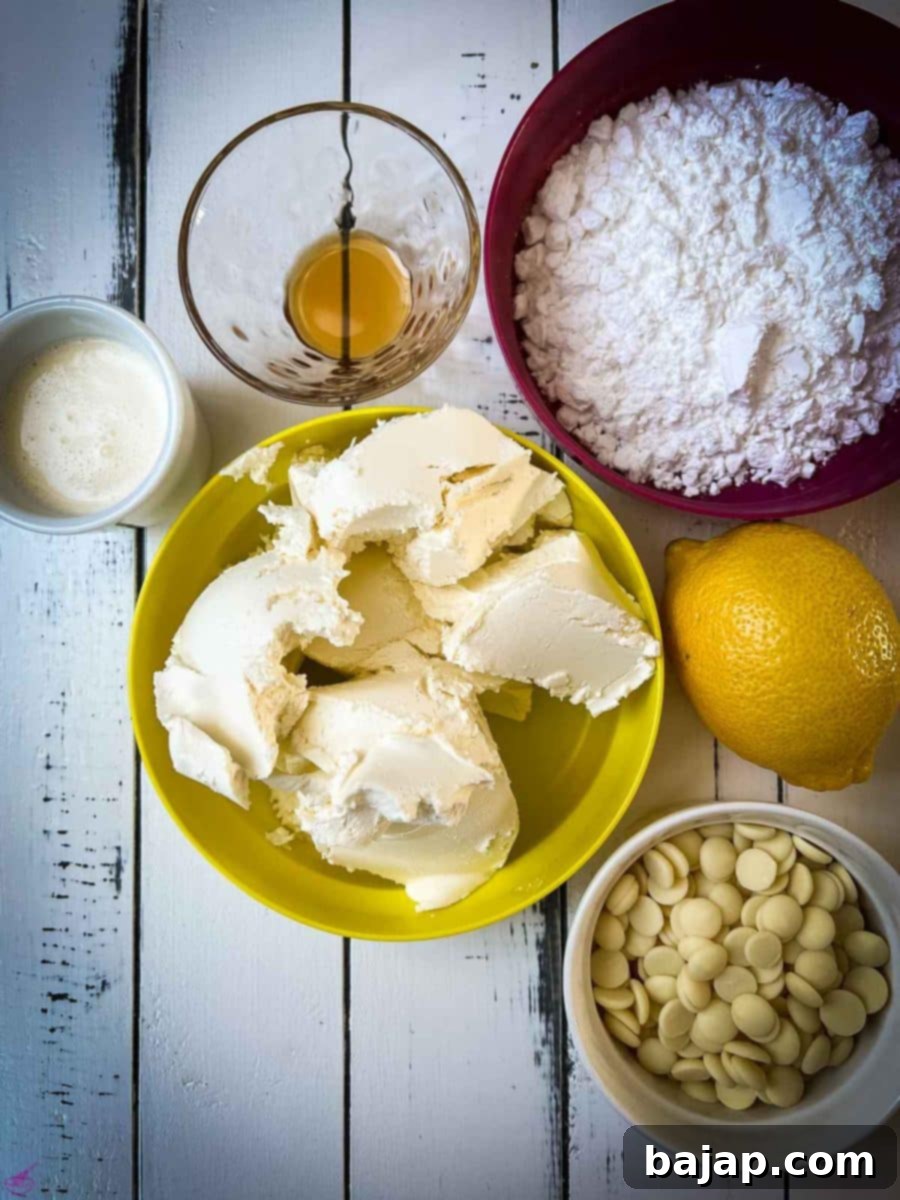
Cheesecake cream: A rich and smooth filling is achieved with full-fat cream cheese, confectioner’s sugar for sweetness, vanilla for warmth, and fresh lemon juice to brighten the flavors. Heavy whipping cream and melted white chocolate add an incredibly luxurious texture.
- Full fat cream cheese – softened to room temperature for a lump-free mixture
- Confectioner’s sugar
- Vanilla extract
- Fresh lemon juice
- Heavy whipping cream – divided for the filling and the spiderweb ganache
- White chocolate – chopped – for a smooth, velvety ganache
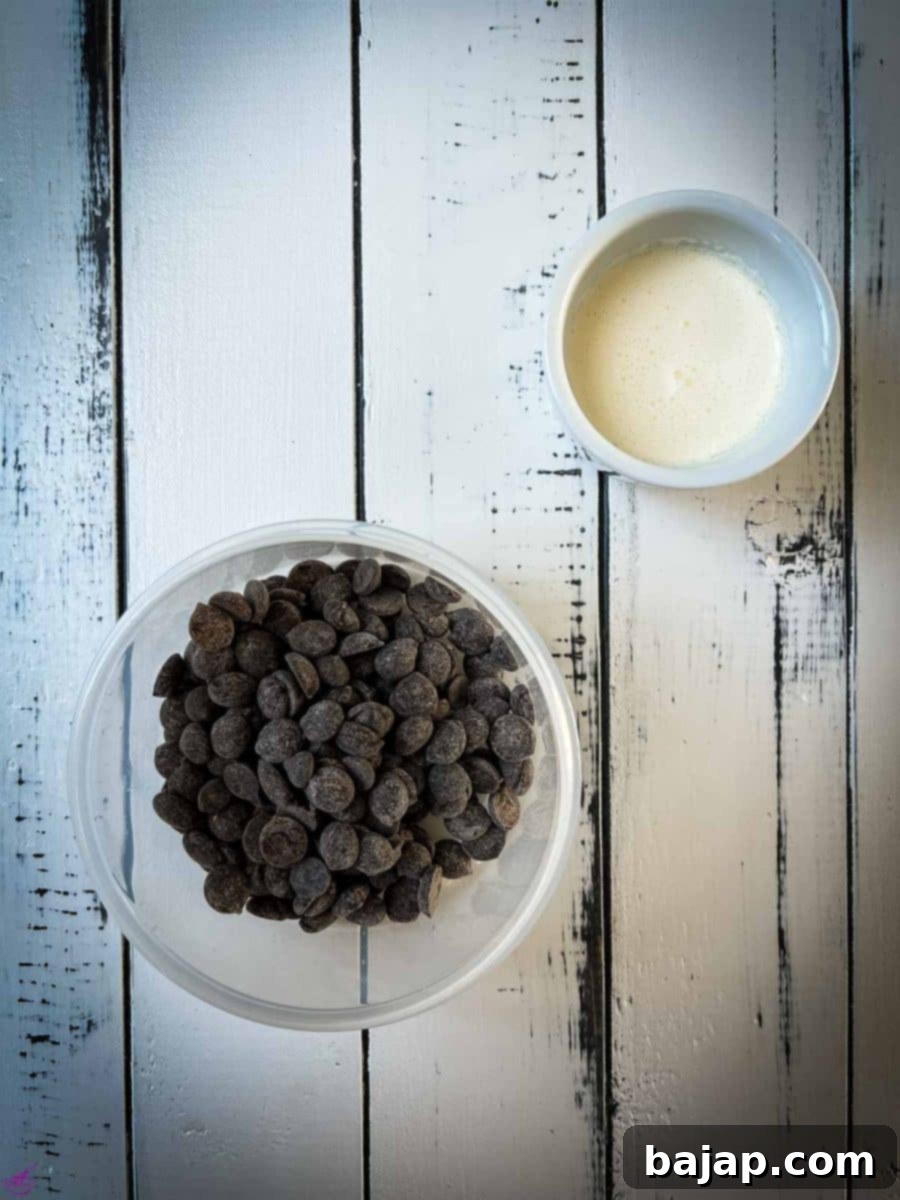
Spider’s web: A smooth chocolate ganache is essential for piping the delicate yet spooky spiderweb design on top.
- Milk chocolate or dark chocolate – depending on your preference for intensity
- Heavy whipping cream
For the precise quantities, please refer to the detailed recipe card provided below.
🔪 Instructions
Follow these step-by-step instructions to create your own chillingly delightful no-bake Halloween cheesecake!
Step 1 – Preparation is Key
First things first, let’s get your springform pan ready. Line the bottom of a round springform pan with a piece of baking paper. This crucial step will make it incredibly easy to remove your finished cheesecake later. Lightly spray the sides of the pan with a non-stick cooking spray, or lightly grease them with butter, to ensure a clean release. Set your prepared pan aside, ready for the delicious layers to come.
Step 2 – Crafting the Dark Oreo Cookie Crust
Grab your favorite Oreo cookies – these will form the delightfully dark and crunchy foundation of your cheesecake. Place them into a food processor and pulse until they are transformed into fine, uniform cookie crumbs. As the Oreos are pulverizing, gently melt your salted butter in a small pan over low heat or in the microwave. The salted butter will provide a wonderful balance to the sweetness of the cookies.
Pro Tip: No Food Processor? No Problem! If you don’t have a food processor, simply place the Oreo cookies in a sturdy ziplock bag. Seal it tightly, removing as much air as possible, and use a rolling pin to crush them into fine crumbs. This method is not only effective but can also be a fantastic way to release any pent-up Halloween excitement (or frustration!) in the kitchen. 😉
Once you have your fine cookie crumbs, add the melted butter to the food processor (or directly to the ziplock bag if you’re using the rolling pin method). Process on high until the butter is thoroughly incorporated, and the cookie crumbs start to stick together, resembling wet sand.
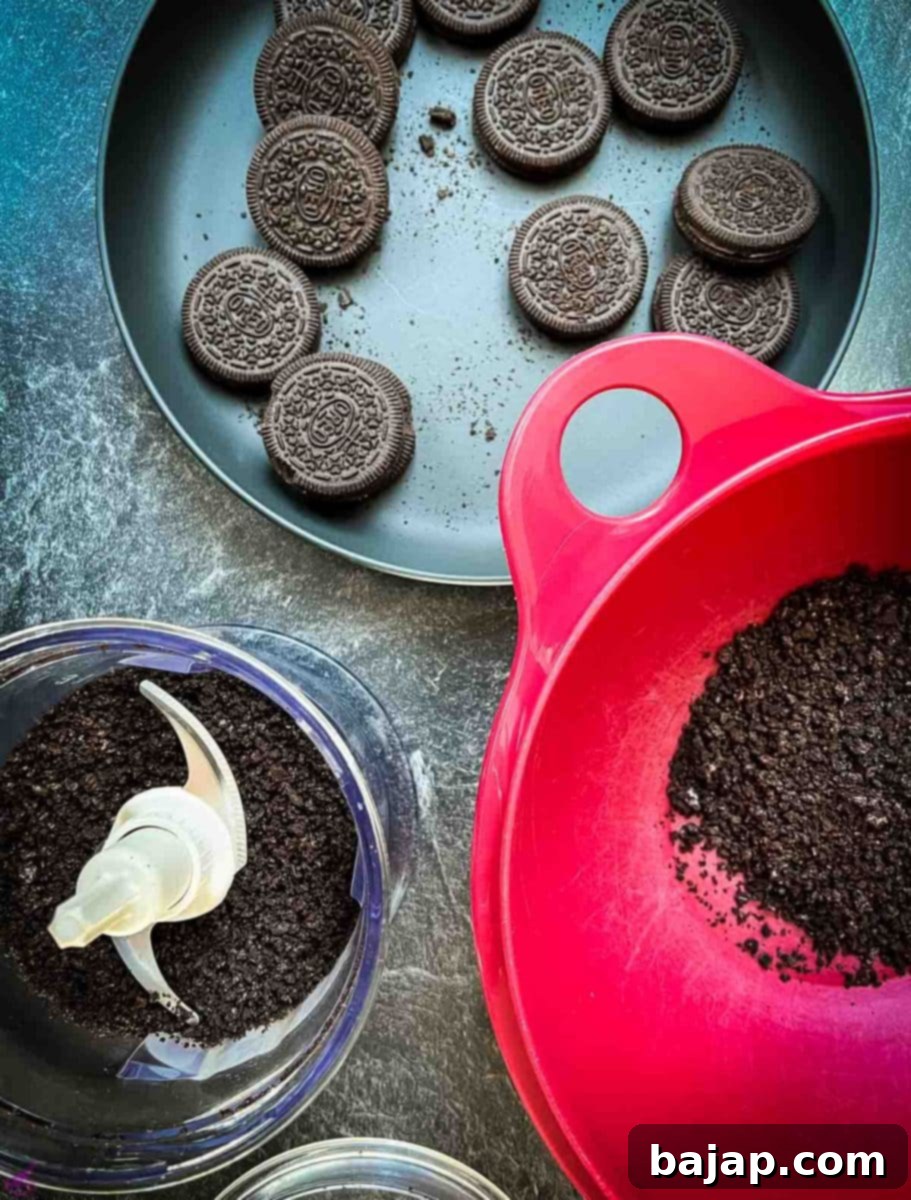
Process Oreo cookies into fine cookie crumbs.
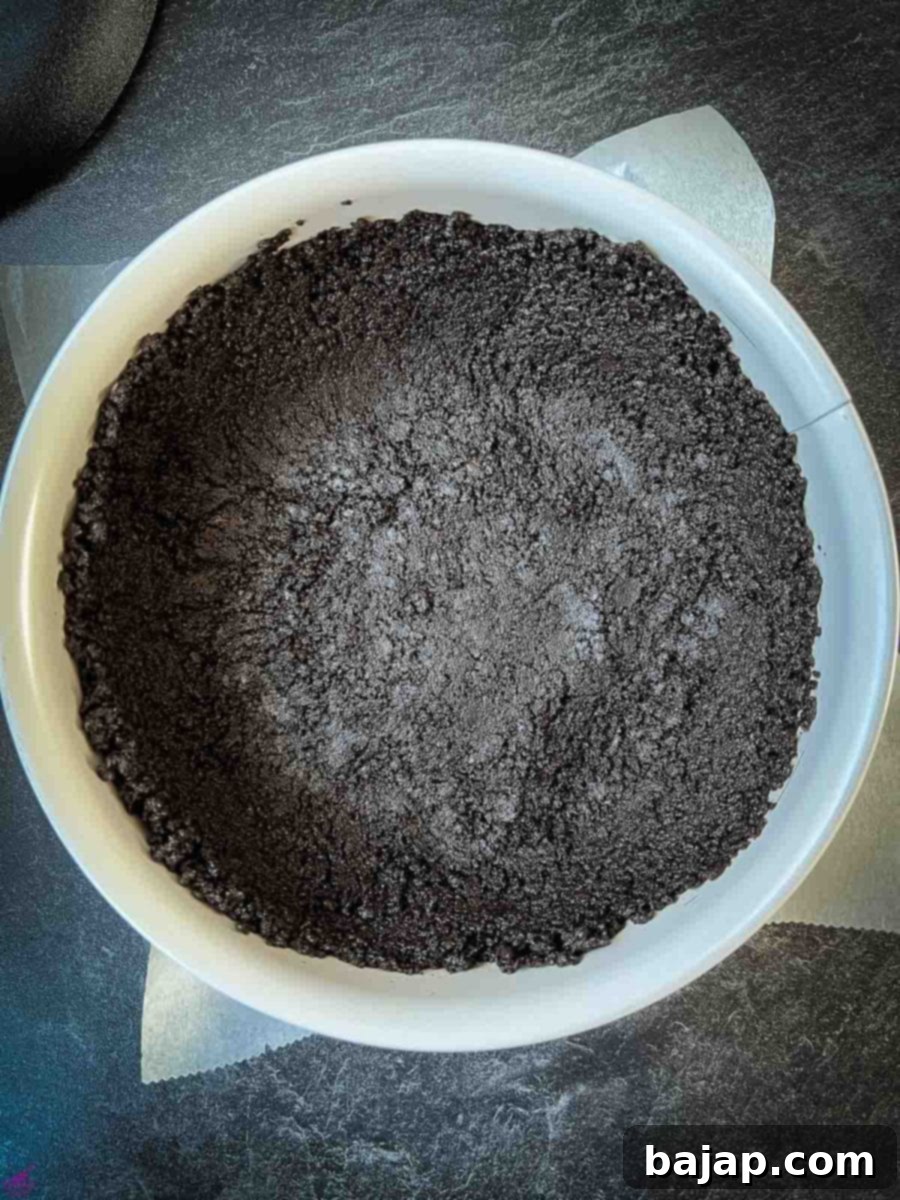
Press the Oreo dough firmly into the springform pan.
Now, take your prepared springform pan and carefully pour the Oreo mixture into it. Using the back of a spoon or your clean fingers, firmly press the Oreo dough into an even layer across the bottom and slightly up the sides of the pan. This firm pressing is essential to create a sturdy, well-defined crust that won’t crumble when sliced. Once pressed, place the pan into the refrigerator for at least 15 minutes to allow the crust to cool and set while you prepare the other components.
Step 3 – Simmering the “Bloody” Raspberry Sauce
This vibrant, homemade raspberry sauce is what gives our Halloween cheesecake its signature “bloody” appearance and a fantastic burst of fresh fruit flavor. In a medium saucepan, combine your fresh raspberries, three tablespoons of water, and the granulated sugar. Heat this mixture over medium heat, stirring occasionally.
As soon as the mixture begins to bubble, gently loosen the raspberries with a rubber spatula or spoon. Continue to stir, breaking up the berries as they soften and release their juices, ensuring all ingredients are well combined and the sugar dissolves.
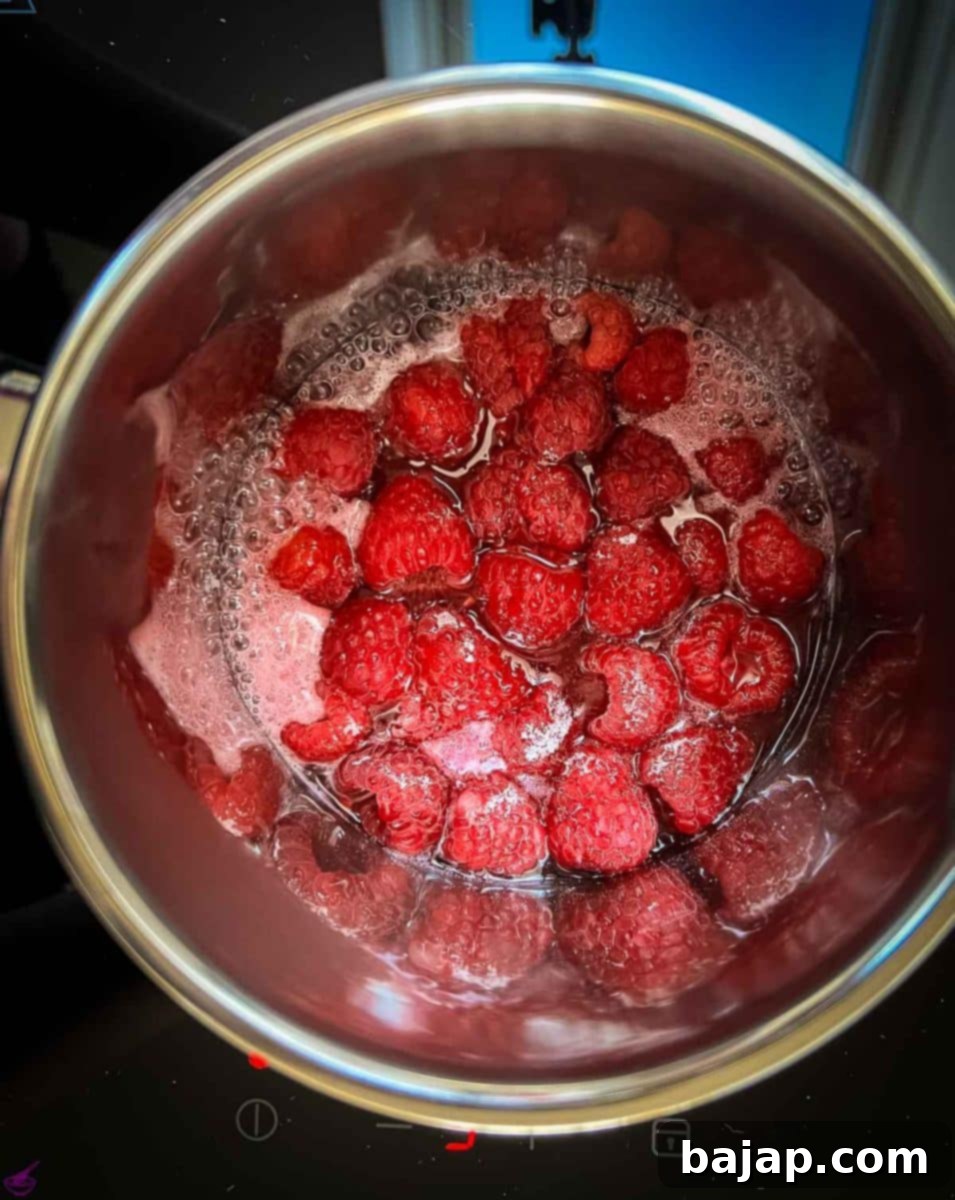
Bubbling raspberry mixture.
In a small, separate bowl, whisk together one tablespoon of cold water and the cornstarch until the cornstarch is completely dissolved and no lumps remain. This cornstarch slurry will be your thickening agent.
Add the cornstarch mixture to the bubbling raspberry sauce and stir continuously. Bring the sauce back to a brief boil, then reduce the heat to a gentle simmer. The sauce will visibly thicken within 2-3 minutes. You’ll know it’s ready when it coats the back of a spoon.
For a beautifully smooth and seedless “bloody” effect, press the prepared raspberry sauce through a fine-mesh strainer into a clean bowl. Discard any seeds that remain in the strainer. What you’re left with is a gorgeously smooth, vibrant red raspberry sauce. Set it aside to cool completely before incorporating it into the cheesecake.
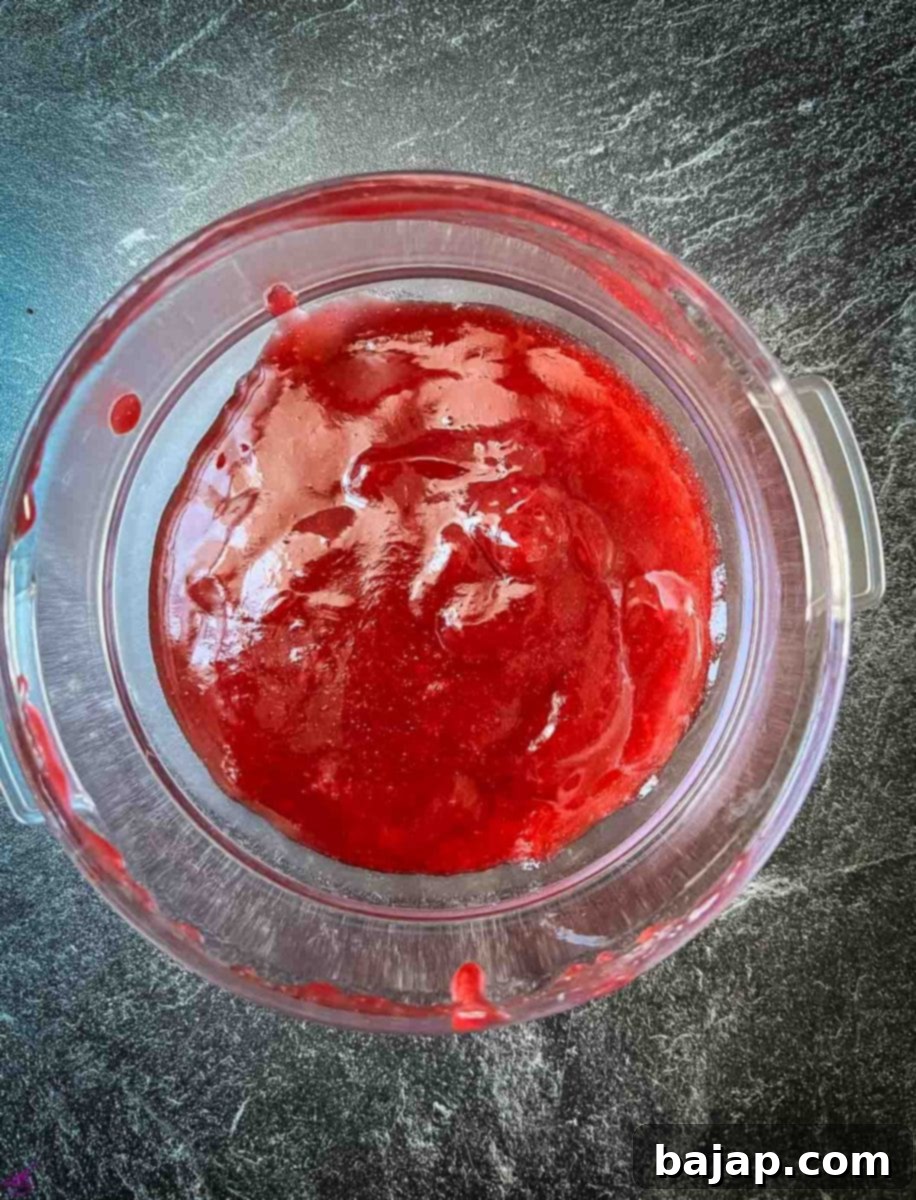
Finished raspberry sauce, smooth and seedless.
Step 4 – Whipping Up the Dreamy Cheesecake Filling
The secret to a silky-smooth cheesecake filling is starting with cream cheese that is perfectly at room temperature. Place the full-fat cream cheese into the bowl of your stand mixer. If you’re working without a stand mixer, use a deep, large bowl that allows plenty of room for whipping.
Whisk the cream cheese on medium speed until it is completely smooth, airy, and fluffy, typically taking about 3-4 minutes. Be sure to stop and scrape down the sides of the bowl periodically to ensure no lumps are left behind. If you find small lumps persisting, let the cream cheese sit for another 10-15 minutes to soften further, then whip again until perfectly smooth. This is a crucial step for the ultimate creamy texture!
While the cream cheese is whipping, squeeze half a lemon to get your fresh lemon juice. Once the cream cheese is smooth, add the confectioner’s sugar, vanilla extract, and two teaspoons of fresh lemon juice to the bowl. Beat on medium speed for another 3-5 minutes until the mixture is light and fluffy.
Next, we’ll prepare the white chocolate ganache to fold into our cheesecake mixture. In a glass measuring cup, combine half of the heavy whipping cream (60 ml / ¼ cup). Microwave it for about 1 minute, or until it’s heated but not boiling. Be careful not to overheat it.
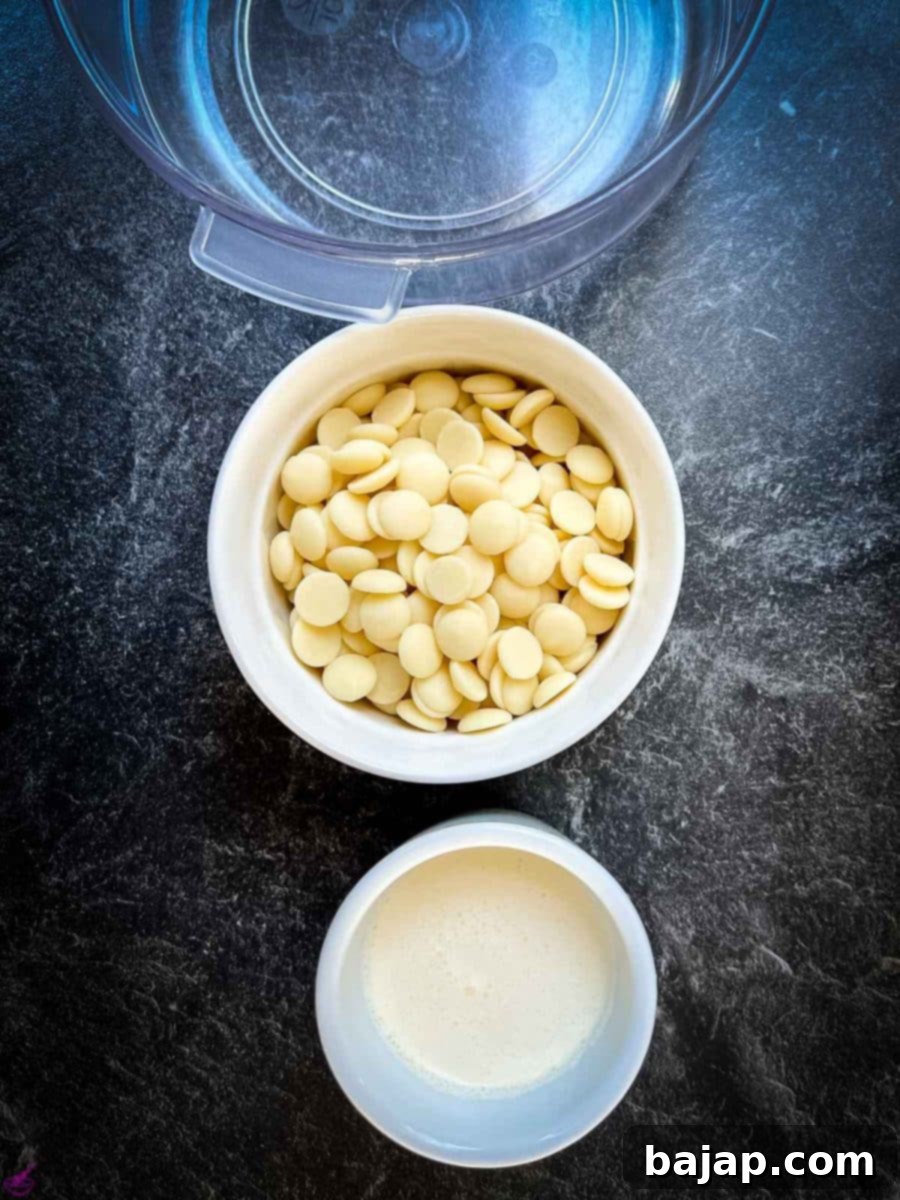
White chocolate and heated whipped cream, ready to combine.
Place your chopped white chocolate in a separate medium bowl. Pour the hot cream over the white chocolate and let it sit for about 30 seconds to begin melting. Then, whisk vigorously with a fork until the white chocolate has melted into a completely smooth, pourable ganache. If any small lumps remain, microwave for an additional 10 seconds, stirring well after, but be very careful not to overheat the white chocolate, as it can seize.
Turn your stand mixer back to medium speed. Slowly and steadily pour the warm white chocolate ganache into the cheesecake mixture, allowing it to fully blend until no streaks remain. Finally, add the remaining heavy whipping cream and mix again until everything is perfectly combined and wonderfully fluffy. Your dreamy white chocolate cheesecake filling is now complete!
Step 5 – Assembling Your Spooky Masterpiece
Retrieve your chilled Oreo crust from the refrigerator. Carefully pour half of the luscious white chocolate cheesecake mixture into the prepared crust. Gently use an offset spatula or the back of a spoon to smooth it out, ensuring an even layer that covers the bottom of the crust.
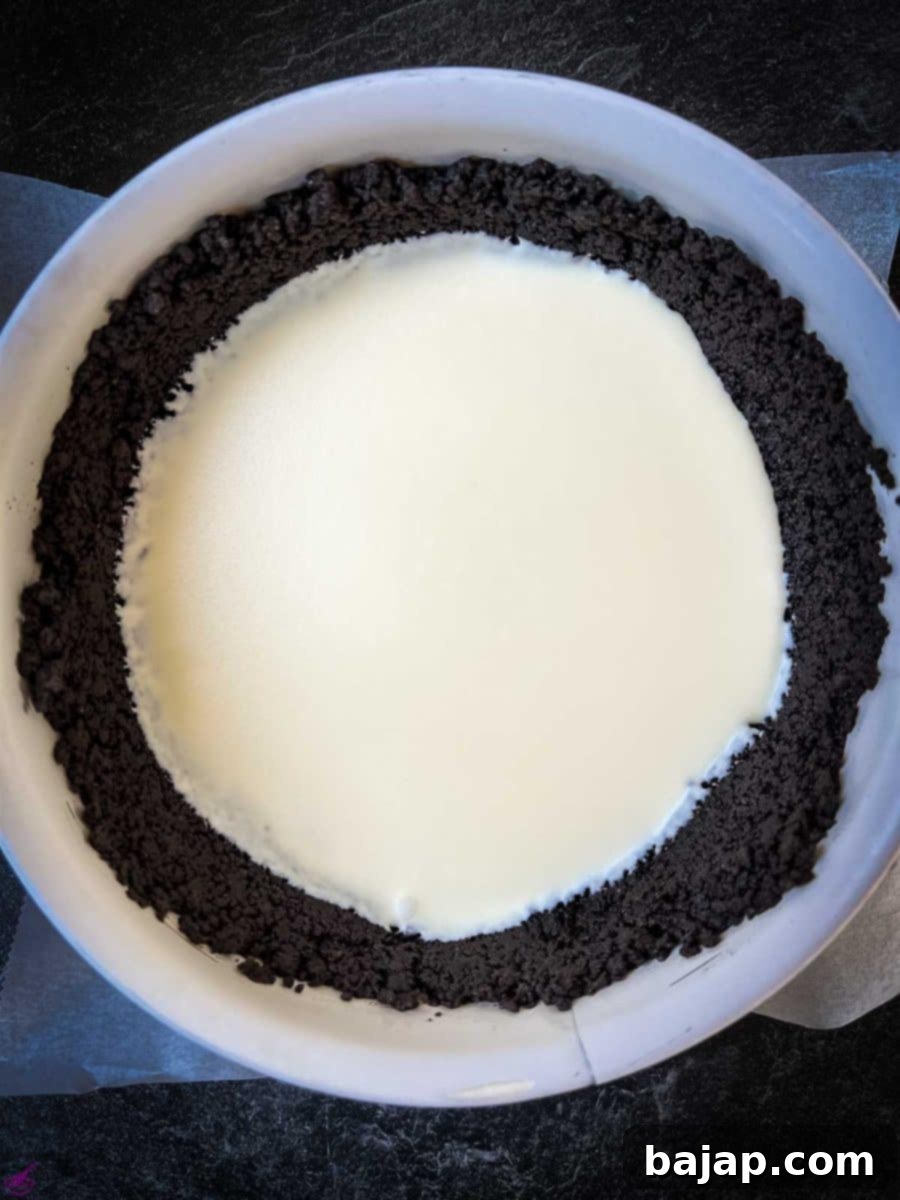
Pour half of the cheesecake mixture into the crust.
Place the pan into the freezer for approximately 10 minutes. This brief chill time helps the first layer of cheesecake firm up slightly, preventing the raspberry sauce from sinking or mixing too much when added.
Remove the cake from the freezer. Now, take your cooled raspberry sauce and carefully spoon it over the set cheesecake layer. Gently spread the vibrant red sauce across the surface using the back of a spoon, creating a beautiful, “bloody” layer. Be mindful not to disturb the underlying cheesecake layer.
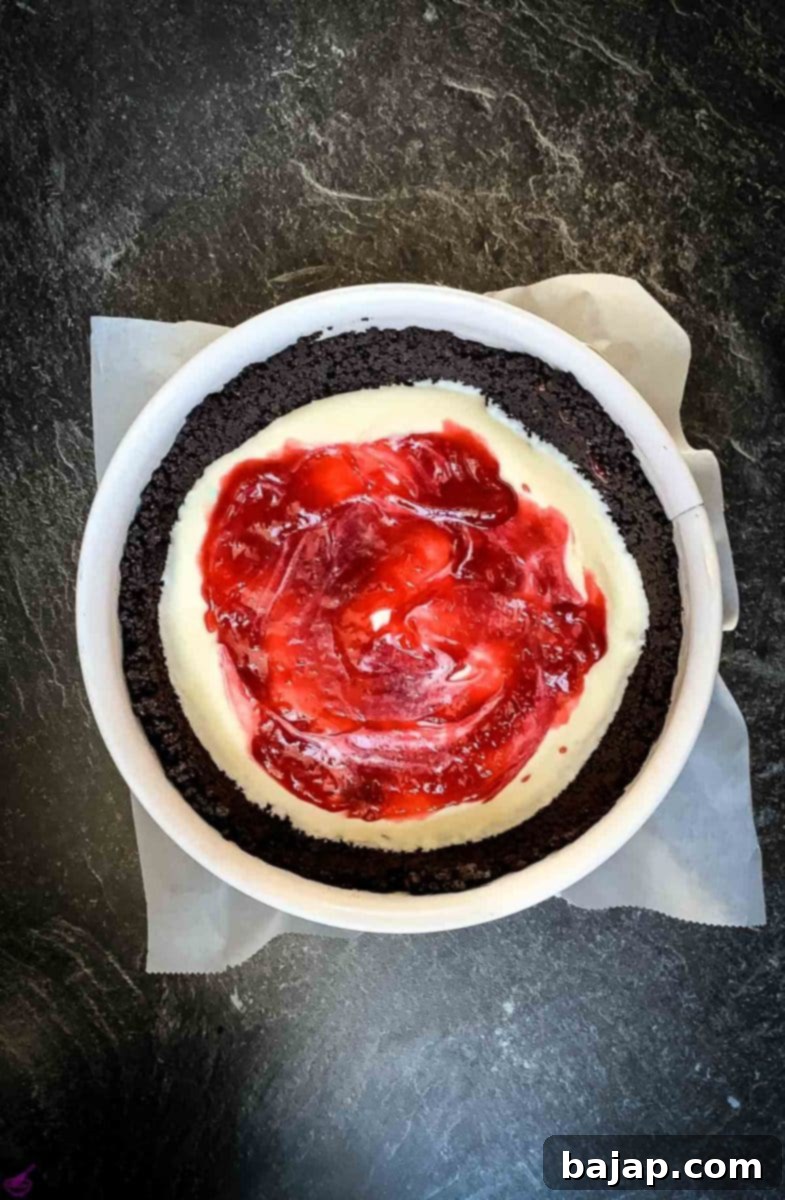
Spoon the raspberry sauce onto the cheesecake mixture.
Finally, very carefully spoon the remaining white chocolate cheesecake mixture on top of the raspberry layer. This step requires a delicate hand to ensure the layers remain distinct. The goal is a clean separation between the creamy white and the crimson red.
A Little Trick for a Perfectly Smooth Top Layer: To achieve a beautifully smooth and professional-looking top layer, moisten the back of a spoon with water. Hold the spoon under running water and then gently shake off any excess. When the spoon is wet, the cheesecake mixture will glide easily without sticking, allowing you to smooth the surface with minimal effort. Repeat wetting the spoon as needed to maintain its non-stick quality while you perfect your top layer.
Step 6 – Weaving the Spooky Spider Web Design
Now for the artistic touch that truly makes this a Halloween cheesecake! To create your chocolate ganache for the spider web, place four tablespoons of heavy whipping cream in a measuring cup and microwave for about 45 seconds until it’s hot but not boiling.
Tip for Dark Chocolate Lovers: If you prefer to use dark chocolate for a richer, more dramatic spider web, I recommend increasing the amount of heavy cream slightly to six tablespoons, as dark chocolate is thicker and requires a bit more liquid for a pourable ganache.
Put your chosen chocolate (milk or dark) in a medium bowl and pour the hot cream over it. Let it sit for a minute to melt, then stir the mixture with a fork until you have a completely smooth, thick, and glossy ganache. It should be fluid enough to pipe but not too runny.
Carefully pour the chocolate ganache into a cake-decorating piping bag. To make filling easier and less messy, place the piping bag in a tall container or glass, folding the top edges over the rim. This frees both your hands to scoop the ganache in.
Once the bag is filled, snip off a tiny tip from the bottom of the bag, creating a small opening. Begin your spider web design by piping a small dot right in the very center of your cheesecake. Then, pipe a large circle on top of the cheesecake, followed by concentric circles, leaving approximately ½-inch (1.2 cm) of space between each one. Aim for about 3-4 circles depending on the size of your cheesecake.
To create the web effect, take the tip of a knife or a toothpick. Starting from the center dot, gently drag a line outwards, through all the chocolate circles, all the way to the outer edge of the cheesecake. Repeat this process every 1-inch (2.5 cm) around the cheesecake, making sure your lines are slightly curved to mimic the natural look of a spider web.
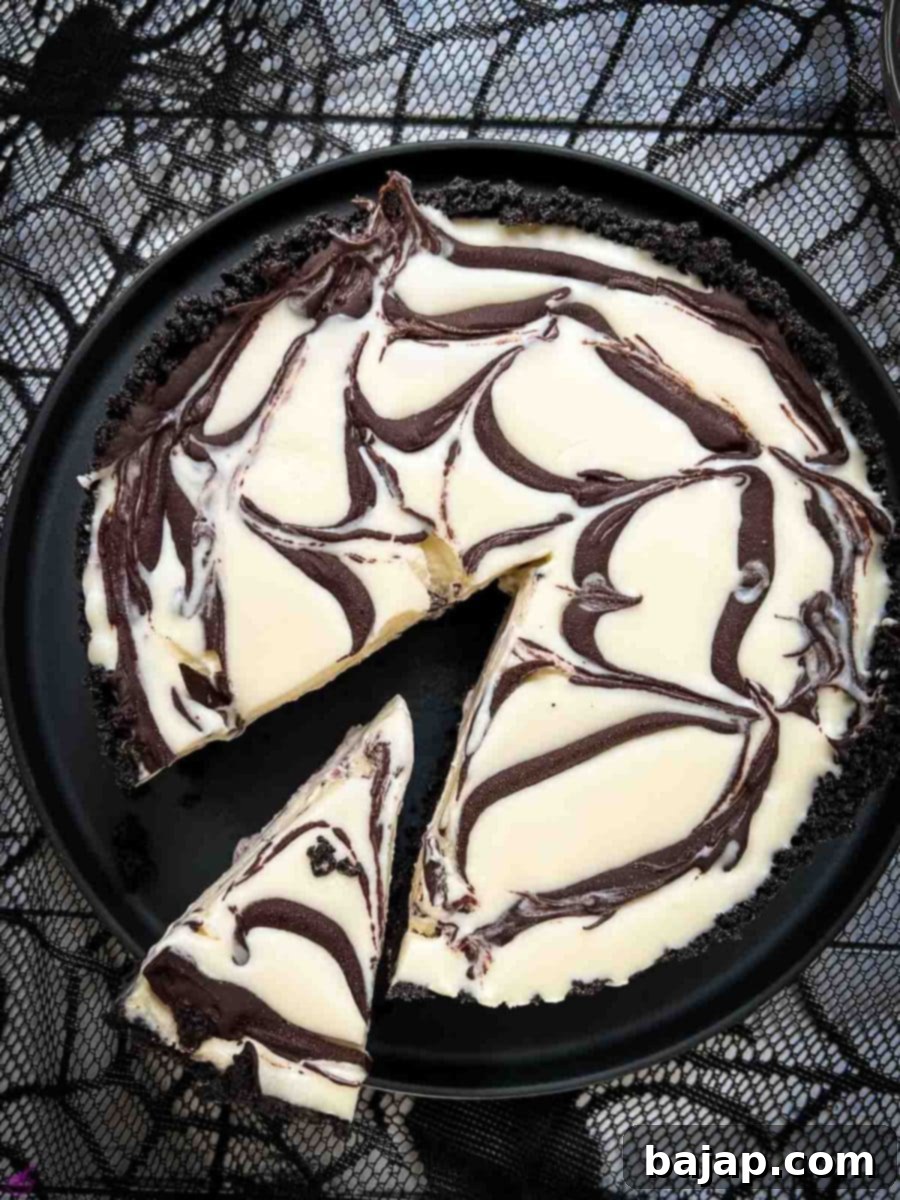
Cut into generous slices, revealing the layers.
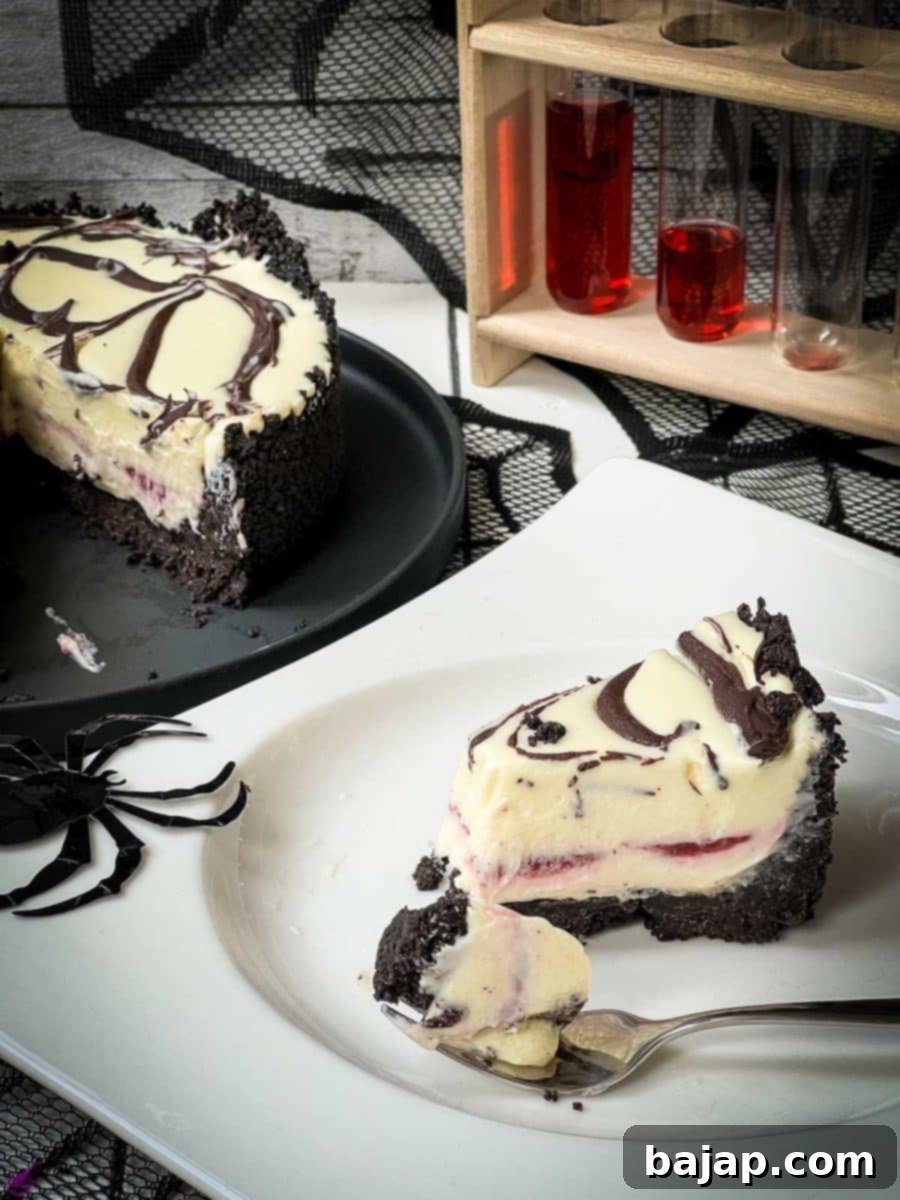
Serve chilled for the best texture and flavor.
Finally, and most importantly, refrigerate your completed cheesecake for at least 6 hours. This extended chill time is absolutely essential to allow the cheesecake to set properly, ensuring it holds its shape beautifully and doesn’t become too runny. Ideally, preparing it overnight yields the best results. Serve this wonderful white chocolate raspberry cheesecake chilled for the perfect spooky treat!
Craving more delicious no-bake cheesecake recipes and other delightful desserts? Be sure to check out the following fantastic options:
- No-bake Ricotta Cheesecake
- No-bake Pumpkin Cheesecake
- No-bake Fig Cheesecake in a Jar
- No-bake Mint Chocolate Cheesecake
- No-bake 4th of July Cheesecake
- No-bake Eggnog Cheesecake with Ginger Spiced Crust
- 5 Ingredient Mini Oreo Cheesecakes
- No-bake Strawberry Cheesecake
- Cheesecake Pudding Pie (created by whenisdinner.com)
🥜 Substitutions
This recipe is wonderfully adaptable, allowing for a few simple substitutions to accommodate dietary needs or ingredient availability:
- Gluten-Free Option: To easily transform this no-bake Halloween cheesecake into a gluten-free delight, simply substitute the traditional Oreo cookies for a certified gluten-free alternative. Many brands now offer delicious gluten-free chocolate sandwich cookies that mimic the flavor and texture of Oreos perfectly, ensuring your crust is just as decadent.
- Fructose Intolerance Considerations: For individuals with fructose intolerance, it’s worth noting that standard Oreo cookies do contain fructose syrup. If you are highly sensitive, I recommend replacing the Oreo cookies with a fructose-free cookie variety for the crust. While I personally didn’t experience discomfort, everyone’s body reacts differently.
- Sweetener Adjustment for Fructose Intolerance: Additionally, when preparing the raspberry sauce, those with severe fructose intolerance might consider adding a teaspoon of dextrose instead of granulated sugar. Dextrose (glucose) is often better tolerated and can help maintain the desired sweetness and balance of the sauce.
- Chocolate Choice: While white chocolate creates a lovely contrast with the raspberry, you could experiment with milk chocolate or even dark chocolate in the cheesecake filling for a different flavor profile, though it would alter the classic “bloody” aesthetic.
🍽 Equipment
Having the right tools makes the process of creating this no-bake cheesecake smooth and enjoyable. Here’s what you’ll need:
- 9-inch springform pan (23 cm): Essential for easy removal of your beautiful cheesecake.
- Baking paper: For lining the bottom of the springform pan.
- Food processor: To effortlessly crush your Oreo cookies into fine crumbs.
- Mixing bowls: Various sizes for preparing different components of the cheesecake.
- Small saucepan: For melting butter and simmering the raspberry sauce.
- Close-meshed sieve: Crucial for achieving a perfectly smooth, seedless raspberry sauce.
- Glass measuring cup: Ideal for heating cream and melting chocolate for the ganaches.
- Lemon squeezer: To efficiently extract fresh lemon juice.
- Tablespoon and Fork: Basic tools for measuring, stirring, and whisking.
- Pastry bag: For piping the intricate spider web design with precision.
🌡 Storage
Proper storage ensures your Halloween cheesecake remains fresh and delicious for days, or even longer if you plan to make it well in advance!
- Refrigerator: This no-bake Halloween cheesecake will stay fresh and flavorful for 3-5 days when stored in an airtight container in the refrigerator. Ensure it’s covered to prevent it from absorbing any odors.
- Freezing for Make-Ahead: If you’re planning your Halloween festivities well in advance, or simply want to save some for later, this cheesecake freezes beautifully! After the initial 6-hour cooling period in the refrigerator (or ideally, overnight), carefully remove the cheesecake from the springform pan. Wrap it tightly in several layers of plastic wrap, then an additional layer of aluminum foil, or place it in an airtight freezer-safe container. It can be frozen for up to 1-2 months.
- Thawing: When you’re ready to enjoy your frozen cheesecake, transfer it from the freezer to the refrigerator and let it thaw slowly overnight. Avoid thawing at room temperature, as this can affect the texture. Once thawed, it’s best consumed within 2-3 days.
👻 More Spooky Recipes for You to Try
Looking for more hauntingly good recipes to complete your Halloween feast? Explore these other spooky delights:
- Spiderweb cookies
- Red Halloween Cocktail
- Limoncello Vodka
- Kraken with Ginger Beer
- Halloween Cocktails {roundup}
- Gosling’s Dark & Stormy
- Kraken Cola
- Kramble
- Spooky Tarts
- Sloe Screw
🙋🏻 FAQ
Raspberries and chocolate are indeed a classic and beloved culinary pairing! The bright, tangy zest of fresh raspberries provides a delightful contrast to the rich, creamy, and often sweet taste of chocolate. While dark chocolate is frequently highlighted as the best partner for raspberries, the combination with luscious white chocolate, as in this cheesecake, creates an equally harmonious and incredibly delicious duo.
For *this* particular spooky dessert, you don’t need to worry about the oven at all! This is a completely no-bake cheesecake, meaning no baking is required for the filling or the crust. It sets beautifully in the refrigerator, making it a fantastic, stress-free option for busy holidays like Halloween.
This particular no-bake Halloween cheesecake should be stored in an airtight container in the refrigerator and will stay fresh for approximately three to five days. If you’re looking to prepare this enchanting treat well ahead of your Halloween celebrations, you can also freeze it after assembly for longer storage.
One of the simplest yet most effective ways to truly enhance the bright, natural flavor of raspberries is by adding a little bit of fresh lemon juice. The acidity of the lemon helps to amplify the fruity notes and provides a lovely counterpoint to the sweetness. This very no-bake cheesecake recipe strategically calls for a touch of fresh lemon juice within the creamy filling to achieve that perfect balance and highlight the raspberry swirl.
The most important tip for a perfectly smooth cheesecake filling is to ensure your cream cheese is at room temperature before you start whipping it. Cold cream cheese is much harder to beat smooth and will result in lumps. Whisk the softened cream cheese thoroughly on its own until it’s completely smooth and fluffy, scraping down the bowl frequently, before adding any other ingredients.
If you conjure up this recipe, I would absolutely love to hear how you liked it! Please consider giving it a ★★★★★ star rating and leaving a comment below to share your experience. That would be truly awesome! You can also sign up for our Newsletter to receive weekly delicious homemade recipes directly to your inbox, or follow me on Pinterest or Instagram and share your spooky creation with me. Just tag me @combinegoodflavors and hashtag #combinegoodflavors, so I don’t miss it!
📖 Recipe
No Bake White Chocolate Raspberry Oreo Cheesecake (Halloween Cheesecake)
Nora
Save RecipeSaved!
Pin Recipe
Equipment
-
9-inch springform pan ( 23 cm)
-
Baking Paper
-
Food processor
-
Mixing bowls
-
Small Saucepan
-
Small pan
-
Close meshed sieve
-
Glass measuring cup
-
Lemon squeezer
-
Tablespoon
-
Fork
-
Pastry bag
Ingredients
Raspberry Sauce
- 6 oz Fresh raspberries
- ⅓ cup Sugar
- ¼ cup Water divided
- 1 tablespoon Cornstarch
Cookie Crust
- 35 Oreos
- 7 tablespoon Butter salted
Cheesecake Cream
- 24 oz Cream cheese
- 1 ¼ cup Confectioner’s sugar
- 1 tablespoon Vanilla extract
- 2 teaspoon Fresh lemon juice
- ½ cup Whipped cream divided
- 1 cup White chocolate chopped
Spiderweb
- 6 oz Milk chocolate or dark chocolate
- 6 tablespoon Whipped cream
Instructions
Step 1 – Preparation is Key
-
Prepare a round springform pan by lining the bottom with baking paper. Lightly spray the sides of the pan with non-stick spray and set it aside, ready for assembly.
Step 2 – Crafting the Dark Oreo Cookie Crust
-
Place 35 Oreo cookies in a food processor and process them into fine, uniform cookie crumbs. In the meantime, slowly melt 7 tablespoons of salted butter in a small pan or microwave-safe bowl.35 Oreos
-
Add the crumbled cookie pieces to the food processor along with the melted butter and process on high until the cookie crumbs are thoroughly coated and start to stick to the sides of the food processor.7 tablespoon Butter
-
The resulting mixture should have a consistency similar to wet sand and can be pressed together with your fingers.
-
Empty the Oreo mixture into your prepared springform pan. Press the Oreo dough firmly and evenly into the bottom and slightly up the sides of the pan to create a solid crust.
-
Place the filled pan in the refrigerator for at least 15 minutes to cool and set the crust.
Step 3 – Simmering the “Bloody” Raspberry Sauce
-
Combine 6 oz of fresh raspberries, three tablespoons of water (part of the ¼ cup divided water), and ⅓ cup of granulated sugar in a saucepan. Heat over medium heat, stirring occasionally.6 oz Fresh raspberries, ¼ cup Water, ⅓ cup Sugar
-
Once the mixture starts bubbling, use a rubber spatula or spoon to gently loosen and break up the raspberries. Continue to stir until all ingredients are well mixed.
-
In a small separate bowl, whisk together one tablespoon of cold water (the remaining portion of the ¼ cup divided water) and 1 tablespoon of cornstarch until completely dissolved and lump-free.1 tablespoon Cornstarch, ¼ cup Water
-
Add this cornstarch mixture to the raspberry sauce and stir continuously. Bring it to a brief boil, then reduce the heat to a simmer, allowing the sauce to thicken.
-
The sauce will thicken within 2-3 minutes; it’s ready when it coats the back of a spoon.
-
Press the prepared sauce through a fine-mesh sieve to remove all seeds, resulting in a lovely, smooth raspberry sauce.
-
Set the smooth raspberry sauce aside to cool completely before using.
Step 4 – Whipping Up the Dreamy Cheesecake Filling
-
Place 24 oz of full-fat cream cheese (at room temperature) into the bowl of your stand mixer. If not using a stand mixer, use a deep, large bowl for hand whipping.24 oz Cream cheese
-
Whisk the cream cheese on medium speed until it is completely smooth, airy, and fluffy, scraping down the sides as needed. This usually takes about 3-4 minutes.
-
Meanwhile, squeeze half a lemon to get your fresh lemon juice.2 teaspoon Fresh lemon juice
-
Add 1 ¼ cup confectioner’s sugar, 1 tablespoon vanilla extract, and 2 teaspoons of fresh lemon juice to the bowl. Beat on medium speed for another 3-5 minutes until the mixture is light and fluffy.1 ¼ cup Confectioner’s sugar, 1 tablespoon Vanilla extract, 2 teaspoon Fresh lemon juice
-
To make the white chocolate ganache, add half of the ½ cup heavy whipping cream (60 ml / ¼ cup) to a measuring cup and microwave for 1 minute or until heated. Be careful not to overcook.½ cup Whipped cream
-
Place 1 cup of chopped white chocolate in a bowl and pour the hot cream over it. Whisk quickly with a fork until the white chocolate melts into a smooth, pourable mixture. If lumps remain, microwave for ten more seconds, stirring again.1 cup White chocolate
-
Turn the mixer to medium speed and slowly pour the melted white chocolate ganache into the cheesecake mixture until thoroughly blended and smooth.
-
Finally, add the remaining whipped cream to the cheesecake mixture. Mix again on medium speed until everything is perfectly combined and the filling is uniform.½ cup Whipped cream
Step 5 – Assembling Your Spooky Masterpiece
-
Remove the chilled Oreo crust from the refrigerator. Pour half of the creamy cheesecake mixture into the crust and gently spread it with a spoon or offset spatula to cover the bottom evenly.
-
Place the pan in the freezer for 10 minutes to allow this first layer of cheesecake to slightly set and firm up.
-
Remove the cake from the freezer. Carefully spoon the cooled raspberry sauce onto the cheesecake mixture, then gently spread it out using a spoon to create an even, vibrant layer.
-
Carefully spoon the remaining cheesecake mixture on top of the raspberry layer. Be extra careful here to avoid mixing the layers, aiming for distinct color separation. Use the moistened spoon trick (described in the general instructions above) for a perfectly smooth finish.
Step 6 – Weaving the Spooky Spider Web Design
-
Place 6 tablespoons of heavy whipping cream in a measuring cup and microwave for 45 seconds until hot.6 tablespoon Whipped cream, 6 oz Milk chocolate
-
Note: If using dark chocolate for the spider web, I recommend using six tablespoons of heavy cream for the ganache to ensure it’s not too thick to pipe.
-
Put 6 oz of milk chocolate (or dark chocolate) in a medium bowl and pour the hot cream over it. Stir the mixture with a fork until you have a smooth, thick ganache.
-
Pour the chocolate ganache into a cake-decorating piping bag.
-
Once the piping bag is filled, cut off a tiny tip from the bag and pipe a small dot in the very center of the cheesecake.
-
Pipe a large outer circle on top of the cheesecake, then continue piping concentric circles inwards, leaving about ½-inch (1.2 cm) of space between each circle.
-
Now, using the tip of a knife or a toothpick, drag a line from the ganache’s center dot outwards to the cheesecake’s outer edge, pulling through all the circles.
-
Repeat this dragging process every 1-inch (2.5 cm) around the cheesecake, ensuring the lines are slightly curved to create the classic spider web effect.
-
Refrigerate the finished cheesecake for at least 6 hours (overnight is ideal) to allow it to set completely and prevent it from becoming too runny. Serve this wonderful dessert chilled.
Nutrition values are estimates only, using online calculators. Please verify using your own data.

❤️ You might also like
- No bake Vanilla Crescents Cheesecake
- No-bake 4th of July Fruit Tart
- Celebrate St. Patrick’s Day with No-Bake Lime Cheesecake in a Jar!
- Cookies ‘n Cream Blossom Cookies
⛑️ Food Safety
Ensuring food safety is paramount, especially when preparing delicious treats for your loved ones. Please keep these important guidelines in mind:
- Cook to a minimum temperature of 165 °F (74 °C): While this is a no-bake recipe, ensure any ingredients that require cooking (like eggs if substituting, though none are in this recipe) reach a safe temperature.
- Do not use the same utensils on cooked food that previously touched raw meat: Always prevent cross-contamination.
- Wash hands after touching raw meat: This is a fundamental rule in any kitchen.
- Don’t leave food sitting out at room temperature for extended periods: Especially for dairy-based desserts like cheesecake, prompt refrigeration is key for safety and freshness.
- Never leave cooking food unattended: Even when melting butter or simmering sauce, keep an eye on your stovetop.
- Use oils with high smoking point to avoid harmful compounds: (Not directly applicable to this recipe, but good general advice).
- Always have good ventilation when using a gas stove: Ensure proper airflow in your kitchen.
For further comprehensive information on safe food handling practices, please check the official Safe Food Handling – FDA guidelines.
