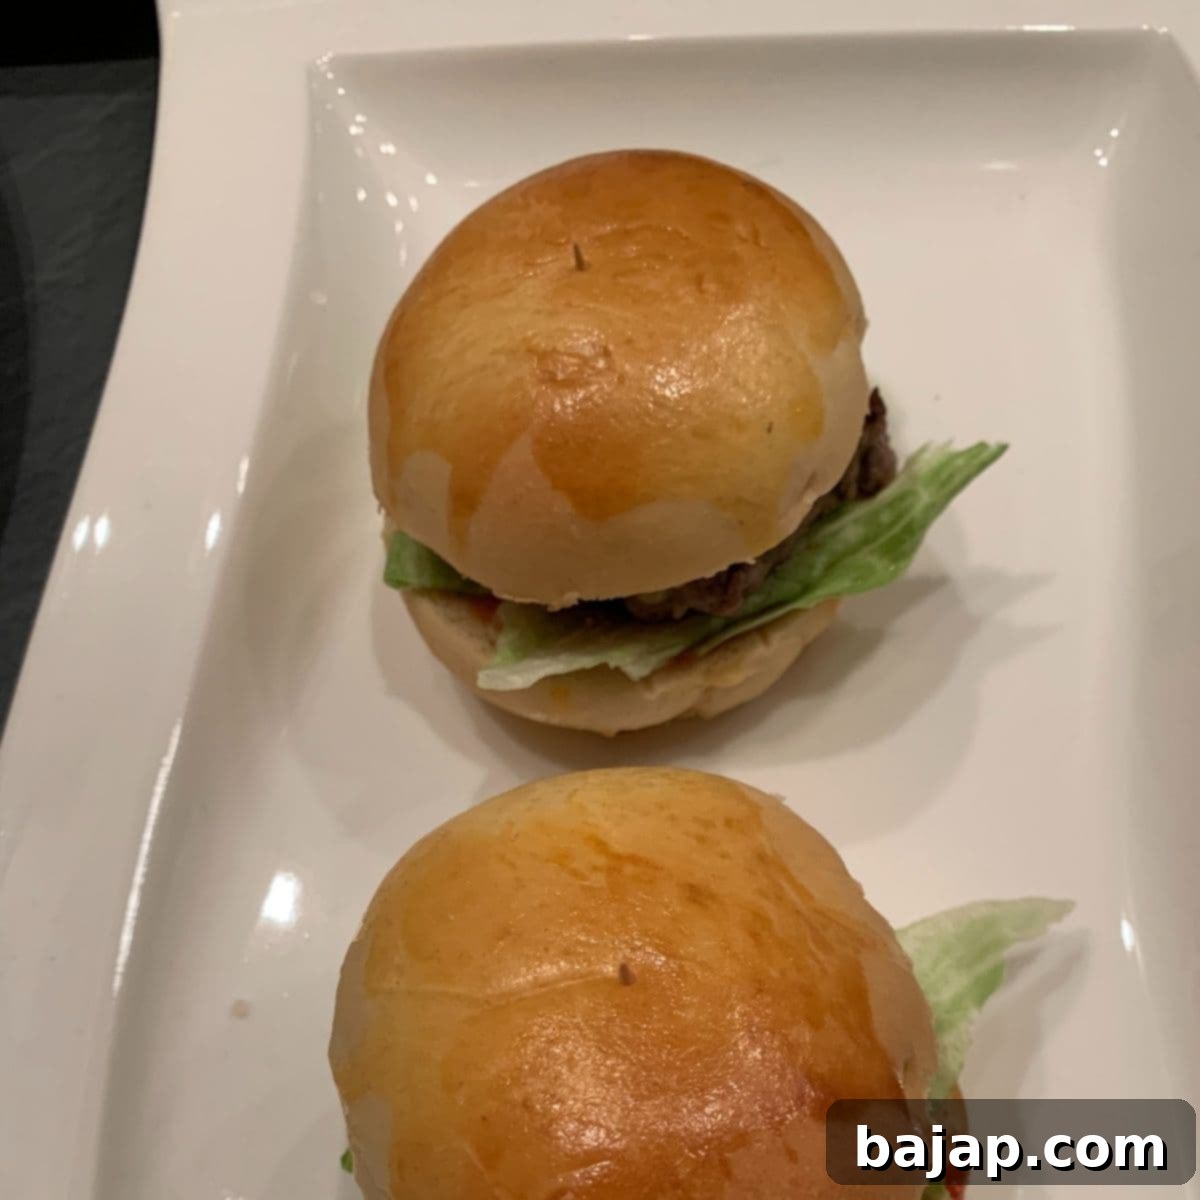
The Ultimate Guide to Homemade Mini Cheeseburgers: Fluffy Buns & Juicy Patties for Any Occasion!
Mini cheeseburgers have always held a special place in my heart, a dish I envisioned gracing our holiday table. In 2020, that vision became a delicious reality as we embarked on an unforgettable American-inspired Christmas dinner. The excitement of bringing this festive meal to life, especially with the charm of homemade mini cheeseburgers, was truly exhilarating!
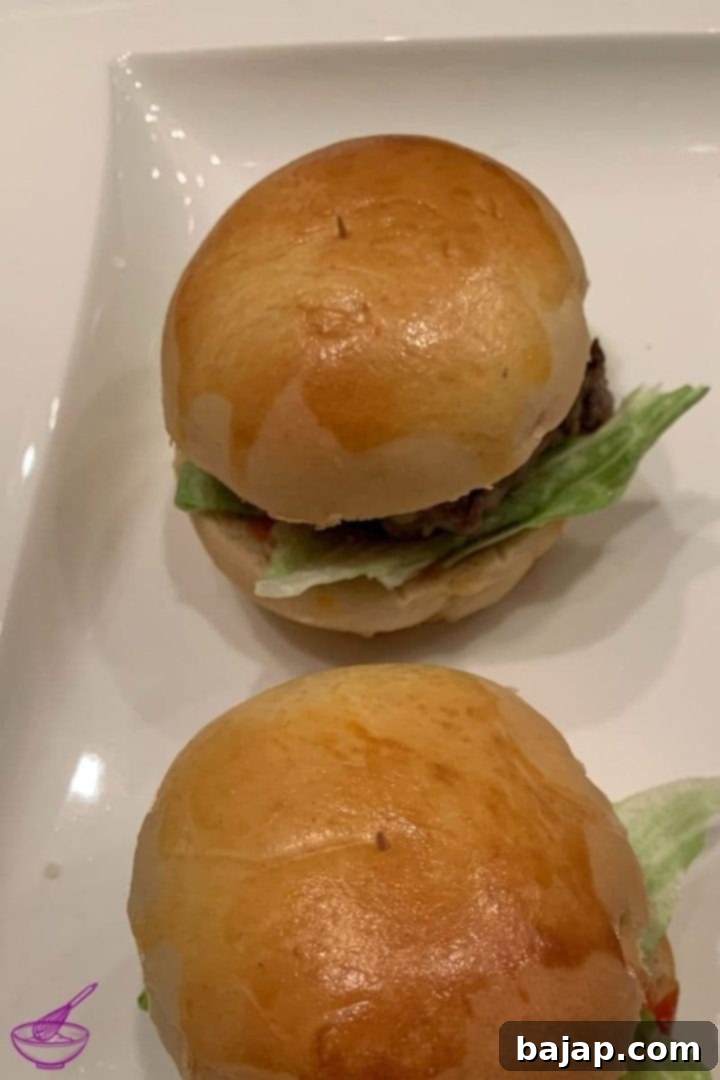
Our carefully planned Christmas dinner boasted a delightful array of courses, designed to create a truly memorable culinary experience:
- Appetizer – Caesar Salad with Homemade Dressing
- Soup – Creamy Corn Soup
- Main Course – Homemade Mini Cheeseburgers
- Dessert – Waffle Blossom with Chestnut Pureé
For those eager to recreate this festive feast, you can access the free recipe collection “American-inspired Christmas dinner,” which includes all the delicious recipes mentioned above.
The journey to these utterly perfect mini cheeseburgers began with a crucial question: “How do you create burger buns that are not only incredibly fluffy but also bursting with that classic, unmistakable flavor?” This culinary quest led me down a rabbit hole of research. I meticulously sifted through numerous recipes, shortlisting those that promised the ideal texture and taste. Many fell short during the testing phase, failing to deliver on either consistency or the desired flavor profile. It seemed the dream of soft, tender buns might remain just that—a dream.
However, perseverance paid off! I finally discovered a recipe that was nothing short of perfection. These buns are astonishingly fluffy and possess an exquisite flavor that elevates any burger. A heartfelt thank you goes to Ursula from “tasteoftravel” for sharing her brilliant technique! 💚 Her original recipe served as an incredible foundation, which I then subtly adapted to perfectly suit our needs, ensuring the core essence of her amazing buns remained.
The secret to achieving such ethereal fluffiness lies in a technique called pre-dough (often referred to as Poolish or Tangzhong). This method involves cooking a small portion of flour and liquid before incorporating it into the main dough. This gelatinizes the starches, allowing the dough to absorb and retain more moisture, resulting in buns that stay soft and fresh for longer.
[feast_advanced_jump_to]
🥘 Ingredients – Fluffy Burger Buns
Crafting these delectable buns starts with a few simple ingredients, carefully measured for optimal results.
Pre-dough (Poolish/Tangzhong)
- 1.52 fl oz (45 ml) Water: Essential for hydration.
- 1.52 fl oz (45 ml) Milk: Adds richness and tenderizes the crumb.
- 0.56 oz (16 g) Flour: The starches here will be gelatinized for ultimate fluffiness.
This special pre-dough mixture is truly the magic behind super fluffy, moist burger buns that will impress everyone!
Main Dough
- 3.7 fl oz (110 ml) Warm Milk: Activates the yeast and contributes to flavor.
- 0.17 oz (5 g) Dry Yeast: The leavening agent that makes the buns rise. Ensure it’s fresh for best results.
- 1 Egg (M): Adds richness, color, and helps bind the dough.
- 1.94 oz (55 g) Melted Butter: For tender texture and rich flavor.
- 0.88 oz (25 g) Crystal Sugar: A touch of sweetness that also aids in browning and yeast activation.
- 0.2 oz (6 g) Salt: Balances flavors and strengthens the gluten structure.
- 10.58 oz (300 g) Wheat Flour (Farina): The primary building block for the bun structure.
For Coating
- 1 Egg Yolk: For a beautiful, golden-brown sheen.
- 1 Teaspoon Milk: To thin the egg wash and ensure even coverage.
- Oil (for the mixing bowl): Prevents sticking during the rising process.
- Flour (for the work surface): To prevent sticking while kneading and shaping.
🍽 Essential Equipment
Having the right tools can make all the difference in your baking journey. Here’s what you’ll need:
- Kitchen Machine: Highly recommended for effortless kneading, especially with a dough hook.
- 2 Small Cooking Pots: One for the pre-dough, another for warming milk.
- 1 Small Pan: Perfect for melting butter.
- 1 Big Mixing Bowl with Lid: Crucial for the dough’s first rise, keeping it moist and warm.
- 2-3 Additional Mixing Bowls: For combining ingredients and preparing the egg wash.
- 1 Whisk (Eggbeater): For smooth mixtures and whisking eggs.
- 1 Wooden Spoon: Ideal for stirring and initial mixing of dough ingredients.
- 1 Baking Brush: For applying the egg wash evenly.
- Baking Paper: Prevents buns from sticking to the baking tray.
- Baking Tray: To hold your buns during baking.
- Kitchen Scale: For precise ingredient measurements, especially for dough pieces to ensure uniformity.
🔪 Instructions – Baking the Perfect Buns
Phase 1: Prepare the Pre-Dough (Tangzhong/Poolish)
Creating the pre-dough is surprisingly simple and quick, a stroke of luck for such an impactful step! Many assume it’s a hassle, but it’s really not. First, in a small cooking pot, vigorously whisk together the water and flour until the mixture is completely smooth and free of lumps. Once you’ve achieved this, gradually pour in the milk while continuously stirring. To transform this mixture into the magic pre-dough, gently heat it on the stove over medium-low heat, stirring constantly.
It is absolutely critical that you do not bring the pre-dough to a boil. Maintain a gentle heat, aiming for a temperature of approximately 149 °F / 65 °C. As you continue to stir, the mixture will gradually thicken and transform into a luscious, pudding-like consistency. This is precisely the texture you are looking for. Once the pre-dough achieves this dense, glossy appearance, it is ready. Remove it from the stove immediately, transfer it to a separate bowl, and set it aside to cool completely to lukewarm or room temperature before adding it to the main dough.
Phase 2: Prepare the Main Dough
To optimize your time, begin by pre-heating the milk in a small pot and melting the butter in a separate small pan while your pre-dough is cooling. This way, everything will be ready when you need it. Pour the warmed milk into a spacious mixing bowl and evenly sprinkle the dry yeast over its surface. Allow it to sit undisturbed for about a minute; this brief pause helps activate the yeast.
Next, crack an egg into the milk and yeast mixture and whisk it thoroughly with an egg beater until well combined. Now, gently stir in the lukewarm pre-dough and the melted butter using a wooden spoon or tablespoon. Make sure these additions are fully incorporated into the liquid mixture.
If you are using a kitchen machine, this is where it truly shines and simplifies the process significantly.
Transfer the combined milk, yeast, egg, pre-dough, and butter mixture into the bowl of your kitchen machine. Add the sugar, salt, and half of the wheat flour. Start mixing these ingredients with the dough hook on a low speed until they are just combined. Gradually add the remaining flour, allowing the machine to knead the mixture into a cohesive dough. The ideal kneading time is usually around 5 minutes; you’ll know the dough is ready when it cleanly pulls away from the sides of the bowl and feels smooth and elastic. Alternatively, you can achieve the same results by hand-kneading with a wooden spoon and your hands, though it will require a bit more effort.
Once kneaded, prepare a clean mixing bowl by lightly coating it with a teaspoon of oil. Transfer the dough into this oiled bowl. Cover the bowl securely with a lid (or cling film if a lid isn’t available) to create a warm, humid environment. Now, allow the dough to rest and rise at room temperature for approximately one hour, or until its volume has visibly doubled. This first rise is crucial for developing flavor and a light texture.
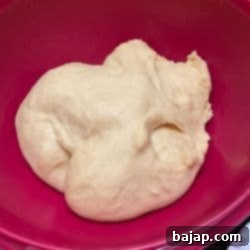
Finally, a well-deserved break for you! Enjoy a coffee or tea while the dough does its work. What, has an hour already passed? It’s time to continue with our delicious burger buns. Lightly sprinkle a clean work surface with a little flour. Gently turn the risen dough out onto this surface and knead it briefly to release any trapped air. This process, known as ‘punching down,’ helps to redistribute the yeast and create a finer crumb.
Divide the dough into equal-sized pieces. For miniature cheeseburgers, aim for about nine uniformly sized portions. I highly recommend using a kitchen scale to weigh each dough piece. This ensures every family member or guest receives a perfectly sized bun, avoiding any disappointment later on!
There’s a specific rolling technique often suggested for burger buns to achieve a perfectly round, smooth top. While I’ve tried both the special technique and a simpler hand-rolling method, I honestly didn’t notice a significant difference in the final product’s appearance or texture for mini buns. However, if you’re curious about the precise technique, you can find a detailed guide here. Regardless of the rolling method, aim for smooth, tight balls of dough.
Arrange the shaped buns on a baking sheet lined with baking paper, ensuring there’s enough space between them for expansion. Let them rise at room temperature for another 30 minutes. During this second rise, they will significantly increase in volume again, becoming light and airy.
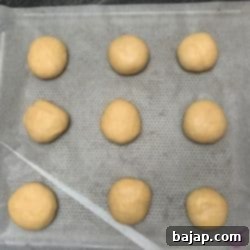
While the buns are on their final rise, pre-heat your oven to 320 °F / 160 °C (using the circulating air setting for even baking). In a small bowl, whisk together one egg yolk and one teaspoon of milk to create a golden egg wash. Gently brush the tops of the risen buns with this mixture; this will give them a beautiful, shiny, golden-brown crust. Bake the buns for 10-15 minutes, or until they are perfectly golden and cooked through.
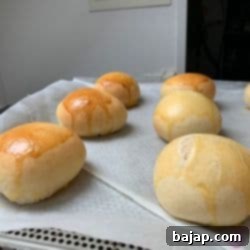
Once baked, remove the buns from the oven and let them cool completely on a wire rack. For optimal freshness, store them in a bread tin or airtight container until you’re ready to assemble your mini cheeseburgers. These delicious homemade buns are now prepared, allowing you to focus on the patties and other fixings closer to serving time.
Perfect! The buns are ready. You’ll continue with the patties and remaining ingredients the next day, just before serving your festive Christmas menu.
🥘 Ingredients – Juicy Mini Patties
Crafting the perfect juicy patties is just as important as the buns for an outstanding mini cheeseburger. Here’s what you’ll need:
- 21.16 oz (600 g) Minced Meat from Beef: Opt for beef that is a little greasier rather than too lean (e.g., 80/20 blend). The fat content is key for juicy, flavorful patties.
- Half an Onion (finely diced): Adds a subtle aromatic sweetness and moisture.
- 2 Teaspoons Salt: Essential for seasoning and enhancing the beef’s flavor.
- 1 Teaspoon Ground Pepper: For a touch of warmth and spice.
- 2.11 oz (60 g) Sliced Cheddar: The classic choice for cheeseburgers, melting beautifully.
- 10 Leaves Iceberg Lettuce: Provides a crisp, refreshing crunch.
- Ketchup: A foundational condiment for many burger lovers.
And for a customizable topping experience at the table:
- BBQ Sauce
- Sour Cream Sauce
- Additional Ketchup
🍽 Equipment – Patty Preparation
Gather these tools for a smooth patty-making process:
- 1 Big Mixing Bowl: For combining the minced meat and seasonings.
- 1-2 Chopping Boards: For dicing onions and shaping patties.
- 2 Big Skillets: Essential for efficiently frying multiple patties at once.
- 1-2 Sandwich Paper Sheets: For easy patty shaping and separation.
- 1 Spatula: For flipping patties and handling them in the pan.
- 1 Spreading Knife: For applying sauces to the buns.
- 8 Toothpicks: To secure the mini cheeseburgers for presentation and easy handling.
- 2 Plates: For resting the cooked patties.
🔪 Instructions – Cooking & Assembling the Mini Cheeseburgers
The key to tender, flavorful patties is gentle handling. Shortly before you plan to grill them, combine the minced beef with the finely diced onions, salt, and pepper in a large mixing bowl. Mix these ingredients very gently with your hands – do not overwork the meat. Overworking can lead to tough patties. A crucial tip: avoid using a burger press! A looser patty cooks more evenly and stays juicier.
Prepare your workstation for shaping. Cut out 16 squares of sandwich paper, each roughly the size of your baked mini burger buns. Lay eight of these squares evenly spaced across one or two chopping boards. Divide your seasoned minced meat into eight equal portions, then place one pile of meat on each of the sandwich paper squares.
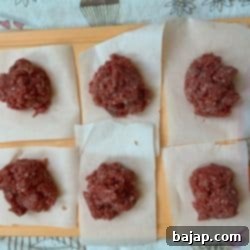
Now, cover each mound of mince with the remaining eight sandwich paper squares. Using a plate or a flat spoon, gently press down on each covered portion to form flat patties. Aim for a thickness similar to your thumb, ensuring they don’t exceed the diameter of your buns. This gentle pressing helps maintain a loose, tender texture while still forming a coherent patty.
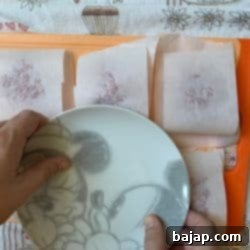
If any of the patty edges seem a bit too loose, gently squeeze them inwards to help them hold their shape during cooking. Before you begin frying, prepare the cheddar and lettuce. Cut your cheddar slices into 16 equal, smaller squares – two for each mini cheeseburger. Wash the iceberg lettuce leaves thoroughly, pat them dry, and set them aside. These preparations ensure a smooth assembly line once the patties are cooked.
Preheat two large skillets over medium-high heat. If your minced meat has a good fat content (like an 80/20 blend), you may not need to add any oil to the pan. If it’s leaner, a thin layer of cooking oil will prevent sticking. Carefully place the prepared patties (removing the sandwich paper, of course!) into the hot pans. For a medium-cooked patty, fry them for approximately 2-3 minutes on each side. Adjust cooking time based on your preferred doneness.
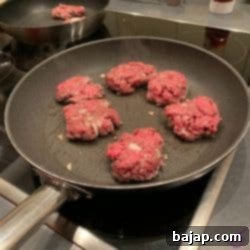
After flipping the patties for the first time, immediately place two cheddar cheese squares on top of each patty. This allows the cheese to melt beautifully and evenly while the other side of the patty cooks, creating that irresistible cheesy goodness.
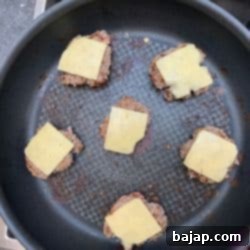
Once your patties are cooked to your desired medium doneness, carefully remove them from the pan and transfer them to two plates. Let them rest for a few minutes; this allows the juices to redistribute throughout the meat, ensuring maximum succulence. While the patties are resting, quickly slice your homemade buns in half and toast them lightly on a grill or in a pan. This adds a subtle crunch and prevents the buns from becoming soggy.
Now for the exciting part: assembly! Spread a generous layer of ketchup on the inside of both the top and bottom bun halves. Place a fresh, crisp lettuce leaf on the bottom bun. Carefully place your perfectly grilled, cheesy patty on top of the lettuce. Finally, crown it with the top part of the bun. To keep these adorable mini cheeseburgers secure and easy to handle, pierce each one with a decorative toothpick. Arrange them artfully on a serving plate, ready to delight your guests.
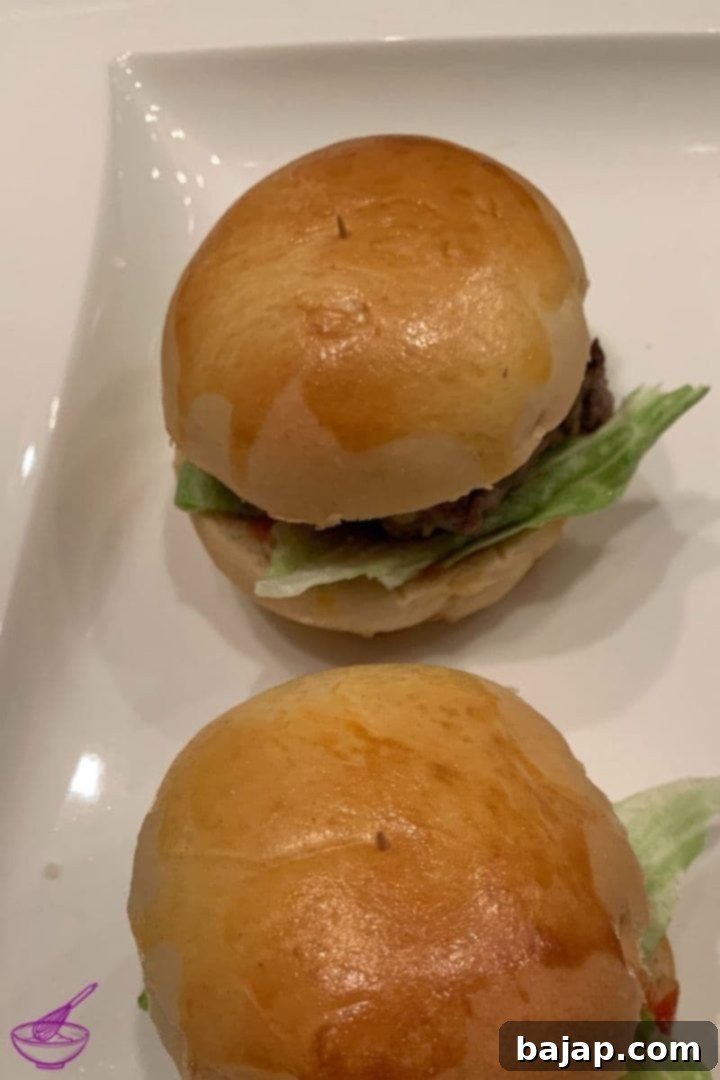
To cater to diverse palates, we always set out a selection of sauces on the dining table. This allows guests to personalize their mini cheeseburgers with their preferred condiments, be it BBQ sauce, a creamy sour cream sauce, or extra ketchup.
To ensure a stress-free and enjoyable cooking experience, especially when preparing a multi-course meal like our Christmas dinner, I highly recommend teaming up with a friend, partner, or family member. In our household, my husband proudly takes on the role of grill master, expertly handling the preparation and frying of the patties. Meanwhile, I focus on the intricate process of baking the buns and getting all the accompanying ingredients ready. This division of labor not only speeds up the cooking process but also ensures that everything is served fresh and warm, making the entire meal a truly collaborative and delightful occasion.
🤎 You might also like
- 36 delicious Christmas Dinner Main Course Recipe Ideas
- How to cook Tafelspitz (Austrian Prime Boiled Beef)
- Dutch Oven Mac and Cheese – the absolute comfort food
- How to make Chickpea Spread
📖 Recipe
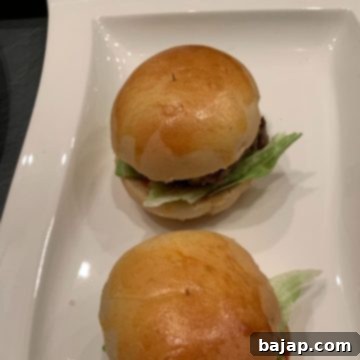
The Utterly Perfect Mini Cheeseburgers
Nora
Save RecipeSaved!
Pin Recipe
Equipment
-
Kitchen machine
-
2 Pans
-
1 whisk (eggbeater)
-
1 Baking brush
Ingredients
Pre-dough ingredients
- 45 ml Water
- 45 ml Milk
- 16 g Flour
Main-dough ingredients
- 110 ml Warm milk
- 5 g Dry yeast
- 1 medium sized Egg
- 55 g Melted butter
- 25 g Crystal Sugar
- 6 g Salt
- 300 g Wheat Flour (farina)
For coating
- 1 Egg yolk
- 1 teaspoon Milk
- Oil (for the mixing bowl)
- Flour (for the work surface)
Ingredients for the patties
- 600 g Minced meat from beef (better a little greasier than too lean)
- ½ Onion (finely diced)
- 2 teaspoons Salt
- 1 teaspoon Grounded pepper
- 60 g Sliced Cheddar
- 10 leaves Iceberg lettuce
- Ketchup
For dipping at the dinner table
- BBQ Sauce
- Sourcream Sauce
- Ketchup
Instructions
Prepare the pre-dough (Tangzhong/Poolish)
-
In a small cooking pot, whisk together water and flour until smooth and lump-free.
-
Gradually pour in milk while stirring continuously.
-
Gently heat the mixture (about 149 °F / 65 °C) on the stove, stirring constantly, until it thickens to a pudding-like consistency. Do not boil.
-
Remove from heat and set aside to cool completely to lukewarm.
Prepare the main dough
-
Preheat the milk in a small pot and melt the butter in a small pan.
-
Pour the heated milk into a mixing bowl and sprinkle the dry yeast evenly over it. Wait 1 minute for the yeast to activate.
-
Add an egg and whisk it into the milk-yeast mixture.
-
Stir in the cooled pre-dough and melted butter with a wooden spoon until well combined.
-
If using a kitchen machine, transfer the mixture to its bowl.
-
Add sugar, salt, and half of the wheat flour. Mix with a wooden spoon (or dough hook) until ingredients are just combined.
-
With a kitchen machine (using a dough hook) or by hand, gradually add the remaining flour and knead for about 5 minutes until the dough is smooth and pulls away from the bowl’s surface.
-
Lightly coat a clean bowl with a teaspoon of oil. Place the dough into the bowl and cover with a lid or cling film.
-
Allow the dough to rest at room temperature for one hour, or until its volume has doubled.
-
Sprinkle a work surface with flour. Turn out the dough and knead it briefly to release air.
-
Divide the dough into 9 equal-sized pieces (use a kitchen scale for precision) and form into small, round buns.
-
Place the formed buns on a baking sheet lined with baking paper, ensuring they are spaced apart.
-
Let them rise again at room temperature for another 30 minutes, or until significantly increased in volume.
-
Preheat oven to 320 °F / 160 °C (circulating air). Whisk one egg yolk and one teaspoon of milk for an egg wash.
-
Brush the tops of the risen buns with the egg-milk mixture.
-
Bake for 10-15 minutes, until golden brown.
-
Let the buns cool completely after baking. Store in an airtight container until ready to use.
Burger Patties & Assembly
-
Just before cooking, gently mix the minced beef with finely diced onions, salt, and pepper in a large bowl. Do not overmix.
-
Cut 16 sandwich paper squares (bun-sized) and arrange 8 on 1-2 cutting boards.
-
Divide the meat mixture into 8 equal portions and place each on a sandwich paper square.
-
Cover the meat portions with the remaining 8 paper squares and gently press with a plate or spoon to form thumb-thick patties. Adjust edges if needed to maintain shape.
-
Cut cheddar slices into 16 equal squares and wash/pat dry the iceberg lettuce; set aside.
-
Preheat pans over medium-high heat. Place patties (without paper) into the hot pans. Use oil only if meat is lean.
-
Fry patties for 2-3 minutes per side for medium doneness.
-
After the first flip, place two cheddar squares on each patty to melt while the other side cooks.
-
Remove cooked patties from pan and let rest on plates for a few minutes.
-
Meanwhile, cut buns in half and toast them briefly.
-
Spread ketchup on bun insides. Layer lettuce, then patty, then the top bun.
-
Secure each mini cheeseburger with a toothpick and arrange on a plate for serving.
For dipping at the dinner table
-
Offer various sauces (BBQ, sour cream, extra ketchup) on the dining table for guests to customize their mini cheeseburgers.
Nutrition values are estimates only, using online calculators. Please verify using your own data.

⛑️ Food Safety Guidelines
Ensuring food safety is paramount when cooking, especially with meat. Please adhere to these guidelines:
- Always cook ground beef to a minimum internal temperature of 165 °F (74 °C) to eliminate harmful bacteria.
- Never use the same utensils, cutting boards, or plates on cooked food that previously touched raw meat without thorough washing.
- Wash your hands meticulously with soap and warm water after handling raw meat.
- Do not leave cooked food sitting out at room temperature for extended periods (typically no more than two hours).
- Always supervise cooking food, especially when frying, to prevent accidents.
- When frying, use oils with a high smoking point to avoid the production of harmful compounds.
- Ensure good ventilation in your kitchen, particularly when using a gas stove, to disperse fumes.
For more detailed and comprehensive information on safe food handling practices, please refer to the FDA’s Safe Food Handling guidelines.
