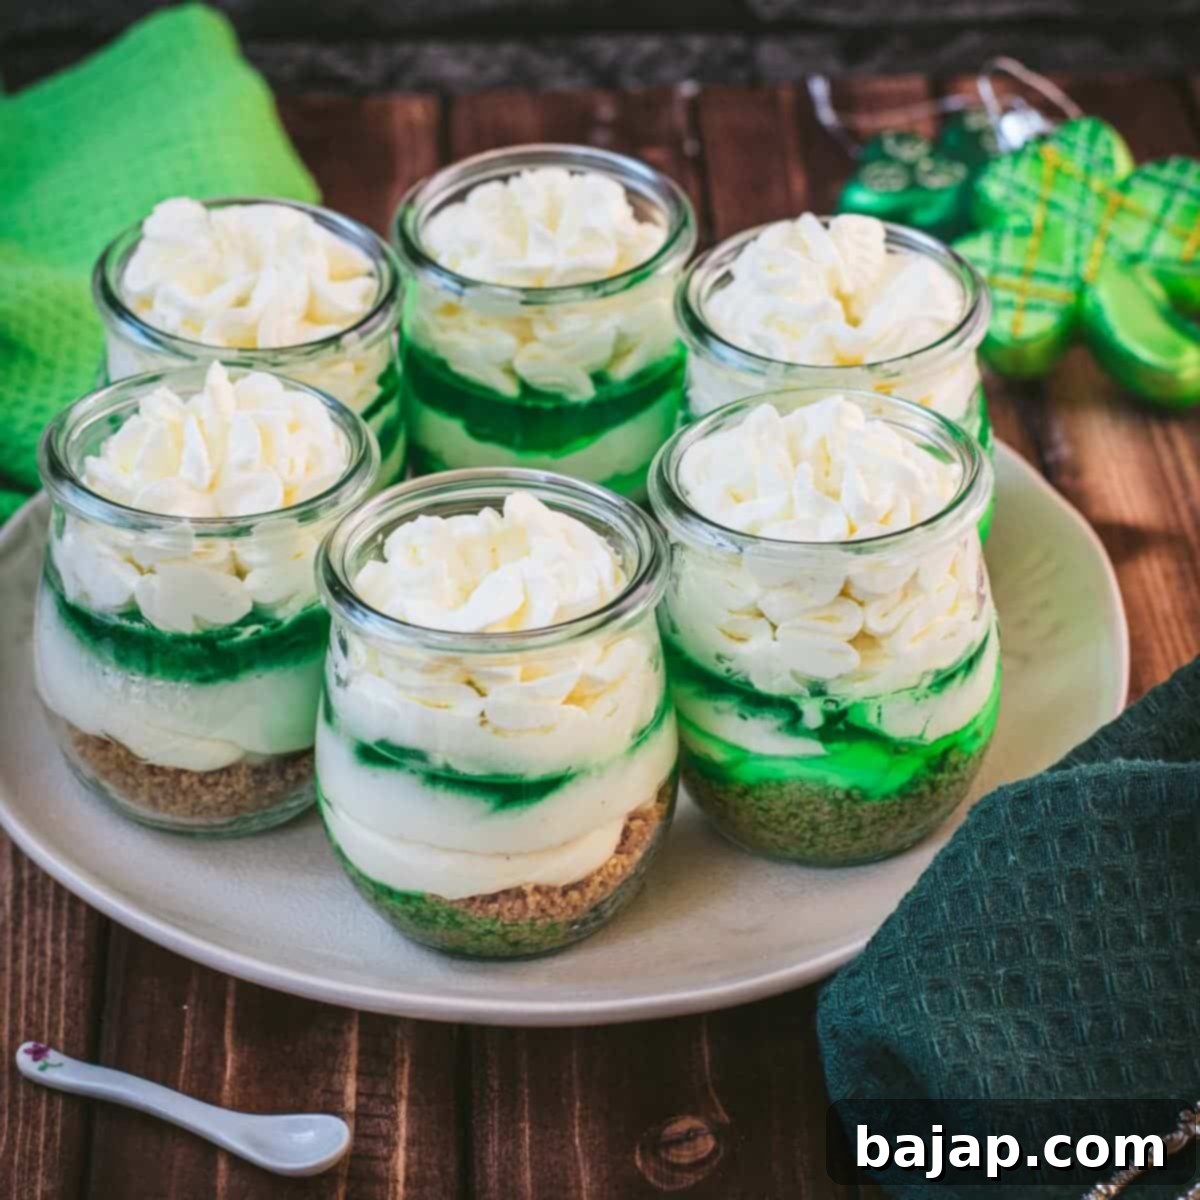
Celebrate St. Patrick’s Day with Easy No-Bake Lime Cheesecake Jars!
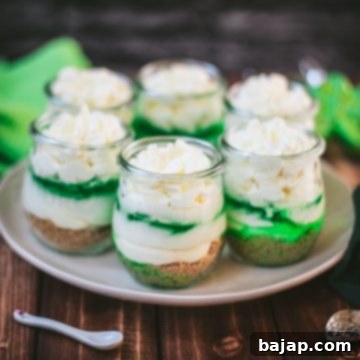
St. Patrick’s Day is the perfect excuse to infuse your celebrations with vibrant green hues and delectable treats! And what better way to do so than with these absolutely adorable and incredibly delicious No-Bake Lime Cheesecake Jars? Get ready to raise a spoon to Ireland with this delightfully tangy and sweet dessert that’s as easy to make as it is charming to serve.
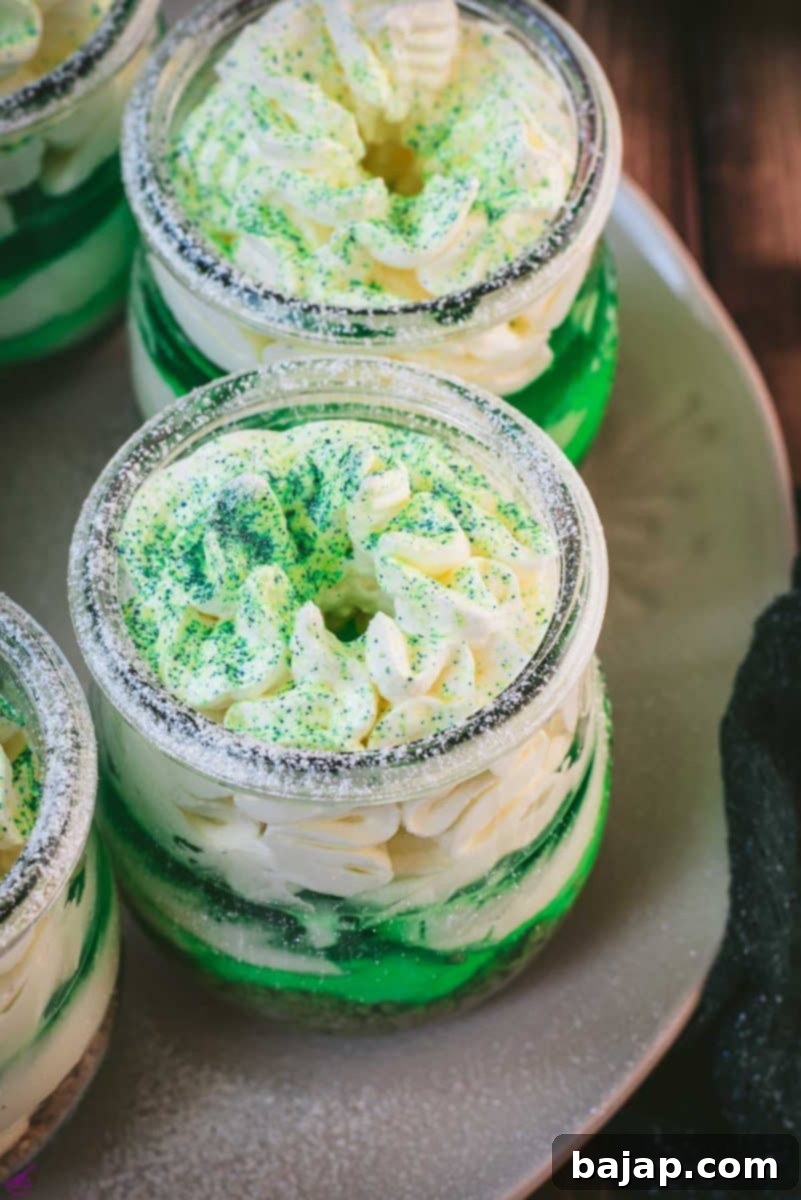
There’s something uniquely satisfying about a no-bake cheesecake, especially when it comes to simplicity and flavor. That’s why every March, I eagerly anticipate whipping up these beautiful St. Patrick’s Day Lime Cheesecake Jars. They are the epitome of a cute, layered dessert, bursting with a perfect balance of sweet and citrusy flavors that truly capture the spirit of the Emerald Isle.
Forget the lengthy searches for complicated St. Patrick’s Day recipes! This delightful green dessert is not only a symbol of good luck but also incredibly straightforward to prepare, making it a fantastic choice for any festive gathering or a cozy family treat. Its vibrant green layers and creamy texture are sure to be a hit with everyone, from kids to adults!
🍀 Essential Ingredients for Your Lime Cheesecake Jars
Crafting these delicious no-bake lime cheesecakes requires a few simple ingredients, each playing a crucial role in creating the perfect layered dessert. Gathering your ingredients before you start ensures a smooth and enjoyable cooking process.
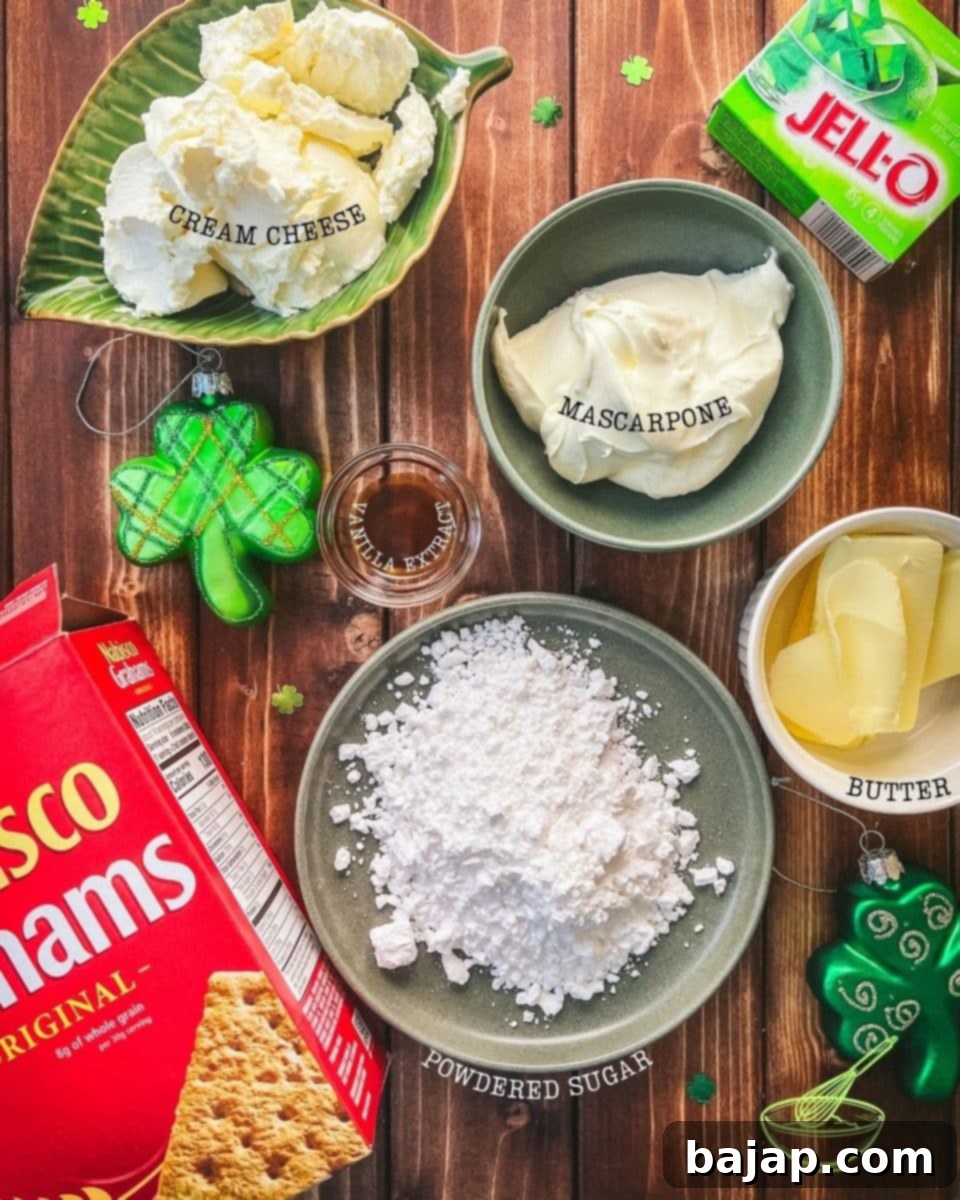
- Graham Crackers: These form the irresistible, crumbly base of your cheesecake. Their subtly sweet and slightly nutty flavor provides a perfect contrast to the tangy lime. If graham crackers aren’t available in your region, plain digestive biscuits or even shortbread cookies can be a tasty alternative.
- Unsalted Butter: Melted unsalted butter acts as the binding agent for the graham cracker crumbs, creating a firm and flavorful crust for your individual cheesecake jars. Using unsalted butter allows you to control the overall saltiness of the dessert.
- Cream Cheese: The heart of any cheesecake! Plain, full-fat cream cheese is ideal for achieving that rich, creamy texture and classic tangy flavor. Remember to remove it from the fridge at least 30 minutes before mixing to allow it to soften, which is crucial for a smooth, lump-free filling. You can opt for low-fat cream cheese if you prefer a lighter version, but be aware it might slightly alter the texture.
- Mascarpone: This Italian cream cheese elevates the cheesecake filling with its luxurious, velvety texture and wonderfully sweet, buttery tang. It adds an extra layer of indulgence, making your no-bake lime cheesecake even more special.
- Icing Sugar: Also known as powdered sugar or confectioner’s sugar, icing sugar is essential for sweetening the cheesecake filling and giving it a smooth, melt-in-your-mouth consistency. Its fine texture dissolves easily, preventing any grainy residue.
- Vanilla Extract: A common and beloved flavoring, vanilla extract adds a silky smooth sweetness and depth to the overall flavor profile of your cheesecake. For a gourmet touch, consider using pure vanilla bean paste or experiment with other extracts like almond or lemon to complement the lime.
- Lime Jell-O and Boiling Water: The vibrant green color and signature tartness of the lime Jell-O create a striking and delicious top layer for this layered cheesecake. Preparing the gelatin with boiling water ensures it dissolves completely, yielding a smooth, set layer. Make sure your water is truly boiling for best results, then allow it to cool slightly before adding to your jars.
- Green edible glitter (optional) – for a gorgeous, magical green glitter effect that makes these St. Patrick’s Day cheesecakes truly sparkle!
For precise measurements and detailed instructions, refer to the recipe card below.
🍀 Crafting Your St. Patrick’s Day No-Bake Lime Cheesecake Jars: Step-by-Step
Follow these simple steps to create stunning and delicious no-bake lime cheesecakes perfect for St. Patrick’s Day. The key to beautiful layers is patience and proper chilling!
Step One: Prepare the Graham Cracker Crust
Start by breaking your graham crackers into smaller pieces and adding them to a food processor. Process until they are finely broken down into uniform crumbs. This fine texture is essential for a smooth and even crust. If you don’t have a food processor, you can place the crackers in a sealable bag and crush them with a rolling pin until fine.
Step Two: Bind the Crumb Mixture
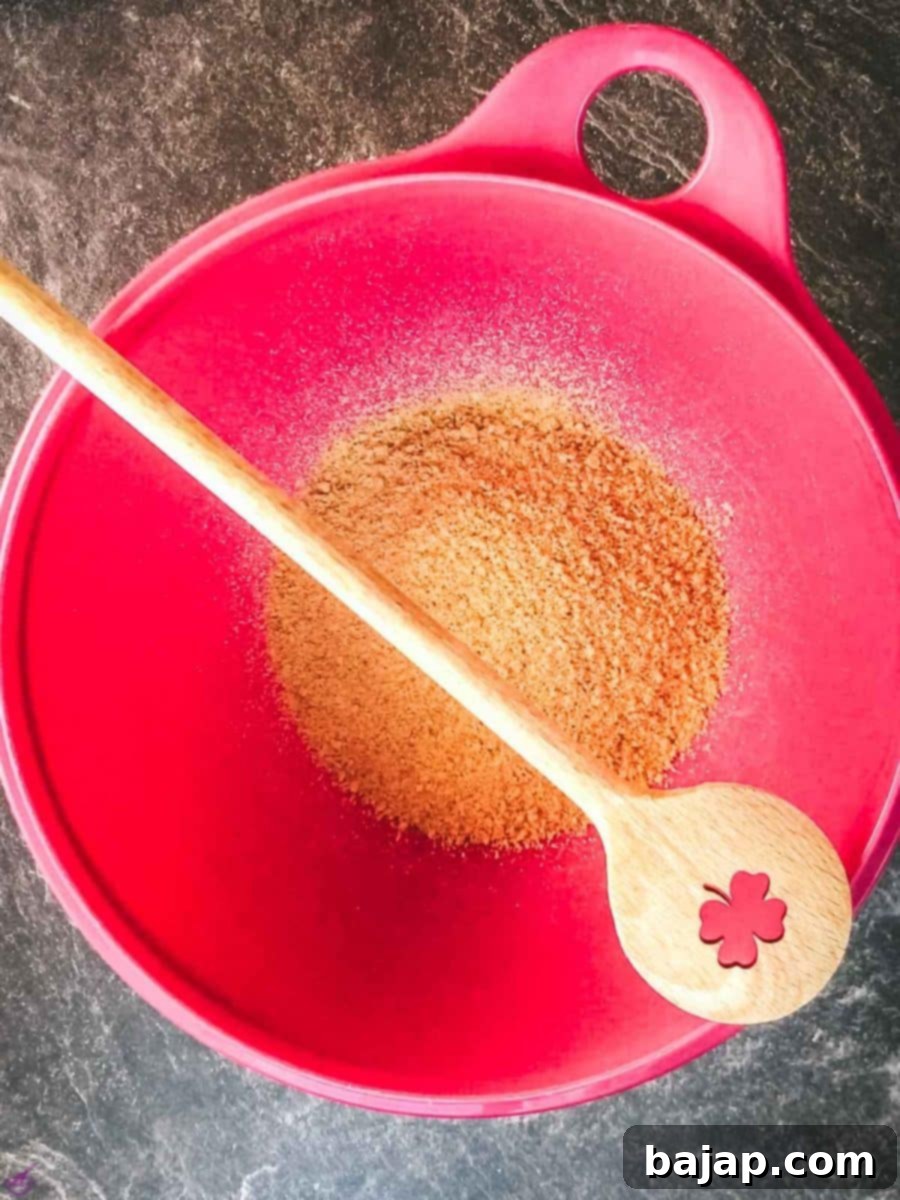
Melt the unsalted butter until it’s fully liquid. Pour the melted butter over the graham cracker crumbs in a mixing bowl. Use a wooden spoon or spatula to mix everything thoroughly until all the crumbs are evenly coated and resemble wet sand. This ensures your crust will hold together beautifully.
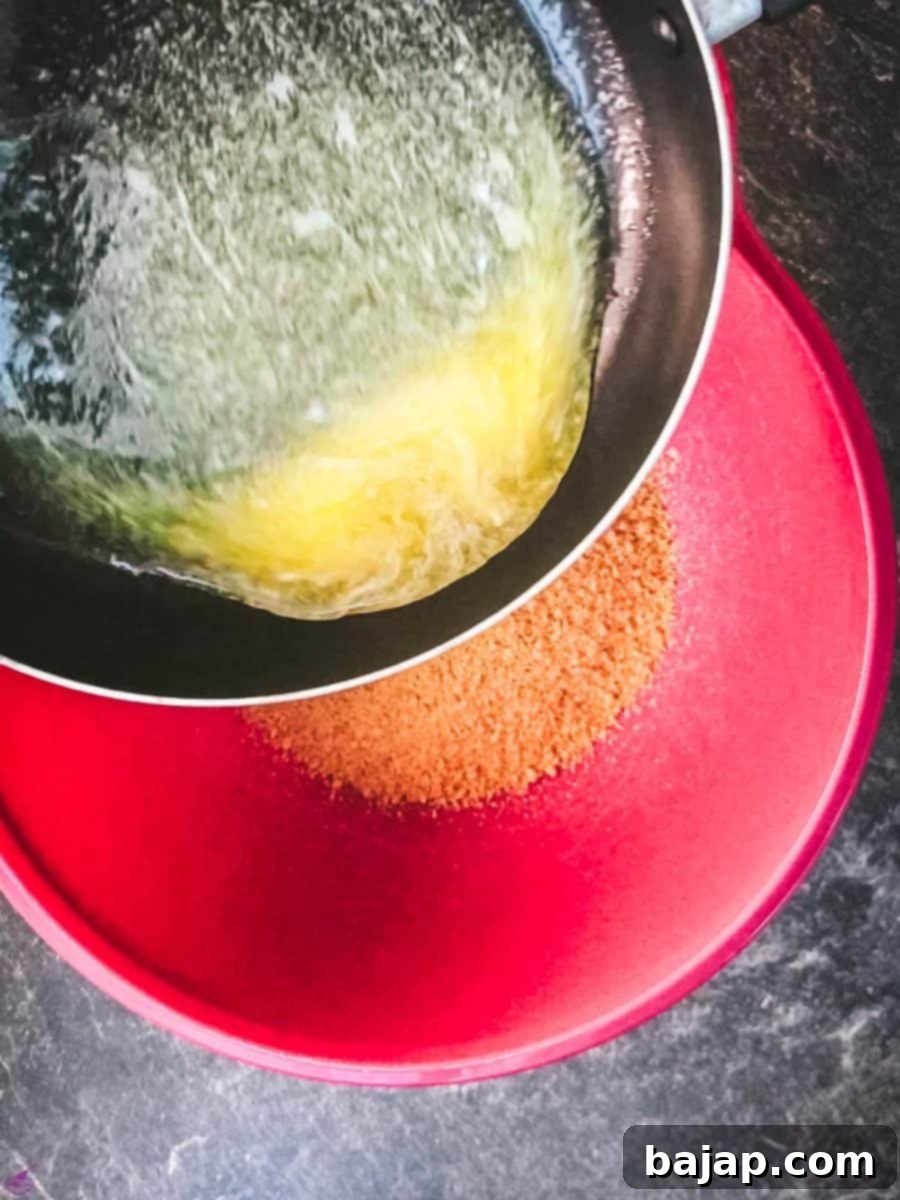
Step Three: Form the Cheesecake Base and Chill
Carefully divide the crumb mixture evenly among your chosen preserving jars – aim for about three teaspoons per jar. Using the back of a spoon or a small tamper, firmly press down on the crumbs to create a compact and stable base. This step is crucial to prevent the crust from crumbling when serving. Once pressed, chill the jars in the refrigerator for at least half an hour. This will help the butter solidify and the crust to firm up.
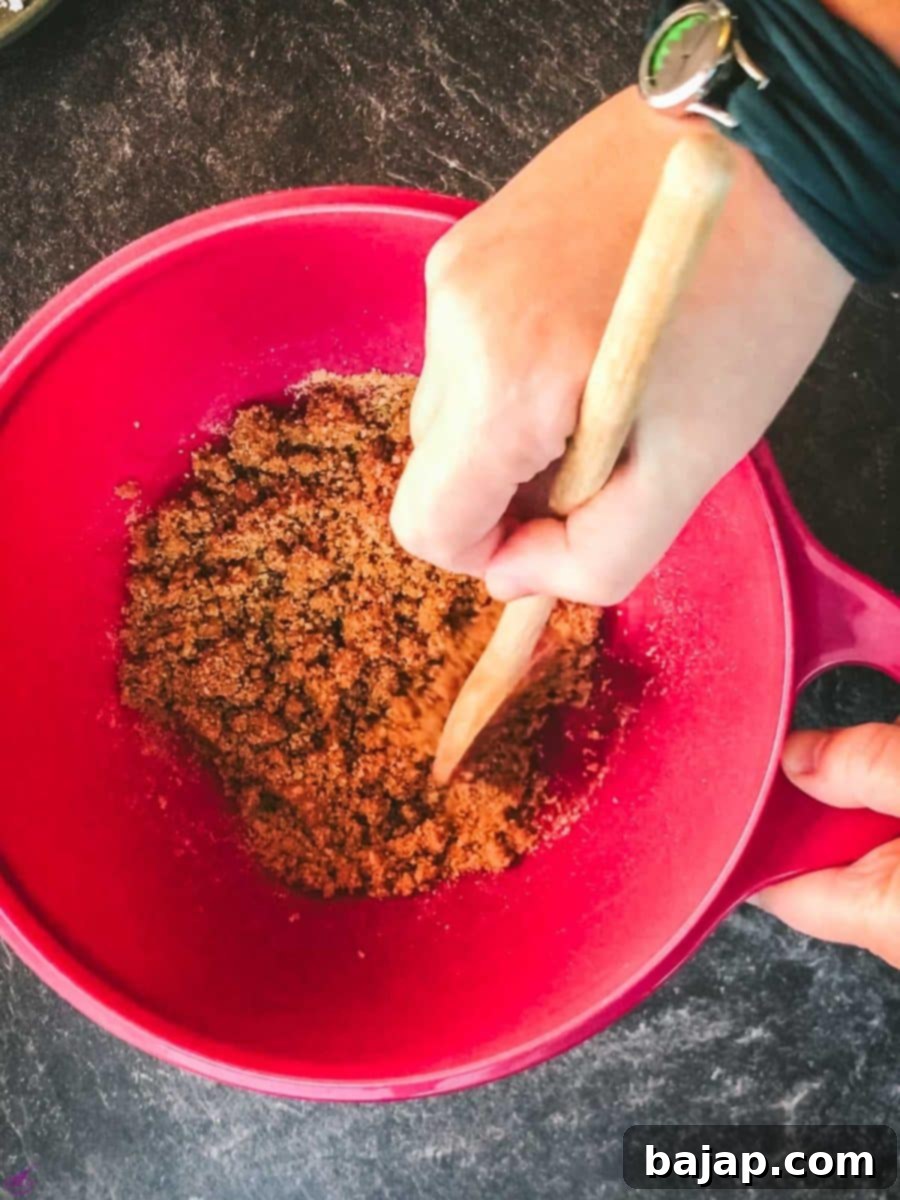
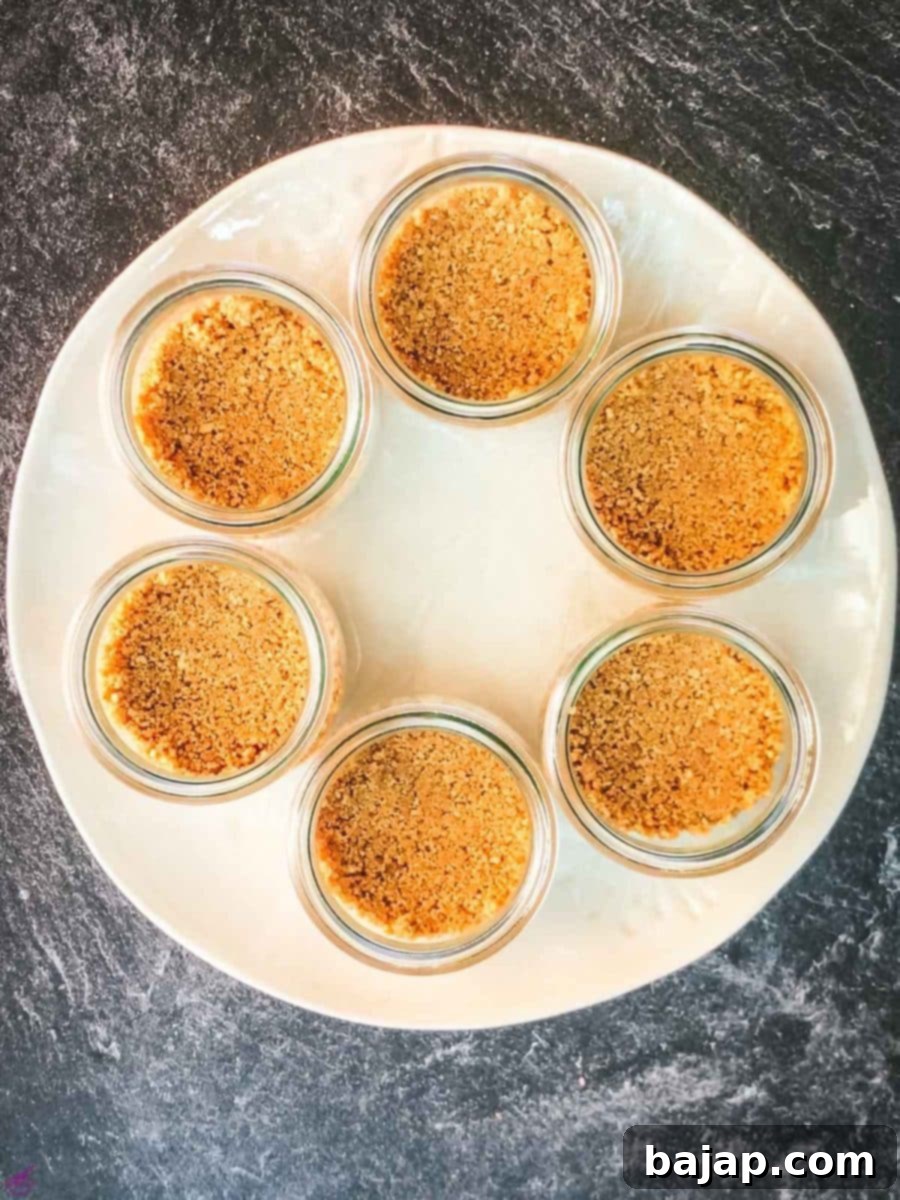
Step Four: Prepare the Creamy Cheesecake Filling
In a large mixing bowl, combine the softened cream cheese, mascarpone, icing sugar, and vanilla extract. Using an electric mixer with a whisk attachment, whip the mixture on medium-high speed for two to three minutes until it becomes wonderfully creamy, smooth, and fully combined. Ensure there are no lumps of cream cheese remaining for the perfect texture.
Step Five: Fill the Piping Bag
Transfer the luscious cheesecake filling into a pastry bag. A piping bag with a wide opening (or a Russian ball tip, as suggested in equipment) makes for neat and even distribution into the jars. Once your piping bag is ready, retrieve the chilled jars with their firm graham cracker bases from the refrigerator.
Step Six: Layer the Cheesecake Filling
Carefully pipe or spoon the cheesecake batter into each jar, dividing it evenly over the graham cracker crust. Then, using a small spoon or the back of your piping tip, gently spread the cream cheese layer so it touches the edges of the glass. This crucial step creates a neat barrier that prevents the Jell-O from seeping down into the cream cheese layer later on, ensuring distinct, beautiful layers. Return the filled jars to the fridge to chill while you prepare the Jell-O.
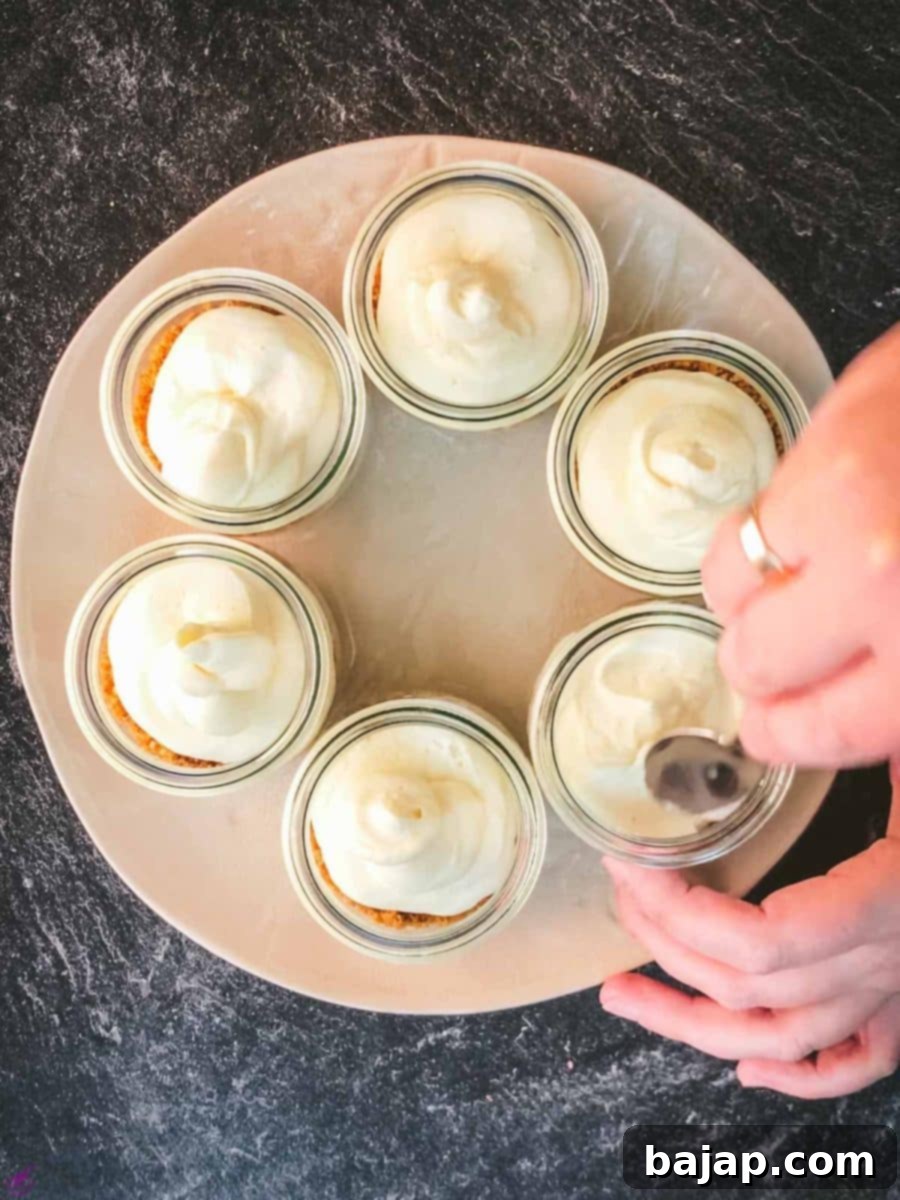
Step Seven: Prepare the Lime Jell-O Layer
In a separate bowl, whisk together the lime Jell-O mix with the boiling water. Continue whisking vigorously until all the gelatin crystals have completely dissolved and the mixture is smooth. Once dissolved, let the Jell-O mixture rest at room temperature for about 20 minutes. This cooling period is vital; pouring hot Jell-O directly onto your cream cheese layer can cause it to melt and mix, ruining your distinct layers.
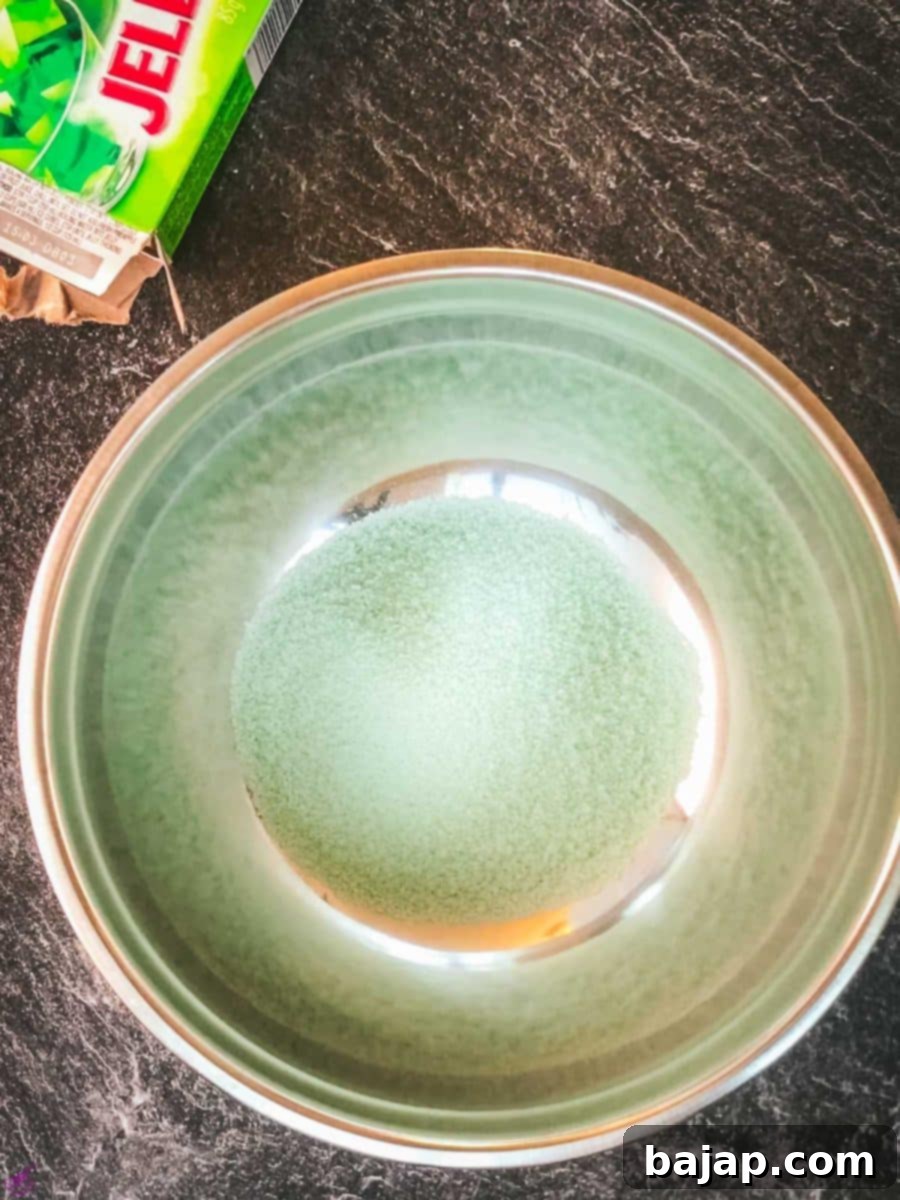
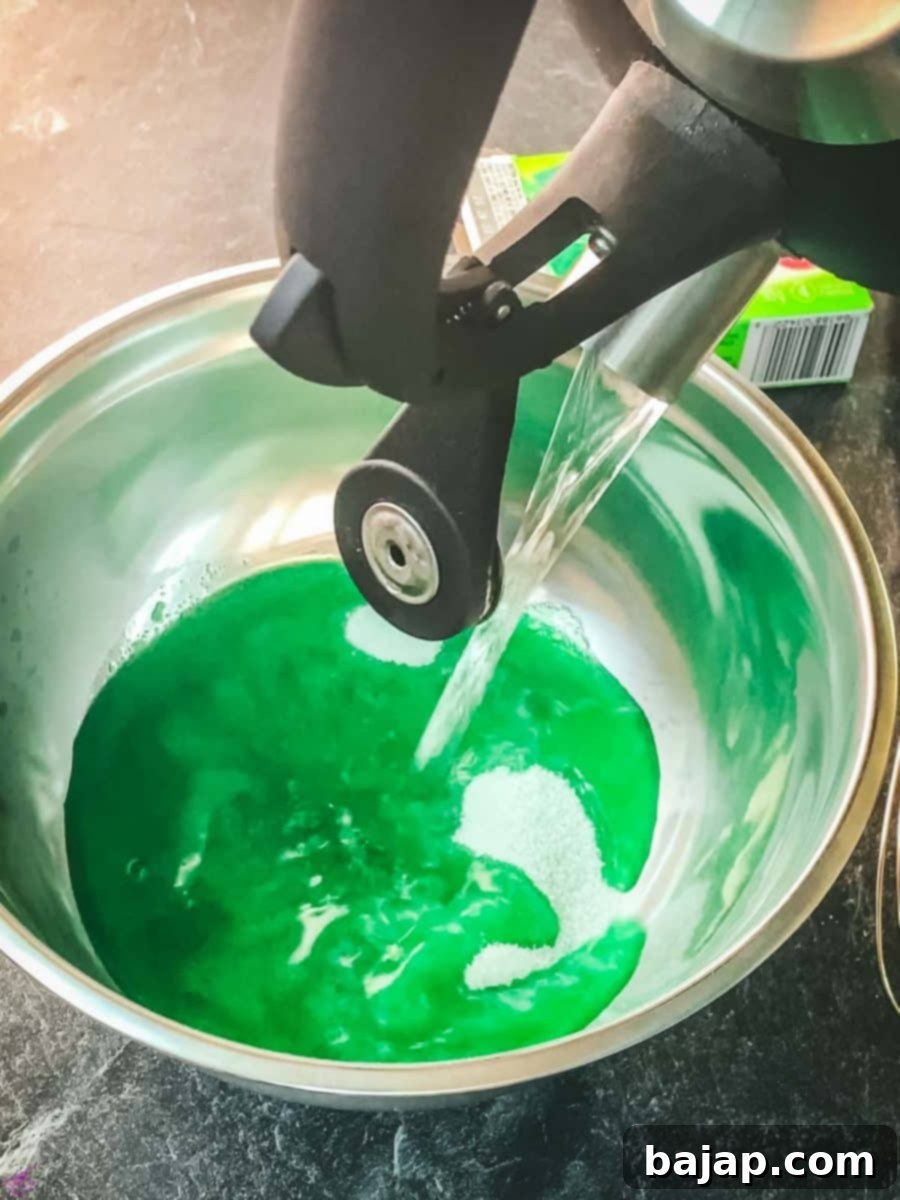
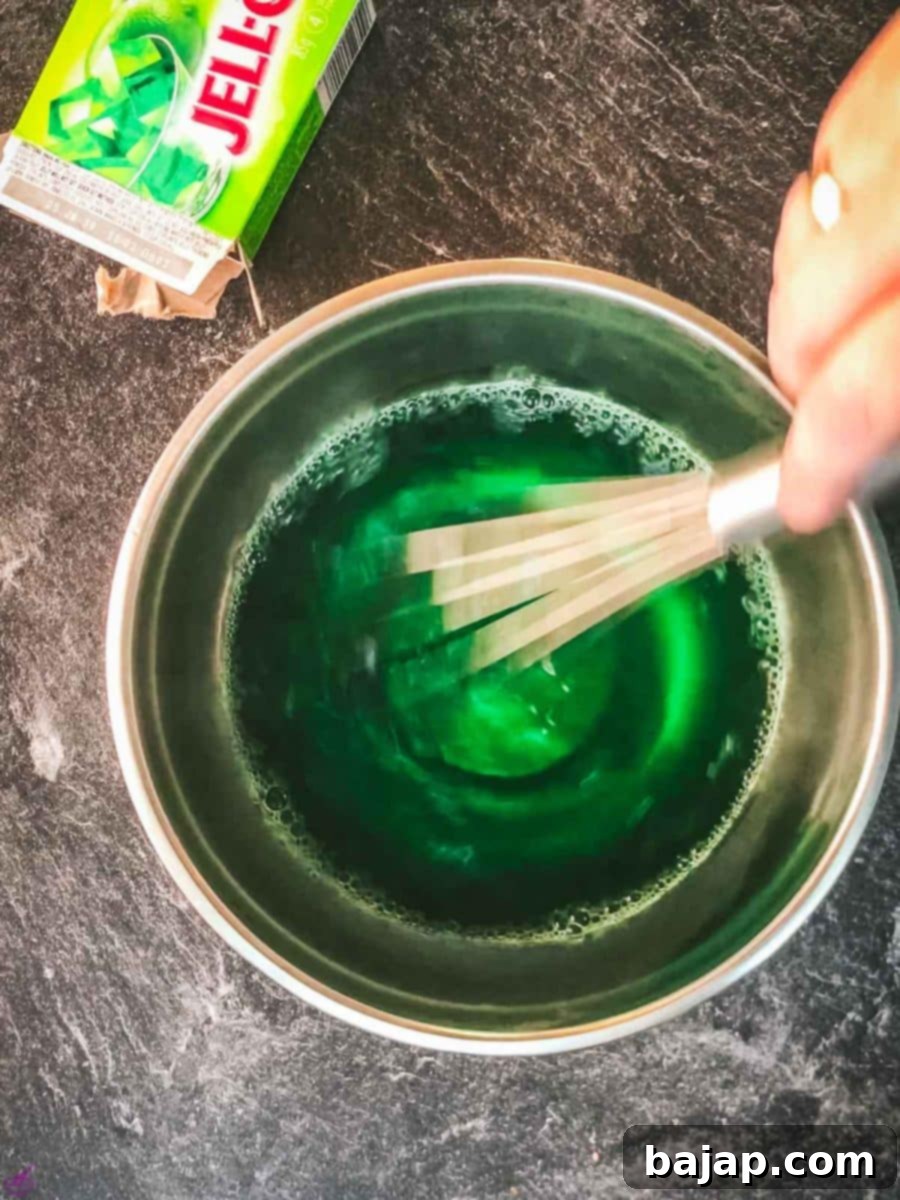
Step Eight: Add the Green Jell-O Layer
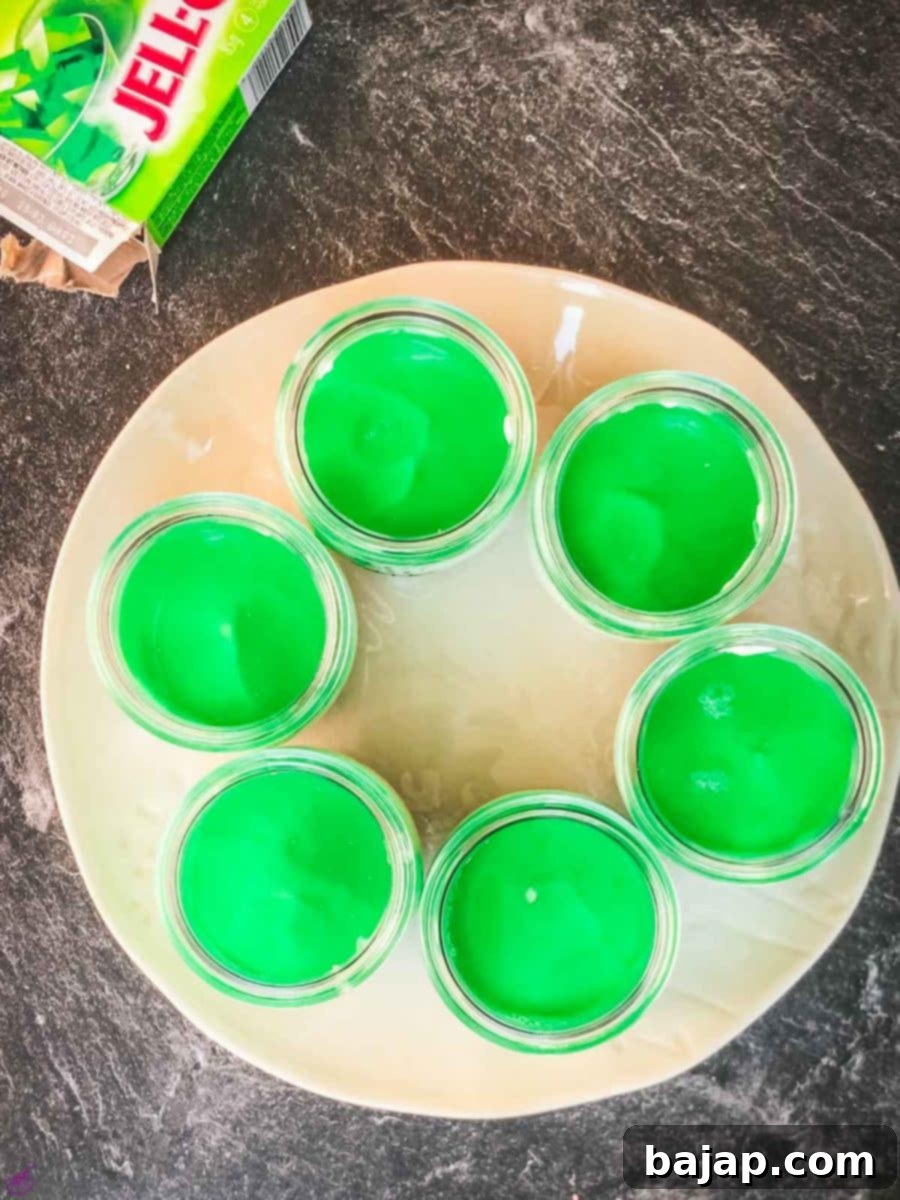
Once the lime Jell-O has cooled slightly to room temperature, retrieve the cheesecake jars from the fridge. Carefully and evenly pour the Jell-O mixture over the cream cheese layer in each jar. Pouring gently minimizes any disturbance to the layers beneath.
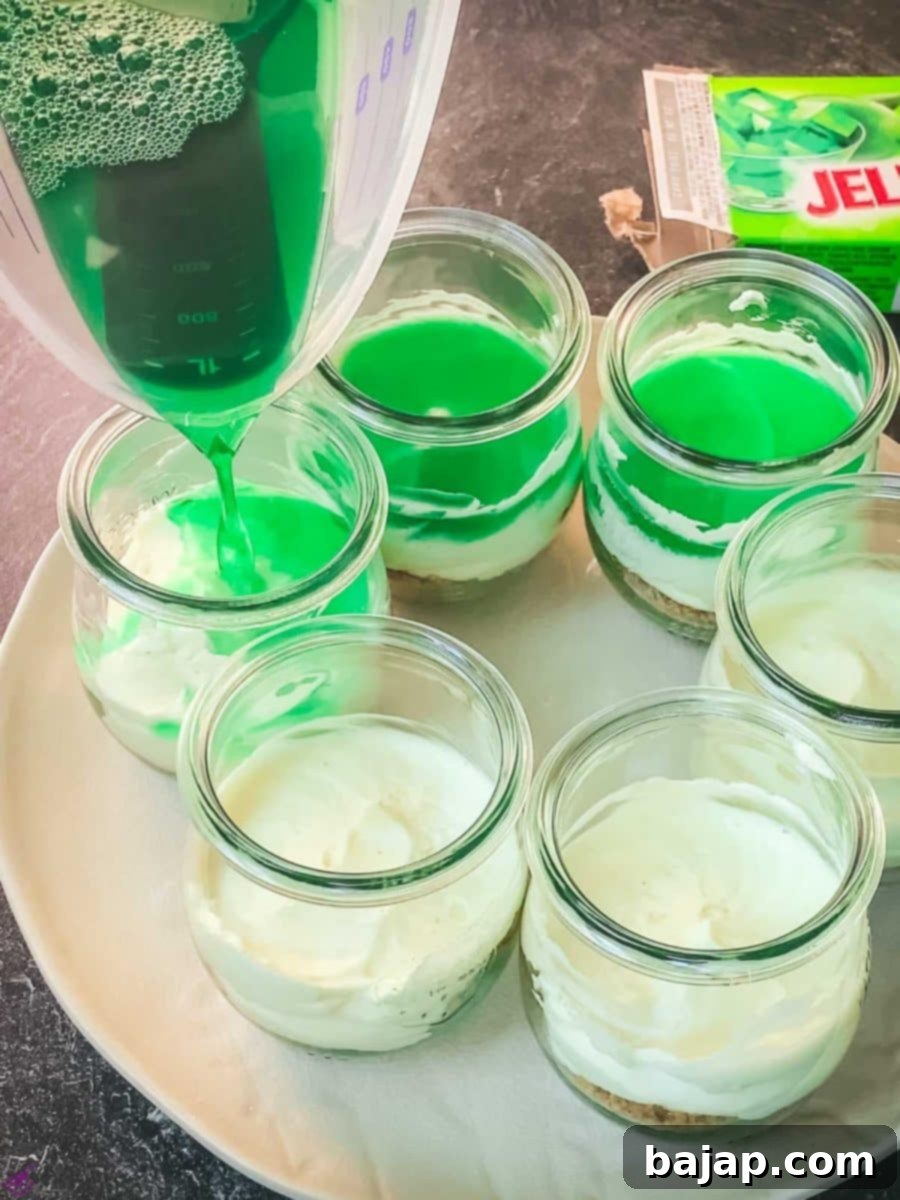
Step Nine: Final Chill for Setting
Return the jars to the refrigerator and allow them to chill for an additional 2 to 3 hours, or until the Jell-O layer is completely firm and set. For best results and optimal firmness, chilling overnight is highly recommended, especially if you’re preparing these for a St. Patrick’s Day party.
Step Ten: Garnish with Whipped Cream
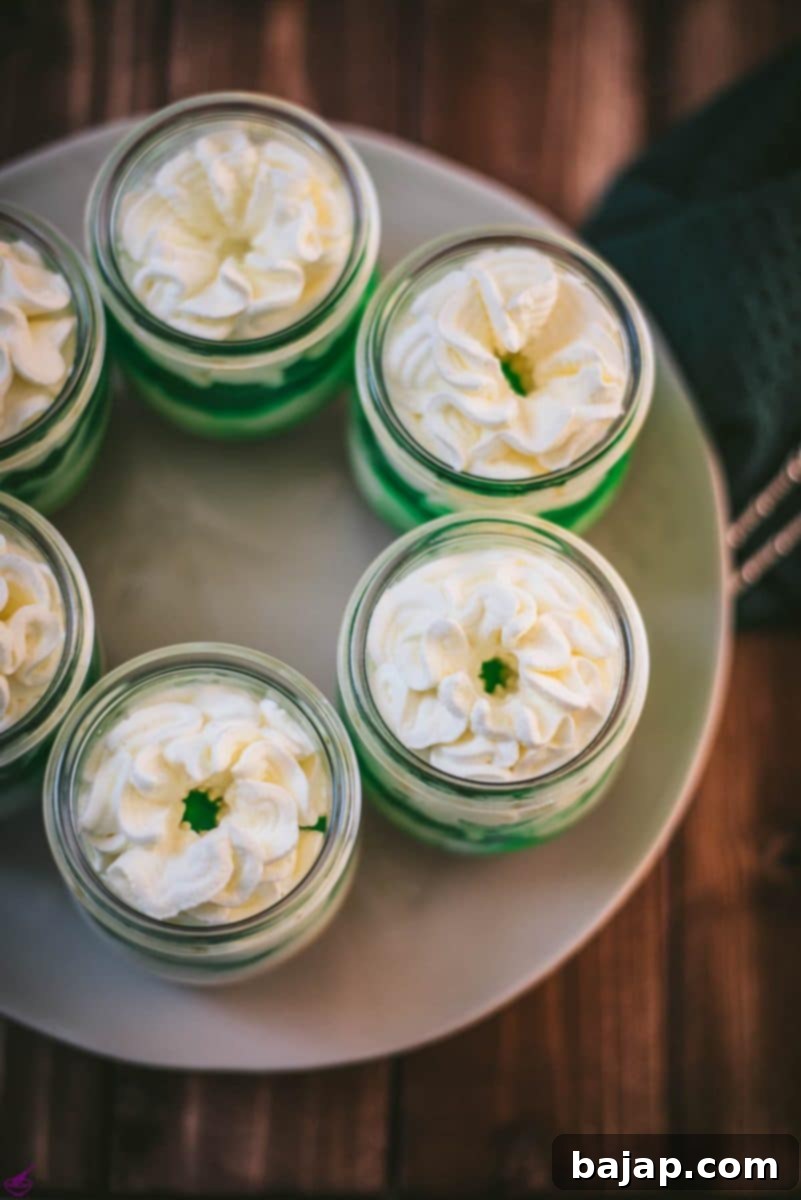
Just before serving, take the beautifully layered St. Patrick’s Day cheesecakes out of the fridge. Pipe a generous dollop of whipped cream on top of each jar. This adds a lovely creamy texture and an appealing visual finish to your dessert.
Step Eleven: Add a Sparkle with Edible Glitter
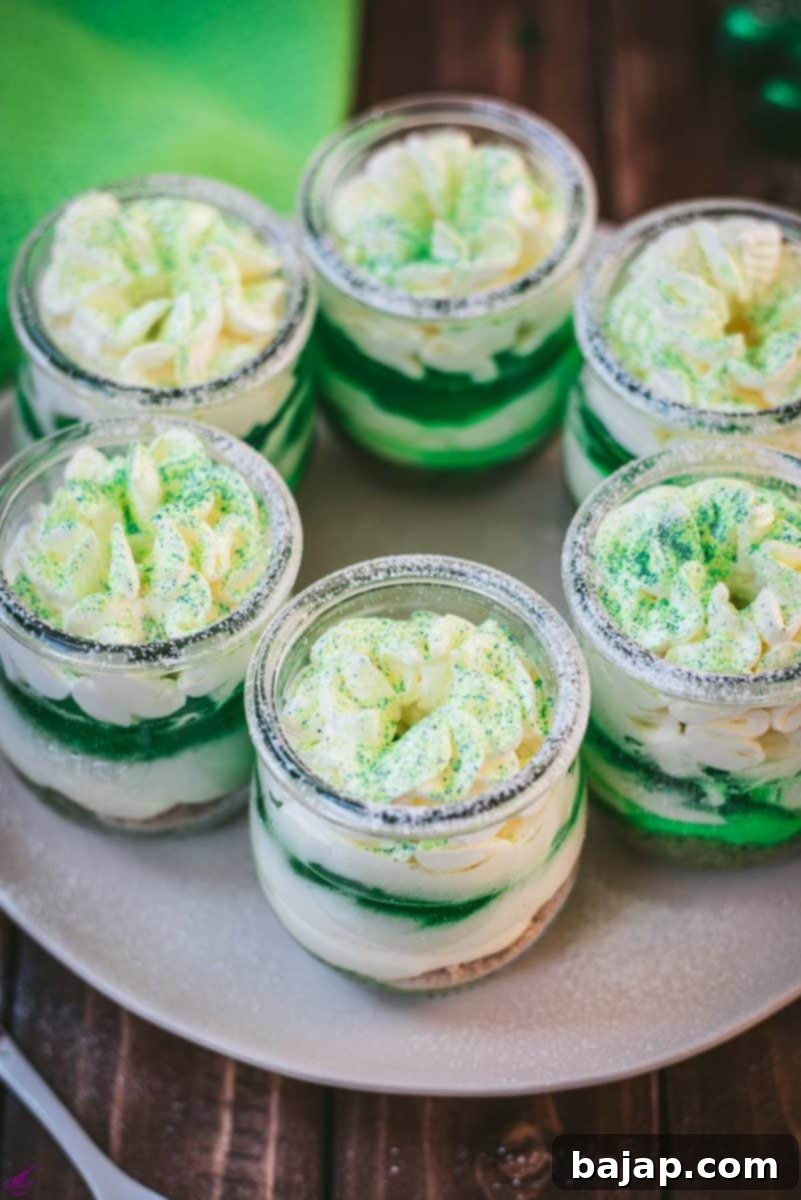
For an extra festive and sparkling look, lightly dust the whipped cream topping with edible green glitter. This adds a touch of magic and truly makes your St. Patrick’s Day dessert shine, catching the light beautifully and enhancing the overall presentation.
🍰 Delightful Variations for Your Green Cheesecake
While this no-bake lime cheesecake is fantastic as is, there are several ways to customize it to your taste or occasion:
- Grown-Up Green Cheesecake: Transform this sensationally simple dessert into an adults-only treat by infusing the Jell-O layer with a touch of spirits! To make this tasty variation, simply swap out up to one-half of the boiling water required for the Jell-O with your favorite vodka. For an extra Irish twist, consider using Irish cream liqueur (like Baileys) or a splash of whiskey for a truly sophisticated St. Patrick’s Day dessert. Just be sure to adjust the liquid volume accordingly to maintain the proper Jell-O consistency.
- Double-Dairy Indulgence: For an even richer, creamier experience, enhance the dairy element of this dessert. Instead of plain whipped cream, garnish your finished cheesecake jars with a flavored whipped cream! Try my Vodka-Flavored Whipped Cream for a boozy adult flavor, or my bright and delicious Orange-Flavored Whipped Cream for a family-friendly finish that adds a zesty, refreshing note to this Irish-inspired treat. You could also swirl in some green food coloring into regular whipped cream for an extra festive touch!
- Alternative Crusts: Don’t limit yourself to graham crackers! Consider using crushed shortbread cookies for a buttery, classic taste, or even crushed golden Oreos (without the cream) for a different flavor profile.
- Different Jell-O Flavors: While lime is perfect for St. Patrick’s Day, you can easily adapt this recipe for other holidays or preferences. Strawberry Jell-O for Valentine’s Day, cherry Jell-O for Christmas, or even blue Jell-O for a summer BBQ!
- Citrus Boost: For an even more intense lime flavor, add a teaspoon of fresh lime zest to your cream cheese filling. You can also drizzle a little fresh lime juice over the top before adding the Jell-O layer.
🍽 Essential Equipment for Perfect Cheesecake Jars
Having the right tools makes preparing these no-bake lime cheesecakes a breeze. Here’s what you’ll need to gather:
- Preserving Jars: These individual jars are not just for aesthetics; they are the perfect vessel for this layered dessert! They offer built-in portion control, are easy to transport, and beautifully showcase the vibrant green layers. Small jam jars or mason jars (around 4-6 oz capacity) work wonderfully.
- Mixer with Whisk Attachment: An electric stand mixer or a hand mixer with a whisk attachment is essential for beating the cream cheese and mascarpone mixture until it’s perfectly smooth and creamy. This saves you a lot of arm work and ensures a consistent texture.
- Food Processor: This kitchen gadget is your best friend for quickly and efficiently grinding graham crackers into fine crumbs for your crust. If you don’t have one, a sturdy sealable bag and a rolling pin will also do the trick, requiring a little more effort.
- Saucepan: A small saucepan is needed for melting the butter for the crust and, later, for boiling water to dissolve the Jell-O mix.
- Mixing Tools and Bowls: You’ll need at least two medium-sized mixing bowls—one for the crust ingredients and another for the cheesecake filling. Various spoons and spatulas will be helpful for mixing and spreading.
- Piping bag with a Russian ball tip (optional but recommended): While you can spoon the cheesecake filling into the jars, a piping bag with a wide tip (like a Russian ball tip) allows for much neater and more precise layering, contributing to the dessert’s visual appeal.
💡 Top Tips for No-Bake Cheesecake Success
Achieving perfectly layered and delicious no-bake lime cheesecakes is easy with these helpful tips:
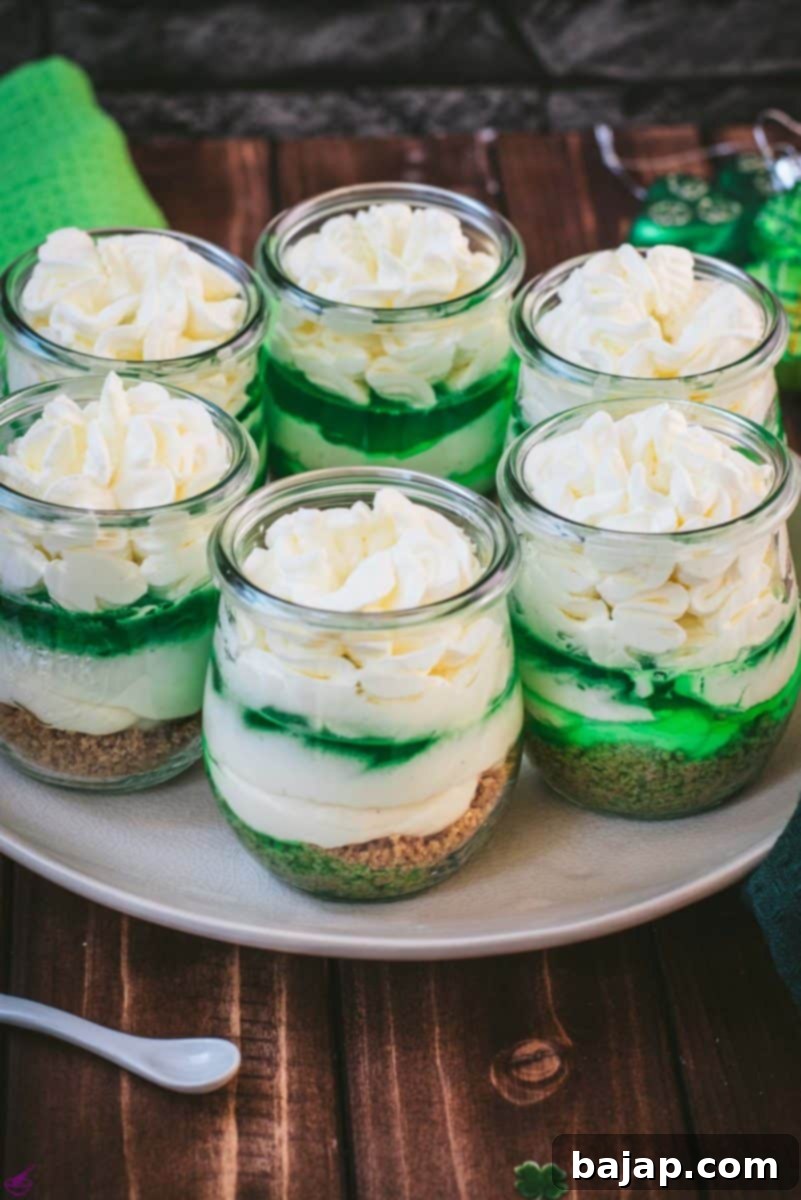
- Smooth Layers are Key: Always remember to smooth the cream cheese batter right up to the edge of the jar before proceeding with the Jell-O layer. This creates a crucial barrier that prevents the liquid Jell-O from seeping downward and spoiling the distinct layers. Use a small spatula or the back of a spoon for this.
- Cool Your Jell-O: After dissolving the Jell-O mix, let it cool to room temperature (about 20 minutes) before pouring it over the cheesecake layer. Pouring hot or even warm Jell-O will melt the cream cheese, resulting in messy, mixed layers.
- Garnish for Elegance: If you want to make this lovely lime cheesecake even more elegant, try dusting the finished dessert with a little edible green glitter just before serving. This adds a wonderful luster that makes this dessert even more exciting and visually appealing for St. Patrick’s Day!
- Make Ahead Magic: These no-bake cheesecakes are perfect for making ahead! Prepare them the day before your event, allowing ample time for all layers to set completely. This also frees up your time on the day of the celebration.
- Room Temperature Cream Cheese: For the smoothest possible cheesecake filling, ensure your cream cheese and mascarpone are at room temperature. Cold cheese will result in lumps, no matter how much you whip it.
🙋🏻 Frequently Asked Questions about No-Bake Lime Cheesecake Jars
This delicious homage to Ireland is designed for convenience and charm! It’s perfect when enjoyed straight out of the individual jar; just grab a spoon and dig in! The portioned jars make it ideal for St. Patrick’s Day parties, potlucks, or even picnics. While it’s a festive highlight for St. Patrick’s Day, its refreshing lime flavor also tastes great at Easter and other springtime events! For a delightful pairing, try serving this yummy dessert with a refreshing spritz cocktail, a classic whiskey sour, or a mint-infused iced tea to make the perfect drink and dessert combo!
Yes, chilling is absolutely essential for this no-bake cheesecake! The cheesecake layers need to chill for at least 4 hours to firm up properly. For the best results and a perfectly set dessert, I highly recommend making this St. Paddy’s Day treat the night before your party or gathering. That way, the layers will be perfectly set and ready to eat by the time the St. Patrick’s Day festivities begin, allowing you to enjoy your celebration without last-minute prep!
When stored properly in the refrigerator with lids, these no-bake lime cheesecake jars will stay fresh for up to 3-4 days. For optimal freshness and flavor, enjoy them within 2-3 days.
Absolutely! While lime Jell-O is perfect for St. Patrick’s Day, you can easily swap it for other flavors to suit different occasions or personal preferences. Strawberry, raspberry, or lemon Jell-O would also create delicious variations.
If mascarpone is unavailable, you can substitute it with an equal amount of full-fat cream cheese, or even high-quality heavy cream whipped to stiff peaks and gently folded into the cream cheese mixture. Keep in mind that the texture and richness may vary slightly.
More Delicious Cheesecake Recipes for You to Try
- No-bake Ricotta Cheesecake
- No-bake Pumpkin Cheesecake
- No-bake White Chocolate Raspberry Cheesecake {Halloween}
- No-bake Eggnog Cheesecake with Ginger Spiced Crust
- Fig Cheesecake in a Jar {no-bake}
- 5 ingredient mini Oreo Cheesecakes
- Strawberry Cheesecake
- No-bake Lemon Cheesecake with Blueberry Topping
- No-bake Biscoff Cheesecake
- No-bake Valentine’s Raspberry Cheesecake
Don’t forget about National Cheesecake Day on July 30th!
If you make this recipe, let me know how you liked it by ★★★★★ star rating it and leaving a comment below. This would be awesome! You can also sign up for our Newsletter or follow me on Pinterest or Instagram and share your creation with me. Just tag me @combinegoodflavors and hashtag #combinegoodflavors, so I don’t miss it.
📖 Recipe Card
St. Patrick’s Day No-Bake Lime Cheesecake in a Jar
Nora
Save RecipeSaved!
Pin Recipe
Equipment
-
Kitchen knife
-
Universal Chopper
-
Mixing bowls
-
Small pan
-
Food processor or electric mixer
-
Tablespoon or wooden whisk
-
Piping bag with Russian tip
-
Preserving glasses for serving
-
Whisk
Ingredients
Base
- 3 oz Graham cracker – or Petit beurre biscuits
- 1.76 oz Unsalted butter
Cream Cheese Layer
- 7 oz Cream cheese
- 5 oz Mascarpone
- ¾ cup Icing sugar
- 1 teaspoon Vanilla extract
Lime Jell-o Layer
- 1 Pack Lime Jell-o
- 1 cup Water boiling
Garnish
- Whipped cream
- Green edible glitter
Instructions
Step 1 – Graham Cracker Base
-
Crush 3 oz Graham cracker using a chopper or food processor until fine crumbs form.3 oz Graham cracker
-
Empty the graham cracker crumbs into a mixing bowl and set aside.
-
Meanwhile, melt 1.76 oz Unsalted butter in a small pan on the stove or in a microwave-safe bowl.1.76 oz Unsalted butter
-
Pour the melted butter over the cracker crumbs and mix well with a spoon until all crumbs are moistened.
-
Now, take six preserving jars and divide the crumb mixture evenly among them (about three teaspoons per jar). Press down firmly on the crumbs to form a compact and firm base in each jar.
-
Once the graham cracker bases are formed, place the jars in the fridge to chill while you prepare the cream cheese filling and Jell-o.
Step 2 – Cream Cheese Filling
-
Add the softened 7 oz Cream cheese, 5 oz Mascarpone, ¾ cup Icing sugar, and 1 teaspoon Vanilla extract to a large mixing bowl.7 oz Cream cheese, 5 oz Mascarpone, ¾ cup Icing sugar, 1 teaspoon Vanilla extract
-
Whip the mixture with the whisk attachment on medium-high speed for two to three minutes until a creamy, smooth, and lump-free mixture forms.
-
Fill the cream into a pastry bag and take the chilled preserving jars out of the refrigerator.
-
Divide the finished cheesecake batter evenly between the jars over the graham cracker crusts. Smooth the top of the cream cheese layer to the edges of the glass.
Step 3 – Lime Jell-o
-
In a mixing bowl, combine 1 Pack Lime Jell-o with 1 cup Water (boiling).
-
Whisk vigorously until no Jell-O crystals remain and the mixture is completely dissolved.
-
Let the Jell-O sit at room temperature for 20 minutes to cool slightly before proceeding.
-
Carefully retrieve the cheesecake jars from the fridge and evenly divide the cooled Lime Jell-o mixture over the cream cheese-filled glasses.
-
Place the cheesecakes back in the fridge and leave to set for a minimum of 2-3 hours, or ideally overnight, until the Jell-O is completely firm.
Step 4 – Garnish
-
Right before serving, take the small cheesecakes out of the fridge.
-
Generously top each cheesecake with freshly whipped cream (or a readymade version) and lightly dust with Green edible glitter for an extra festive sparkle.
-
Serve immediately and celebrate St. Patrick’s Day in style!
Notes
Combine 150g fig preserves with 70g brown sugar and 50g unsalted butter in a small saucepan. Melt the ingredients together over low heat, stirring occasionally, until the sugar has completely dissolved and the mixture is smooth and syrupy. Let the syrup cool completely to room temperature before pouring it over the cream cheese layer (or whipped cream topping) just before serving. This adds a rich, fruity dimension to the cheesecake.
Nutrition values are estimates only, using online calculators. Please verify using your own data.

🤎 You Might Also Like These St. Patrick’s Day & Green-Themed Treats
- Matcha Truffles – a delicious St. Patrick’s Day Treat
- Green Mimosa (a festive beverage!)
- St. Patrick’s Day Bailey’s Dessert – Mint Oreo Pudding Cake
- Green No-bake Mint Chocolate Cheesecake
- Homemade Bailey’s Chocolates
- Scotch Coffee (a warming Irish-inspired drink)
⛑️ Food Safety Guidelines
Ensuring food safety is paramount when preparing any recipe. Please keep the following guidelines in mind to keep your kitchen and your guests safe:
- Cook all ingredients that require it to a minimum safe internal temperature, typically 165 °F (74 °C), although this recipe is primarily no-bake, it’s good practice.
- Avoid cross-contamination: Do not use the same utensils or cutting boards on cooked food that previously touched raw meat or unwashed produce.
- Always wash your hands thoroughly with soap and water for at least 20 seconds after touching raw ingredients, especially if handling raw meat (though not applicable to this specific recipe).
- Do not leave perishable food sitting out at room temperature for extended periods (generally no more than 2 hours). Chill your cheesecakes promptly and adequately.
- Never leave cooking food unattended on the stove or in the oven.
- When cooking with oils, choose those with a high smoking point to avoid the formation of harmful compounds, and ensure they don’t overheat.
- Always ensure good ventilation in your kitchen, especially when using a gas stove, to prevent the buildup of fumes.
For further comprehensive information on safe food handling practices, please check the Safe Food Handling – FDA guidelines.
