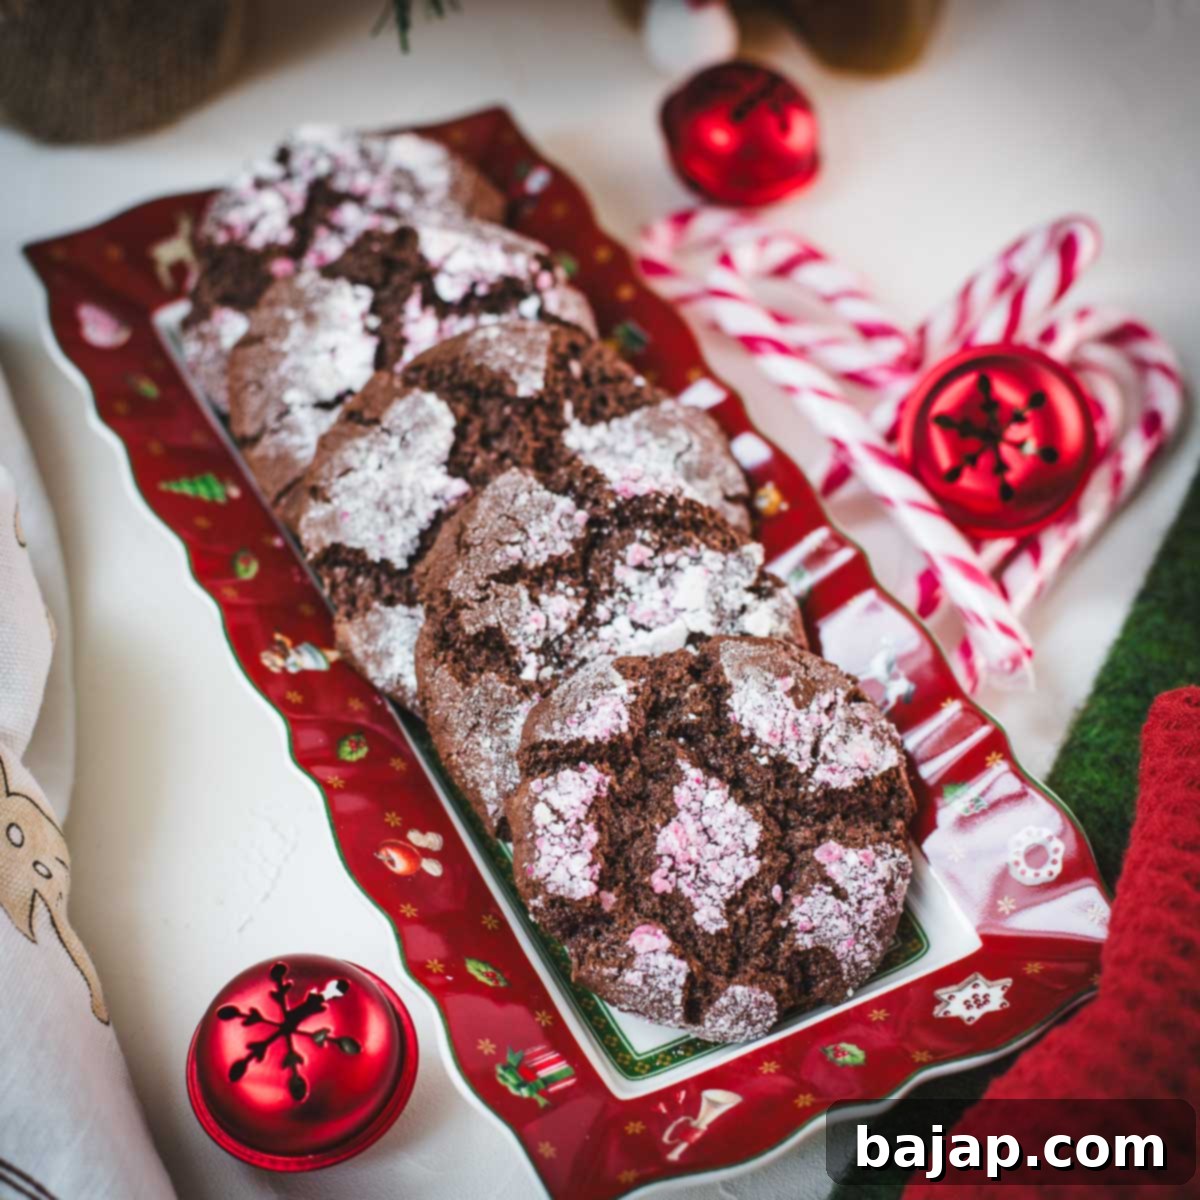
Irresistible Chocolate Peppermint Crinkle Cookies: Your Ultimate Holiday Baking Guide
As the holiday season draws near, the festive spirit becomes palpable. For me, that magic begins in early November when the first jingle bells start ringing and twinkling lights illuminate my home. There’s truly something enchanting about transforming the house into a winter wonderland, filling every corner with warmth and festive cheer. And what better way to embrace the Christmas spirit than with a batch of homemade cookies that encapsulate the very essence of the holidays?
Today, I’m thrilled to share a recipe that promises to bring the cozy, magical aroma of Christmas right into your kitchen: fudgy chocolate peppermint crinkle cookies. These aren’t just any cookies; they’re a delightful blend of intensely rich, deep chocolate and invigorating bursts of refreshing peppermint, all crowned with a generous sprinkle of vibrant, crushed candy canes. Imagine biting into that perfect symphony of chocolatey goodness and crisp, minty sweetness – it’s like experiencing Christmas in every single, delicious bite!
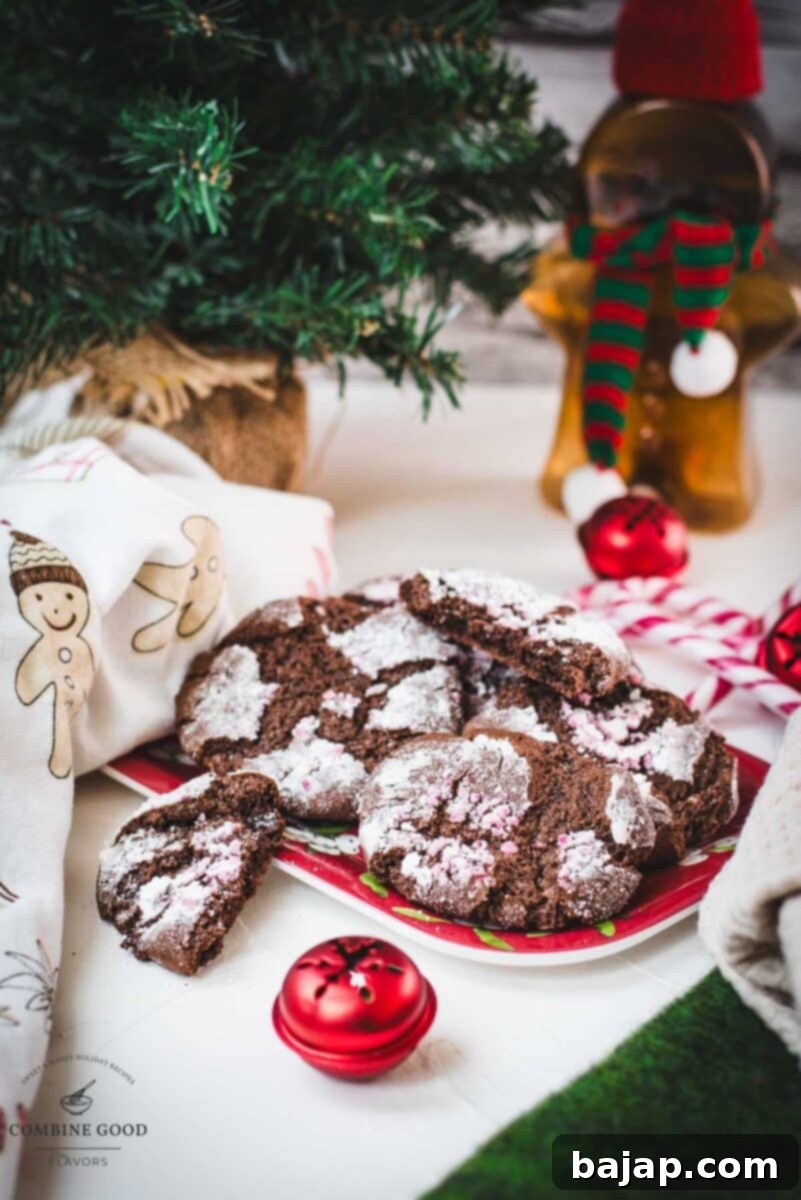
Whether you’re planning to bake these delightful treats for a lively holiday cookie swap, a festive family gathering, or simply as a little indulgence to enjoy while wrapping gifts by the fireplace, these cookies will undoubtedly fill your home with the enticing scents of rich chocolate and cool peppermint. These aromas are more than just pleasant; they evoke cherished memories and remind us precisely why this time of year is so profoundly special.
So, go ahead and preheat your oven, put on your favorite Christmas carols, and let’s embark on a journey to create some unforgettable holiday magic in the kitchen together!
🥘 Ingredients for Chocolate Peppermint Crinkle Cookies
Crafting these delectable chocolate peppermint crinkle cookies starts with selecting the right ingredients. Each component plays a vital role in achieving that perfect fudgy texture and vibrant peppermint flavor that defines these holiday treats. Here’s what you’ll need, along with a few notes to guide you:
For the Cookie Dough
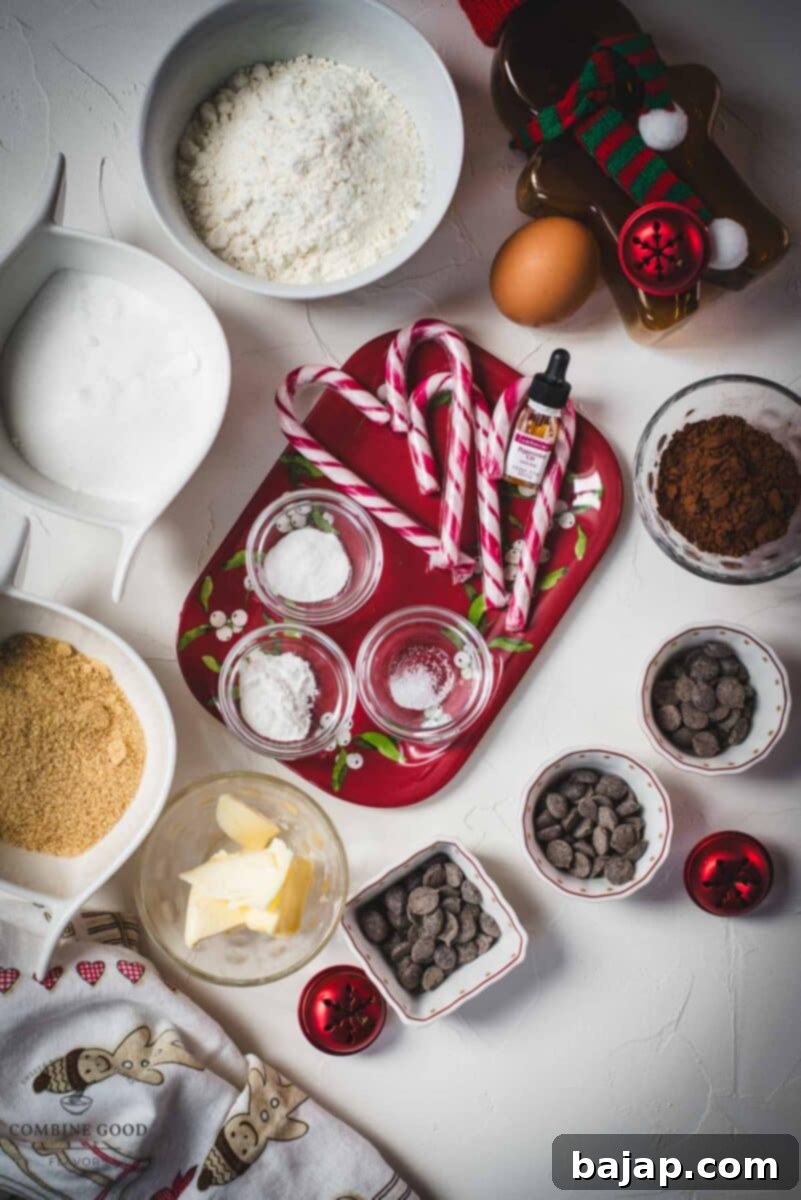
- Dark chocolate: Opt for a high-quality dark chocolate (around 60-70% cacao) for a rich, intense chocolate flavor that truly shines.
- Butter: Unsalted butter is preferred to control the overall saltiness of the cookies. Ensure it’s cut into cubes for even melting.
- Cake Flour: This provides a lighter, more tender crumb, contributing to the fudginess. If you don’t have cake flour, you can substitute with all-purpose flour by removing 2 tablespoons per cup and replacing them with 2 tablespoons of cornstarch.
- (Dutch) cocoa: Dutch-processed cocoa powder creates a darker, richer chocolate color and a smoother, less bitter flavor compared to natural cocoa.
- Baking powder & Baking soda: The combination of these leavening agents helps the cookies rise and achieve their characteristic crinkled texture.
- Salt: A pinch of salt balances the sweetness and enhances all the flavors in the cookie.
- Granulated sugar: Provides sweetness and helps with the crispness around the edges.
- Brown sugar: Adds moisture and a subtle caramel note, contributing to the cookies’ chewiness and fudgy interior.
- Peppermint/mint syrup (Monin, Giffard, or other brand): This provides a lovely, balanced peppermint flavor. If you don’t have syrup, as noted, I successfully used about five drops of concentrated peppermint extract for a strong minty kick. Adjust to your preference!
- Candy canes (crushed): These are essential for both incorporating into the dough and for the festive topping, adding a delightful crunch and intense peppermint flavor.
- Egg: Acts as a binder, adding structure and moisture to the dough.
For the Crinkle Coating
The distinctive crinkle effect is achieved by generously coating the cookie dough balls in a special sugar mixture before baking. This coating not only creates the beautiful crackled appearance but also adds an extra layer of sweetness and a satisfying textural contrast.
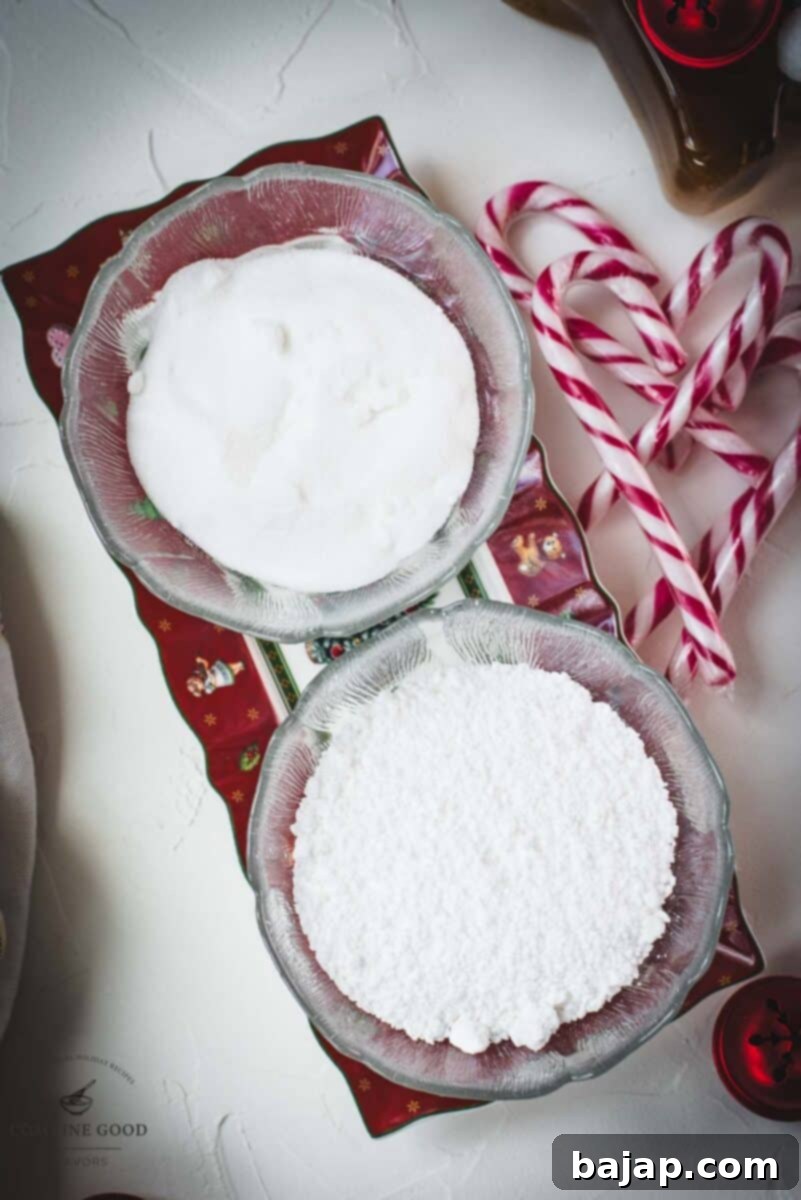
- Candy Canes: Extra crushed candy canes for that vibrant, festive, and crunchy outer layer.
- Granulated sugar: The first layer helps create a crisp surface and provides a base for the powdered sugar.
- Powdered sugar: This is the key to the crinkle effect. As the cookie bakes and expands, the powdered sugar doesn’t expand with it, causing it to crack and create those beautiful fissures.
For precise measurements and detailed quantities, please refer to the comprehensive recipe card provided below.
🔪 Step-by-Step Instructions: How to Make Chocolate Peppermint Crinkle Cookies
Follow these easy steps to create your own batch of delicious and festive chocolate peppermint crinkle cookies. Precision and a little patience will ensure perfect results every time!
Step 1: Prepare the Peppermint Candy. Start by placing your peppermint candy (either candy canes or peppermint discs) in a sturdy plastic bag. Use a rolling pin to crush them into small pieces. This method is excellent for keeping your countertop clean and preventing candy shards from flying everywhere. Alternatively, an electric chopper can make quick work of this task if you have one. Once crushed, set the peppermint aside, as you’ll be using it in both the dough and for the coating.
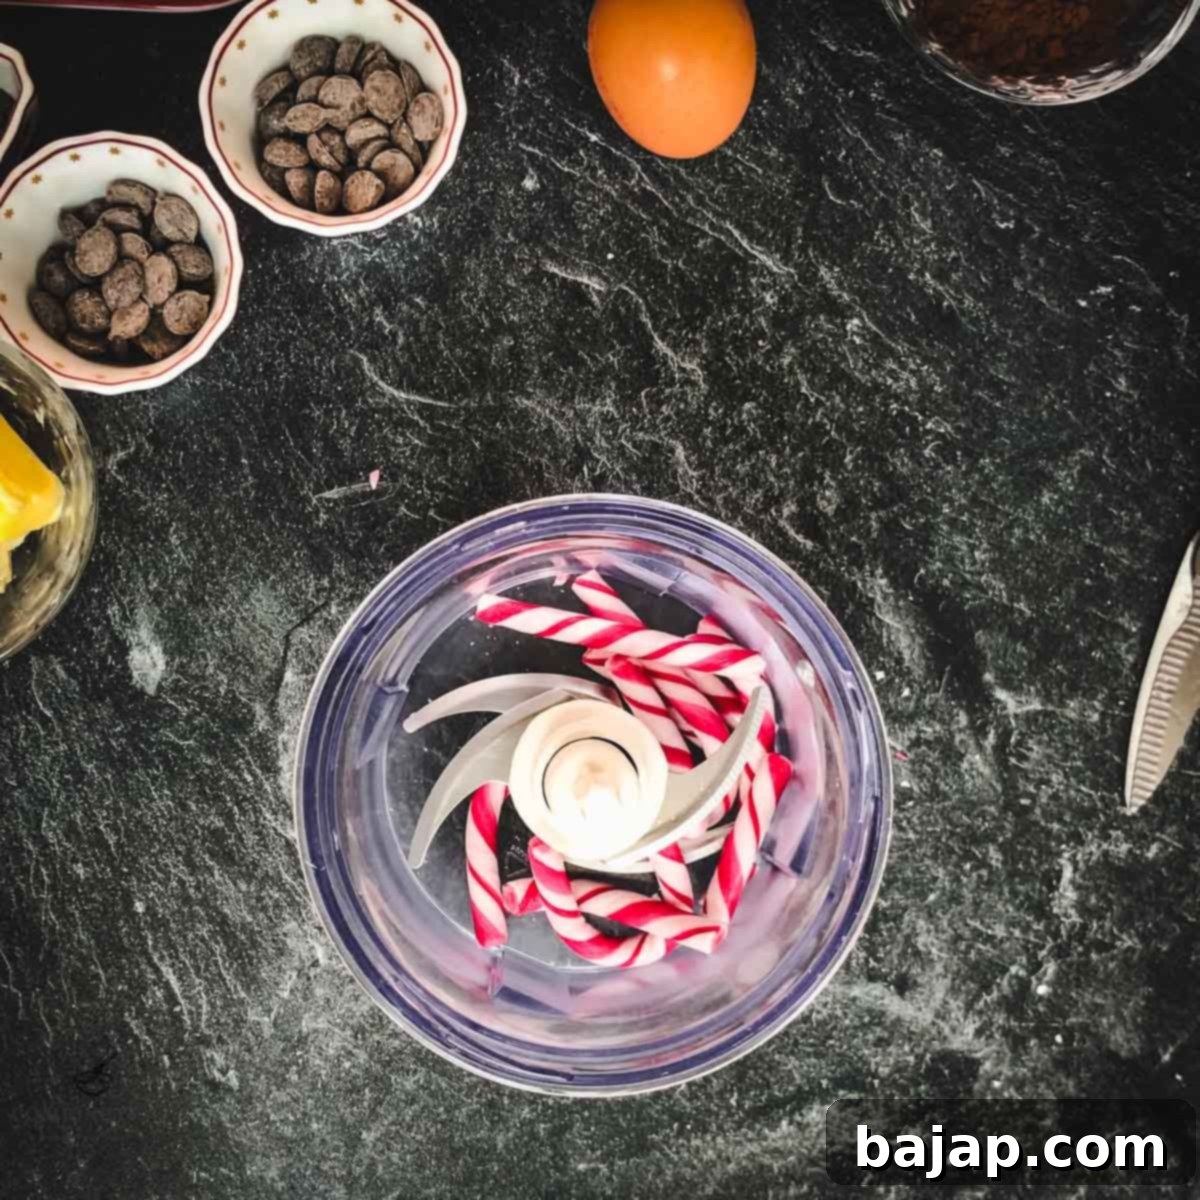
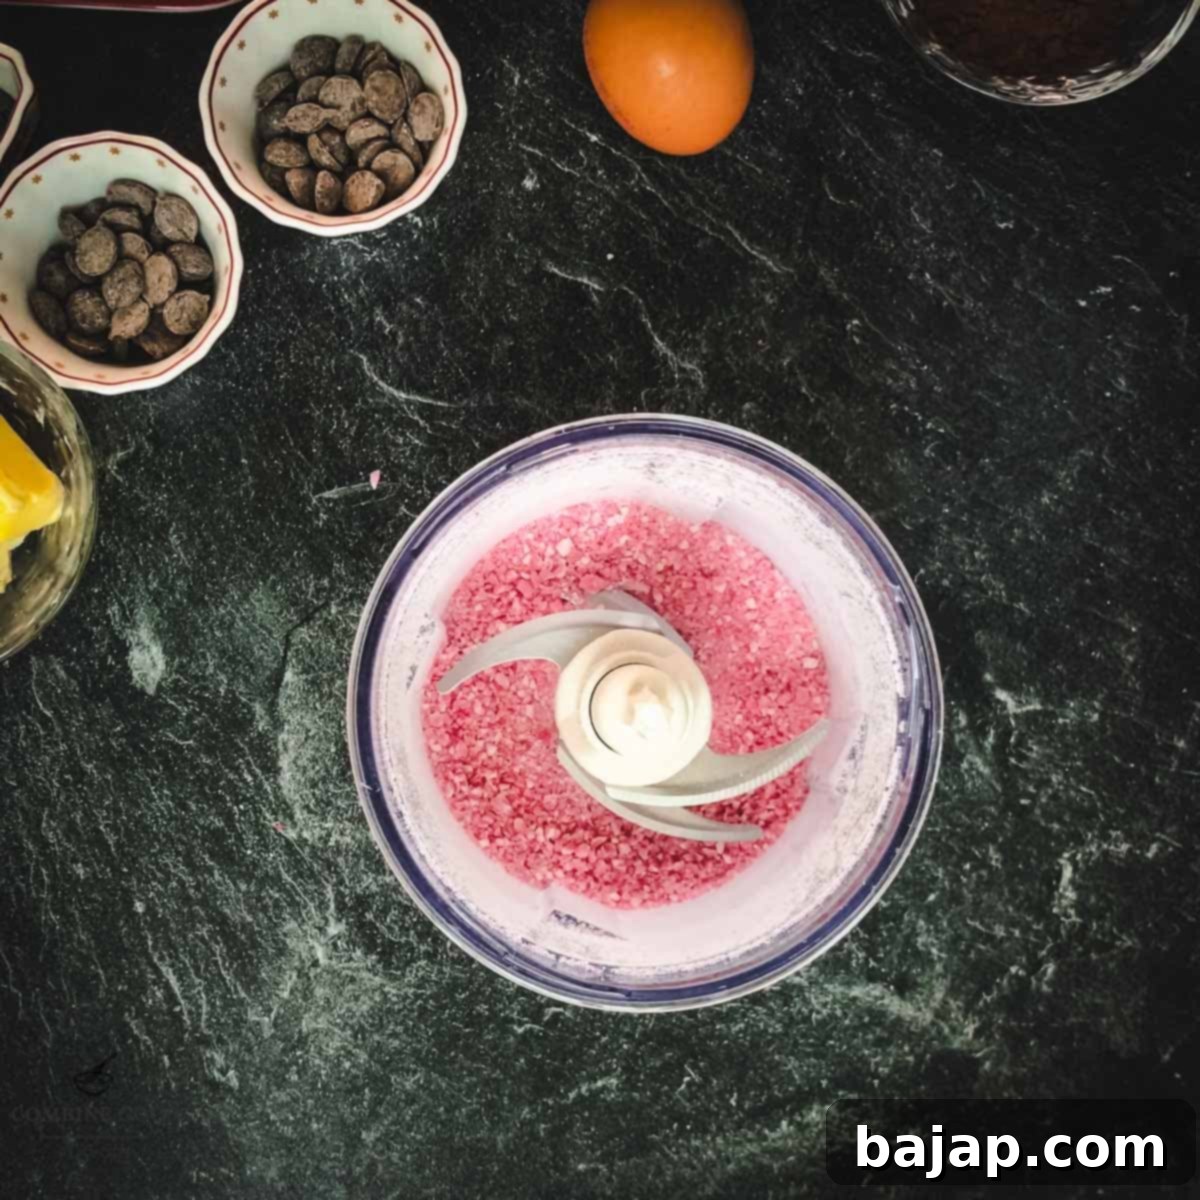
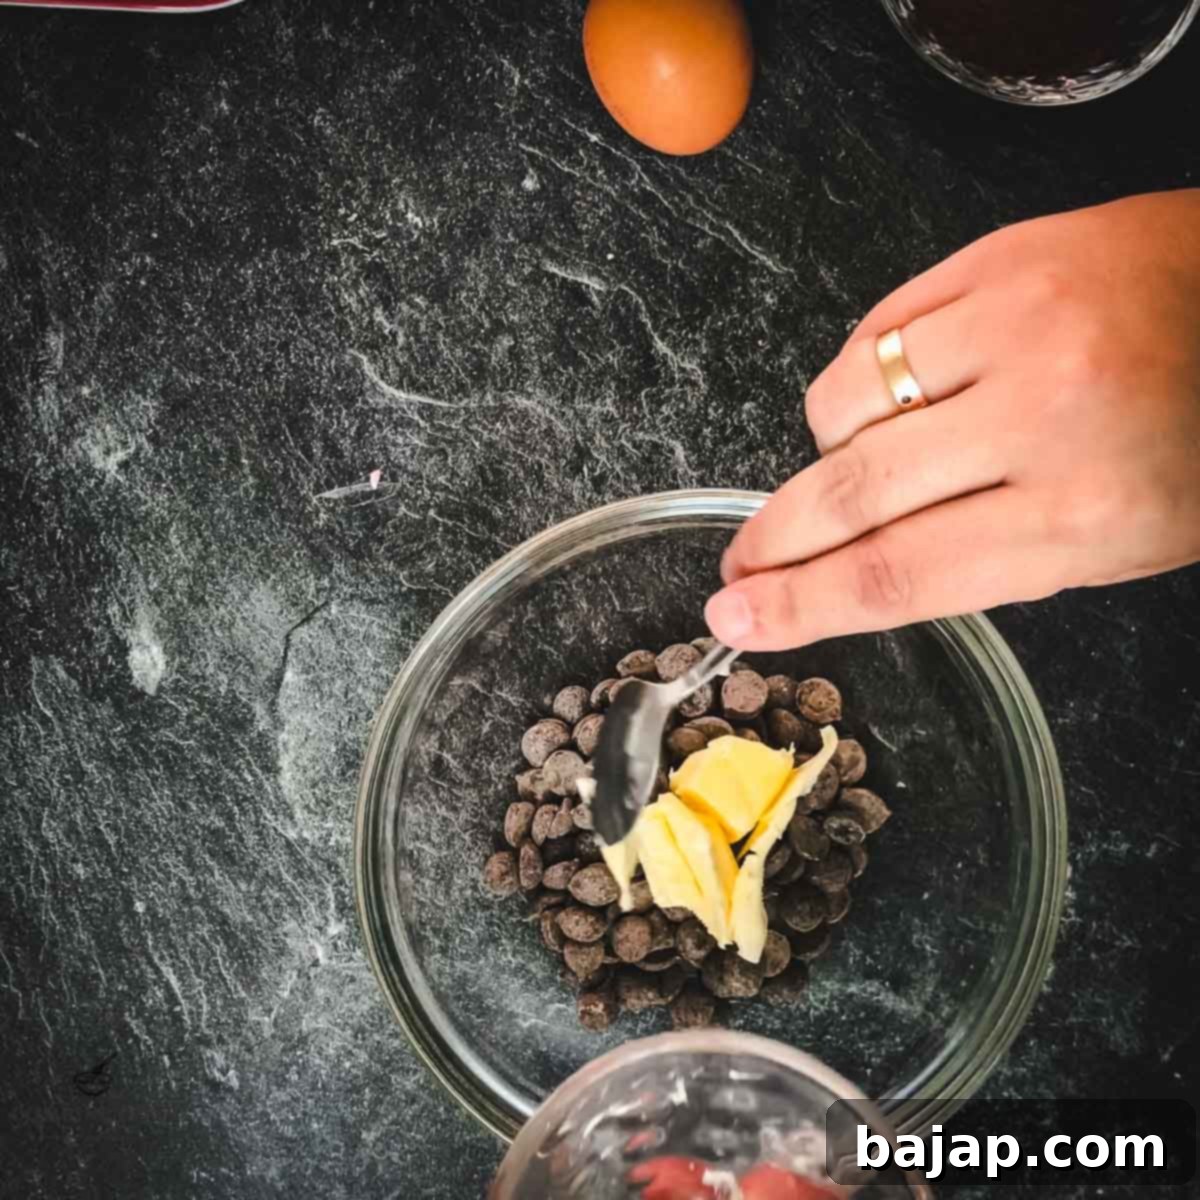
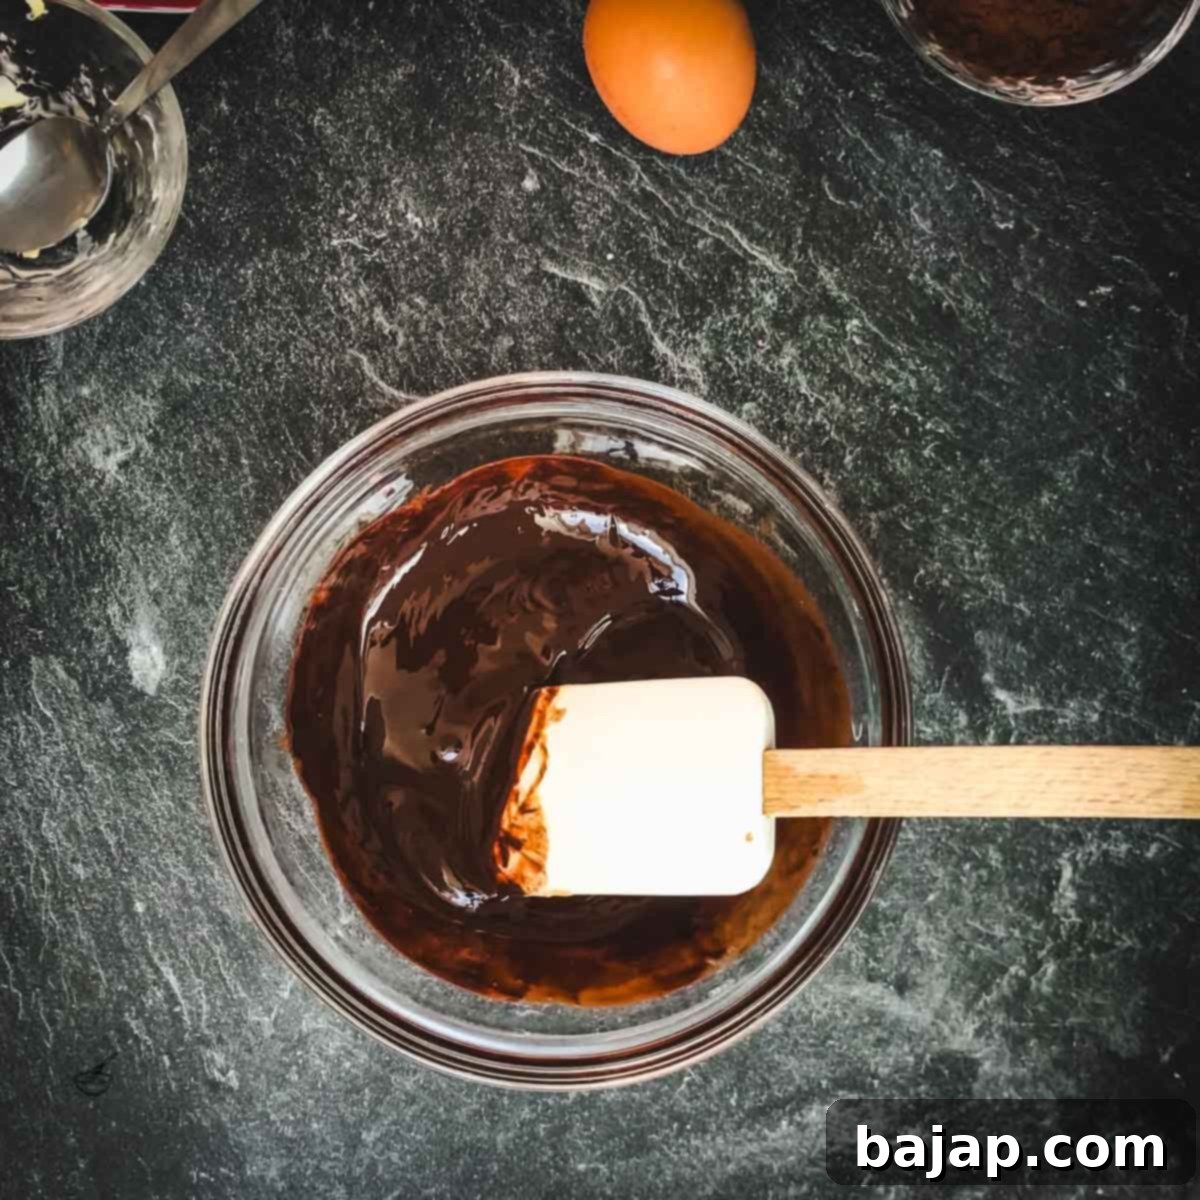
Step 2: Melt Chocolate and Butter. Cut your butter into small cubes and chop the dark chocolate into even smaller pieces. This ensures they melt uniformly. Place both in a microwave-safe bowl. Heat them in 30-second intervals, stirring gently with a silicone spatula after each interval. Continue this process until the mixture is completely melted, smooth, and glossy. Be careful not to overheat the chocolate, as it can seize.
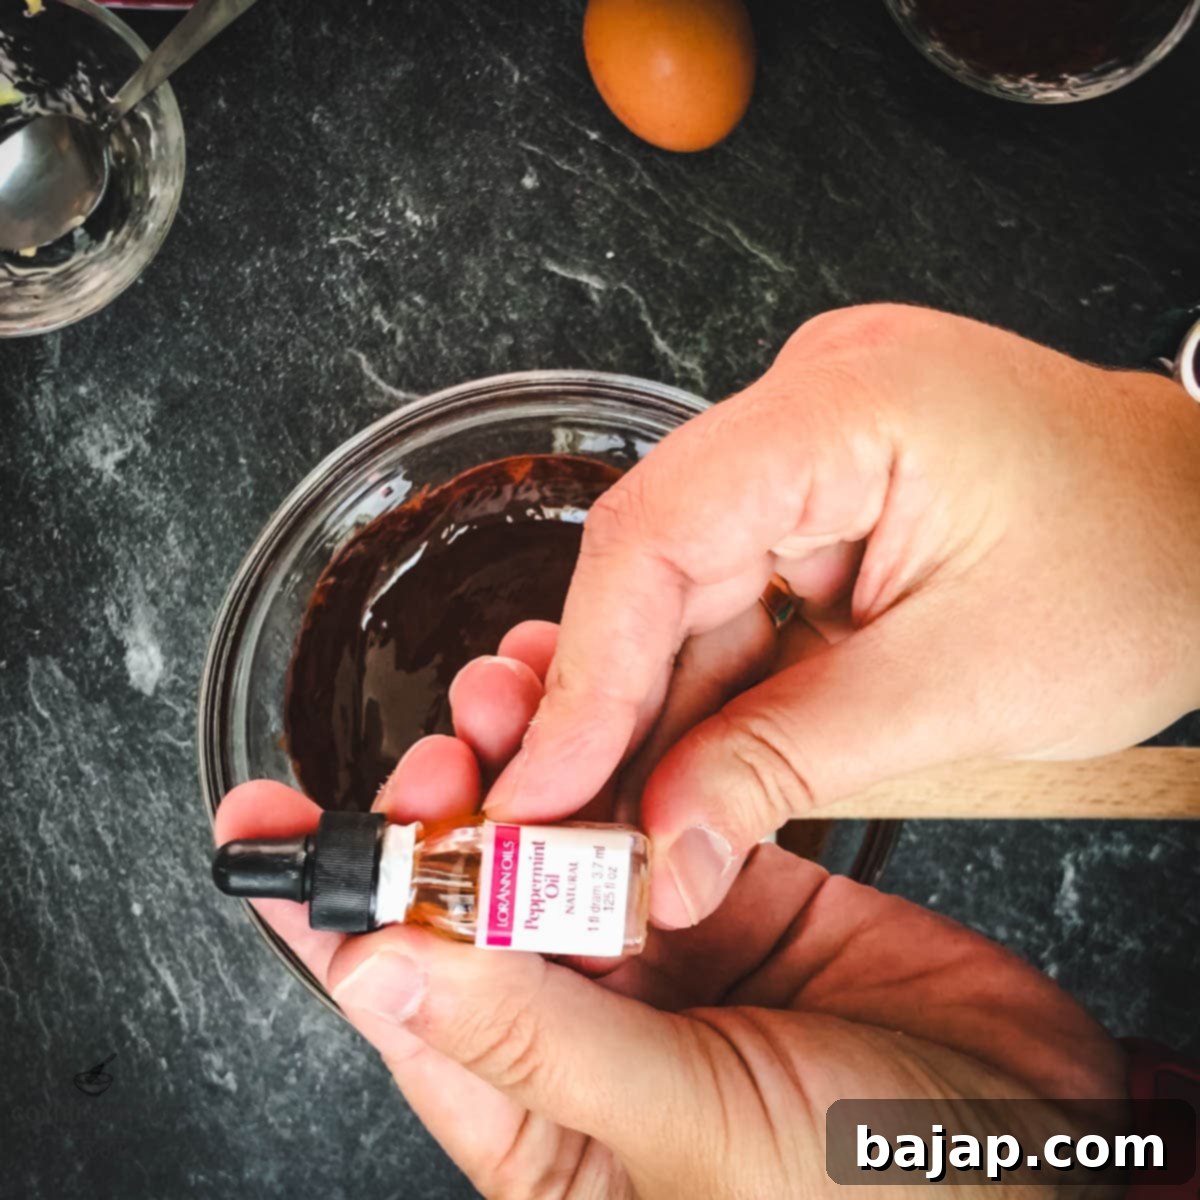
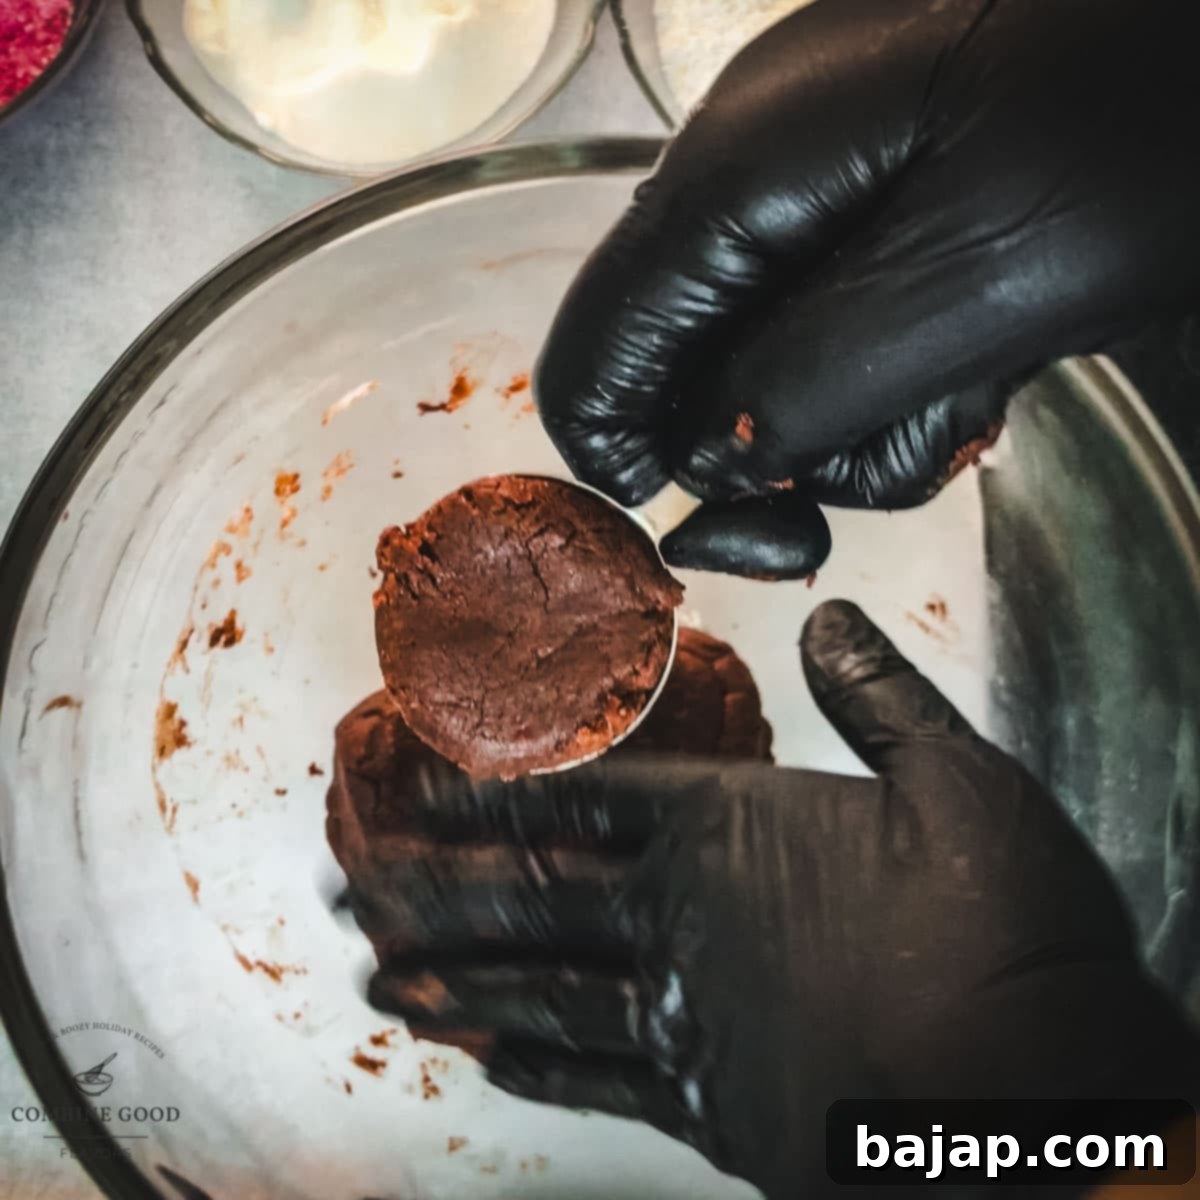
Step 3: Combine Wet and Dry Ingredients. Once the chocolate and butter mixture is smooth, stir in the peppermint syrup (or extract) thoroughly. This not only adds flavor but also helps to slightly cool the mixture, preventing the egg from cooking when added. Next, incorporate all the dry ingredients: cake flour, Dutch cocoa, baking powder, baking soda, salt, granulated sugar, and brown sugar. Add half of the crushed peppermint candy you prepared earlier, along with the egg. For best results and to keep your hands clean, put on a pair of gloves and gently knead the dough until all the ingredients are perfectly combined and form a cohesive, fudgy dough. Avoid overworking the dough to maintain a tender texture.
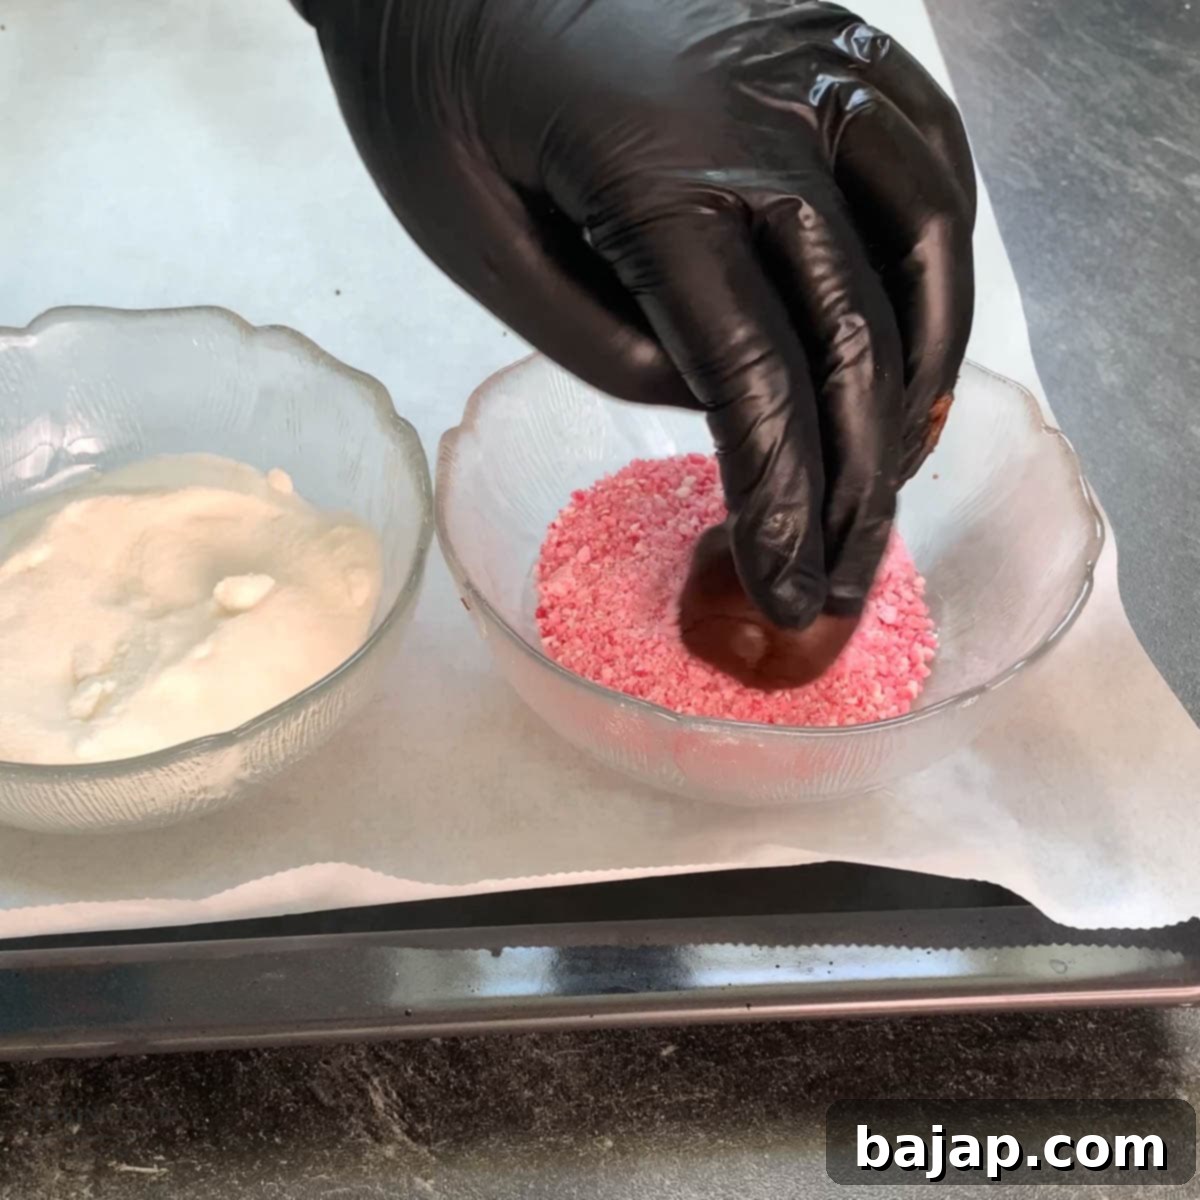
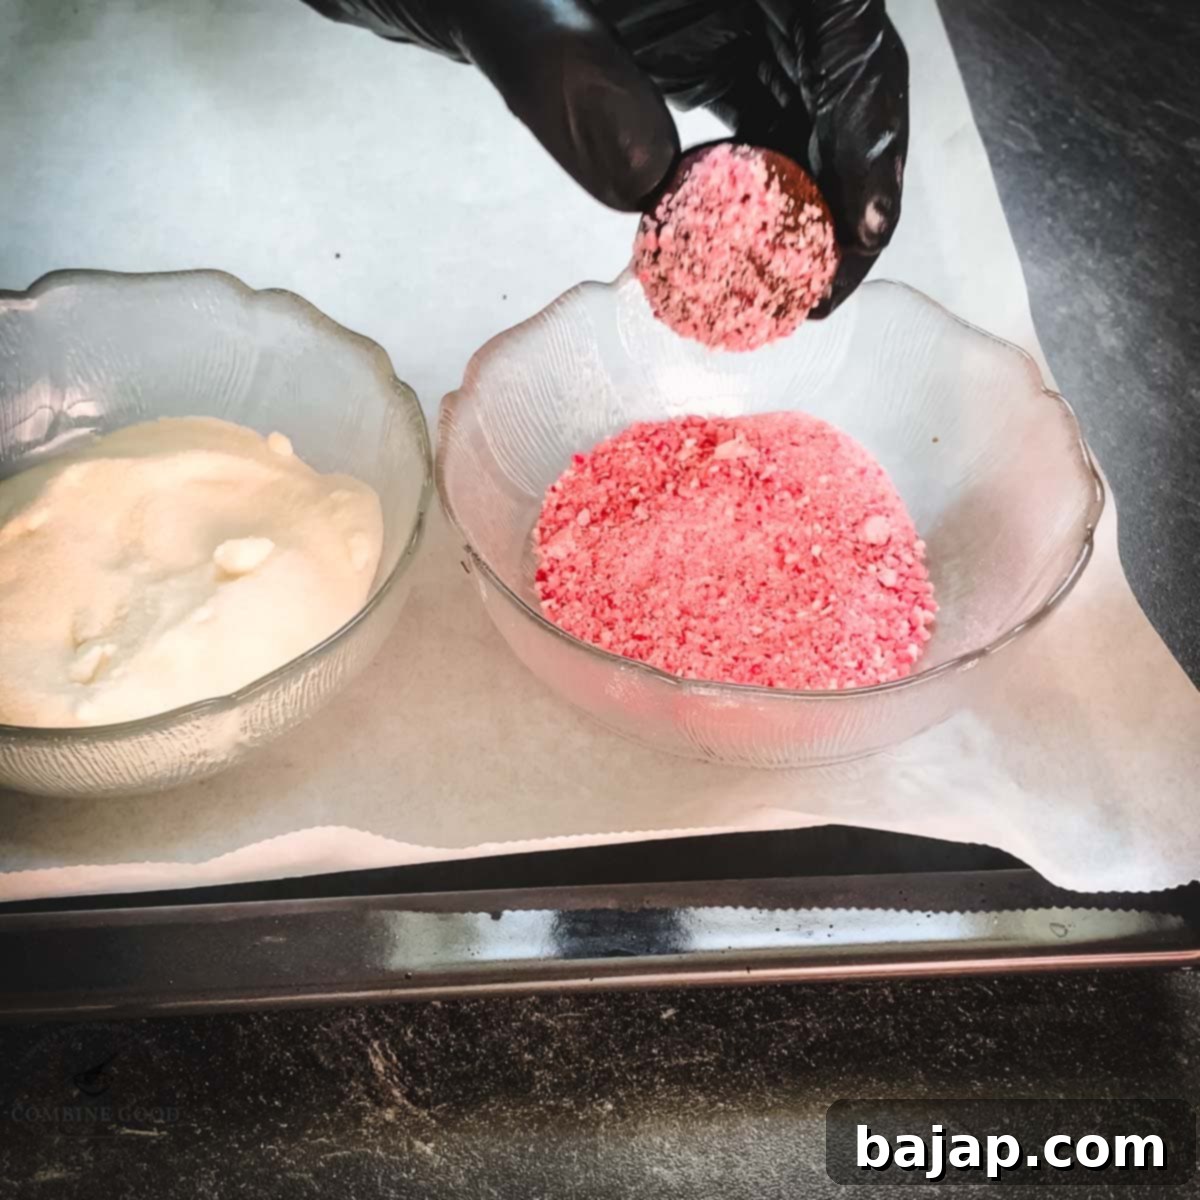
Step 4: Prepare the Crinkle Coating Bowls. Set up three separate, small bowls. Fill the first with the remaining crushed peppermint candy, the second with granulated sugar, and the third with powdered sugar. Arranging them in this order makes the coating process smooth and efficient.
Step 5: Roll and Coat the Cookie Balls. Using an ice cream scoop (for consistent sizing) or a tablespoon, scoop out portions of the dough and roll them into small, uniform balls. Next, coat each ball generously. First, roll it in the crushed peppermint candy, pressing gently to adhere. Then, roll it in the granulated sugar, ensuring a full coating. Finally, finish by rolling it thoroughly in the powdered sugar. This triple-layer coating is crucial for developing those iconic crinkles and adding texture.
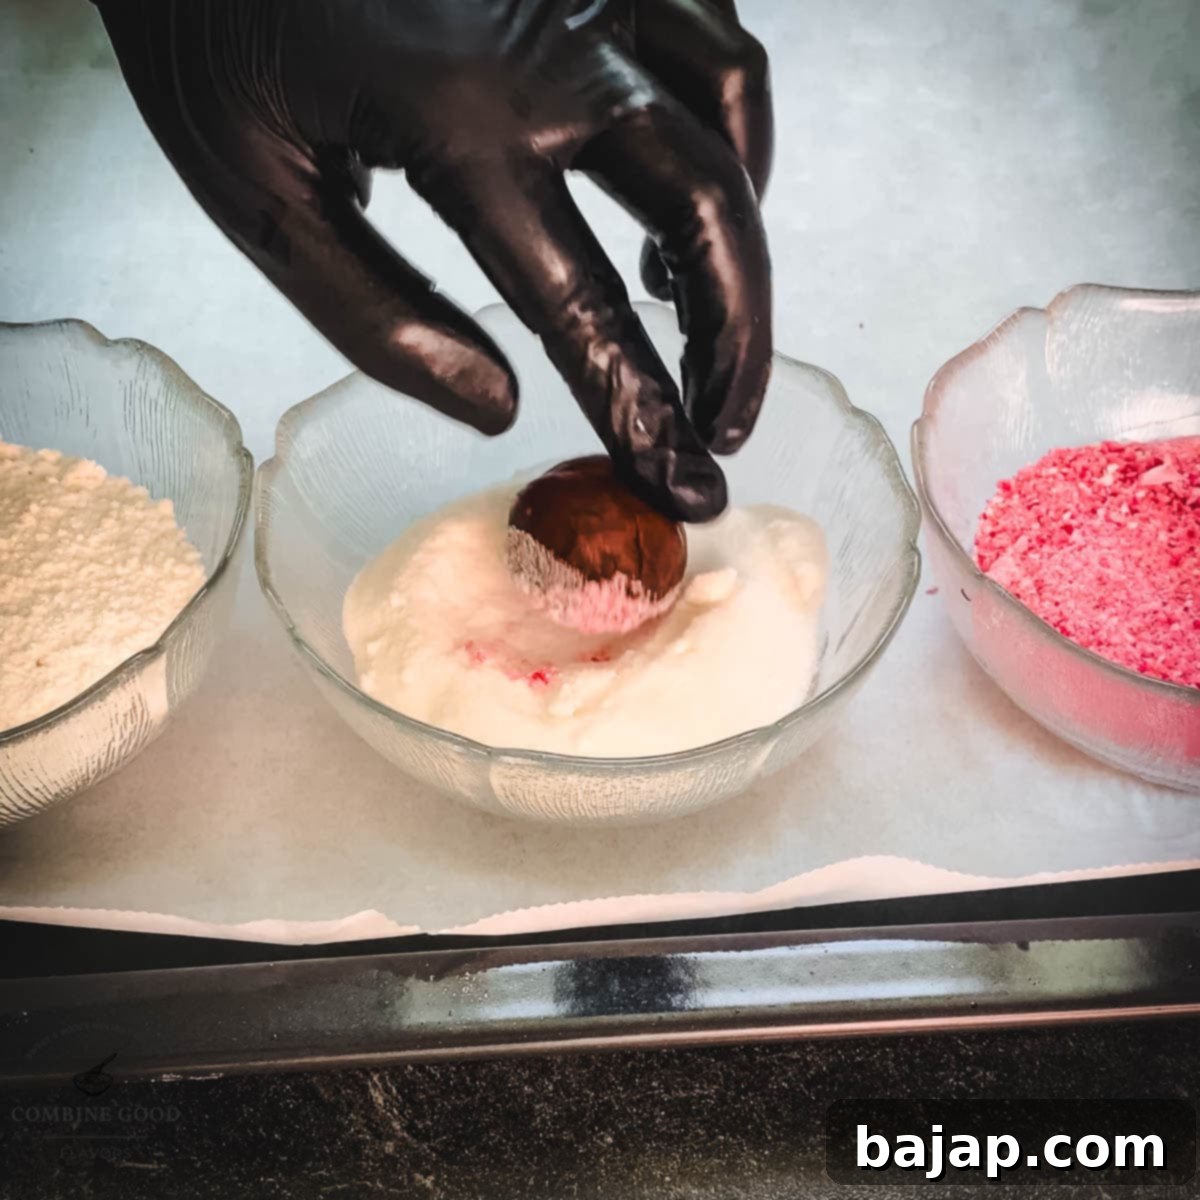
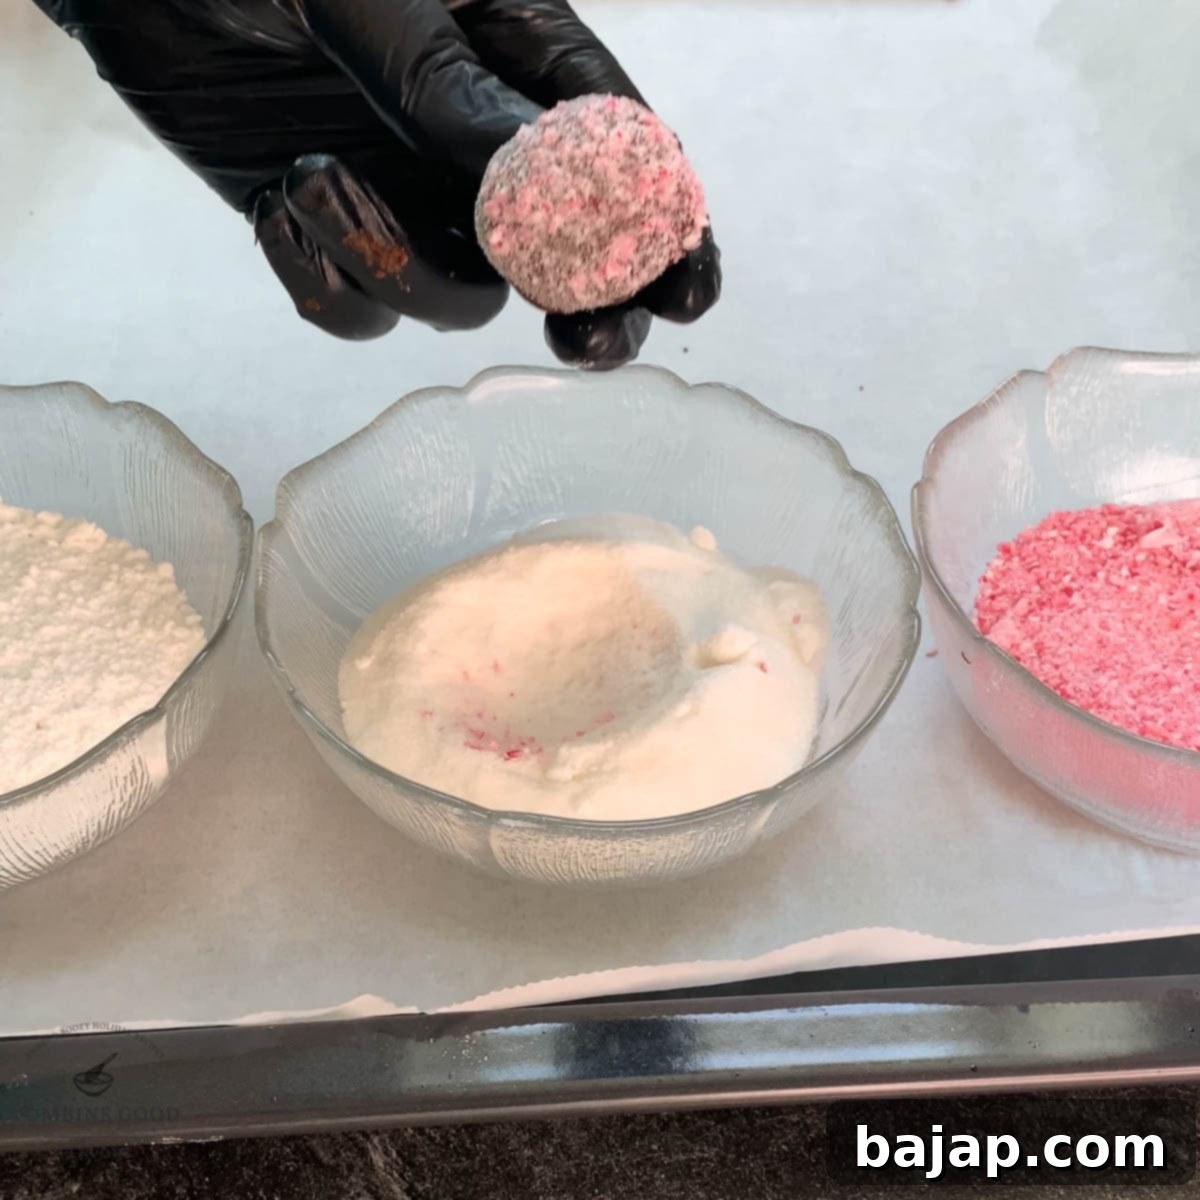
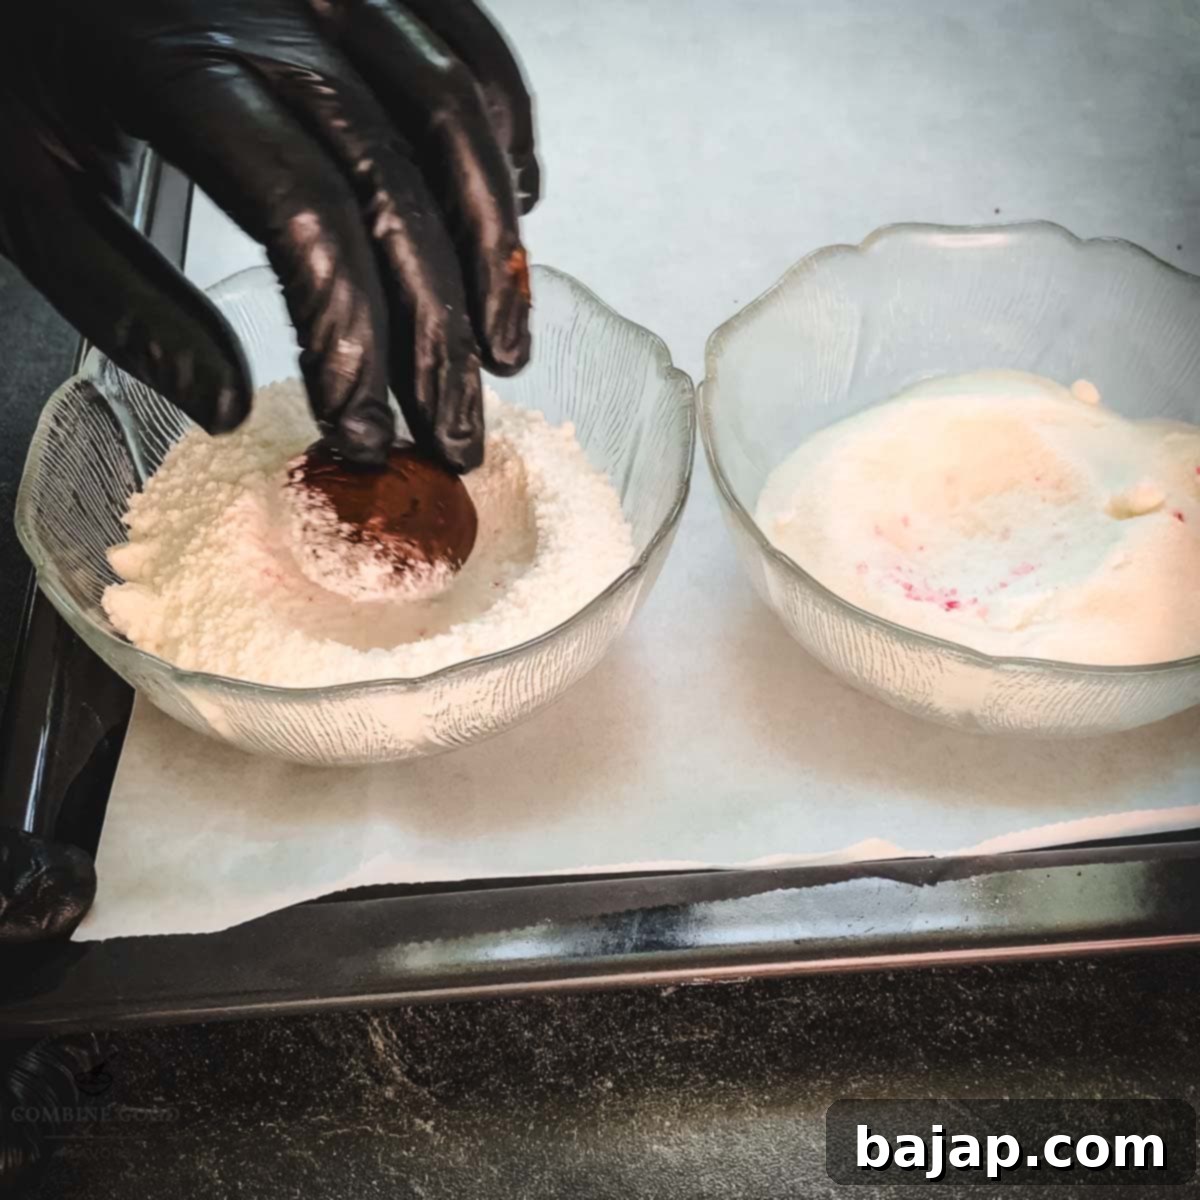
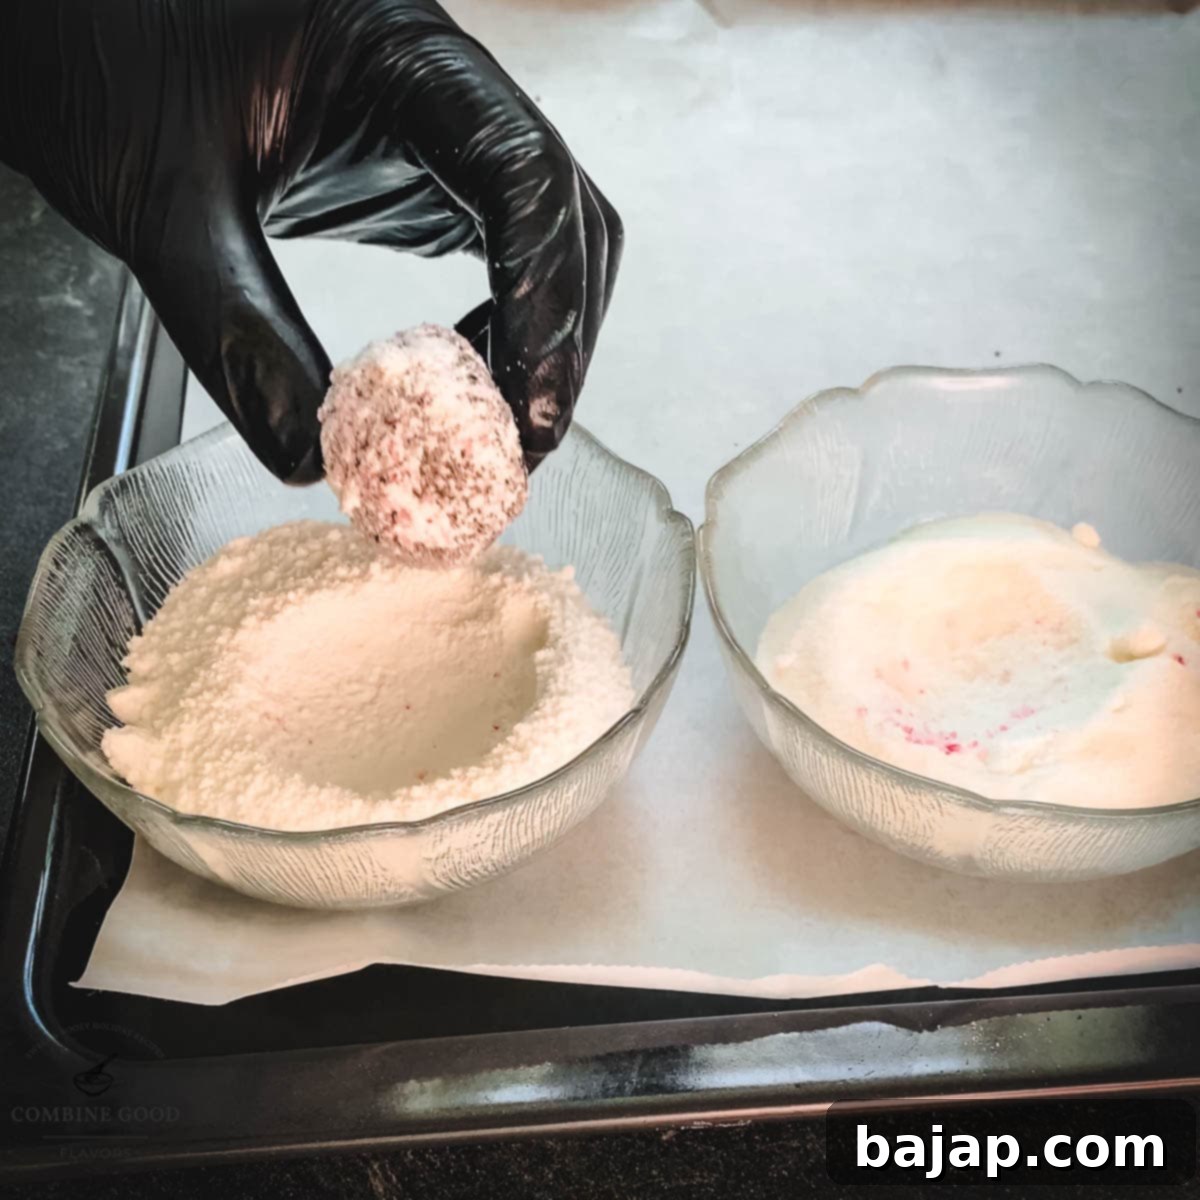
Step 6: Arrange on Baking Sheet. Carefully arrange the coated cookie dough balls on a baking sheet lined with parchment paper. Ensure you space them approximately 2 inches (about 4 cm) apart. This gives them ample room to spread while baking without merging into one giant cookie.
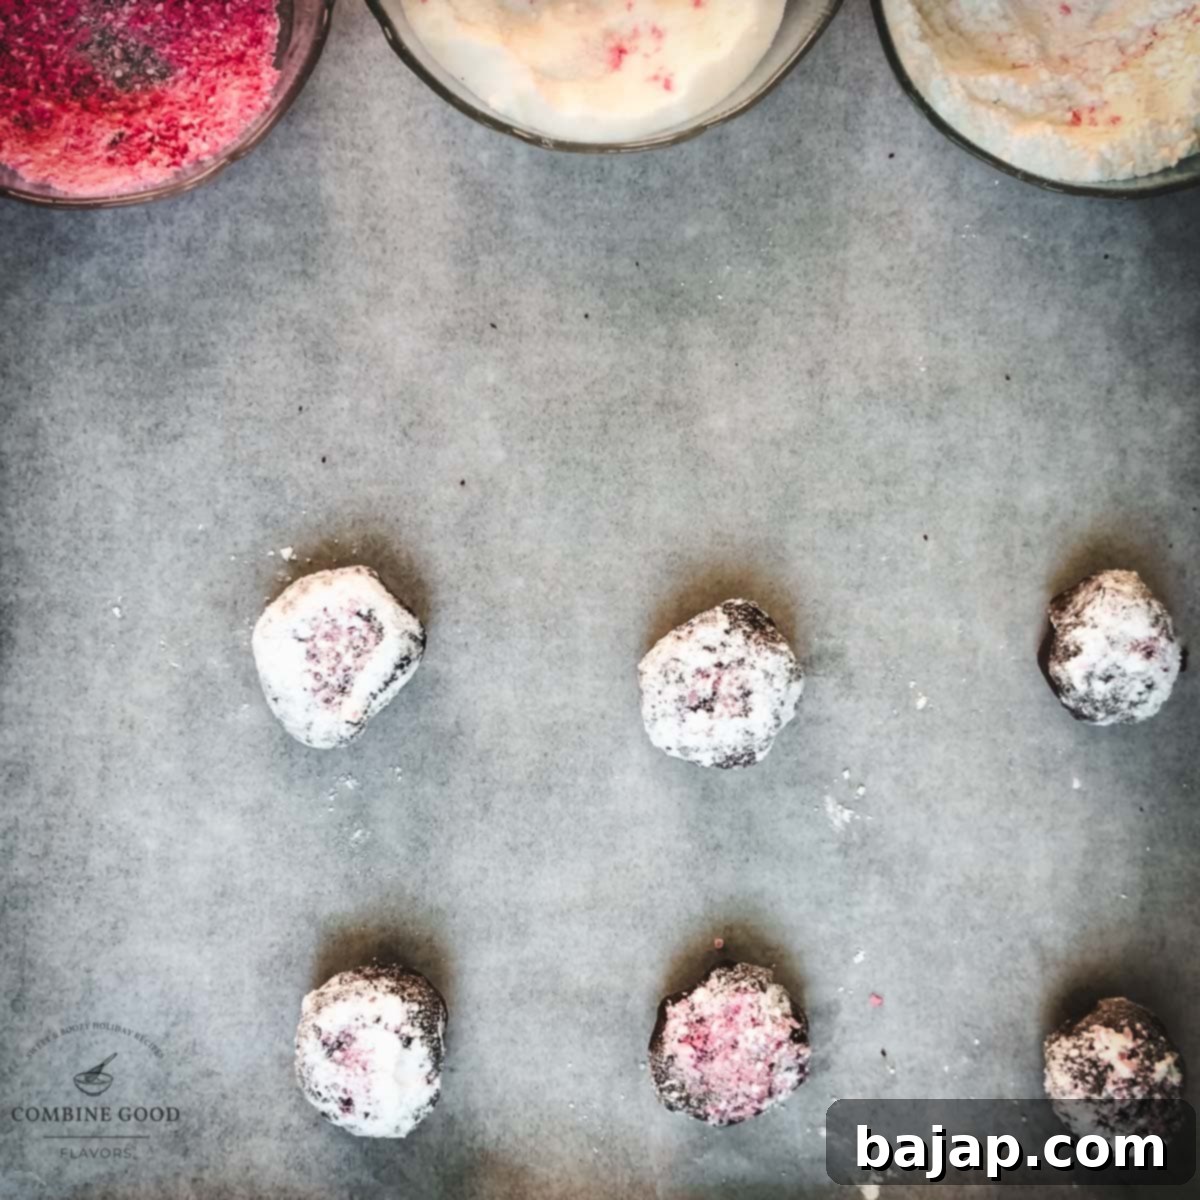
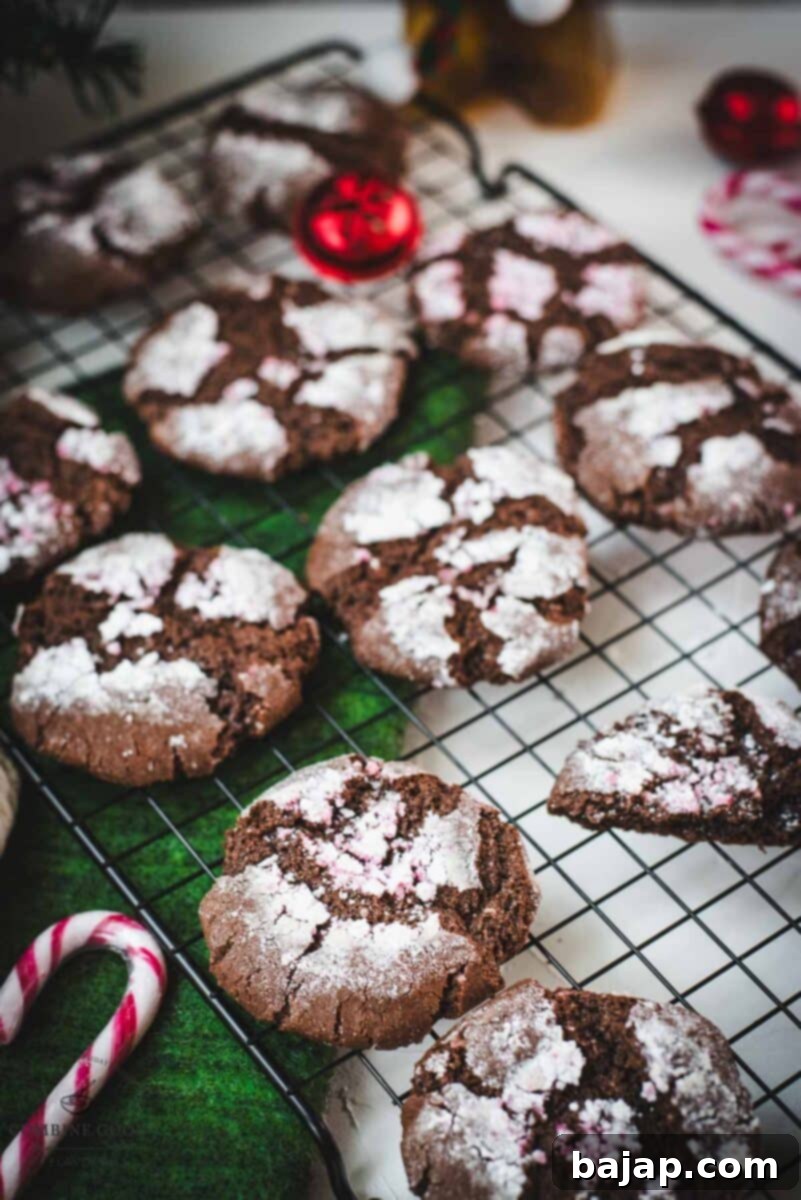
Step 7: Bake and Cool. Bake the cookies in your preheated oven at 180°C (356°F) for about 13-15 minutes. The key is to bake them just until the edges are set and firm, but the centers still look slightly soft. This ensures a wonderfully fudgy interior. Overbaking will result in dry cookies. Once baked, remove the tray from the oven and let the cookies cool on the baking sheet for a few minutes before gently transferring them to a cooling rack to cool completely. This resting period allows them to firm up without breaking.
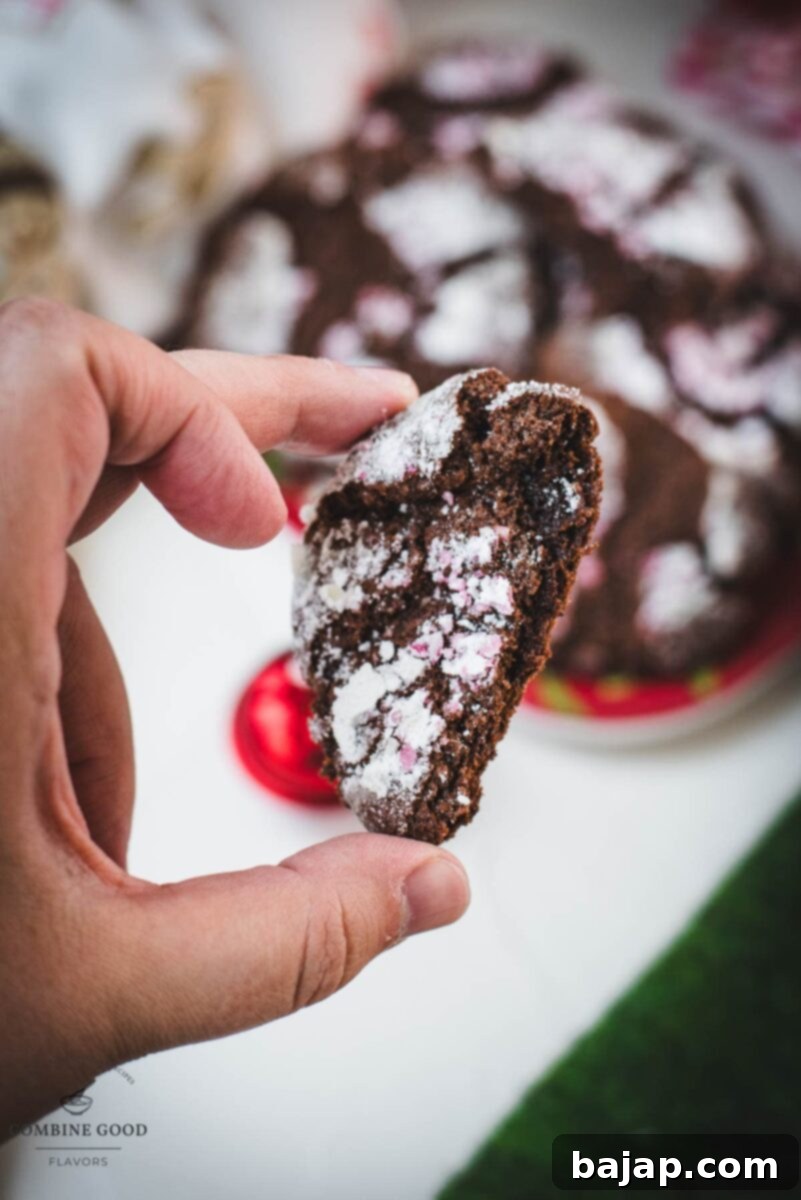
🌟 Why You’ll Love These Chocolate Peppermint Crinkle Cookies
These cookies are more than just a holiday treat; they’re a sensory experience that brings immense joy. Here’s why they’ll become your new favorite Christmas cookie:
- **Irresistibly Fudgy:** The combination of dark chocolate, cocoa, and brown sugar creates an incredibly moist and rich, brownie-like texture.
- **Perfect Peppermint Punch:** The refreshing burst of peppermint perfectly complements the deep chocolate, creating a classic holiday flavor pairing.
- **Stunning Crinkle Effect:** The triple-sugar coating creates beautiful, distinct cracks, making each cookie look like a frosted, snow-covered treat.
- **Easy to Make:** Despite their impressive appearance, these cookies are surprisingly simple to prepare, making them ideal for both seasoned bakers and beginners.
- **Crowd-Pleaser:** Their festive look and delicious taste make them a hit at any holiday party, cookie exchange, or family gathering.
💡 Expert Tips for Perfect Crinkle Cookies
Achieving bakery-quality chocolate peppermint crinkle cookies is easy with a few insider tips:
- **Don’t Overbake:** This is crucial for fudgy crinkle cookies. Remove them from the oven when the edges are set but the centers still look slightly soft. They will continue to set as they cool.
- **Generous Coating is Key:** Be liberal with the powdered sugar coating. The thicker the layer, the more pronounced and beautiful the crinkles will be. Don’t be shy!
- **Chill the Dough (Optional but Recommended):** While not explicitly in the steps, chilling the dough for 30 minutes to an hour can make it easier to handle and can sometimes help prevent excessive spreading, resulting in thicker cookies.
- **Uniform Ball Size:** Use an ice cream scoop to ensure all your cookie balls are roughly the same size. This guarantees even baking and a consistent appearance.
- **Quality Ingredients:** Since chocolate and peppermint are the stars, investing in good quality dark chocolate and a flavorful peppermint syrup or extract will elevate the taste significantly.
🔄 Variations & Substitutions
While this classic chocolate peppermint combination is divine, feel free to experiment and make these crinkle cookies your own:
- **Different Extracts:** Instead of peppermint, try almond extract for a cherry cordial flavor, orange extract for a chocolate orange twist, or even a touch of espresso powder (added with dry ingredients) for a mocha crinkle cookie.
- **Chocolate Chips:** For an extra chocolatey burst, fold in ½ cup of chocolate chips (dark, milk, or white) into the dough along with the crushed peppermint candy.
- **Nutty Crunch:** Add finely chopped pecans or walnuts to the dough for a delightful textural contrast.
- **Gluten-Free Option:** You can often substitute cake flour with a 1:1 gluten-free baking flour blend (ensure it contains xanthan gum) for a gluten-free version. Results may vary slightly in texture.
- **Color Fun:** Add a few drops of red or green food coloring to the dough for an even more festive look!
🧊 Storage & Make-Ahead Tips
These chocolate peppermint crinkle cookies are wonderful for making ahead and storing, ensuring you have delightful treats ready throughout the holiday season:
- **Storing Baked Cookies:** Once completely cooled, store the cookies in an airtight container at room temperature for up to 5-7 days. To maintain freshness and prevent them from sticking, you can place a piece of parchment paper between layers.
- **Freezing Baked Cookies:** For longer storage, cooled cookies can be frozen in an airtight container for up to 2-3 months. Thaw at room temperature before serving.
- **Freezing Dough:** You can prepare the cookie dough balls and coat them in the sugars, then freeze them on a baking sheet until solid. Once frozen, transfer them to a freezer-safe bag or container. When ready to bake, place frozen dough balls directly on a parchment-lined baking sheet and add a few extra minutes to the baking time (about 2-4 minutes).
⁉️ Frequently Asked Questions (FAQs)
Here are some common questions about making crinkle cookies:
- Why didn’t my cookies crinkle? The most common reasons are not enough powdered sugar coating, or the dough was too warm. Ensure a very generous coating of powdered sugar and consider chilling the dough for 30 minutes before rolling if it’s too soft.
- Can I use all-purpose flour instead of cake flour? Yes, you can. For a closer texture to cake flour, remove 2 tablespoons of all-purpose flour from each cup and replace it with 2 tablespoons of cornstarch.
- How do I crush candy canes without making a mess? Place them in a sturdy freezer bag and use a rolling pin or the bottom of a heavy pan. This contains all the shards. An electric chopper also works wonderfully.
- Can I make the dough ahead of time? Absolutely! The dough can be prepared, rolled into balls, and stored in an airtight container in the refrigerator for up to 2-3 days before coating and baking.
🍽 Equipment You’ll Need
Having the right tools makes the baking process smoother and more enjoyable:
- Mixing bowls: You’ll need a medium-sized bowl for the dough and three small ones for the sugar coatings.
- Microwave-safe bowl: For melting the chocolate and butter.
- Cookie scoop: Essential for portioning dough evenly and creating uniform cookie sizes.
- Baking sheet with parchment paper: Ensures even baking and prevents sticking.
- Cooling rack: Allows air circulation, preventing the bottoms of your cookies from becoming soggy.
- Cookie jar: For storing your delicious creations (if they last that long!).

Christmas CookieBook!
Snag that Recipe eBook!
Unlock a treasure trove of 20 delicious Christmas Cookie recipes with this special ebook. Perfect for expanding your holiday baking repertoire!
Yes, please!
Other Festive Recipes for You to Try
Looking for more holiday baking inspiration or delightful treats to complement your crinkle cookies? Explore these other fantastic recipes:
- Chocolate Espresso Crinkle Cookies: For a sophisticated twist on the classic crinkle.
- Cornflake Clusters with Dark Chocolate and Coconut: A quick and easy no-bake treat.
- Chocolate Chip Sugar Cookies: A classic favorite with a perfect chewy-crisp balance.
- Sweet Dips for Cookies: Elevate your cookie experience with these delightful accompaniments.
- Cranberry Aperol Spritz: A refreshing festive drink to pair with your treats.
- Butterball Cookies: Melt-in-your-mouth shortbread perfection.
- Candy Cane Oreo Cake Pops: Another fun, no-bake peppermint treat!
- Peppermint Bark: The ultimate easy holiday candy, rich with chocolate and mint.
If you try this delightful chocolate peppermint crinkle cookie recipe, please let me know how much you enjoyed it! You can rate it with a ★★★★★ star rating and leave a comment below – that would be absolutely awesome and truly helpful. You can also sign up for our Newsletter to get weekly recipe inspiration directly to your inbox. Don’t forget to follow me on Pinterest or Instagram and share your festive creations with me. Just tag me @combinegoodflavors and use the hashtag #combinegoodflavors, so I don’t miss seeing your delicious cookies!
📖 Recipe: Chocolate Peppermint Crinkle Cookies
Chocolate Crinkle Cookies with Peppermint
Nora
Save RecipeSaved!
Pin Recipe
Equipment
-
Mixing bowls medium and three small ones
-
Microwave safe bowl
-
Cookie scoop
-
Baking sheet with parchment paper
-
Cooling Rack
-
Cookie jar
Ingredients
Cookie dough
- 1 oz Peppermint candy
- 2 tablespoon Butter
- ¼ cup Dark chocolate
- 4 tablespoon Peppermint syrup Monin, Giffard or other brand – since I didn’t had the syrup at hand, I used peppermint extract 5 drops.
- 1 cup Cake flour
- 3 tablespoon Dutch cocoa
- 1 teaspoon Baking powder
- ½ teaspoon Baking soda
- 1 pinch Salt
- ½ cup Granulated sugar
- ½ cup Brown sugar
- 1 Egg
- ½ cup Granulated sugar
- ½ cup Powdered sugar
Instructions
-
Place 1 oz Peppermint candy in a plastic bag and crush it with a rolling pin to keep things tidy. Or crush them with an electric chopper if you have one at hand. Set it aside for later.1 oz Peppermint candy
-
Cut 2 tablespoon Butter into cubes and chop ¼ cup Dark chocolate into small pieces. Pop them into a microwave-safe bowl and melt in 30-second intervals, stirring gently with a silicone spatula each time until everything is silky smooth.2 tablespoon Butter, ¼ cup Dark chocolate
-
Stir in 4 tablespoon Peppermint syrup to cool the mixture slightly. Add 1 cup Cake flour, 3 tablespoon Dutch cocoa, 1 teaspoon Baking powder, ½ teaspoon Baking soda, 1 pinch Salt, ½ cup Granulated sugar, ½ cup Brown sugar, half of the crushed peppermint candy, and 1 Egg. Put on some gloves and knead the dough until all the ingredients come together beautifully.4 tablespoon Peppermint syrup, 1 cup Cake flour, 3 tablespoon Dutch cocoa, 1 teaspoon Baking powder, ½ teaspoon Baking soda, 1 pinch Salt, ½ cup Granulated sugar, ½ cup Brown sugar, 1 Egg
-
Set up three small bowls: one with the remaining crushed peppermint candy, one with ½ cup Granulated sugar, and one with ½ cup Powdered sugar.½ cup Granulated sugar, ½ cup Powdered sugar
-
Scoop out the dough using an ice cream scoop and roll it into small balls. Coat each ball first in the crushed peppermint candy, then in the granulated sugar, and finish with the powdered sugar.
-
Arrange the cookie dough balls on a parchment-lined baking sheet, spacing them about 2 inches (4 cm) apart to give them room to spread.
-
Bake in a preheated oven at 180°C (356°F) for around 13-15 minutes, or until the edges start to firm up. Let the cookies cool on the baking sheet before lifting them off the parchment.
Nutrition values are estimates only, using online calculators. Please verify using your own data.
Calories: 149kcal |
Carbohydrates: 29g |
Protein: 2g |
Fat: 3g |
Saturated Fat: 2g |
Polyunsaturated Fat: 0.2g |
Monounsaturated Fat: 1g |
Trans Fat: 0.1g |
Cholesterol: 13mg |
Sodium: 71mg |
Potassium: 47mg |
Fiber: 1g |
Sugar: 22g |
Vitamin A: 53IU |
Calcium: 20mg |
Iron: 1mg

viral recipe!
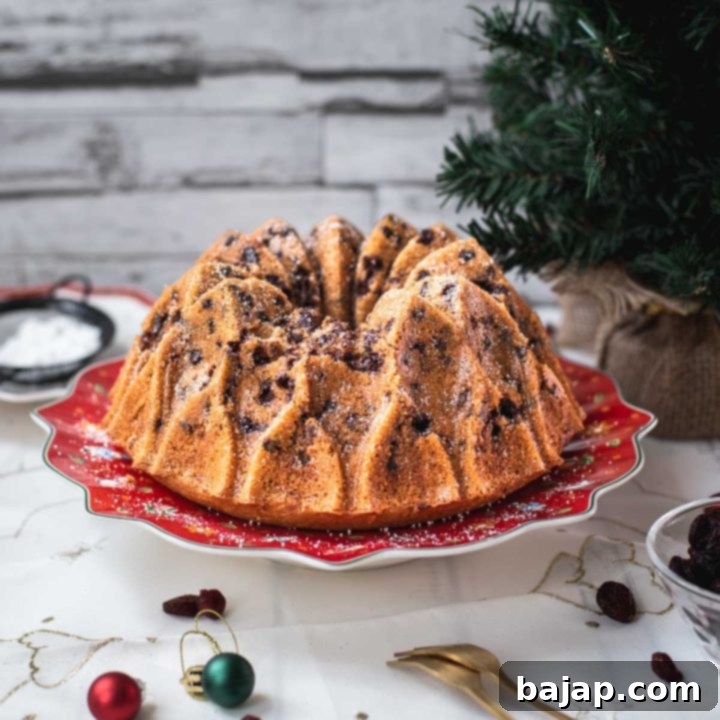
Cranberry Bundt Cake: A Seasonal Delight
This Cranberry Bundt Cake is a delightful blend of warm cinnamon, rich dark chocolate chips, and plump dried cranberries that will surely satisfy your sweet cravings and fill your home with an inviting aroma.
⛑️ Food Safety Guidelines for Baking
Ensuring food safety is paramount when baking to prevent foodborne illnesses. Please keep these important guidelines in mind:
- Cook all foods to a minimum internal temperature of 165 °F (74 °C) to kill harmful bacteria.
- Avoid using the same utensils on cooked food that previously touched raw ingredients (like raw egg or unbaked dough) without proper washing.
- Always wash your hands thoroughly with soap and water after handling raw ingredients, especially eggs or unbaked dough.
- Do not leave perishable foods or ingredients sitting out at room temperature for extended periods, as this can encourage bacterial growth.
- Never leave cooking or baking food unattended, particularly when using high heat or an open flame.
- When cooking with oils, choose those with a high smoke point to avoid creating harmful compounds and unpleasant flavors.
- Always ensure good ventilation in your kitchen, especially when using a gas stove, to prevent the buildup of fumes.
For more in-depth information and comprehensive guidelines on safe food handling practices, please refer to the Safe Food Handling – FDA website. Your health and safety are always important!
