Decadent Homemade Dark Chocolate Truffles with White Chocolate Coating: A Fructose-Free & Gluten-Free Delight
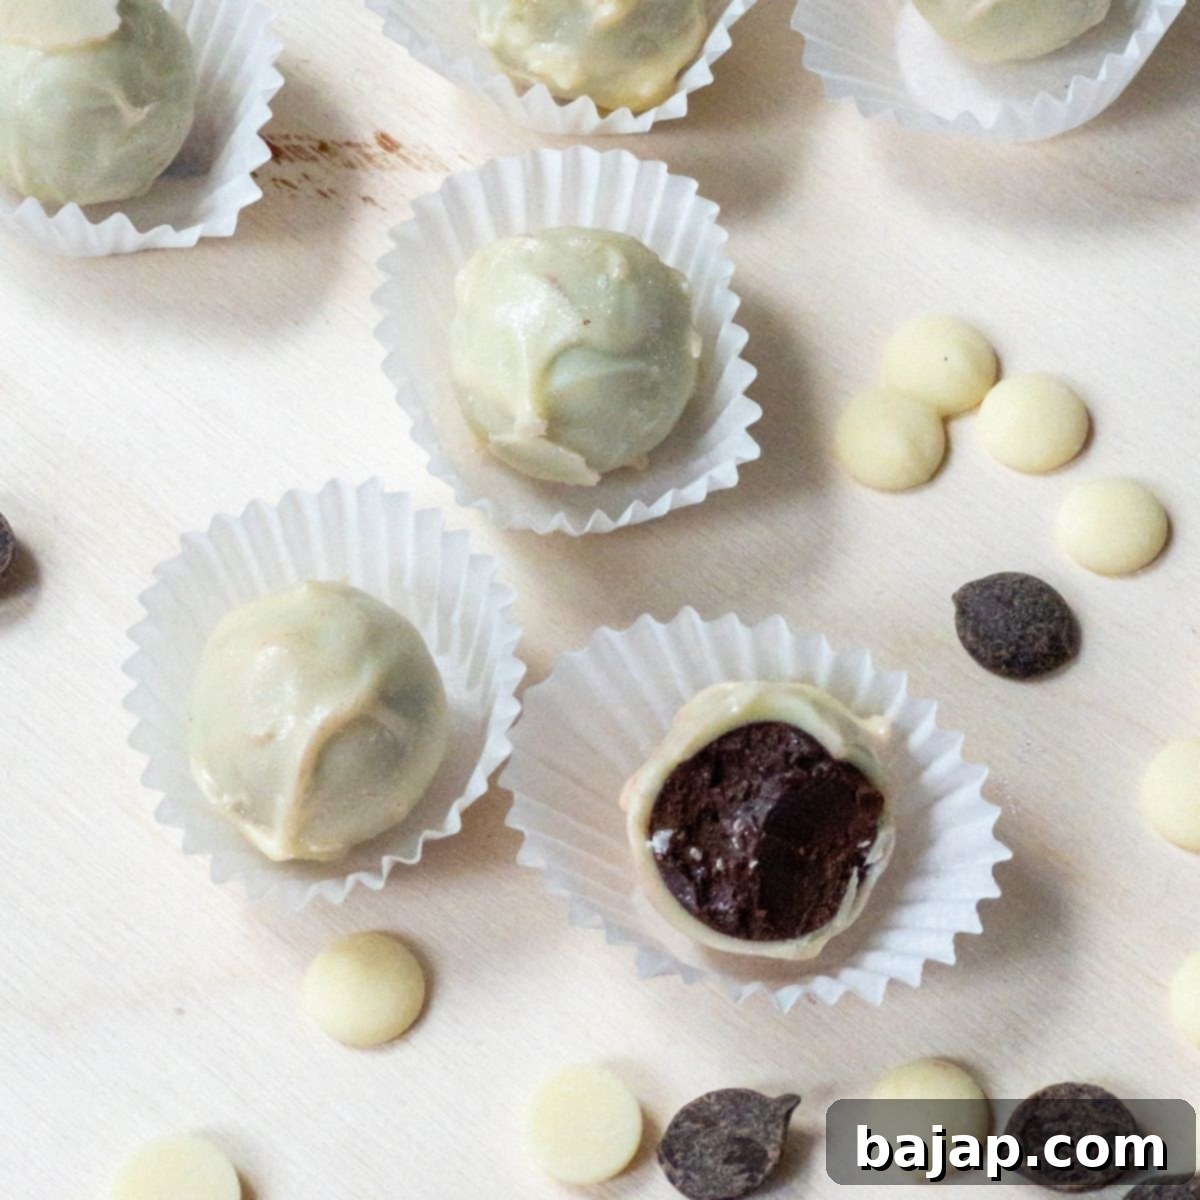
Prepare to be enchanted by these truly wonderful dark chocolate truffles! Each bite offers a delightful surprise: a rich, velvety dark chocolate ganache, subtly infused with aromatic cinnamon, all encased within a smooth, luxurious white chocolate shell. These aren’t just any white chocolate truffles; they’re an experience waiting to unfold.
At first glance, the pristine white chocolate couverture might lead you to believe these are simple white chocolate confections. But the moment you take that first bite, an unexpected journey of flavors begins. The crisp outer layer gives way to a stunning, deeply flavorful dark chocolate ganache, perfectly balanced with a whisper of cinnamon that lingers pleasantly on the palate. It’s a harmonious blend that creates an unforgettable indulgence.
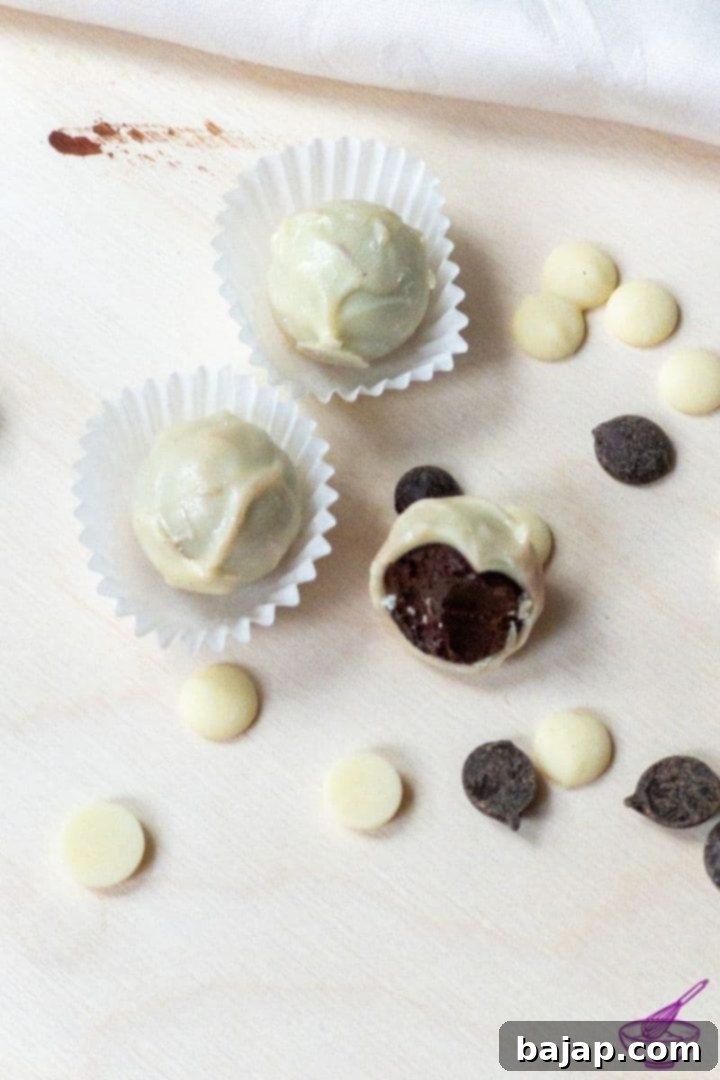
These exquisite homemade dark chocolate truffles are incredibly versatile. They are an ideal choice for a thoughtful edible gift, a delightful souvenir, or simply a decadent chocolate treat to savor yourself. Their elegant appearance and unique flavor profile make them a perfect small gift for various special occasions, including birthdays, name days, Mother’s Day, Father’s Day, or just a spontaneous gesture of appreciation. The effort you put into making them at home shines through, adding a personal touch that store-bought chocolates simply can’t match.
Beyond their irresistible taste, one of the most remarkable aspects of these truffles is their ease of preparation and their dietary benefits. They are completely fructose-free and gluten-free! This makes them a fantastic option for those with dietary sensitivities, ensuring that everyone can enjoy these sweet bites without worry. So, a resounding “yay!” for all fructose-intolerant and gluten-sensitive chocolate lovers out there! Let’s dive right into the simple steps and create these little morsels of joy.
If you’re eager to explore more chocolate candy recipes, don’t miss our indulgent eggnog truffle or the savory-sweet milk chocolate salted caramel truffles. For an extra special pairing, these dark chocolate truffles go exceptionally well with a peppy Snowball cocktail or a warming classic homemade Lumumba.
🥘 Ingredients for Perfectly Crafted Truffles
Crafting exceptional truffles begins with selecting high-quality ingredients. Here’s what you’ll need to create our irresistible dark chocolate and cinnamon ganache truffles with a flawless white chocolate coating:
- White chocolate hollow spheres: These pre-made shells simplify the process significantly, providing a consistent shape and size for your truffles. Look for high-quality ones for the best texture and flavor.
- Heavy whipping cream: The foundation of a rich, creamy ganache. Full-fat cream is essential for the right consistency and mouthfeel.
- High-quality dark chocolate couverture: The star of our ganache. The quality of your dark chocolate will profoundly impact the final taste. If you’re seeking the absolute best, I wholeheartedly recommend Felchlin for its superior flavor and melting properties. Choose a dark chocolate with a cocoa content of at least 60-70% for a robust flavor that stands up to the cinnamon.
- Glucose: This is crucial for achieving a smooth, stable ganache with a beautiful sheen. Glucose prevents sugar crystallization, ensuring a silky texture that lasts.
- Cinnamon: The secret ingredient that elevates the dark chocolate ganache. Use a good quality ground cinnamon for the best aroma and flavor. A little goes a long way, but adjust to your personal preference.
- White chocolate couverture: Used for both sealing the truffles and creating their beautiful outer coating. Again, quality is key for a smooth, temperable chocolate that will set with a nice snap and shine.
- Pink glitter powder for decorating the chocolate covered truffles: An optional but enchanting touch that adds a touch of glamour and whimsy to your finished creations.
For precise quantities, please refer to the comprehensive recipe card provided below.
🍽 Essential Equipment for Professional-Quality Truffles
Having the right tools makes all the difference when crafting homemade chocolates. Here’s a list of equipment that will help you achieve perfect results:
- Water bath or tempering device: Essential for melting chocolate gently and achieving proper tempering, which results in a shiny, stable coating. A double boiler (water bath) is a classic method, while a tempering device offers more precise temperature control.
- Piping (pastry) bag: Crucial for neatly filling the hollow chocolate spheres with ganache, ensuring a clean and efficient process.
- Small saucepan: For heating the cream and glucose for the ganache.
- Squeeze bottle: Invaluable for neatly and efficiently sealing the hollow chocolate spheres, minimizing mess and ensuring even coverage.
- Wooden spoon: For stirring ingredients, especially when making the ganache.
- Shallow bowl: To hold the melted white chocolate for coating the truffles.
- Parchment paper: To line your drying surface, preventing the truffles from sticking as they set.
- Chocolate paper molds: For presenting your finished truffles beautifully and keeping them from touching each other.
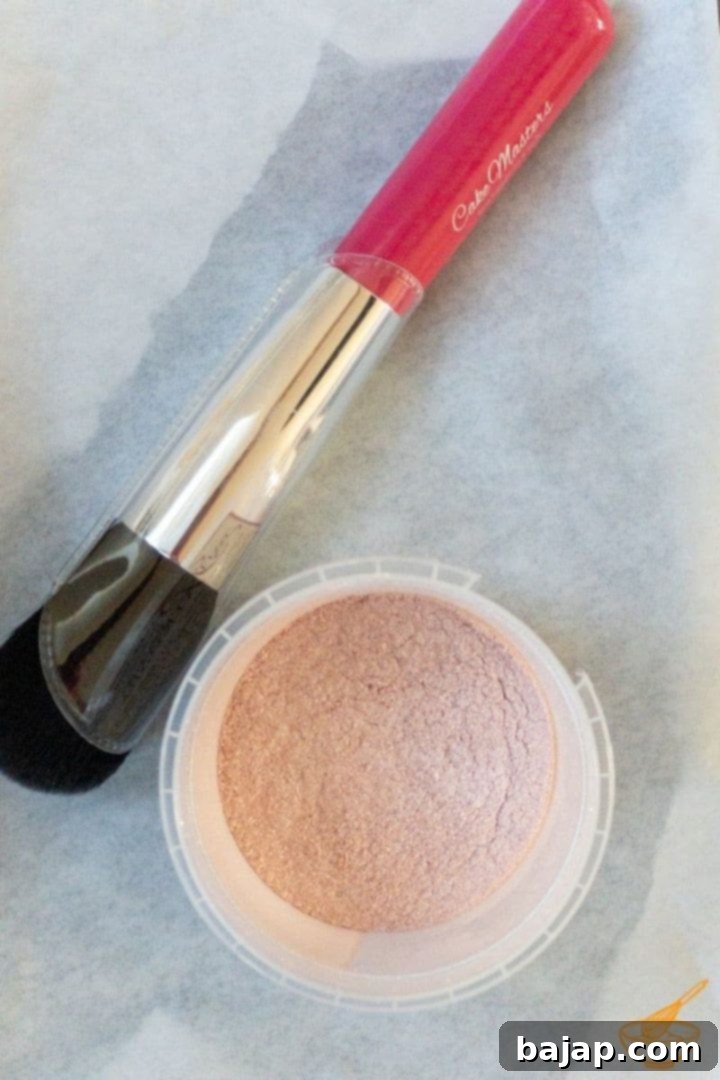
- Dusting brush: Perfect for delicately applying the edible glitter powder, ensuring a light and even shimmer.
🔪 Step-by-Step Guide to Crafting Your Delicious Truffles
Creating these gourmet truffles is a rewarding process, and while it involves several steps, each is straightforward. We’ll utilize pre-made white chocolate hollow spheres for convenience, allowing us to focus on the exquisite ganache and perfect coating.
Crafting the Silky Dark Chocolate Ganache
The heart of these truffles is the cinnamon-infused dark chocolate ganache. Begin by combining the glucose and heavy whipping cream in a small saucepan. Bring this mixture to a gentle boil over medium heat, ensuring the glucose fully dissolves. Once it reaches a gentle boil, remove it from the heat and immediately add your high-quality dark chocolate couverture. Allow the hot cream mixture to sit for a minute or two, letting the chocolate melt slightly, then stir thoroughly with a wooden spoon until a smooth, homogenous ganache forms. This emulsification is key to a luscious texture.
Once the ganache is smooth, it’s time to introduce the cinnamon. I prefer a subtle hint to complement the rich dark chocolate, so a pinch is usually sufficient. However, feel free to adjust this to your taste – if you adore cinnamon, don’t hesitate to add a bit more! The goal is to enhance, not overpower, the deep chocolate flavor.
Allow the finished ganache to cool. This step is crucial for achieving the right consistency for piping. The ideal temperature for filling is around 31 °C (87.8 °F). Once it reaches this temperature, transfer the ganache into a piping bag. Carefully fill your white chocolate hollow spheres, leaving a small gap just below the rim to allow for sealing. After filling, place the spheres in the refrigerator to chill for at least 8 hours, though 24 hours is ideal for the ganache to firm up properly and develop its full flavor and texture. This extended chilling time ensures your truffles hold their shape perfectly during the next steps.
The Art of Sealing and Tempering for a Perfect Finish
Once the ganache has fully set after its chilling period, it’s time to seal the truffles. This step prevents the ganache from leaking and prepares the chocolates for their final coating. You’ll need some liquid white chocolate for this, and proper tempering is key to ensuring a shiny, stable, and snap-able finish. You can melt your white chocolate couverture using a water bath (double boiler) or a dedicated tempering device.
Water bath method: To melt chocolate in a water bath, choose two pots of different sizes. Fill the larger pot with about 3-4 finger-widths of water and bring it to a simmer. Place the smaller pot on top, ensuring its bottom does not touch the simmering water. Add your white chocolate into the smaller pot and melt it over the rising steam, stirring frequently. Be careful not to let any water or steam condensation get into the chocolate, as this can cause it to seize.
Tempering unit method: For a more controlled approach, use a tempering machine. Add your chocolate to the unit and set it to the appropriate melting temperature. For white and milk chocolate, this is typically 40 °C (104 °F). Dark chocolate requires a slightly higher temperature of 50 °C (122 °F). Follow your tempering device’s specific instructions for the full tempering curve to achieve a perfect temper.
The easiest and cleanest way to seal the hollow spheres is by using a squeeze bottle. Fill the tempered white chocolate into a small squeeze bottle. Carefully apply the melted chocolate to seal the openings of the truffles. Gently shake or tap the truffles to ensure the chocolate evenly covers the opening and creates a smooth, flat seal. Any leftover tempered chocolate from this step can be added back to your main batch of white chocolate couverture, ready for the final coating stage.
As soon as all the truffles are sealed, return them to the refrigerator briefly. This “hardening” step is quick; in less than 10 minutes, the freshly applied chocolate will be firm, making them ready for their full white chocolate coating. Since your white chocolate is already melted and tempered, you can move directly to the next exciting phase!
Mastering the White Chocolate Coating and Finishing Touches
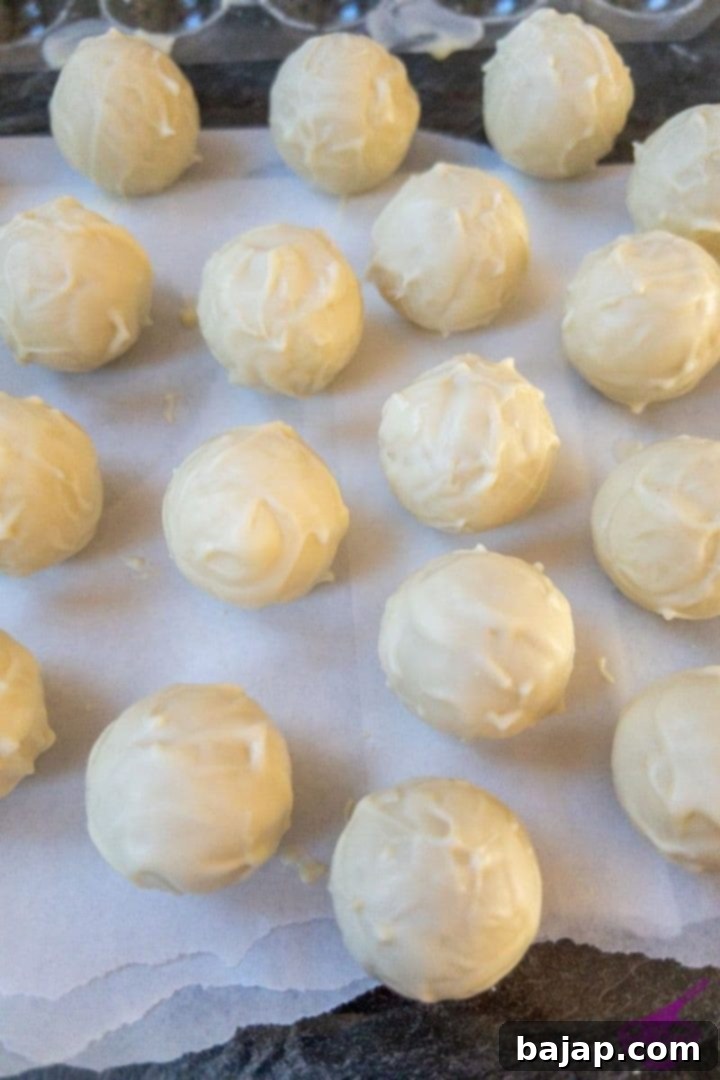
Coating truffles can be a bit messy, but with proper preparation and a quick hand, you’ll achieve beautiful results. First, set up your workstation: line a shallow bowl or a baking sheet with parchment paper or greaseproof paper. This will be the landing spot for your freshly coated truffles to dry.
Retrieve your sealed truffles from the refrigerator. Take a small batch (1-4 truffles) in one hand. With your other hand, dip your fingers into the melted and tempered white chocolate coating. Gently roll the truffles between your chocolate-coated fingers until they are evenly and completely covered. The warmth of your hands will help create a thin, even layer. Once coated, carefully place each truffle onto your prepared parchment-lined bowl, ensuring they don’t touch each other.
Now for the enchanting finale: dusting with glitter powder! My little daughter’s current “pink is the best” phase inspired this touch, and it was an absolute success! With white chocolate, edible pink glitter powder imparts a very subtle, delicate pink shimmer that looks incredibly charming and sophisticated. Apply the glitter with a dusting brush after the white chocolate coating has solidified but is still slightly tacky, allowing the glitter to adhere beautifully.
Once all 21 truffles are coated and sparkling, gently transfer them into individual chocolate paper molds for a professional presentation. Store your finished chocolates in an airtight container at a cool room temperature to maintain their freshness and delicate texture. And just like that, your exquisite homemade dark chocolate truffles are ready to be savored or shared as a thoughtful gift!
If you share my love for cinnamon, you must also try these delightful chocolate cinnamon cookies! They offer another fantastic way to enjoy this warming spice.
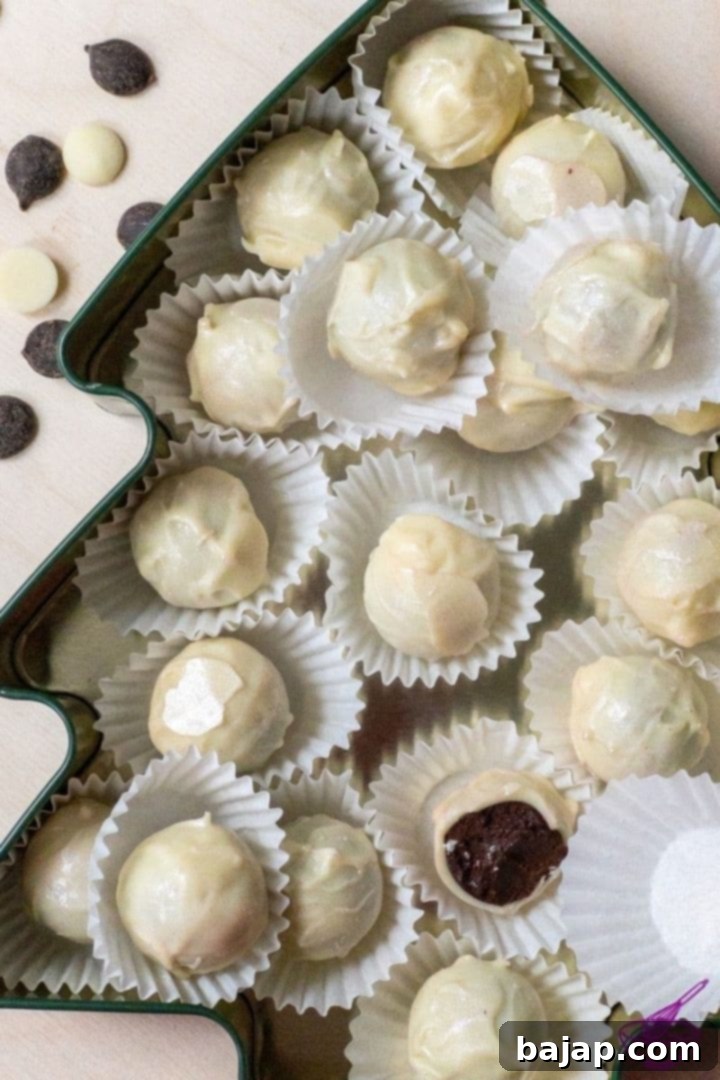
These delectable treats are inherently gluten-free, making them accessible to many. For those seeking more gluten and dairy-free dessert options, explore Sharon’s roundup post for additional decadent recipes!
🌡️ Storage Best Practices for Your Homemade Truffles
Proper storage is essential to maintain the quality, flavor, and texture of your homemade truffles. Here’s how to keep them at their best:
- Room Temperature: If your truffles are properly tempered, they will maintain their quality and delightful snap for approximately three days at cool room temperature. Always store them in a cool, dry place with low humidity to prevent blooming (a white, powdery film caused by sugar or fat crystals migrating to the surface). An airtight container is crucial to protect them from air and odors.
- Refrigeration: For longer storage, you can keep them in the refrigerator for about a week. Place them in an airtight container to prevent them from absorbing fridge odors or moisture. Be aware that refrigeration can slightly alter the texture of the ganache, making it firmer. Allow them to come to room temperature for about 15-20 minutes before serving for the best experience.
- Freezing: Truffles can be frozen for up to a month. Again, store them in a freezer-safe, airtight container. When thawing, transfer them to the refrigerator overnight, then bring them to room temperature before serving. Note that freezing may cause the centers to firm up more significantly than refrigeration.
Always inspect your truffles before consumption, especially if stored for longer periods. Look for any signs of spoilage or changes in texture or appearance.
💭 Expert Tip for Cleaning Squeeze Bottles
How do I efficiently clean chocolate out of a squeeze bottle?
After using a squeeze bottle for sealing truffles, you’ll inevitably have some chocolate residue inside. You certainly want to reuse any leftover chocolate for coating, but getting every last bit out can be tricky. Here’s a clever trick to minimize waste:
Instead of trying to scrape it out while it’s liquid, place the squeeze bottle in the refrigerator. Allow the remaining chocolate inside to solidify completely. Once the chocolate is firm, squeeze and flex the bottle vigorously. The solid chocolate will easily crumble into small pieces, which you can then simply empty out. This method ensures you waste very little chocolate and makes cleaning the bottle a breeze!
And if you find yourself with extra white chocolate chips or couverture after your truffle-making adventure, consider using them up in Isabelle’s delightful chocolate mermaid bark recipe. It’s a fun and creative way to use up any remnants!
🍫 Download Your Free Chocolate Workbook: Master Tempering!
Ready to elevate your chocolate-making skills? Our Free Chocolate Workbook will guide you through the intricacies of melting and tempering, ensuring your chocolates always have that beautiful shine and satisfying snap!
If you create this delicious recipe, please let me know how you enjoyed it by leaving a ★★★★★ star rating and a comment below. Your feedback is invaluable and always appreciated! You can also subscribe to our Newsletter or follow me on Pinterest or Instagram and share your delightful creation with me. Just tag me @combinegoodflavors and use the hashtag #combinegoodflavors, so I won’t miss it!
📖 Recipe: Homemade Dark Chocolate Truffles with White Chocolate Coating
Homemade Dark Chocolate Truffles with White Chocolate Coating
Nora
Save RecipeSaved!
Pin Recipe
Equipment
-
1 Water bath or tempering device
-
1 Pastry bag
-
1 Saucepan
-
1 Wooden spoon
-
1 shallow bowl
-
Parchment Paper
-
Chocolate paper molds
-
1 Squeeze Bottle
-
1 Dusting Brush
Ingredients
- 21 pc White hollow spheres
- ¼ cup Heavy Whipping Cream
- ½ cup Dark Chocolate Couverture
- ¼ tablespoon Glucose
- 1 pinch Cinnamon
- 1 cup White chocolate couverture
For decorating
- Edible pink glitter powder
Instructions
For the Dark Chocolate Ganache
-
Add ¼ tablespoon Glucose and ¼ cup Heavy Whipping Cream to a small pot and bring it to a gentle boil.¼ tablespoon Glucose, ¼ cup Heavy Whipping Cream
-
Add ½ cup Dark Chocolate Couverture to the hot cream.½ cup Dark Chocolate Couverture
-
Mix the whipped cream well with the chocolate and flavor it with 1 pinch Cinnamon.1 pinch Cinnamon
-
Let the ganache cool to 31 °C // 87,8 °F.
-
Fill the ganache into a piping bag and fill 21 pc White hollow spheres with ganache.21 pc White hollow spheres
-
Chill the filled chocolates n the fridge for 24h.
Seal the Chocolates
-
Melt 1 cup White chocolate couverture in a water bath or with a tempering device.1 cup White chocolate couverture
-
Fill the melted chocolate into a squeeze bottle and seal the chocolates.
-
Place the sealed chocolates in the fridge for 10 minutes to solidify.
Coating the Truffles
-
Prepare a shallow bowl and line it with parchment paper to place the covered chocolates after coating.
-
Remove your sealed truffles from the fridge and take 1-4 truffles in one hand.
-
Dip the fingers of the other hand in the melted chocolate coating and roll the 1-4 truffles between your hands.
-
Once you have them nicely coated with chocolate, place them in the prepared bowl.
-
Dust the chocolates with Edible pink glitter powder after the chocolate coating is solidified.Edible pink glitter powder
Nutrition values are estimates only, using online calculators. Please verify using your own data.
🤎 You Might Also Like These Sweet Delights
If you’ve fallen in love with making your own gourmet chocolates, here are some other fantastic recipes to inspire your culinary adventures:
- The Perfect Holiday Treat – Homemade Eggnog Truffles
- How to Create Milk Chocolate Salted Caramel Truffles
- Matcha Truffles – A Delicious St. Patrick’s Day Treat
- Homemade Baileys Chocolates
⛑️ Important Food Safety Guidelines
Ensuring food safety is paramount when preparing any culinary delight. Please observe these guidelines to enjoy your homemade truffles safely:
- Cook to a minimum temperature of 165 °F (74 °C) where applicable, especially for dairy-containing ingredients.
- Always use separate utensils for cooked food and ingredients that have previously touched raw meat or other raw foods to prevent cross-contamination.
- Wash your hands thoroughly with soap and warm water before handling any food, and especially after touching raw ingredients.
- Avoid leaving perishable food, such as ganache or cream, sitting out at room temperature for extended periods. Promptly refrigerate or cool as instructed in the recipe.
- Never leave cooking food unattended on the stove or in the oven.
- When cooking with oils at high temperatures, opt for oils with a high smoke point to prevent the formation of harmful compounds.
- Ensure good ventilation in your kitchen, especially when using a gas stove, to prevent the buildup of fumes.
For more detailed information on safe food handling practices, please consult resources such as the Safe Food Handling – FDA website.
