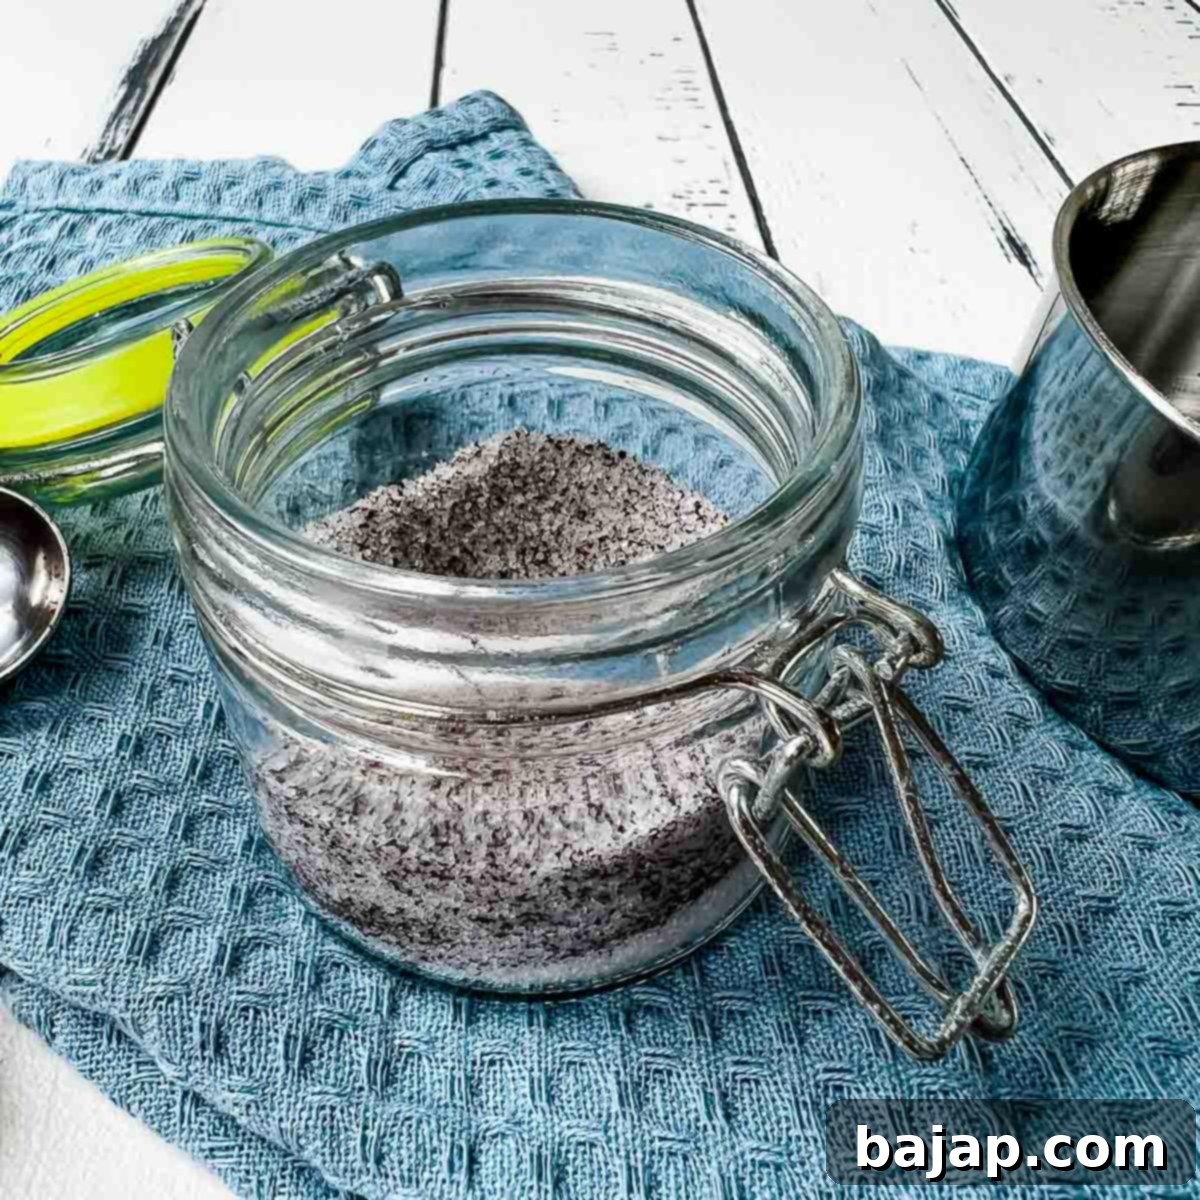
Elevate Your Baking: The Ultimate Guide to Making Homemade Vanilla Sugar
Vanilla sugar is a coveted ingredient in many European kitchens, a simple yet transformative addition that elevates ordinary baked goods and desserts into extraordinary culinary experiences. Unlike synthetic vanilla flavoring, true vanilla sugar is sugar infused with the rich, aromatic essence of real vanilla. Whether you’re a seasoned baker or just starting, learning how to make your own vanilla sugar at home is incredibly rewarding. It’s not only easy and cost-effective but also ensures you’re using natural, high-quality ingredients, free from artificial additives.
In this comprehensive guide, we’ll dive into the world of homemade vanilla sugar, offering three super simple, tried-and-true recipes that will empower you to create this aromatic delight yourself. Say goodbye to store-bought packets and hello to a pantry staple that will revolutionize your baking!
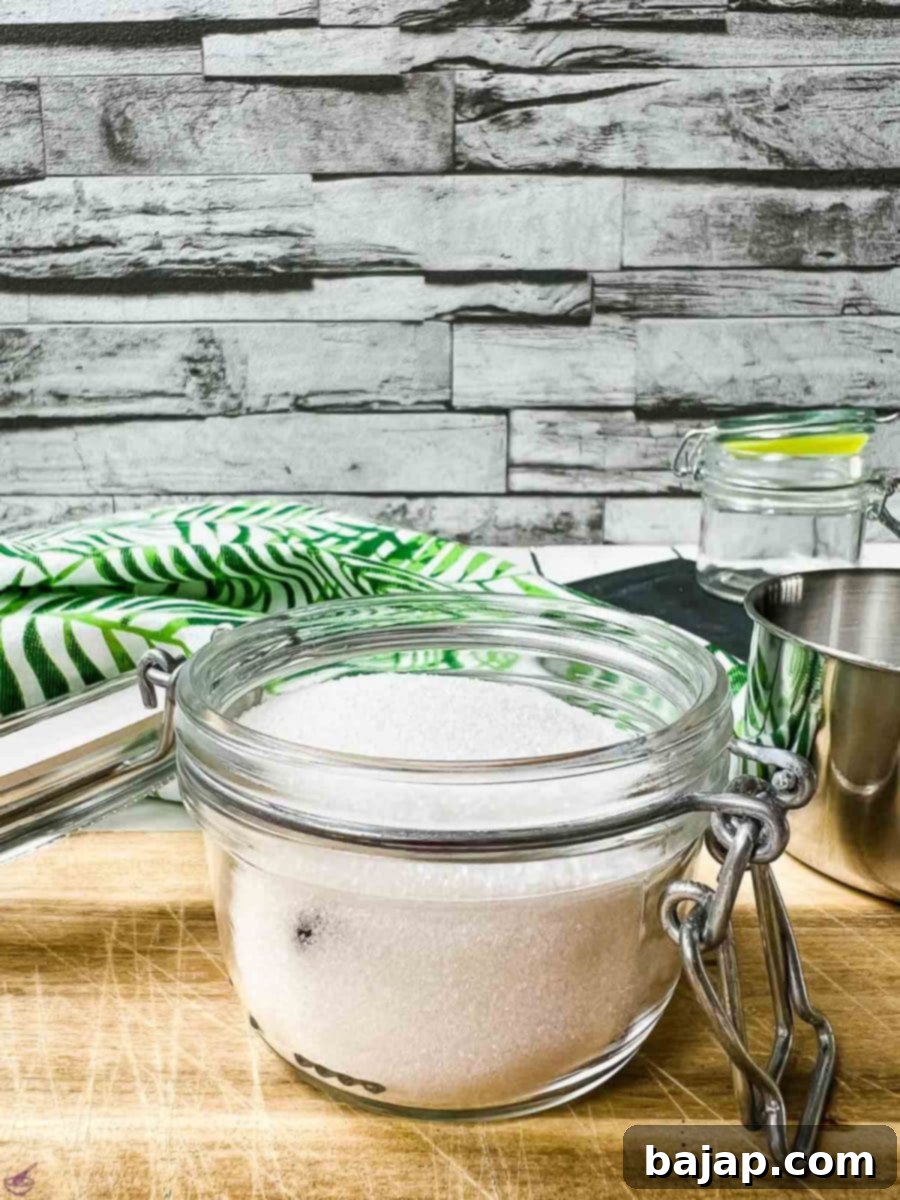
Why Make Your Own Vanilla Sugar?
There are numerous compelling reasons to ditch the store-bought versions and craft your own vanilla sugar:
- Superior Flavor Profile: Store-bought vanilla sugar often uses vanillin, a synthetic compound. Homemade vanilla sugar, especially when made with real vanilla beans, offers a complex, rich, and truly authentic aroma and taste that synthetic versions simply cannot replicate.
- Cost-Effectiveness: While vanilla beans can be an investment, they go a long way. You can often reuse spent beans (which we’ll show you how to do!), significantly reducing the cost compared to constantly buying small packets of vanilla sugar.
- Control Over Ingredients: Making it yourself means you know exactly what goes into your sugar. You can choose organic sugar, ethically sourced vanilla, and avoid any unwanted anti-caking agents or artificial flavors.
- Eco-Friendly & Zero Waste: This is a fantastic way to utilize every part of your vanilla bean, especially after scraping out the seeds for other recipes. Those “spent” pods still have plenty of flavor to impart!
- Versatility: Once you have a jar of homemade vanilla sugar, you’ll find countless ways to use it beyond baking, from sweetening coffee to dusting fresh fruit.
We’ll show you how to prepare vanilla sugar in both small and large quantities, ensuring you always have this delightful ingredient on hand. One of our methods even allows you to repurpose scraped vanilla beans, contributing to a more sustainable kitchen practice.
Looking for delightful recipes that feature vanilla sugar? Be sure to explore our Potato Flour Cake with Eggnog, our classic Austrian Strawberry Sponge Cake, or our rich Whipped Cream Bundt Cake! Each of these recipes benefits immensely from the deep flavor of homemade vanilla sugar.
🥘 Ingredients for Homemade Vanilla Sugar
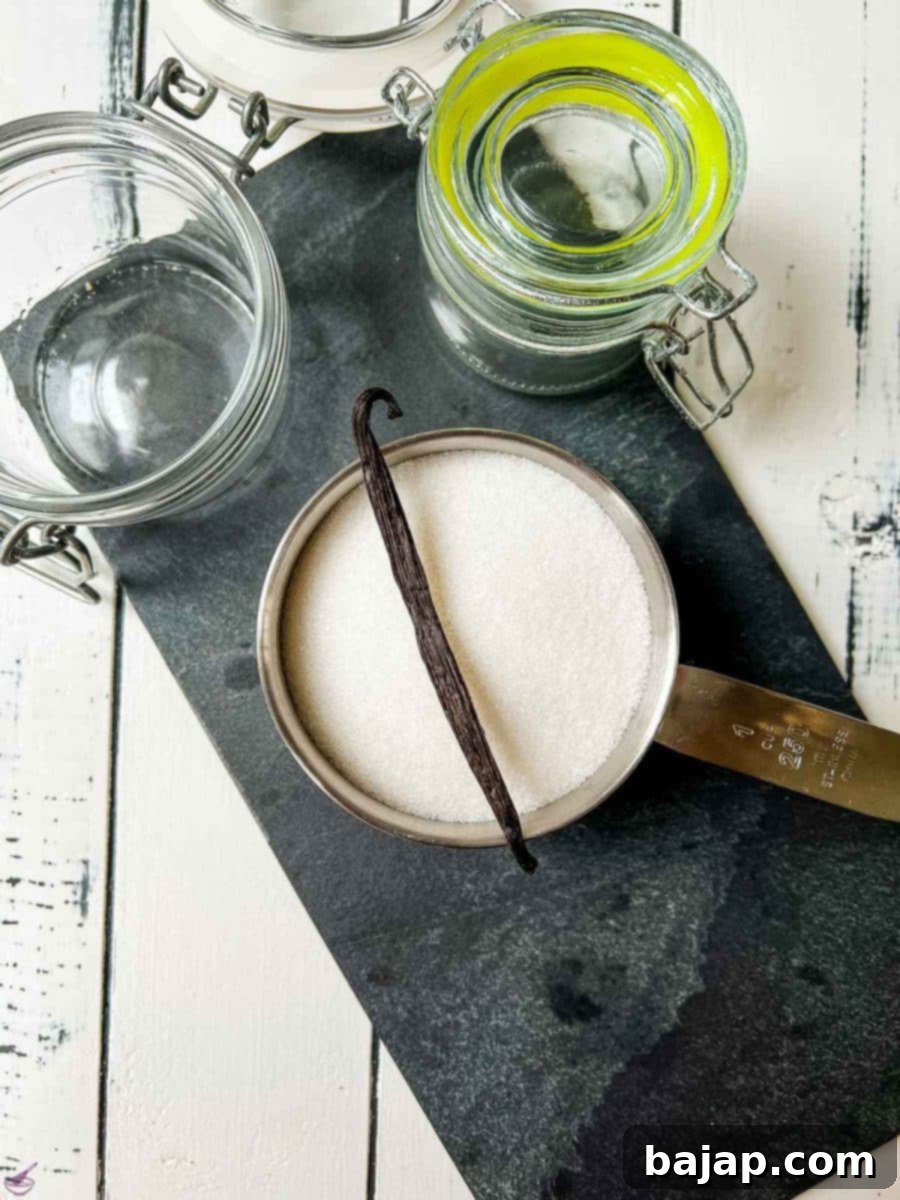
- Granulated Sugar: You have a choice here depending on your preference.
- White Sugar: Classic and results in a pure white vanilla sugar, allowing the vanilla specks to truly shine.
- Brown Sugar: Adds a subtle caramel note to your vanilla sugar, creating a richer flavor profile that pairs wonderfully with certain desserts.
- Raw Cane Sugar: Offers a slightly coarser texture and a delicate molasses flavor, making a vegan-friendly vanilla sugar with a beautiful golden hue.
- Coconut Sugar or Xylitol: For alternative diets, these can also be used, imparting their unique characteristics (more on this in the substitutions section).
- Vanilla: The star of the show! The form you choose will dictate the intensity and immediacy of your vanilla sugar.
- Whole Vanilla Pods: Ideal for long-term infusion and the most authentic, deep vanilla flavor. Madagascar Bourbon vanilla beans are a popular choice for their classic, sweet, and creamy aroma.
- Scraped Vanilla Pulp (Seeds): Provides an immediate burst of flavor and beautiful visual specks in your sugar.
- Ground Vanilla Powder: Offers instant vanilla flavor without the waiting period, and ensures even distribution. Be sure to use pure ground vanilla, not a mix with sugar or other additives.
For precise quantities based on your desired yield, please refer to the recipe card below.
🔪 Instructions: Three Ways to Make Vanilla Sugar
Creating your own vanilla sugar is a simple and enjoyable process. We’ll guide you through three distinct methods, each offering unique benefits to suit your needs and available ingredients.
1. Preparation of Intense Vanilla Sugar (Using Whole or Scraped Beans)
This method yields the most potent and aromatic vanilla sugar, perfect for serious vanilla lovers. It involves a short steeping period to allow the flavors to fully meld.
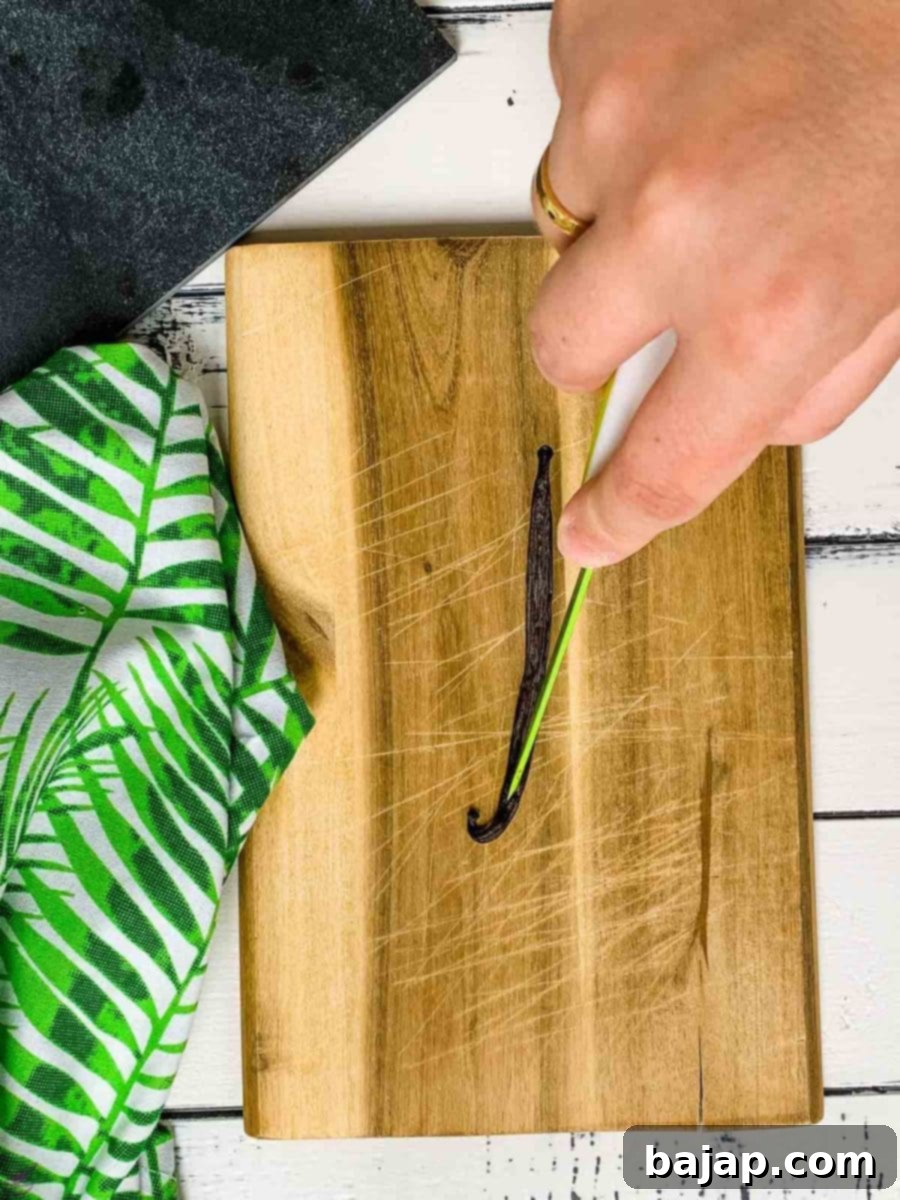
- Step 1: Prepare the Vanilla Bean. Take a fresh, plump vanilla bean. Using a sharp kitchen knife, carefully cut it open lengthwise down the center. You can choose to scrape out the tiny, fragrant seeds (pulp) or leave them inside the pod for a more gradual infusion.
- Step 2: Start Layering Sugar. Fill your clean, airtight preserving jar or Mason jar halfway with your chosen granulated sugar. This creates a base for the vanilla.
- Step 3: Add the Vanilla. If you scraped the pulp, add both the scraped vanilla bean pod and the fragrant pulp directly into the jar, nestling them into the sugar. If you didn’t scrape, simply place the whole split bean into the sugar. The sugar will help extract the aromatic oils from the bean.
- Step 4: Top with Remaining Sugar. Pour the remaining sugar into the Mason jar, fully covering the vanilla bean and pulp. Ensure the bean is completely submerged to maximize infusion.
- Step 5: Seal and Steep. Close the preserving jar tightly. Place it in a cool, dark place and let the vanilla sugar steep for a minimum of 5-7 days. For an even more intense flavor, you can let it steep for several weeks. Shake the jar gently every day or two to redistribute the vanilla essence.
- Step 6: Enjoy! After the steeping period, your vanilla sugar is ready to use. You can remove the vanilla bean, dry it, and reuse it for another batch (see Option 2) or for homemade vanilla extract.
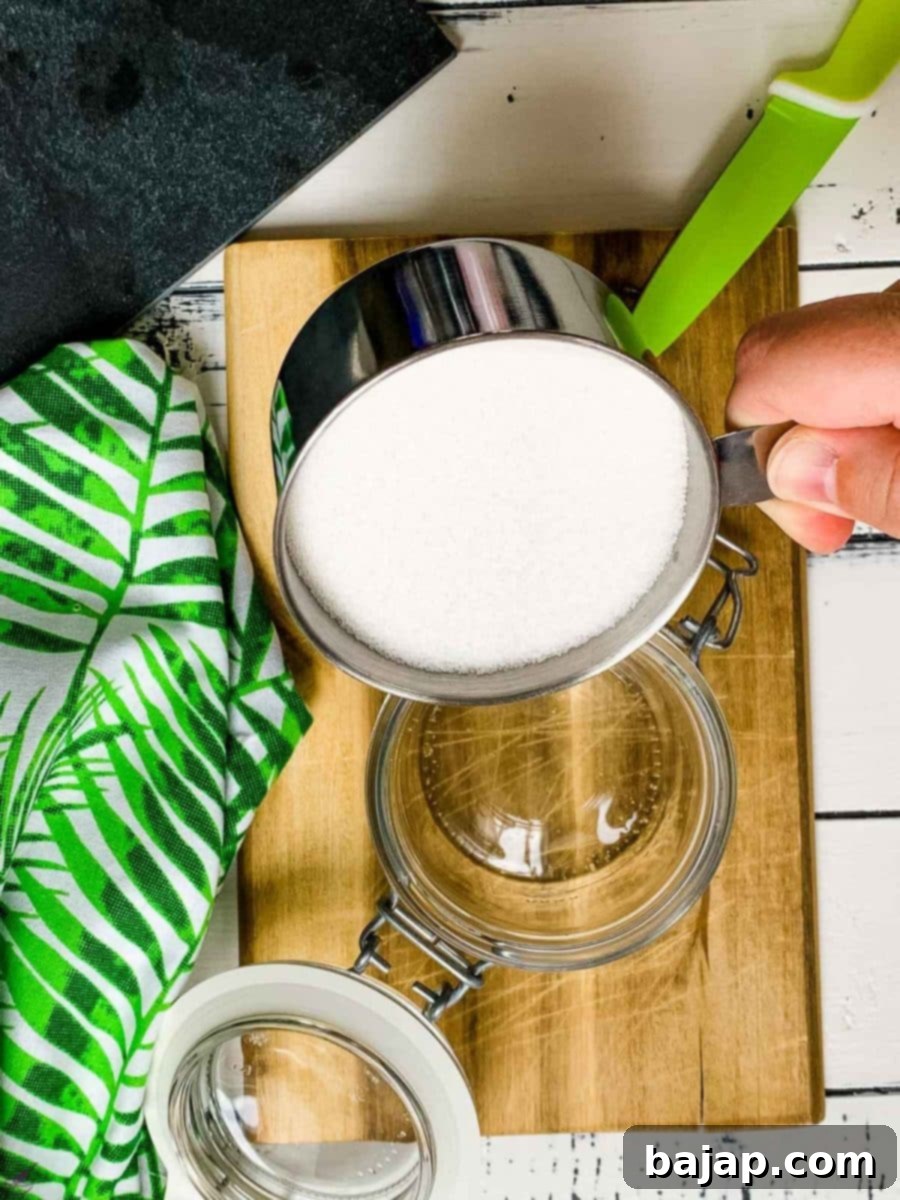
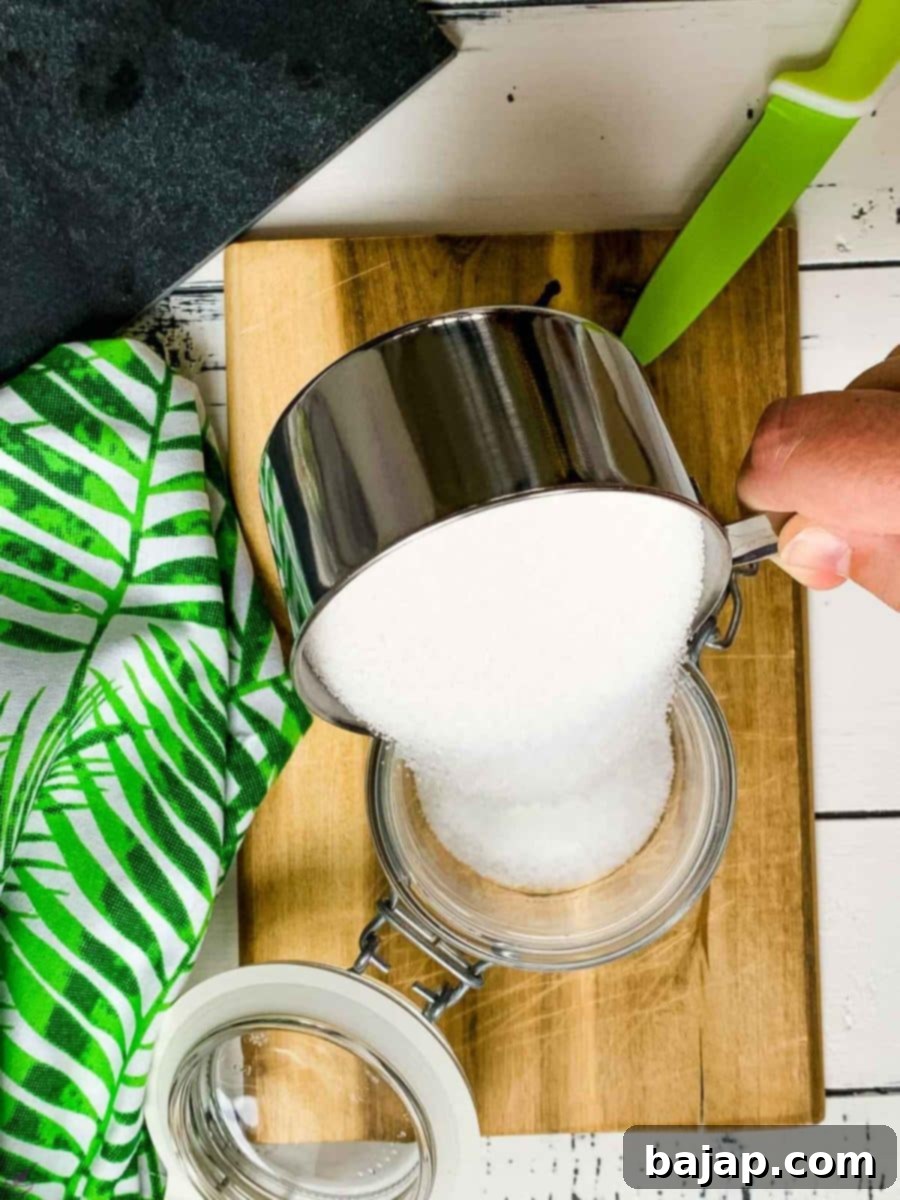
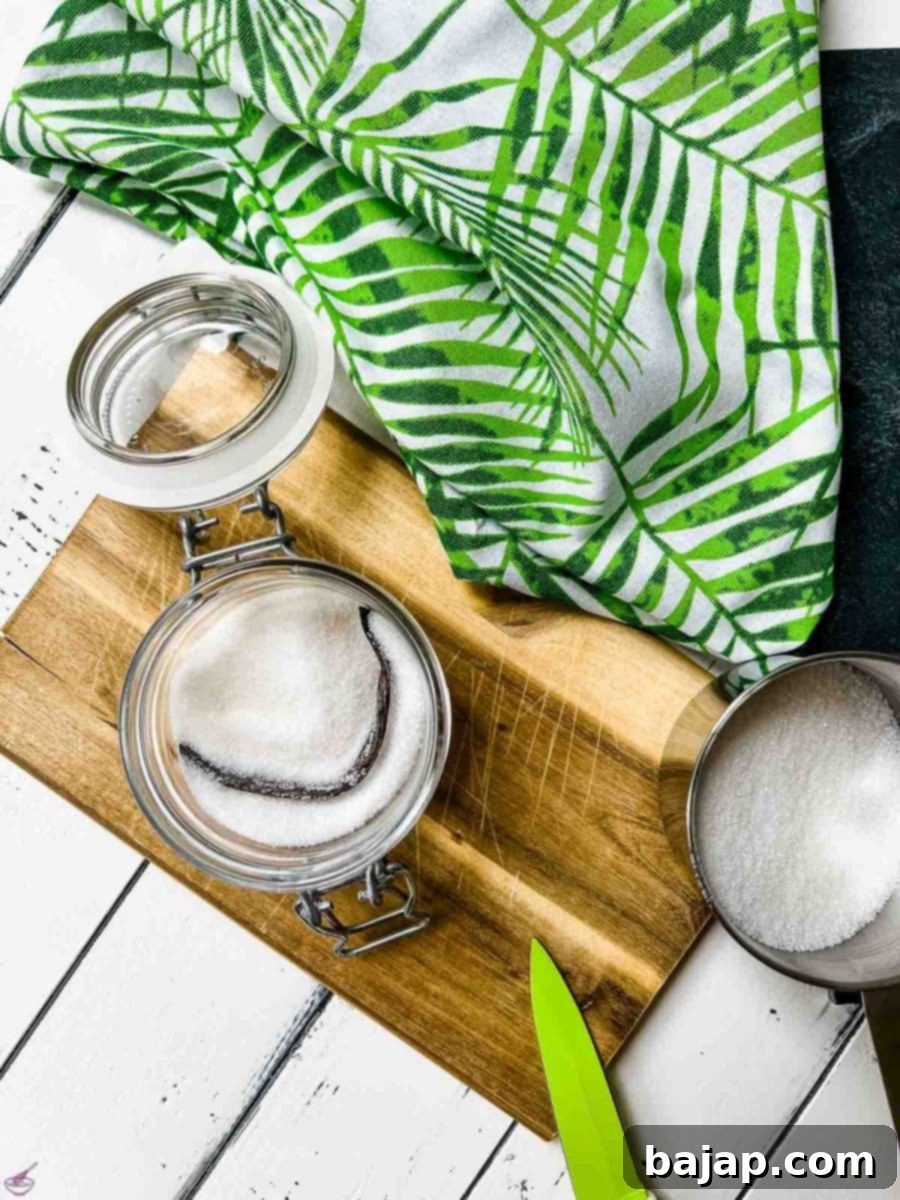
2. Preparation of Vanilla Sugar to Use Up Leftover Pods (Zero-Waste Method)
Don’t throw away those “spent” vanilla pods after you’ve scraped out the seeds for a recipe! They still contain a wealth of flavor, perfect for infusing sugar. This method is similar to the intense preparation but focuses on sustainability.
- Step 1: Prepare Leftover Pods. If your vanilla pods are still quite moist from use, you can let them air dry for a day or two to prevent excess moisture from clumping the sugar. Once slightly dried (or if already dry), cut the already scraped vanilla pods into smaller pieces (about ½ to 1 inch long). This increases their surface area, allowing more flavor to escape.
- Step 2: Combine with Sugar. Place the cut vanilla pod pieces into a clean Mason jar. Fill the jar with your granulated sugar, ensuring the pod pieces are well distributed and covered.
- Step 3: Infuse. Seal the jar tightly and leave it to infuse for 5-7 days, or even longer, in a cool, dark place. Shake the jar periodically to encourage flavor distribution. The steeping time is crucial for the vanilla essence to permeate the sugar fully.
- Step 4: Reuse Again! The awesome thing about this method is that once these pod pieces have infused your sugar, you can actually reuse them again! They are perfect for creating homemade vanilla extract, simmering in milk for custards, or grinding into vanilla powder.
3. Preparation of Vanilla Sugar with Ground Vanilla (Instant Method)
This variant is ideal if you need vanilla sugar immediately or prefer a more uniform distribution of vanilla flavor and specks without the waiting period.
- Step 1: Add Ground Vanilla. Start by adding your pure ground vanilla powder to a preserving jar. Ensure it’s 100% ground vanilla, not a mix that already contains sugar.
- Step 2: Fill with Sugar. Next, fill the jar with granulated sugar.
- Step 3: Mix Thoroughly. Stir the ground vanilla and sugar thoroughly with a spoon or fork to break up any clumps and begin distribution. Then, close the preserving jar tightly and shake it vigorously for a minute or two. This ensures the fine ground vanilla is evenly distributed throughout the sugar.
- Step 4: Ready to Use. Your vanilla sugar made with ground vanilla is ready to use immediately! There’s no steeping required, making it incredibly convenient.
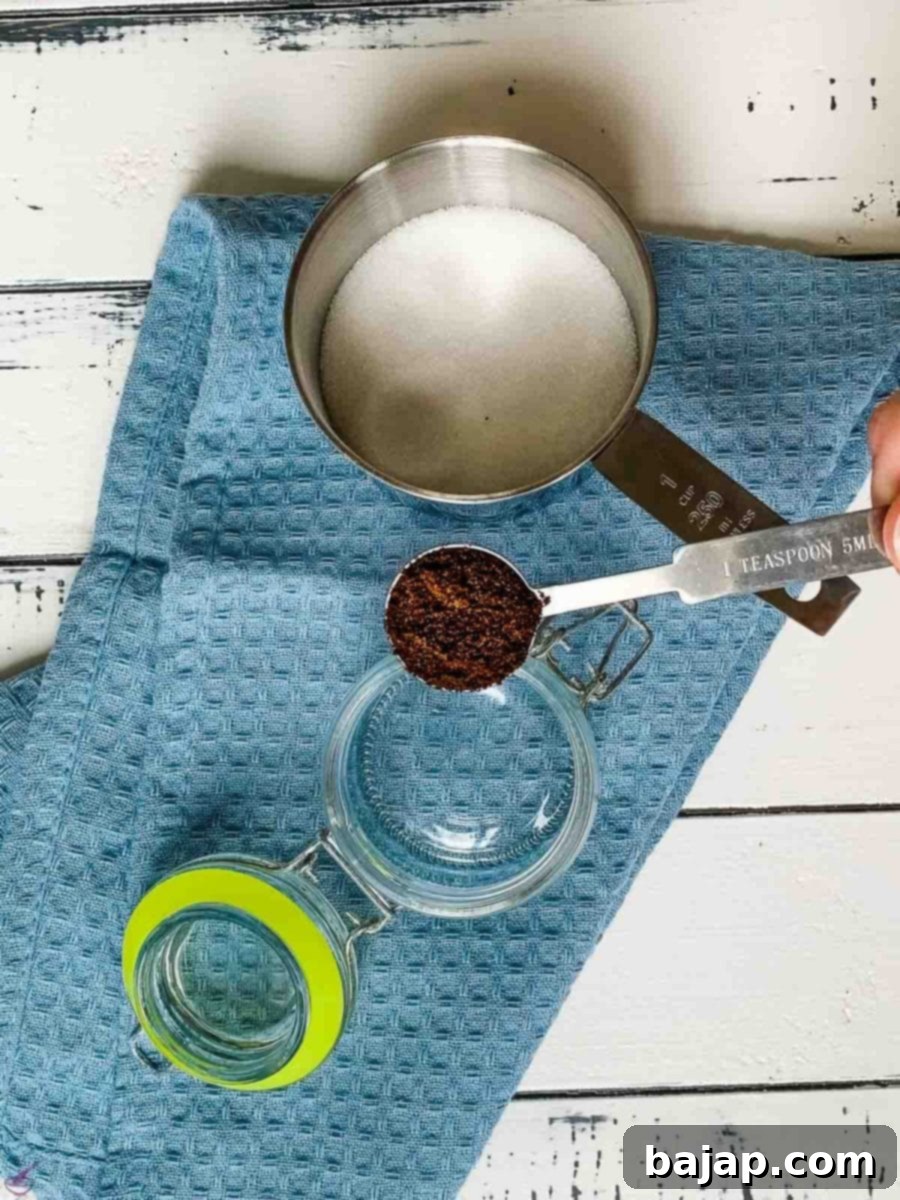
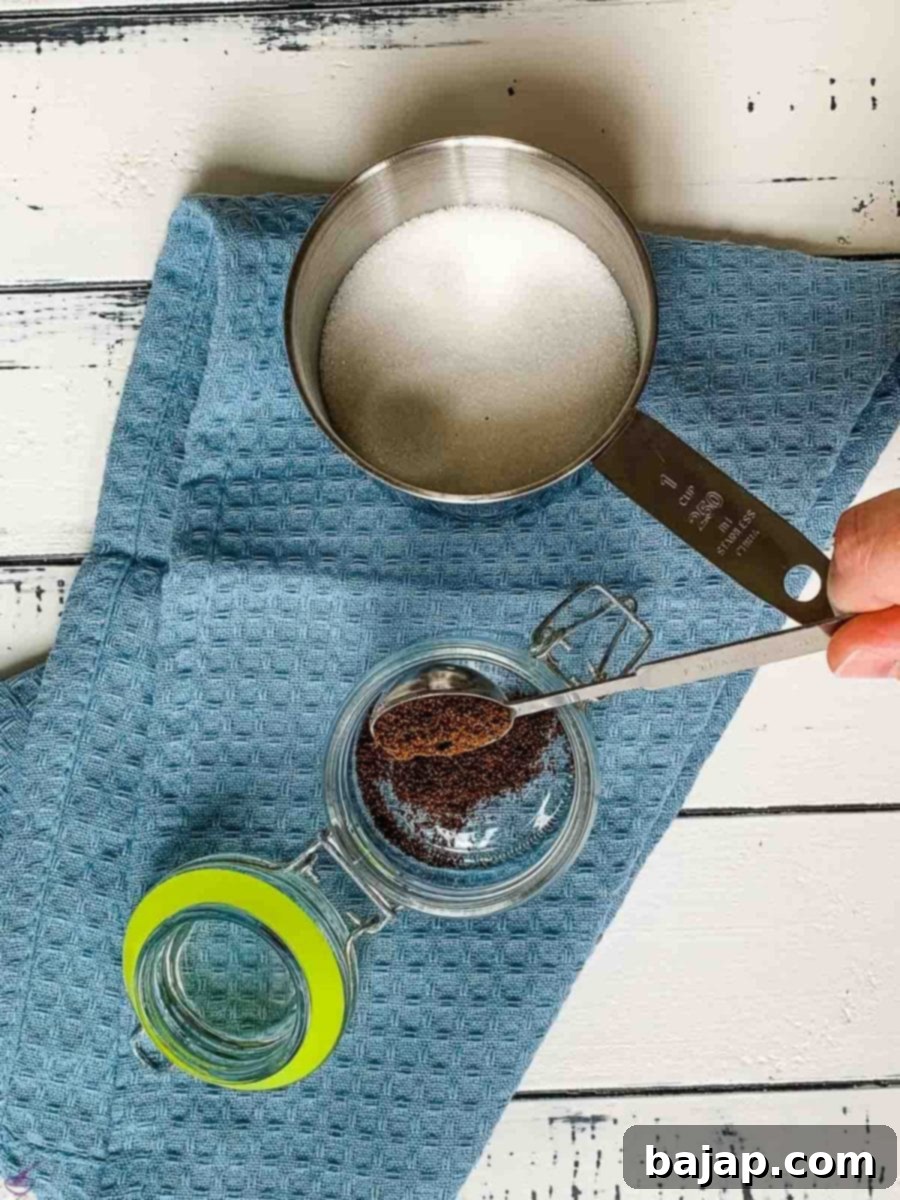
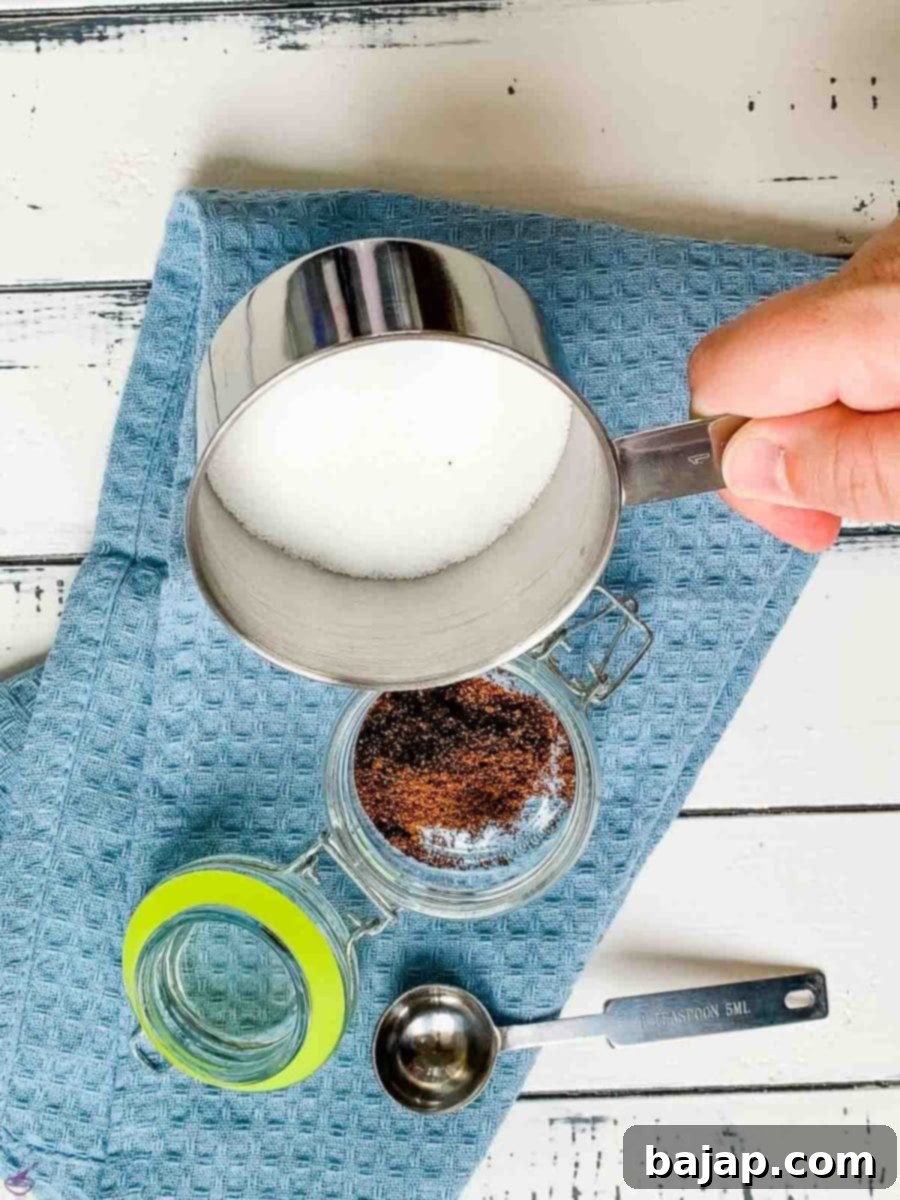
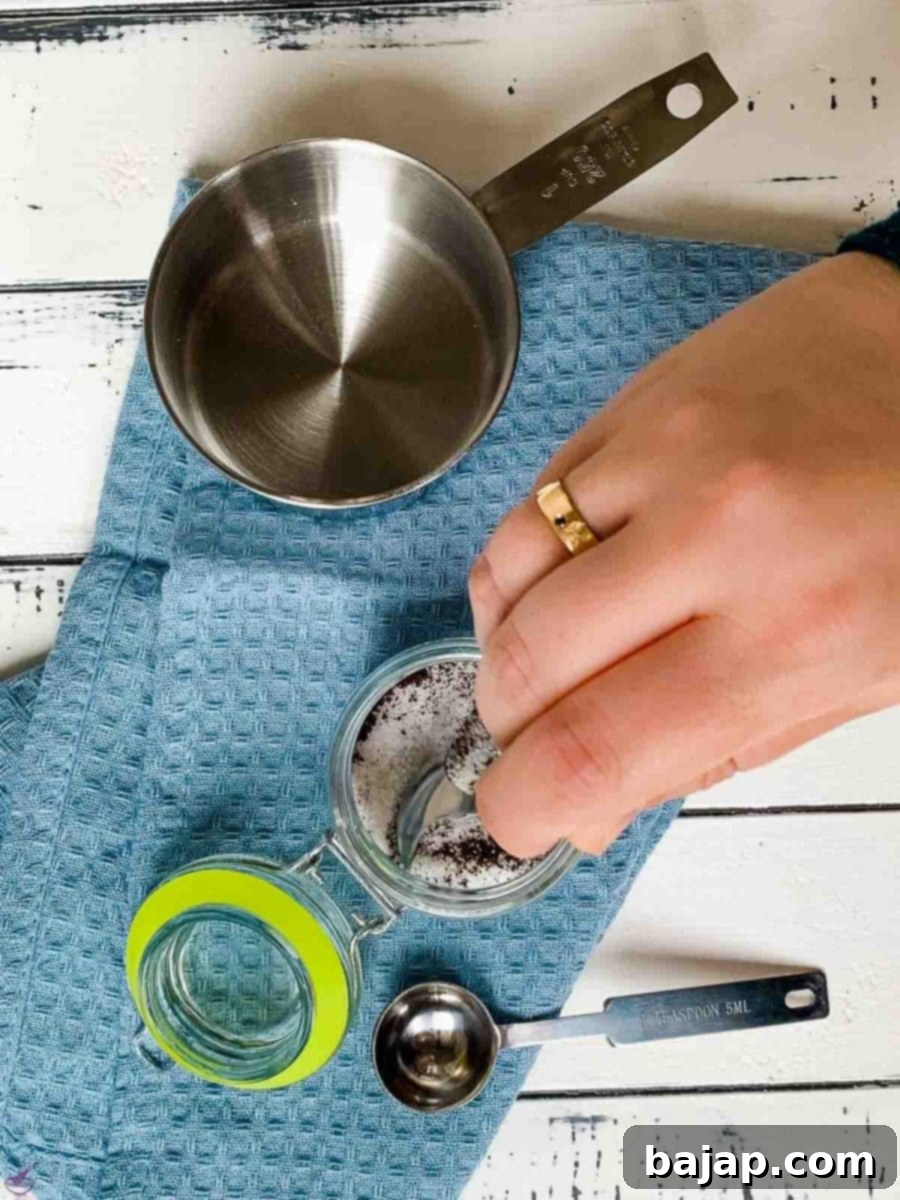
🌱 Substitutions for Sugar and Vanilla
While classic white granulated sugar and vanilla beans are traditional, don’t hesitate to experiment with different types of sugar and vanilla to achieve unique flavor profiles and meet dietary preferences:
- Sugar Alternatives:
- Raw Cane Sugar: Using raw cane sugar instead of refined white sugar will give your vanilla sugar a slightly coarser texture and a lovely, subtle caramel note. It also yields a beautiful light golden-brown color, and naturally makes your vanilla sugar vegan.
- Coconut Sugar: For a deeper, more pronounced caramel flavor with hints of butterscotch, coconut sugar is an excellent choice. It’s also a popular vegan option and provides a rich, darker vanilla sugar.
- Xylitol or Erythritol: If you’re looking for a low-carb or sugar-free alternative, granular sweeteners like xylitol or erythritol can be infused with vanilla in the same way. Be aware that the flavor profile will differ, and some sugar substitutes might not absorb flavor as intensely as cane sugar.
- Vanilla Alternatives:
- Vanilla Extract or Paste: While you can’t *make* vanilla sugar by simply pouring liquid extract into sugar (it would clump and dissolve the sugar), you can substitute vanilla sugar in recipes by combining regular sugar with a small amount of high-quality vanilla extract or paste. Use about ½ teaspoon of vanilla extract or ¼ teaspoon of vanilla paste for every packet (8g) of vanilla sugar called for in a recipe. Adjust to taste.
- Vanilla Powder (Pure): As demonstrated in Option 3, pure ground vanilla powder is a fantastic direct substitute and provides instant vanilla sugar without the waiting time. Just ensure it’s 100% vanilla and not mixed with sugar.
🍽 Essential Equipment
Making vanilla sugar requires only a few basic kitchen tools:
- Airtight Container (Mason Jar or Preserving Glass): This is crucial for both the infusion process and long-term storage, preventing moisture absorption and preserving the delicate vanilla aroma.
- Kitchen Knife: For splitting vanilla beans lengthwise. A small, sharp paring knife works best.
- Cutting Board: To protect your countertop while preparing the vanilla beans.
🌡 Storage Guidelines for Homemade Vanilla Sugar
Proper storage is key to maintaining the exquisite flavor and quality of your homemade vanilla sugar. Follow these tips to ensure it stays fresh and aromatic:
- Airtight Container is Essential: Always store your vanilla sugar in an airtight container, preferably a canning jar or a glass jar with a tight-fitting lid. This serves two vital purposes:
- Preserving Aroma: It locks in the delicate vanilla fragrance, preventing it from dissipating over time.
- Preventing Moisture: Sugar is hygroscopic, meaning it readily absorbs moisture from the air. An airtight seal prevents humidity from clumping the sugar, keeping it loose and free-flowing.
- Cool, Dark Place: Store the jar away from direct sunlight, heat, and strong odors. A pantry or cupboard is ideal. Heat and light can degrade the vanilla’s flavor compounds.
- Shelf Life: When stored correctly in an airtight container, homemade vanilla sugar has an almost indefinite shelf life. The sugar acts as a natural preservative. The vanilla flavor will continue to deepen over time, making it even more potent!
- Refreshing the Flavor: If your vanilla sugar starts to lose its potency, you can simply add a fresh vanilla bean or a few pieces of a spent bean to the jar and let it infuse again.
💭 Top Tip for Optimal Flavor
To achieve the perfect balance of sweetness and rich vanilla flavor, a good rule of thumb is to use 2-3 vanilla beans for every kilogram (approximately 2.2 pounds) of sugar. If you’re using smaller quantities, adjust proportionally. For example, for 500g (about 2 cups) of sugar, 1-2 beans will suffice. The more beans, the more intense the vanilla aroma will be. Don’t be shy about shaking your jar regularly during the infusion period to ensure the vanilla essence is evenly distributed throughout the sugar!
🙋🏻 Frequently Asked Questions About Vanilla Sugar
Standard store-bought packets of vanilla sugar typically contain about 8 grams of vanilla-flavored sugar. This small amount is usually enough to flavor a batch of cookies or a small cake. When making your own, you have the flexibility to create much larger quantities tailored to your baking needs.
No, pure vanilla powder, when labeled as such, should not contain any sugar. It is made from 100% finely ground vanilla beans. Be sure to check the ingredient list to confirm. Some products might be blends, but authentic vanilla powder is just dried and ground vanilla. This makes it an excellent option for instant vanilla sugar or for adding vanilla flavor without additional sweetness.
The fundamental and most significant difference is that vanilla sugar is made using natural vanilla (vanilla beans). It is not pure white and will often have tiny black specks from the vanilla seeds, indicating its natural origin. Vanillin sugar, on the other hand, contains vanillin, which is often a chemically produced flavoring compound, though it can also be derived naturally. Vanillin sugar is typically pure white and lacks the complex, nuanced aroma of true vanilla sugar. Always choose vanilla sugar made with real vanilla for superior flavor.
If you don’t have vanilla sugar, you have several options:
- Homemade Vanilla Sugar: As this guide explains, you can make your own using white, raw cane, or coconut sugar infused with vanilla beans or ground vanilla.
- Vanilla Extract/Paste + Regular Sugar: For recipes, you can substitute by using regular granulated sugar and adding a small amount of high-quality vanilla extract (about ½ teaspoon per 8g vanilla sugar packet) or vanilla paste (about ¼ teaspoon). Mix well before adding to your recipe.
- Ground Vanilla Powder: You can directly use pure ground vanilla powder in place of vanilla sugar, but be mindful of the sweetness difference. Vanilla powder itself is not sweet, so you may need to add extra regular sugar to compensate for the missing sweetness if your recipe relies on vanilla sugar for both flavor and sugar content.
The best substitute often depends on whether your recipe primarily needs the vanilla flavor or also the sweetness contributed by vanilla sugar.
No, they are not the same. Vanilla powder is 100% ground vanilla bean, meaning it consists solely of the dried and pulverized vanilla pod and seeds. It contains no added sugar. Vanilla sugar, as its name clearly suggests, is sugar that has been flavored with vanilla. While you can use vanilla powder to *make* vanilla sugar (as shown in Option 3 of this guide), they are distinct products on their own.
When stored properly in an airtight container in a cool, dark place, homemade vanilla sugar has an almost indefinite shelf life. The sugar itself is a natural preservative, and the vanilla essence will continue to develop and deepen in flavor over time. Just ensure it’s kept away from moisture to prevent clumping.
If you make this fantastic homemade vanilla sugar, please let me know how much you loved it by ★★★★★ star rating it and leaving a comment below. Your feedback means the world! You can also sign up for our Newsletter or follow me on Pinterest or Instagram and share your delightful creation with me. Just tag me @combinegoodflavors and hashtag #combinegoodflavors, so I don’t miss it!
📖 Recipe: Homemade Vanilla Sugar
How to make Vanilla Sugar?
Nora
Save RecipeSaved!
Pin Recipe
Equipment
-
Airtight container
-
Kitchen knife
-
Cutting Board
Ingredients
- 1 ¼ cups Granulated sugar white sugar,brown sugar, or raw cane sugar
- 1 Vanilla Vanilla pod scraped or whole or ground vanilla.
Instructions
Option 1 – Intense Vanilla Sugar
-
Take a whole vanilla bean and cut it open lengthwise.1 Vanilla
-
Scrap the vanilla pulp and put the scraped vanilla bean and the pulp together with the granulated sugar into a jar.1 ¼ cups Granulated sugar
-
Close the preserving jar and let the vanilla sugar steep for 5-7 days before using it and removing the vanilla bean.
Option 2 – Vanilla Sugar to use up leftover pods
-
Cut the already scraped vanilla pods into small pieces and put them in a Mason jar with granulated sugar.1 ¼ cups Granulated sugar, 1 Vanilla
-
Leave to infuse for 5-7 days in the same way as for the “intensive preparation.”
Option 3 – Vanilla sugar with Ground Vanilla
-
Mix the ground vanilla powder with granulated sugar in a well-sealed container.1 ¼ cups Granulated sugar, 1 Vanilla
-
Shake well, so the vanilla powder is evenly distributed with the sugar, and you’re ready.
Nutrition values are estimates only, using online calculators. Please verify using your own data.

🤎 You Might Also Like These Recipes
- Chocolate Espresso Crinkle Cookies
- Chocolate Chip Cookies with Chestnut Flour
- Viennese Sponge Cake Bases Recipe
- Potato Flour Cake with Eggnog
⛑️ Food Safety Guidelines
While making vanilla sugar is relatively low-risk, maintaining good food safety practices in the kitchen is always important, especially when handling ingredients that will be stored for a long time. Here are some general guidelines:
- Cleanliness is Key: Always start with clean hands, utensils, and a clean workspace. Ensure your glass jars and lids are thoroughly washed and sterilized (if desired, though not strictly necessary for sugar) before use to prevent any contamination.
- Quality Ingredients: Use fresh, high-quality vanilla beans that are pliable and fragrant. Inspect them for any signs of mold or spoilage before use.
- Dry Environment: As mentioned in storage, sugar absorbs moisture. Ensure your vanilla beans are not excessively wet when added to the sugar, especially for the infusion methods, as this could introduce moisture and promote clumping or mold growth (though rare with sugar).
- Airtight Storage: This is a food safety measure as much as a quality one. An airtight container prevents pests, dust, and moisture from compromising your vanilla sugar.
- General Food Handling:
- Cook to a minimum temperature of 165 °F (74 °C) for dishes that require it.
- Do not use the same utensils on cooked food that previously touched raw ingredients.
- Wash hands thoroughly after touching raw meat or other potential contaminants.
- Don’t leave food sitting out at room temperature for extended periods.
- Never leave cooking food unattended.
- Use oils with a high smoking point to avoid harmful compounds if cooking.
- Always ensure good ventilation when using a gas stove.
For further detailed information and comprehensive guidelines on safe food handling, always check reputable sources such as the Safe Food Handling section of the FDA website.
