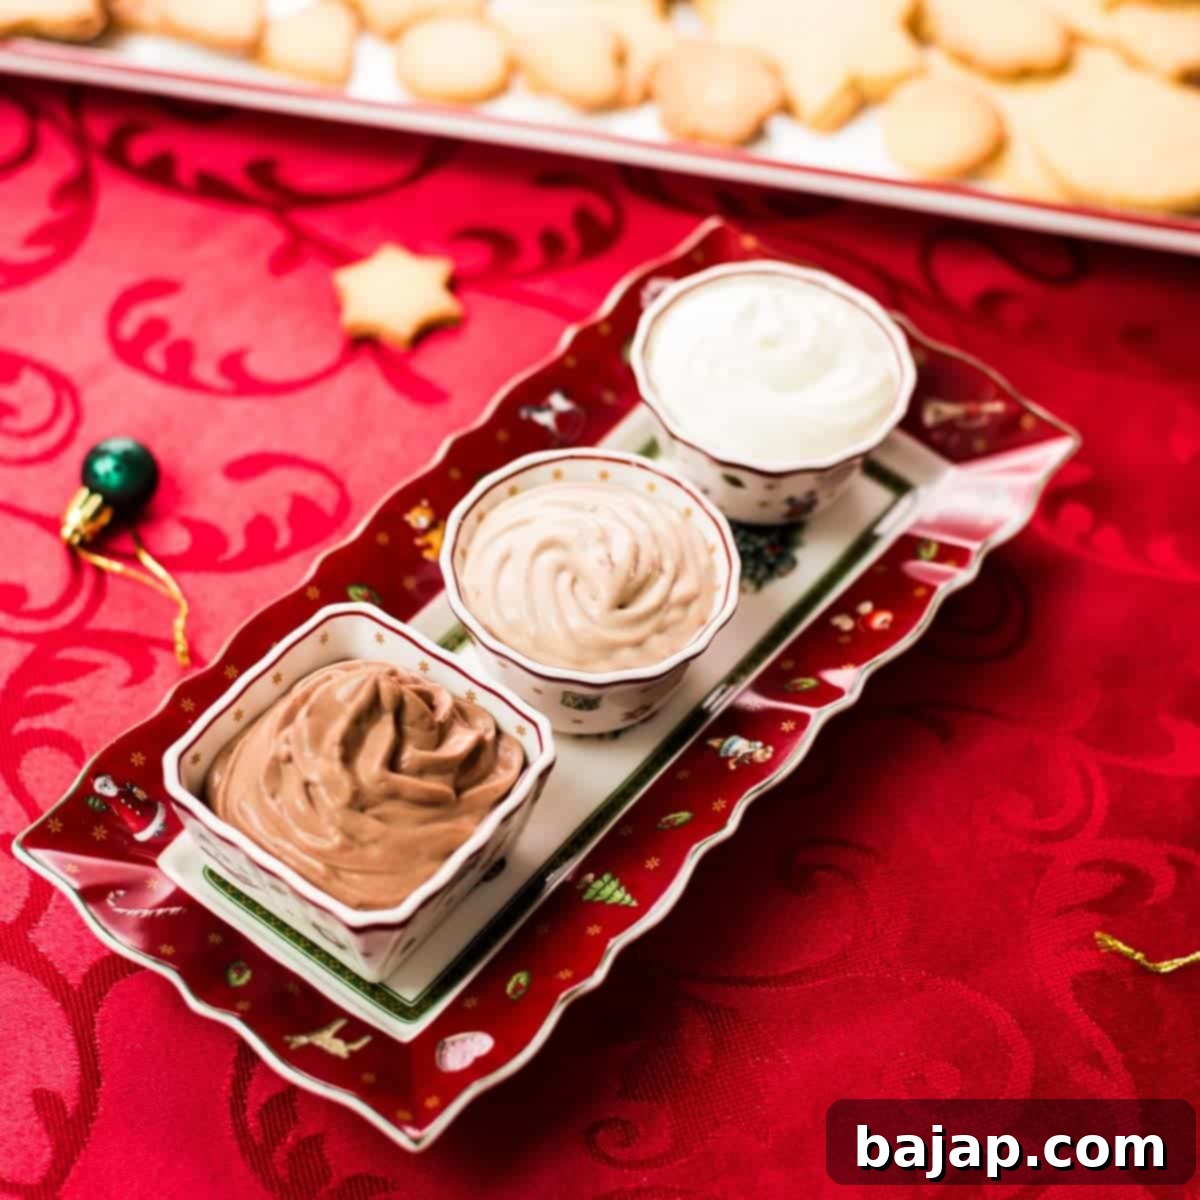
Decadent 5-Ingredient Sweet Chocolate Dips: The Ultimate Cookie & Holiday Dessert Trio
Prepare to elevate your dessert game with these three incredibly delicious sweet chocolate dips, a beloved staple that brings the joy of Austrian Christmas traditions right into your home! For generations, my family has cherished serving these alongside our homemade crispy sugar cookies. To me, this recipe is more than just a dessert; it’s a heartwarming tradition that instantly ushers in the holiday spirit.
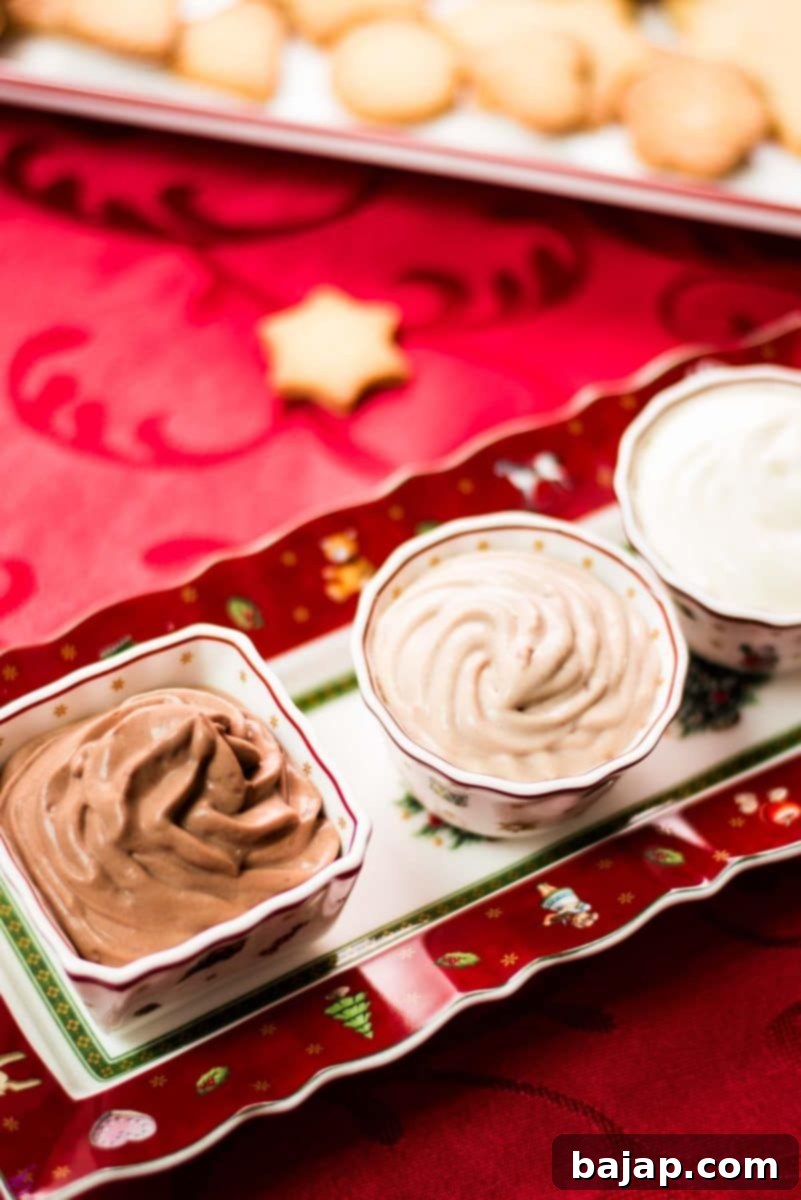
Imagine the delightful array: a creamy white chocolate dip, a rich milk chocolate dip, and an intense dark chocolate dip. Once you experience these luxurious textures and vibrant flavors for yourself, you’ll find yourself humming “Deck the Halls” with every blissful bite! These dessert dips are not just for Christmas; their versatility makes them a fantastic treat any time of year.
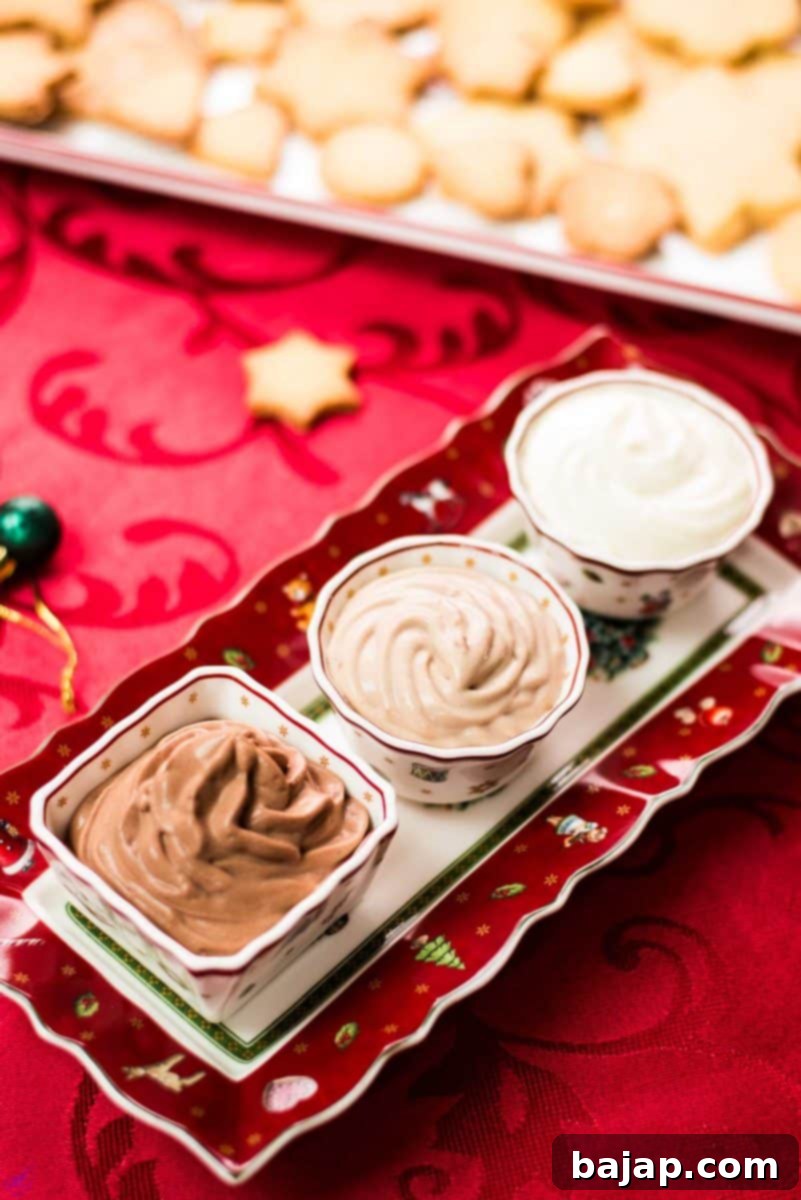
Beyond their exquisite taste, these homemade chocolate dips are remarkably easy to prepare, relying on just five simple ingredients for each base. This makes them an ideal choice for last-minute holiday parties, a decadent finale to your grand Christmas feast, or even a simple yet sophisticated dessert for a casual get-together.
If you consider yourself a true dessert enthusiast with a perpetual sweet tooth, you’ll be delighted to know that these creamy dessert dips are perfect year-round. I’ve often prepared them during the summer months for my family, and we’ve thoroughly enjoyed them paired with an assortment of dippers, including fluffy mini marshmallows, classic graham crackers, playful teddy grahams, and even crunchy waffle cone bits. Their rich, velvety texture and customizable flavor profiles ensure they’re always a hit, no matter the season or occasion.
These individual chocolate puddings form the base of our incredible dips. Each pudding, already a delightful treat on its own, transforms into an even more irresistible dip once whipped heavy cream is folded in, creating a light, airy, and utterly luxurious texture that’s perfect for dipping.
[feast_advanced_jump_to]
🥘 Essential Ingredients for Our Decadent Dips
The beauty of these sweet dips lies in their simplicity, requiring only five core ingredients for each chocolate flavor, plus one for the final assembly. Quality is key here, especially when it comes to chocolate, as it forms the heart of these irresistible treats.
Milk Chocolate Dip Ingredients
- Milk Chocolate Couverture (opt for a high-quality brand for superior flavor and texture)
- Whole Milk (provides richness and creaminess)
- Granulated Sugar (sweetens and balances the chocolate)
- Cornstarch (our secret to achieving that perfect pudding-like thickness)
- Heavy Cream (for whipping into a light, airy dip)
Dark Chocolate Dip Ingredients
- Dark Chocolate Couverture (choose a good quality dark chocolate for a deep, intense flavor)
- Whole Milk
- Granulated Sugar
- Cornstarch
- Heavy Cream
White Chocolate Dip Ingredients
- White Chocolate Couverture (select a high-quality white chocolate, not just “white baking chips,” for a smooth, true vanilla flavor)
- Whole Milk
- Granulated Sugar
- Cornstarch
- Heavy Cream
For precise measurements and detailed quantities, please refer to the comprehensive recipe card below.
🔪 Step-by-Step Guide to Crafting Your Chocolate Dips
While the instructions for each chocolate dip are largely similar, we’ll break them down step-by-step to ensure perfect results for all three luscious flavors. You’ll be a dip-making master in no time!
The Foundation: Cornstarch Slurry for All Dips
No matter which delightful dessert dip you decide to tackle first, the very initial step remains the same for all of them: preparing your cornstarch slurry. This crucial mixture ensures your dips achieve that beautifully smooth, thick consistency without any lumps.
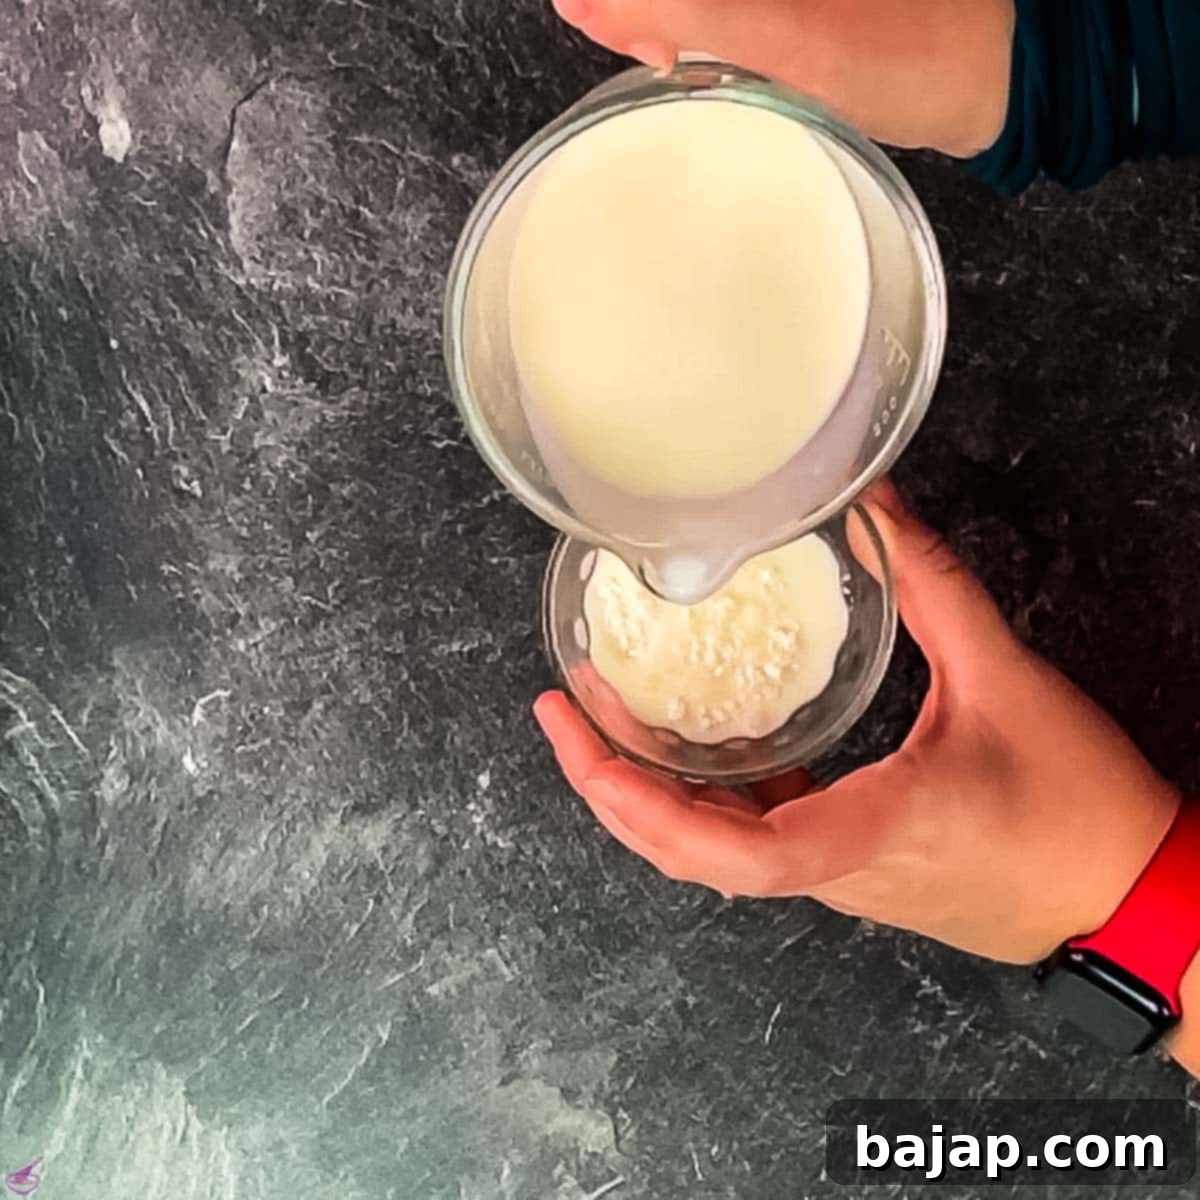
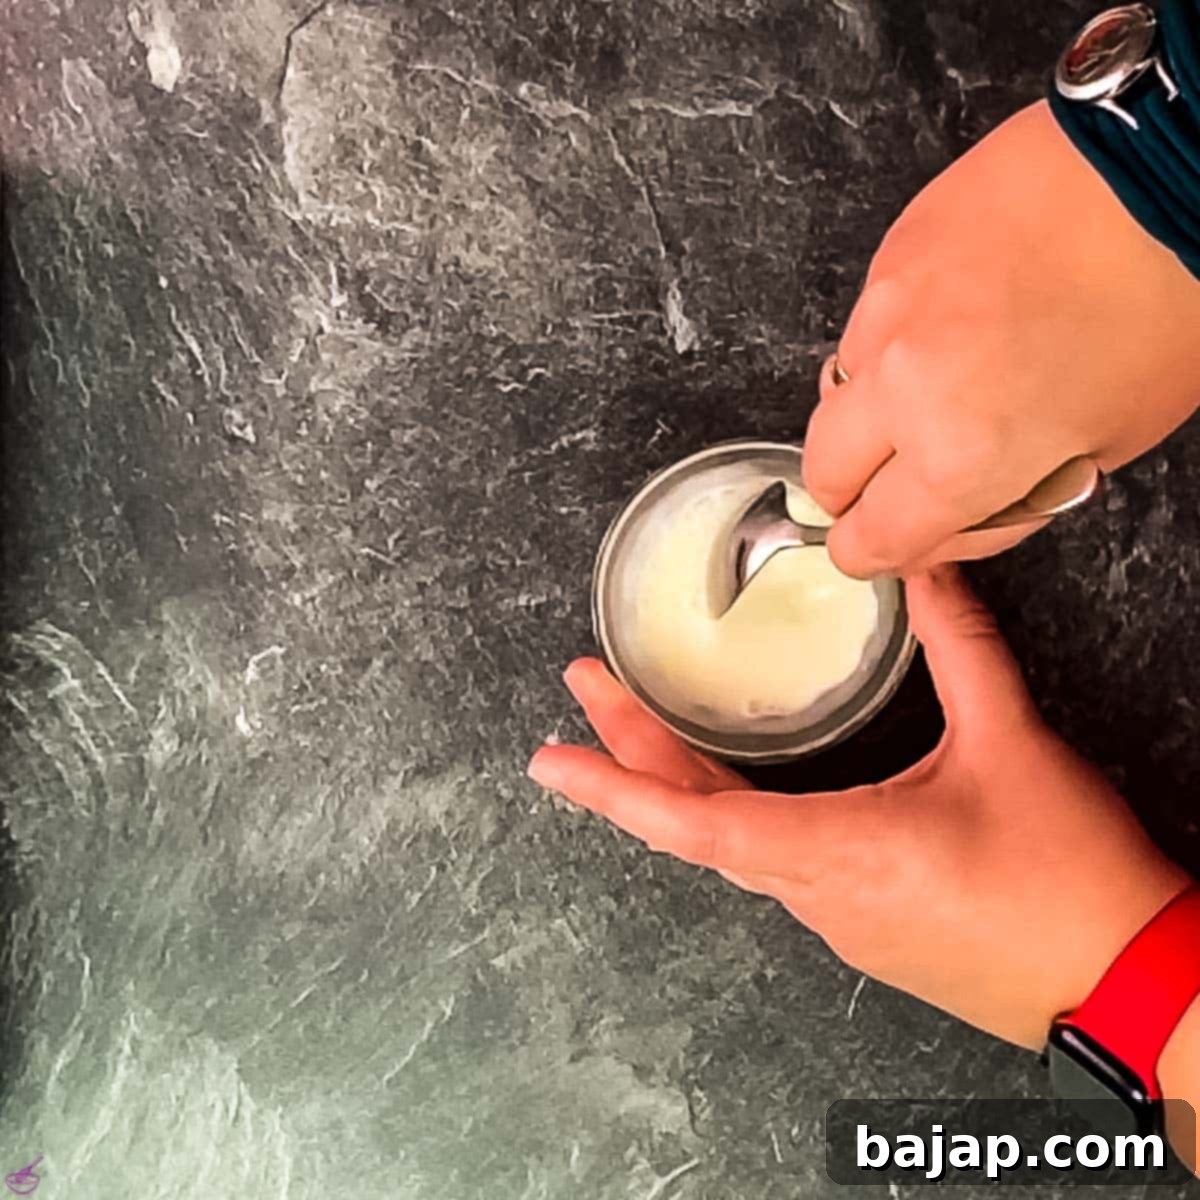
Simply take your measured cornstarch and mix it thoroughly with one tablespoon of milk in a small bowl until a smooth, lump-free slurry forms. Set this aside; it’s ready for action when the time comes.
Preparing the White Chocolate Dip Base
Let’s kick things off with the delicate and creamy white chocolate couverture. In a small saucepan, combine your high-quality white chocolate couverture, the specified amount of whole milk, and granulated sugar. Place the saucepan over medium heat and bring the mixture to a gentle boil, stirring occasionally to ensure the chocolate melts evenly and doesn’t scorch at the bottom. The goal here is a smooth, homogenous liquid that’s just simmering.
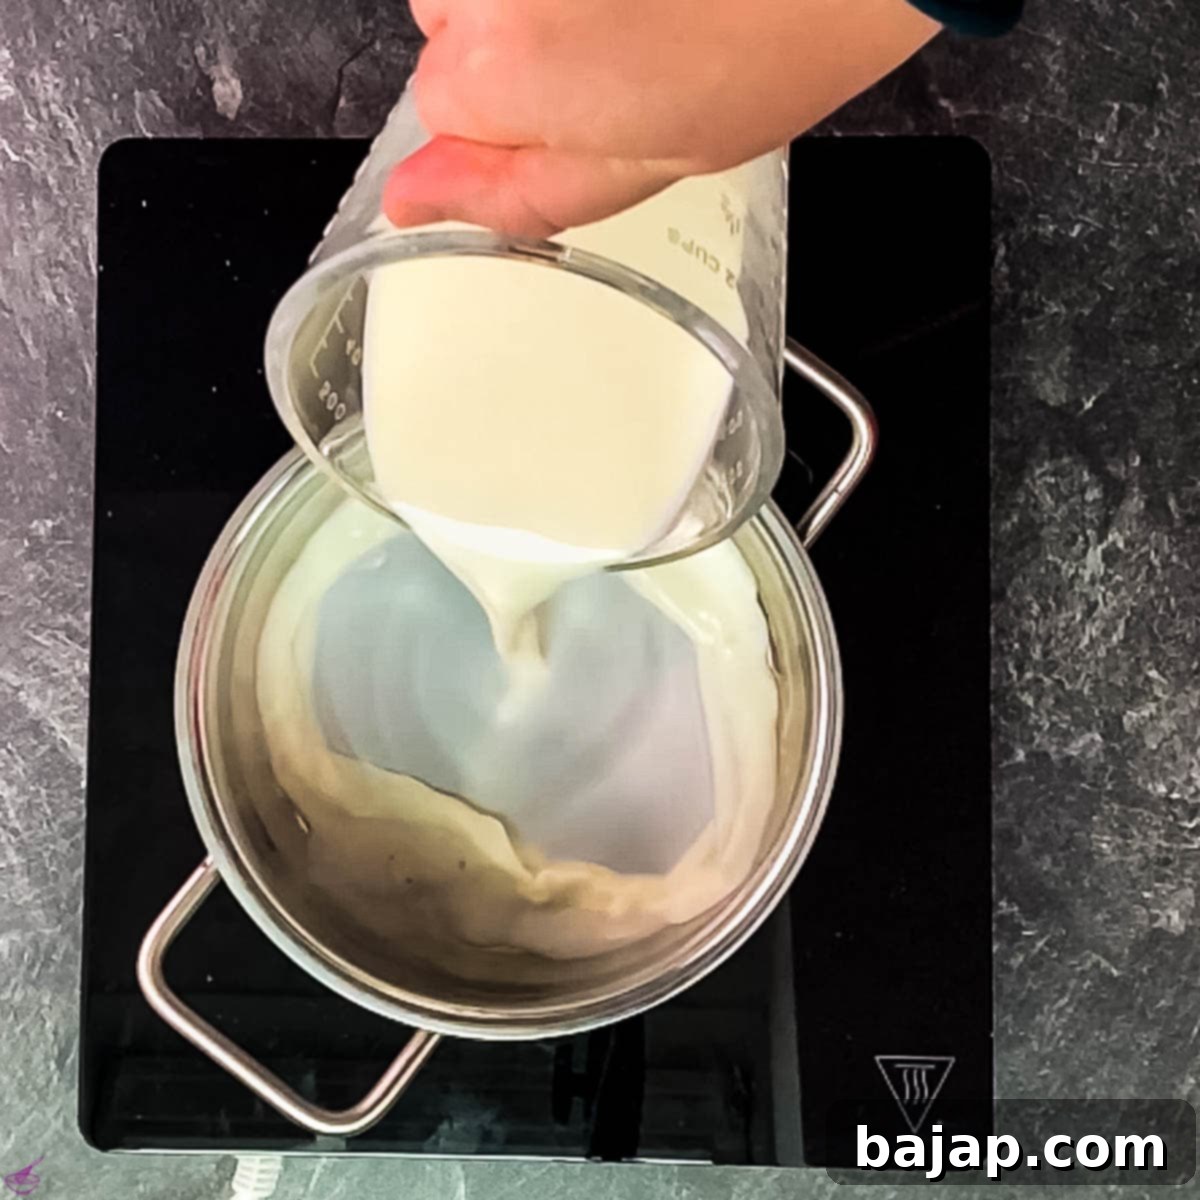
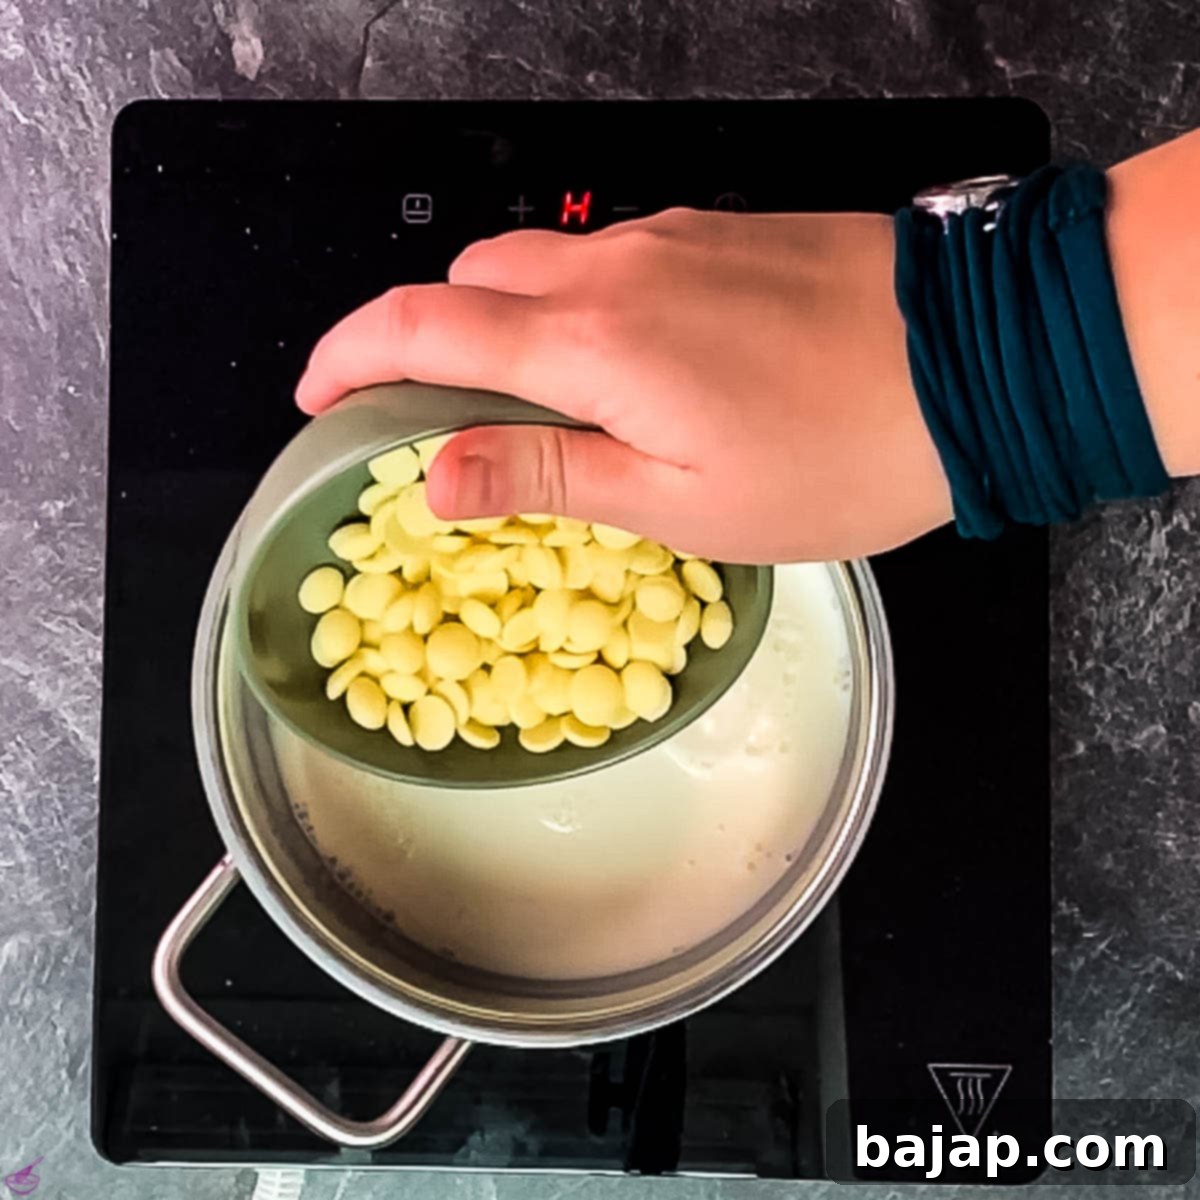
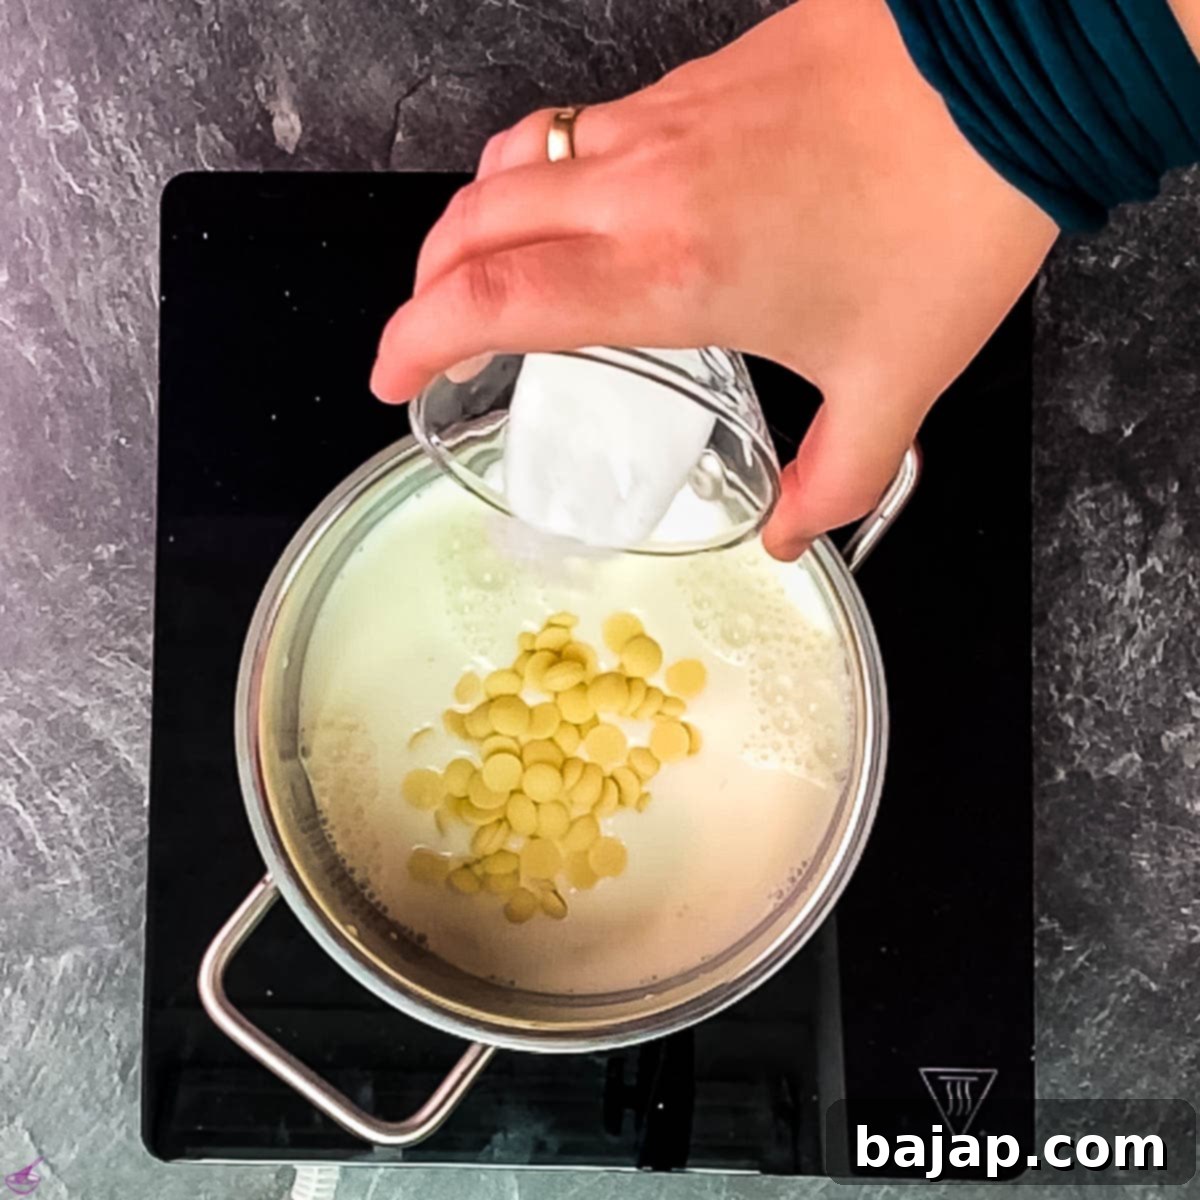
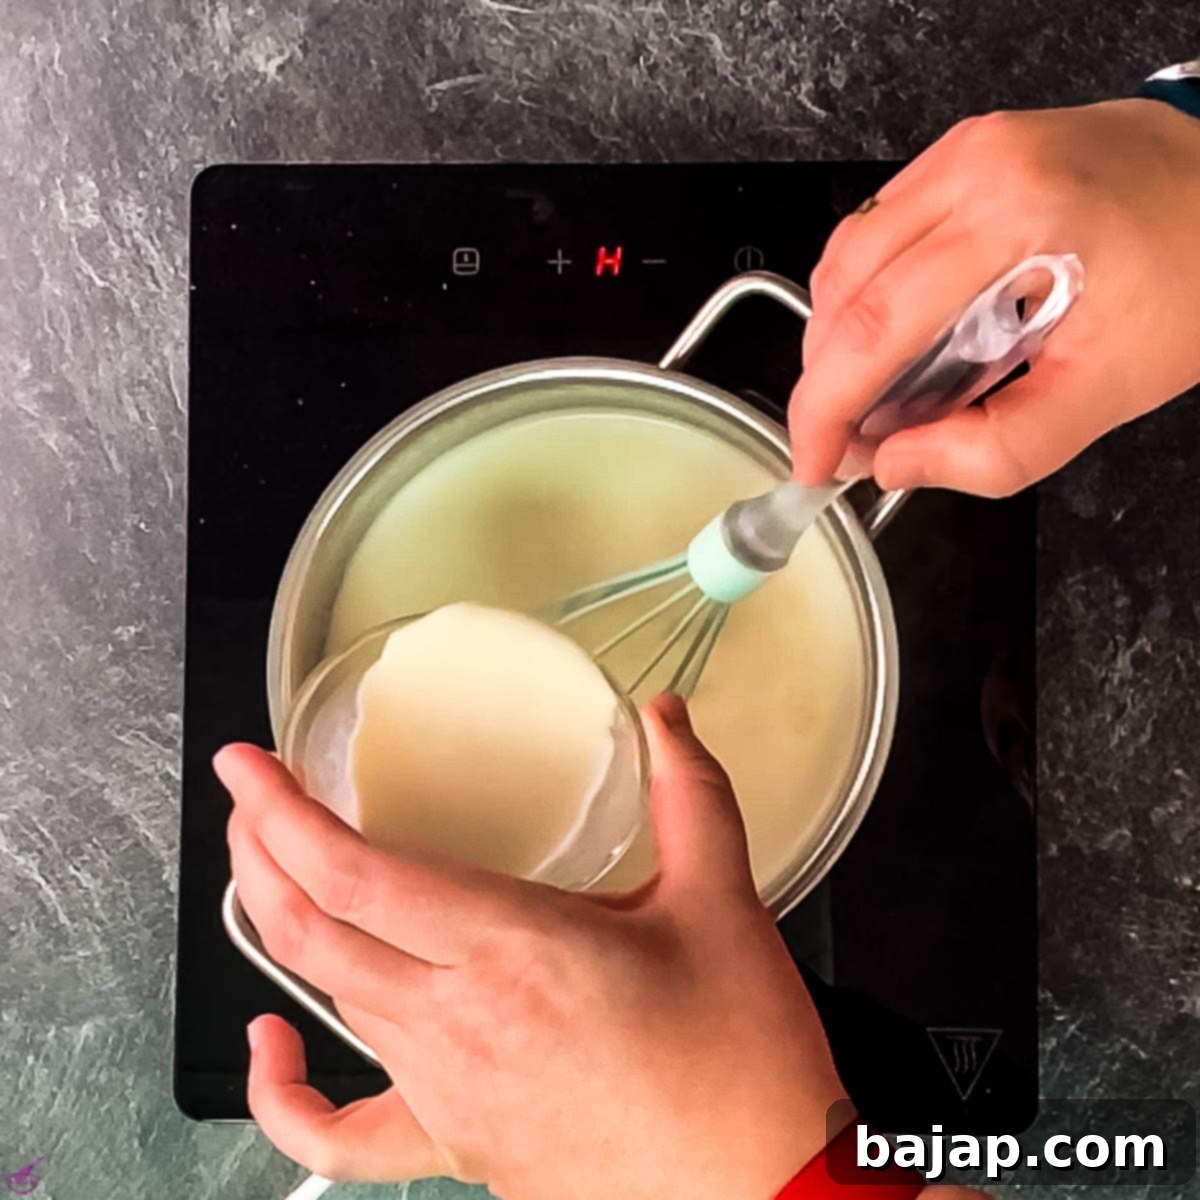
Once you’ve reached that gentle boil, it’s time to thicken the mixture. Gradually add the prepared cornstarch slurry, pouring it in a steady stream while stirring constantly and vigorously with a whisk. This continuous motion is essential to prevent lumps and ensure a silky-smooth consistency. Bring the mixture back to a full boil for about one minute while still stirring; you’ll notice it thickening considerably.
As soon as the white chocolate mixture has boiled for a second time and achieved a pudding-like consistency, remove it from the heat immediately. Pour this luscious white chocolate base into a clean bowl, cover it with a lid (or plastic wrap pressed directly onto the surface to prevent a skin from forming), and place it in the refrigerator to cool. It will need at least three hours to chill completely and set properly, making it ready for the final step.
While your first dip is happily chilling in the fridge, you can efficiently move on to preparing the other two magnificent flavors.
Crafting the Dark Chocolate Dip Base
Following the same method, prepare another cornstarch slurry by mixing your measured cornstarch with a tablespoon of milk until smooth. Set aside.
For your intensely flavored dark chocolate dip, combine the dark chocolate couverture, whole milk, and granulated sugar in a clean small saucepan. Bring this mixture to a gentle boil over medium heat, stirring regularly until the dark chocolate is fully melted and integrated, creating a deep, glossy liquid.
Next, slowly whisk in the prepared cornstarch slurry, continuously stirring until the mixture thickens. Bring it back to a boil for one minute, ensuring it achieves a rich, thick pudding consistency. Remove from heat, transfer the dark chocolate dip base to a bowl with a lid (or plastic wrap), and place it in the refrigerator to chill alongside your white chocolate dip. It also requires at least three hours to cool and set.
With two dips chilling, we’ll now focus on our final chocolate delight: the milk chocolate dip.
Creating the Milk Chocolate Dip Base
Just like before, begin by mixing the cornstarch with a tablespoon of milk to create a smooth slurry. Set this aside.
For your classic and comforting milk chocolate dip, combine the milk chocolate couverture, whole milk, and granulated sugar in yet another small saucepan. Heat this mixture over medium heat, stirring until the milk chocolate is fully melted and the mixture reaches a gentle boil.
Then, gradually add the mixed cornstarch slurry, stirring constantly with a whisk, and bring the mixture to a boil again for one minute. The dip will noticeably thicken into a creamy pudding.
Once the milk chocolate mixture has boiled for the second time and reached the desired consistency, remove it from the heat. Pour it into a bowl, cover it with a lid, and tuck it away in the fridge with its white and dark chocolate counterparts. It also needs a minimum of three hours to chill thoroughly. Personally, for the best possible consistency and flavor development, I often prefer to let these dips chill overnight, especially when preparing for a big holiday party. However, three hours will certainly give you a perfectly delightful texture!
The Grand Finale: Whipping and Assembling Your Dips
After a minimum of three hours (or ideally overnight) of chilling, your chocolate bases will be firm and ready for the final, transformative step. In a large mixing bowl, take all of your heavy cream (1 ½ cups total) and whip it with an electric hand mixer until it forms stiff peaks. You want it light and airy, but firm enough to hold its shape.
Now, gently divide this whipped heavy cream equally among the three different cold chocolate creams. Using your electric mixer on a low setting, or carefully folding by hand, thoroughly mix each chocolate base with the whipped cream. This step is crucial for incorporating air and transforming the dense pudding into a light, fluffy, and incredibly dippable dessert.
To achieve a presentation that truly wows your guests, retrieve three separate pastry bags and fit each with a star tip. Carefully fill each pastry bag with one of the three different chocolate dips. Then, pipe them artfully into small individual dipping bowls. This not only looks elegant but also makes serving a breeze and adds a touch of gourmet flair to your dessert spread.
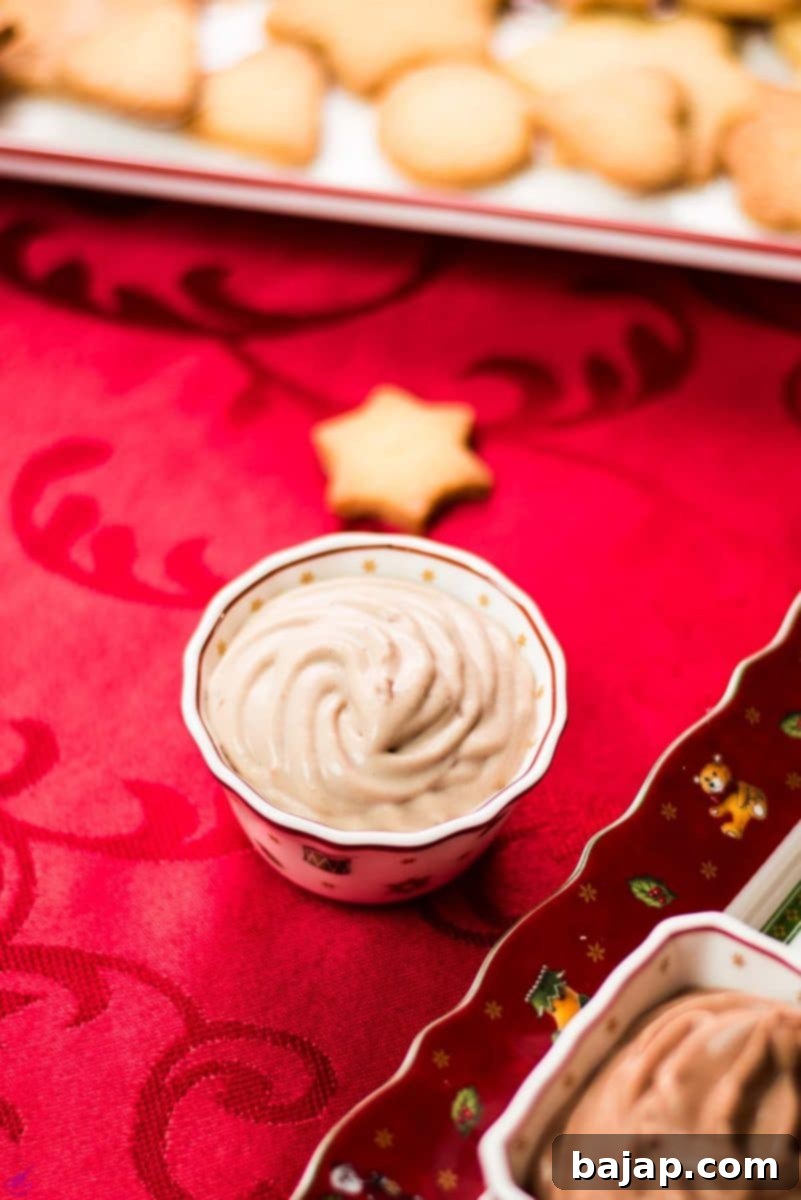
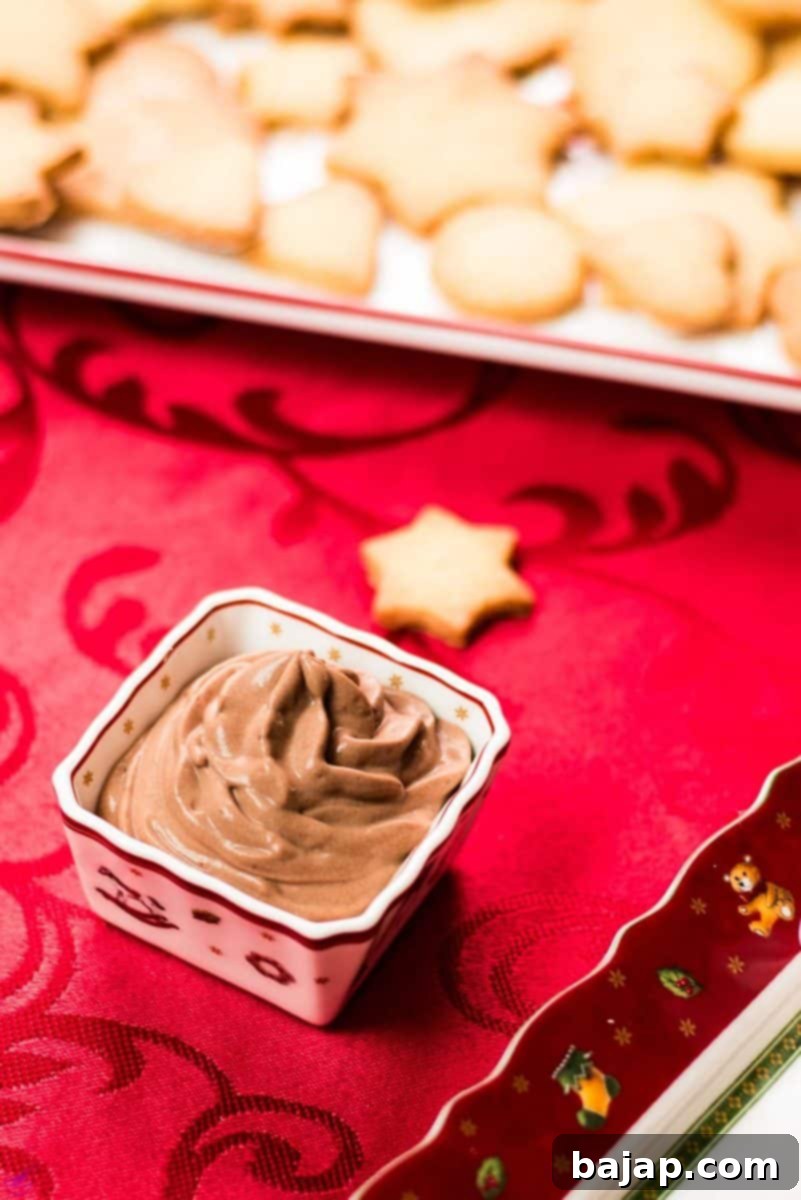
If possible, consider arranging for each guest to have their own small dipping bowl, or create a lovely dessert bar where they can choose their favorites. These homemade chocolate dips are undeniably fantastic with cookies, but don’t hesitate to broaden your selection of dippers! Fresh fruit, such as vibrant strawberries or sweet banana slices, provides a refreshing contrast. Other excellent options include pretzels for a sweet and salty crunch, crispy biscotti, soft pound cake cubes, or even simple vanilla wafers. By offering a diverse smorgasbord of options, each guest can customize their dipping experience, ensuring these delightful sweet chocolate dips become the talk of the night!
🍫 Delightful Variations to Customize Your Dips
For those who simply can’t get enough chocolate, or for anyone looking to add an extra layer of texture and flavor, there are wonderful ways to customize these sweet dips. One of my favorite additions is a few teaspoons of mini chocolate chips, especially in the white chocolate dip. The tiny chips provide a delightful textural contrast, and their distinct flavor complements the creamy white chocolate beautifully, creating a subtly exciting experience.
Beyond chocolate chips, consider these ideas:
- Extracts: A dash of pure vanilla bean paste can enhance any of the dips, while a tiny hint of almond or peppermint extract can introduce a festive twist, particularly during the holidays.
- Spices: For a cozy, warming flavor, especially for milk or dark chocolate dips, a pinch of cinnamon, nutmeg, or a ready-made gingerbread spice blend can be absolutely divine.
- Toppings: Before serving, sprinkle your dips with shredded coconut, finely chopped nuts (like pecans or walnuts), colorful sprinkles, a dusting of cocoa powder, or even a swirl of caramel sauce for an added touch of indulgence.
- Citrus Zest: A little orange or lemon zest can brighten up the dark chocolate dip, adding a sophisticated, zesty note.
🍽 Essential Equipment for Perfect Sweet Dips
Having the right tools makes preparing these decadent dips even easier. Here’s a list of the equipment you’ll need:
- Small Saucepan: Essential for gently heating and combining your chocolate, milk, and sugar without burning.
- Whisk: Crucial for ensuring your cornstarch slurry is lump-free and for continuously stirring the chocolate mixture as it thickens. A good whisk makes all the difference for a smooth dip.
- Small Bowl: For mixing the cornstarch slurry.
- Tablespoon: For precise measurements of milk for the slurry and sugar.
- Bowl with a Lid (or plastic wrap): Necessary for chilling your chocolate pudding bases in the refrigerator, preventing a skin from forming and keeping them fresh.
- Electric Hand Mixer: While possible by hand, an electric mixer makes whipping the heavy cream into stiff peaks much faster and easier, ensuring a light and airy texture.
- Piping Bag with a Star Tip: Optional, but highly recommended for an elegant, professional-looking presentation. A star tip adds a beautiful flourish to your piped dips.
- Small Dipping Bowls: Perfect for serving individual portions, making your dessert bar both beautiful and hygienic.
🌡 Storage & Make-Ahead Tips
These sweet chocolate dips are a fantastic make-ahead dessert, perfect for busy holiday preparations. Once prepared and assembled with the whipped cream, store them in an airtight container in the refrigerator. They will maintain their fresh taste and luscious consistency for up to three days. For optimal freshness and texture, always ensure they are properly sealed to prevent them from absorbing refrigerator odors or drying out.
If the dips seem a little too firm straight from the fridge, simply let them sit at room temperature for 10-15 minutes, then give them a gentle stir to restore their creamy, dippable texture. Avoid microwaving or reheating them directly, as this can change their delicate consistency.
💭 Top Tip for Silky Smooth Dips
The key to achieving truly silky-smooth chocolate dips without any lumps lies in two critical steps: first, always ensure your cornstarch is completely dissolved in a tablespoon of milk to form a perfect slurry before adding it to the hot mixture. Secondly, when you add the cornstarch slurry to the simmering chocolate and milk, whisk constantly and vigorously. Continue whisking as the mixture comes back to a boil and thickens. This consistent stirring prevents the cornstarch from clumping and ensures a uniform, velvety texture that will impress every time!
🙋🏻 Frequently Asked Questions About Sweet Chocolate Dips
When it comes to sweet dips, the possibilities are delightfully endless! While sugar cookies are absolutely divine, don’t limit yourself. Think fresh fruit like strawberries, banana slices, and apple wedges. For a satisfying crunch, try animal crackers, vanilla wafers, graham crackers, pretzels (for a sweet and salty combo!), or even cubes of pound cake and shortbread cookies. The goal is to choose dippers that complement the rich chocolate flavors without overpowering them.
While couverture chocolate is recommended for its smooth melting properties and superior flavor, you can certainly use high-quality chocolate chips in a pinch. Just be aware that chocolate chips often contain stabilizers that can slightly alter the texture of the final dip, potentially making it a little less silky. Opt for good quality baking chocolate chips if you go this route.
If your dip seems too thick after chilling, you can gently whisk in a tablespoon or two of milk until it reaches your desired consistency. If it’s too thin, it likely didn’t boil long enough to activate the cornstarch fully. You can try reheating it gently in a saucepan, whisking constantly, and bringing it back to a gentle boil for another minute or two. Be cautious not to scorch the chocolate.
These dips are excellent for making ahead! You can prepare the chocolate pudding bases (before folding in the whipped cream) up to 2-3 days in advance and store them in airtight containers in the refrigerator. Whip and fold in the heavy cream just a few hours before serving for the freshest, lightest texture. The assembled dips will keep for up to 3 days refrigerated.
If you embark on making this delightful recipe, please let me know how much you enjoyed it by leaving a ★★★★★ star rating and a comment below. Your feedback is truly awesome and appreciated! You can also sign up for our Newsletter or follow me on Pinterest or Instagram, and share your delicious creation with me. Just tag me @combinegoodflavors and use the hashtag #combinegoodflavors, so I don’t miss it!
More Sweet Treats & Recipes for You to Explore
- Easy Cut-Out Sugar Cookies {No Chill}
- 5-Ingredient Chocolate Cornstarch Pudding
- White Chocolate Pudding That’ll Wow Your Guests
- Chocolate Dipped Butter Cookies
- Oatmeal Cookies Without Brown Sugar
- Soft Pumpkin Cookies
📖 Recipe Card: Three Sweet Dessert Dips for Cookies
Three Sweet Dessert Dips for Cookies
By Nora
❤️Save RecipeSaved!
📍Pin Recipe
Equipment
-
Saucepan small
-
Whisk
-
Small bowl
-
Tablespoon
-
Mixing bowl with a lid
-
Electric hand mixer
-
Piping bag with a star tip
-
Small dipping bowls
Ingredients
Milk Chocolate Dip Base
- ½ Cup Milk chocolate couverture high quality
- 1 ¼ Cups Whole milk
- 1 ¼ tablespoon Granulated Sugar
- 1 ¾ tablespoon Cornstarch
White Chocolate Dip Base
- ½ Cup White chocolate couverture high quality
- 1 ¼ Cups Whole milk
- 1 ¼ tablespoon Granulated Sugar
- 1 ¾ tablespoon Cornstarch
Dark Chocolate Dip Base
- ½ Cup Dark chocolate couverture high quality
- 1 ¼ Cups Whole milk
- 1 ¼ tablespoon Granulated Sugar
- 1 ¾ tablespoon Cornstarch
For Dip Assembling (for all three dips combined)
- 1 ½ Cup Heavy cream
Instructions
General Base Preparation (Repeat for Each Dip: Milk, White, Dark Chocolate)
-
In a small bowl, mix 1 ¾ tablespoon Cornstarch with 1 tablespoon of milk until a smooth, lump-free slurry forms. Set aside.1 ¾ tablespoon Cornstarch
-
In a small saucepan, combine ½ Cup Milk chocolate couverture (or White/Dark depending on which dip you are making), 1 ¼ Cups Whole milk and 1 ¼ tablespoon Granulated Sugar. Bring to a gentle boil over medium heat, stirring occasionally until the chocolate is fully melted.½ Cup Milk chocolate couverture, 1 ¼ Cups Whole milk, 1 ¼ tablespoon Granulated Sugar
-
Gradually add the prepared cornstarch slurry to the saucepan, whisking constantly. Bring the mixture to a full boil again for about one minute, stirring continuously until it thickens into a pudding-like consistency.
-
Remove the thickened chocolate mixture from heat and pour it into a clean bowl. Cover the bowl with a lid or plastic wrap, pressing the plastic directly onto the surface of the pudding to prevent a skin from forming.
-
Allow to cool completely in the refrigerator for at least three hours, or preferably overnight, to ensure it is thoroughly chilled and set.
Dip Refinement & Assembly (for all three dips)
-
After the chocolate bases have thoroughly chilled (for at least three hours), whip all of the 1 ½ Cup Heavy cream with an electric hand mixer until it forms stiff peaks.1 ½ Cup Heavy cream
-
Divide the whipped cream equally among the three different cold chocolate creams (white, milk, and dark). Gently fold or mix each chocolate base well with the whipped cream using the mixer on low speed, until fully combined and light and airy.
-
For an elegant presentation, fill the three different dips into three separate pastry bags, each fitted with a star tip, and pipe them artistically into small dipping bowls. Serve immediately with your favorite cookies, fruit, or other dippers!
Nutrition values are estimates only, using online calculators. Please verify using your own data.

🍦 More Tasty Dessert Dips to Explore
If you’ve loved these chocolate dips, you’re in for a treat! Here are more fantastic dessert dip recipes from various creators, perfect for any occasion:
Get The Recipe
Get The Recipe
Get The Recipe
Get The Recipe
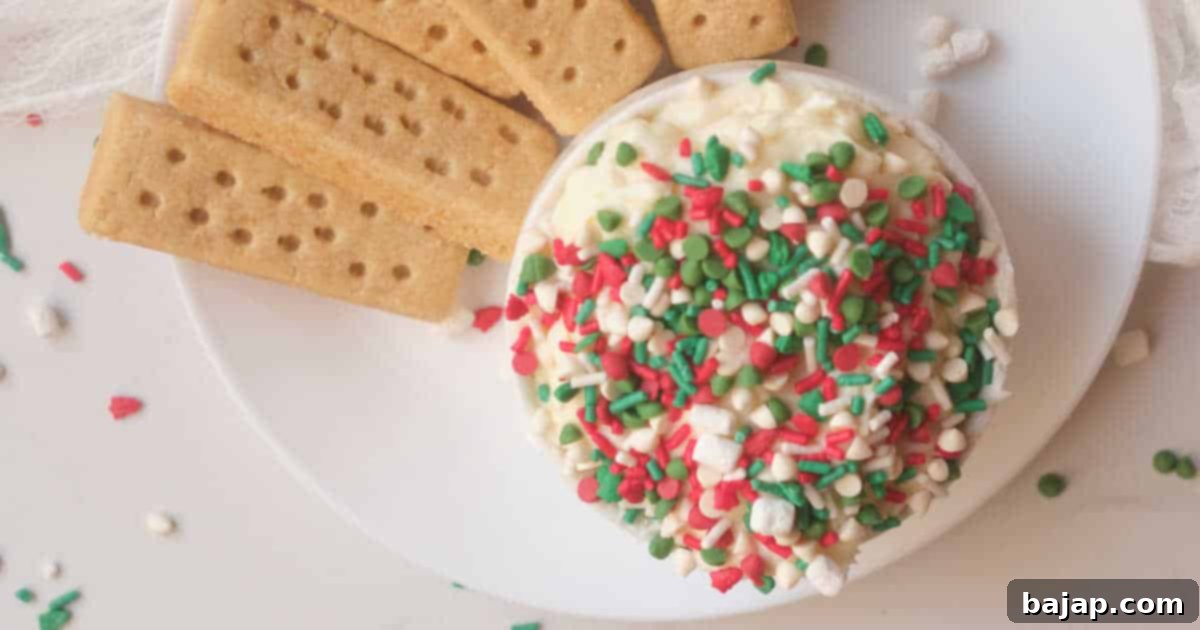
Get The Recipe
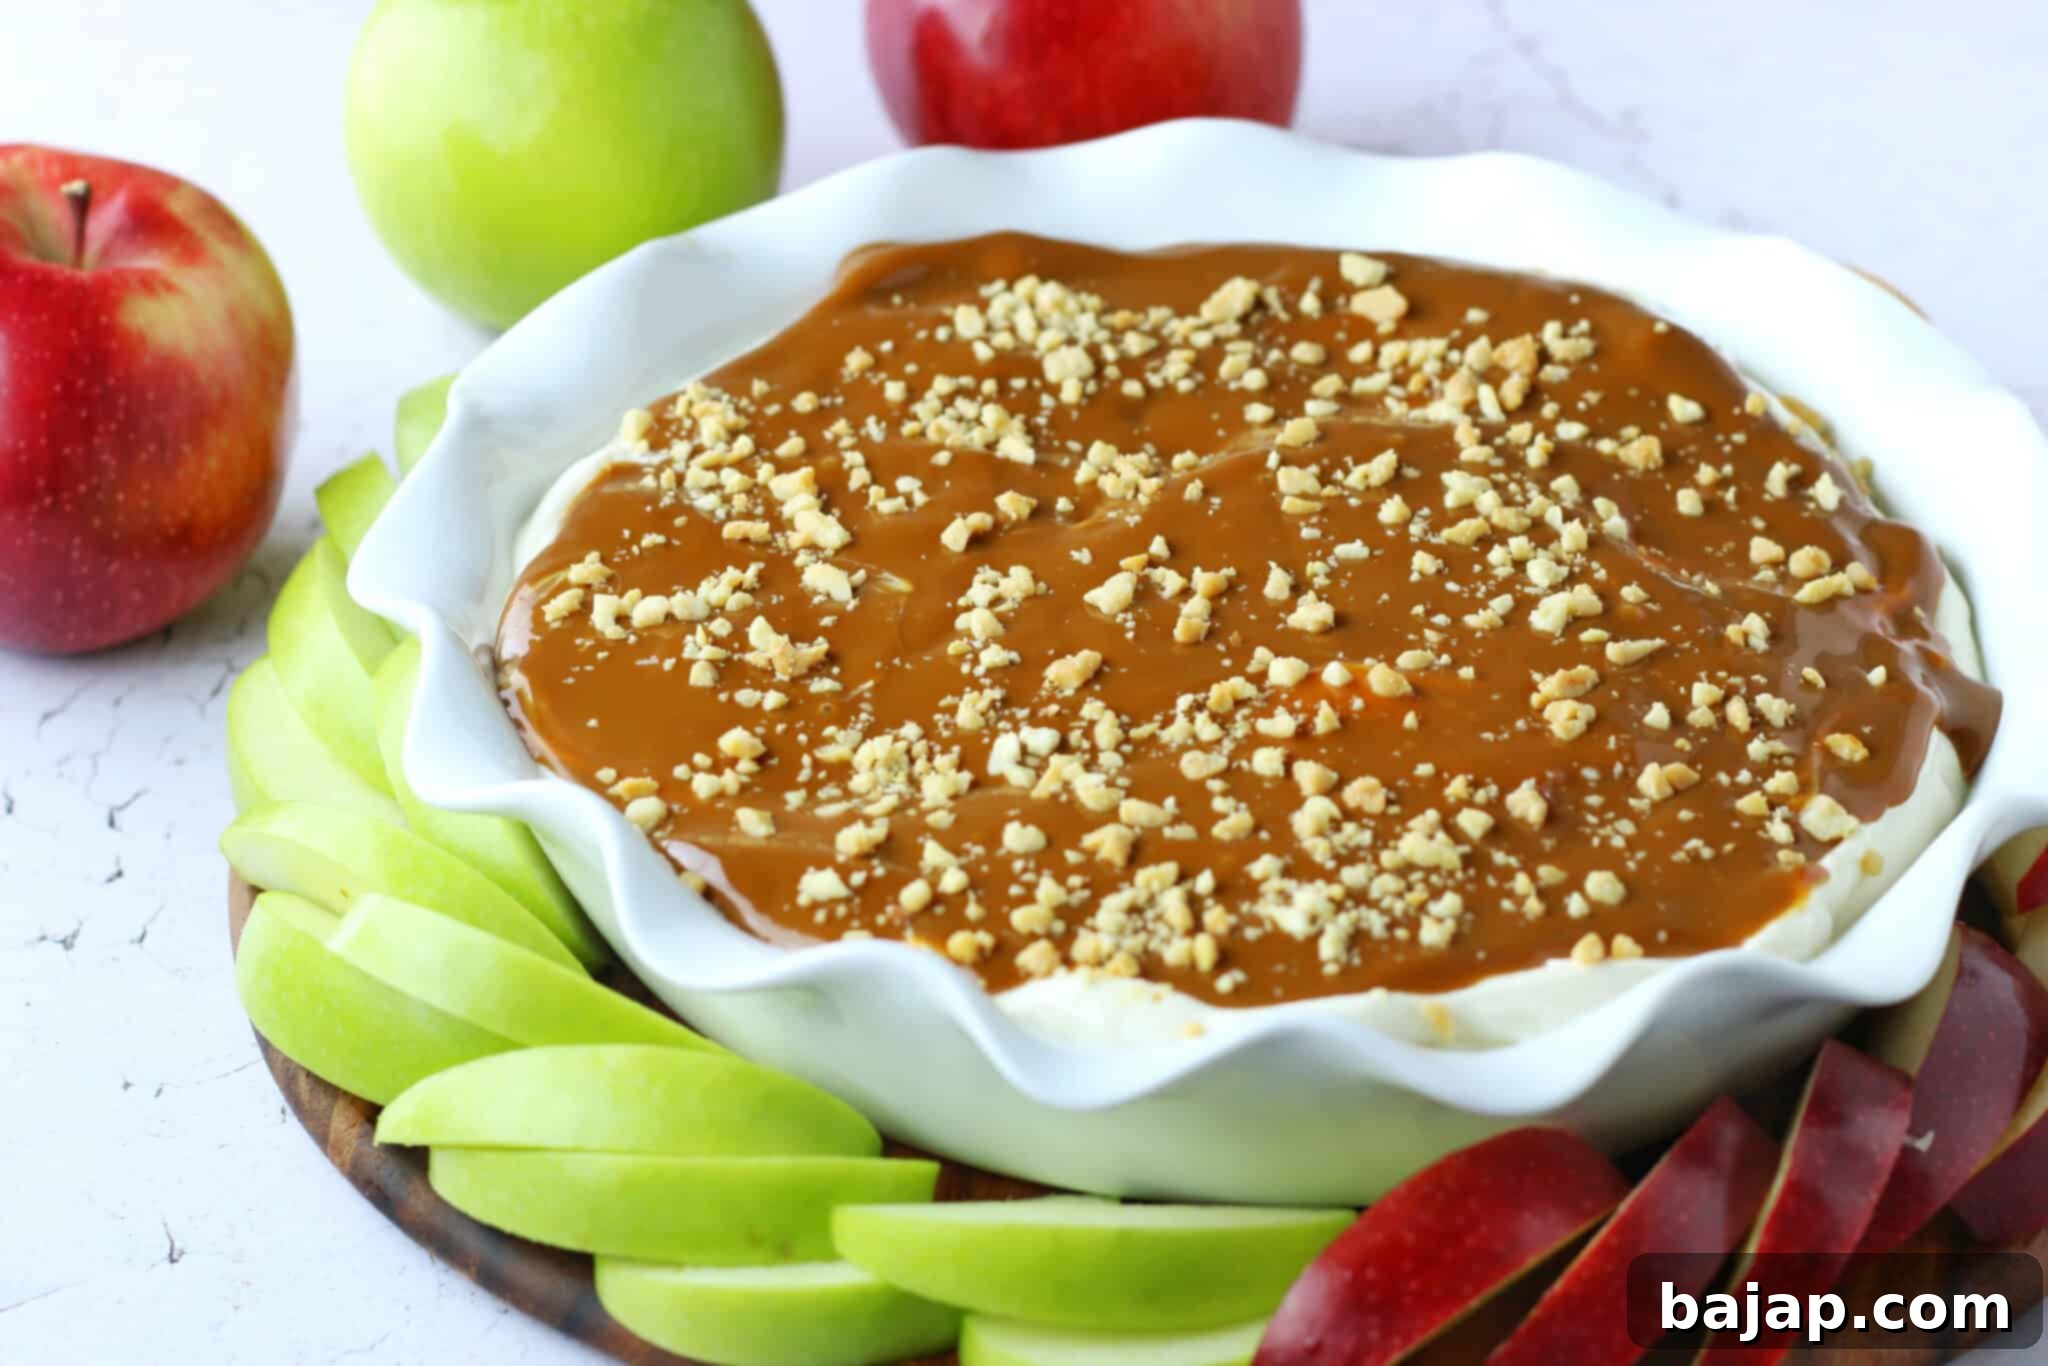
Get The Recipe
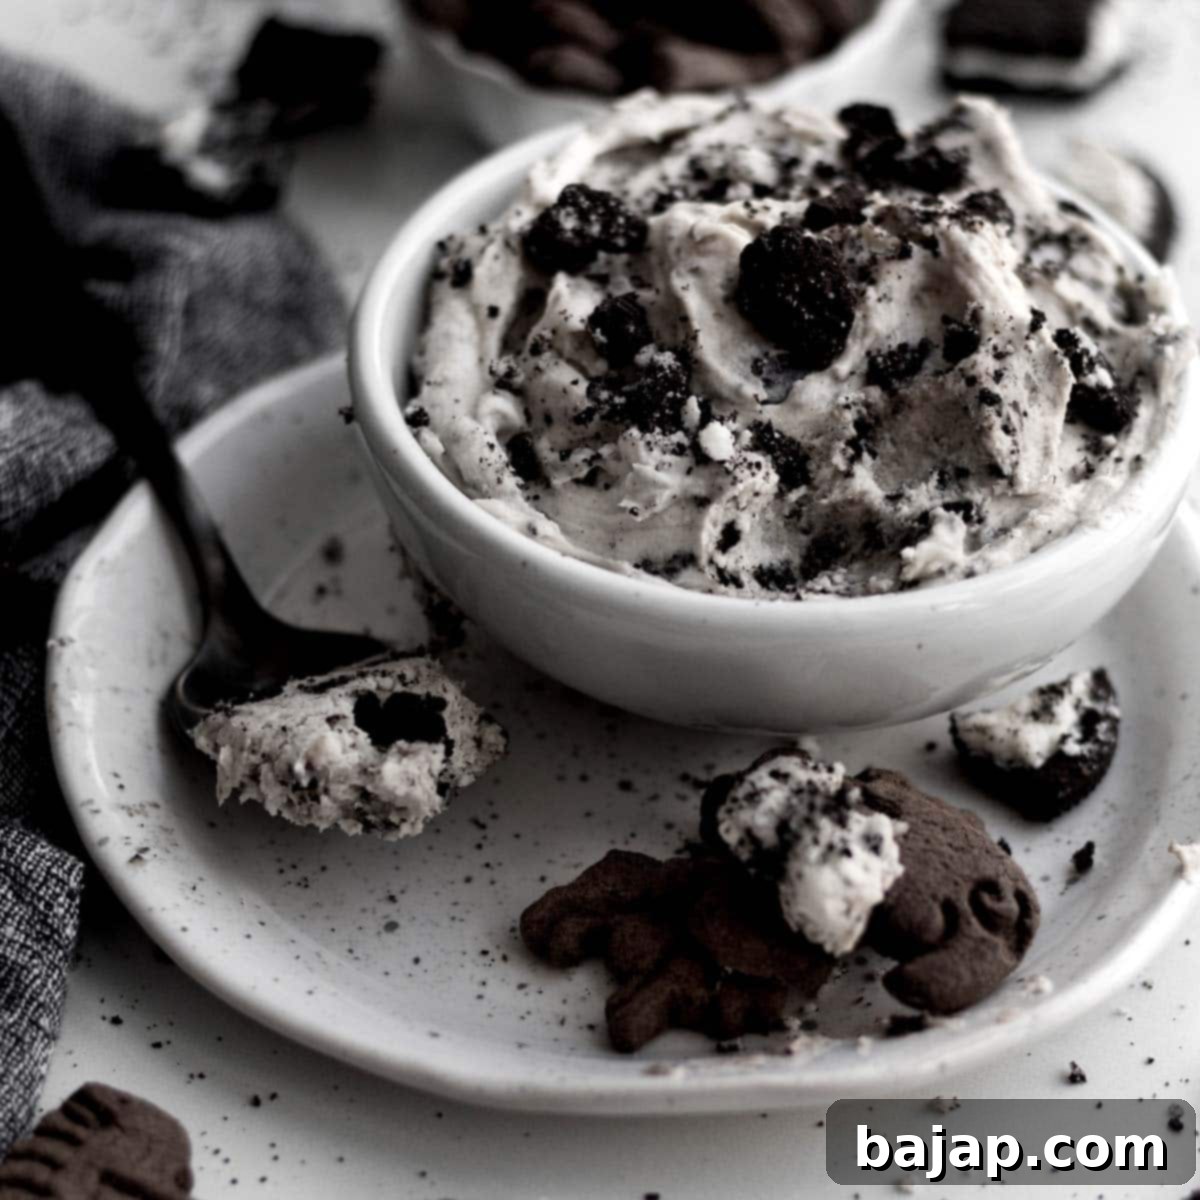
Get The Recipe
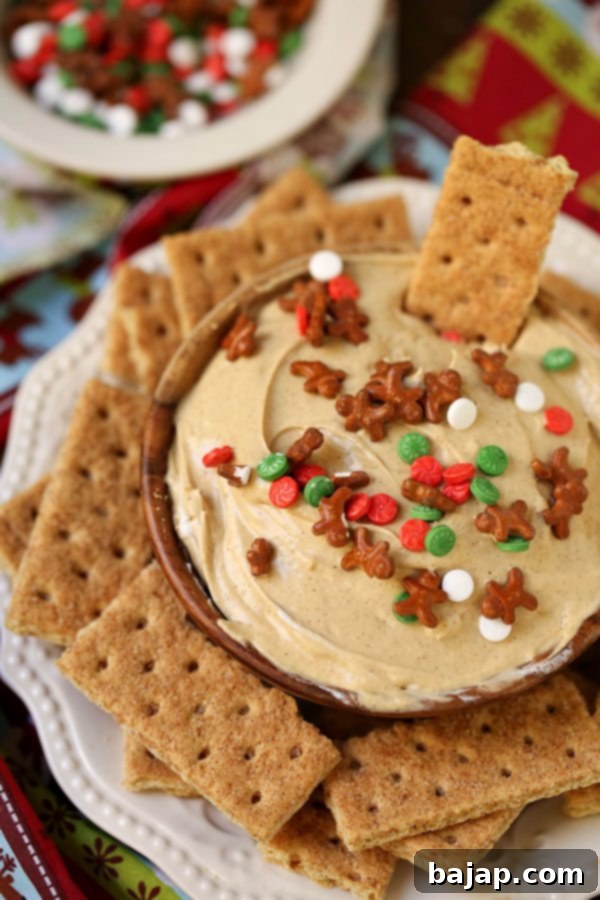
Get The Recipe
Get The Recipe
Get The Recipe
Get The Recipe
🤎 You might also like these delicious recipes
- Peach Melba with Raspberry Liqueur Berry Sauce
- National Food Holidays – September
- Peach Moscow Mule with Homemade Peach Purée
- Austrian Zirben Spritzer – White Wine Spritzer with Pine Liqueur
⛑️ Important Food Safety Guidelines
Ensuring food safety is paramount when preparing and serving any recipe. Please keep the following guidelines in mind to prevent foodborne illness and ensure your delicious dips are enjoyed safely:
- Maintain Temperature Control: Always cook foods to their minimum internal temperature (though not directly applicable to these no-bake dips, it’s a good general practice). For dips, ensure proper chilling.
- Prevent Cross-Contamination: Always use separate utensils and cutting boards for raw ingredients (if applicable) and cooked/ready-to-eat foods. For these dips, this means ensuring your bowls and whisks are clean when transitioning between making the pudding bases and whipping cream.
- Hand Washing: Wash hands thoroughly with soap and water for at least 20 seconds before and after handling any food, especially between different stages of preparation.
- Avoid Extended Room Temperature Exposure: Do not leave these creamy dips sitting out at room temperature for extended periods. Refrigerate promptly after serving, and discard any left out for more than two hours.
- Never Leave Cooking Food Unattended: While heating the milk and chocolate, stay near the stove and stir regularly to prevent scorching or boiling over.
- Proper Ventilation: Always ensure good ventilation when using a gas stove or any cooking appliance.
For further comprehensive information and guidelines on safe food handling, please consult official resources like the FDA’s Safe Food Handling practices.
