Dazzling Firecracker Bundt Cake: The Ultimate Red, White & Blue 4th of July Dessert Recipe
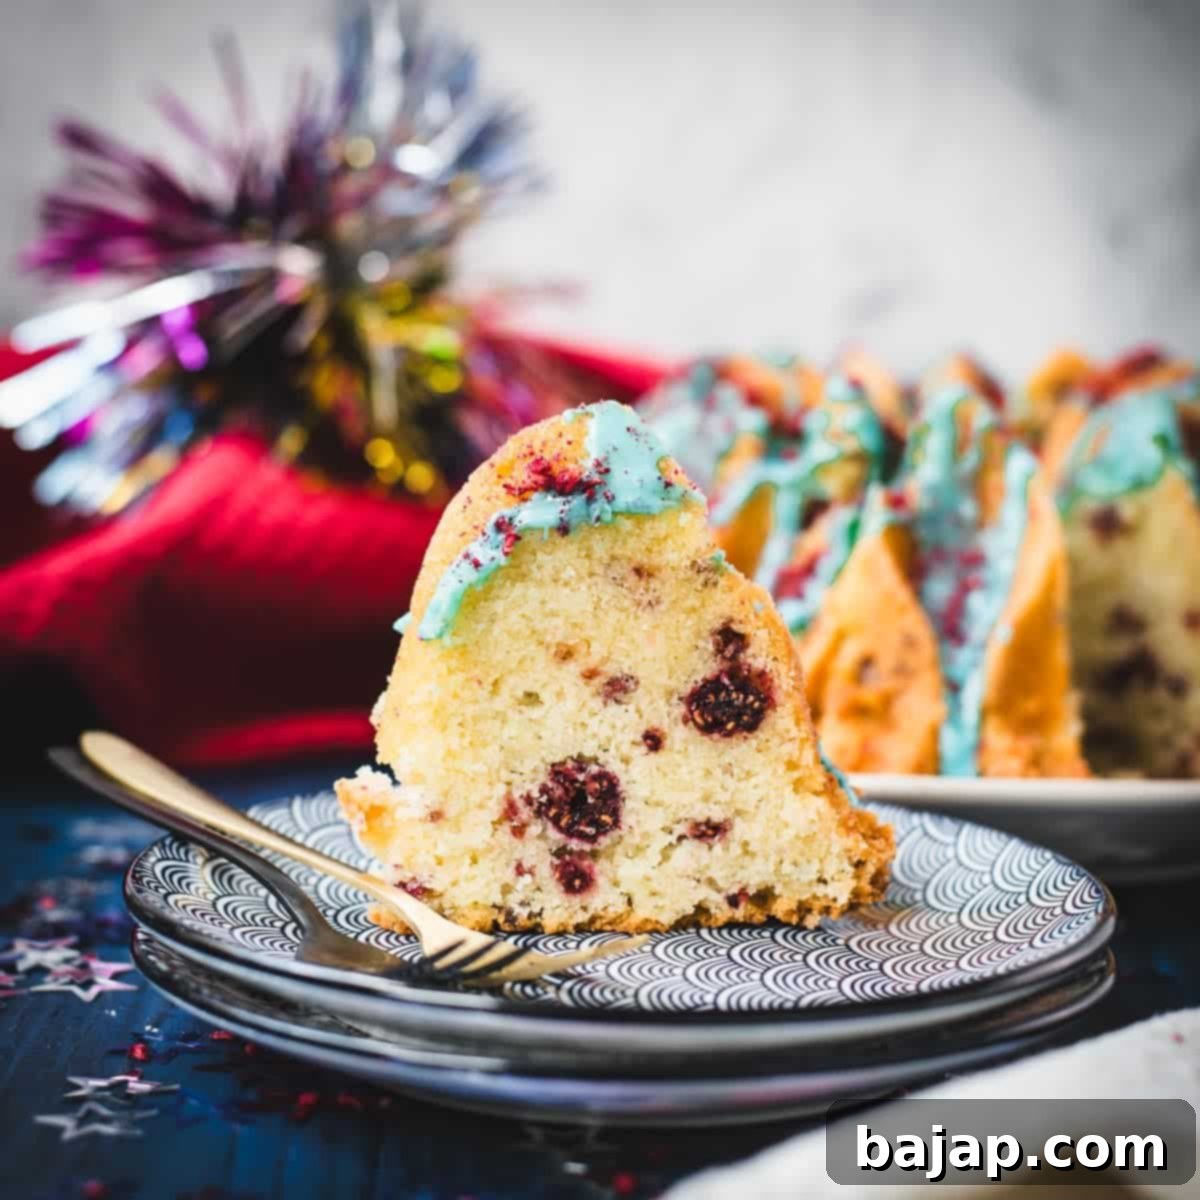
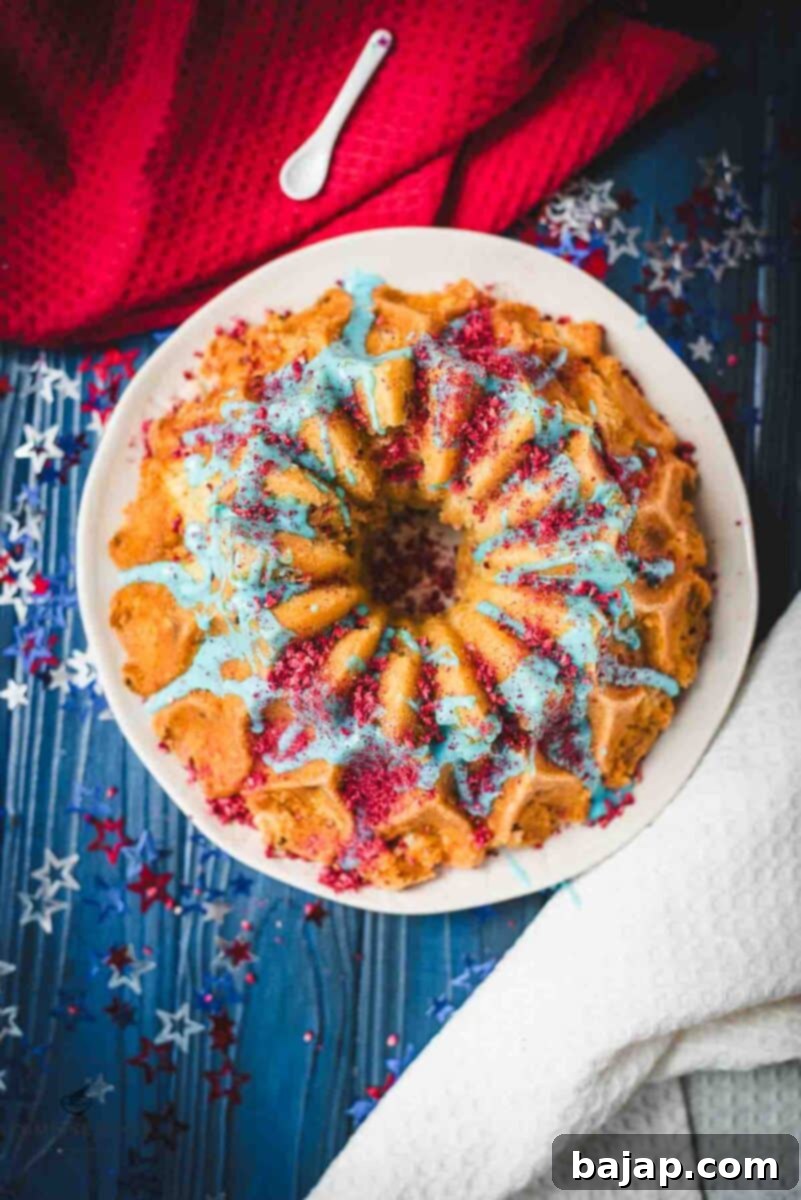
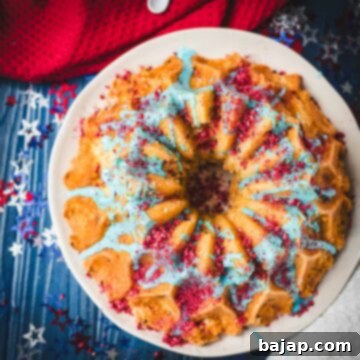
Elevate your Fourth of July celebration to a whole new level with a dessert that truly makes a statement. This spectacular **Red, White & Blue Firecracker Bundt Cake** is more than just a sweet treat; it’s a patriotic masterpiece designed to dazzle your guests. Imagine a towering, elegant Bundt cake, its pristine white interior subtly swirled with vibrant flecks of tangy freeze-dried raspberries, all dramatically crowned with a rich, patriotic blue drip glaze. The final touch? A cascade of crimson freeze-dried berry crumbles, mimicking the explosive beauty of fireworks lighting up the night sky.
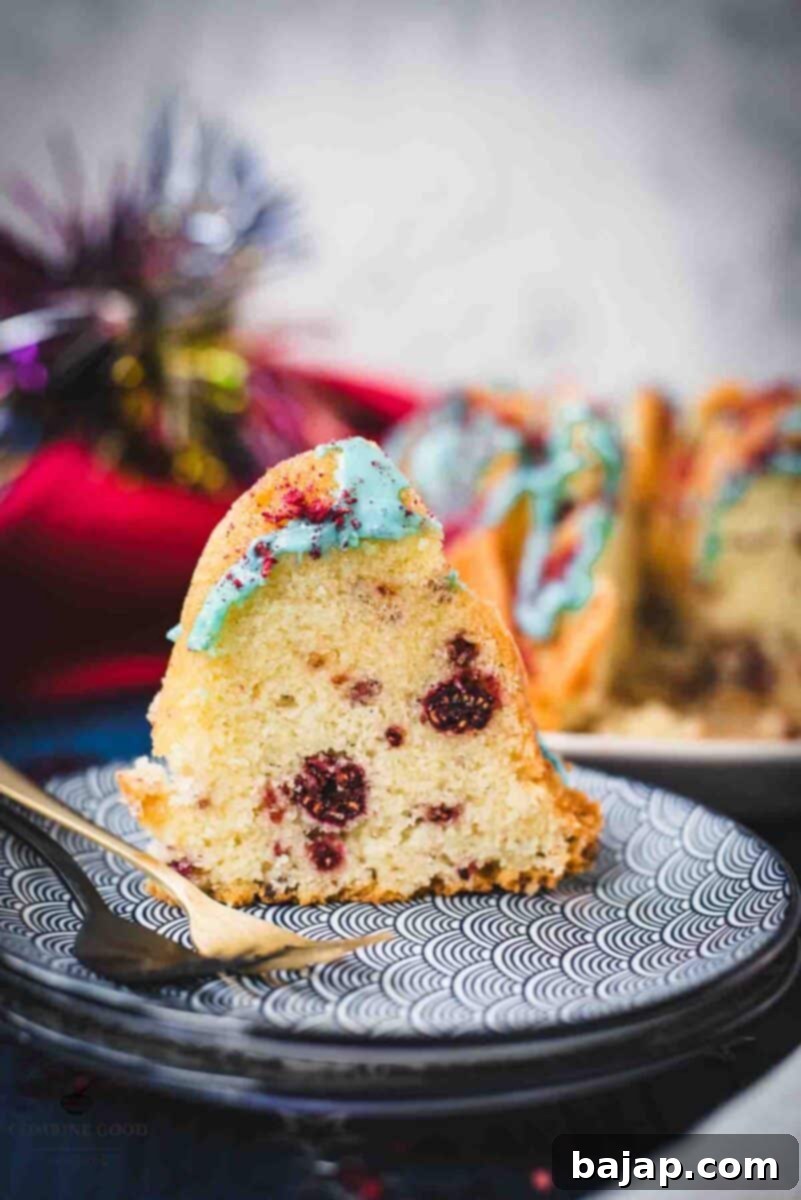
This isn’t just another dessert; it’s the ultimate showstopper. Each slice offers a perfect balance of light, fluffy white cake, bursting with the bright, natural flavor of raspberries and the subtle sweetness of white chocolate. Its refreshing taste and striking appearance make it absolutely ideal for warm summer gatherings, backyard BBQs, and, of course, your most anticipated Independence Day festivities. It’s light enough not to weigh you down, yet decadent enough to satisfy any sweet tooth. This **Firecracker Bundt Cake** isn’t just delicious; it’s an experience, a conversation starter, and guaranteed to be the star of your dessert table. Seriously, this cake is so good, it tends to vanish quickly. Be sure to claim your slice before it’s all gone!
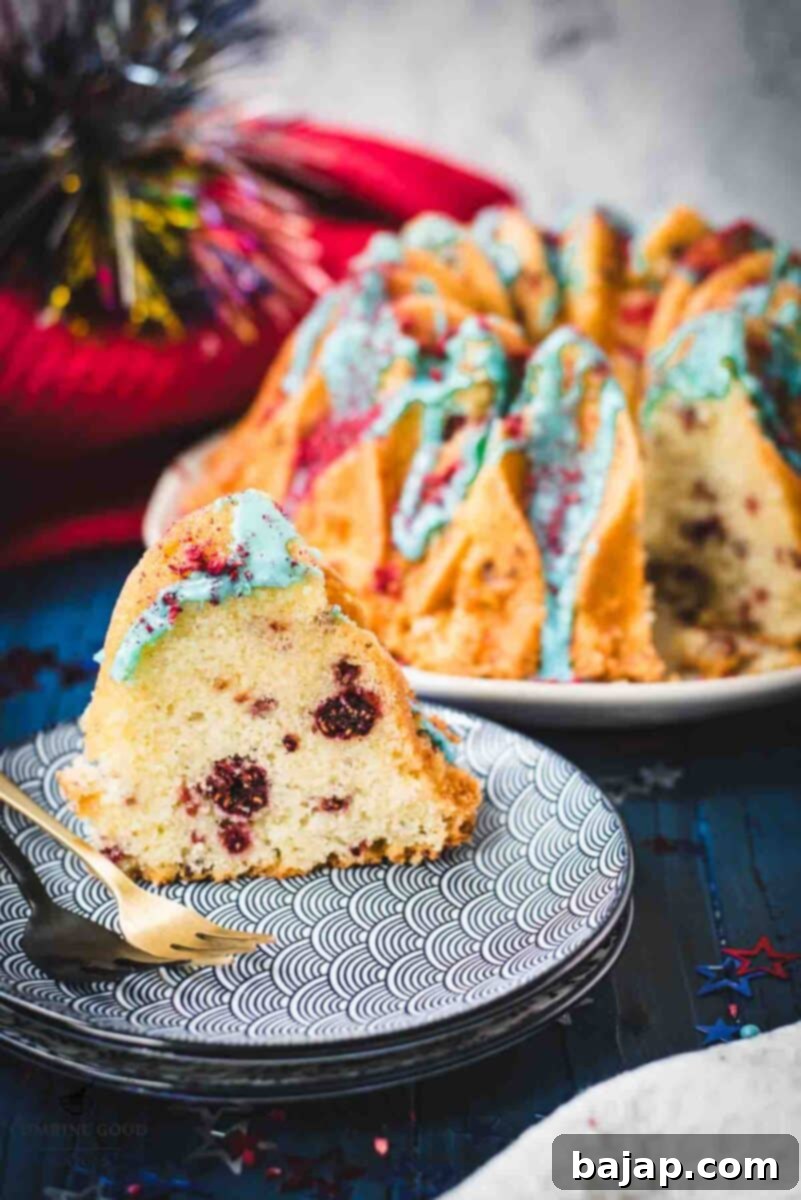
Intrigued by how to achieve that incredible fireworks effect on your own cake? Don’t worry, it’s simpler than it looks, and we’ll guide you through every step to ensure your **Firecracker Bundt Cake** is a spectacular success! The finishing touches are what truly bring this cake to life. A generous scattering of crumbled freeze-dried raspberries over the glistening blue glaze creates that perfect contrasting “burst” of red, making the cake visually pop. It’s a simple step that yields truly striking results.
To complete your festive spread, consider pairing this vibrant dessert with equally spirited beverages. A sophisticated Blue Lady cocktail offers a cool, elegant blue to match, while a zesty red 4th of July margarita adds another pop of patriotic color and a refreshing kick. These drink choices aren’t just delicious; they tie the whole celebratory theme together.
And if you’re like me and love to maintain a cohesive color palette, why stop at just the cake and a couple of drinks? Extend the festive red, white, and blue theme throughout your entire menu. A crisp and refreshing Blondie cocktail, a sparkling and effervescent limoncello spritz, or a zesty vermouth tonic perfectly rounds out the patriotic trio in the most delicious and sophisticated way. For even more culinary inspiration and ideas for your holiday menu, make sure to explore my comprehensive 4th of July recipe category. You’ll find a treasure trove of festive dishes and desserts to help you plan your celebration in unforgettable style!
🥘 Key Ingredients for Your Patriotic Bundt Cake
Crafting this stunning Firecracker Bundt Cake requires a few simple, high-quality ingredients. Each component plays a crucial role in achieving the cake’s light texture, vibrant flavor, and festive appearance. Here’s what you’ll need, along with a few notes to help you get the best results:
White Cake with Freeze-Dried Raspberries
The foundation of our Firecracker Bundt Cake is a wonderfully moist and tender white cake, elevated by the bright burst of freeze-dried raspberries and a hint of white chocolate. Using room-temperature ingredients for the cake batter is key for a smooth, well-emulsified mixture and a consistently light texture.
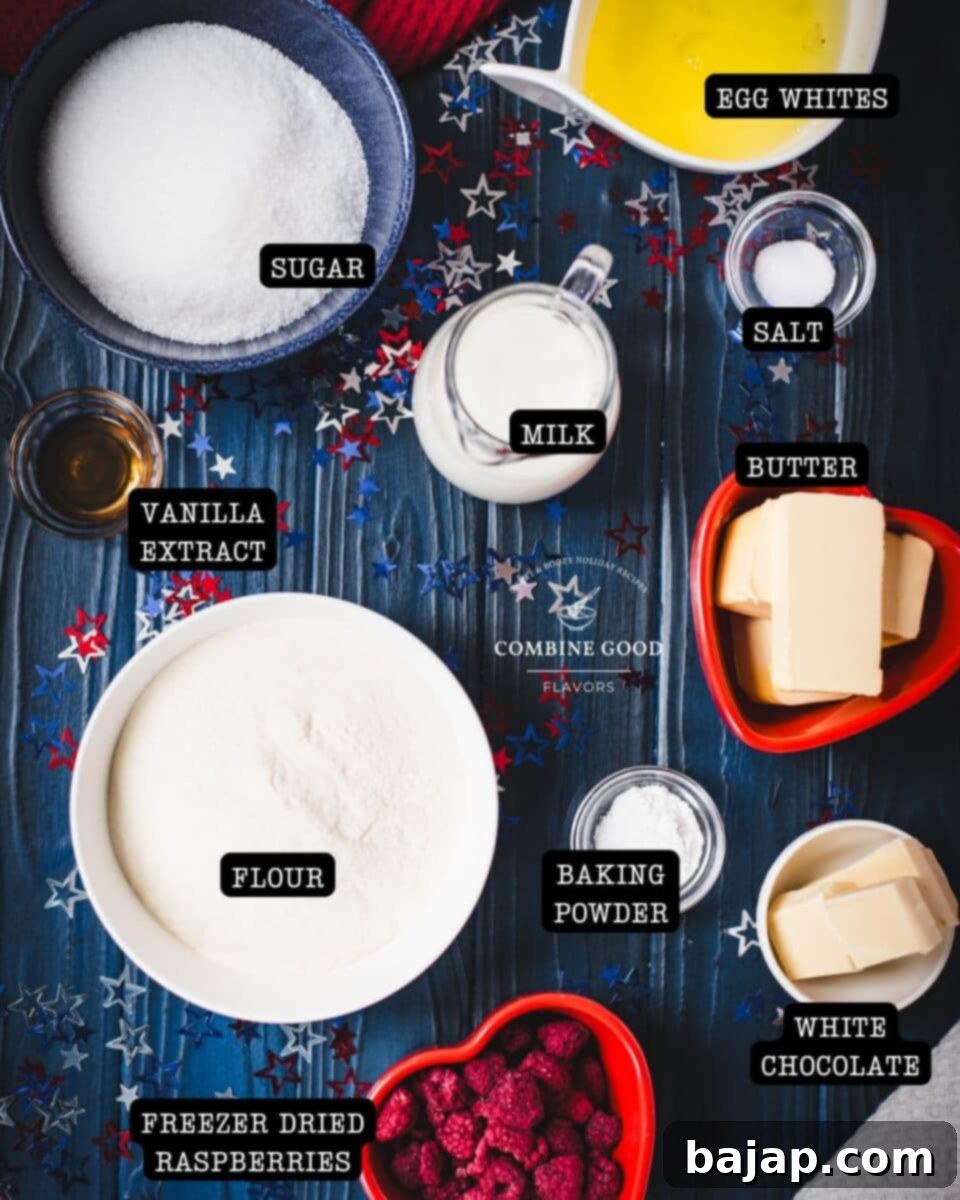
- All-purpose flour: The structural backbone of our fluffy cake.
- Baking powder: Provides the lift for that perfectly light and airy crumb.
- Salt: A pinch enhances all the other flavors, balancing the sweetness.
- Unsalted butter, softened: Room temperature butter creams beautifully with sugar, creating a tender cake.
- Granulated sugar: Sweetens and helps tenderize the cake.
- Egg whites, room temperature: Using only whites keeps the cake wonderfully white and contributes to its delicate texture. (Don’t toss the yolks! Pop them in the freezer and save them for my upcoming egg yolk chocolate sprinkle muffins or another rich recipe!)
- Whole milk, room temperature: Adds moisture and richness without making the cake dense.
- Finely chopped white chocolate or white chocolate chips: Melts into the batter, adding a subtle sweetness and creamy texture.
- Freeze-dried raspberries or strawberries, lightly crushed (not powdered!): These are essential for the “firecracker” effect and deliver a concentrated, tangy berry flavor without adding excess moisture, which fresh berries would.
Vibrant Blue Drip Glaze
The striking blue glaze is what truly sets this cake apart, making it look like a burst of color. It’s simple to prepare and creates a beautiful visual contrast against the white cake and red raspberries.
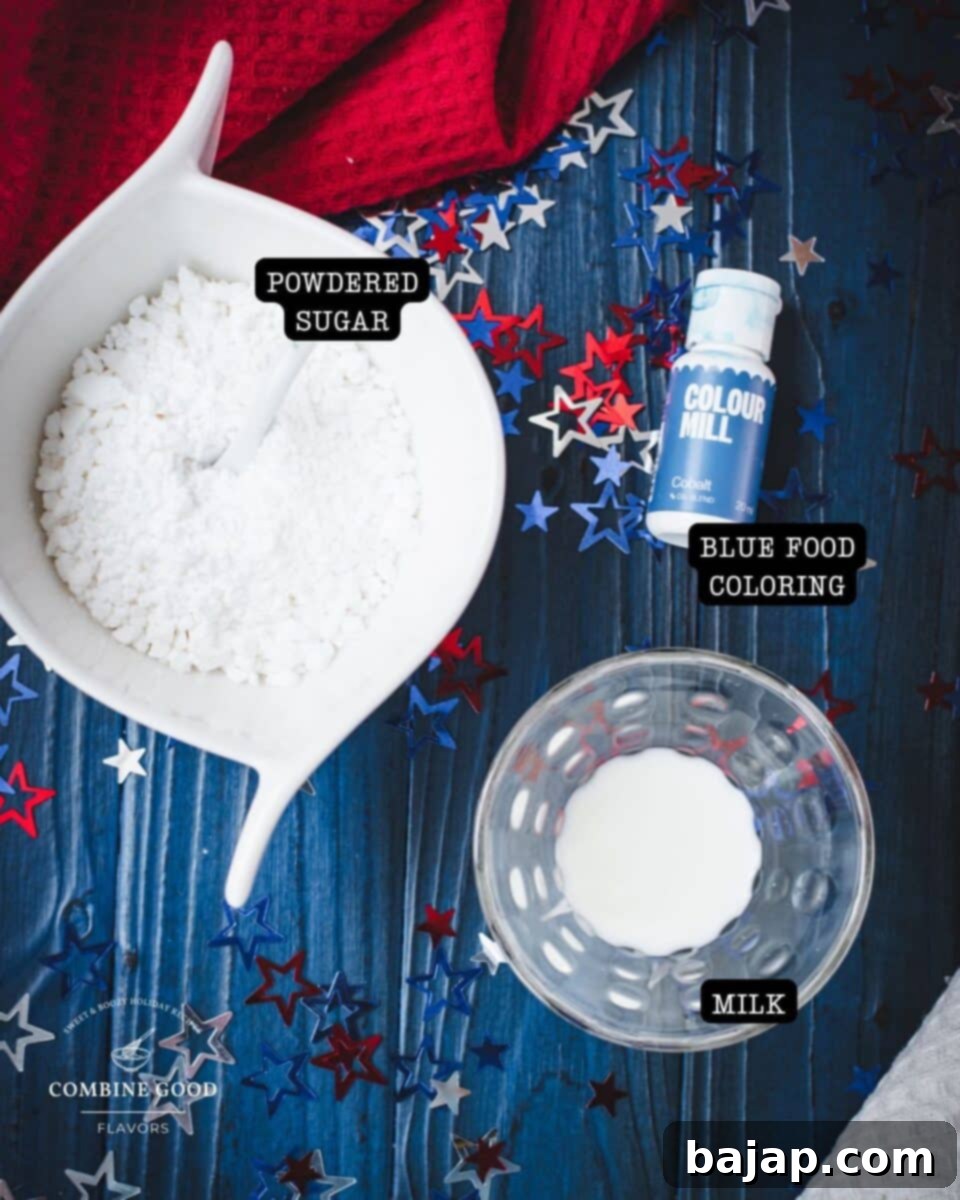
- Powdered sugar: The base for our smooth, quick-setting glaze.
- Milk or water: Adjusts the glaze to the perfect consistency for drizzling.
- Blue gel food coloring: Gel coloring provides a much more vibrant and concentrated color than liquid, without thinning the glaze too much.
Festive Decorations
- Crushed freeze-dried raspberries: For that final pop of red and a delightful textural contrast.
- Optional: Edible glitter or patriotic sprinkles for extra sparkle and fun!
See the recipe card below for precise quantities and full details.
🔪 Step-by-Step Guide: Crafting Your Firecracker Bundt Cake
Creating this stunning Firecracker Bundt Cake is a delightful process, and with these detailed instructions, you’ll achieve a perfect bake and a showstopping finish every time. Follow along for a smooth and successful baking adventure!
Step 1 – Preheat Oven & Prepare Bundt Pan
Begin by preheating your oven to a gentle 325°F (165°C). This slightly lower temperature helps ensure a more even bake, preventing the edges from browning too quickly while the center catches up. While your oven heats, meticulously grease your Bundt pan. You can use softened unsalted butter and a pastry brush, or a high-quality non-stick baking spray with flour. After greasing, lightly dust the entire interior of the pan with all-purpose flour, tapping out any excess. This crucial step creates a non-stick barrier, ensuring your beautiful **Firecracker Bundt Cake** releases cleanly and effortlessly once baked. Don’t skip this, especially with intricate Bundt designs!
Step 2 – Whisk Dry Ingredients
In a medium-sized bowl, combine your all-purpose flour, baking powder, and salt. Use a whisk to thoroughly mix these dry ingredients together for about 30 seconds. This step isn’t just about combining them; it’s also about aerating the flour and ensuring the leavening agent (baking powder) is evenly distributed throughout, which is vital for a consistent rise and tender crumb in your white cake.
Step 3 – Cream Butter and Sugar Until Fluffy
In the bowl of your stand mixer fitted with the paddle attachment (or using a large bowl and a hand mixer), beat the softened unsalted butter with the granulated sugar on medium-high speed. Continue mixing for 3-5 minutes, or until the mixture becomes visibly light, pale, and wonderfully fluffy. This creaming process incorporates air into the butter and sugar, which is fundamental for a light and tender cake texture. Scrape down the sides of the bowl frequently to ensure everything is evenly combined.
Step 4 – Incorporate Egg Whites for a Lighter Texture
With the mixer still running on medium speed, add the room temperature egg whites one at a time. Mix well after each addition, ensuring each egg white is fully incorporated before adding the next. This gradual addition helps to create a stable emulsion with the butter mixture, contributing to the cake’s fine crumb. Again, pause to scrape down the sides of the bowl to catch any unmixed ingredients.
Step 5 – Add Vanilla Extract, Dry Mixture, and Milk
Stir in the vanilla extract, ensuring it’s well distributed for that classic comforting flavor. Now, it’s time to alternate adding your dry ingredients mixture and the room temperature whole milk. Begin by adding about one-third of the dry ingredients, mixing on low speed until just combined. Follow with half of the milk, mixing until just incorporated. Repeat with another third of the dry ingredients, then the remaining milk, and finally, the last portion of the dry ingredients. Remember to start and end with the dry ingredients. The key here is to mix on the lowest speed possible and only until just combined after each addition. Overmixing at this stage can develop the gluten in the flour, leading to a tough, dry cake. Your batter will look beautifully smooth and ready for the final additions.
Step 6 – Gently Fold in White Chocolate and Freeze-Dried Raspberries
Remove the bowl from the mixer and grab your spatula. This step requires a gentle touch! Carefully fold in the finely chopped white chocolate (or white chocolate chips) and the lightly crushed freeze-dried raspberries. The goal is to distribute these wonderful additions evenly without deflating the air you’ve incorporated into the batter. The red flecks of raspberry against the white batter will already start to look like a mini celebration – a preview of your incredible **Firecracker Bundt Cake**!
Step 7 – Bake the Bundt Cake to Golden Perfection
Carefully pour the prepared batter into your greased and floured Bundt pan. Gently spread the top evenly with a spatula. Place the pan in your preheated oven and bake for approximately 1 hour to 1 hour 10 minutes, or until the cake is golden brown on top and a wooden skewer or toothpick inserted into the thickest part comes out clean. Baking times can vary, so keep an eye on it! Once baked, let the cake rest in the Bundt pan for a full 15 minutes. This cooling time allows the cake to firm up slightly, making it much easier to invert without breaking. After 15 minutes, carefully flip the pan over onto a wire cooling rack and lift the pan away. Let the cake cool completely on the rack before proceeding to the glaze, as glazing a warm cake will cause the glaze to melt right off.
Step 8 – Prepare the Vivid Blue Drip Glaze
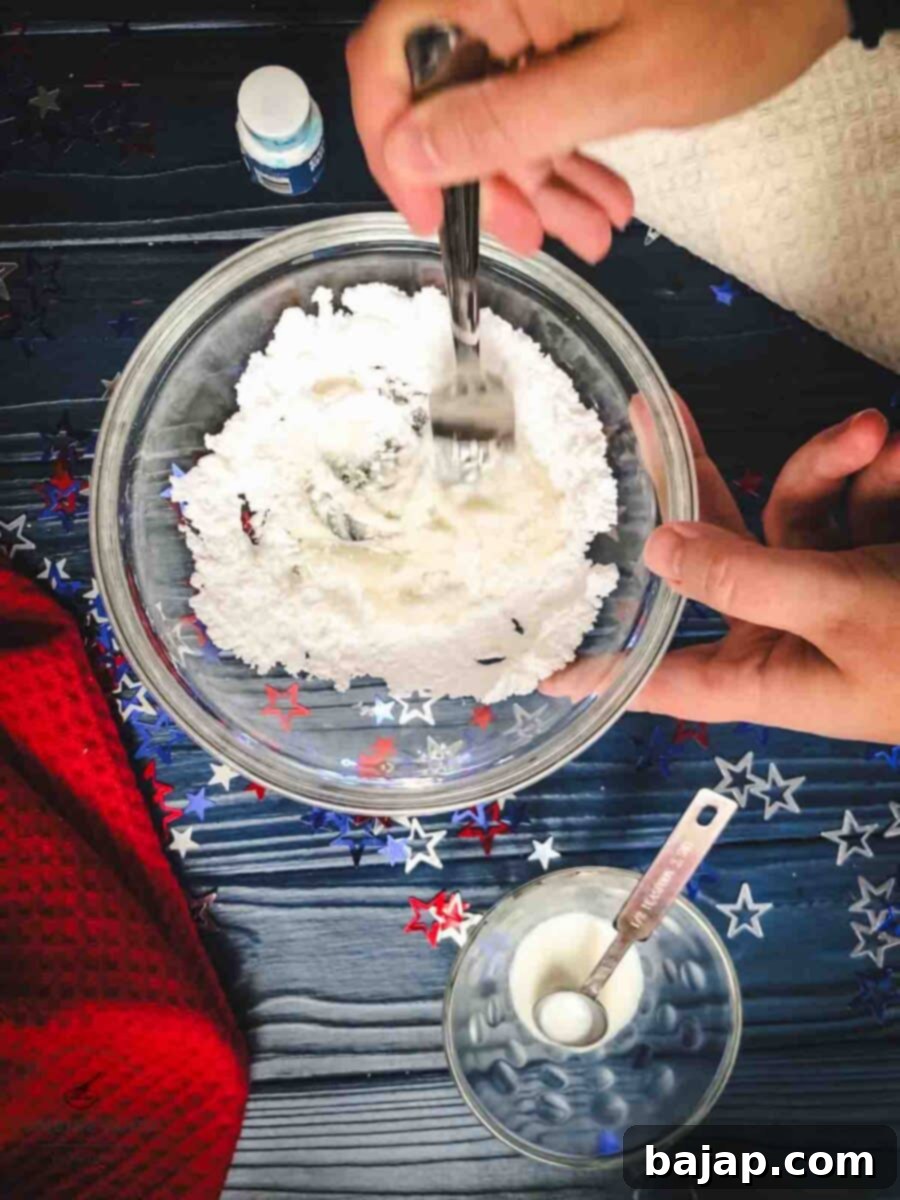
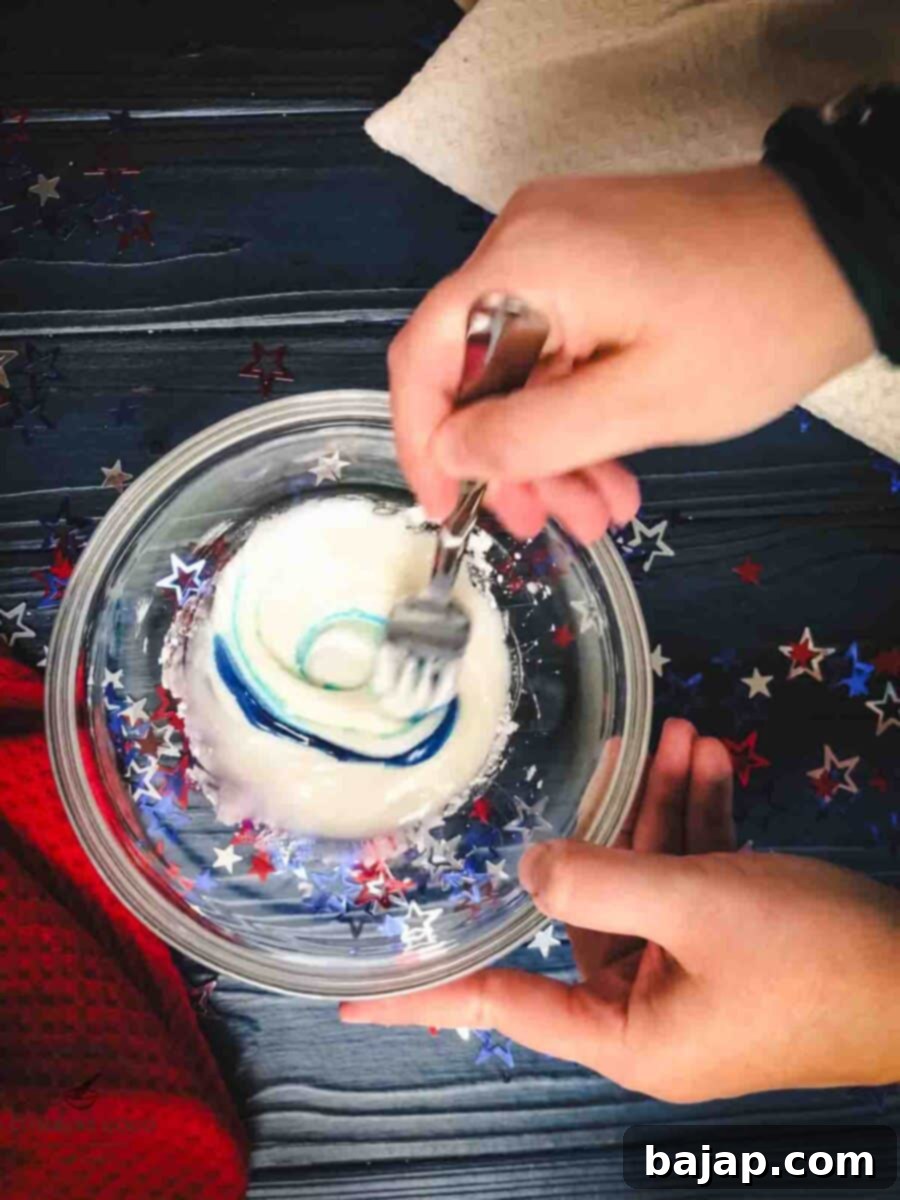
In a small bowl, whisk together the powdered sugar and just 1-2 teaspoons of milk or water. Start with 1 teaspoon and add more drop by drop if needed, until you achieve a thick but pourable consistency. The glaze should be smooth and able to drip slowly, not run like water. Now, add a few drops of blue gel food coloring and stir vigorously until you reach your desired vibrant blue hue. Gel food coloring is recommended as it delivers intense color without significantly altering the glaze’s consistency. Adjust the amount of coloring for a lighter or darker blue, and tweak the liquid if it’s too thick (add more milk/water) or too runny (add more powdered sugar).
Step 9 – Decorate for the Ultimate Fireworks Effect
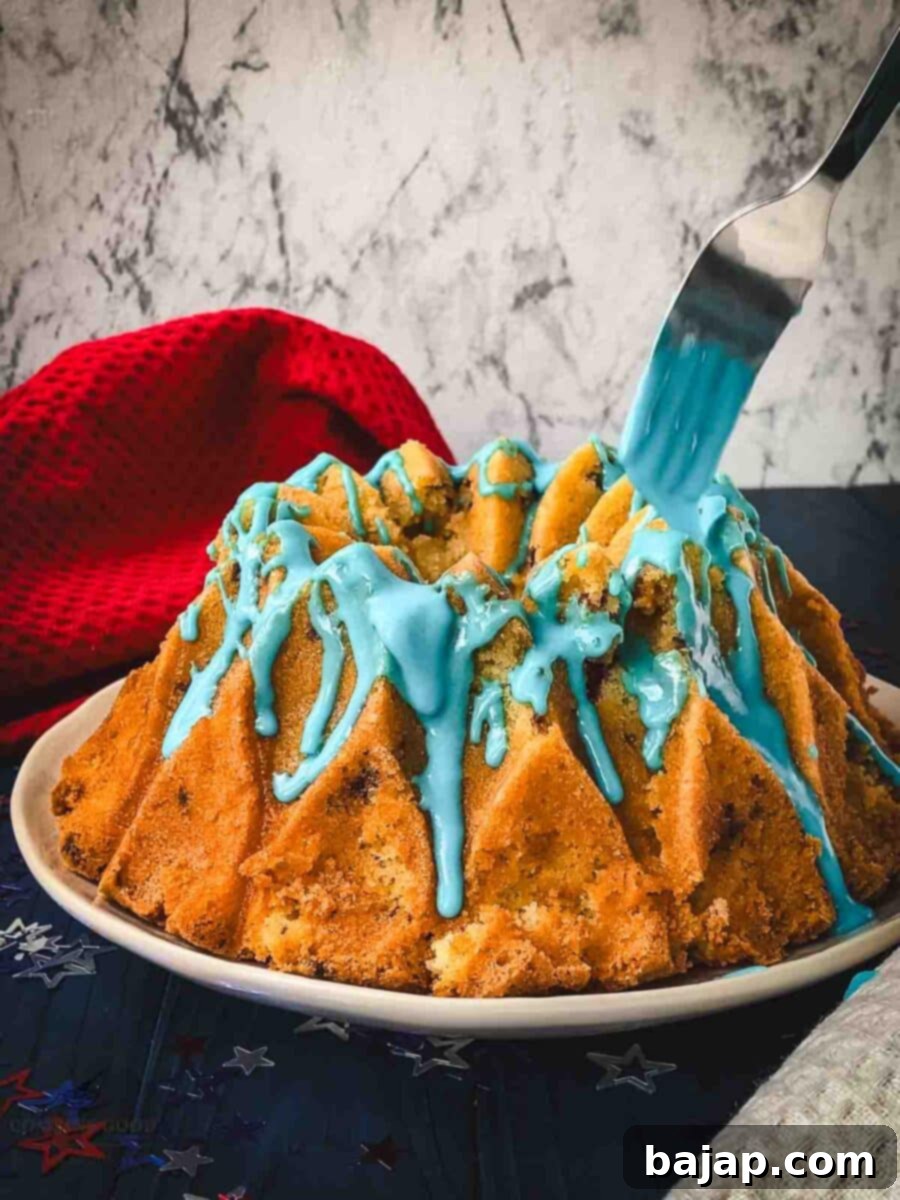
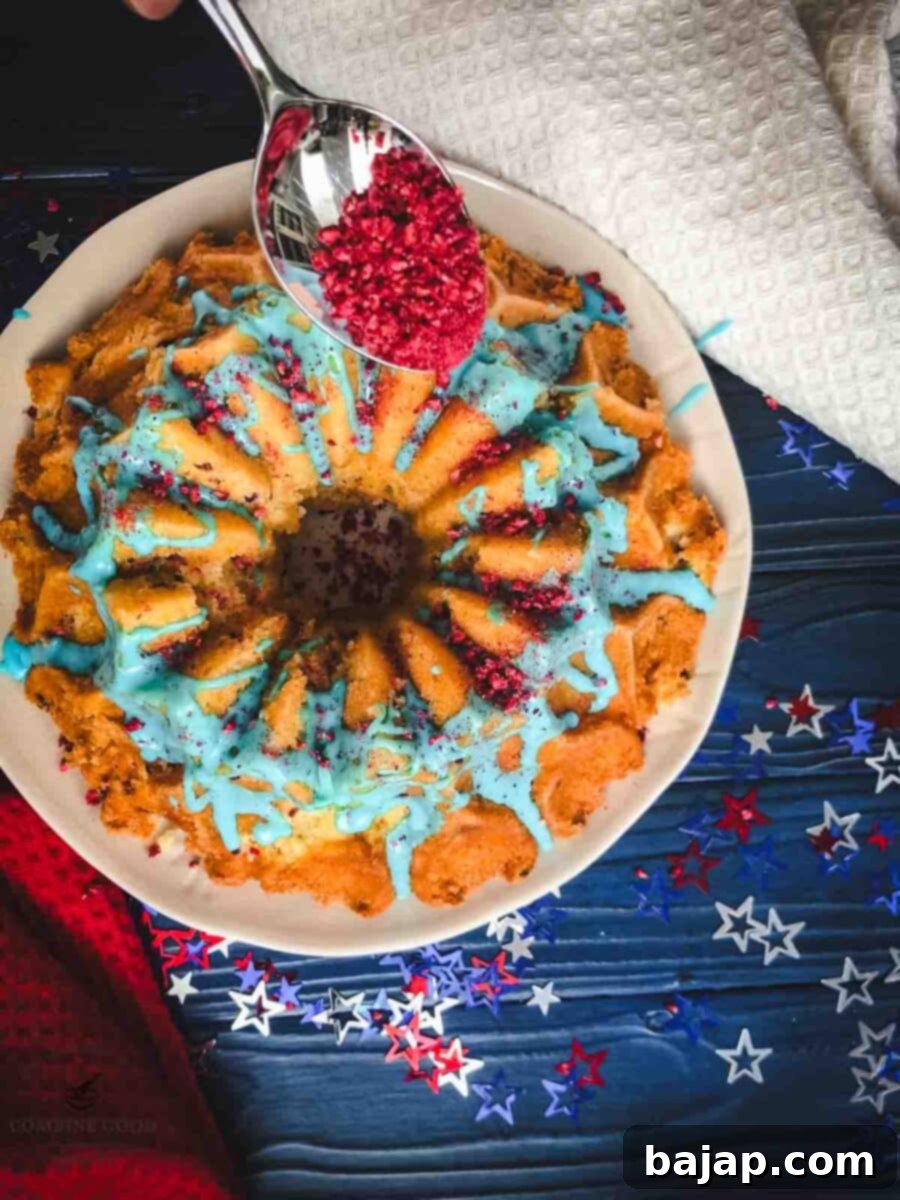
Once your **Bundt cake** is completely cool, it’s time for the dazzling finale! Place the cooled cake on a serving platter or a wider wire rack set over parchment paper (to catch drips). Using a spoon or a small squeeze bottle, carefully drizzle that gorgeous blue glaze evenly over the top of the cake. Allow it to slowly and naturally drip down the sides, creating varied lengths and an organic, “bursting” effect. This slow drip is key to simulating fireworks. Immediately after drizzling the glaze (while it’s still wet), generously sprinkle the crushed freeze-dried raspberries over the blue. The damp glaze will help them adhere perfectly. For an extra touch of celebratory sparkle, consider adding a scattering of star sprinkles or a pinch of edible glitter. Your **Red, White & Blue Firecracker Bundt Cake** is now ready to impress!
🤩 Creative Variations for Your Firecracker Bundt Cake
While the classic Red, White & Blue Firecracker Bundt Cake is truly spectacular, don’t hesitate to get creative! Here are a few delightful variations to customize your cake and cater to different tastes or occasions:
- Chocolate Chip Swap: Instead of white chocolate, you could use mini semi-sweet chocolate chips for a classic chocolate-and-raspberry combination. For a more sophisticated twist, try lemon chips for an extra summery zest or even ruby chocolate, which offers a unique berry-like flavor and a beautiful pink hue.
- Kid-Friendly Decor: For a quick and easy kid-friendly decoration that still screams patriotic fun, swap the crushed freeze-dried berries for a generous sprinkle of red, white, and blue star sprinkles or patriotic confetti sprinkles. Kids will love the extra burst of color and crunch!
- Citrus Boost: For a brighter, more refreshing flavor profile, especially perfect for hot summer days, finely grate the zest of one lemon or orange into the cake batter along with the vanilla extract. The citrus notes will beautifully complement the raspberries and white chocolate.
- Berry Blitz: If you prefer a more pronounced berry flavor throughout the cake, you can gently fold in a tablespoon or two of finely crushed freeze-dried strawberries in addition to the raspberries.
- Different Glaze Colors: While blue is quintessential for the “firecracker” theme, you could experiment with a white vanilla glaze and red sprinkles, or even a pale pink glaze if celebrating a different event.
🌡️ Storage Tips: Keeping Your Firecracker Bundt Cake Fresh
Proper storage is key to enjoying your delicious Firecracker Bundt Cake for as long as possible. Here’s how to keep it fresh and flavorful:
- Room Temperature: Once your cake has fully cooled and the glaze has set, store it in an airtight container at room temperature. It will remain wonderfully moist and delicious for up to 3 days. Keep it away from direct sunlight or heat sources to prevent the glaze from becoming sticky or the cake from drying out.
- Refrigeration (if necessary): If your kitchen is particularly warm or humid, or if you need to extend its shelf life slightly, you can refrigerate the cake. However, for the best texture, always bring the cake back to room temperature before serving. Cold cake tends to be denser, while a room-temperature slice will be softer and more flavorful.
- Freezing for Longer Storage: This Bundt cake freezes exceptionally well, making it perfect for preparing ahead of time!
- Without Glaze: For best results, freeze the baked and completely cooled cake without the glaze and decorations.
- Preparation: Wrap the cake tightly first in several layers of plastic wrap, then an additional layer of aluminum foil. This double layer protects against freezer burn.
- Duration: Store in the freezer for up to 2 months.
- Thawing and Decorating: When you’re ready to serve, thaw the wrapped cake overnight in the refrigerator, then bring it to room temperature. Prepare the fresh blue glaze and decorations right before serving for optimal appearance and taste. This method ensures your glaze is shiny and beautiful, and your freeze-dried raspberries are crisp.
✨ Pro Decorating Tips for a Flawless Firecracker Effect
Achieving that iconic “fireworks” look on your Bundt cake is easier than you think with these simple tips:
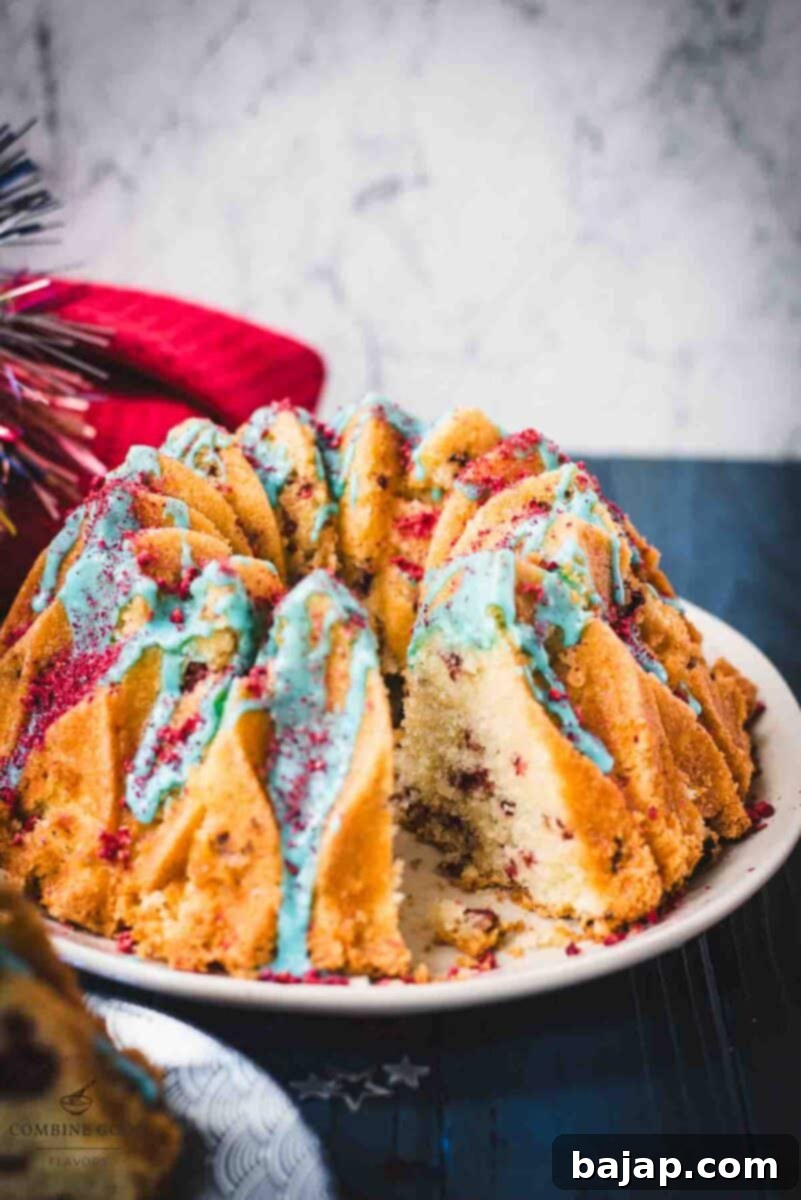
- The Art of the Drip: Don’t rush the glaze! For the most organic and visually appealing effect, slowly spoon or drizzle the blue glaze over the top of your completely cooled cake. Start by applying a generous amount to the top ridge of the Bundt, then gently guide it to cascade down the sides. Allow it to naturally drip in varying lengths. This creates a more dynamic and artistic “burst” effect, mimicking the beautiful unpredictability of fireworks. There’s truly no need for perfection here; the uneven drips add to its charm.
- Sticky Situations (in a good way!): The key to getting your crushed freeze-dried raspberries to adhere perfectly is to sprinkle them immediately after applying the blue glaze, while the glaze is still wet and tacky. This ensures they stick firmly and don’t just roll off.
- Amp Up the Sparkle: If you really want your Firecracker Bundt Cake to shimmer and shine like real fireworks, a delicate dusting of edible glitter (silver or iridescent works beautifully) is the secret. Apply it over the glaze and raspberries using a small, dry brush for a magical, party-ready finish. For a more subtle effect, patriotic star-shaped sprinkles can also add a delightful touch of whimsy.
- Placement is Key: For photographing or serving, place your decorated Bundt cake on a contrasting platter or cake stand to really make its colors pop. A simple white or silver stand will highlight the vibrant red, white, and blue hues.
🍽 Essential Equipment for Your Firecracker Bundt Cake
Having the right tools on hand makes the baking process enjoyable and ensures the best results for your show-stopping **Bundt cake**. Here’s a list of the equipment you’ll need:
- Bundt Cake Pan (10-12 cup capacity): This is, of course, essential! A good quality non-stick Bundt pan with a 10-12 cup capacity will give your cake its signature impressive shape. A pan with a more intricate design, like a Crown Bundt Pan, will hold the glaze beautifully and enhance the “fireworks” effect.
- Stand Mixer or Hand Mixer: Crucial for creaming the butter and sugar and incorporating the egg whites, ensuring a light and airy batter. While a stand mixer offers convenience, a good hand mixer will work perfectly too.
- Mixing Bowls: You’ll need at least two – one for dry ingredients and one for wet, plus a small one for the glaze. Having multiple bowls simplifies the process.
- Whisk & Spatula: A whisk for aerating dry ingredients and combining the glaze, and a rubber spatula for gently folding in the white chocolate and raspberries, as well as scraping down the sides of your mixing bowl.
- Cooling Rack: Essential for allowing your Bundt cake to cool completely and evenly, preventing a soggy bottom and preparing it for glazing.
- Ice Cube Tray (for freezing egg yolks): A handy item if you plan to save your leftover egg yolks (which we highly recommend!). This makes portioning and freezing them incredibly easy.
💭 Top Tip: Master the Art of Freezing Egg Yolks
When making a white cake that only calls for egg whites, it’s common to wonder what to do with the leftover egg yolks. Don’t let those precious yolks go to waste! They are rich, flavorful, and perfect for a multitude of other recipes. Freezing them successfully is simple with this trick:
- The Gelatinous Problem: Raw egg yolks, when frozen and thawed without preparation, can become thick and gelatinous, making them difficult to use in recipes.
- The Solution – Additives: To prevent this texture change, you need to add a small amount of a “stabilizer” before freezing:
- For Savory Dishes: If you plan to use the yolks in savory recipes (like custards, hollandaise sauce, or enriched pasta dough), whisk them gently with a tiny pinch of salt (about ⅛ teaspoon per 4 yolks).
- For Sweet Dishes: If you’ll use them for sweet bakes (like cookies, puddings, or my upcoming chocolate sprinkle egg yolk muffins!), whisk them gently with a little sugar (about ¼ teaspoon per 4 yolks).
- Freezing Process: Once whisked with the additive, pour the prepared yolks into an ice cube tray. Each compartment often holds about one yolk’s worth. Freeze until completely solid.
- Storage: Once frozen solid, transfer the egg yolk cubes to a labeled freezer-safe bag or container. Label with the date and whether they were treated with salt or sugar.
- Shelf Life: Frozen egg yolks will keep beautifully for up to 3 months, ready to be thawed and incorporated into your next culinary creation. This simple method ensures you get to enjoy every part of your eggs and reduces food waste!
🙋🏻 Frequently Asked Questions About the Firecracker Bundt Cake
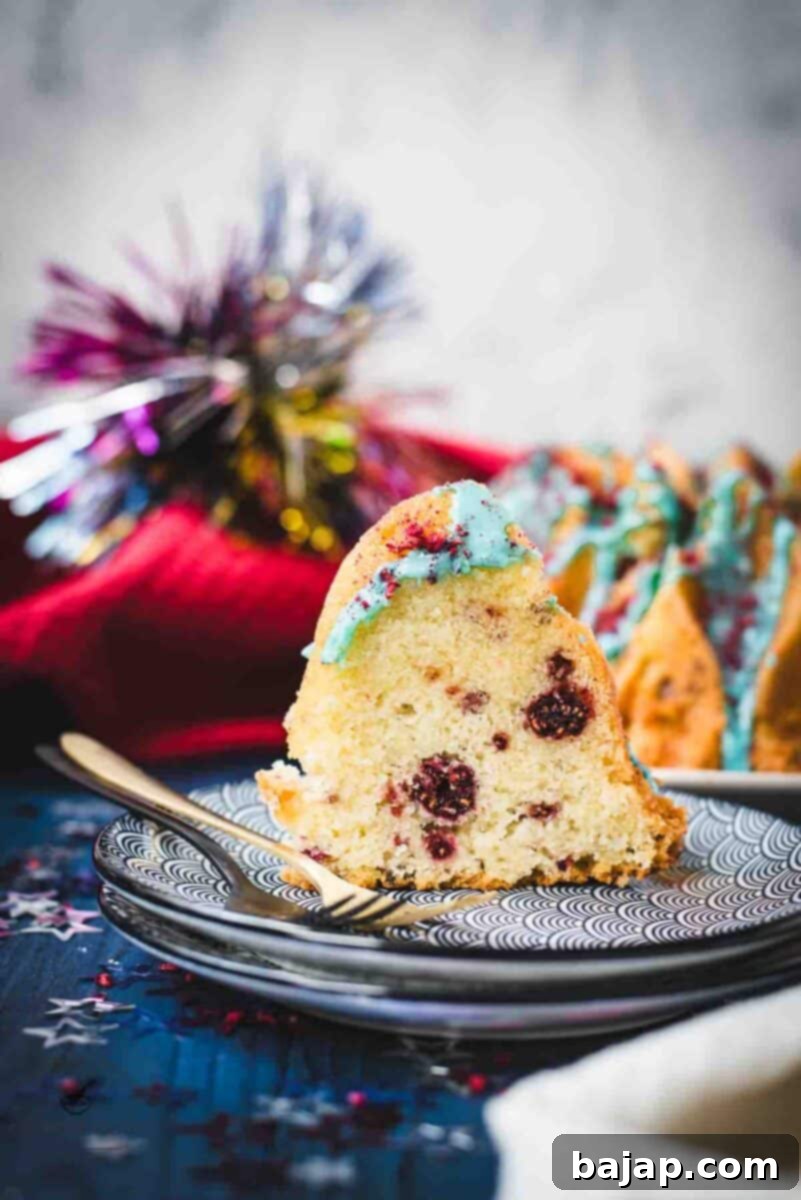
It’s a common question! Fresh berries contain a high water content, which can cause several issues in a cake batter: they tend to sink to the bottom during baking, release too much moisture making the cake soggy around them, and their color can bleed into the white cake. Freeze-dried berries, on the other hand, provide an intense burst of concentrated berry flavor and vibrant red color without adding any excess moisture. They also maintain their shape and distribute beautifully throughout the batter, ensuring that perfect “firecracker” flecked appearance. Stick with freeze-dried for the best texture and visual appeal!
I highly recommend using a high-quality, non-stick Crown Bundt Pan by Nordic Ware for this recipe. The intricate details of the crown shape not only make the cake look incredibly elegant but also create beautiful ridges and crevices that are perfect for catching and showcasing the blue drip glaze. The standard 10-12 cup capacity is ideal for this recipe, ensuring the cake bakes evenly and rises to fill the pan beautifully. Always remember to grease and flour your Bundt pan thoroughly, especially with more detailed designs, to ensure a clean release.
While this recipe hasn’t been specifically tested with gluten-free flours, you can often achieve good results by substituting the all-purpose flour with a 1:1 gluten-free baking flour blend that contains xanthan gum. Just be aware that the texture might vary slightly, and baking times could differ. Always check for doneness with a toothpick. The glaze itself is naturally gluten-free.
Adjusting the glaze consistency is simple! If your glaze is too thin and runny (it will drip too quickly), add a small amount of powdered sugar, about half a teaspoon at a time, and whisk until it thickens. If it’s too thick and doesn’t drip easily, add milk or water, a quarter teaspoon at a time, whisking until it reaches a thick but pourable consistency. You want it to flow slowly down the sides, not just slide off.
Other Patriotic Recipes for You to Try
Looking for more ways to celebrate the Fourth of July with delicious red, white, and blue treats? Explore these other fantastic recipes from our collection:
- Patriotic Fourth of July No-Bake Cheesecake
- No-Bake 4th of July Fruit Tart
- Festive 4th of July Cupcakes
- Refreshing 4th of July Margarita
- Best 4th of July No-Bake Desserts {roundup}
- Elegant Blue Lady Cocktail
- Crisp Vermouth and Tonic
- Smooth White Vermouth Cocktail
If you make this dazzling Firecracker Bundt Cake, please let me know how you liked it by giving it a ★★★★★ star rating and leaving a comment below. Your feedback is truly awesome and helps others discover delicious recipes! You can also sign up for our Newsletter to receive weekly delicious homemade recipes directly in your inbox, or follow me on Pinterest or Instagram and share your creation with me. Just tag me @combinegoodflavors and hashtag #combinegoodflavors, so I don’t miss seeing your beautiful bake!
📖 Recipe
A Red, White & Blue Firecracker Bundt Cake That Pops
Nora
Save RecipeSaved!
Pin Recipe
Equipment
-
Bundt cake pan (10-12 cup capacity)
-
Stand mixer or hand mixer
-
Mixing bowls
-
Whisk & spatula
-
Cooling Rack
-
Ice cube tray (for freezing egg yolks)
Ingredients
White Cake with Freeze-Dried Raspberries
- 2 ½ cups All-purpose flour
- 2 teaspoon Baking powder
- ½ teaspoon Salt
- ¾ cup Unsalted butter softened
- 1 ¾ cups Granulated sugar
- 4 Large egg whites room temp
- 1 teaspoon Vanilla extract
- ¾ cup Whole milk room temp
- ½ cup Finely chopped white chocolate or white chocolate chips
- ½ cup Freeze-dried raspberries lightly crushed (not powdered!)
Blue Drip Glaze
- ½ cup Powdered sugar
- 1-2 teaspoon Milk or water
- Blue gel food coloring
To Decorate
- Extra freeze-dried berry dust
Instructions
-
Preheat your oven and grease a Bundt pan well with butter or baking spray, then dust with flour.
-
In a mixing bowl, whisk together the dry ingredients (2 ½ cups All-purpose flour, 2 teaspoon Baking powder, ½ teaspoon Salt).2 ½ cups All-purpose flour, 2 teaspoon Baking powder, ½ teaspoon Salt
-
In a stand mixer or large bowl, cream ¾ cup Unsalted butter and 1 ¾ cups Granulated sugar until light and fluffy.¾ cup Unsalted butter, 1 ¾ cups Granulated sugar
-
Add 4 Large egg whites (one at a time), mixing well after each addition.4 Large egg whites
-
Add 1 teaspoon Vanilla extract. Alternate adding the dry ingredients and ¾ cup Whole milk, beginning and ending with the dry. Mix just until combined.1 teaspoon Vanilla extract, ¾ cup Whole milk
-
Fold in ½ cup Finely chopped white chocolate and ½ cup Freeze-dried raspberries.½ cup Finely chopped white chocolate, ½ cup Freeze-dried raspberries
-
Pour the batter into the prepared pan and bake until a toothpick comes out clean.
-
Cool the cake in the pan for 15 minutes, then turn out onto a wire rack to cool completely.
-
For the glaze, whisk ½ cup Powdered sugar with 1-2 teaspoon Milk or water until smooth. Tint with Blue gel food coloring. Adjust consistency if needed.½ cup Powdered sugar, 1-2 teaspoon Milk or water, Blue gel food coloring
-
Drizzle the glaze over the cooled cake, letting it drip slightly down the sides.
-
Finish with a sprinkle of Extra freeze-dried berry dust and optional decorations.Extra freeze-dried berry dust
Nutrition values are estimates only, using online calculators. Please verify using your own data.

⛑️ Food Safety Guidelines for Baking
When preparing any delicious recipe, especially baked goods, ensuring proper food safety is paramount. Follow these general guidelines to keep your kitchen and your guests safe:
- Temperature Control: Always cook foods to their minimum safe internal temperature. For cakes, while the toothpick test is common, ensuring the center is fully cooked is key.
- Cross-Contamination: Prevent cross-contamination by never using the same utensils or cutting boards on cooked food that previously touched raw ingredients, especially raw meat or eggs. Wash everything thoroughly between uses.
- Handwashing: Wash your hands frequently with soap and warm water, particularly after handling raw ingredients, before and after cooking, and before serving.
- Time and Temperature: Do not leave perishable foods, including baked goods with dairy-based glazes or fillings, sitting out at room temperature for extended periods (typically no more than two hours).
- Unattended Cooking: Never leave cooking food unattended on the stovetop or in the oven. Always stay vigilant when baking or cooking.
- Cooking Oils: If you’re doing any pan-frying or high-heat cooking (though not directly for this cake recipe), use oils with high smoking points to avoid harmful compounds.
- Ventilation: Always ensure good ventilation in your kitchen, especially when using a gas stove, to prevent the buildup of fumes.
For further comprehensive information and best practices on food safety, please check the official guidelines from the Safe Food Handling – FDA.
