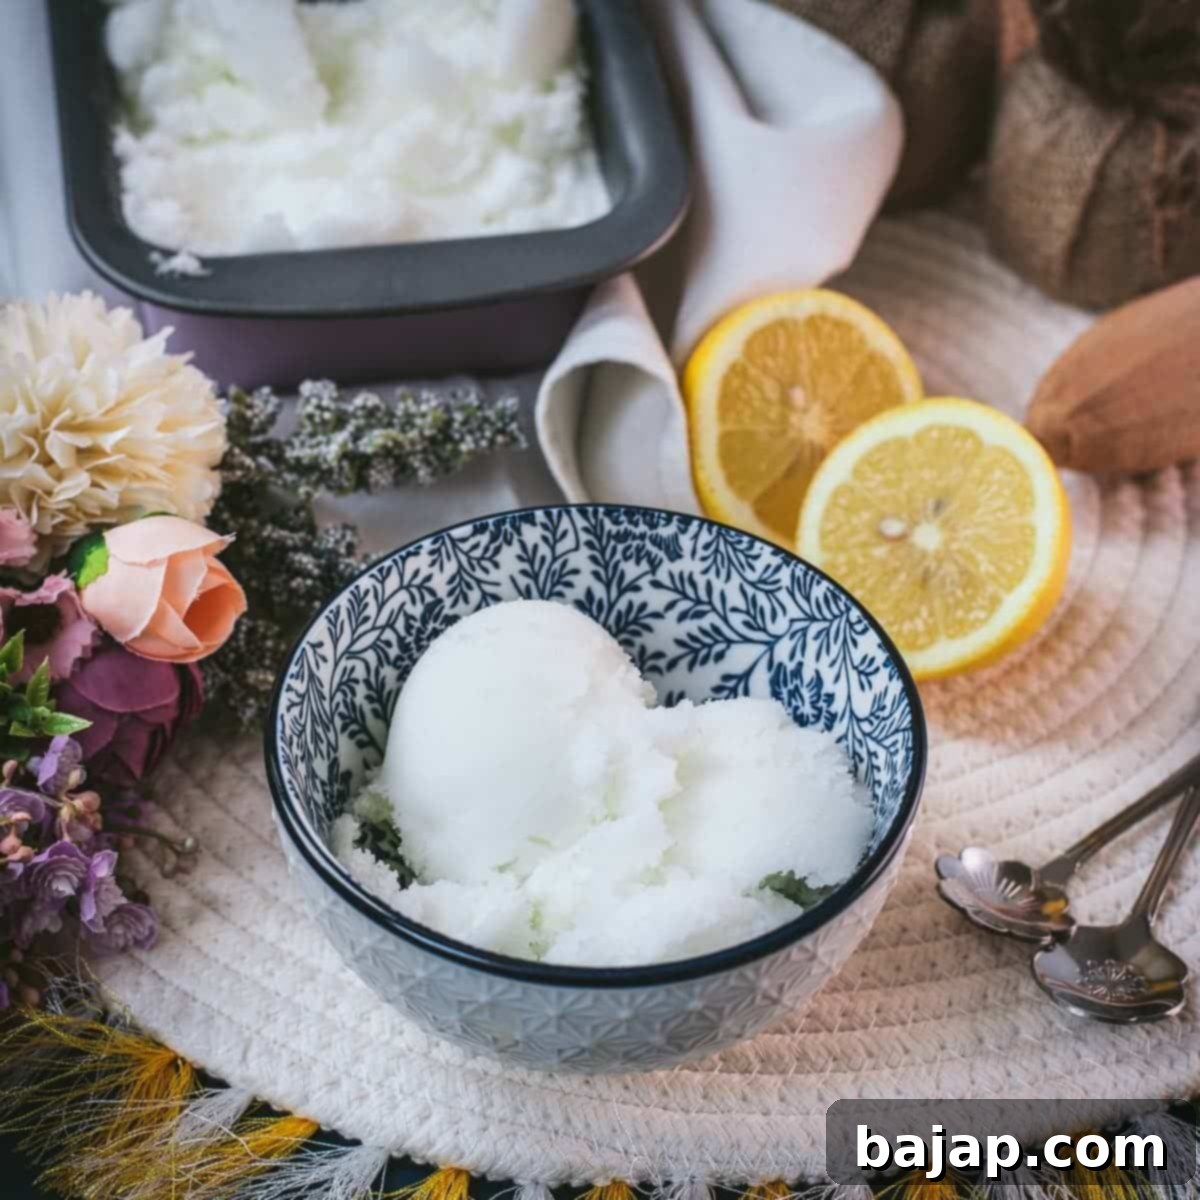
Zesty Homemade Lemon Sorbet: The Ultimate Refreshing Treat (KitchenAid & No-Churn Methods)
There’s nothing quite like the invigorating, zesty tang of homemade lemon sorbet to cut through the summer heat. This vibrant dessert is not only a fantastic palate cleanser and a delightful treat on its own, but it also serves as the star ingredient in a sophisticated Italian cocktail: the Sgroppino. Imagine a creamy, frothy blend of lemon sorbet, vodka, and prosecco – pure bliss!
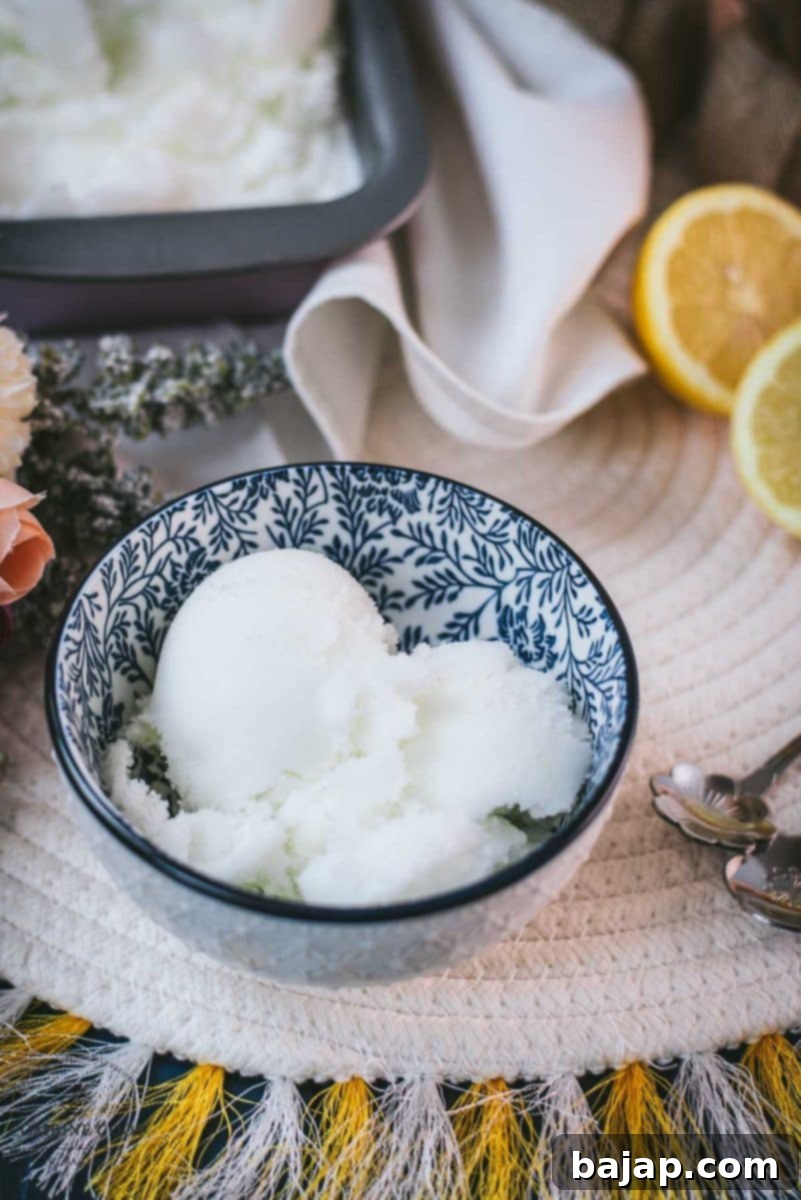
Today, we’re diving into the simple yet incredibly rewarding process of making your very own lemon sorbet. We’ll explore two fantastic methods: one using the versatile KitchenAid Ice Cream Maker attachment for that perfectly smooth consistency, and another easy “no-churn” technique for those without an ice cream maker. Both approaches are surprisingly straightforward and yield incredibly satisfying results. Get ready to create this deliciously easy and wonderfully refreshing treat!
Did you know that June is National Lemon Month? This makes it the absolute perfect time to celebrate all things lemon. So, let’s seize the opportunity to whip up some sunshine in a bowl!
🥘 Essential Ingredients for Zesty Lemon Sorbet
Crafting the perfect lemon sorbet requires just a handful of simple, high-quality ingredients. Each plays a crucial role in achieving that ideal balance of tangy flavor and smooth texture.
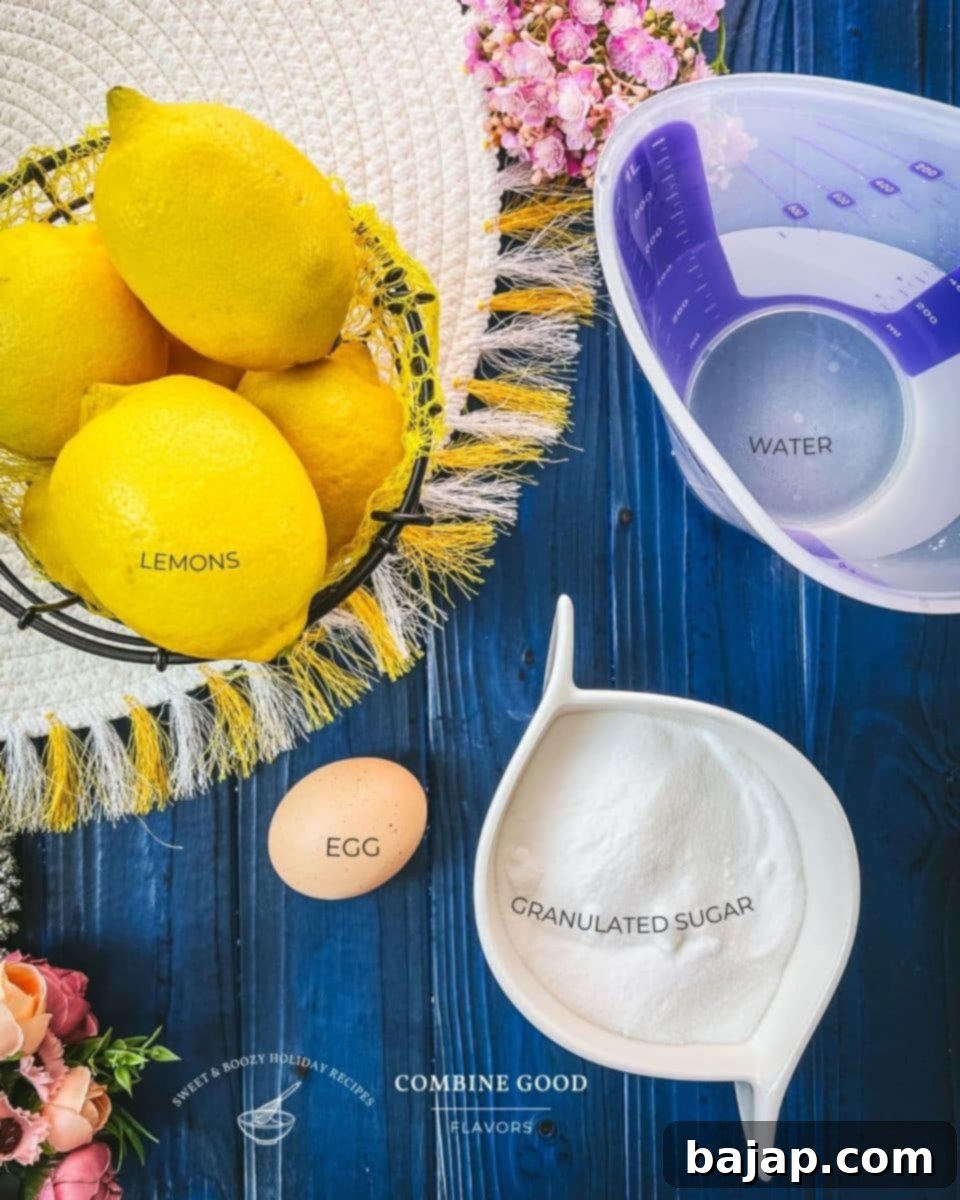
- Lemons, organic: The star of our show! You’ll need whole lemons, and opting for organic is highly recommended. Not only does it ensure a cleaner, pesticide-free taste, but it’s especially important since we’ll be using the peels to infuse extra flavor into our syrup. Freshly squeezed lemon juice is non-negotiable for the best flavor; bottled juice simply won’t compare.
- Water: Simple, yet essential. Use filtered water to ensure the purest lemon flavor shines through without any off-tastes from tap water impurities. The water will combine with sugar to create a simple syrup, which is the base for our sorbet.
- Granulated Sugar: This is more than just a sweetener; sugar is vital for the sorbet’s texture. It lowers the freezing point of the mixture, preventing it from freezing into a solid block of ice and instead creating a smooth, scoopable consistency. Stick to white granulated sugar for its neutral flavor and consistent results. Brown sugar, while delicious in other contexts, can alter both the color and flavor of a delicate lemon sorbet.
- Egg White: This might seem like an unusual addition for sorbet, but a single egg white works wonders. When whisked and incorporated, it helps create an incredibly smooth, almost ethereal texture by introducing tiny air pockets and preventing the formation of large ice crystals. This results in a lighter, more professional-tasting sorbet. Don’t toss those leftover egg yolks! They freeze wonderfully and are perfect for making delicious cookies or other rich desserts. I have a couple of great leftover egg yolk cookie recipes on my blog that you might enjoy!
For precise quantities, please refer to the recipe card below.
🔪 Step-by-Step Instructions for Homemade Lemon Sorbet (KitchenAid Method)
Follow these simple steps to create a wonderfully refreshing lemon sorbet using your KitchenAid ice cream maker attachment. Remember, preparation is key for the best results!
Step 1: Extract Lemon Juice and Preserve Peels
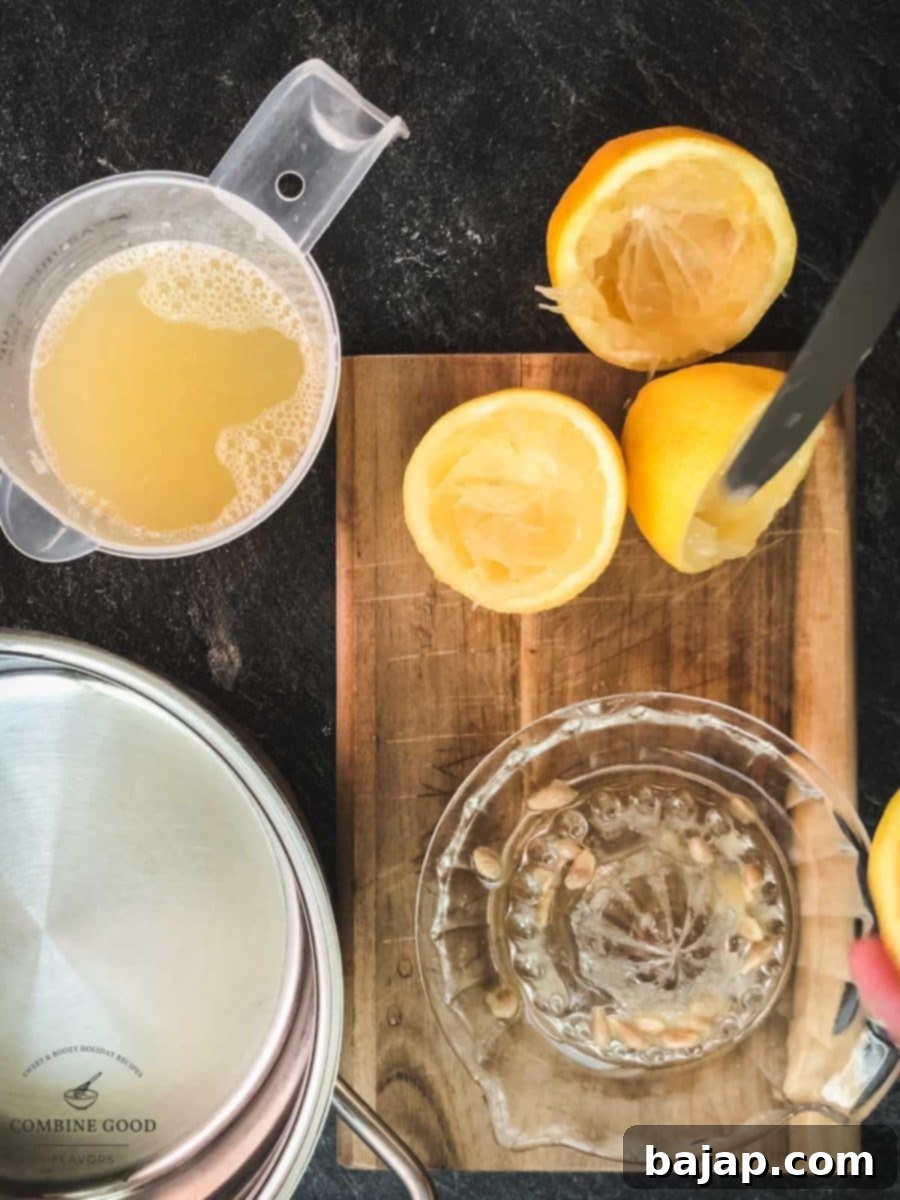
Begin by thoroughly washing your organic lemons in hot water to remove any residues. Pat them dry. Using a sturdy lemon squeezer, extract all the juice, straining it to remove any seeds or excessive pulp. Set this fresh lemon juice aside. Importantly, don’t discard those fragrant lemon peels! Their essential oils will be crucial for infusing a deep lemon flavor into our syrup.
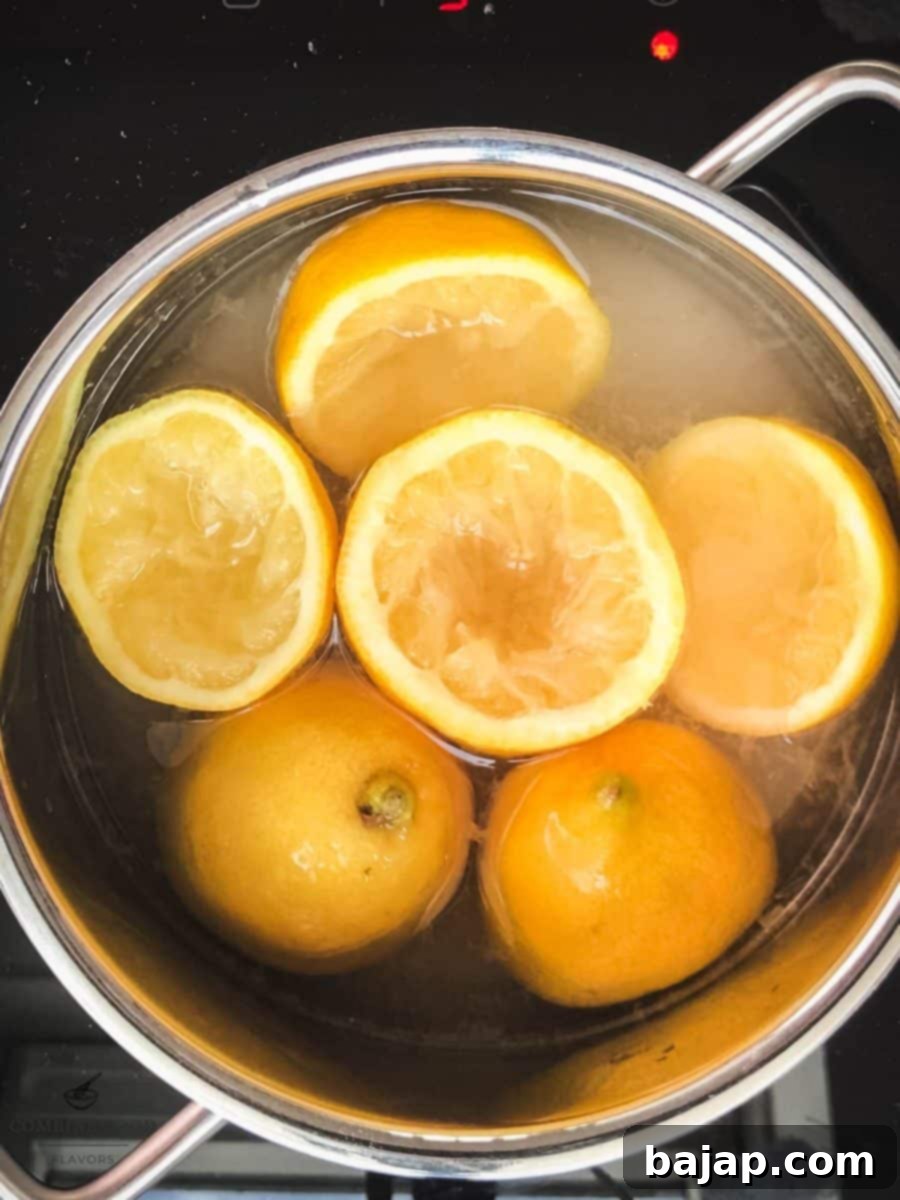
Step 2: Create the Lemon-Infused Simple Syrup
In a small saucepan, combine the measured water and granulated sugar. Add the reserved lemon peels. Bring the mixture to a gentle boil over medium heat, stirring occasionally until the sugar is completely dissolved. Once boiling, remove the pan from the heat and let the lemon peels infuse in the syrup for about 15 minutes. This steeping process allows the aromatic oils from the peels to release, imparting a deeper, more complex lemon flavor to the syrup. After infusion, remove and discard the peels.
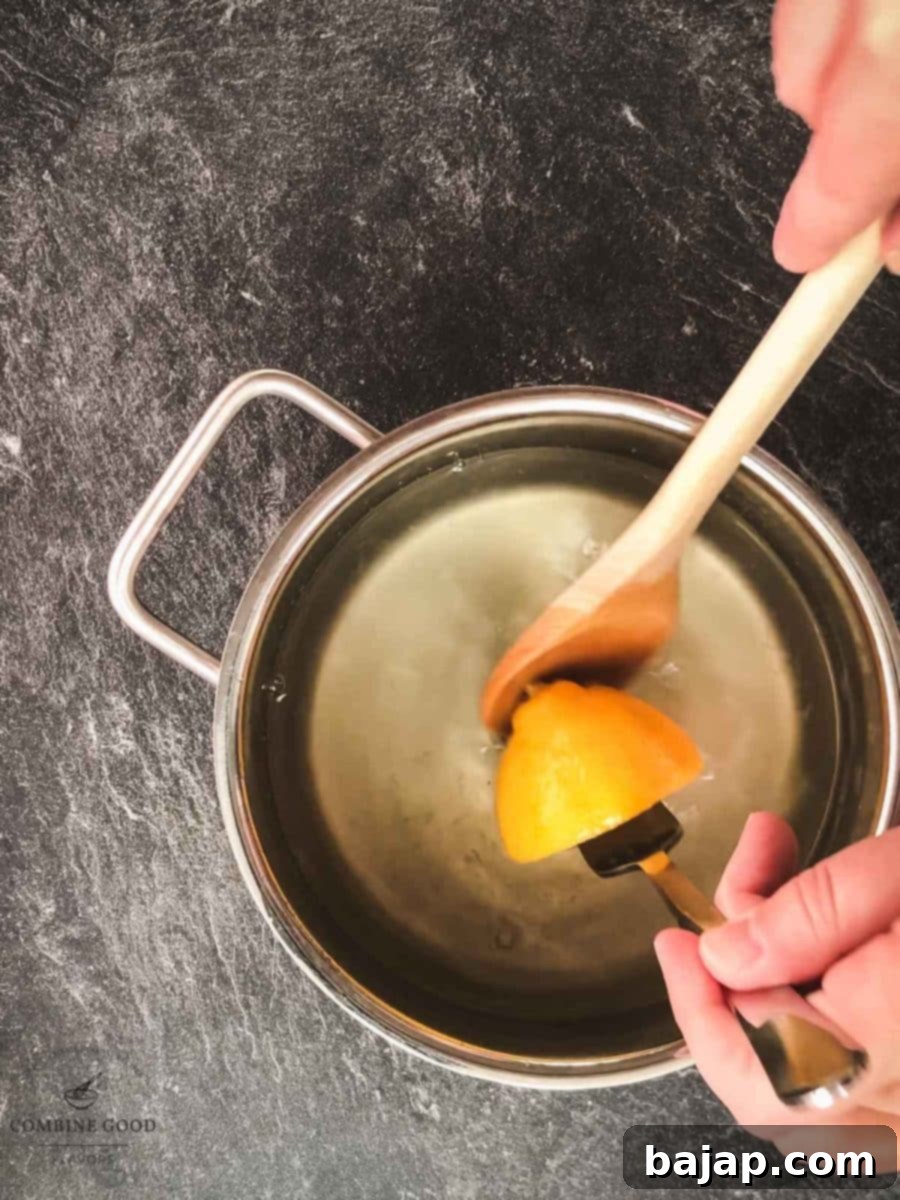
Step 3: Combine Juice and Syrup, Then Cool
Pour the freshly squeezed lemon juice into the warm, lemon-infused simple syrup. Stir gently to combine. It’s crucial to allow this entire mixture to cool down completely to room temperature before moving to the next step. For even better results and a quicker churning time, you can chill the mixture in the refrigerator for at least 2-3 hours, or even overnight. A cold base mixture is essential for efficient churning in your ice cream maker.
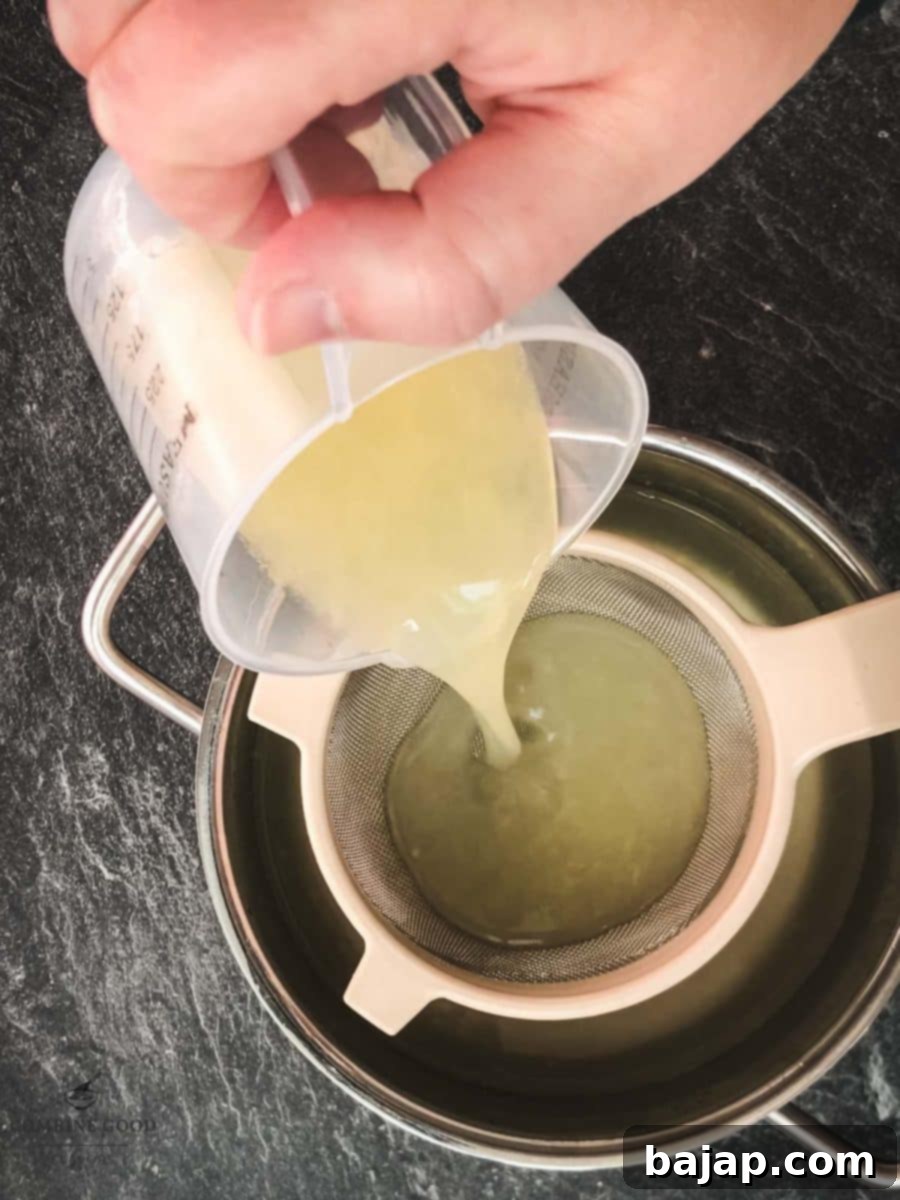
Step 4: Prepare the Egg White
Carefully separate one egg, ensuring no yolk gets into the white. Whisk the egg white in a clean bowl until it reaches soft peaks. This means the peaks will hold their shape but still be slightly droopy. Avoid over-whisking to stiff peaks, as this can make it harder to incorporate smoothly. Remember to save those valuable egg yolks for other baking adventures—they freeze beautifully for later use!
Step 5: Fold Egg White into Lemon Syrup
Gently fold the whisked egg white into the cooled lemon syrup mixture. Don’t worry if there are a few small lumps or if it doesn’t look perfectly uniform at this stage; the churning action of the ice cream maker will expertly smooth everything out and fully incorporate the air for that signature creamy sorbet texture.
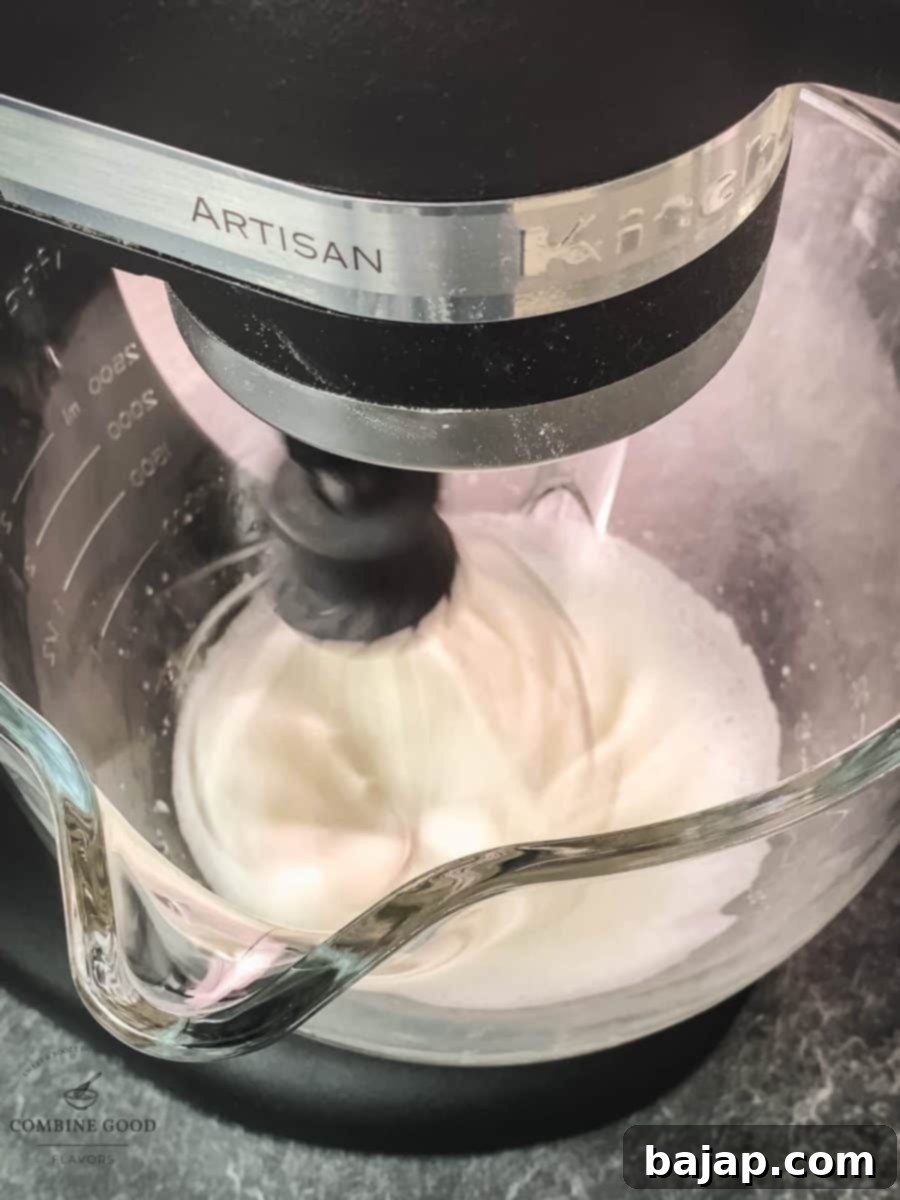
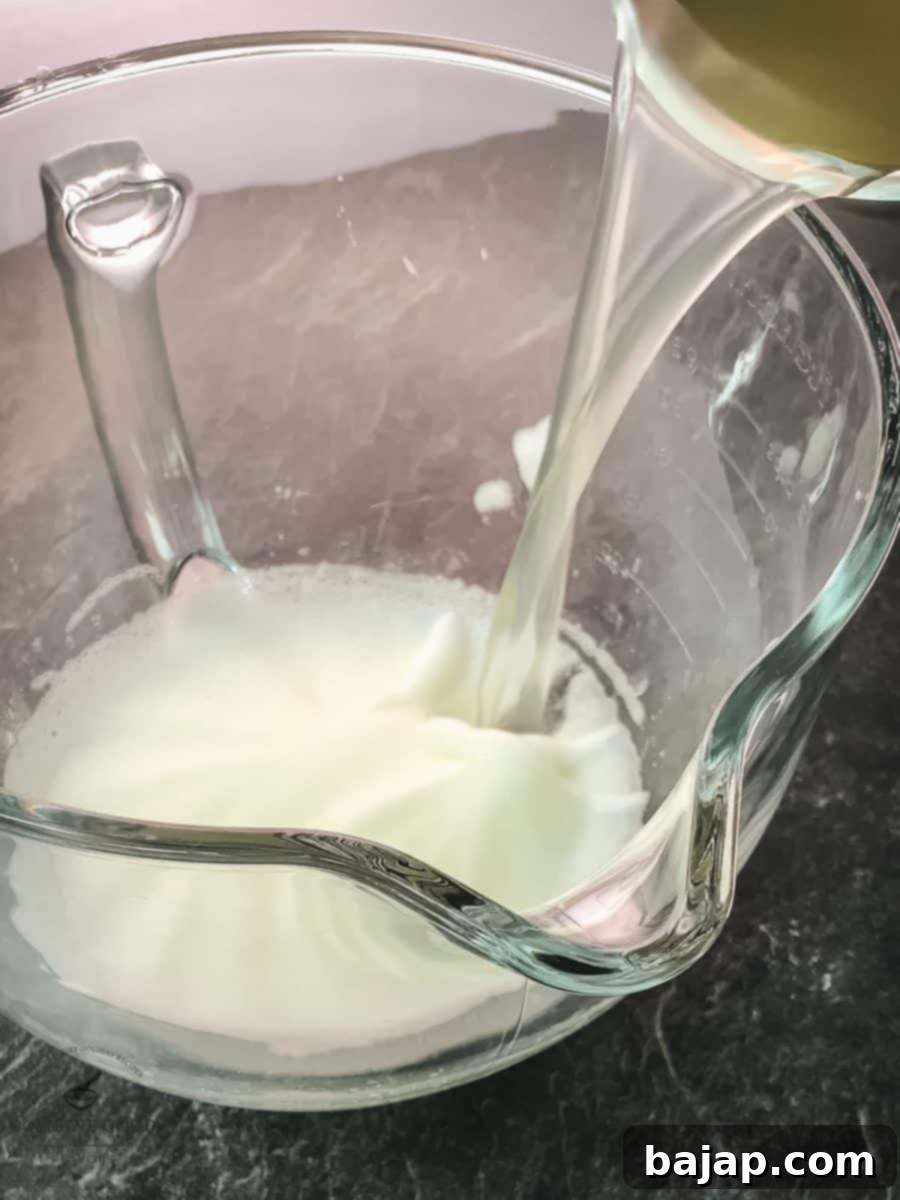
Step 6: Set Up Your KitchenAid Ice Cream Maker
Ensure your KitchenAid ice cream maker bowl has been frozen for at least 15-24 hours. A thoroughly frozen bowl is critical for proper sorbet formation. Attach the frozen bowl to your KitchenAid stand mixer, secure the dasher (paddle), and then lower the mixer head. Turn the mixer on to its lowest speed setting, then carefully pour the lemon-egg white mixture into the churning bowl. Starting the churning before adding the mixture helps prevent it from freezing solid to the bottom of the bowl immediately.
Step 7: Churn and Freeze
Allow the mixture to churn for 30-40 minutes, or until it reaches a soft-serve consistency. The sorbet will significantly increase in volume and thicken as it churns. Once churned, transfer the soft sorbet to an airtight freezer-safe container. Press a piece of parchment paper or plastic wrap directly onto the surface of the sorbet to prevent ice crystals from forming, then seal the container with a lid. Freeze for at least 4 hours, or preferably overnight, until firm.
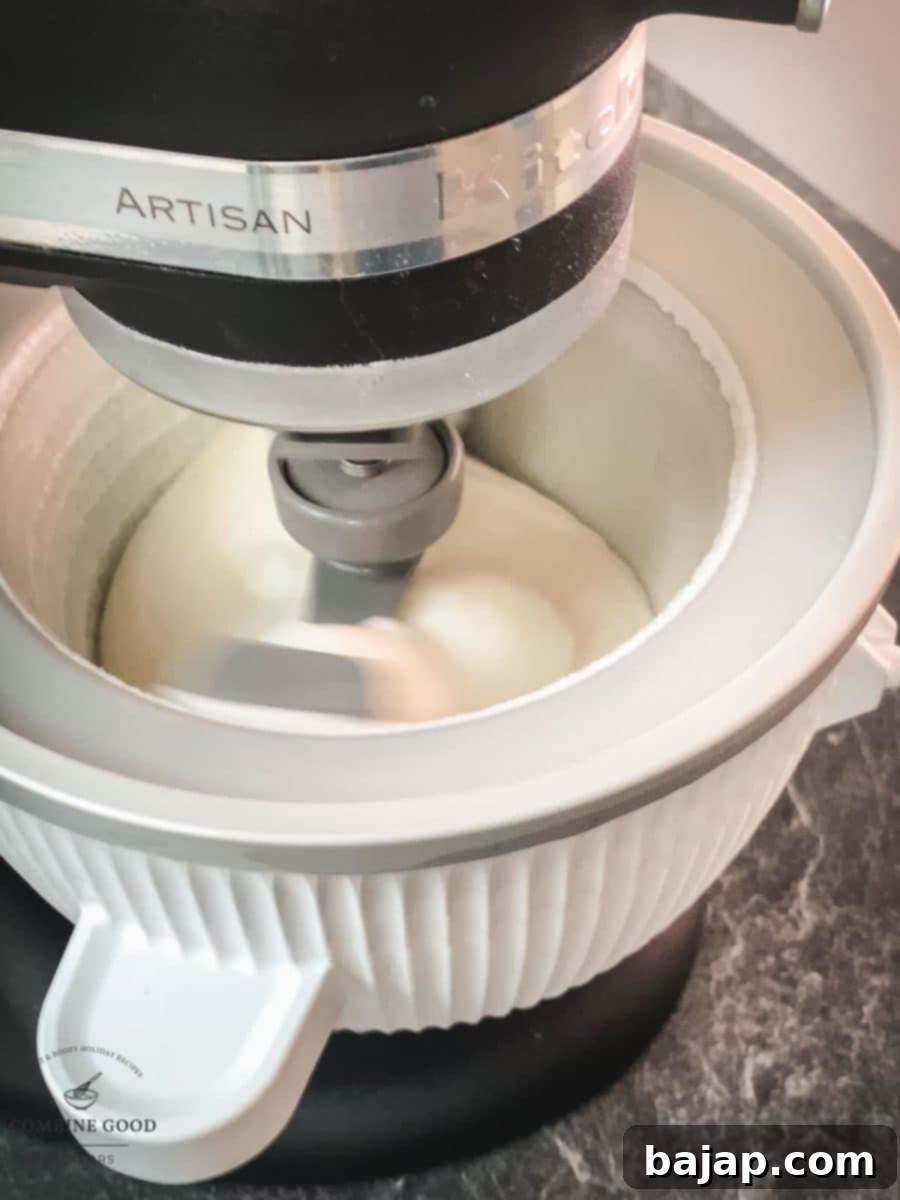
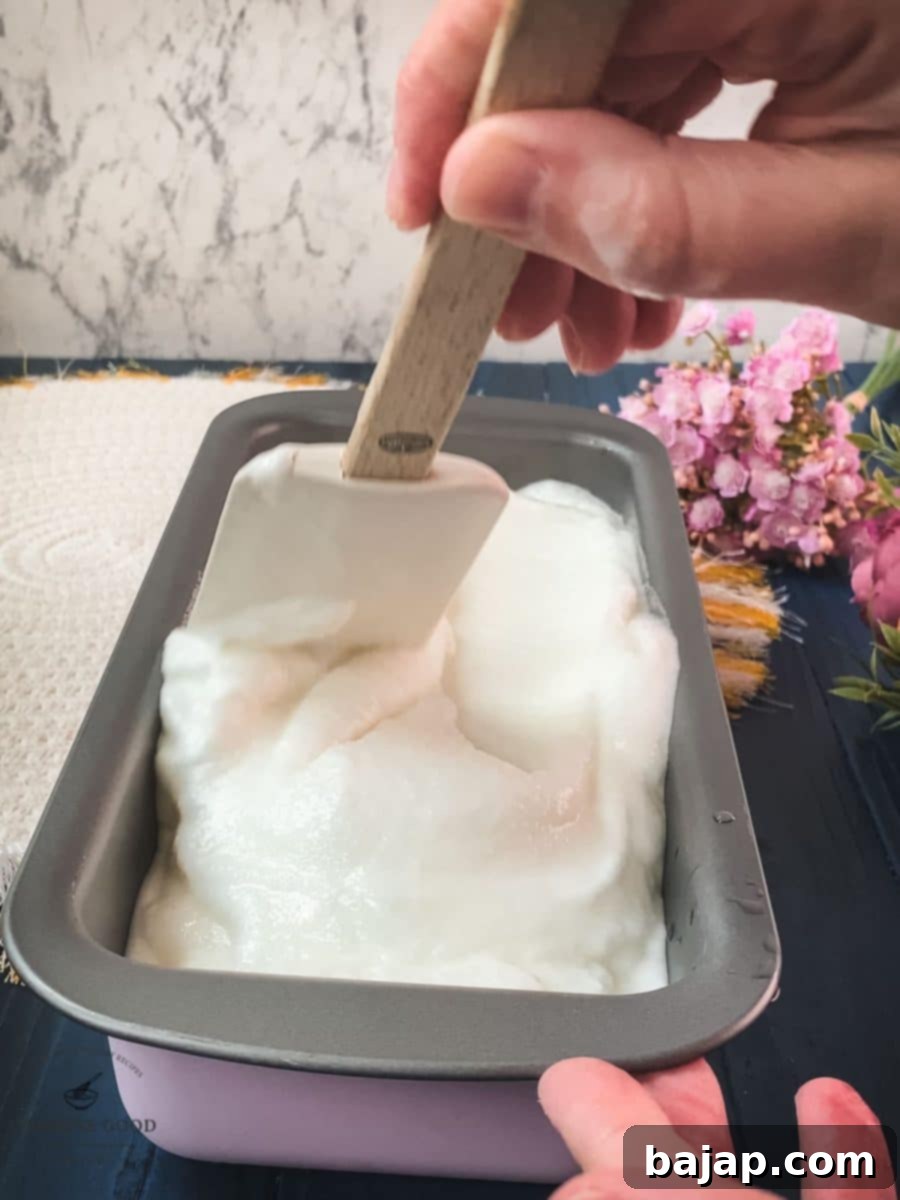
Step 8: Serve and Enjoy!
Before serving, allow the frozen sorbet to soften at room temperature for about 10-15 minutes. This will make it easier to scoop and ensure the perfect, smooth texture. It’s truly perfect for a refreshing Sgroppino, or simply garnished with fresh mint leaves, elegant lemon twists, or a sprinkle of dark chocolate shavings for an extra touch of indulgence. Enjoy the bright, invigorating taste of homemade lemon sorbet!
❄️ No-Churn Lemon Sorbet: No Ice Cream Maker Required!
Don’t have an ice cream maker? No problem! You can still achieve a delicious and surprisingly smooth lemon sorbet with a simple “no-churn” method. It requires a bit more manual effort, but the results are just as satisfying.
How to Make No-Churn Lemon Sorbet:
- Prepare Ingredients: In a small saucepan, combine the juice of 3 lemons, 1 ¾ cups of filtered water, and 1 cup of granulated sugar. Add the lemon peels (from the 3 juiced lemons) for infusion.
- Boil and Infuse: Bring the mixture to a boil over medium heat, stirring until the sugar dissolves. Once boiling, remove it from the heat and let the lemon peels infuse for 15 minutes to maximize flavor. After infusion, remove and discard the peels. Allow the syrup to cool completely to room temperature, and ideally, chill it in the refrigerator for at least 2 hours.
- Mix and Freeze: Pour the cooled mixture into a shallow, freezer-safe container (a metal pan or a glass baking dish works well, as a larger surface area helps it freeze faster). Place the container in the freezer.
- Stir Periodically: This is the crucial “churning” step for no-churn sorbet. Every 30-45 minutes, remove the container from the freezer. Use a fork or a sturdy whisk to vigorously stir and scrape the mixture, breaking up any ice crystals that have formed, and distributing the softer, more liquid parts. Continue this process for approximately 3-4 hours, or until the sorbet is uniformly icy but smooth, similar to a granita or slushy texture.
- Final Freeze and Serve: Once you’ve achieved the desired consistency through stirring, smooth out the top, cover the container tightly (again, parchment paper directly on the surface helps), and freeze for a final 2-3 hours until it’s firm enough to scoop.
This method, while more hands-on, effectively breaks up ice crystals through agitation, resulting in a delightfully smooth texture that rivals sorbet made with an ice cream maker.
💡 Tips for the Perfect Lemon Sorbet
- Use Fresh Lemons: This cannot be stressed enough. Freshly squeezed lemon juice and zest are paramount for the vibrant, authentic flavor of your sorbet. Bottled lemon juice will yield a flat, less appealing taste.
- Chill Your Mixture Thoroughly: Whether you’re using an ice cream maker or the no-churn method, ensure your sorbet base is as cold as possible before freezing or churning. This helps the mixture freeze faster and prevents the formation of large ice crystals, resulting in a smoother texture.
- Don’t Over-Churn: With an ice cream maker, churn only until the sorbet reaches a soft-serve consistency. Over-churning can introduce too much air or make it too stiff, affecting the final texture.
- Proper Storage is Key: Always store homemade sorbet in an airtight container with a piece of parchment paper or plastic wrap pressed directly onto the surface to prevent freezer burn and the formation of ice crystals.
- Allow to Soften Before Serving: Sorbet freezes harder than ice cream due to its lower fat content. For the best scoopable texture and to fully enjoy its refreshing qualities, let it sit at room temperature for 10-15 minutes before serving.
🌈 Variations & Customizations
While classic lemon sorbet is undeniably delicious, don’t hesitate to get creative and experiment with these delightful variations:
- Herbal Infusions: Add fresh herbs like mint, basil, or rosemary to your simple syrup during the infusion stage (Step 2) for a sophisticated twist. Strain them out along with the lemon peels.
- Berry Blast: Blend in a handful of fresh or frozen raspberries, blueberries, or strawberries with the lemon juice before combining with the syrup. This creates a beautiful color and adds another layer of fruity flavor.
- Ginger Zing: Add a few slices of fresh ginger to the simple syrup while it boils and infuses for a subtle spicy kick. Remove before chilling.
- Spiked Sorbet (Adult Version): For a grown-up treat, add 1-2 tablespoons of Limoncello, vodka, or gin to the mixture before churning. Alcohol lowers the freezing point, so it can make the sorbet a bit softer.
- Lime or Orange Twist: Substitute some of the lemon juice and peels with fresh lime or orange for a different citrus profile. A combination of all three can also be wonderfully complex.
🌡️ Storage Guidelines
Homemade lemon sorbet is best enjoyed fresh, but it can be stored in the freezer for up to one month. To maintain its optimal freshness and prevent freezer burn, always transfer it to an airtight container immediately after churning. Press a piece of plastic wrap or parchment paper directly onto the surface of the sorbet before sealing the container with a lid. This extra barrier helps to prevent ice crystals from forming. When you’re ready to enjoy it, allow it to soften for a few minutes at room temperature for the best, most scoopable texture.
🥚 Delicious Recipes Using Leftover Egg Yolks
Don’t let those extra egg yolks go to waste! They are incredibly versatile and can be used to enrich a variety of delicious recipes. Here are some fantastic ideas:
- Homemade Advocaat Egg Liqueur
- Rich Walnut Cookies
- Leftover Egg Yolk Cookies with Jam
- Creamy Homemade Vanilla Ice Cream
- Elegant Linzer Cookies with Egg Liqueur
- Delicate Sour Cream Cookies
- Velvety Homemade Vanilla Sauce
🍽 Essential Equipment for Making Lemon Sorbet
Having the right tools makes the sorbet-making process smooth and enjoyable. Here’s what you’ll need:
- Lemon Squeezer: Essential for efficiently extracting fresh lemon juice without pulp or seeds. A sturdy hand juicer will make this task quick and mess-free.
- Saucepan: A small to medium-sized saucepan is perfect for making the simple syrup and infusing it with lemon peels.
- Wooden Spoon and Tablespoon: For stirring the syrup and for general mixing.
- Strainer: To ensure your lemon juice is free of seeds and pulp, and to remove the lemon peels from your infused syrup, resulting in a perfectly smooth sorbet base.
- KitchenAid Stand Mixer: The core of our churning method.
- Whisk Attachment: For easily and efficiently whisking the egg white to soft peaks.
- Mixing Bowl: The primary bowl for the stand mixer, used for whisking.
- Ice Cream Maker Attachment: This is the specialized bowl and dasher that transforms your liquid base into creamy sorbet. Remember to freeze the bowl for at least 15-24 hours beforehand!
- Ice Cream Container: An airtight, freezer-safe container specifically designed for ice cream or sorbet storage is ideal to prevent freezer burn and keep your sorbet fresh.
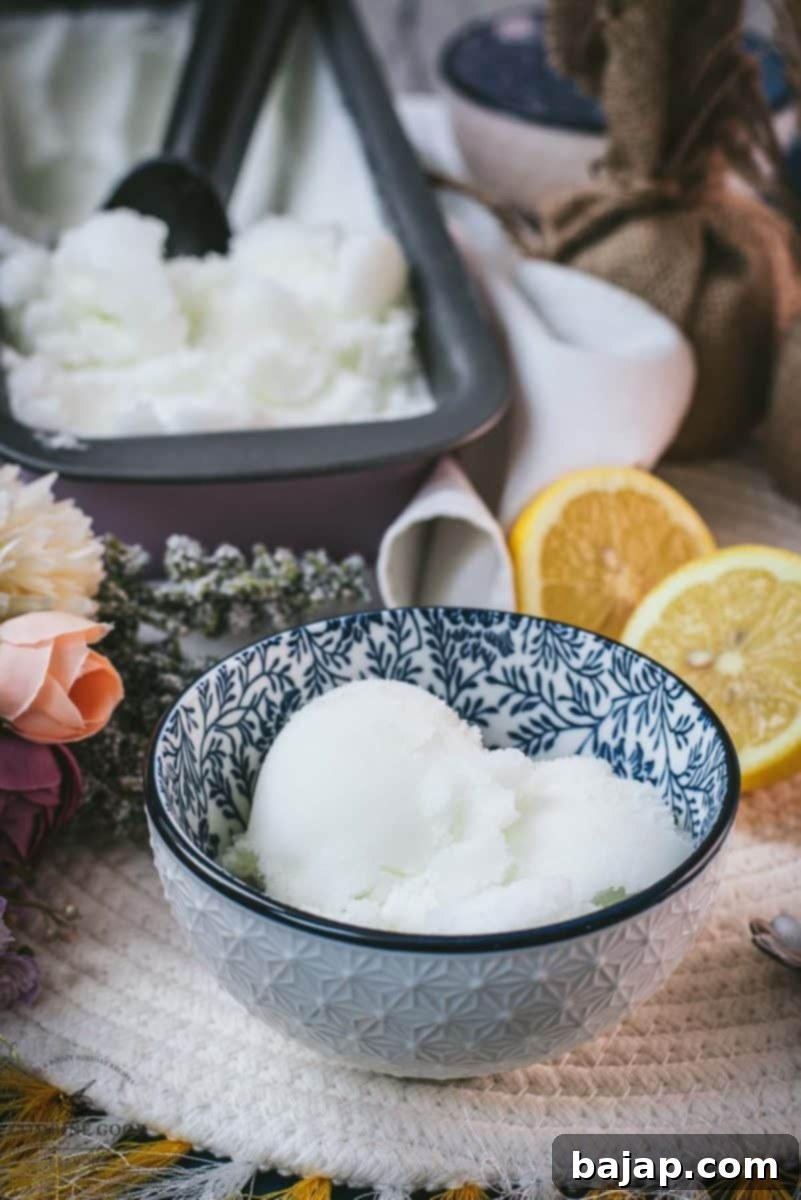
🙋🏻 Frequently Asked Questions (FAQ)
For the absolute best results and to ensure your sorbet (or ice cream) freezes properly, you should freeze your KitchenAid Ice Cream Maker bowl for a minimum of 15 hours. However, I highly recommend freezing it for at least 24 hours. This extra freezing time guarantees the bowl is thoroughly chilled, preventing issues like the mixture not freezing correctly or the churning process taking too long.
Storing leftover egg yolks properly is easy! Place them in an airtight container and cover them with a small amount of water or milk to prevent them from drying out and forming a skin. Store them in the refrigerator for up to two days. If you need to store them longer, you can freeze them for up to three months. To freeze, whisk them briefly with a pinch of salt (for savory uses) or sugar (for sweet uses) – about ⅛ teaspoon per four yolks – to prevent them from becoming too gelatinous when thawed.
🍋 More Zesty Lemon Recipes to Explore
If you love the bright, tangy flavor of lemons, you’ll want to check out these other fantastic recipes from our blog:
- Lemon White Chocolate Cookies
- No-Bake Lemon Cheesecake
- How to Make Fresh Lemon Juice
- Classic Gin and Tonic with Lemon
- The Perfect Lemon Twist Garnish
- Refreshing Lemon Punch
- Delightful Lavender Lemon Muffins
- Simple Lemon Sugar Cookies
- How Much Lemon Juice is in One Lemon?
- Raspberry Lemon Drop Martini Recipe
- Best Drinks with Lemon
- Celebrate National Lemon Month
- Limoncello Vodka Cocktail
- Limoncello Martini Recipe
If you try this refreshing lemon sorbet recipe, please let me know how you liked it by giving it a ★★★★★ star rating and leaving a comment below. Your feedback is truly awesome and helps others discover delicious recipes! You can also sign up for our Newsletter or follow me on Pinterest or Instagram to share your creation with me. Just tag me @combinegoodflavors and use the hashtag #combinegoodflavors, so I don’t miss it!
📖 Recipe Card: Delicious Homemade Lemon Sorbet (KitchenAid Maker)
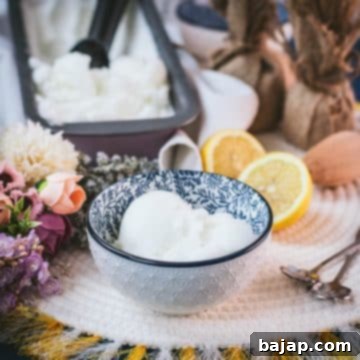
Delicious Homemade Lemon Sorbet {Ice cream maker}
By Nora
Pin Recipe
10 minutes
1 hour
1 hour 10 minutes
Dessert
Global cuisine
8 servings
110 kcal
Equipment
-
Lemon squeezer
-
Saucepan
-
Wooden spoon and tablespoon
-
Strainer
-
KitchenAid Stand Mixer
-
Whisk attachment
-
Mixing bowl
-
Ice cream maker attachment
-
Airtight, freezer-safe container
Ingredients
- 3 Lemons organic
- 1 ¾ cups Water
- 1 cup Granulated Sugar
- 1 Egg white
Instructions
-
Wash the 3 Lemons in hot water, pat them dry, and squeeze out the juice. Set the juice aside, but keep the peels!3 Lemons
-
Combine 1 ¾ cups Water, 1 cup Granulated Sugar, and lemon peels in a small pan and bring to a boil. Let it infuse for 15 minutes off the heat, then remove the peels.1 ¾ cups Water, 1 cup Granulated Sugar
-
Strain the lemon juice (to remove seeds and fibers) into the prepared syrup and allow the whole mixture to cool to room temperature.
-
Separate the egg and whisk 1 Egg white . Keep the yolk for other treats (they freeze well).1 Egg white
-
Mix the whisked egg white with the lemon syrup. Don’t worry about lumps; they’ll smooth out in the ice cream maker.
-
Attach the frozen bowl to your KitchenAid, don’t forget the dasher, and pour in the mixture.
-
Churn for 30-40 minutes, then transfer to an airtight container and freeze.
-
Let it soften slightly before serving. Perfect for a Sgroppino or garnished with mint leaves, lemon twists, or dark chocolate sprinkles!
Never miss a recipe!Sign up and let me spoil you weekly with a delicious homemade recipe!
lemon sorbet
Like this recipe?Mention @combinegoodflavors or tag #combinegoodflavors!
Nutrition values are estimates only, using online calculators. Please verify using your own data.
Calories: 110kcal |
Carbohydrates: 29g |
Protein: 1g |
Fat: 0.2g |
Saturated Fat: 0.02g |
Polyunsaturated Fat: 0.04g |
Monounsaturated Fat: 0.01g |
Sodium: 10mg |
Potassium: 63mg |
Fiber: 1g |
Sugar: 26g |
Vitamin A: 9IU |
Vitamin C: 21mg |
Calcium: 13mg |
Iron: 0.3mg

⛑️ Important Food Safety Guidelines
When cooking or preparing any food, especially those involving raw ingredients like egg whites, always prioritize food safety to prevent foodborne illnesses. Please keep the following in mind:
- Minimum Cooking Temperature: If incorporating ingredients that require cooking (which is not the case for the raw egg white in this sorbet recipe, but good general advice), ensure they reach a minimum internal temperature of 165 °F (74 °C). For raw egg whites, consider using pasteurized egg whites available in cartons for added safety, especially if serving to children, the elderly, pregnant women, or individuals with weakened immune systems.
- Prevent Cross-Contamination: Always use separate cutting boards and utensils for raw ingredients (like meat or unwashed produce) and cooked or ready-to-eat foods.
- Wash Hands Thoroughly: Always wash your hands with soap and warm water for at least 20 seconds before and after handling food, especially raw ingredients.
- Avoid Extended Room Temperature Exposure: Do not leave perishable foods, including sorbet mixture or components, sitting out at room temperature for more than two hours. Bacteria can multiply rapidly in the “danger zone” (between 40°F and 140°F / 4°C and 60°C).
- Never Leave Cooking Unattended: Always monitor food when it’s on the stovetop or in the oven to prevent burning or other hazards.
- Use High Smoke Point Oils: When cooking (not directly applicable to sorbet), use oils with a high smoke point to avoid breaking down and forming harmful compounds.
- Ensure Good Ventilation: Always have good ventilation when using a gas stove to prevent the buildup of carbon monoxide.
For further comprehensive information on safe food handling practices, please refer to the Safe Food Handling guidelines from the FDA.
