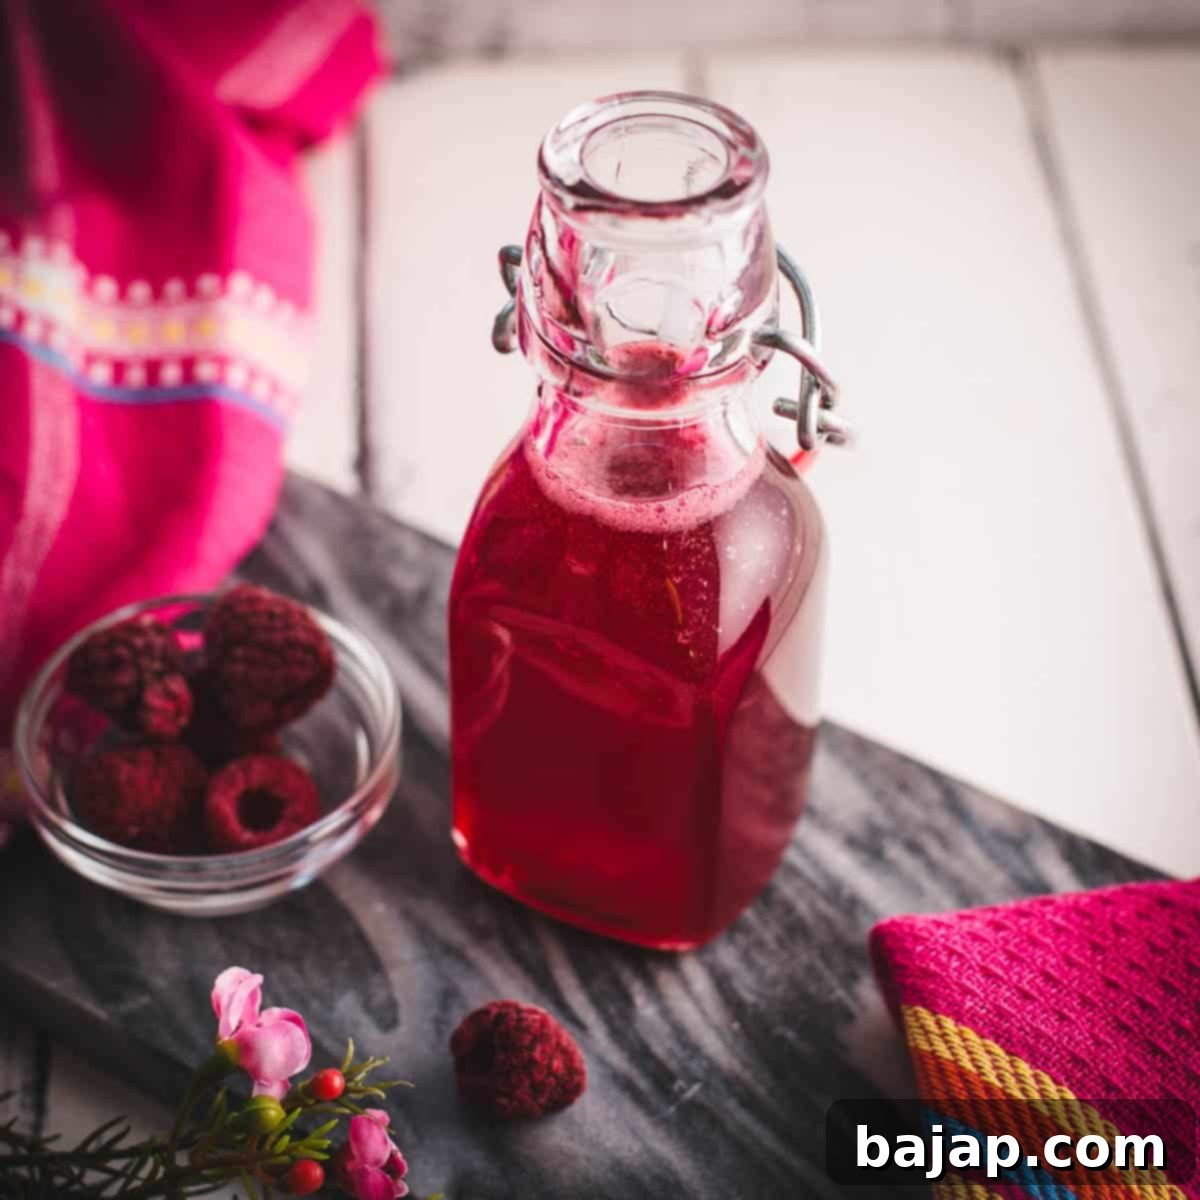
Homemade No-Cook Raspberry Syrup: Crafting Vibrant Flavor for Cocktails & Desserts
Welcome back to our series on perfecting homemade raspberry syrup! Today, we’re diving into the second of three distinct methods, a technique celebrated for delivering an exceptionally deep and vibrant raspberry flavor without ever touching a stove. While our previous installment explored the quick stovetop method for instant gratification, this approach embraces the art of patience, promising a truly superior outcome.
This “no-cook” or “cold infusion” method involves preparing your raspberry syrup in a simple preserving jar and allowing the magic to happen slowly in your refrigerator over three to five days. It’s the perfect summer solution, sparing you from the heat of the kitchen while developing a complex and fresh fruit essence that cooked syrups often lose. Your patience will be generously rewarded with a profoundly aromatic raspberry syrup, ideal for elevating your favorite libations, from a refreshing raspberry lemon drop martini to a tantalizing raspberry gin and tonic, and much more.
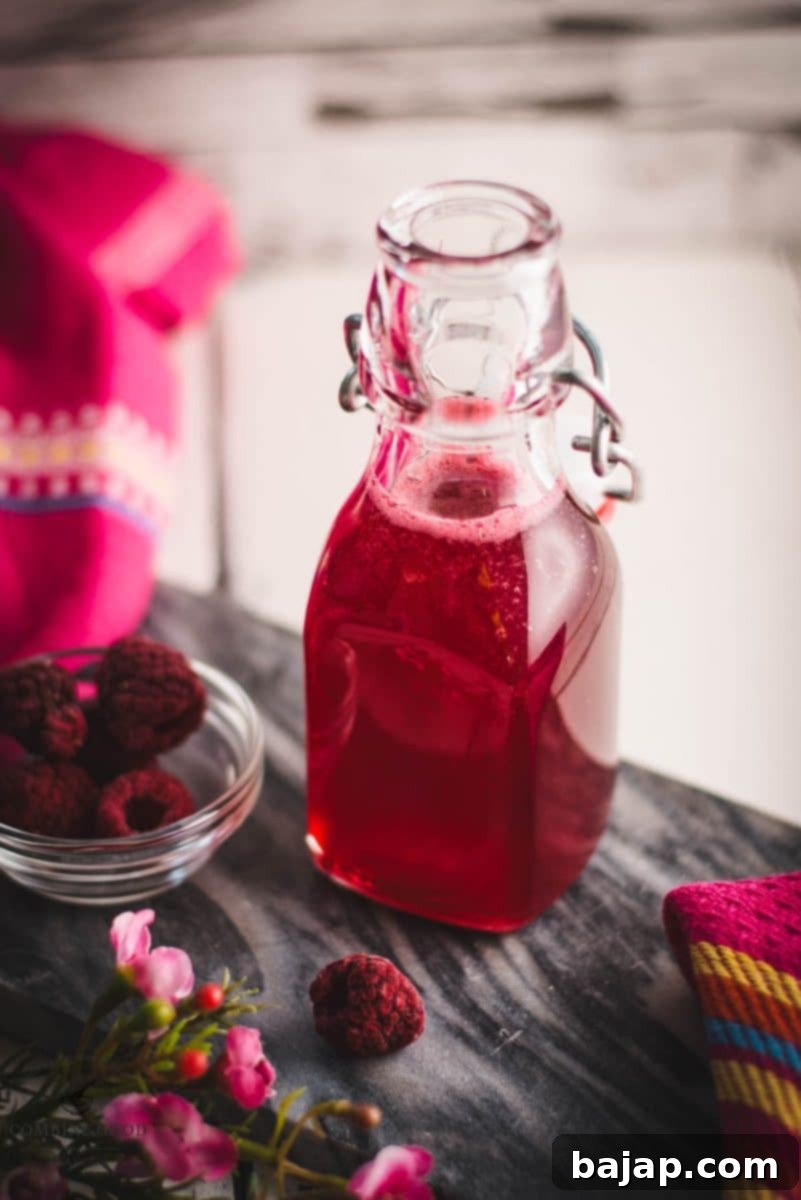
Why Choose the No-Cook Method? The Science of Cold Infusion
The beauty of the no-cook method lies in its ability to preserve the delicate, fresh flavor of raspberries. Unlike simmering on the stove, which can mute subtle notes and slightly “cook” the fruit’s essence, cold infusion gently extracts the vibrant flavor and natural color directly into the sugar solution. This process, known as osmosis, allows the sugar to draw out the raspberry’s juices, creating a rich, unadulterated syrup. It’s truly a labor of love that results in a brighter, more authentic fruit syrup, perfect for those who prioritize pure flavor.
🥘 Ingredients for Your Homemade Raspberry Syrup
Creating this exquisite raspberry syrup requires only two primary ingredients, making it wonderfully straightforward. The key is to select high-quality produce to ensure the best possible flavor.
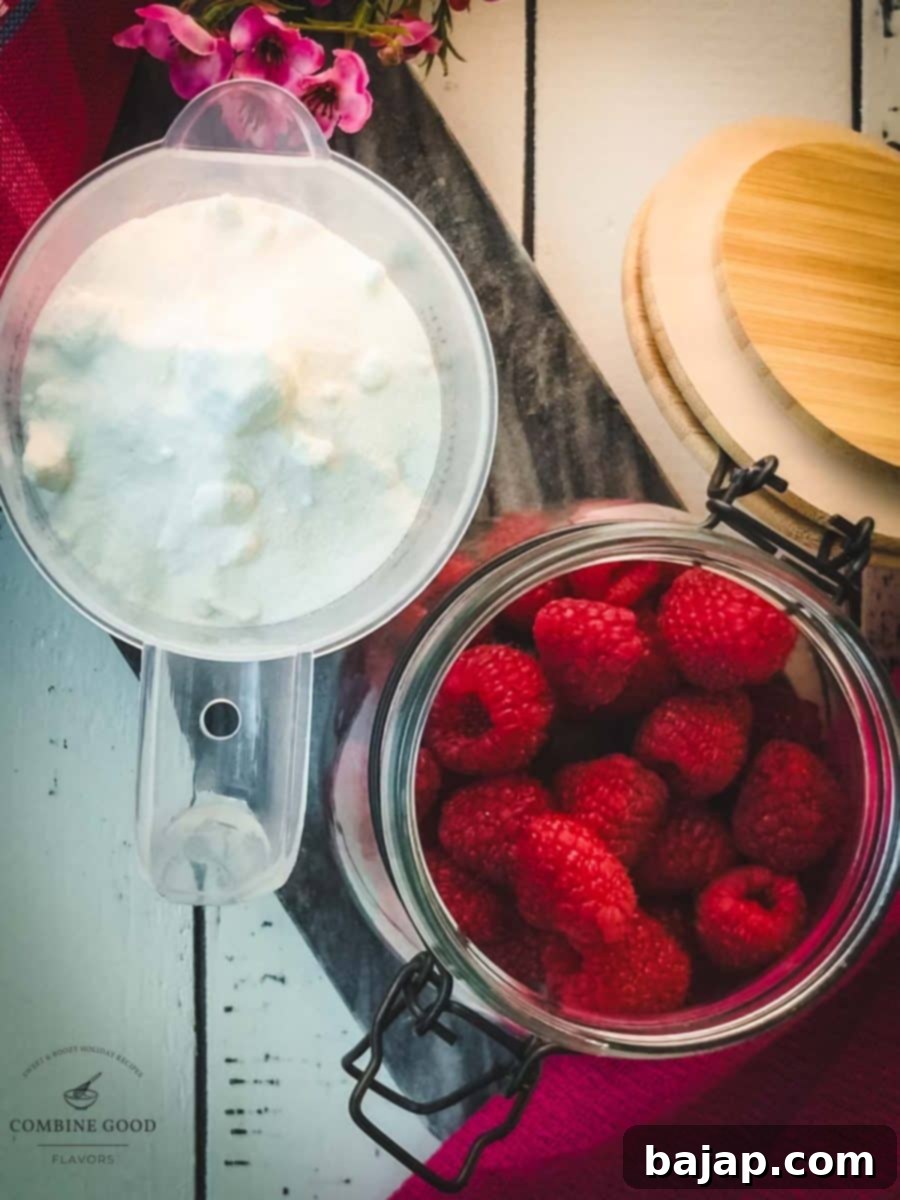
- Fresh Raspberries: The star of our show! For an intense and truly authentic raspberry flavor, always opt for the ripest, most vibrant raspberries you can find. Look for berries that are plump, firm, and uniformly colored, free from mold or mushy spots. Gently wash them under cold water and pat them dry thoroughly to remove any excess moisture before use. You’ll want to fill your mason jar generously with these luscious gems, ensuring maximum flavor infusion.
- Granulated Sugar: This recipe calls for regular white granulated sugar. Its fine, uniform texture is crucial as it dissolves quickly and evenly, contributing to a silky-smooth syrup consistency. Beyond sweetness, sugar acts as a powerful preservative, extending the shelf life of your homemade syrup. Avoid using brown sugar, as its distinct molasses notes can overpower the delicate flavor of fresh raspberries, resulting in an undesired taste profile.
See the full recipe card below for precise quantities and nutritional information.
Optional Enhancements for Deeper Flavor
While the classic two-ingredient recipe is sublime, you can explore adding a touch of extra complexity:
- Lemon Zest or Juice: A small strip of lemon zest or a teaspoon of fresh lemon juice can brighten the raspberry flavor and add a lovely tang, acting as a natural flavor enhancer and a mild preservative.
- Vanilla Bean: A small piece of a split vanilla bean pod infused with the raspberries can add a warm, sophisticated undertone to the syrup.
- Fresh Mint Sprig: For a refreshing twist, consider adding a fresh mint sprig to the jar during the infusion period. Remove it before bottling the syrup.
🔪 Instructions: Crafting Your Cold-Infused Raspberry Syrup
This method is all about simplicity and patience. Follow these steps to create your delicious no-cook raspberry syrup:
Step 1: Prepare your jar with raspberries and sugar.
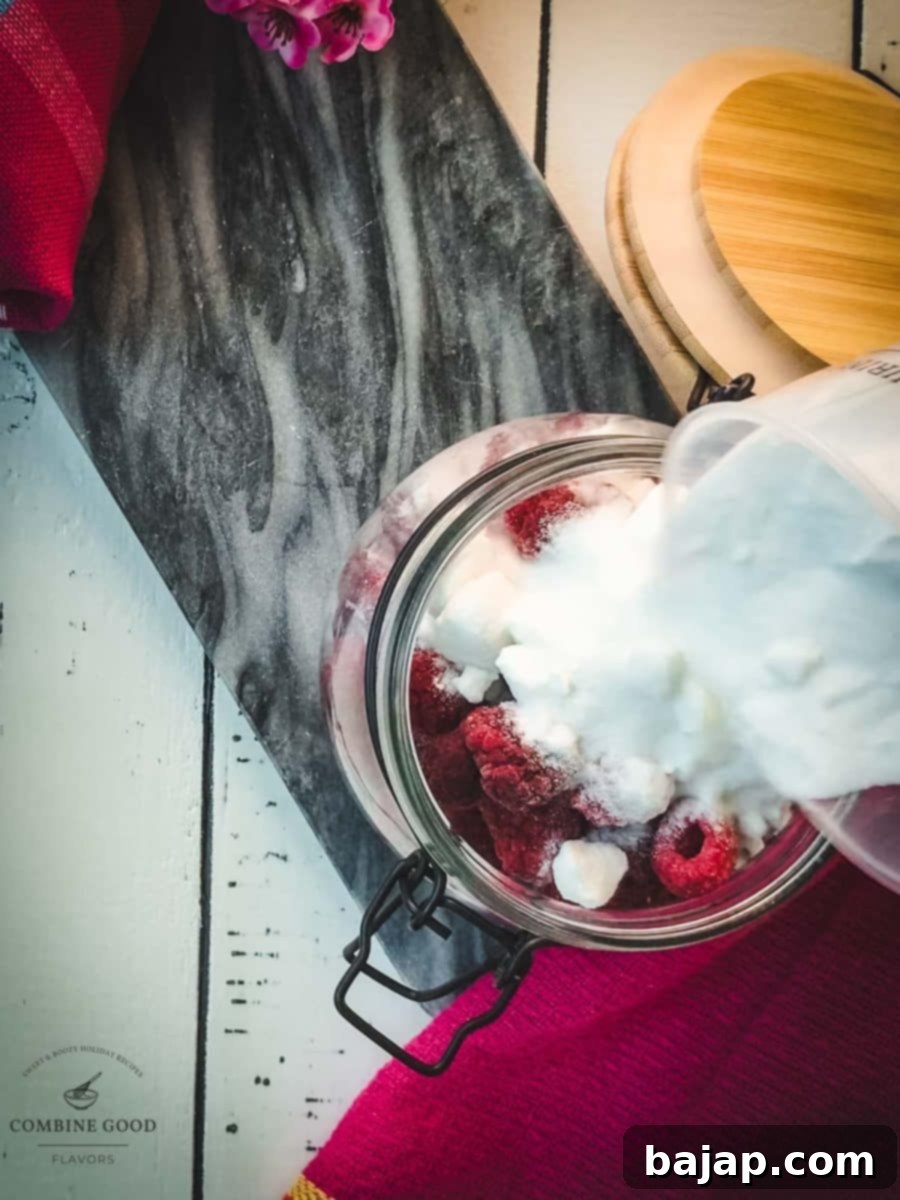
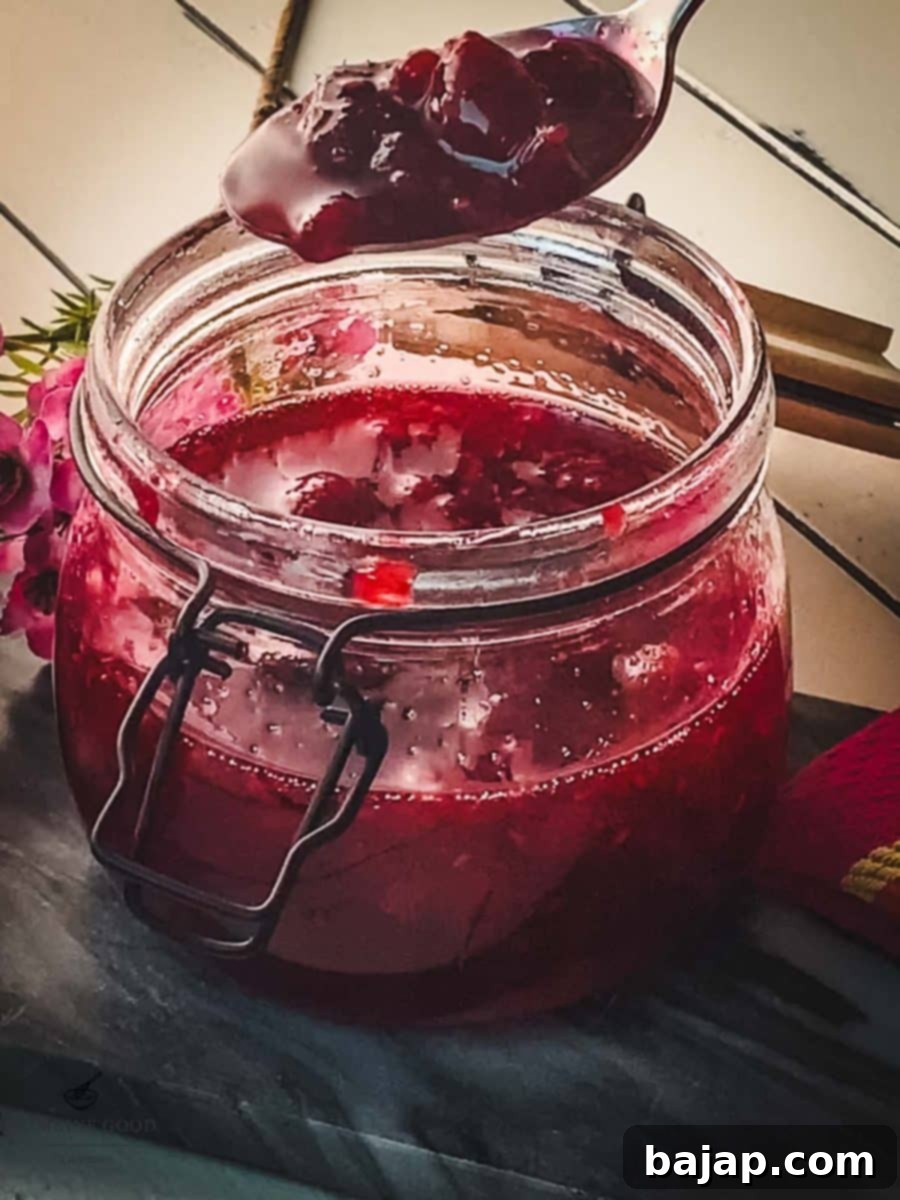
Begin by filling a clean, sterilized preserving jar with your fresh raspberries. Do not pack them too tightly. Then, layer the granulated sugar over the raspberries, ensuring the sugar fills the remaining space in the jar. You can gently shake the jar to help the sugar settle around the berries. This layering ensures good contact between the sugar and fruit for optimal juice extraction.
Step 2: Seal and refrigerate for infusion.
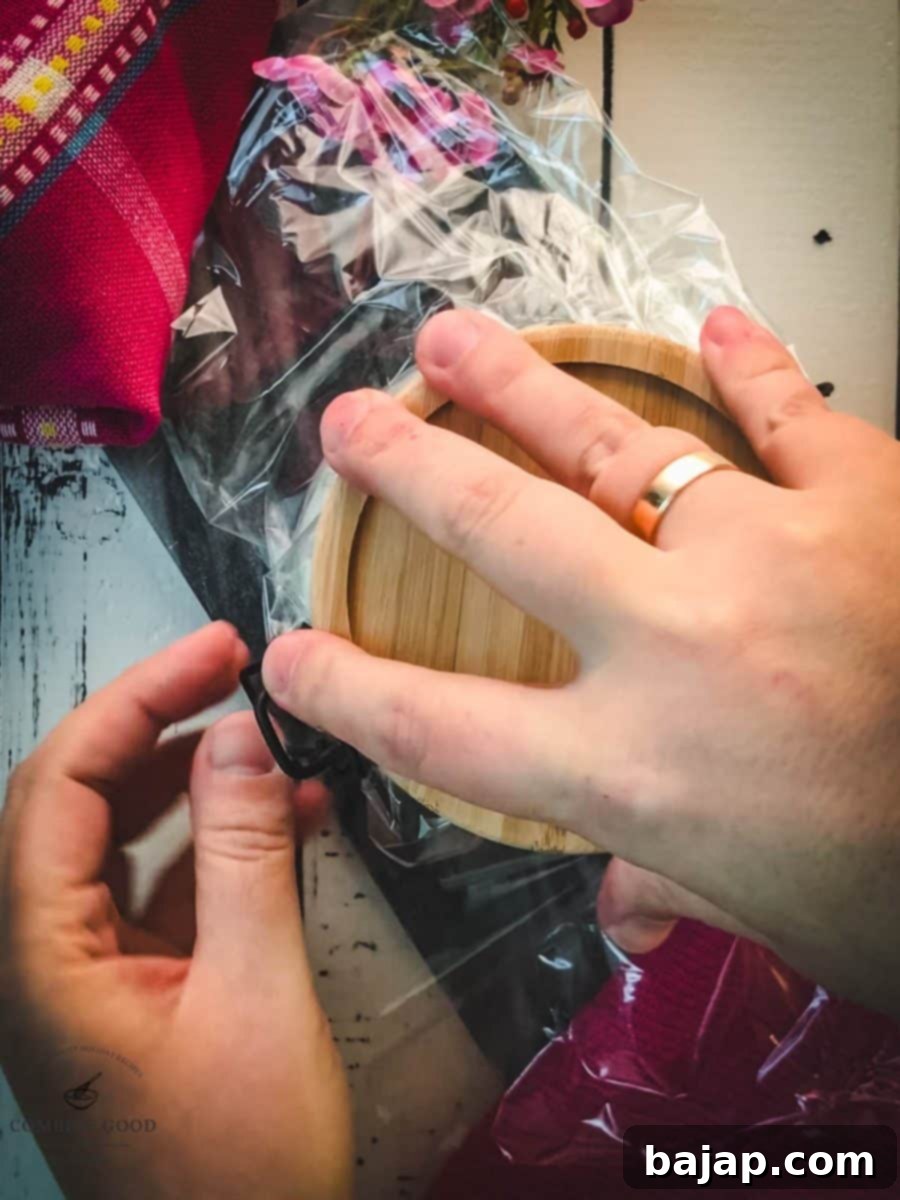
Securely seal the preserving jar with its lid. Place the jar in the refrigerator and allow it to infuse for a period of 3 to 5 days. During this time, the sugar will gradually draw out the moisture and vibrant flavor from the raspberries, slowly dissolving into a rich, sweet syrup. This gentle, cold extraction is what gives the syrup its exceptionally fresh and bright taste.
Step 3: Shake the jar daily to aid extraction.
To encourage an even and complete extraction of flavor and to help the sugar fully dissolve, gently shake the sealed jar once or twice every day. This action redistributes the sugar and raspberries, ensuring that all parts of the fruit come into contact with the sugar, maximizing the syrup’s potency and smoothness.
Step 4: Optionally, gently squeeze raspberries for more juice.
After a few days of infusion, if you desire an even higher yield or a thicker consistency, you can gently squeeze the raspberries within the jar. Use a clean spoon or a muddler to lightly press the softened berries against the sides of the jar. Be careful not to mash them too vigorously, as this can introduce too much pulp and cloudiness into your syrup.
Step 5: Strain the syrup and transfer for storage.
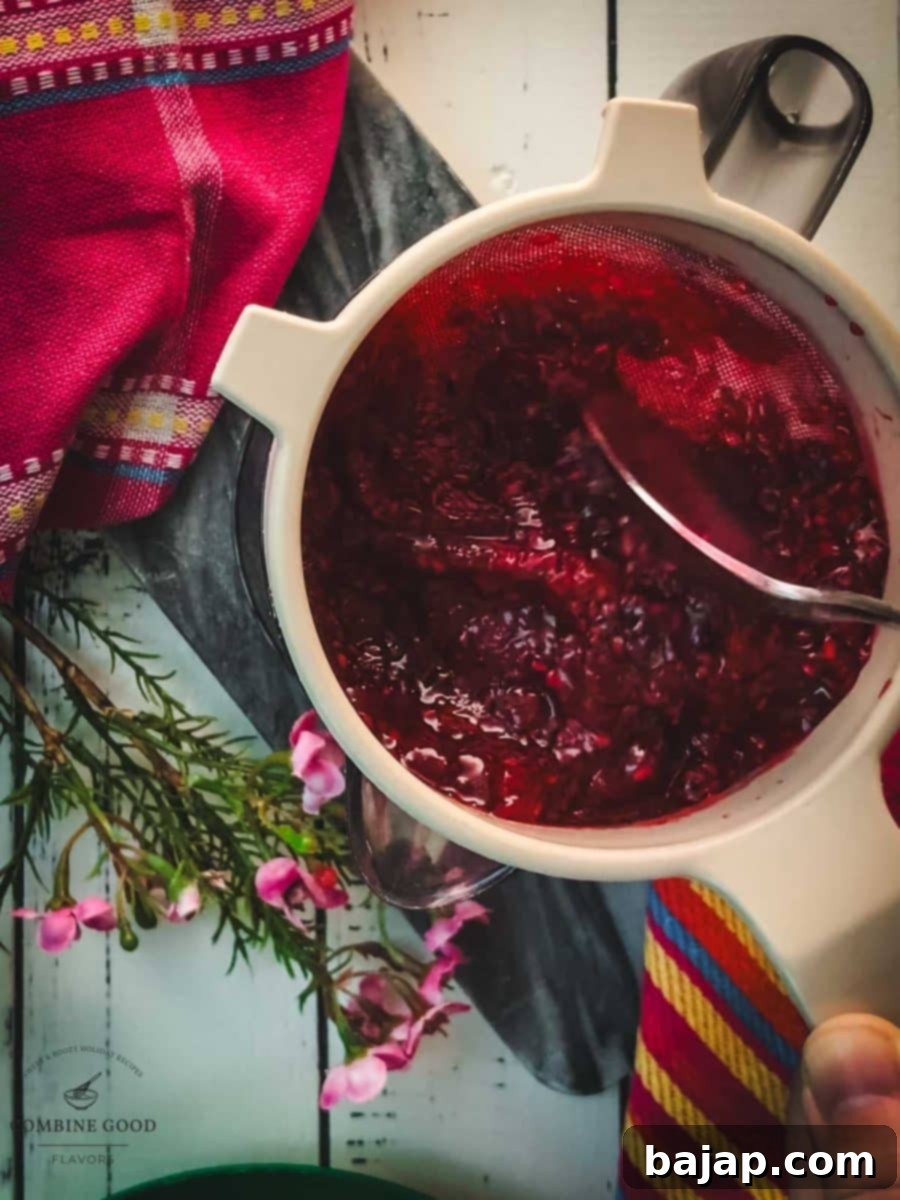
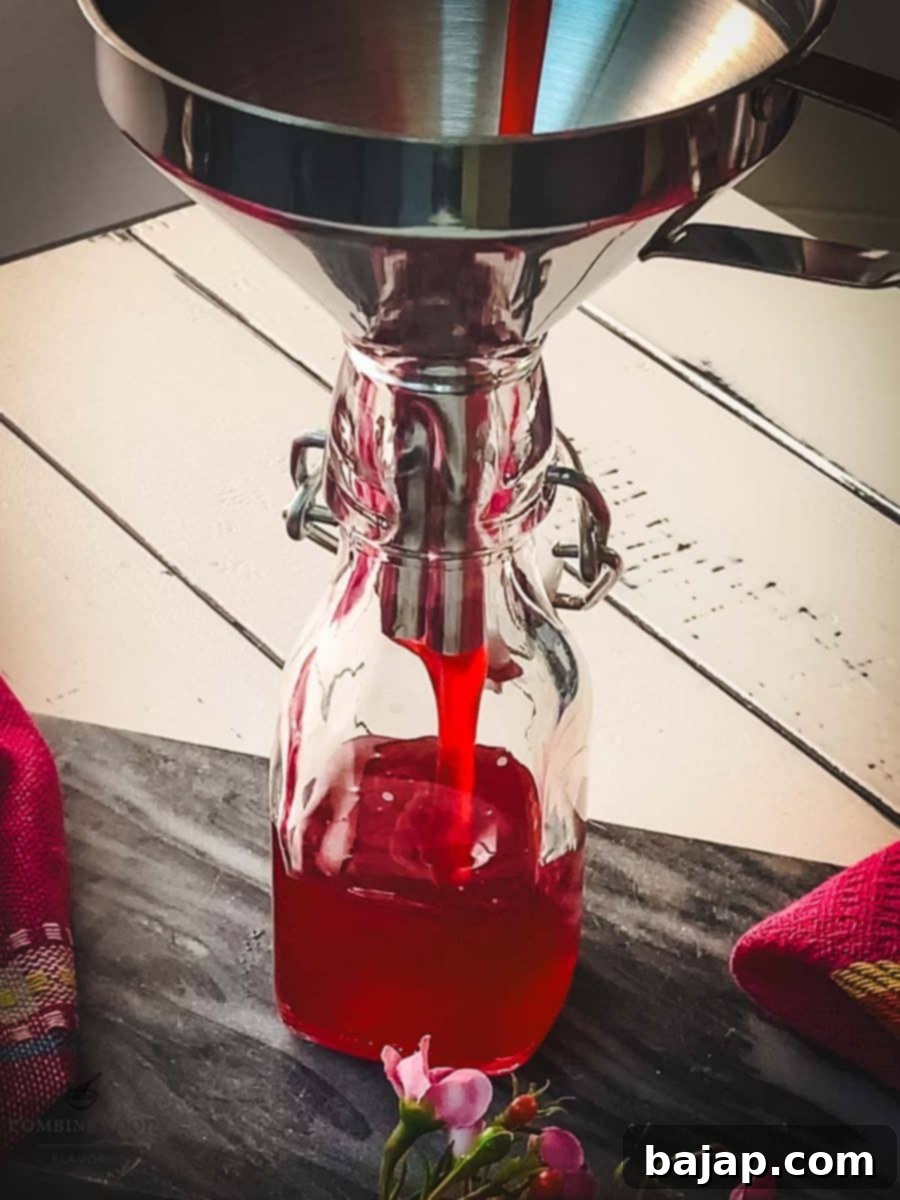
Once the infusion period is complete and the sugar has fully dissolved (or nearly so), it’s time to separate the luscious syrup from the fruit pulp. Place a fine-mesh sieve over a clean bowl or measuring cup. Pour the contents of the jar into the sieve, allowing the syrup to drain naturally. For an extra clear syrup, you can line the sieve with a few layers of cheesecloth. Avoid pressing the solids through the sieve excessively if you want a crystal-clear syrup, as this can force small particles through. Transfer the strained raspberry syrup into a clean, sterilized bottle, using a funnel for easy pouring.
🌡️ Storage: Keeping Your Syrup Fresh
Proper storage is essential to maintain the freshness and quality of your uncooked raspberry syrup. Once strained, transfer the syrup directly into a clean, airtight glass bottle or jar. A swing-top bottle or a mason jar with a tight-fitting lid works perfectly. Seal it tightly and refrigerate immediately. Because this syrup is uncooked, it relies solely on the sugar content and refrigeration for preservation. Stored correctly, your homemade raspberry syrup will remain fresh and flavorful for approximately 2-3 weeks. Always check for any signs of spoilage, such as mold or an off-smell, before use.
🥘 Variations & Creative Uses
This cold infusion method isn’t just for raspberries! Feel free to experiment with other fruits to create a variety of delicious syrups. Strawberries, blueberries, blackberries, or even a mix of berries would yield fantastic results. Simply follow the same ratio and infusion process. If you find yourself in a rush and can’t wait for the cold infusion, remember you can always try our recipe for delicious raspberry syrup that can be prepared in just 10 minutes on the stove. 🍽
Beyond Cocktails: Culinary Uses for Raspberry Syrup
While this syrup is a cocktail superstar, its uses extend far beyond the bar. Drizzle it over pancakes, waffles, or French toast for a delightful breakfast treat. Stir it into plain yogurt or oatmeal for a burst of fruit flavor. It’s also excellent mixed with sparkling water for a homemade soda, or poured over ice cream, cheesecake, or fresh fruit for an elegant dessert topping.
🍽 Essential Equipment
Gathering the right tools will make your syrup-making process seamless and enjoyable:
- Preserving Jar / Mason Jar (10 oz or larger): This is your primary vessel for the cold infusion process. A wide-mouth jar is ideal for easy filling and cleaning.
- Refrigerator: Essential for the cold infusion and proper storage of your uncooked syrup.
- Funnel: Helps in cleanly transferring the strained syrup into storage bottles without spills.
- Spoon or Muddler: Used for layering ingredients and optionally, gently pressing the raspberries to release more juice.
- Close-meshed Sieve (or fine-mesh sieve): Crucial for straining the syrup and separating it from the fruit pulp. For an even clearer syrup, you can line it with cheesecloth.
- Preserving Bottle: For storing your finished syrup. Opt for airtight glass bottles to maintain freshness.
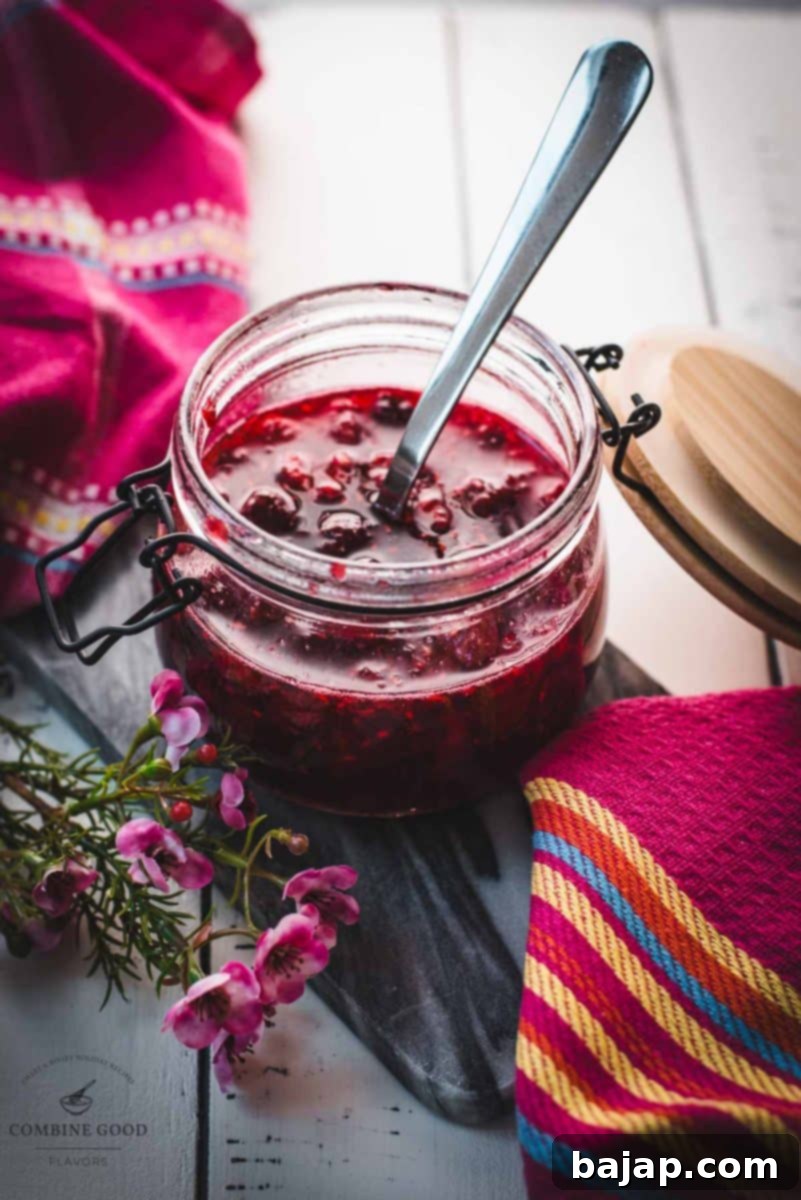
💭 Top Tips for Success
How to Sterilize Glass Containers
Sterilization is a critical step for homemade syrups, especially uncooked ones, as it drastically reduces the risk of spoilage and extends shelf life. To ensure your glass containers are squeaky clean and germ-free, start by immersing them, along with their lids and any rubber seals, in a simmering hot water bath. Bring the water to a gentle boil and let them simmer for a thorough 30-minute cleanse. Alternatively, you can wash them thoroughly in hot soapy water, rinse well, and then place them in an oven preheated to 275°F (135°C) for 15-20 minutes, or run them through a dishwasher on a hot sanitize cycle. Once sterilized, carefully lift each item out using clean tongs and place them on clean paper towels or a wire rack to air dry completely. Avoid touching the inside surfaces with your hands.
Why should I sterilize glass containers for syrups and jam?
Sterilizing glass containers is paramount for food safety and long-term preservation of your homemade syrups and jams. It meticulously eliminates any harmful bacteria, yeasts, molds, or other microorganisms that might be present on the container’s surface. These microbes, if left unchecked, can cause rapid spoilage, fermentation, and even make your food unsafe to consume. By sterilizing, you create a sterile environment for your homemade delights, significantly reducing the risk of contamination and spoilage, thereby ensuring that your flavorful creations remain safe, fresh, and delicious for an extended period.
🙋🏻 FAQ: Your Questions Answered
When stored properly in a clean, airtight container in the refrigerator, homemade no-cook raspberry syrup typically lasts for about 2-3 weeks. The high sugar content acts as a preservative, but refrigeration is crucial for maintaining freshness and preventing spoilage.
To make fruit syrup without cooking, simply combine fresh fruit (like raspberries) with granulated sugar in a clean, airtight preserving jar. Seal the jar and refrigerate it for a few days, shaking daily. The sugar will naturally draw out the fruit juices, creating a flavorful syrup. Once the sugar has dissolved and the desired flavor is achieved, strain the syrup to remove the fruit solids, and then transfer it to a bottle for storage in the fridge.
Yes, you can use frozen raspberries! However, be aware that frozen berries release more liquid faster and may result in a slightly thinner syrup. Thaw them completely before starting the infusion process, and you might need to adjust the sugar-to-fruit ratio slightly to achieve your desired consistency.
Your no-cook syrup is ready when the granulated sugar has mostly dissolved into the raspberry juice, creating a smooth, liquid consistency. The raspberries will have softened and shrunk, and the syrup will have a vibrant color and strong, fresh raspberry aroma and taste. This usually takes 3-5 days in the refrigerator.
Other Delicious Raspberry Recipes for You to Try
Love raspberries as much as we do? Explore these other delightful recipes:
- Raspberry Lemon Drop Martini
- Raspberry Daiquiri
- Raspberry Cheesecake
- Raspberry Almond Thumbprint Cookies
- Raspberry Syrup {quick, stove top method}
- Raspberry Gin & Tonic
- Raspberry Margarita (coming soon)
- Frozen Raspberry Margarita (coming soon)
- Clover Club (coming soon)
If you make this recipe, let me know how you liked it by ★★★★★ star rating it and leaving a comment below. This would be awesome! You can also sign up for our Newsletter or follow me on Pinterest or Instagram and share your creation with me. Just tag me @combinegoodflavors and hashtag #combinegoodflavors, so I don’t miss it.
📖 Recipe
How to make Raspberry Syrup without Cooking
Nora
Save RecipeSaved!
Pin Recipe
Equipment
-
Preserving Jar 10 oz
-
Spoon
-
Close meshed sieve
-
Preserving bottle
-
Funnel
Ingredients
- 1.5 cups Raspberries fresh
- 1.25 cups Granulated sugar
Instructions
-
Fill a preserving jar with 1.5 cups Raspberries and the remaining space with 1.25 cups Granulated sugar.1.5 cups Raspberries, 1.25 cups Granulated sugar
-
Close the jar tightly and refrigerate for 3-5 days.
-
Shake the jar once or twice every day.
-
Optionally, gently squeeze raspberries for more juice.
-
Strain the syrup and transfer it to a bottle for storage.
Notes
Nutrition values are estimates only, using online calculators. Please verify using your own data.

⛑️ Food Safety First
While this is a no-cook method, practicing good food safety is always important to ensure your homemade syrup is safe and enjoyable:
- Always Sterilize: As detailed in our top tips, ensure all jars, bottles, and utensils coming into contact with your syrup are thoroughly sterilized to prevent bacterial growth.
- Use Fresh, Clean Ingredients: Start with the freshest, highest-quality raspberries available. Wash them gently and pat them dry to remove any dirt or surface contaminants.
- Refrigerate Promptly: Keep your syrup refrigerated at all times to maintain its quality and inhibit spoilage.
- Check for Spoilage: Before each use, visually inspect your syrup for any signs of mold growth or unusual discoloration. If it smells off or tastes fermented, discard it immediately.
- Maintain Cleanliness: Always use clean hands and utensils when handling your ingredients and syrup.
For further information and comprehensive guidelines on safe food handling, please refer to authoritative resources like the FDA’s Safe Food Handling practices.
