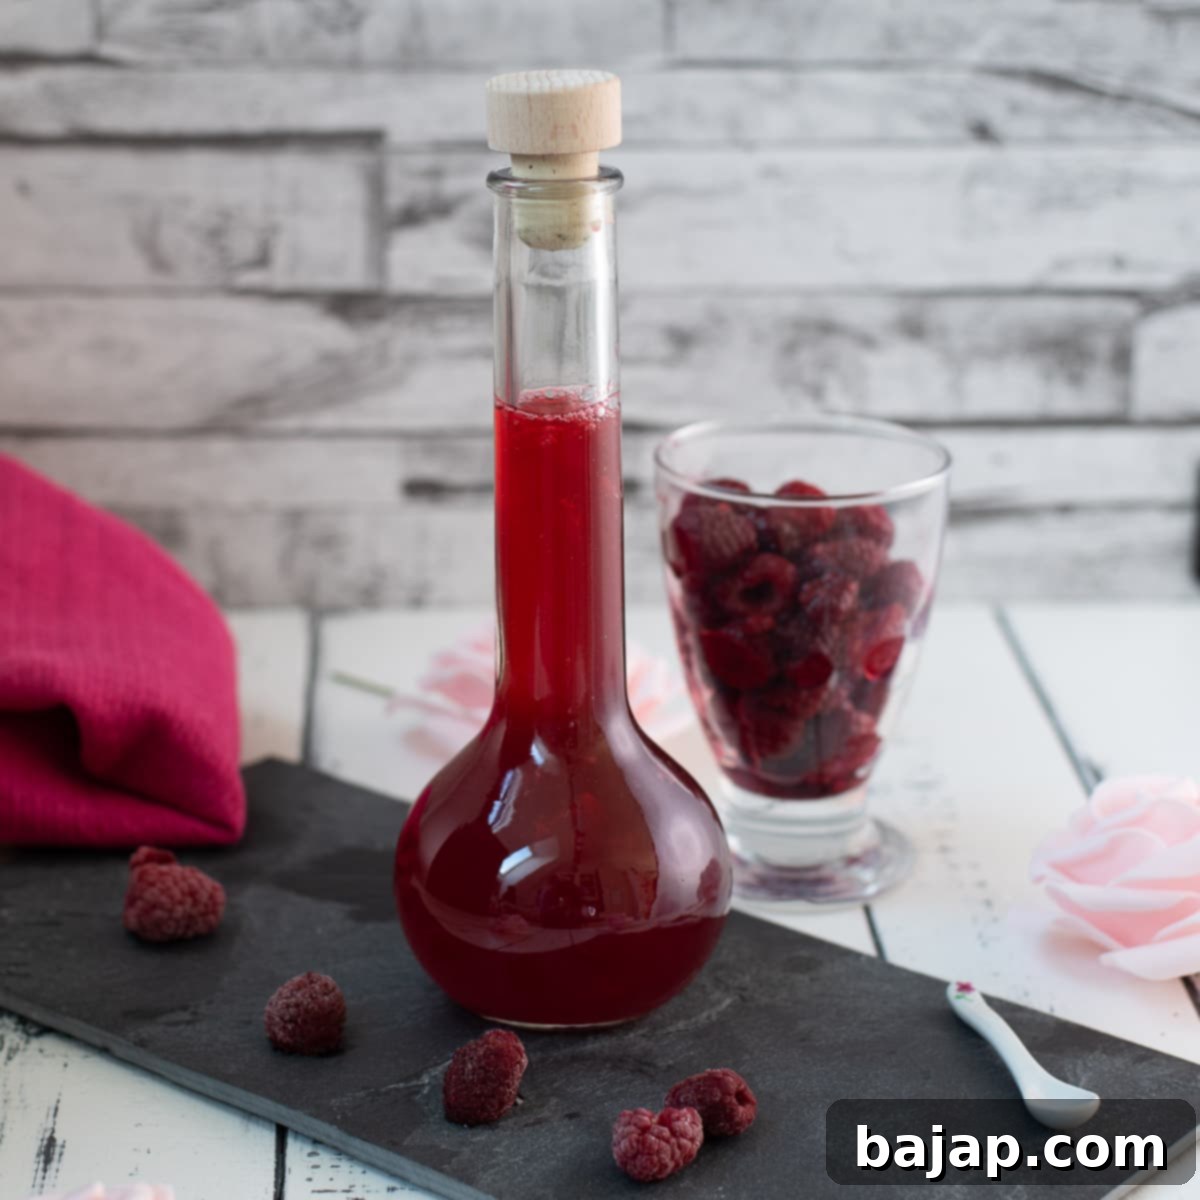
Easy Homemade Raspberry Syrup Recipe for Cocktails & Beyond: Crafting Flavor in Just 10 Minutes
Discover the secret to elevating your beverages and desserts with a burst of fresh, fruity flavor: homemade raspberry syrup! This guide unveils one of the simplest and quickest methods for crafting your own vibrant raspberry syrup, requiring only three common ingredients, a saucepan, a stove, and just ten minutes of your time. Forget store-bought syrups loaded with artificial additives; with this recipe, you’re just moments away from a naturally delicious sweetener that will revolutionize your culinary creations.
Among the various techniques for preparing fruit syrups, this cooked method stands out for its speed and efficiency. It extracts maximum flavor and sweetness from the raspberries, resulting in a rich, concentrated syrup that’s perfect for a wide array of uses. Whether you’re a seasoned mixologist or a home cook looking to add a gourmet touch, this recipe is designed for ease and guaranteed to impress.
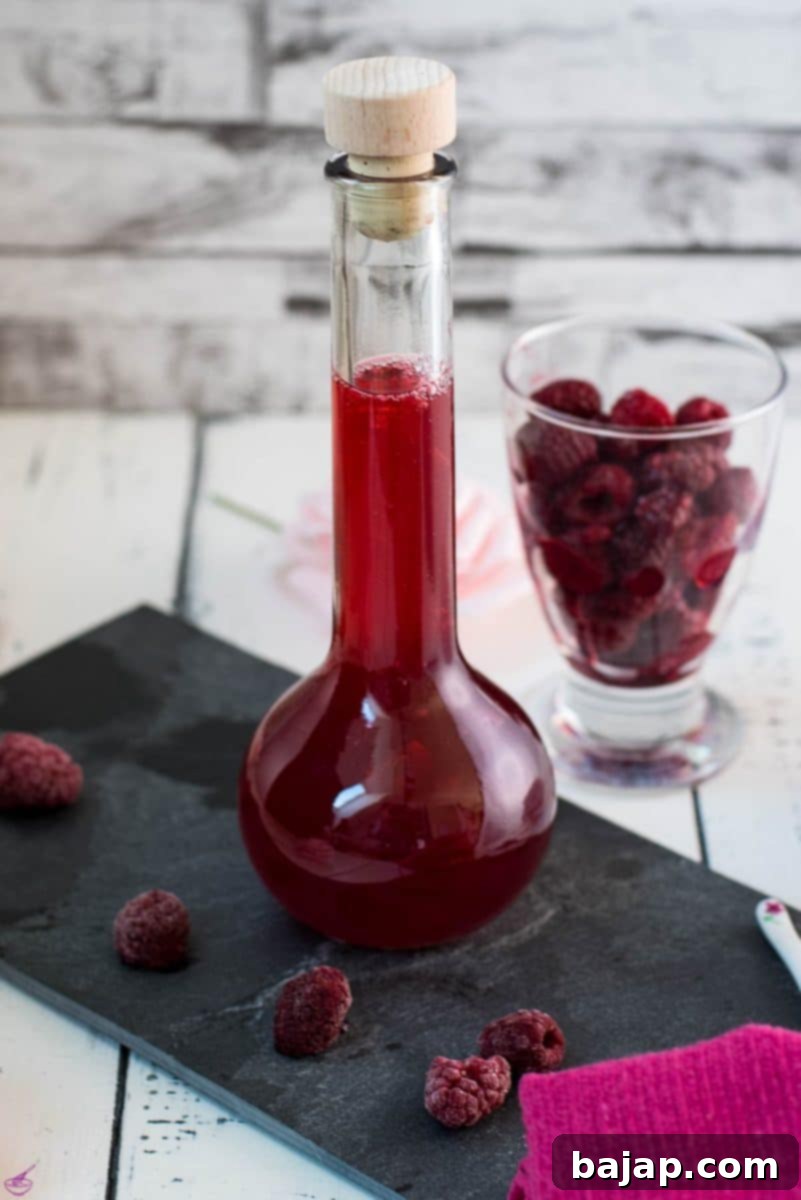
Why Make Your Own Raspberry Syrup?
The appeal of homemade raspberry syrup extends far beyond mere convenience. Crafting your own allows for complete control over the ingredients, ensuring a product free from preservatives, artificial colors, and high-fructose corn syrup often found in commercial versions. The taste of fresh, ripe raspberries simply cannot be replicated by synthetic flavorings. By making your own, you lock in that authentic, bright, and slightly tart essence that only real fruit can provide.
Furthermore, homemade syrups are incredibly versatile. While we’ll focus on their cocktail prowess, this raspberry syrup is equally fantastic in non-alcoholic drinks, desserts, and even savory applications. It’s a cost-effective way to elevate everyday items and impress guests with your mixology skills and attention to detail. Plus, the process itself is wonderfully rewarding, turning simple ingredients into something truly special.
Transform Your Drinks with Raspberry Syrup
Imagine the vibrant hue and luscious flavor that homemade raspberry syrup brings to your glass. This sweet elixir has the power to transform classic cocktails into unforgettable experiences, adding a layer of complexity and a beautiful ruby red color. From sophisticated sips to refreshing frosty concoctions, raspberry syrup is a game-changer.
- Take the classic Clover Club, for example. Here, the sweet raspberry syrup beautifully blends with zesty lemon juice and premium
gin , creating a taste that’s both timeless and exquisitely refreshing. The syrup’s depth perfectly balances the tartness of the lemon and the botanical notes of the gin, making for a perfectly harmonious drink. - Or picture yourself on a sun-drenched beach, sipping on a Frozen Raspberry Margarita. This frosty blend marries tangy lime, robust tequila, and the sweet, fruity notes of raspberry syrup, transporting you to a tropical paradise with every invigorating sip. The natural sweetness of the raspberries cuts through the sharpness of the lime and tequila, offering a delightfully balanced and incredibly drinkable cocktail.
Whether you’re a seasoned cocktail enthusiast eager to expand your repertoire or just embarking on your mixology journey, adding raspberry syrup is an effortless way to inject a burst of natural flavor and excitement into any drink. Its bright profile makes it an ideal complement to a wide range of spirits and mixers. So, let’s roll up our sleeves and craft this homemade raspberry syrup – it’s simpler than you might think and incredibly rewarding!
🥘 Essential Ingredients
The beauty of this quick raspberry syrup recipe lies in its simplicity. You only need three core ingredients to create a rich, flavorful syrup. The key is in selecting quality ingredients to ensure the best possible outcome.
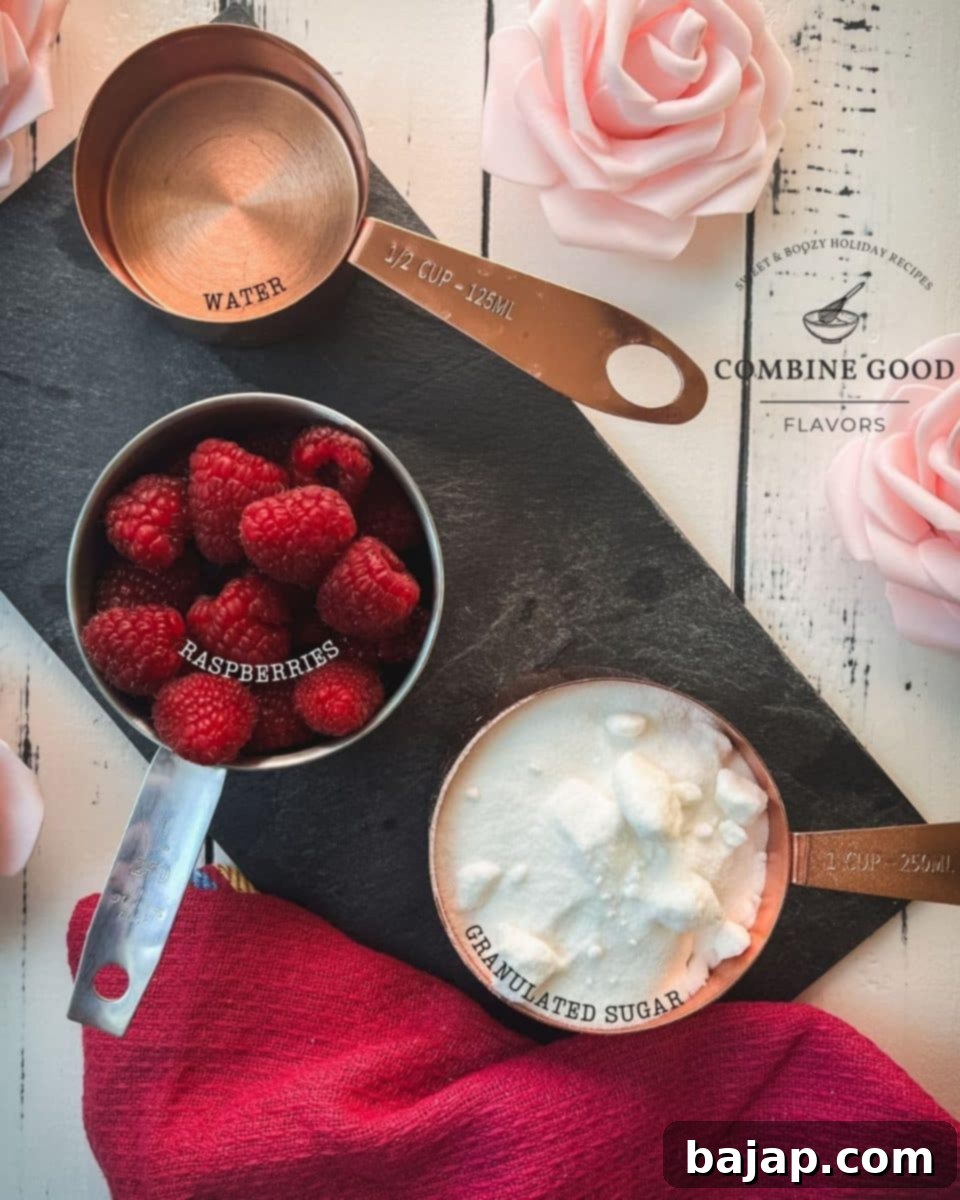
- 2 Parts of Fresh Raspberries: The foundation of our delicious syrup! Selecting the ripest, most vibrant raspberries is crucial for ensuring a concentrated burst of fruity flavor in every drop. Look for berries that are plump, brightly colored, and fragrant. While fresh is always best for optimal flavor and color, if raspberries are out of season, high-quality frozen raspberries can be used as a substitute (see our ‘Substitutes’ section for tips on using them).
- 2 Parts of Granulated Sugar: This recipe calls for regular white granulated sugar. Granulated sugar is ideal because it dissolves evenly and readily, guaranteeing a smooth texture for your syrup without any graininess. Its neutral flavor also allows the natural taste of the raspberries to truly shine through. Avoid using brown sugar, as its molasses notes would significantly alter and overpower the delicate raspberry flavor. The 2:2:1 ratio (raspberries, sugar, water) creates a “rich syrup” which means it’s thicker and more concentrated than a 1:1 simple syrup, offering more flavor with less liquid and a longer shelf life.
- 1 Part of Water: While it might seem like a minor detail, the quality of your water can indeed have an impact on the final flavor of your syrup. Depending on your location, local tap water can contain varying mineral compositions that might subtly affect the taste. To be on the safe side and ensure a clean, crisp base that allows the pure raspberry flavor to truly shine through in every batch of syrup, we recommend using purified or filtered water.
🔪 Step-by-Step Instructions: Crafting Your Raspberry Syrup
Creating this delicious raspberry syrup is a straightforward process, designed for quick and easy execution. Follow these steps for a perfectly flavored syrup every time.
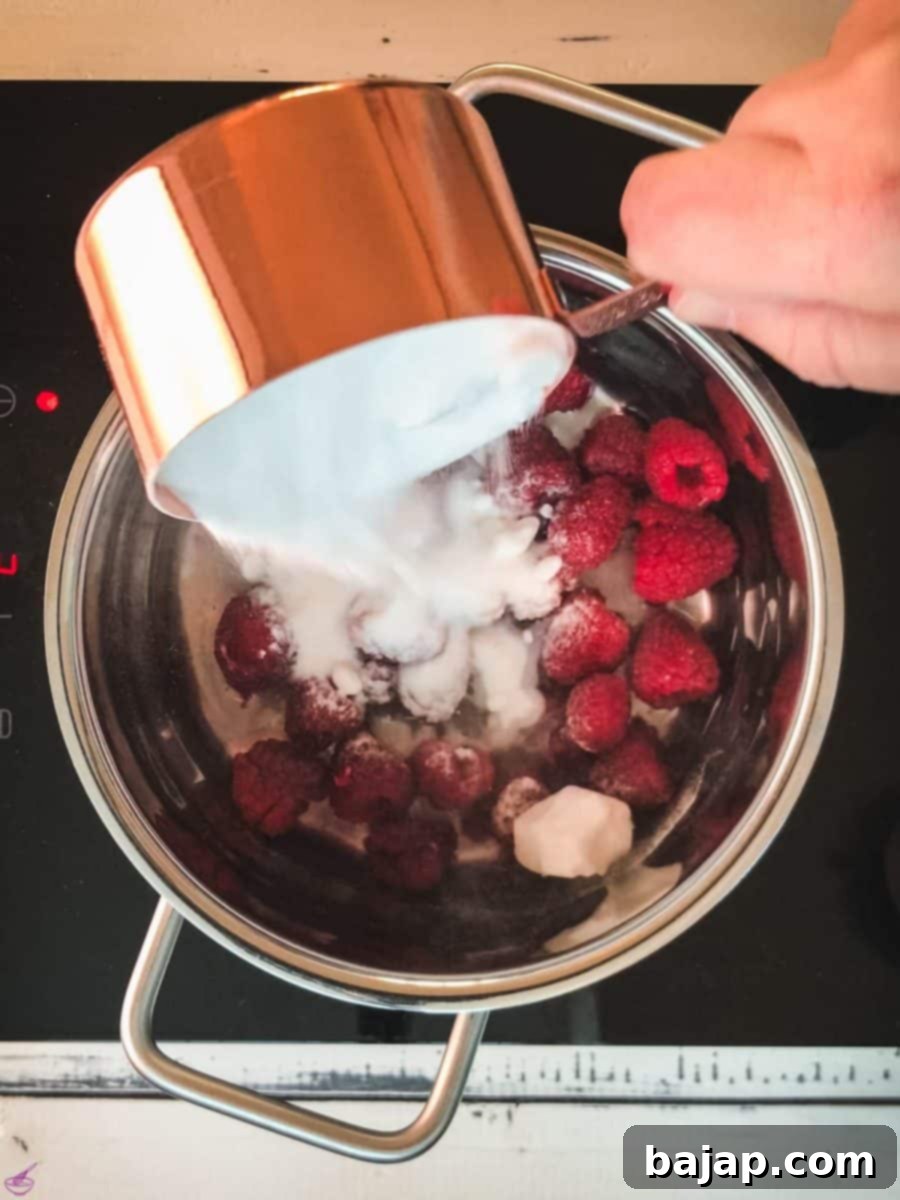
- Step 1: Combine Ingredients. In a medium-sized saucepan, carefully combine your 2 parts fresh raspberries, 2 parts white granulated sugar, and 1 part water. While “parts” allow for scaling the recipe to any quantity, a common measurement for this ratio would be 1 cup of raspberries, 1 cup of sugar, and ½ cup of water for a standard batch yielding about 1 to 1.5 cups of syrup. Ensure all ingredients are well-distributed in the pan.
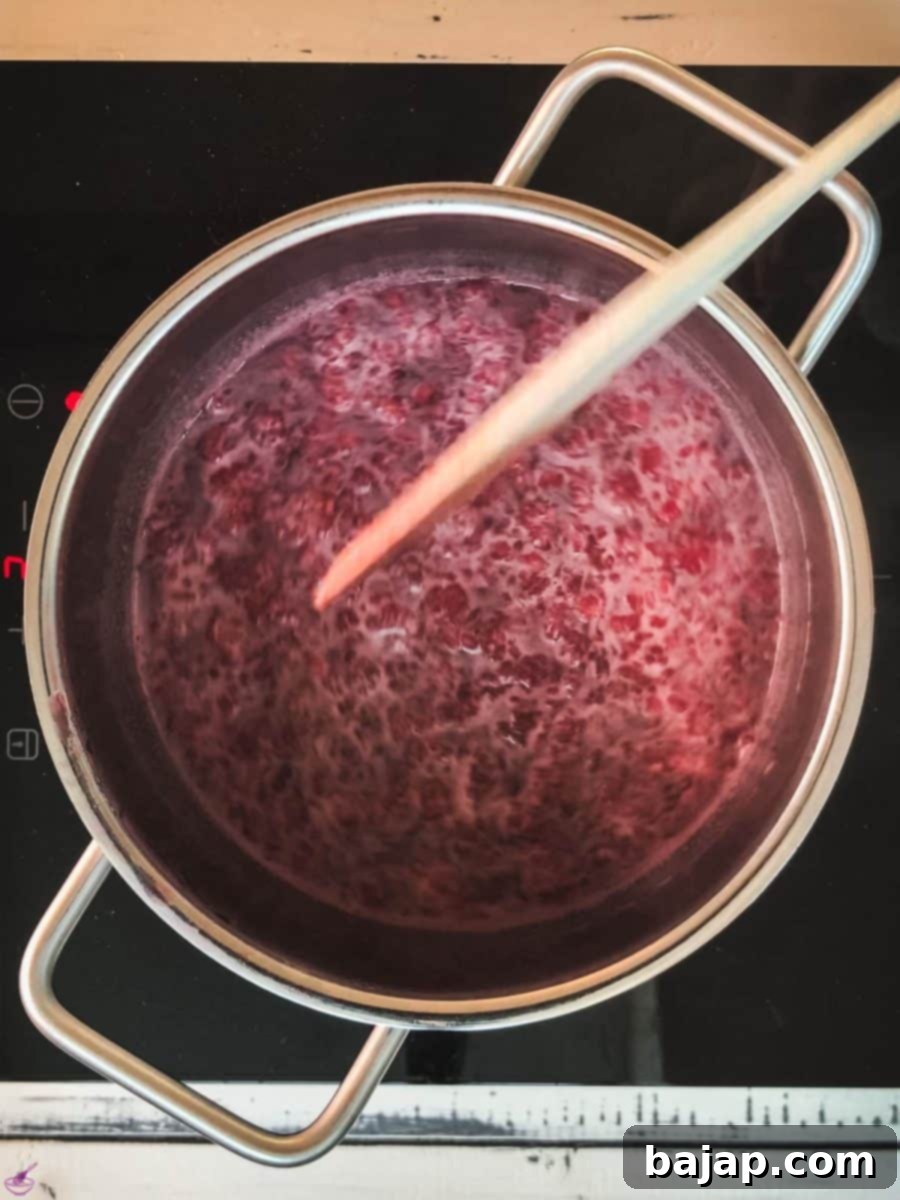
- Step 2: Gentle Simmer. Place the saucepan over low heat. Allow the mixture to gently simmer, not boil, for approximately 10 minutes. This low and slow heat is crucial as it allows the sugar to fully dissolve and the raspberries to release their juices and vibrant color without overcooking or caramelizing the sugar, which could alter the flavor.
- Step 3: Crush and Extract. While the mixture is simmering, use the back of a spoon or a muddler to gently crush the raspberries. This action helps to further break down the fruit cells, releasing more juice, color, and intense flavor into the syrup base. Be gentle to avoid creating too much foam.
- Step 4: Ensure Sugar Dissolution. Continue to stir occasionally during the simmering process to ensure that all the sugar completely dissolves into the liquid. You can check this by spooning a small amount onto a clear spoon and looking for any undissolved crystals. Complete dissolution is key for a smooth syrup and proper preservation.
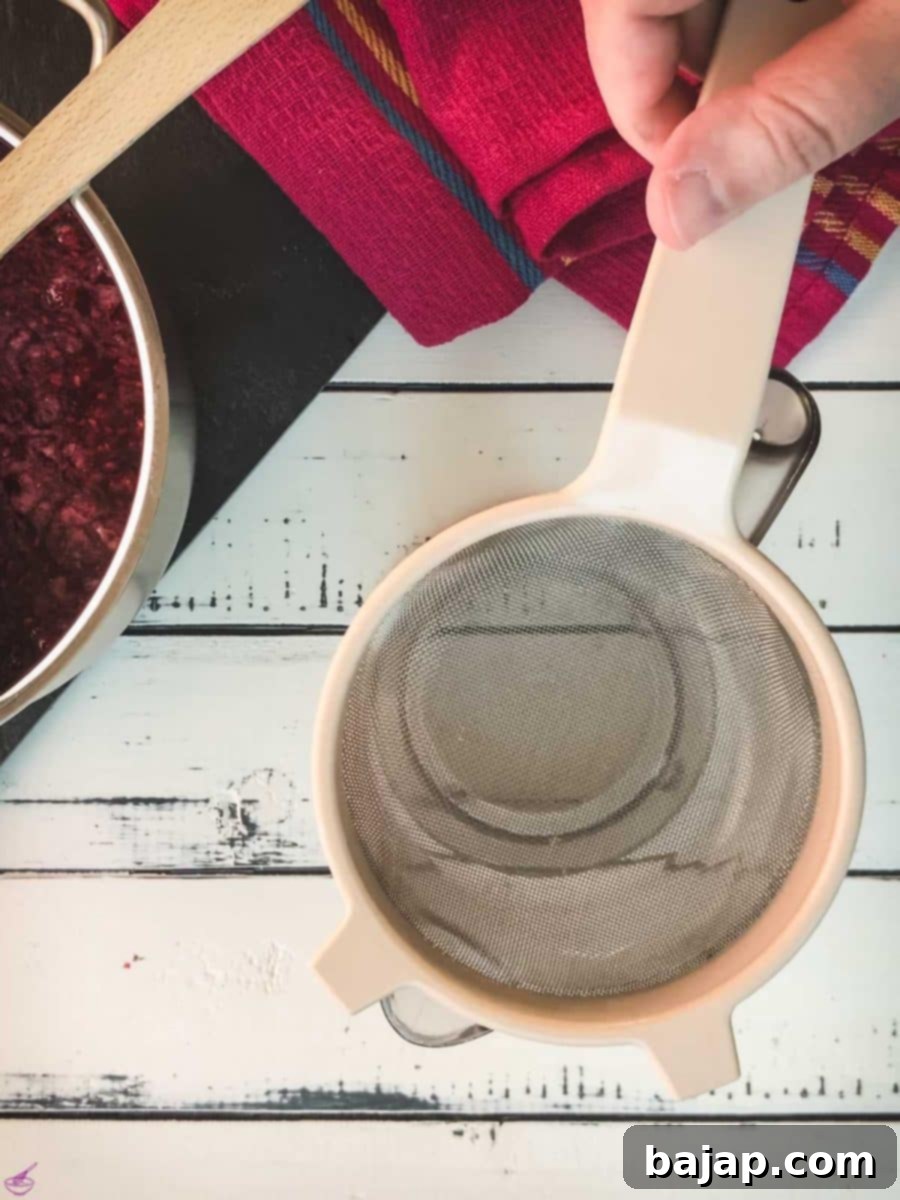
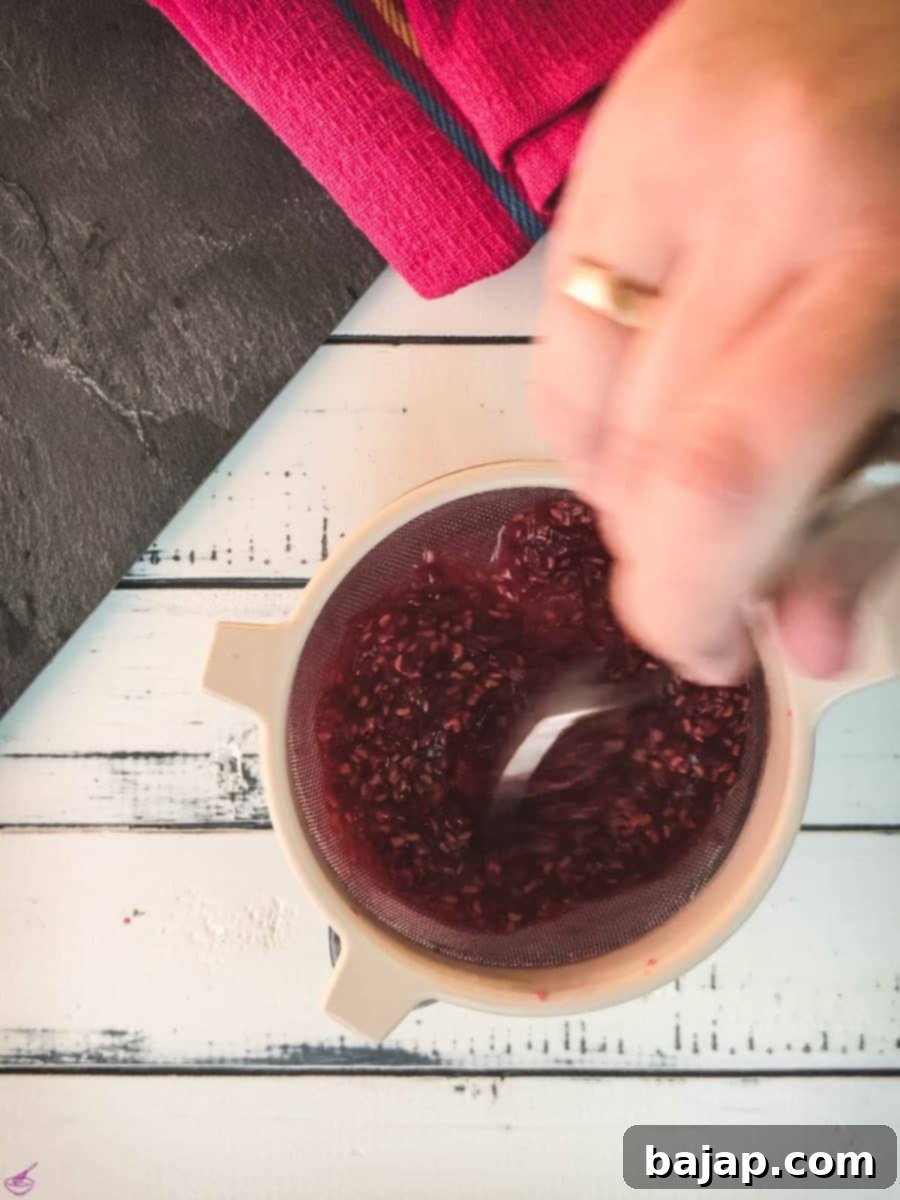
- Step 5: Strain the Mixture. Once the simmering is complete and the sugar is fully dissolved, carefully press the raspberry mixture through a fine-mesh sieve. Position the sieve over a tall container or heatproof bowl. Use a spoon or spatula to press down on the solids, extracting as much liquid as possible. This step removes all the fruit pulp and seeds, leaving you with a beautifully clear and smooth raspberry syrup.
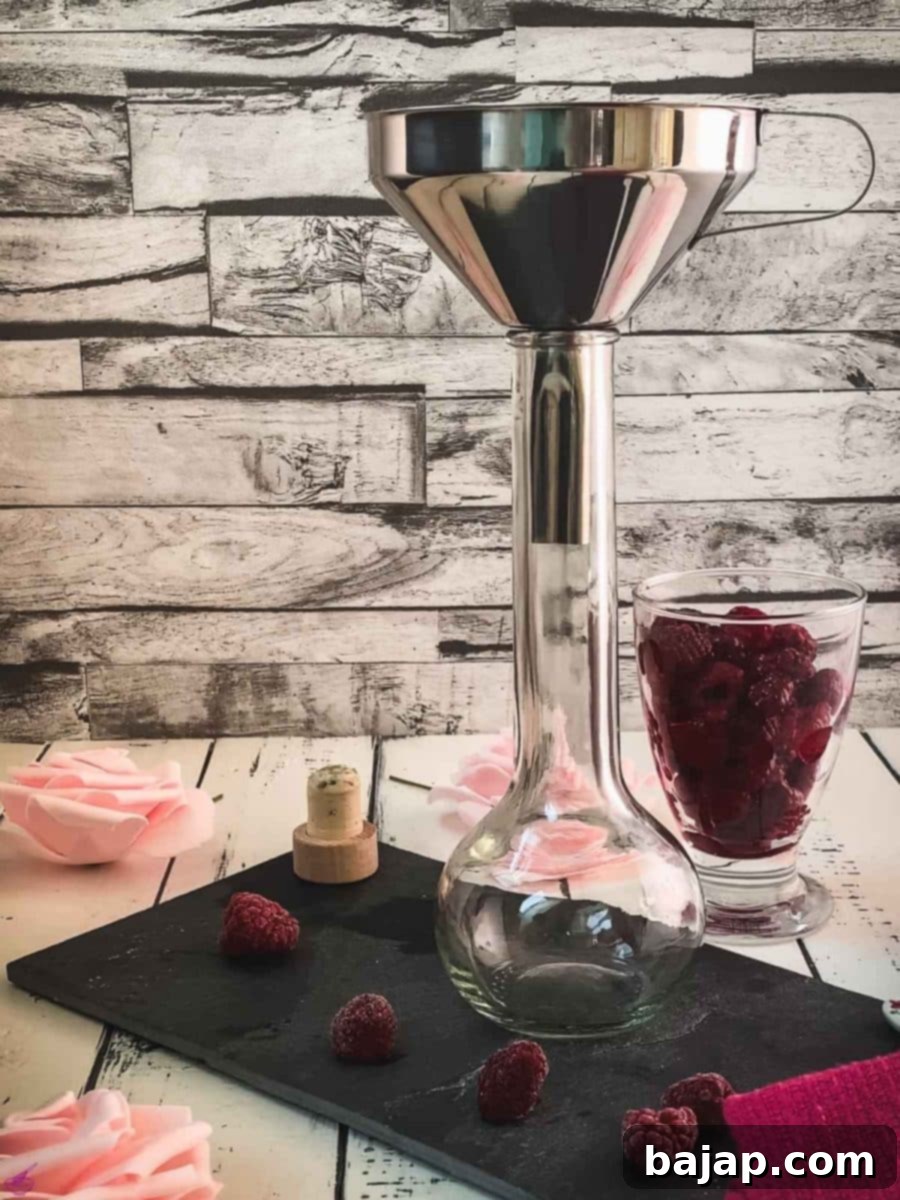
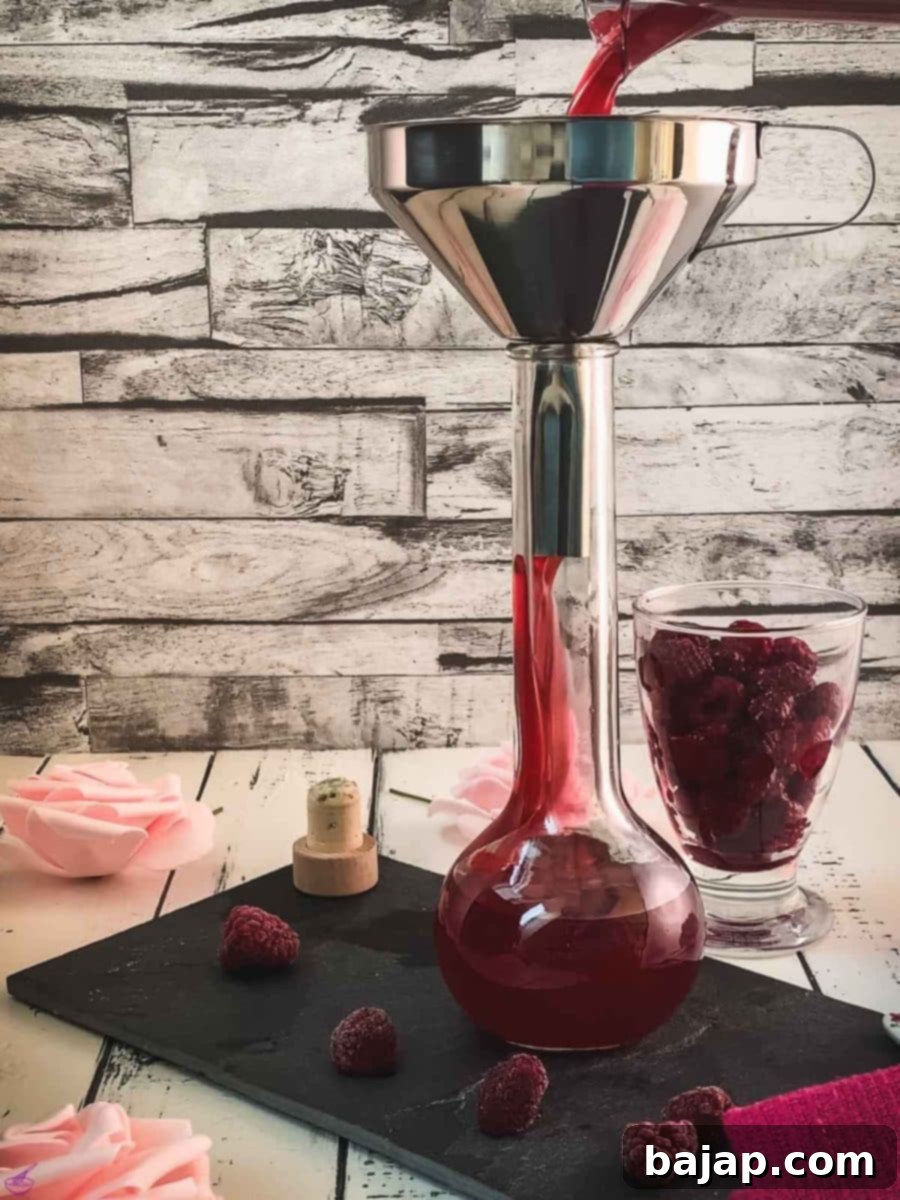
- Step 6: Cool and Store. Allow the freshly strained raspberry syrup to cool completely to room temperature. This is essential before transferring it to a clean, sterilized glass bottle or jar for storage. Cooling prevents condensation inside the sealed container, which could introduce moisture and reduce shelf life.
🌡️ Storage for Homemade Raspberry Syrup
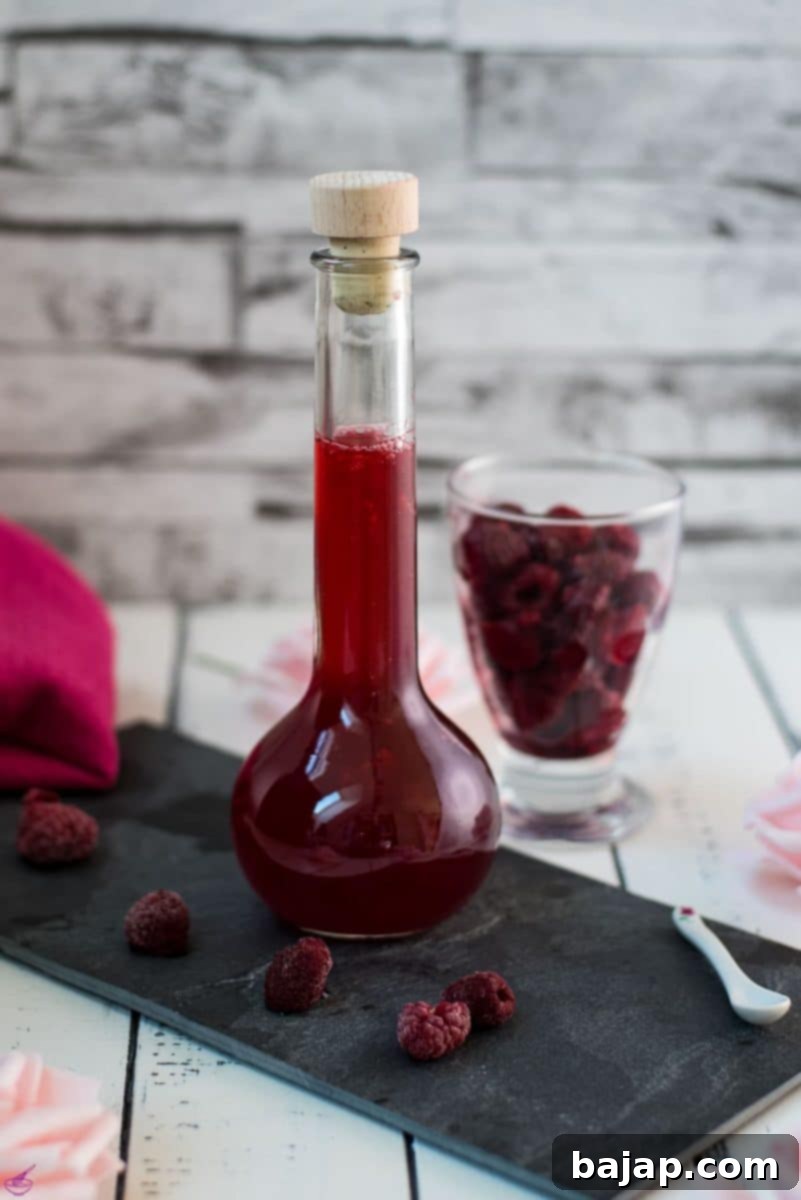
Proper storage is key to maximizing the shelf life and preserving the fresh flavor of your homemade raspberry syrup. Once your syrup has cooled completely, transfer it to a clean, airtight glass bottle or jar. A tight seal prevents air exposure, which can lead to spoilage. Store the sealed container in the refrigerator to maintain its freshness. When stored correctly, homemade raspberry syrup can last for several weeks, typically up to 2-3 weeks. Always check for any signs of spoilage, such as mold, off-smell, or unusual cloudiness, before using.
For even longer storage, raspberry syrup can be frozen. Pour the cooled syrup into ice cube trays and freeze until solid. Once frozen, transfer the cubes to a freezer-safe bag or container. This allows you to thaw small portions as needed, extending its life to several months. Simply thaw a cube or two in the refrigerator or at room temperature when you’re ready to use it.
🍽 Essential Equipment
You don’t need fancy tools to make this raspberry syrup. Here’s a list of the basic equipment that will make the process smooth and efficient:
- Saucepan: A medium-sized saucepan is perfect for simmering your ingredients.
- Measuring Cups: For accurately measuring your raspberries, sugar, and water to maintain the correct ratio.
- Spoon/Muddler: A sturdy spoon or a muddler is essential for gently crushing the raspberries during simmering to extract their juice.
- Close-Meshed Sieve: Crucial for straining out the fruit pulp and seeds, ensuring a smooth, clear syrup.
- Tall Container/Heatproof Bowl: To collect the strained syrup.
- Funnel: Very helpful for cleanly transferring the cooled syrup into your storage bottles without spills.
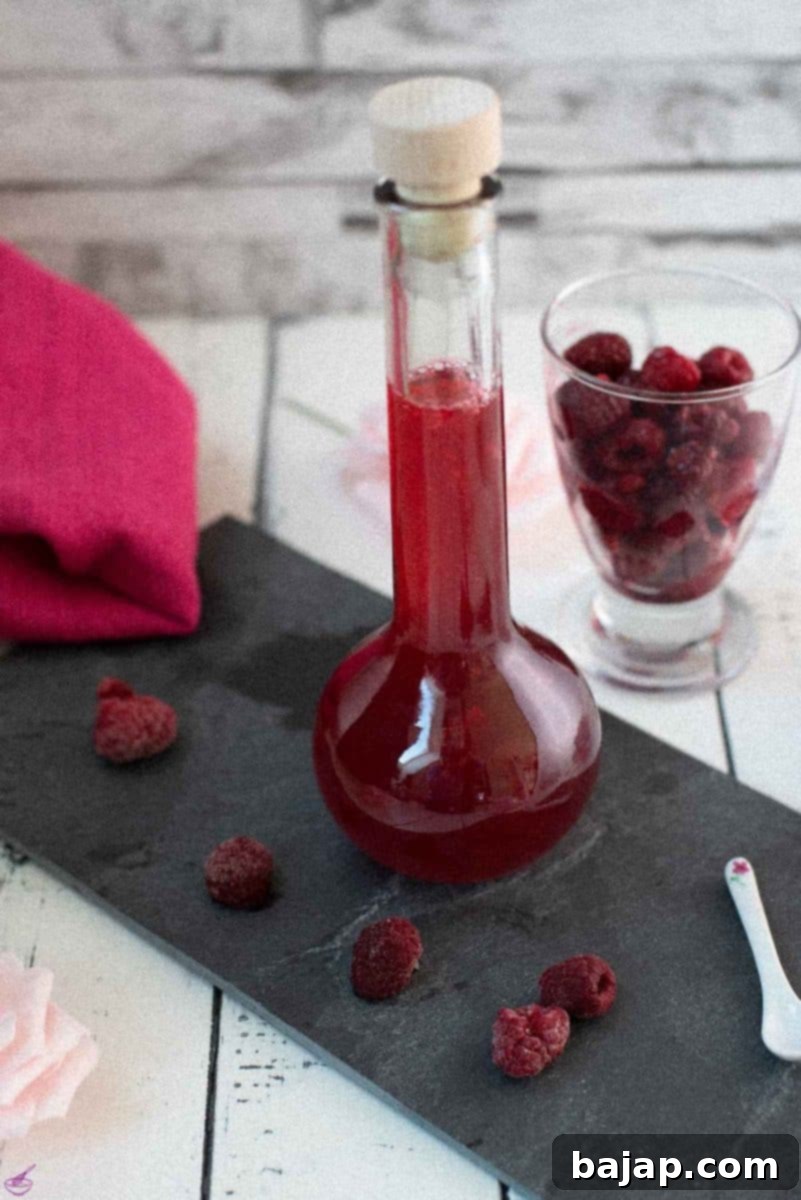
- Preserving Bottle/Glass Jar: Clean, airtight containers for storing your finished syrup in the refrigerator.
💭 Top Tips for Perfect Raspberry Syrup
Achieving the best homemade raspberry syrup is easy with a few simple pointers:
How to Sterilize Glass Containers
Sterilizing your glass containers is a vital step for extending the shelf life of your homemade syrup. To give your glass bottles or jars a thorough “spa day,” first wash them with hot, soapy water. Then, fully submerge them in a pot of boiling water, ensuring no air bubbles are trapped. Let them soak up the warmth for at least 10 minutes (for jars), or 30 minutes for bottles to ensure proper sterilization. Carefully lift them out using tongs, allowing excess water to drain. Finally, lay them out on clean paper towels or a baking sheet in a warm oven (around 200°F / 93°C) to air dry completely. This process helps eliminate any bacteria that could cause your syrup to spoil prematurely, ensuring your delicious homemade delights remain fresh and safe!
Choose Ripe Berries
The flavor of your syrup largely depends on the quality of your raspberries. Opt for berries that are bright in color, plump, and have a strong, sweet aroma. Overripe berries can lead to a muddled flavor, while underripe ones might lack sweetness and intensity.
Don’t Overcook
Simmering for 10 minutes is usually sufficient. Overcooking can lead to a darker, more caramelized flavor that might overshadow the fresh taste of raspberries. It can also cause the syrup to become too thick.
Gentle Crushing
Crush the raspberries just enough to release their juices. Vigorous crushing can break down too much pulp, making your syrup cloudy and harder to strain effectively.
Test for Sugar Dissolution
Before removing from heat, scoop a small amount of syrup onto a spoon and let it cool slightly. Rub it between your fingers. If you feel any grit, the sugar hasn’t fully dissolved, and you should continue to simmer and stir until it’s perfectly smooth.
Proper Straining
For a beautifully clear syrup, consider lining your fine-mesh sieve with cheesecloth. This provides an extra layer of filtration to catch any tiny seeds or pulp that might otherwise pass through, resulting in a perfectly smooth, professional-quality syrup.
🧊 Substitutes and Variations
While fresh raspberries offer the quintessential flavor for this syrup, there’s room for flexibility and creativity in your kitchen.
- Fresh Raspberries: Beautiful fresh berries are undeniably the best choice for this easy syrup, delivering unparalleled flavor and color. However, if they’re out of season or not readily available, don’t despair! You can effectively use frozen raspberries in a pinch. There’s no need to thaw them beforehand; simply add them directly to the saucepan with the sugar and water. The simmering process will naturally thaw them and extract their juices. When using frozen berries, you might notice a slightly longer simmering time to achieve the desired consistency, as they contain more water.
- Other Berries or Mixed Berries: Feel free to experiment! You can swap some or all of the fresh raspberries for a mixture of other delicious fresh berries like strawberries, blueberries, or blackberries. A mixed berry syrup can offer a complex and delightful flavor profile, perfect for a variety of drinks and desserts. The cooking time will remain largely the same.
- Sugar Alternatives: While granulated sugar is recommended for its neutral profile, you can explore other sweeteners. Honey or agave nectar can be used, but be aware that they will impart their own distinct flavors to the syrup, altering the pure raspberry taste. Adjust the quantity to your preferred sweetness level, as these can be sweeter than granulated sugar.
- Flavor Enhancements: To add an extra layer of flavor, consider infusing your syrup. A few sprigs of fresh mint or basil, a slice of fresh ginger, or a strip of lemon zest (remove before straining) added during the simmering phase can introduce wonderful aromatic notes to your raspberry syrup, creating unique variations for specific cocktails.
🙋🏻 Frequently Asked Questions (FAQ)
Raspberry syrup, particularly this cooked version, is typically made of fresh raspberries, granulated sugar, and water. The sugar and water combine to form a syrup base, while the raspberries infuse it with their vibrant color and sweet-tart flavor. If you’re planning on creating an uncooked raspberry syrup (a different method), you can often skip the water entirely, relying solely on the fruit’s natural juices and sugar.
When stored properly in a clean, airtight container in the refrigerator, homemade raspberry syrup is usually good for several weeks. Typically, you can expect it to last for about 2-3 weeks. For longer storage, it can be frozen for several months, either in a freezer-safe container or in ice cube trays.
Chefs and mixologists often rely on various sugar syrups, with the most common being simple syrup and rich syrup. The key difference lies in their sugar-to-water ratio: simple syrup has a 1:1 ratio (equal parts sugar and water), while rich syrup boasts a thicker consistency with a 2:1 ratio (two parts sugar to one part water). Our raspberry syrup, with its 2:2:1 ratio (raspberries, sugar, water), falls into a rich syrup category in terms of sweetness concentration, offering a more intense flavor that requires less per drink and typically boasts a longer shelf life due to the higher sugar content acting as a preservative.
Yes, you absolutely can make raspberry syrup without cooking! This method, often called a “cold process” or “macerated” syrup, typically involves muddling fresh raspberries with sugar and letting them sit for several hours (or overnight) to allow the sugar to draw out the fruit’s juices and create a syrup. It results in a very fresh, bright flavor but tends to have a shorter shelf life than cooked syrup and may not be as thick.
Raspberry syrup is incredibly versatile! Beyond cocktails, it’s fantastic in non-alcoholic drinks like homemade sodas, lemonade, iced tea, or sparkling water. Drizzle it over pancakes, waffles, ice cream, yogurt, or fresh fruit for a delightful dessert topping. It can also be used as a glaze for roasted meats (especially duck or chicken), or incorporated into vinaigrettes for a fruity salad dressing. Its uses are limited only by your imagination!
Other Raspberry Recipes for You to Try
Once you’ve mastered this essential raspberry syrup, you’ll be ready to explore more delicious ways to incorporate this beloved berry into your cooking and mixology. Here are some fantastic raspberry-centric recipes:
- Raspberry Lemon Drop Martini
- Raspberry Daiquiri
- Raspberry Cheesecake
- Raspberry Almond Thumbprint Cookies
- Raspberry Syrup {without cooking} (Explore a cold-process option!)
- RaspberryGin& Tonic
- Raspberry Margarita (coming soon)
- Frozen Raspberry Margarita (coming soon)
- Clover Club (coming soon)
If you make this recipe, I’d absolutely love to hear how you liked it! Please consider giving it a ★★★★★ star rating and leaving a comment below. Your feedback is incredibly valuable and helps other home cooks discover wonderful recipes like this. It would be awesome! You can also sign up for our Newsletter to get weekly delicious homemade recipes delivered straight to your inbox. Or, follow me on Pinterest or Instagram and share your delightful creation with me. Just tag me @combinegoodflavors and use the hashtag #combinegoodflavors, so I don’t miss seeing your fantastic work!
📖 Recipe
How to make Raspberry Syrup?
Nora
Save RecipeSaved!
Pin Recipe
Equipment
-
Saucepan
-
Spoon
-
Close meshed sieve
-
Preserving bottle
-
Funnel
Ingredients
- 1 cup Raspberries fresh
- 1 cup Granulated sugar
- ½ cup Water
Instructions
-
In a saucepan, combine 1 cup Raspberries, 1 cup Granulated sugar, and ½ cup Water.1 cup Raspberries, 1 cup Granulated sugar, ½ cup Water
-
Simmer the mixture over low heat, stirring gently, for about 10 minutes.
-
Gently crush the raspberries and squeeze out the juice while simmering.
-
Ensure the sugar dissolves completely into the mixture.
-
Press the raspberry mixture through a fine-mesh sieve using a spoon.
-
Let the mixture cool, then strain it into a glass bottle for storage.
Notes
Nutrition values are estimates only, using online calculators. Please verify using your own data.

⛑️ Food Safety Guidelines
When preparing any homemade food item, especially those involving fresh ingredients, adhering to food safety practices is paramount. Ensuring your raspberry syrup is not only delicious but also safe to consume is crucial. Please keep the following guidelines in mind:
- Cook to a minimum temperature: Although this syrup is cooked gently, ensure the mixture reaches a temperature of at least 165 °F (74 °C) to kill off any potential bacteria, particularly if you’re planning for longer storage.
- Prevent cross-contamination: Always use clean utensils and equipment. If you’re using any tools that previously touched raw meat or unwashed produce, thoroughly clean and sanitize them before they come into contact with your syrup ingredients.
- Wash hands thoroughly: Always wash your hands with soap and warm water before and after handling food, especially when switching between different ingredients or tasks.
- Mind the temperature danger zone: Do not leave food sitting out at room temperature for extended periods. Bacteria multiply rapidly between 40°F and 140°F (4°C and 60°C). Cool your syrup quickly and refrigerate promptly after preparation.
- Never leave cooking food unattended: Even when simmering on low heat, it’s important to keep an eye on your saucepan to prevent scorching or accidental boiling over, which can compromise the quality and safety of your syrup.
- Ventilation for gas stoves: If you are using a gas stove, always ensure good ventilation to prevent the buildup of combustion byproducts.
For further comprehensive information on safe food handling, always refer to reputable sources such as the Safe Food Handling guidelines from the FDA.
