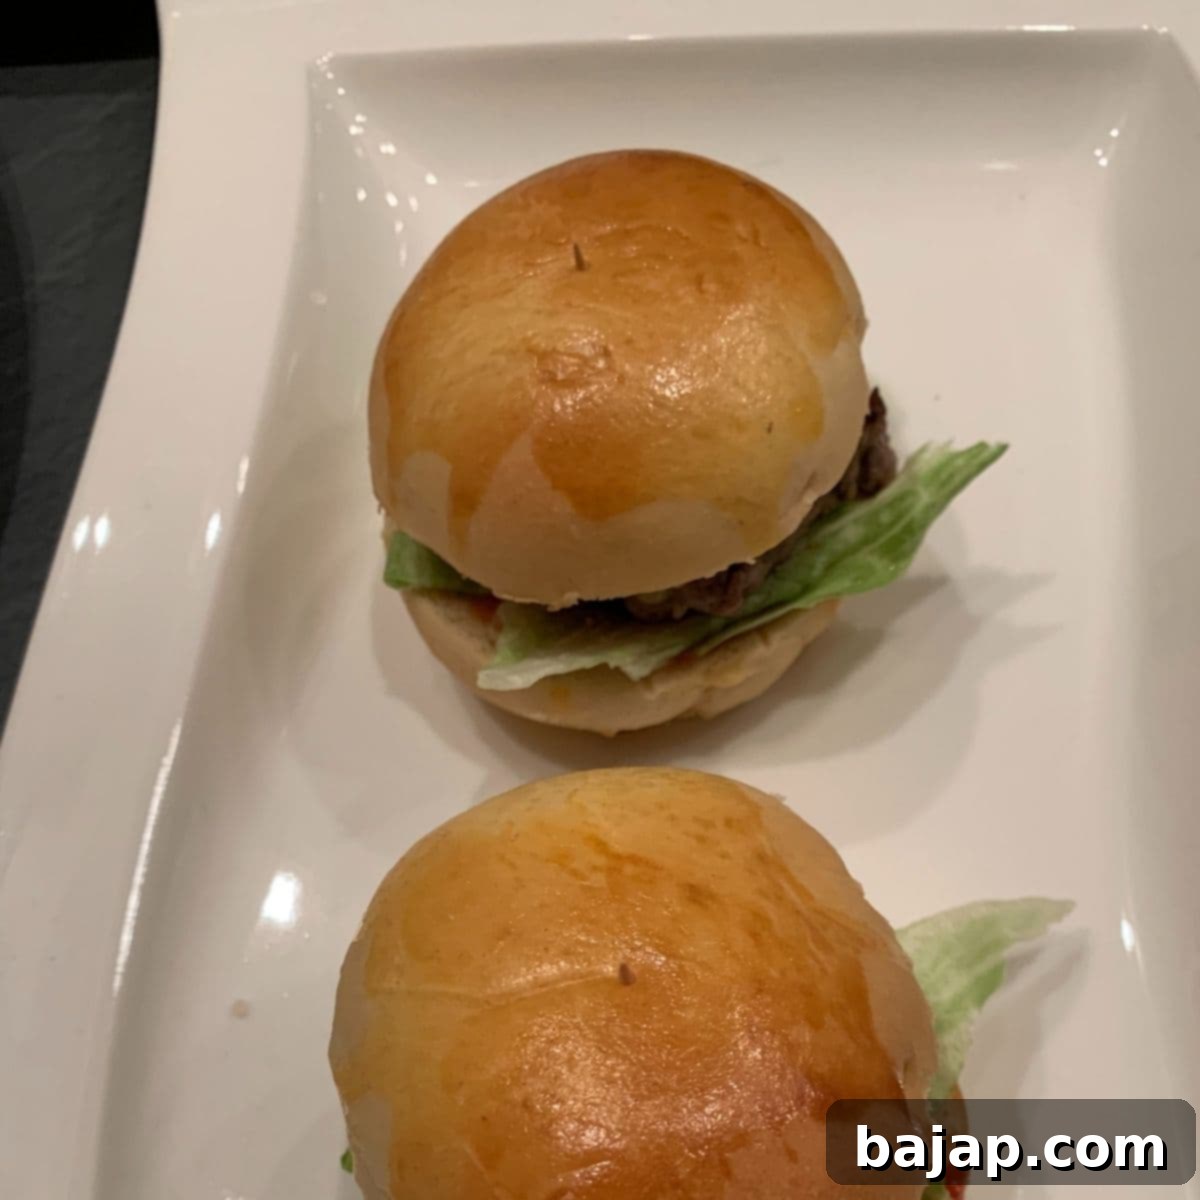
Homemade Mini Cheeseburgers: The Ultimate Recipe for Fluffy Buns and Perfect Patties
There’s a special kind of magic that mini cheeseburgers bring to any gathering. For me, they’ve always held a coveted spot on my ideal Christmas menu. In 2020, that dream became a delicious reality when I planned an unforgettable American-inspired Christmas dinner. The anticipation of these bite-sized delights was almost as exciting as the meal itself!
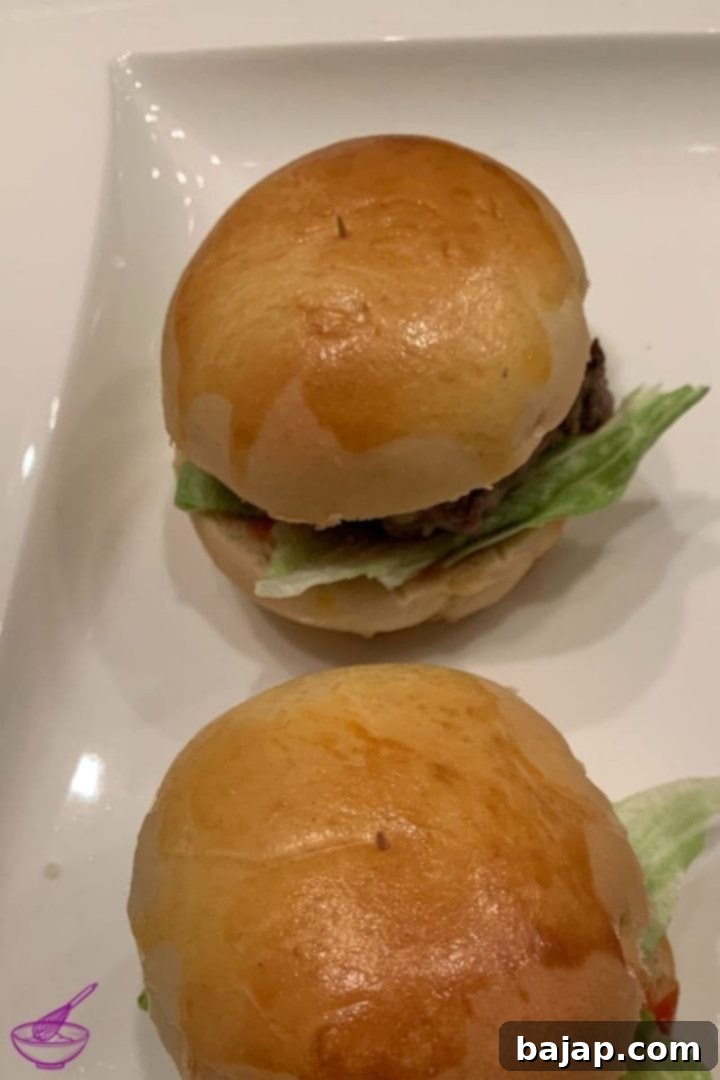
Our carefully curated Christmas dinner was a delightful four-course feast, featuring:
- Appetizer – Caesar salad with homemade dressing
- Soup – Corn soup
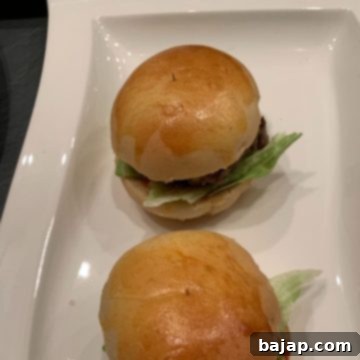
- Main course – Homemade mini cheeseburgers
- Dessert – Waffle blossom with chestnut purée
If you’re eager to recreate this entire menu, you can get the free recipe collection “American-inspired Christmas dinner,” including all the recipes above.
The Quest for the Perfect Bun: Softness and Flavor Unleashed
As I meticulously planned our festive spread, a critical question emerged: “How do you prepare fluffy burger buns that possess that unmistakable, irresistible flavor?” This wasn’t just about making bread; it was about crafting the ideal foundation for our miniature culinary masterpieces. I embarked on a diligent research mission, sifting through countless recipes for soft burger buns.
Many recipes promised perfection, but few delivered. Some yielded buns that were too dense, others lacked the rich, buttery taste I craved. It was a journey of trial and error, a testament to the fact that not all recipes are created equal. I tested several contenders, hoping to find that elusive balance of airy texture and savory depth.
Just as I was starting to lose hope, I stumbled upon a true gem – a recipe that exceeded all expectations! These buns were not just fluffy; they were exquisitely soft, with an incredible flavor profile that perfectly complemented the juicy patties. I owe a huge thank you to Ursula from “tasteoftravel” for sharing her genius. Her recipe is truly what you need for utterly perfect burger buns. While I’ve made minor adjustments to suit our specific needs, the fundamental brilliance of her approach remains the same.
The secret to these wonderfully soft and fluffy buns lies in a technique often used in Asian baking: the **pre-dough** method, specifically known as **Tangzhong** or **Poolish**. This involves cooking a small portion of the flour and liquid (water and milk) into a paste before adding it to the main dough. This gelatinizes the starches in the flour, allowing them to absorb more liquid. The result? A dough that’s incredibly moist, yielding buns that stay soft and fresh for longer, with an unparalleled airy texture. It’s a game-changer for homemade burger buns!
🥘 Ingredients – Fluffy Burger Buns
Pre-Dough (Tangzhong/Poolish)
- 1.52 fl oz (45 ml) Water
- 1.52 fl oz (45 ml) Milk
- 0.56oz (16 g) Flour
Thanks to this pre-dough method, your buns will be incredibly fluffy and tender!
Main Dough
- 3.7 fl oz (110 ml) Warm milk
- 0.17 oz (5 g) Dry yeast
- 1 Egg (medium size)
- 1.94 oz (55 g) Melted butter
- 0.88 oz (25 g) Crystal sugar (granulated sugar)
- 0.2 oz (6 g) Salt
- 10.58 oz (300 g) Wheat flour (all-purpose flour or bread flour for best results)
For Coating
- 1 Egg yolk
- 1 teaspoon Milk
- Oil (for the mixing bowl)
- Flour (for the work surface)
🍽 Equipment – For Buns
- Kitchen machine (with dough hook, highly recommended for ease)
- 2 Small cooking pots
- 1 Small pan
- 1 Large mixing bowl with lid (or cling film)
- 2-3 Additional mixing bowls
- 1 Whisk (eggbeater)
- 1 Wooden spoon or spatula
- 1 Baking brush
- Baking paper
- Baking tray
- Kitchen scale (for precise dough division)
🔪 Instructions – Crafting the Fluffy Buns
Step 1: Prepare the Pre-Dough (Tangzhong)
Creating the pre-dough might sound complex, but it’s surprisingly quick and easy, a lucky break in your baking journey! In a small cooking pot, vigorously whisk together the water and flour until the mixture is completely smooth and lump-free. Once combined, gradually pour in the milk while continuously stirring. The goal is to avoid any lumps that could affect the final texture of your buns.
Now, gently heat this mixture on the stove over medium-low heat, stirring constantly with your whisk. This constant stirring is crucial. The most important tip here is **do not bring the pre-dough to a boil**. Maintain a gentle heat, aiming for a temperature of approximately 149 °F / 65 °C. You’ll notice the mixture gradually thicken and transform into a pudding-like consistency. This dense, glossy texture indicates it’s ready. Remove it from the stove immediately, transfer it to a separate bowl, and let it cool completely to lukewarm or room temperature before adding it to your main dough. This step ensures maximum fluffiness!
Step 2: Prepare the Main Dough
To save time, pre-heat the milk in a small pot and melt the butter in a small pan while your pre-dough is cooling. Once prepared, pour the warm milk (ensure it’s not too hot, just comfortably warm to the touch) into a large mixing bowl. Evenly sprinkle the dry yeast over the milk and let it sit for about a minute. This “blooming” process activates the yeast, confirming it’s alive and ready to make your buns rise beautifully.
Next, crack an egg into the bowl and whisk it thoroughly with an egg beater, incorporating it completely into the milk and yeast mixture. Now, gently stir in the cooled pre-dough and the melted butter using a wooden spoon or a spatula. Ensure everything is well combined.
For best results and less effort, this is where your kitchen machine comes into play.
Transfer the milk, yeast, egg, pre-dough, and butter mixture into the bowl of your kitchen machine. Attach the dough hook. Add the sugar, salt, and approximately half of the wheat flour. Start mixing on a low speed until these initial ingredients are well combined. Then, gradually add the remaining flour, allowing the machine to knead the dough for about 5-7 minutes. The dough is perfectly kneaded when it pulls away cleanly from the sides of the bowl and feels smooth and elastic. If you don’t have a kitchen machine, don’t despair! You can absolutely do this by hand; it will just require a bit more manual kneading and arm strength until the dough reaches the desired consistency.
Once kneaded, prepare a clean mixing bowl by lightly coating its interior with a teaspoon of oil. This prevents the dough from sticking during proofing. Transfer your freshly kneaded dough into this oiled bowl, cover it tightly with a lid (or cling film if a lid isn’t available), and let it rest at room temperature for about one hour. During this time, the dough should proudly double its volume, a sign of active yeast and a happy dough.
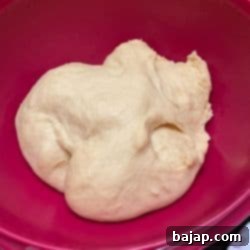
This hour of waiting is your perfect excuse for a coffee or tea break. Enjoy the moment! One hour already? Time flies when you’re anticipating delicious buns! Now, gently punch down the risen dough on a lightly floured work surface to release the air. This step helps create a fine crumb structure. Divide the dough into equal-sized pieces. For mini cheeseburgers, I recommend aiming for about nine uniform pieces. For precise results and to avoid any “bun envy” among family members, use a kitchen scale to weigh each portion. This ensures every mini cheeseburger gets an equally perfect bun.
When forming the buns, some recipes suggest a specific rolling technique to create a perfectly round, taut surface. While this can contribute to a slightly better rise, I’ve found that simply shaping them into neat, round balls by hand works wonderfully. The first time I made these, I skipped the intricate rolling technique, and the buns were still fantastic. If you’re curious about the advanced technique, you can explore it here, but don’t feel pressured if a simple roll works for you!
Arrange your perfectly formed buns on a baking sheet lined with baking paper, leaving enough space between them for expansion. Cover them loosely with a clean kitchen towel or cling film and let them rise again at room temperature for another 30 minutes. They should significantly increase in volume, becoming visibly puffy.
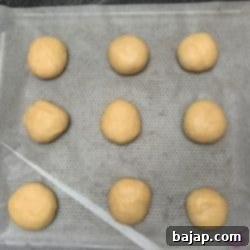
While the buns are enjoying their final proof, pre-heat your oven to 320 °F / 160 °C (using the circulating air or convection setting if available). In a small bowl, whisk together one egg yolk with one teaspoon of milk until well combined. This is your egg wash. Gently brush the tops of the risen buns with this mixture; the egg wash will give them a beautiful golden-brown color and a lovely sheen. Bake the buns for 10-15 minutes, or until they are gloriously golden brown and sound hollow when tapped on the bottom.
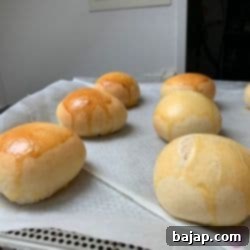
Once baked, transfer the buns to a wire rack to cool completely. For ultimate freshness, store them in a bread tin or airtight container until the next day. This allows you to prepare the buns well in advance, reducing stress on the day of your event.
Perfect! Your incredibly fluffy, homemade burger buns are now ready. The next day, just before serving your Christmas menu (or party spread), you’ll focus on the juicy patties and assemble your delicious mini cheeseburgers.
🥘 Ingredients – Juicy Mini Patties & Toppings
- 21.16 oz (600 g) Minced beef (opt for slightly higher fat content for juicier patties, around 80/20)
- ½ Onion (finely diced)
- 2 teaspoons Salt (adjust to taste)
- 1 teaspoon Ground pepper (freshly ground is best)
- 2.11 oz (60 g) Sliced Cheddar cheese (or your favorite melting cheese), cut into 16 small squares
- 10 leaves Iceberg lettuce (or butter lettuce), washed and dried
- Ketchup (for assembly)
For Dipping at the Dinner Table (Optional)
- BBQ Sauce
- Sour Cream Sauce (or a creamy herb sauce)
- Additional Ketchup
🍽 Equipment – For Patties & Assembly
- 1 Large mixing bowl
- 1-2 Chopping boards
- 2 Large skillets or griddles
- 1-2 Sheets of sandwich paper (or parchment paper)
- 1 Spatula
- 1 Spreading knife (for sauces)
- 8 Toothpicks (for securing mini burgers)
- 2 Plates (for resting cooked patties)
🔪 Instructions – Preparing & Assembling Your Mini Cheeseburgers
Step 1: Prepare the Patties
Just before you’re ready to grill, combine the minced beef with the finely diced onions, salt, and pepper in a large mixing bowl. The key here is to mix gently! Overworking the meat can lead to tough, dense patties. Resist the urge to use a burger press for these mini patties; a lighter touch ensures a more tender, “loose” texture that’s characteristic of a great burger.
To form uniform patties easily, cut 16 squares of sandwich paper, each roughly the size of your mini buns. Lay eight of these squares on one or two chopping boards. Divide your seasoned minced meat into eight equal portions – again, a kitchen scale can be helpful here to ensure consistent sizing. Place each portion of meat on a sandwich paper square.
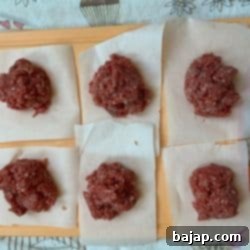
Now, cover each mound of meat with the remaining eight sandwich paper squares. Using a flat surface like a plate or a clean spoon, gently press down on each meat portion to form a patty. Aim for a thickness similar to your thumb, ensuring they don’t exceed the diameter of your prepared buns. If any edges seem too loose, gently squeeze them to help the patty hold its shape during cooking.
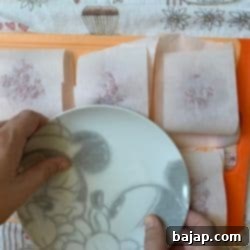
Before you start cooking, prepare your cheese and lettuce. Cut the cheddar slices into 16 smaller squares, perfectly sized for your mini patties. Wash your iceberg lettuce leaves thoroughly, pat them dry, and set them aside. Having all your components ready makes assembly much smoother.
Step 2: Cooking the Patties
Preheat your skillets or griddles over medium-high heat. If your minced meat has sufficient fat content (e.g., 80/20), you may not need to add any oil to the pan. For leaner meat, a tiny amount of high-smoke-point oil (like canola or grapeseed) can prevent sticking. Carefully place the prepared patties (without the sandwich paper, of course!) into the hot pan.
For medium-cooked patties, fry them for approximately 2-3 minutes on each side. Adjust cooking time based on your preferred doneness – less for rare, more for well-done. Remember that smaller patties cook faster than full-sized ones.
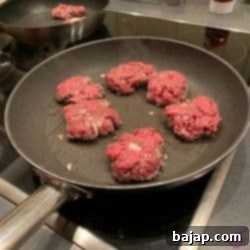
After flipping the patties for the first time, immediately place two cheddar cheese squares on top of each patty. The residual heat from the pan and the patty will quickly melt the cheese into a gooey, delicious topping.
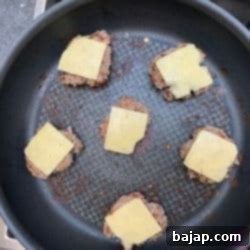
Once the patties are cooked to your liking (medium is often ideal for mini burgers), remove them from the pan and let them rest for a few minutes on a plate. This allows the juices to redistribute, ensuring every bite is succulent.
Step 3: Assemble Your Mini Cheeseburgers
While the patties are resting, slice your cooled, homemade buns in half. For an extra layer of flavor and texture, briefly toast the cut sides of the buns on the griddle or in a toaster oven. A lightly toasted bun adds a wonderful crispness.
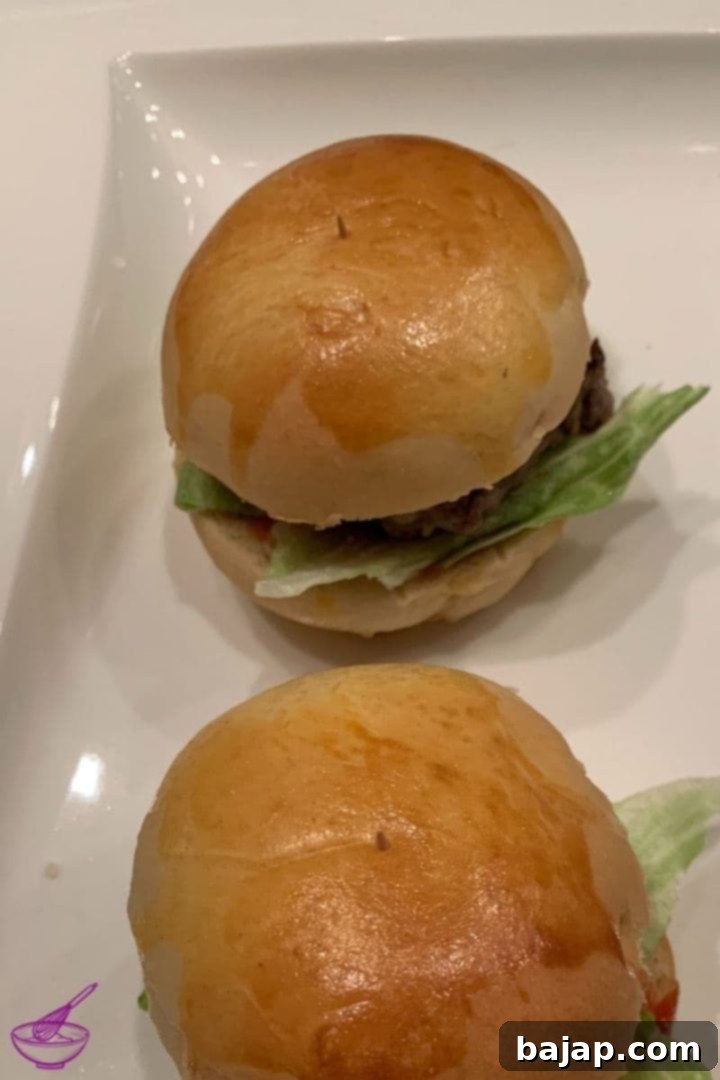
Now, it’s assembly time! Spread a thin layer of ketchup on the inside of both the top and bottom halves of each bun. Place a fresh lettuce leaf (or a small piece of one) on the bottom bun. Then, carefully place your perfectly cooked, cheese-topped patty on the lettuce. Finally, crown it with the top half of the bun.
To ensure your adorable mini cheeseburgers stay together, especially for serving at a party, secure each one with a decorative toothpick. Arrange them artfully on a platter, ready to impress your guests!
Tips for a Seamless Experience and Customization:
- Sauce Station: Since taste preferences vary, present a variety of sauces on the dining table – BBQ sauce, sour cream sauce (perhaps with chives), a spicy mayo, or even a gourmet mustard. This allows guests to customize their mini cheeseburgers to their heart’s content.
- Teamwork Makes the Dream Work: To avoid any last-minute stress, I highly recommend a tag-team approach. My husband, our resident grill master, took charge of preparing and grilling the patties, while I handled the buns and other toppings. This division of labor ensures everything comes together smoothly and nothing gets cold.
- Beyond Cheddar: Experiment with different cheeses! Swiss, provolone, pepper jack, or a smoked gouda can add exciting new dimensions of flavor.
- Topping Bar: Consider offering a mini topping bar. Think caramelized onions, crispy bacon bits, thinly sliced pickles, jalapeños, or even a dollop of guacamole.
- Make-Ahead Magic: The buns can be made a day in advance. You can also dice the onions for the patties and prep the lettuce ahead of time. This significantly reduces prep on serving day.
🤎 You Might Also Like
- 36 Delicious Christmas Dinner Main Course Recipe Ideas
- How to Cook Tafelspitz (Austrian Prime Boiled Beef)
- Dutch Oven Mac and Cheese – The Absolute Comfort Food
- How to Make Chickpea Spread (Hummus)
📖 Recipe Card
The Utterly Perfect Mini Cheeseburgers
Nora
Save RecipeSaved!
Pin Recipe
Equipment
-
Kitchen machine
-
2 Pans
-
1 whisk (eggbeater)
-
1 Baking brush
Equipment
-
Kitchen machine
-
2 Pans
-
1 whisk (eggbeater)
-
1 Baking brush
Ingredients
Pre-dough ingredients
- 45 ml Water
- 45 ml Milk
- 16 g Flour
Main-dough ingredients
- 110 ml Warm milk
- 5 g Dry yeast
- 1 medium sized Egg
- 55 g Melted butter
- 25 g Crystal Sugar
- 6 g Salt
- 300 g Wheat Flour (farina)
For coating
- 1 Egg yolk
- 1 teaspoon Milk
- Oil (for the mixing bowl)
- Flour (for the work surface)
Ingredients for the patties
- 600 g Minced meat from beef (better a little greasier than too lean)
- ½ Onion
- 2 teaspoons Salt
- 1 teaspoon Grounded pepper
- 60 g Sliced Cheddar
- 10 leaves Iceberg lettuce
- Ketchup
For dipping at the dinner table
- BBQ Sauce
- Sourcream Sauce
- Ketchup
Instructions
Prepare the pre-dough
-
Whisk together water and flour in a small cooking pot until smooth.
-
Pour in milk while stirring.
-
Heat the mixture gently (about 149 °F / 65 °C) on the stove while stirring until it gets a pudding-like consistency.
-
Set aside and let it cool down.
Prepare the main-dough
-
Preheat the milk in a small pot and melt the butter in a small pan.
-
Pour the heated milk into a mixing bowl and sprinkle the dry yeast evenly over it. Wait 1 minute.
-
Add an egg and whisk it.
-
Stir in the lukewarm pre-dough and melted butter with a wooden spoon.
-
Pour the milk, yeast, egg, pre-dough, and butter mixture into the kitchen machine bowl.
-
Add sugar, salt, and half of the flour and mix it with a wooden spoon until the ingredients are well combined.
-
Then let your kitchen machine (use a dough hook) get to work.
-
Add the rest of the flour as it kneads and let the device combine it into a dough.
-
The dough is ready as soon as it separates from the bowls surface (approx. 5 minutes).
-
Take a clean bowl with a lid and coat it with a teaspoon of oil. Pour the dough into the bowl and close the lid.
-
Now the dough has time to rest for an hour at room temperature to double its volume.
-
Sprinkle a suitable work surface with a little flour and knead the dough there briefly to let the air out.
-
Divide the dough into 9 equal-sized pieces and form 9 little buns.
-
Place the buns on a baking sheet lined with baking paper.
-
Let them rise at room temperature for another 30 minutes until they have significantly increased in volume.
-
Now preheat the oven to 320 °F / 160 °C (circulating air) while whisking one egg yolk and one teaspoon of milk.
-
Brush the buns with the egg-milk mixture.
-
Bake for 10-15 minutes until golden brown.
-
Let the buns cool after baking.
Burger Patties Preparations
-
Shortly before grilling the patties, gently mix the minced meat with the finely diced onions, salt, and pepper.
-
Cut out 16 squares (about the size of the buns) from the sheets of sandwich paper and distribute eight of them on 1-2 cutting boards.
-
Divide the mince into eight equal portions and place those piles of meat on the sandwich paper squares.
-
Cover the mince heaps with the remaining eight squares and press them lightly (with a plate or a spoon). They should have the thickness of your thumb.
-
Cut the cheddar slices into 16 equal squares and set them aside.
-
Wash the iceberg lettuce, pat dry, and set aside.
-
Now preheat the pans (medium-high heat) and put the prepared patties into the pan. (don’t use oil if the meat is greasy enough!)
-
Fry them for 2-3 minutes on each side.
-
After flipping the patties for the first time, place two cheddar cheese squares on each patty so they can melt while frying.
-
Once the patties are grilled medium, remove them from the pan and let them rest for a few minutes on two plates.
-
Meanwhile, cut the buns in half and toast them briefly.
-
Coat the insides of the buns with ketchup. Place the lettuce on top. Add the patty and the top part of the bun.
-
Secure the mini cheeseburger with a toothpick and arrange them on a plate.
For dipping at the dinner table
-
Place various sauces on the dining table, so your guests can serve themselves according to their liking.
Nutrition values are estimates only, using online calculators. Please verify using your own data.

⛑️ Important Food Safety Reminders
Ensuring food safety is paramount when preparing any meal, especially with raw meat. Please follow these guidelines to keep your cooking experience safe and enjoyable:
- Cook ground meat to a minimum internal temperature of 165 °F (74 °C) to eliminate harmful bacteria. A food thermometer is recommended for accuracy.
- Always use separate utensils, cutting boards, and plates for raw meat and cooked food to prevent cross-contamination.
- Wash your hands thoroughly with soap and warm water for at least 20 seconds before and after handling raw meat.
- Never leave perishable food sitting out at room temperature for more than two hours (or one hour if the temperature is above 90 °F / 32 °C).
- Never leave cooking food unattended on the stovetop or in the oven.
- When frying, use oils with a high smoking point (like canola, grapeseed, or sunflower oil) to prevent the formation of harmful compounds and off-flavors.
- Ensure good ventilation in your kitchen when using a gas stove to prevent the buildup of carbon monoxide and other fumes.
For more comprehensive information on safe food handling practices, please refer to the Safe Food Handling guidelines from the FDA.
