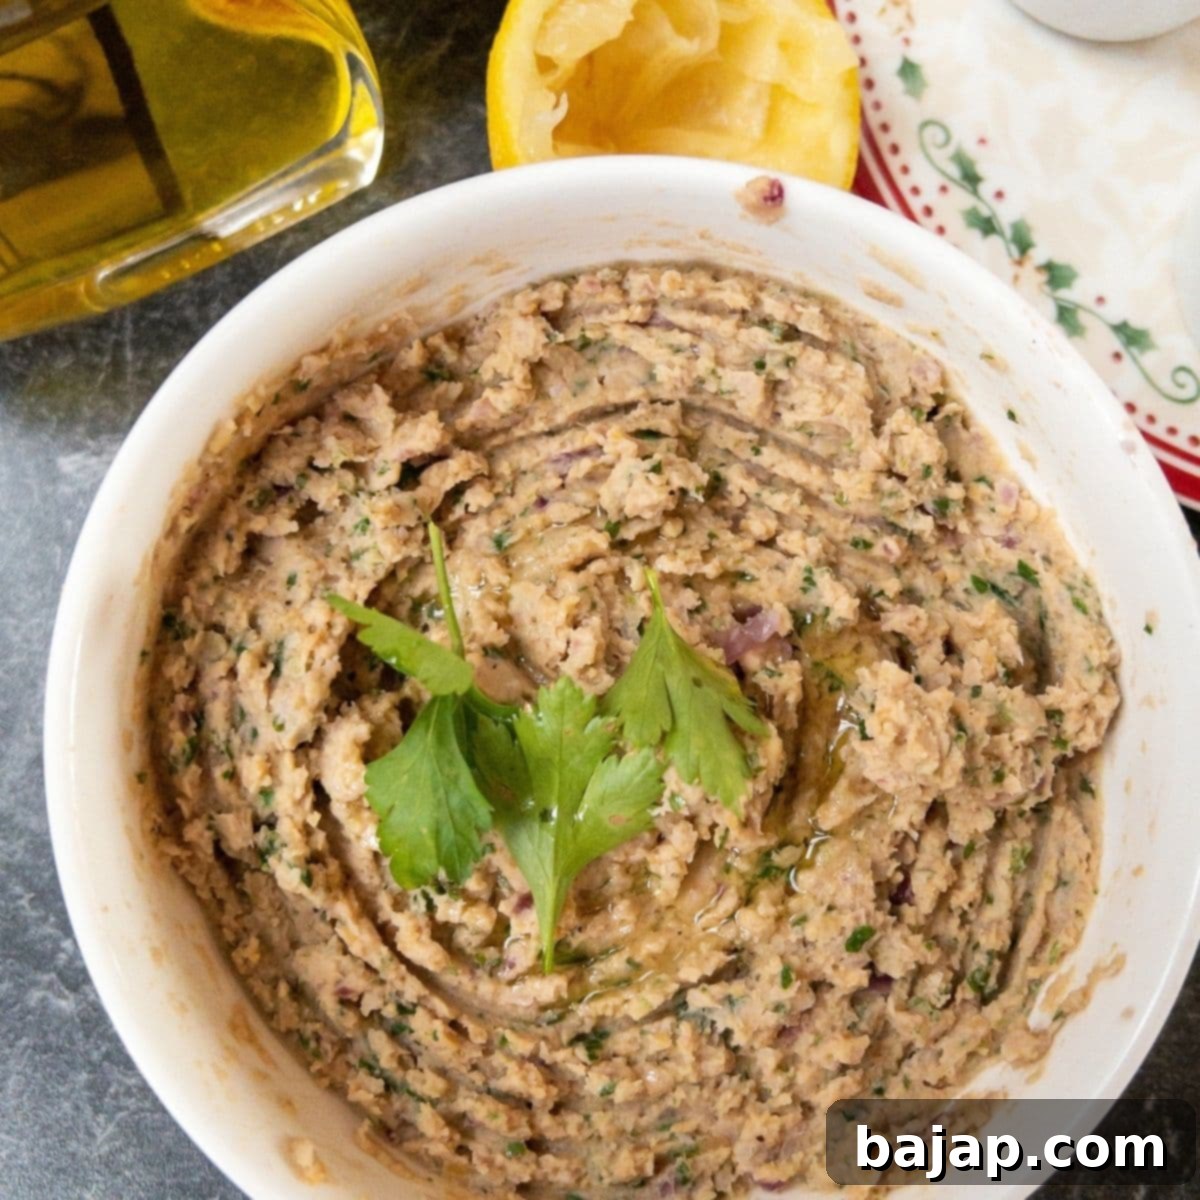
Easy Homemade Hummus Recipe: Creamy, Healthy & Delicious Chickpea Spread
Are you tired of buying expensive, store-bought hummus that often lacks the fresh, vibrant flavor you crave? If you love the rich, creamy taste of hummus (chickpea spread), then you’ve come to the right place! This easy homemade hummus recipe is your ultimate solution, allowing you to whip up a delicious, healthy spread quickly and effortlessly right in your own kitchen with just a blender.
This delightful chickpea spread stands out for being:
- Healthy: Packed with plant-based protein, fiber, and essential nutrients.
- Vegan: Made entirely from plant-based ingredients, perfect for a plant-powered diet.
- Sugar-Free: No added sugars, relying on natural flavors.
- Gluten-Free: Naturally free from gluten, suitable for those with dietary sensitivities.
- Creamy: Achieves a wonderfully smooth and velvety texture.
- Super Yummy: Exploding with fresh, savory flavors that will tantalize your taste buds.
It’s truly a win-win all around! Once you try this homemade version, you’ll never go back to store-bought again.
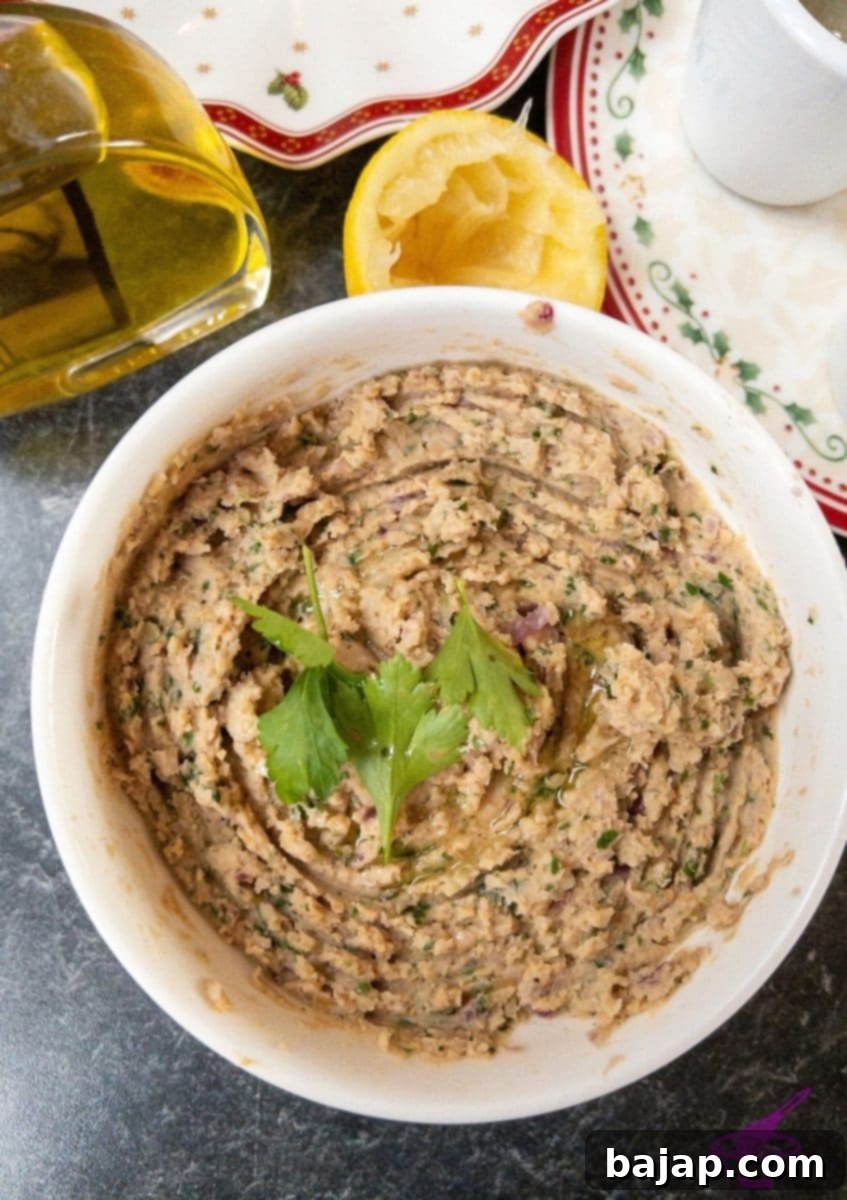
One of the best things about this recipe is its simplicity. You can prepare this mouth-watering chickpea spread in just a few easy steps. By using pre-cooked chickpeas from a jar or can, you’ll save yourself the additional soaking and cooking time, making this a truly quick and convenient option for busy weeknights or impromptu gatherings.
A Brief Introduction to Hummus
Hummus, a beloved staple of Middle Eastern cuisine, translates simply to “chickpeas” in Arabic. This iconic dip or spread is traditionally made from cooked, mashed chickpeas blended with tahini (sesame paste), lemon juice, and garlic. Its origins can be traced back centuries, and today, it’s enjoyed globally for its rich flavor, creamy texture, and impressive nutritional profile. Hummus is not just a tasty condiment; it’s a versatile food that can be served as an appetizer, a side dish, or even a main component in a healthy meal.
Why Make Your Own Hummus? The Benefits of Homemade
While store shelves are lined with various hummus brands, making your own offers several compelling advantages:
- Unbeatable Freshness and Flavor: Homemade hummus tastes infinitely better than its store-bought counterparts. The fresh ingredients truly shine, delivering a more authentic and vibrant flavor profile.
- Cost-Effective: Ingredients for hummus are inexpensive, especially if you buy chickpeas in bulk or dried. Making it yourself saves a significant amount of money in the long run.
- Control Over Ingredients: You dictate what goes into your hummus. No unwanted preservatives, artificial flavors, or excessive sodium. This is particularly beneficial for those with dietary restrictions or specific health goals.
- Customization Galore: Once you master the basic recipe, the possibilities for customization are endless. You can adjust the seasoning, add different herbs, spices, or even roasted vegetables to create unique flavors.
- Dietary Friendly: As highlighted, it’s naturally vegan, gluten-free, and sugar-free. If you have concerns about fructose, as mentioned earlier, you can adjust the quantity of ingredients like onion and lemon juice to suit your tolerance. People with fructose malabsorption should exercise caution due to the relatively high fructose content in chickpeas and onion; it’s best to consume it in small amounts.
Last year, I successfully incorporated hummus (alongside Austrian Liptauer Cheese Spread and Egg Salad) as a fantastic dip for my Christmas charcuterie board, proving its versatility for any occasion!
[feast_advanced_jump_to]
🥘 Ingredients for the Perfect Hummus
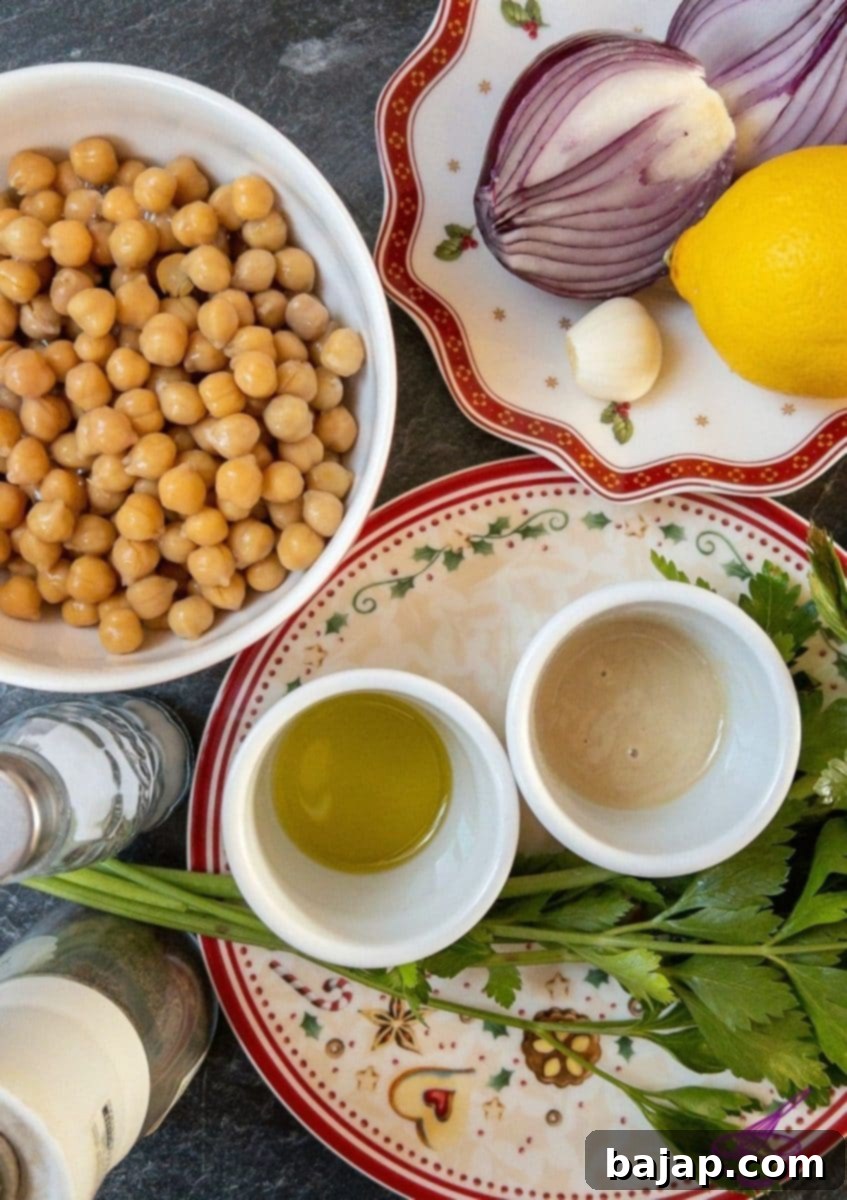
Gathering the right, fresh ingredients is key to an exceptional homemade hummus. Here’s what you’ll need:
- Chickpeas: The star of our show. Using canned or jarred pre-cooked chickpeas saves time, but dried chickpeas, properly prepared, yield an even creamier result (more on that below).
- Red Onion: Adds a subtle sweetness and depth of flavor when sautéed.
- Garlic Clove: Essential for that classic hummus pungency. Adjust to your taste.
- Extra Virgin Olive Oil: Provides richness and a smooth texture. A good quality oil makes a noticeable difference.
- Fresh Parsley: For a burst of freshness and a touch of color.
- Lemon Juice: Freshly squeezed is a must! It brightens the entire dish and balances the richness of the tahini.
- Tahini (Sesame Mousse): This thick paste of ground sesame seeds is crucial for authentic hummus. It provides a distinctive nutty flavor and is responsible for the signature creamy texture. Don’t skip it!
- Herb Salt: Adds a complex salty flavor. Regular salt works fine too, but herb salt enhances the overall taste.
- Black Pepper: A dash for a subtle kick and to round out the flavors.
See the full recipe card below for exact quantities and detailed instructions.
🔪 Instructions: How to Make Homemade Hummus
Follow these simple steps to create your own creamy, flavorful hummus at home:
- Prepare the Chickpeas: If using canned or jarred chickpeas, sieve them through a close-meshed sieve to drain the liquid (aquafaba). Rinse them thoroughly under cold running water until they no longer foam. This step is crucial for achieving a smooth texture and removing any metallic aftertaste. After rinsing, set the chickpeas aside.
- Sauté Aromatics: Peel the red onion and garlic clove. Roughly chop them and place both in your high-powered blender or food processor. Pulse a few times to finely chop. Transfer the chopped onion and garlic to a small saucepan with a teaspoon of olive oil. Sauté them over medium heat until they become translucent, soft, and fragrant (about 5-7 minutes).
- Why Sauté the Onion and Garlic until Translucent? This step is a game-changer for homemade hummus!
- Enhanced Aroma and Flavor: Sautéing brings out the natural sweetness of the onion and mellows the sharpness of the garlic, developing a richer, more nuanced flavor.
- Improved Digestibility: Cooked aromatics are generally easier on the digestive system than raw ones, making your hummus more enjoyable for everyone.
- Warm the Chickpeas: Once the onion and garlic are translucent, add the rinsed chickpeas to the saucepan. Heat them gently while stirring for a few minutes. Warming the chickpeas slightly helps them blend more smoothly and incorporates the flavors of the sautéed aromatics.
- Blend for Creaminess: Now it’s time to bring out your blender or food processor again. First, add the fresh parsley and pulse briefly to chop it finely. Then, add all the other ingredients: the warmed chickpeas, sautéed onion and garlic, lemon juice, tahini, herb salt, and black pepper. Blend on high speed, scraping down the sides as needed, until the mixture is completely smooth and creamy. If the hummus is too thick, add a tablespoon or two of cold water (or even some of the reserved aquafaba) until you reach your desired consistency.
- Taste and Adjust: Once blended, taste the hummus and adjust the seasoning as needed. You might want more lemon juice for brightness, a pinch more salt, or an extra dash of pepper. Don’t be shy about seasoning to perfection!
- Serve and Enjoy: Transfer your freshly made hummus to a serving bowl. For an extra touch, drizzle with a little more extra virgin olive oil, a sprinkle of fresh parsley, or a dash of paprika. Allow it to cool slightly before serving. It pairs wonderfully with a slice of warm naan. If you’re looking to make your own naan, check out this delicious homemade naan recipe (created by easyindiancookbook.com).
See? It’s that easy to make a restaurant-quality chickpea spread right at home! Prepare to impress your friends and family with this homemade delight.
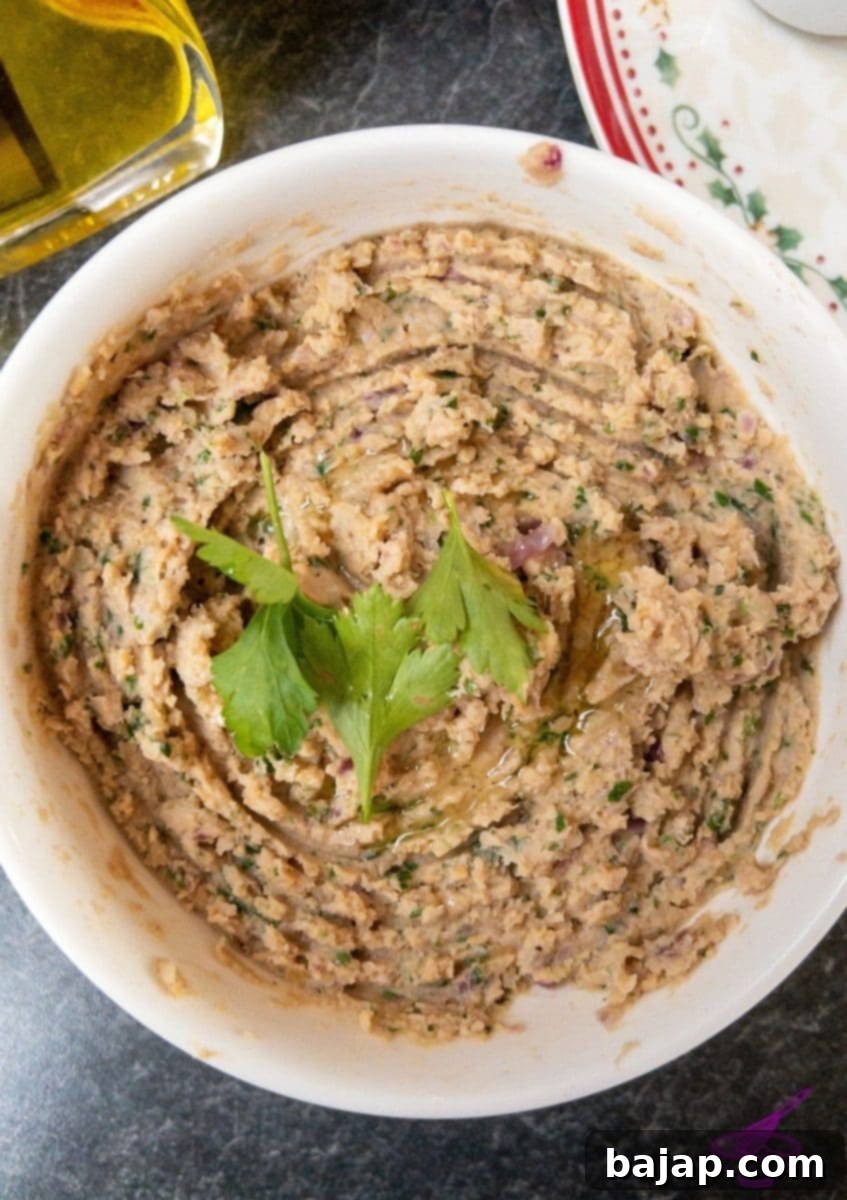
✨ Pro Tips for the Best Hummus Ever
Want to elevate your homemade hummus from great to absolutely exceptional? Here are some expert tips:
- Peel the Chickpeas (Optional but Recommended): For the absolute smoothest, creamiest hummus, consider peeling the skins off your cooked chickpeas. It’s a bit time-consuming, but the difference in texture is remarkable. A simple trick is to rub the cooked chickpeas between your hands under running water, and the skins will loosen easily.
- Use Good Quality Tahini: Tahini is a primary flavor component, so invest in a good quality, runny tahini. It makes a huge difference in both flavor and texture. Stir it well before measuring.
- Add Ice Water: Many hummus connoisseurs swear by adding a few tablespoons of ice-cold water during the blending process. This helps create an incredibly light and fluffy texture, almost like a whipped consistency.
- Don’t Be Afraid to Adjust Seasoning: Taste, taste, taste! Hummus flavors evolve as it blends. Always taste and adjust salt, lemon juice, and other seasonings until it’s perfect for your palate.
🎨 Creative Hummus Variations
Once you have the basic recipe down, feel free to get creative! Here are a few ideas to inspire your hummus adventures:
- Roasted Red Pepper Hummus: Blend in one roasted red pepper (jarred or fresh roasted) for a smoky, sweet flavor.
- Spicy Hummus: Add a pinch of cayenne pepper, red chili flakes, or a spoonful of harissa paste for a fiery kick.
- Beet Hummus: Roast a small beet, peel it, and blend it into your hummus for a vibrant pink color and an earthy-sweet note.
- Avocado Hummus: Add half an avocado to the blender for an extra creamy, richer texture and a beautiful green hue.
- Herbaceous Hummus: Experiment with different fresh herbs like cilantro, mint, or even a blend of Mediterranean herbs.
🍽 Equipment You’ll Need
You don’t need a lot of specialized equipment to make fantastic hummus, but these tools will make the process smooth and efficient:
- Saucepan: For sautéing the onion and garlic, and gently warming the chickpeas.
- Blender or Food Processor: A high-powered blender or a sturdy food processor is essential for achieving that silky-smooth consistency.
- Close-Meshed Sieve: To rinse and drain the chickpeas effectively.
- Lemon Squeezer: For easily extracting fresh lemon juice.
- Wooden Spoon: For stirring ingredients in the saucepan.
🌡️ Storage Tips for Homemade Hummus
Proper storage ensures your homemade hummus stays fresh and delicious for longer:
- Refrigeration: Store homemade chickpea spread in an airtight container in the refrigerator for three to five days. To help prevent it from drying out and to maintain freshness, you can drizzle a thin layer of olive oil over the surface before sealing the container.
- Freezing: Yes, you can freeze hummus! Place the homemade hummus in a freezer-safe, airtight container or a heavy-duty freezer bag. Leave a little headspace for expansion if using a container. It can last in the freezer for up to six months. When you’re ready to enjoy it, thaw it in the refrigerator overnight. You might need to give it a quick stir or even re-blend it with a tiny splash of water or lemon juice to restore its original creamy texture.
💭 Top Tip: Canned vs. Dried Chickpeas
Should I use canned or dried chickpeas?
This is a common question, and you can absolutely use either canned or dried chickpeas for making hummus. However, be aware of the different preparation methods and their impact on your final product!
In this particular recipe, I’ve opted for the convenience of pre-cooked chickpeas from a jar (or can). This choice significantly speeds up the process, making it perfect for quick preparation without compromising too much on flavor.
But if you have dried chickpeas at home and prefer to use them, or if you’re aiming for the absolute best, creamiest texture, you’ll need to invest a little more time. Dried chickpeas require a two-step preparation process:
- Soaking: First, you must soak them. This softens and swells the hard legumes, making them cook much faster. Soaking is typically done overnight (8-12 hours) in plenty of cold water.
- Cooking: After soaking, drain and rinse the chickpeas thoroughly. Then, cook them until they are very tender, which usually takes 1-2 hours, depending on the age of the chickpeas.
Important Note on Raw Chickpeas: Chickpeas contain toxins when raw. It is absolutely essential to cook them thoroughly before consumption. Raw chickpeas contain the toxin Phasin, which only breaks down during the cooking process. Soaking is also vital for two reasons: firstly, it softens and swells the legumes for faster cooking, and secondly, it helps make them easier to digest. After soaking, always pour away the soaking water and rinse the chickpeas well to ensure that no toxins or residual digestive inhibitors are left on the chickpeas or in the water.
For the creamiest hummus from dried chickpeas, some chefs even recommend cooking them with a pinch of baking soda, which helps them break down further.
If you try this recipe, I’d love to hear your thoughts! Please let me know how you liked it by giving it a ★★★★★ star rating and leaving a comment below. Your feedback is truly appreciated and helps other home cooks discover delicious recipes! You can also sign up for our Newsletter or follow me on Pinterest or Instagram. Share your creation with me by tagging @combinegoodflavors and using the hashtag #combinegoodflavors, so I don’t miss it!
📖 Recipe Card
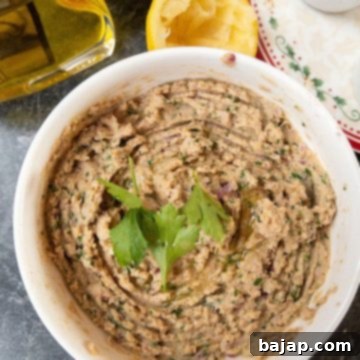
How to make Homemade Chickpea Spread {Hummus}?
Nora
Save RecipeSaved!
Pin Recipe
Equipment
-
Saucepan
-
Blender or food processor
-
Close meshed sieve
-
Lemon squeezer
-
Wooden spoon
Ingredients
- 2 cups Chickpeas
- ½ bunch Fresh parsley
- 1 tablespoon Tahini sesame mousse
- 1 Onion red
- 1 Garlic clove
- 1 teaspoon Extra virgin olive oil
- ½ Lemon juice – freshly squeezed
- 1 teaspoon Herb salt
- 1 dash Black pepper
Instructions
-
Sieve the chickpeas through a close-meshed sieve and rinse them under cold running water until they no longer foam.2 cups Chickpeas
-
After rinsing, set the chickpeas aside.
-
Peel the onion and garlic clove and put both in your high-powered blender.1 Onion, 1 Garlic clove
-
Chop the onion and garlic and put both in a small saucepan.
-
Now sauté the onion and garlic until translucent.
-
Once done, add the prepared chickpeas and heat them while stirring.
-
Place the parsley inside the blender and chop it.½ bunch Fresh parsley
-
Then add all the other ingredients, including spices and cooked chickpeas, to the blender and blend until smooth.1 tablespoon Tahini, 1 teaspoon Extra virgin olive oil, ½ Lemon, 1 teaspoon Herb salt, 1 dash Black pepper
-
Season to taste and serve your first batch of hummus after it has cooled.
Nutrition values are estimates only, using online calculators. Please verify using your own data.

🤎 You Might Also Like These Recipes
If you enjoyed making this homemade hummus, you might also love these other delicious spreads and appetizers:
- How to make delicious homemade Chive Sauce in 5 Minutes
- How to make Apfelkren – Austrian Horseradish Sauce
- Austrian Liptauer Cheese Spread Recipe
- 73 Easy Christmas Eve Appetizer Ideas
⛑ Food Safety Guidelines
Ensuring food safety is paramount when preparing any meal. Please keep the following guidelines in mind:
- Cook ingredients to a minimum internal temperature of 165 °F (74 °C) where applicable.
- Do not use the same utensils on cooked food that previously touched raw ingredients to prevent cross-contamination.
- Always wash hands thoroughly after touching raw ingredients or before handling cooked food.
- Avoid leaving food sitting out at room temperature for extended periods (typically no more than two hours).
- Never leave cooking food unattended on the stove or in the oven.
- When sautéing or frying, use oils with a high smoking point to prevent the formation of harmful compounds.
- Always ensure you have good ventilation when using a gas stove to disperse any cooking fumes.
For more comprehensive food safety guidelines, refer to USDA.gov.
